

Page 1
Level
7.
Disassembly and Assembly Instructions
7-1.
Repair
2
7-1-1.
1
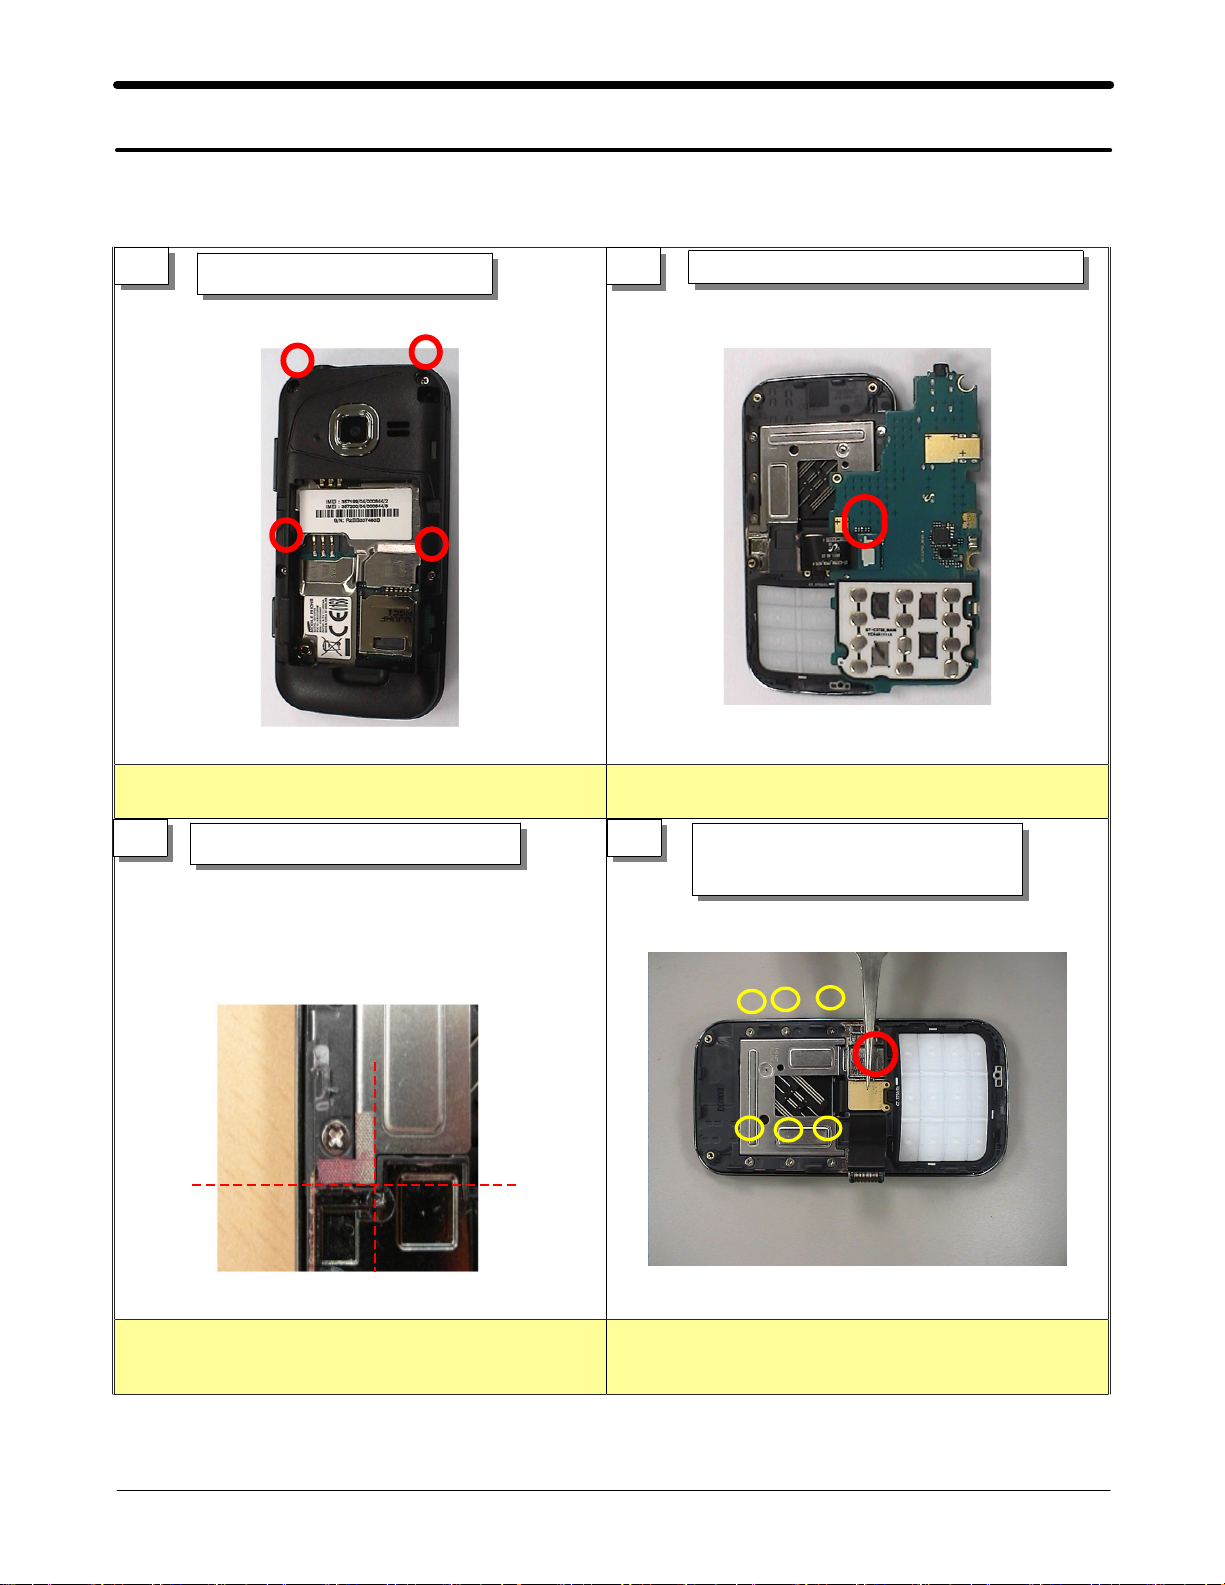
1. Unscrew 4 points.
3
Disassembly
Unscrew the REAR.
Detachatape.
2
1. Turn over the PBA.
2. Take off the LCD connector.
4
Disassemble the PBA.
Detach the Slide FPCB&Unscrew
the FRONT.
1. Detach a tape.
1. Detach the Slide FPCB using a tweezer.
2. Unscrew 6 points.
7-1
7-1
SAMSUNG Proprietary-Contents may change without notice
This Document can not be used without Samsung's authorization
This Document can not be used without Samsung's authorization
Page 2
Level2Repair
7.
5
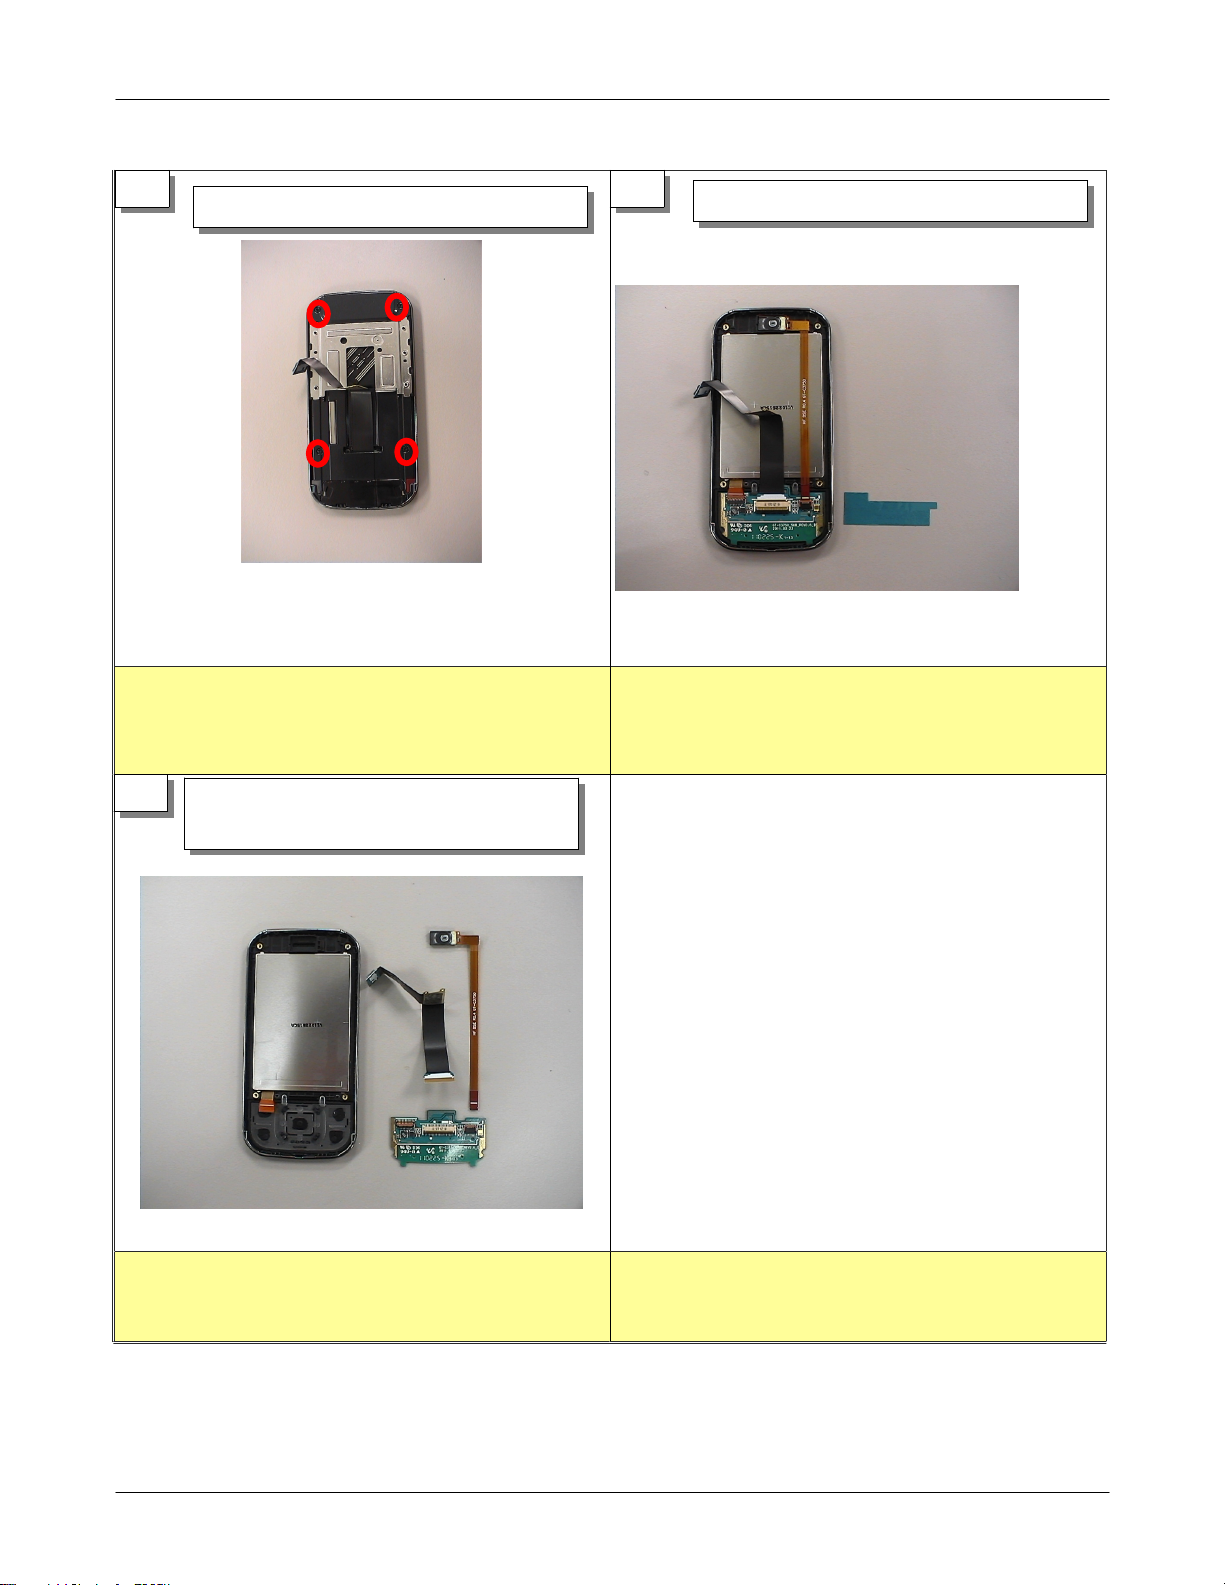
Unscrew the LOWER.
6
DetachaSUB PBA TAPE.
1.Unscrew 4 points. 1. Detach a SUB PBA Tape.
7
Disassemble the SUB PBA, RCV and SLIDE
FPCB.
1. Disassemble the SLIDE FPCB.
2. Disassemble the RCV.
3. Disassemble the SUB PBA.
7-2
SAMSUNG Proprietary-Contents may change without notice
This Document can not be used without Samsung's authorization
Page 3
Disassembly and Assembly Instructions
7-1.
Level2Repair
7.
7-1-2.
1
1. Close the LCD Module FPCB connector after
assembling with the SUB PBA.
2. Assemble the LCD module & SUB PBA. with the
UPPER.
- Becareful FPCB damage.
3
Assembly
Assemble the LCD module
SUB PBA.
Screw.
&
2
1. Close the SILDE FPCB connector after assembling on
the SUB PBA.
2. Close the RCV connector after assembling on
- Becareful FPCB damage.
4
Assemble the SLIDE FPCB and RCV.
the SUB PBA.
Assemble the FRONT&KEY PAD.
1. Screw 4 Points. ( screw torque 1.2kgf )
SAMSUNG Proprietary-Contents may change without notice
This Document can not be used without Samsung's authorization
1.
Detach a white tape & attach the SLIDE FPCB.
=> Follow red arrow direction.
2. Screw 6 points.
3. Assemble the KEY PAD.
7-3
Page 4
Level2Repair
7.
5 6
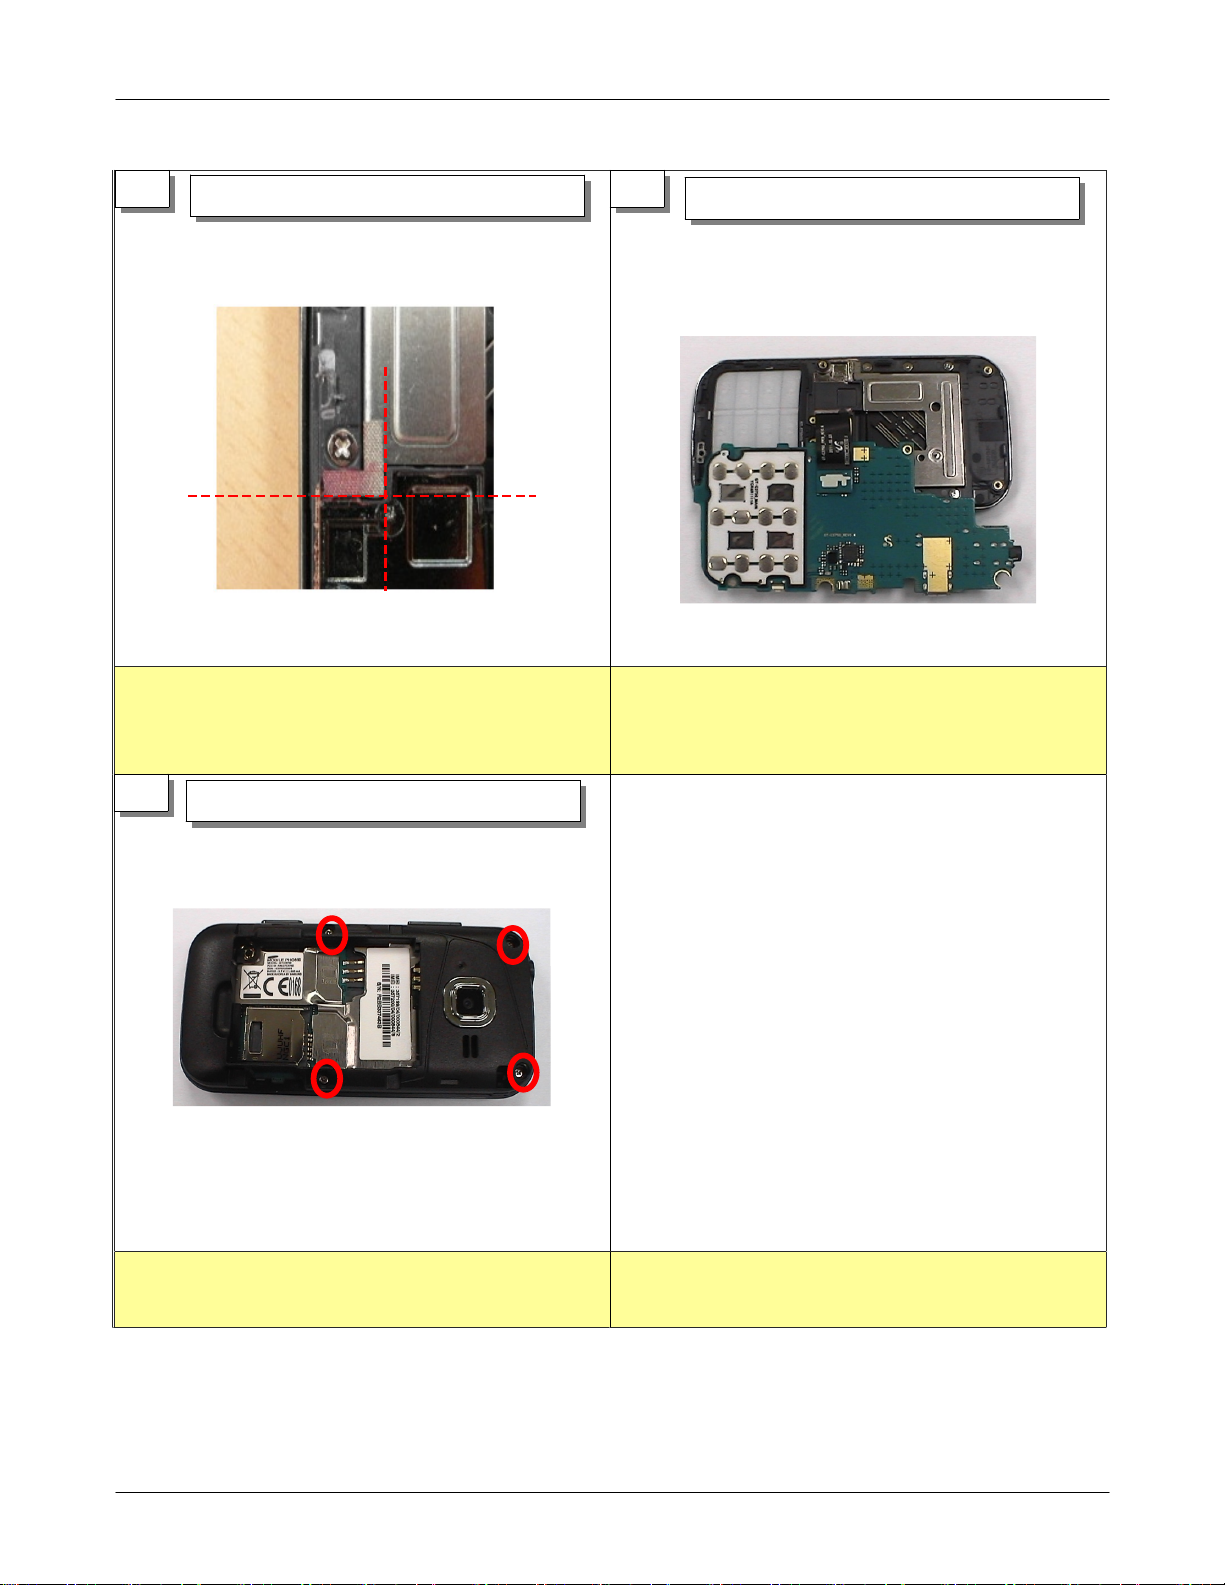
Attachatape.
Assemble the PBA.
1. Attach a tape.(lower hinge & Front Connecting) 1. Assemble the PBA.
7
Assemble the REAR.
1. Assemble the REAR.
2. Screw 4 points. ( screw torque 1.2kgf )
7-4
SAMSUNG Proprietary-Contents may change without notice
This Document can not be used without Samsung's authorization
 Loading...