

Page 1

Sage™ by Heston Blumenthal‰
Customer Service Centre
Phone: 0844 334 5110
www.sageappliances.co.uk
customerservice@sageappliances.co.uk
Register your product and
get more from your purchase
Product registration takes only a few
minutes and ensures both a record
of your purchase and your warranty.
Registration also makes it easier to get
support and advice on any questions or
issues that you might have in the future.
If you wish, we can also send you free
recipes and additional hints and tips on
making the best of your appliance.
Go to www.sageappliances.co.uk
and click on ‘Product Registration’.
What’s on your mind?
Our constant aim is to improve the
quality and features of our appliances.
We welcome your comments and ideas
in assisting our ongoing development.
Go to www.sageappliances.co.uk
and click on ‘Support’.
Registered in England & Wales No. 8223512. Due to continued product improvement, the products illustrated or
photographed in this document may vary slightly from the actual product.
Copyright BRG Appliances 2013.
800CPUK Issue - B13
Page 2
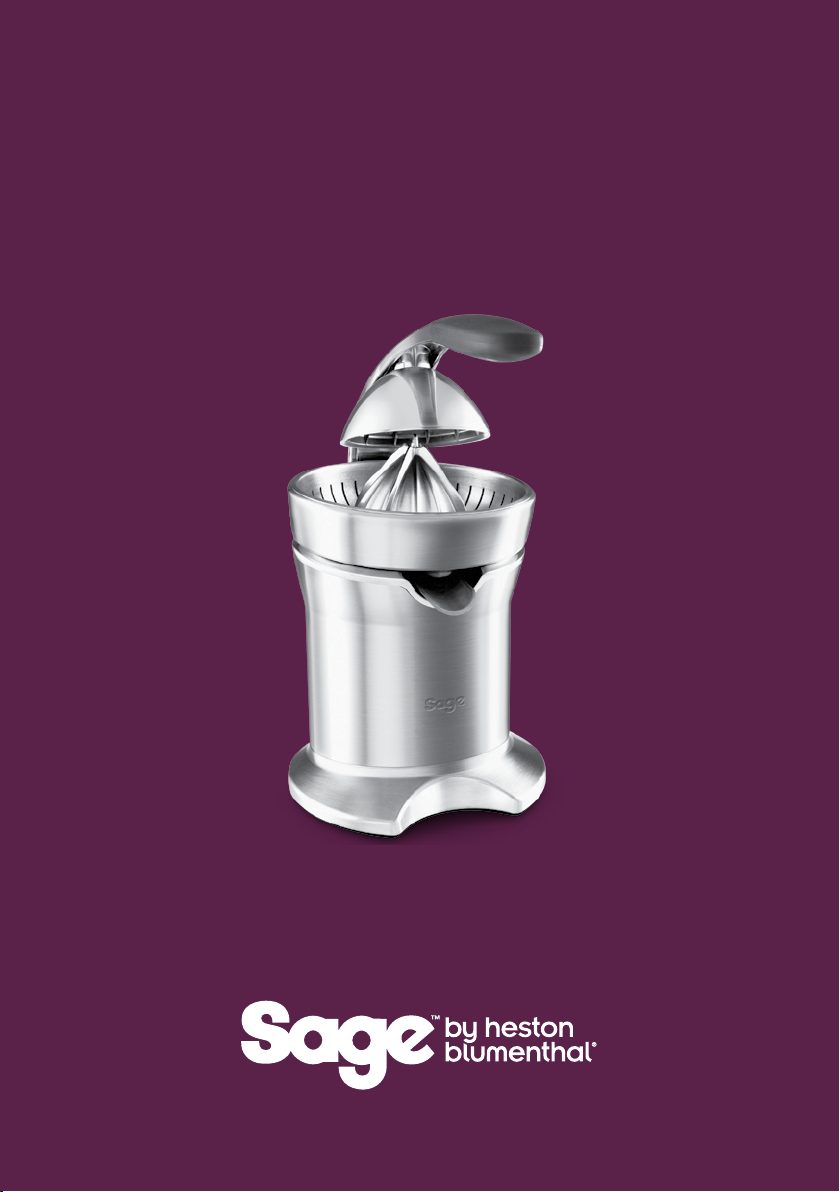
the Citrus Press
Instruction Booklet
800CPUK
Page 3

PAge heAder.....CONTENTS
3 We recommend safety first
7 Getting to know your
new appliance
8 Assembling your new appliance
10 Operating your new appliance
12 Disassembling your
new appliance
13 Care & Cleaning
14 Hints & Tips
15 Troubleshooting
2
Page 4

PAge heAder.....
WE RECOMMEND SAFETY FIRST
At Sage™ by Heston Blumenthal‰ we are very safety conscious.
We design and manufacture consumer products with the safety
of you, our valued customer, foremost in mind. In addition we
ask that you exercise a degree of care when using any electrical
appliance and adhere to the following precautions.
IMPORTANT SAFEGUARDS
READ ALL INSTRUCTIONS
BEFORE USE AND SAVE
FOR FUTURE REFERENCE
• Before using for the first
time please ensure that
your electricity supply is the
same as shown on the rating
label on the underside of the
appliance. If you have any
concerns please contact your
local electricity company.
• Your Sage™ by Heston
Blumenthal
‰
appliance
includes a BS 13 amp
moulded mains plug on the
supply cord.
• Should you need to change
this plug, please complete
the rewiring as follows
(after safe disposal of the
moulded plug).
• Please note that a cut off plug
inserted into a socket is a
serious danger risk
• Wires are coloured as follows:
−Blue = Neutral
−Brown = Live
−Green & Yellow = Earth
• As the colours of the wire
may not correspond with the
coloured markings which
identify the terminals in
your plug, please refer to
the following:
−The Blue wire must be
connected to the terminal
which is marked ‘N’.
−The Brown wire must be
connected to the terminal
which is marked with the
letter ‘L’.
−The Green & Yellow wire
must be connected to the
terminal which is marked
with the letter E or the
earth symbol
.
• Please note that if a 13 amp
plug is used, a 13 amp fuse
should be used.
3
Page 5

PAge heAder.....
WE RECOMMEND SAFETY FIRST
• Carefully read all instructions
before operating and save for
future reference.
• Before use fully unwind the
power cord.
• Always use the Citrus Press
on a dry, level surface.
• Remove any promotional
stickers before using the
Citrus Press.
• Always make sure the Citrus
Press is properly assembled
before connecting the plug
and switching on at the
power outlet and switching
ON the ON/OFF button on
the appliance. The appliance
will not operate unless
properly assembled.
• Always switch the appliance
OFF at the ON/OFF button,
then switch off at the power
outlet and remove the
plug if the appliance is left
unattended, if not in use,
if moved or dismantled for
cleaning and when storing.
• Do not let the cord hang over
the edge of a table or counter,
touch hot surfaces, or
become knotted.
• Do not place this appliance
on or near a hot gas or
electric burner, or where it
could touch a heated oven.
• Do not leave the appliance
unattended when in use.
• Use caution when operating
the appliance – do not place
hands or fingers near moving
or rotating parts.
• Avoid placing hands or
fingers near Juicing Press
Arm mechanism at rear of
Motor Base when moving
Juicing Press Arm into the
upright position.
• This appliance is not
intended for use by young
children or infirm persons
without supervision.
• Do not immerse power cord
or motor base in water or any
other liquid.
4
Page 6

WE RECOMMEND SAFETY FIRST
• The installation of a residual
current device (safety switch)
is recommended to provide
additional safety protection
when using electrical
appliances. It is advisable that
a safety switch with a rated
residual operating current not
exceeding 30mA be installed
in the electrical circuit
supplying the appliance.
See your electrician for
professional advice.
• Any maintenance other than
cleaning should be performed
at an authorised Sage™ by
‰
Heston Blumenthal
Service Centre.
• Strictly follow cleaning and
care instructions.
IMPORTANT SAFEGUARDS
FOR ALL ELECTRICAL
APPLIANCES
• Fully unwind the power cord
before use.
• Do not let the power cord
hang over the edge of a
bench or table, touch hot
surfaces or become knotted.
• To protect against electric
shock do not immerse the
power cord, power plug or
appliance in water or any
other liquid.
• Children should be
supervised to ensure that
they do not play with
the appliance.
• Do not use the appliance if
power cord, power plug or
appliance becomes damaged
in any way. If damaged or
maintenance other than
cleaning is required, please
contact Sage™ by Heston
‰
Blumenthal
Customer
Service on 0844 334 5110 or
go to sageappliances.co.uk
5
Page 7

WE RECOMMEND SAFETY FIRST
• This appliance is for
household use only. Do
not use this appliance for
anything other than its
intended use. Do not use in
moving vehicles or boats. Do
not use outdoors. Misuse may
cause injury.
• Avoid placing hands or
fingers near the juice press
arm at the rear of the motor
base when moving it into the
upright position.
• The appliance is switched
on when the power ON/OFF
button is in the ‘ON’
position which will be
illuminated in red.
SAVE THESE
INSTRUCTIONS
• This appliance can be used
by children aged from 8 years
and above and persons with
reduced physical, sensory or
mental capabilities or lack of
experience and knowledge
if they have been given
supervision or instruction
concerning use of the
appliance in a safe way
and understand the hazards
involved. Children and user
maintenance shall not be
made by children unless they
are age 8 years and above
and supervised.
Keep the appliance and its
cord out of reach of children
aged less than 8 years.
The symbol shown
indicates that this
appliance should not be
disposed of in normal
household waste. It
should be taken to a
local authority waste
collection centre
designated for this
purpose or to a dealer
providing this service.
For more information,
please contact your local
council office.
6
Page 8

PAge heAder.....
GETTING TO KNOW YOUR NEW APPLIANCE
A
B
C
D
E
A. Juice Press Arm
Patented juicing handle features a
unique triple hinged arm to ensure
downward pressure throughout the
juicing process to maximize juice yield.
B. Stainless Steel Filter
(dishwasher safe)
C. Powerful Motor
Automatically starts when pressure is
applied to the juicing cone.
D. ON/OFF Button
E. Cord Storage
Wraps around and clips into position
under motor base (not shown in picture).
F. Soft Grip Handle
Makes juicing easy.
G. Fruit Dome
Is easily removed for cleaning.
(dishwasher safe)
F
G
H
I
J
K
H. Die Cast Stainless Steel Juicing Cone
Uniquely finned and undulating cone
extracts the maximum juice from all
sizes of citrus fruit.
(dishwasher safe)
I. Juice Collector
Collects the juice to flow out the
Juice Spout.
(dishwasher safe)
J. Juice Spout
Opens all the way for cleaning with
anti-drip stop function.
K. Double Stage Switching System
Juicer will NOT operate unless it
is correctly assembled for safety
and performance.
7
Page 9

PAge heAder.....
ASSEMBLING YOUR NEW APPLIANCE
ASSEMBLING THE CITRUS PRESS
1. Pull the juice press arm up and
backwards, away from the motor
base, until fully extended.
2. Place the juice collector onto the
drive shaft on top of the motor base,
ensuring the juice spout fits into the
semi-circular groove at the front of
the motor base.
3. Insert the stainless steel filter into
the juice collector, aligning the
indent with arrow in the bottom of
the filter over the corresponding tab
with arrow in the juice collector.
4. Place the juicing cone onto the drive
shaft and press down lightly to lock
the cone into position.
8
Page 10

PAge heAder.....
ASSEMBLING YOUR NEW APPLIANCE
5. Insert the fruit dome onto the
underside of the juice press arm by
aligning the tab on top of the fruit
dome with the hole in the juice press
arm. Hold onto the juice press arm
and press the fruit dome up and
backwards until the dome locks
into position.
NOTE
The fruit dome is keyed, and can
only be inserted in one way (this will
ensure that it does not rotate
through operation).
6. Ensure the anti-drip juice
spout is pushed down into the
pouring position.
7. Place a suitable sized glass or jug
underneath the juice spout.
9
Page 11

OPERATING YOUR NEW APPLIANCE
1. Ensure the citrus press is correctly
assembled and a glass or jug is
placed under the juice spout before
juicing commences.
2. Cut the citrus fruit in half by cutting
across the fruit segments, rather
than across the tip ends, to ensure
more efficient juicing.
3. Plug the power cord into a 230V
power outlet, then press ON/OFF
button to ON.
4. Place a citrus fruit half, cut side
down, onto the juice cone and push
down lightly onto the spikes.
NOTE
Some fruits, such as lemons and
tangelos, have knobbly tip ends which
require trimming for better contact
with the fruit dome.
10
Page 12

OPERATING YOUR NEW APPLIANCE
5. Grasp the soft grip handle and
slowly lower the juice press arm
and press down firmly until the fruit
dome is in contact with the fruit
skin. The motor will automatically
start and the juicing cone will begin
to rotate. The juice will be extracted
from the fruit and flow through the
juice spout into the glass. The pulp
and seeds will collect in the stainless
steel filter.
6. The Citrus Press juices very quickly
so each fruit half will be juiced in a
few seconds. To automatically
stop the motor, lift the juice press
arm up and backwards to its
extended position.
7. Remove the used fruit from the
juicing cone. Empty excess pulp
and seeds from stainless steel filter
as required. Repeat Steps 3–7 to
continue juicing.
NOTE
The stainless steel filter should be
emptied when full with pulp and
seeds. The filter can be emptied
during juicing by turning the citrus
press OFF at the ON/OFF button and
carefully removing the juicing cone
and filter. Clean and replace stainless
steel filter and juicing cone before
continuing to juice. Do not allow the
stainless steel filter to overfill as this
may prevent correct operation or
damage the unit.
11
Page 13

DISASSEMBLING YOUR NEW APPLIANCE
DISASSEMBLING THE CITRUS PRESS
1. Turn the Citrus Press OFF at the
ON/OFF button, then unplug from
the power outlet.
2. Pull the juice press arm up and
backwards, away from the motor
base, until fully extended. Close the
anti drip spout by flipping to up.
4. Lift the juice collector from the
motor body with the stainless steel
filter, juicing cone and fruit dome
still in place. Remove the cone and
filter from the juice collector over
a sink for easier cleaning. Follow
recommended care and cleaning
guidelines.
3. With the arm in the down position,
remove the fruit dome by pressing
the button marked EJECT.
Let the fruit dome drop onto
the juicing cone.
12
Page 14

CARE & CLEANING
STORAGE
Store the cleaned and reassembled Citrus
Press in an upright position in a cool, dry
place. Do not place any items on top of the
Citrus Press while stored.
• Always ensure that the Citrus Press is
turned OFF at the ON/OFF button and
the plug is removed from the power
outlet before cleaning, disassembling,
assembling and storing the appliance.
• Follow these instructions to clean all
surfaces or parts that come into contact
with food during juicing.
• For easy cleaning immediately after each
use rinse removable parts under warm
water to remove wet pulp. Allow parts to
air dry before reassembling.
• For thorough cleaning after
disassembling the appliance, all
removable parts should be washed in
hot soapy water or on the top shelf of the
dishwasher. The motor base and juice
press arm should be wiped with a soft,
damp cloth. All parts should be dried
thoroughly before reassembling.
• Store the cleaned and reassembled
Citrus Press in an upright position in a
cool, dry place. Do not place any items
on top of the Citrus Press while stored.
NOTE
Rinse or wash all removable parts
immediately after use. Dried citrus
pulp is difficult to remove and may
stain. If any staining does occur,
wipe the discoloured part(s) with
undiluted dishwashing liquid, rinse
and dry thoroughly.
NOTE
Do not soak the stainless steel filter
or other removable parts in bleach.
Never immerse the motor base in
water or any other liquid. Do not use
harsh abrasives
13
Page 15

HINTS & TIPS
THE INSIDE INFORMATION
ON JUICE
Although juice drinks are usually developed
with flavor, texture and aroma at the
forefront, the health benefits certainly add to
the pleasurable taste experience. 70% of the
nutrient content of fruit and vegetables is
found in the juice. Liquids are an important
part of a well balanced diet and fresh juice
is an easy source of vitamins and minerals.
Juices are rapidly absorbed into the blood
stream therefore being the quickest way
in which the body can digest nutrients.
Citrus juice is renowned for its high content
of Vitamin C and cold and flu fighting
capabilities. Freshly extracted juices should
be consumed just after they have been made
to avoid vitamin content loss.
PURCHASING AND STORAGE
OF FRUIT
• Always use fresh fruit for juicing.
• Select fruit with firm, smooth skins and
free of blemishes.
• Valencia oranges are ideal for juicing.
• Select medium sized grapefruits, lemons
and limes for easier juicing.
• Citrus fruits can be stored at room
temperature in a dry area.
• More juice is obtained from fruit stored
at room temperature.
14
Page 16

TROUBLESHOOTING
POSSIBLE PROBLEM EASY SOLUTION
Will not work • Switch not in the ON position
• Juice Press Arm not lowered
• Juicing Cone or Fruit Dome not assembled properly
• Stainless Steel Filter not assembled properly
15
 Loading...