

Royal CAN VAC 02003, CAN VAC 02003WC, CAN VAC 03004, CAN VAC 03013 Owner's Manual
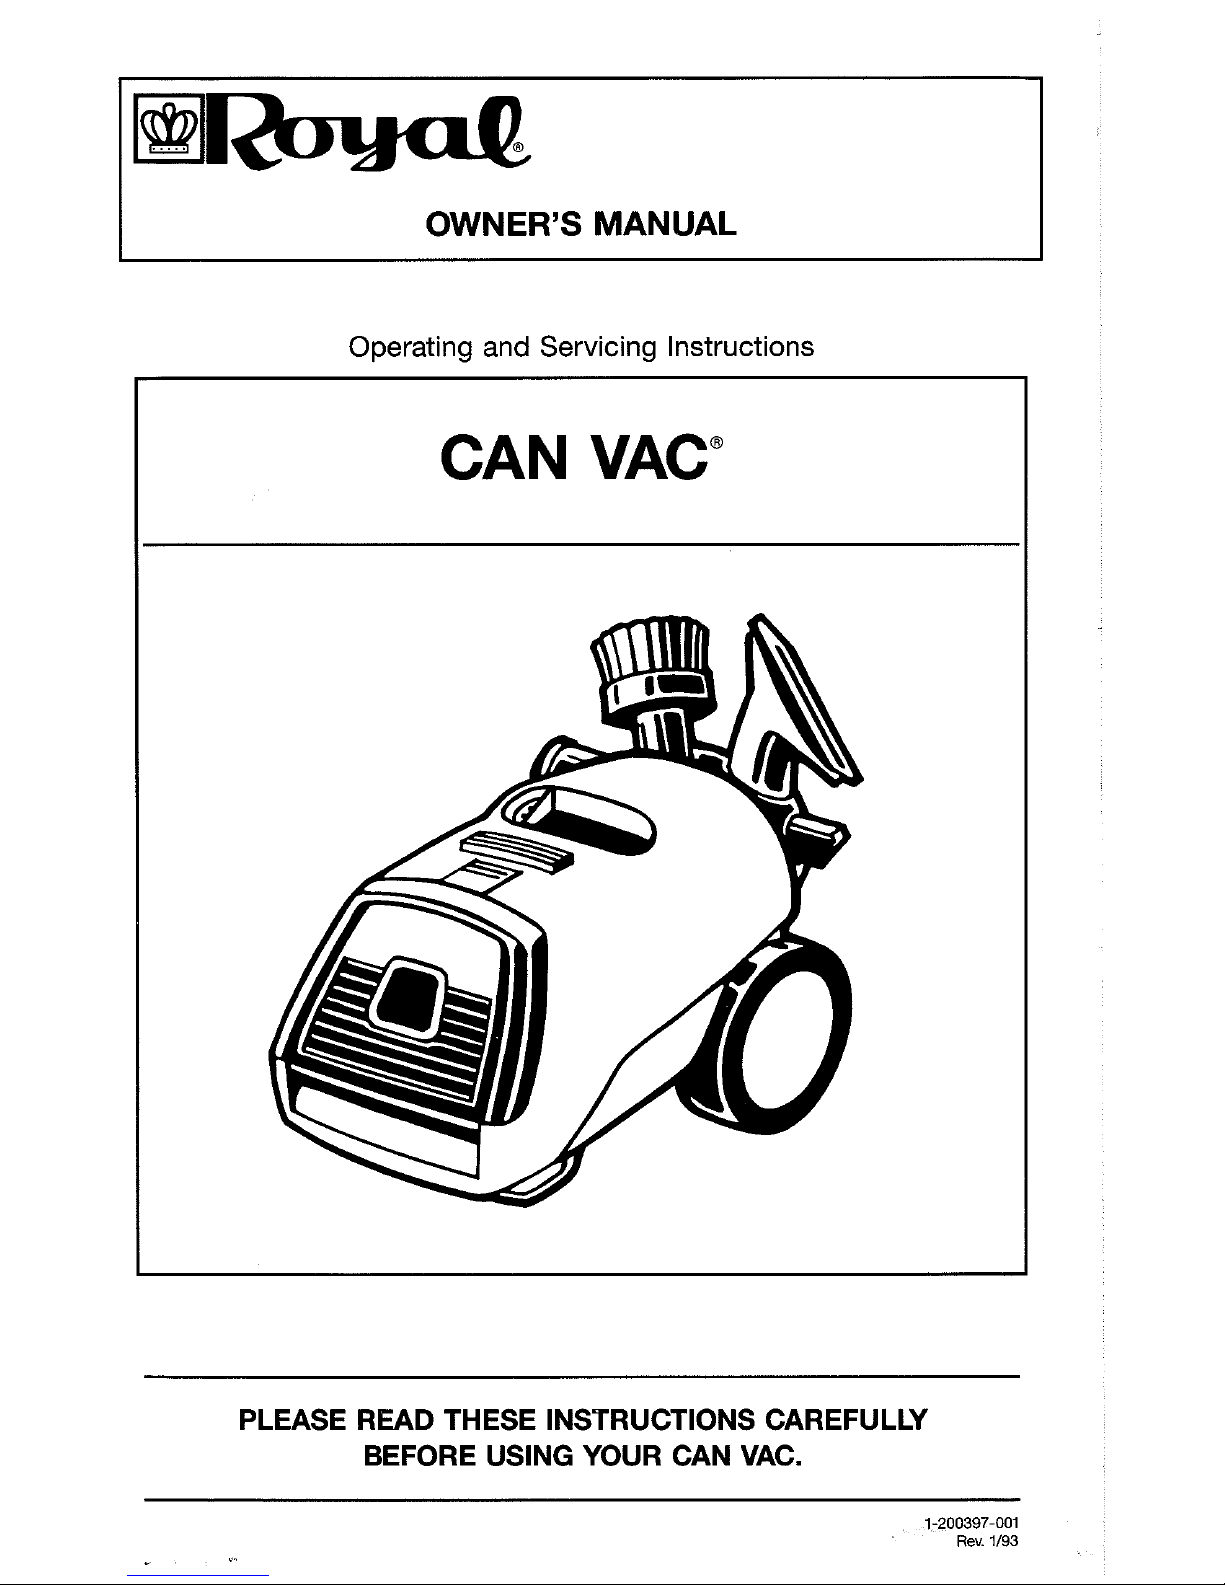
OWNER'S MANUAL
Operating and Servicing Instructions
CAN VAC"
PLEASE READ THESE INSTRUCTIONS CAREFULLY
BEFORE USING YOUR CAN VAC.
1-200397-001
Rev.
1/93
CONSUMER INFORMATION
This information has been compiled by the Vacuum Cleaner Manufacturer's Association working with government and private sources, concerned with product safety.
These basic guidelines are for your protection and convenience.
THIS CLEANER IS INTENDED FOR HOUSEHOLD USE ONLY.
IMPORTANT SAFETY INSTRUCTIONS
SAVE THESE INSTRUCTIONS
When you use an appliance, basic precautions should always be followed, including
the following:
READ ALL INSTRUCTIONS BEFORE YOU USE THE APPLIANCE.
ALWAYS FOLLOW THESE SAFETY INSTRUCTIONS.
WARNING:
TO REDUCE THE RISK OF FIRE,
ELECTRIC SHOCK OR INJURY:
Look on your vacuum cleaner and follow all
label and marking instructions.
Electric shock could occur if used outdoors or
on wet surfaces.
Do not let children play with the vacuum
cleaner. Watch closely when the vacuum cleaner is used by or near children.
Do not use the vacuum cleaner to pick up
flammable or combustible liquids or fumes,
such as gasoline, or use in areas where they
may be present.
Keep the vacuum cleaner on the floor. Only
the hand-held vacuum cleaners may be set on
furniture.
Do not use the vacuum cleaner without dust-
bag or filters in place.
Do not use the power cord to pull or carry the
vacuum cleaner. Do not use the power cord as a
handle. Do not shut any door on the cord or pull
the cord around sharp edges or corners. Keep
the cord away from heated surfaces. Do not run
the vacuum cleaner over the cord.
Do not use vacuum cleaner with a damaged
cord or plug. Do not use vacuum cleaner if
working improperly, dropped, damaged, left
outdoors or dropped in water. First, send to
service center for check and repair.
Store the vacuum cleaner indoors. Put the
vacuum cleaner away after use to prevent tripping accidents.
Do not pull on the cord to unplug the vacuum
cleaner. Grasp the plug instead.
Be most careful when vacuum cleaning on
stairs.
Only use attachments and hoses recommended by the manufacturer. Use the vacuum
cleaner only as stated in this manual.
Turn all controls to "OFF" before unplugging
the vacuum cleaner.
Do not use an extension cord with this
cleaner.
Do not touch the plug or the vacuum cleaner
with wet hands.
Do not put any object into the vacuum cleaner
vent or other openings. Do not turn the vacuum
cleaner on if something is blocking an opening.
Keep vents free of things that slow air flow, such
as dust, lint and hair.
Do not pick up anything that is hot, smoking
or burning. Do not pick up cigarettes, hot ashes
or matches.
Unplug the vacuum cleaner if you leave the
room. Unplug it when it is not in use and before
you service it.
Always turn off the vacuum cleaner before
connecting or removing either the hose or the
motorized nozzle.
Do not use hose if it is damaged, cut or punctured. Do not pick up sharp objects with the
vacuum nozzle or hose. The hose contains electrical wires.
Keep end of hose, wands and other openings
away from your face and body. Keep your
hands, feet, hair and clothing away from moving
parts.
Approved by the Vacuum Cleaners Manufacturers Association Executive Committee, April
29,
1987.
2

SAVE THESE INSTRUCTIONS
This cleaner contains a thermal protector which will automatically shut off
the current flow at abnormally high motor temperatures. If the thermal protector is
activated
-
unplug the cleaner and inspect the exhaust, inlet, hose, paper bag
and secondary filter for any blockage.
Once the motor cools the current's flow will be reactivated.
/
WAR
N
I
NG
:
Electrical shock could occur if used
I
I
outdoors or on wet surface.
I
TABLE
OF
CONTENTS
Features
. . .
. . .
. .
. . .
. . . .
. . . .
. . . . .
. .
. . . .
. . . . . . . . . . . .
. .
. .
.
4
Paper Bag Removal and lnstallation
. . .
. .
. .
.
. .
. .
. .
. . . .
. .
. .
.
5
Hose lnstallation and Removal
. . .
. . . . . . . . .
. . . .
.
.
. . .
. .
.
. . .
.
7
Attachment lnstallation and Removal
. . . .
. . . . . . .
. . . . .
. . . . .
.
8
Cord Wrap and Quick Release
. . .
. . . . .
.
. . . . . . . . .
. . . .
. . . . .
.
9
Mount Tool Caddy
.
. . . . . . . . .
. . .
.
. . . . . . . . .
. . . .
.
. .
. . .
.
. . . .
10
Remove Tool Caddy
. . . . .
. . . .
. . . . .
.
. . . .
.
.
. . . . .
. . . . .
. . . . .
10
Shoulder Strap lnstallation and Removal
. . . . . . .
. .
. .
. . . . . .
.
11
Using as a Blower
. . . . . . . .
. . .
.
. . . . . .
.
. . .
. . .
. . . . . . . . .
. .
. .
13
Using with a Power Nozzle
.
.
. . . . .
. .
.
. . . . .
. .
. . . . . . . .
. . . . .
14
Customer Service
. .
.
. . . .
. . . . .
.
. . . . . . . . . . . . . . .
. .
. . .
.
. . .
.
14

GET ACQUAINTED WITH YOUR CAN VAC
1.
Gripper Handle
2. Power Nozzle Outlet
3. Shoulder Strap Connection*
4.
Power Switch
5. Door Release
6. Hose Connection
7.
7
ft. Hose
8.
Carpet Nozzle*
9. Bare Floor Brush*
10. Gripper Handle
11.
Extension Wands*
12. Upholstery Nozzle
13. Dusting Brush*
14. Crevice Tool
15. Rolling Caster Wheel
16. Cord Wrap
17. Easy Glide Wheels
18. Quick Release Cord Clip
19. Blower
20.
Tool Caddy*
*attachments vary per model
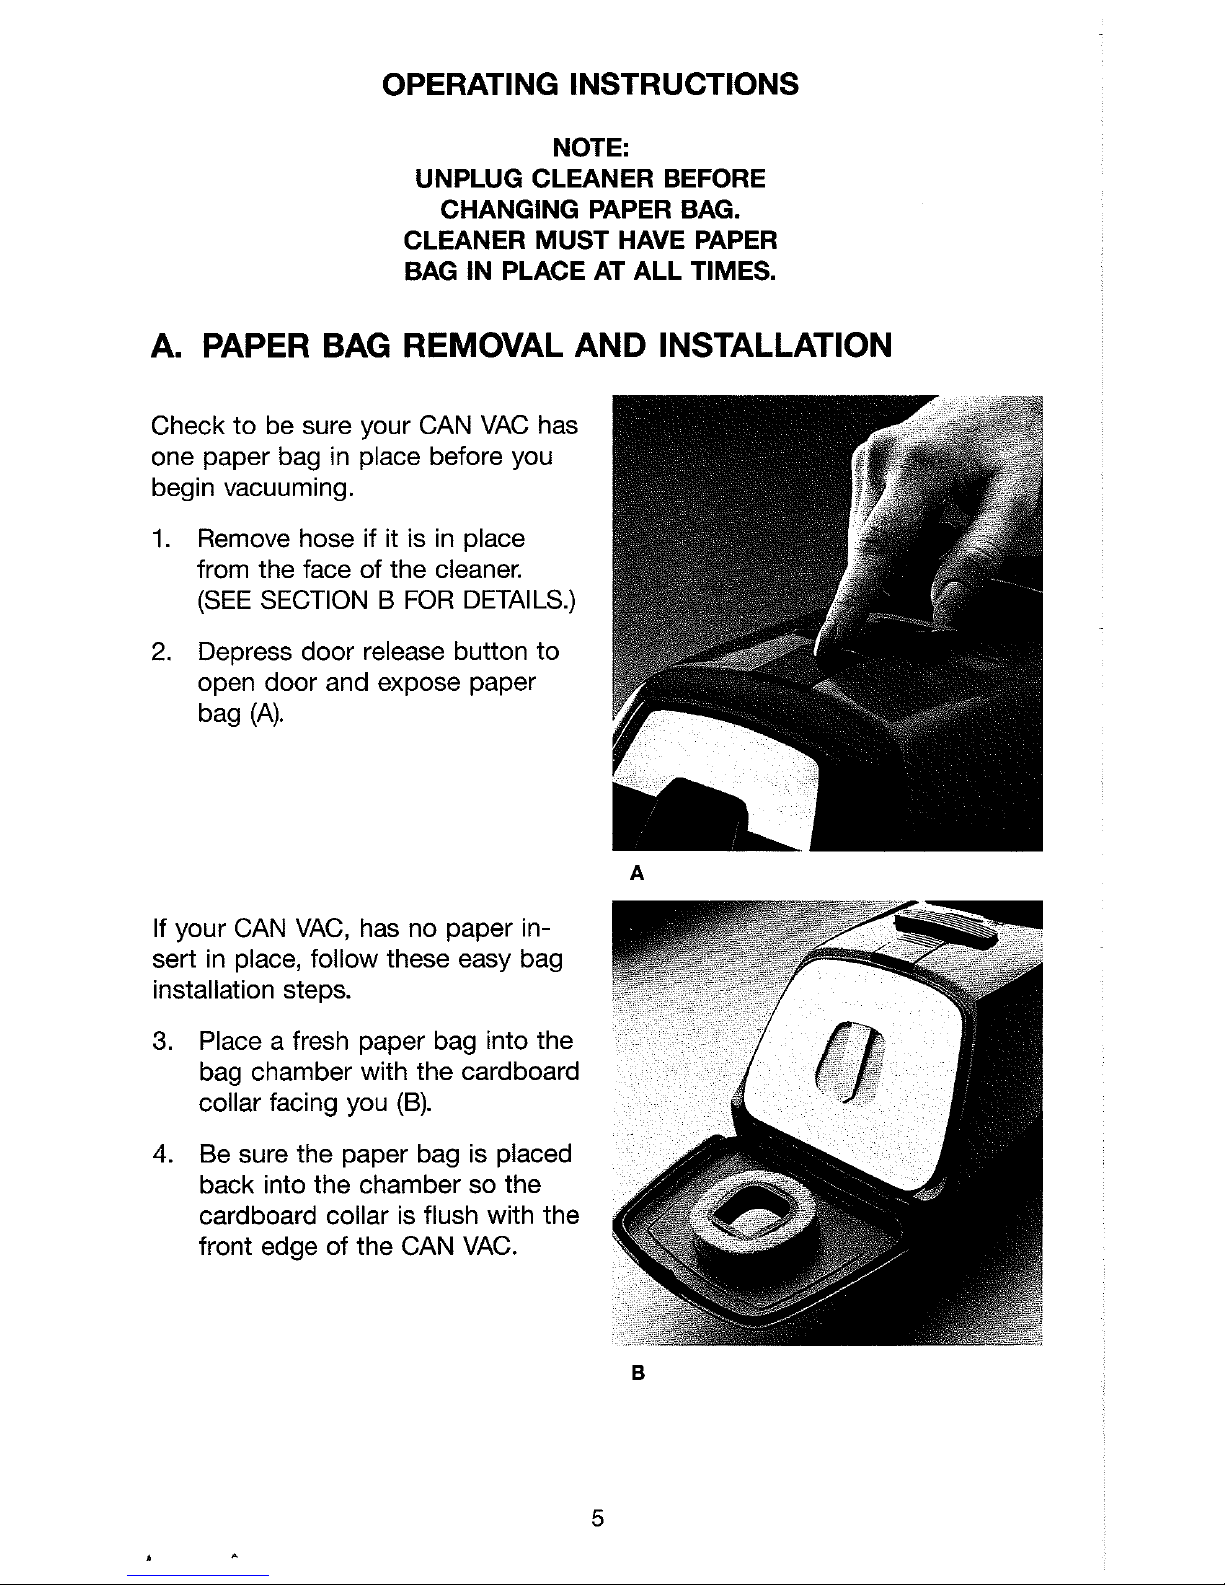
OPERATING INSTRUCTIONS
NOTE:
UNPLUG CLEANER BEFORE
CHANGING PAPER BAG.
CLEANER MUST HAVE PAPER
BAG IN PLACE AT ALL TIMES.
A. PAPER BAG REMOVAL AND INSTALLATION
Check to be sure your CAN VAC has
one paper bag in place before you
begin vacuuming.
1.
Remove hose if it is in place
from the face of the cleaner.
(SEE SECTION
B
FOR DETAILS.)
2.
Depress door release button to
open door and expose paper
bag (A).
If your CAN VAC, has no paper insert in place, follow these easy bag
installation steps.
3.
Place a fresh paper bag into the
bag chamber with the cardboard
collar facing you
(B).
4.
Be sure the paper bag is placed
back into the chamber so the
cardboard collar is flush with the
front edge of the CAN VAC.
5.
Snap the bottom two corners of
the cardboard collar behind the
two clips along the bottom edge
of the chamber. Your new bag is
now secure.
6. Close the door and be sure it
snaps shut tightly.
If your paper bag is full and you'd
like to replace it with a fresh bag,
follow instructions
#I
and
#2
in sec-
tion A and then begin at
#7.
(You
can tell your bag needs replaced
when you experience low performance with the CAN VAC.)
.
c
7.
After removing the hose and
opening the CAN VAC door, simply grasp the cardboard collar
and pull the
full
paper bag to-
ward you (C).
8.
Carry the full bag to a waste receptacle and dispose of it.
You may now follow #3-#6 in section
A
to place a fresh bag in your CAN
VAC.
You may also want to purchase pa-
per bags now so you have them
when you need them. Call your local
Royal vacuum cleaner dealer for
information.
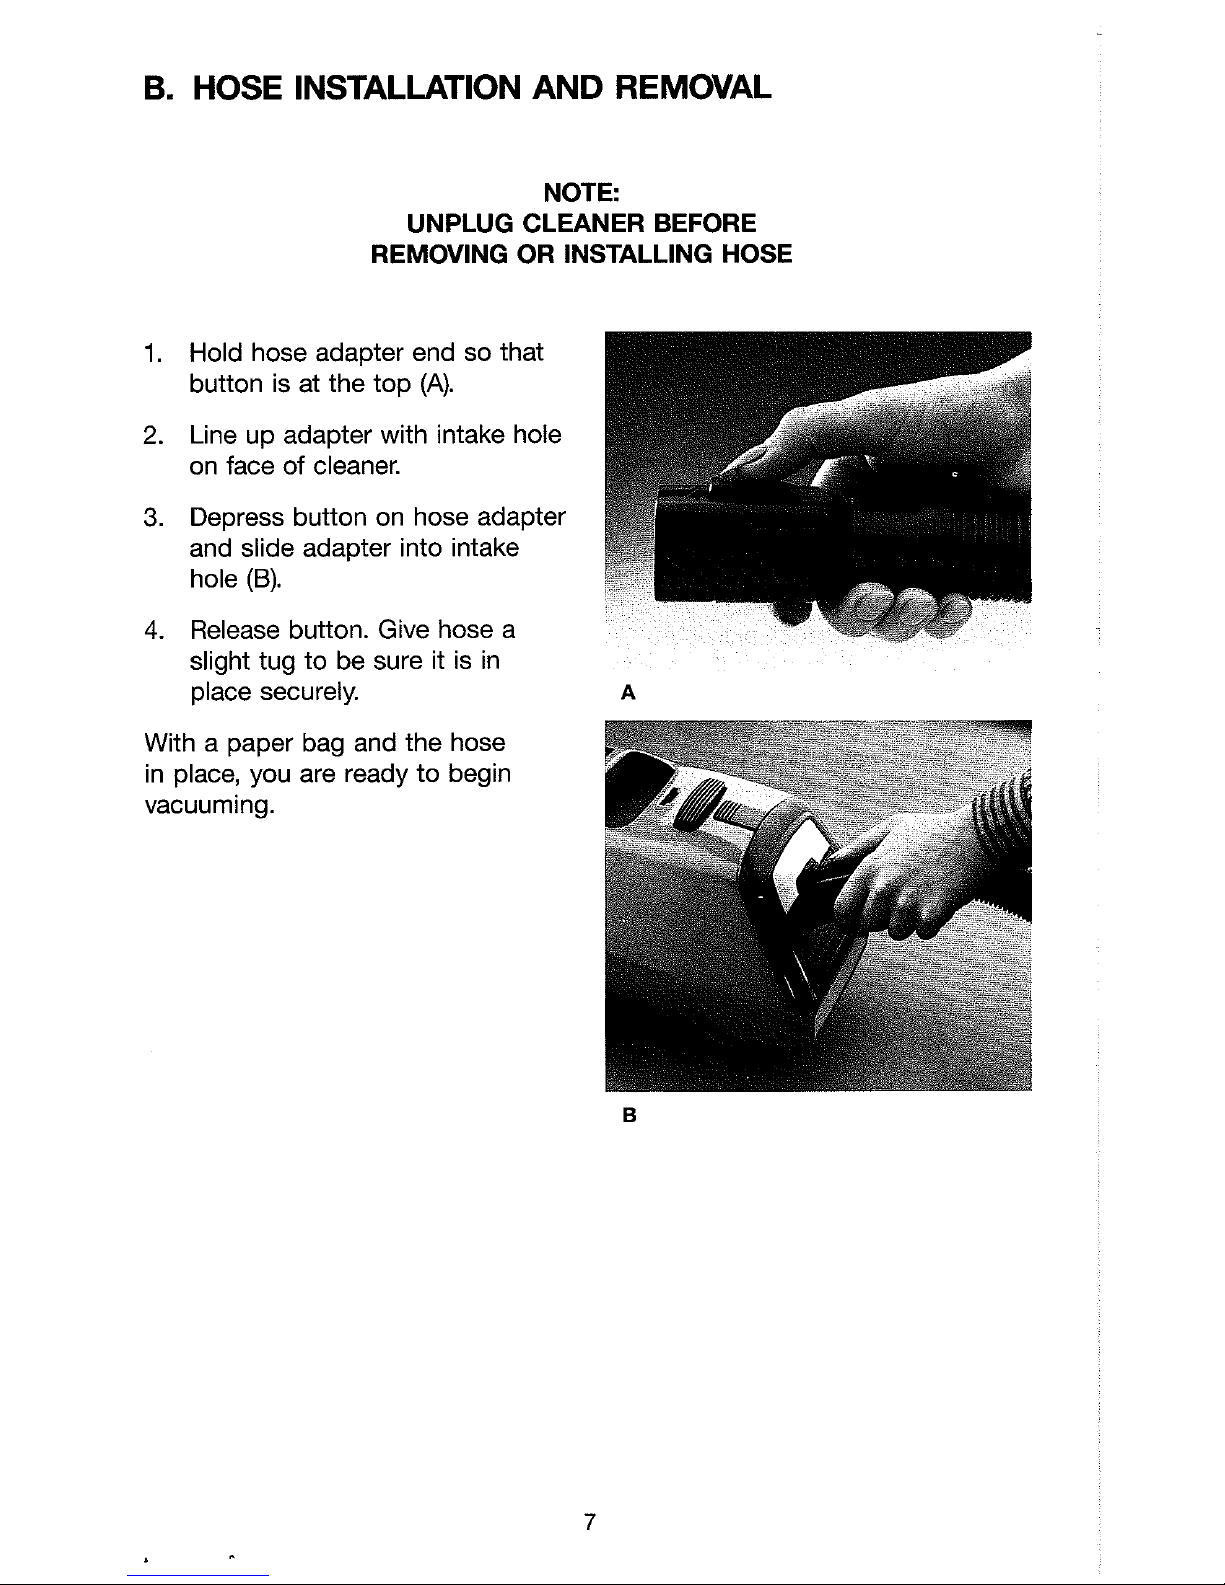
B.
HOSE INSTALLATION AND REMOVAL
NOTE:
UNPLUG CLEANER BEFORE
REMOVING OR INSTALLING HOSE
1.
Hold hose adapter end so that
button is at the top
(A).
2.
Line up adapter with intake hole
on face of cleaner.
3.
Depress button on hose adapter
and slide adapter into intake
hole
(B).
4.
Release button. Give hose a
slight tug to be sure it is in
place securely.
A
With a paper bag and the hose
in place, you are ready to begin
vacuuming.

C. ATTACHMENT INSTALLATION AND REMOVAL
Choose any of the handy accessories to meet your various cleaning needs. Then simply push it
firmly onto the hose or wand end
(A).
To assemble wands, snap to-
gether until pin locks into place.
The hose can be used alone. It
can be used with many combinations of wands and tools. Push the
wand into the hose handle until
the pin locks into place
(B).
To remove the tool, pull apart
gently. You may rotate the attachment back and forth a little to
make the removal easier. To unlock the wand, push pin, rotate
and then pull apart.
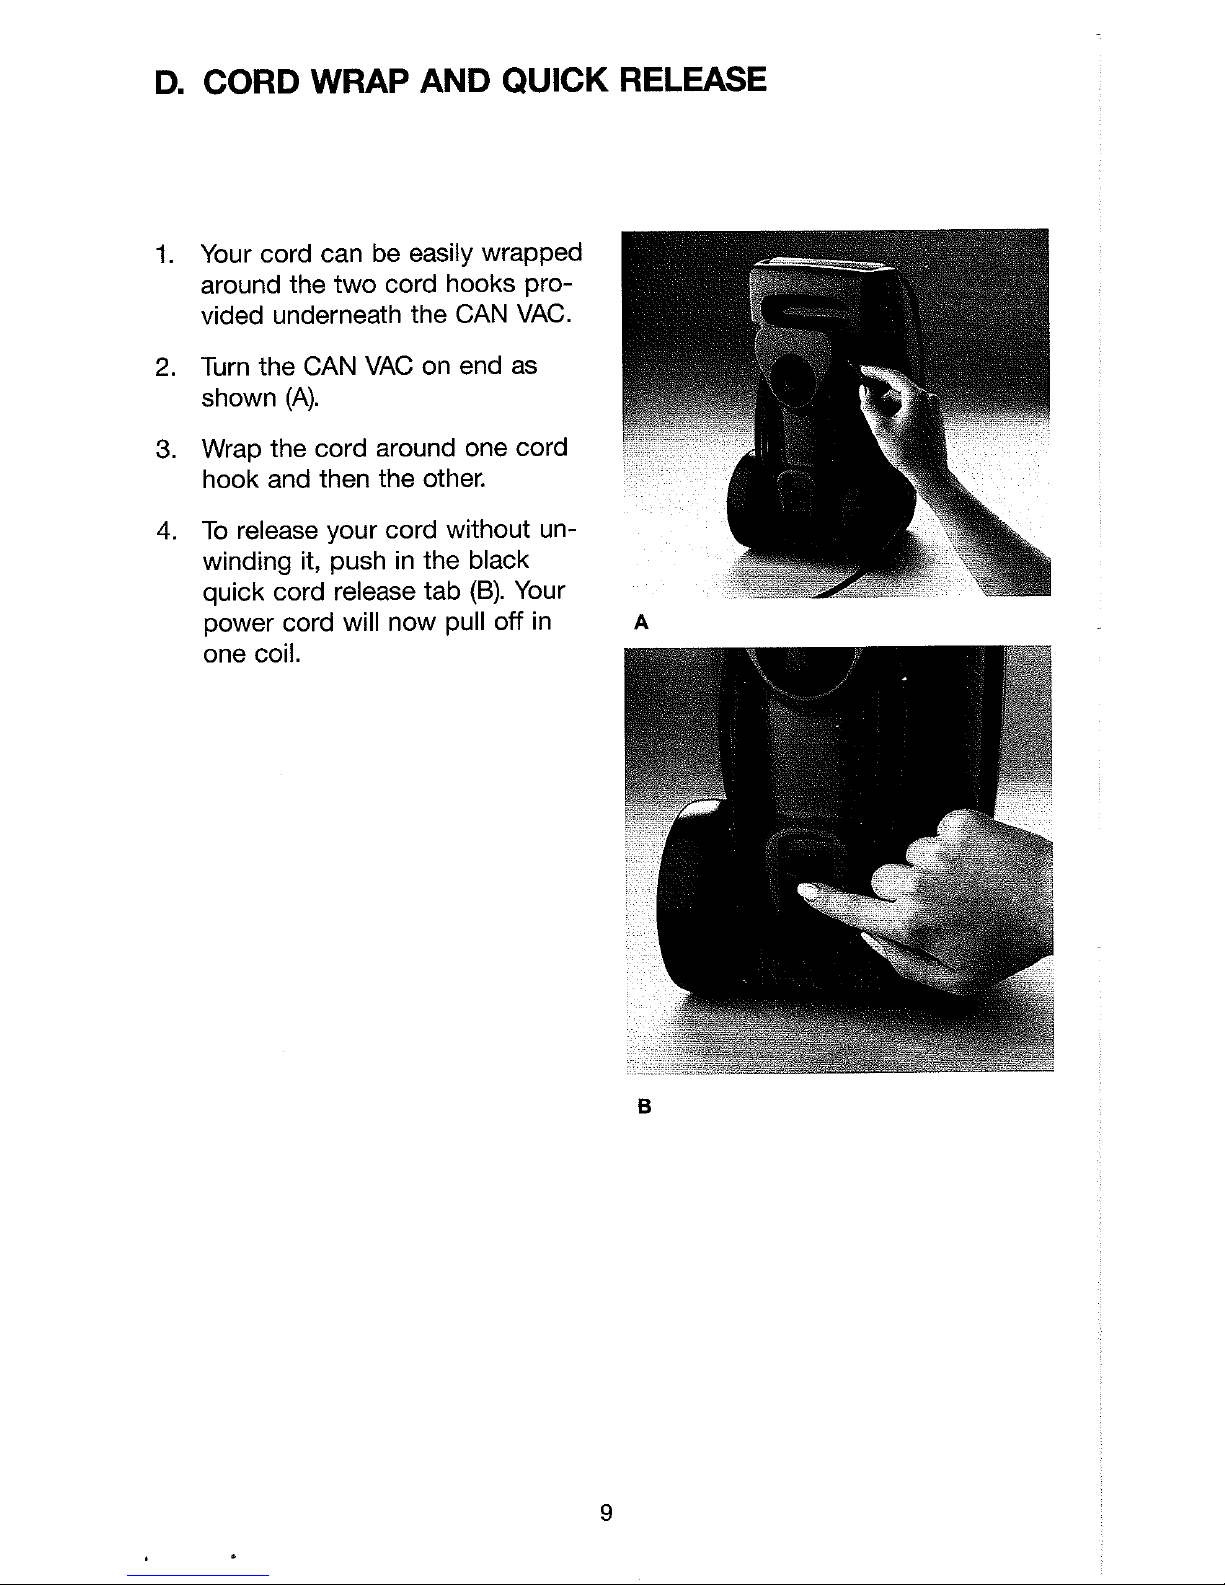
D. CORD WRAP AND QUICK RELEASE
Your cord can be easily wrapped
around the two cord hooks provided underneath the CAN VAC.
Turn the CAN VAC on end as
shown (A).
Wrap the cord around one cord
hook and then the other.
To release your cord without un-
winding it, push in the black
quick cord release tab
(B).
Your
power cord will now pull off in
A
one coil.
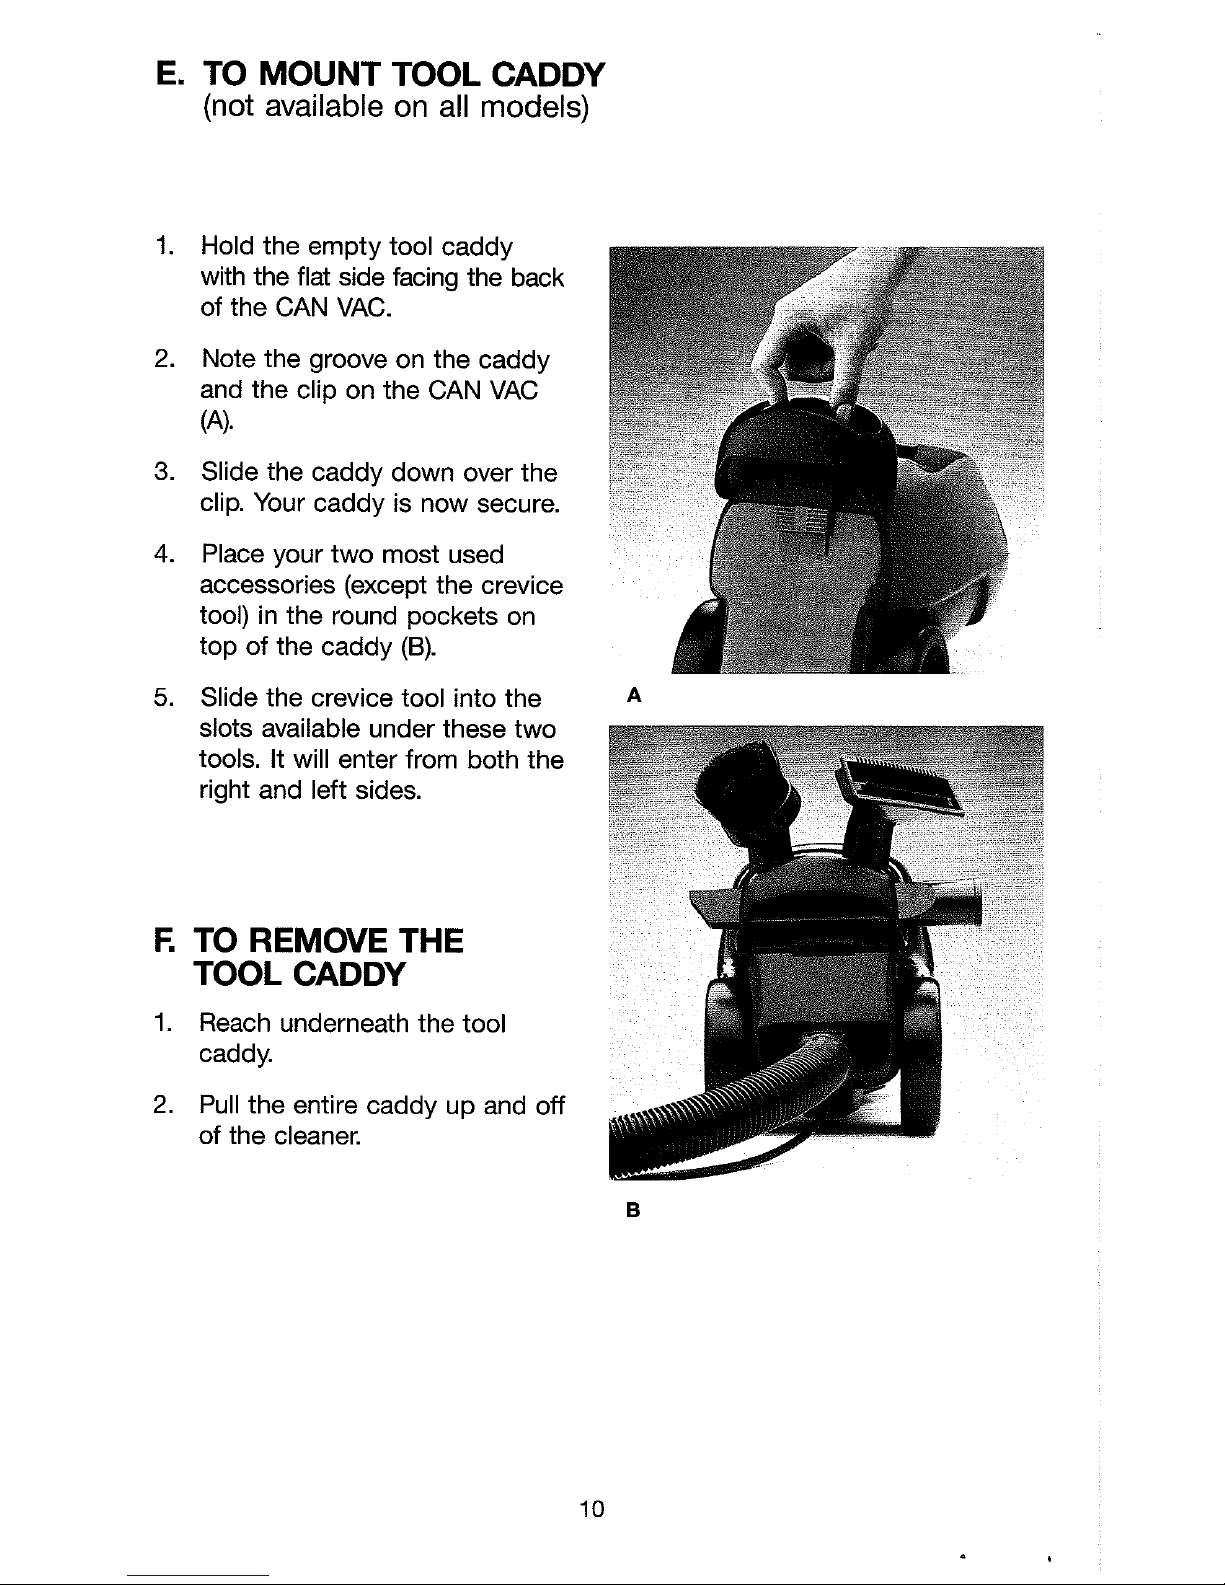
TO MOUNT TOOL
CADDY
(not available on all models)
Hold the empty tool caddy
with the flat side facing the back
of the CAN VAC.
Note the groove on the caddy
and the clip on the CAN VAC
(4.
Slide the caddy down over the
clip. Your caddy is now secure.
Place your two most used
accessories (except the crevice
tool) in the round pockets on
top of the caddy
(B).
Slide the crevice tool into the
slots available under these two
tools. It will enter from both the
right and left sides.
TO REMOVE THE
TOOL
CADDY
Reach underneath the tool
caddy.
Pull the entire caddy up and off
of the cleaner.
 Loading...