

Page 1
Getting the Most from Sample RAM
®ÂØÒňÎ
MV-8000
™
Workshop
© 2005, 2006 Roland Corporation U.S.
All rights reserved. No part of this publication may be reproduced in
any form without the written permission of Roland Corporation U.S.
MVWS08
1
Page 2
About the MV-8000 Workshop Series
Roland’s MV-8000 Production Studio is packed with features for
making music. It’s a heavy-duty sampler that can do all sorts
of things with sounds you sample or import. Its sequencer has
136 tracks for MIDI sequencing and playing back audio, and its
set of editing tools is deep. It’s a great box for performing—
using its pads or an attached MIDI keyboard—and, of course,
it can even burn a CD of your final master mix.
If you’re not, don’t worry, because the VGA windows and LCD
screens are essentially the same. There are clickable VGA icons
for all of the MV-8000’s buttons. You can also press an onscreen
button by clicking your mouse or by pressing an F button on
the MV-8000. The main difference has to do with how you deal
with settings—or “parameters”—and how you select objects.
If you’re using a mouse: If you’re using the MV-8000’s buttons:
Each MV-8000 Workshop Series booklet focuses on one
MV-8000 topic, and is intended as a companion to your
MV-8000 Owner’s Manuals.
This booklet requires MV-8000 O.S. Version 3.5 or higher. You
can download the latest O.S. from www.RolandUS.com.
About This Booklet
As you work on a project, your MV-8000’s sample RAM can fill
up with unwanted stuff, leaving you no room for new samples.
This booklet explains how to reclaim this wasted space by
“optimizing” your project.
The Buttons, the LCD, or a VGA?
On the MV-8000, you can work on the built-in LCD or on an
optional color VGA monitor. You can use the MV-8000’s frontpanel controls, or a mouse on your VGA screen. No matter how
you like to work, there’s an easy way to get things done.
Probably the best idea is to work primarily with a mouse on a
VGA, using the MV-8000’s buttons to quickly get in and out of
MV-8000 screens. The procedures in this booklet typically
assume you’ll be working this way.
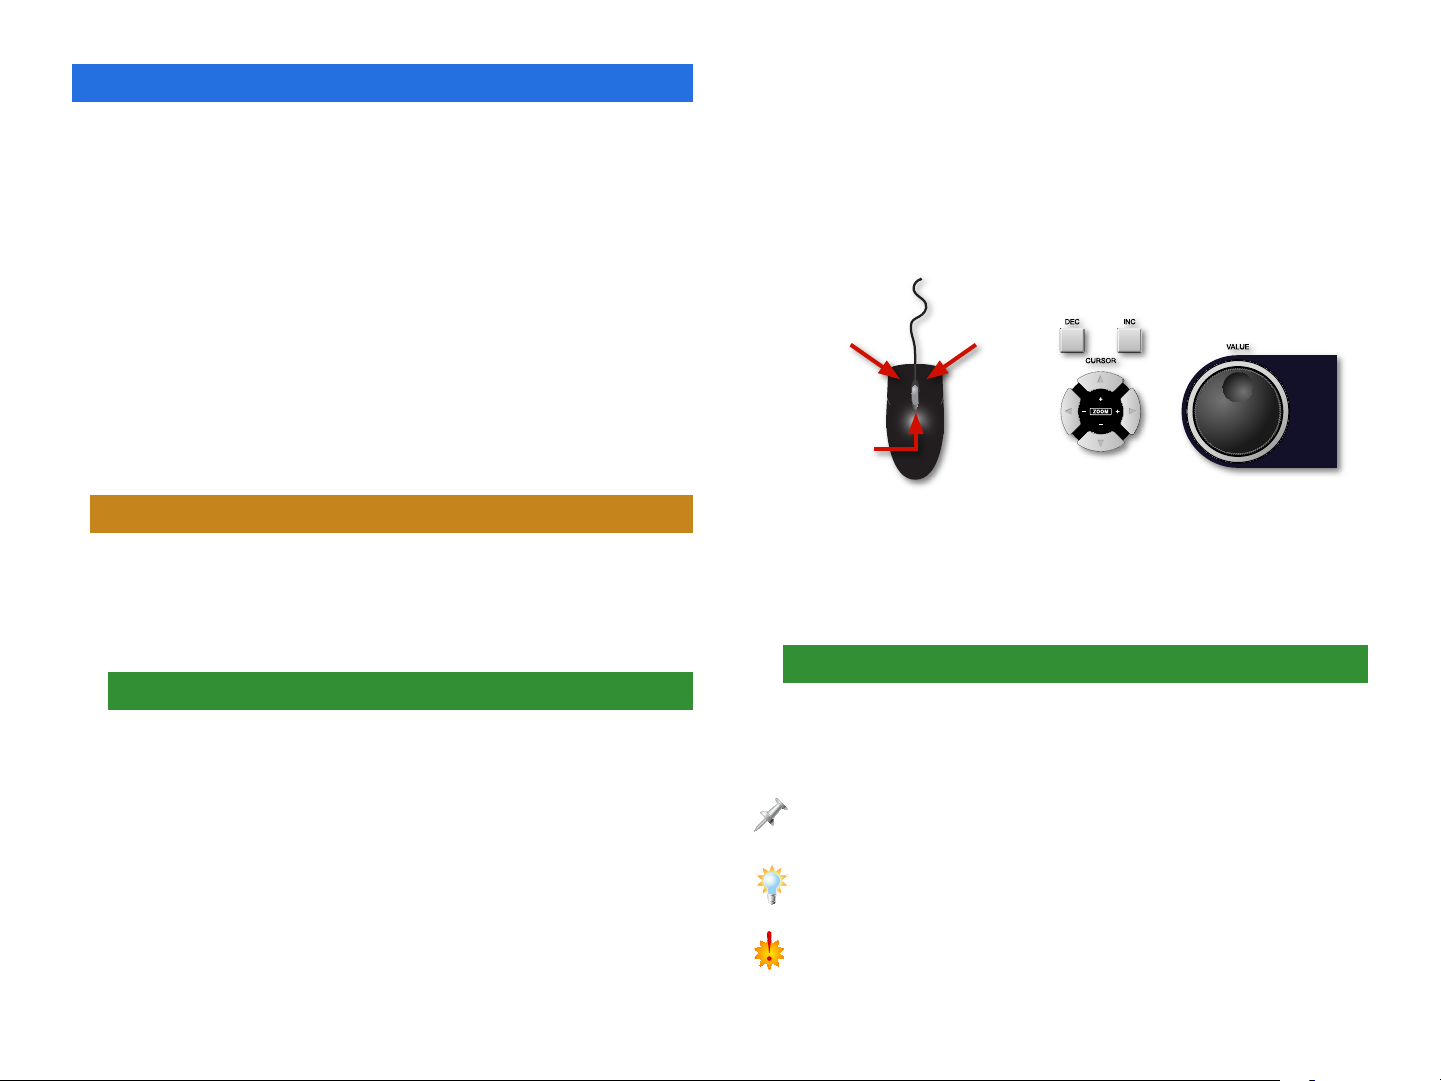
Left click Right click
Scroll
wheel
You select parameters and objects with
a left click. You change the selected
parameter’s value by turning the scroll
wheel. You can display an object’s
menu by right-clicking the object.
You select parameters and objects
with the 3, 4, 5, and 6
CURSOR buttons. Change a selected
parameter’s value by turning the
VALUE dial or by pressing DEC and INC.
Understanding the Symbols in This Booklet
Throughout this booklet, you’ll come across information that
deserves special attention—that’s the reason it’s labeled with
one of the following symbols.
A note is something that adds information about the topic at hand.
A tip offers suggestions for using the feature being discussed.
Warnings contain important information that can help you avoid possible
damage to your equipment, your data, or yourself.
2
Page 3

How Sample RAM Gets Jammed Up
Experimenting with Samples
The MV-8000 ships with a generous 128 MB of sample RAM,
and you can expand it all the way up to 512 MB—see the
MV-8000 Owner’s Manual for details.
To learn more about what sample RAM is, see the MV-8000 Sampling
Workshop booklet.
No matter how much RAM you have, you may find yourself in
a situation like this: you’re only using a few patches or audio
phrases in your project, but you find you’ve run out of room for
new patches or samples. Here’s how this can happen.
Hunting for the Right Patch
To learn how to load patches stored on your hard drive, see the
MV-8000 Loading Patches Workshop booklet.
When you’re searching for the patches
you want to use in a project, each patch
you check out has to be loaded into
the MV-8000 before you can hear it.
When you do this, the patch’s samples
are loaded into sample RAM.
If you decide you don’t want to use a patch, and move on to
the next one you want to check out, the first patch’s samples
remain in sample RAM, taking up space. Try out a bunch of
patches, and you can see how lots of space in sample RAM
gets used up fast.
You can avoid this problem by manually deleting a patch along
with its samples after you’ve checked it out. (We describe how
to do this in detail in the MV-8000 Loading Patches Workshop
booklet.) Of course, it means stopping your patch search over
and over to take care of this housekeeping.
To learn about sampling on the MV-8000, check out the following MV-8000
Workshop booklets: Sampling, Auto Chop, Importing a Sample from CD,
Direc t Recording, Spreading a Sample Across the Pads.
A similar thing can happen if you’re fooling around
with making samples. Even when you decide not
to use a sample, it’s still in sample RAM unless you
stop and delete it.
As with an unwanted patch, you can get rid of each of these
samples, one-by-one. You’d go to the MV-8000’s Sample
Manager in the PROJECT menu, select the sample, click
Command, and use the Delete option. Again, this can take
some time if you’ve got lots of samples to toss.
Edited Copies
Destructive sample editing operations—such as
normalizing, truncating, and so on—offer you
the choice of replacing a sample with the edited
version, or of creating a new, edited copy. If you
make copies of samples during editing, you may
wind up with multiple versions of the same sample,
even though you’re only actually using one.
Wasted Notes
If you load an instrument that has lots of
samples running up and down the pads,
and you’re only playing a few notes, all
of its extra, unplayed samples tag along,
taking up space in sample RAM.
3
Page 4

Sticky Stuff
How to Optimize a Project
Let’s say you start a project one day and
try out a lot of patches, or you make a
lot of samples you decide not to use.
Eventually, you find the sounds you want
and get down to business. At the end of
the day, you save your project.
Here’s the thing: when you save the project, all the unused
stuff gets saved, too. The next time you load the project, all
of this unwanted data gets loaded right alongside the good
stuff. Ba-boom! Suddenly you’re out of room for new patches
or samples.
The Solution: Optimization
The MV-8000 offers a special operation that trims away
everything in sample RAM that you’re not using. It’s called
“optimizing” a project.
Optimization removes:
• samples that belong to patches you’re not using.
• individual samples you’ve made that you’re not using.
• unused copies of samples you’re using.
• samples in patches for notes you’re not playing.
1. Press PROJECT and select Sample Manager
from the PROJECT menu—this opens up the
SAMPLE MANAGER window.
2. Press the MENU button to display the Sample
Manager’s MENU pop-up.
3. Select Optimize and click Select—the MV-8000 displays a
warning to remind you that anything in sample RAM that’s
not currently being used is about to get tossed out.
Optimizing can’t read your mind, so it doesn’t know if you intend to use
something in sample RAM that you’re not using yet. It searches for data
that’s not being used now, and deletes it. Therefore, don’t optimize your
project if you’ve got stuff in sample RAM you may want to use later on. (Of
course, you can always reload discarded patches from your hard drive later
on if you need to.)
4. Click Yes to proceed.
5. When optimization’s complete, save your project by
selecting Save Project from the PROJECT menu.
4
Page 5

The End
We hope you’ve found this workshop helpful. Keep an eye
out for other MV-8000 Workshop booklets, all available for
downloading at www.RolandUS.com.
For the latest MV-8000 updates and support tools, visit the Roland U.S.
Web site at www.RolandUS.com. If you need personal assistance, call our
amazing Product Suppor t team at 323-890-3745.
5
 Loading...