

Ricoh Pro C7100, Pro C7100x, Pro C7110, Pro C7110x User Manual

For safe and correct use, be sure to read the Safety Information in
"Read This First" before using the machine.
For information not in this manual, refer to
the HTML/PDF files on the supplied
CD-ROM.
Information for This Machine
Troubleshooting
Adding Paper and Toner
Web Image Monitor
Print
Getting Started
What You Can Do with This Machine
User Guide


TABLE OF CONTENTS
How to Read the Manuals................................................................................................................................. 4
Symbols Used in the Manuals.......................................................................................................................4
Model-Specific Information............................................................................................................................... 5
Names of Major Features..................................................................................................................................6
1. What You Can Do with This Machine
Searching by What You Want to Do................................................................................................................7
Reducing My Costs........................................................................................................................................ 7
Operating the Machine More Effectively.....................................................................................................8
What You Can Do with This Machine...............................................................................................................9
Customizing the [Home] Screen....................................................................................................................9
Printing Data Using Various Functions........................................................................................................10
Preventing Information Leakage (Security Functions)............................................................................... 11
Monitoring and Setting the Machine Using a Computer......................................................................... 11
Preventing Unauthorized Copying............................................................................................................. 12
2. Getting Started
Guide to Names and Functions of Components............................................................................................15
Guide to Functions of the Attention Light....................................................................................................17
Guide to Functions of the Machine's Options................................................................................................19
Guide to Functions of the Machine's External Options.............................................................................19
Guide to the Names and Functions of the Machine's Control Panel........................................................... 21
Changing the Display Language.................................................................................................................... 24
How to Use the [Top] Screen and the [Home] Screen..................................................................................25
Adding Icons to the [Home] Screen........................................................................................................... 27
Turning On/Off the Power..............................................................................................................................30
Turning On the Main Power........................................................................................................................30
Turning Off the Main Power........................................................................................................................30
Logging In the Machine...................................................................................................................................32
When the Authentication Screen Is Displayed.......................................................................................... 32
User Code Authentication Using the Control Panel.................................................................................. 32
Logging In Using the Control Panel............................................................................................................32
Logging Out Using the Control Panel.........................................................................................................33
3. Print
Quick Install...................................................................................................................................................... 35
1

Displaying the Printer Driver Properties.......................................................................................................... 36
Standard Printing..............................................................................................................................................37
When Using the PCL 6 Printer Driver..........................................................................................................37
Printing on Both Sides of Sheets......................................................................................................................38
When Using the PCL 6 Printer Driver..........................................................................................................38
Types of Two-sided Printing........................................................................................................................ 38
Combining Multiple Pages into Single Page..................................................................................................39
When Using the PCL 6 Printer Driver..........................................................................................................39
Types of Combine Printing.......................................................................................................................... 39
Printing on Envelopes.......................................................................................................................................41
Configuring Envelope Settings Using the Control Panel...........................................................................41
Printing on Envelopes Using the Printer Driver...........................................................................................41
4. Web Image Monitor
Displaying Top Page........................................................................................................................................43
5. Adding Paper and Toner
Loading Paper.................................................................................................................................................. 45
Precautions for Loading Paper....................................................................................................................45
Loading Paper into Tray 1...........................................................................................................................47
Loading Paper into the A3/11 × 17 Tray Unit......................................................................................... 49
Loading Paper into Tray 2...........................................................................................................................50
Loading Paper into the Multi Bypass Tray (Tray A)...................................................................................52
Loading Paper into the Three-tray Wide Large Capacity Tray................................................................54
Loading Paper into the Two-tray Wide Large Capacity Tray.................................................................. 55
Loading Paper into the Interposer.............................................................................................................. 57
Loading Cover Sheets into the Interposer of the Perfect Binder............................................................... 58
Loading Orientation-fixed Paper or Two-sided Paper..............................................................................60
Recommended Paper.......................................................................................................................................62
Recommended Paper Sizes and Types......................................................................................................62
Registering a Custom Paper............................................................................................................................ 87
Selecting the Paper's Name from the Paper Library................................................................................. 87
Registering a Paper Whose Paper Name Is Not Displayed in the Paper Library.................................. 88
Registering a New Custom Paper by Modifying an Existing Paper........................................................ 91
Adding Toner....................................................................................................................................................94
2
Disposing of Used Toner............................................................................................................................. 95
Menu Items and Functions...............................................................................................................................97
6. Troubleshooting
When a Status Icon Is Displayed..................................................................................................................101
When the Indicator Lamp for the [Check Status] Key Is Lit or Flashing..................................................... 102
When the Machine Makes a Beeping Sound.............................................................................................104
When You Have Problems Operating the Machine...................................................................................105
Messages Displayed When You Use the Printer Function..........................................................................112
Messages Displayed on the Control Panel When You Use the Printer Function..................................112
Messages Printed on the Error Logs or Reports When You Use the Printer Function...........................115
When Other Messages Appear...................................................................................................................126
When the Home Screen Cannot Be Edited.............................................................................................127
When Problems Occur While Logging In............................................................................................... 127
When the User Lacks Privileges to Perform an Operation..................................................................... 127
7. Information for This Machine
Information on Environmental Regulations.................................................................................................. 129
ENERGY STAR Program........................................................................................................................... 129
Energy Saving Functions...........................................................................................................................129
User Information on Electrical and Electronic Equipment (mainly Europe)...................... 131
Note for the Battery and/or Accumulator Symbol (For EU Countries Only) (mainly
Europe).......................................................................................................................................................132
Environmental Advice for Users (mainly Europe)............................................................... 132
Notes to Users in the State of California (Notes to Users in USA) (mainly North America)...
.................................................................................................................................................................... 133
INDEX...........................................................................................................................................................135
3
How to Read the Manuals
Symbols Used in the Manuals
This manual uses the following symbols:
Indicates points to pay attention to when using the machine, and explanations of likely causes of paper
misfeeds, damage to originals, or loss of data. Be sure to read these explanations.
Indicates supplementary explanations of the machine's functions, and instructions on resolving user
errors.
This symbol is located at the end of sections. It indicates where you can find further relevant information.
[ ]
Indicates the names of keys on the machine's display or control panels.
(mainly Europe and Asia), (mainly Europe), or (mainly Asia)
(mainly North America)
Differences in the functions of Region A and Region B models are indicated by two symbols. Read the
information indicated by the symbol that corresponds to the region of the model you are using. For
details about which symbol corresponds to the model you are using, see page 5 "Model-Specific
Information".
4
Model-Specific Information
DER002
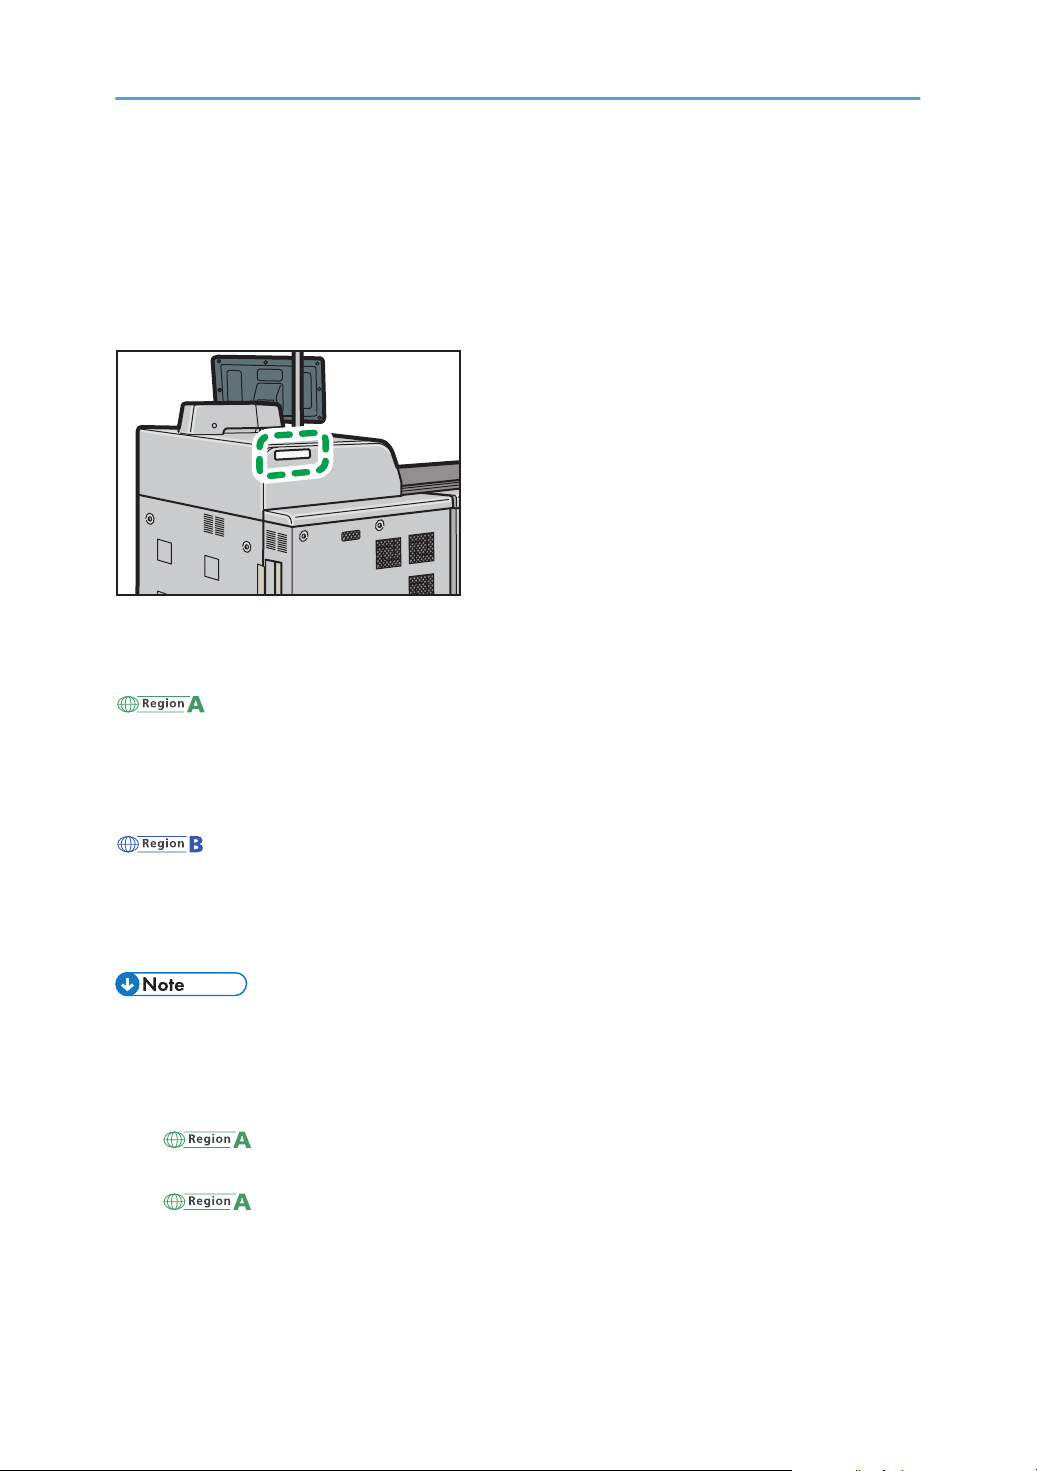
This section explains how you can identify the region your machine belongs to.
There is a label on the rear of the machine, located in the position shown below. The label contains
details that identify the region your machine belongs to. Read the label.
The following information is region-specific. Read the information under the symbol that corresponds to
the region of your machine.
(mainly Europe and Asia)
If the label contains the following, your machine is a Region A model:
• CODE XXXX -27, -29, -67
• 220–240 V
(mainly North America)
If the label contains the following, your machine is a Region B model:
• CODE XXXX -17, -57
• 208–240 V
• Dimensions in this manual are given in two units of measure: metric and inch. If your machine is a
Region A model, refer to the metric units. If your machine is a Region B model, refer to the inch
units.
• If your machine is a Region A model and "CODE XXXX -27, -67" is printed on the label, see
" (mainly Europe)" also.
• If your machine is a Region A model and "CODE XXXX -29" is printed on the label, see
" (mainly Asia)" also.
5

Names of Major Features
In this manual, major features of the machine are referred to as follows:
• Auto Document Feeder ADF
• Multi Bypass Tray BY5010 Multi bypass tray (Tray A)
• Wide Large Capacity Tray Wide LCT (in this manual, "wide LCT" refers to the three-tray wide
LCT and the two-tray wide LCT)
• LCIT RT5090 Three-tray wide Large Capacity Tray (Three-tray wide LCT)
• Vacuum Feed LCIT RT5100 Two-tray wide Large Capacity Tray (Two-tray wide LCT)
• Multi-Folding Unit FD5020 Multi-folding unit
• Decurl Unit DU5040 Decurl unit
• Buffer Pass Unit Type S3 Buffer pass unit
• Ring Binder RB5020 Ring binder
• High Capacity Stacker SK5030 High capacity stacker
• Trimmer Unit TR5040 Trimmer
• Cover Interposer Tray CI5030 Interposer
• Perfect Binder GB5010 Perfect binder
• Tab Sheet Holder Type 3260 Tab sheet holder
6

1. What You Can Do with This Machine
BRL059S
You can search for a description by what you want to do.
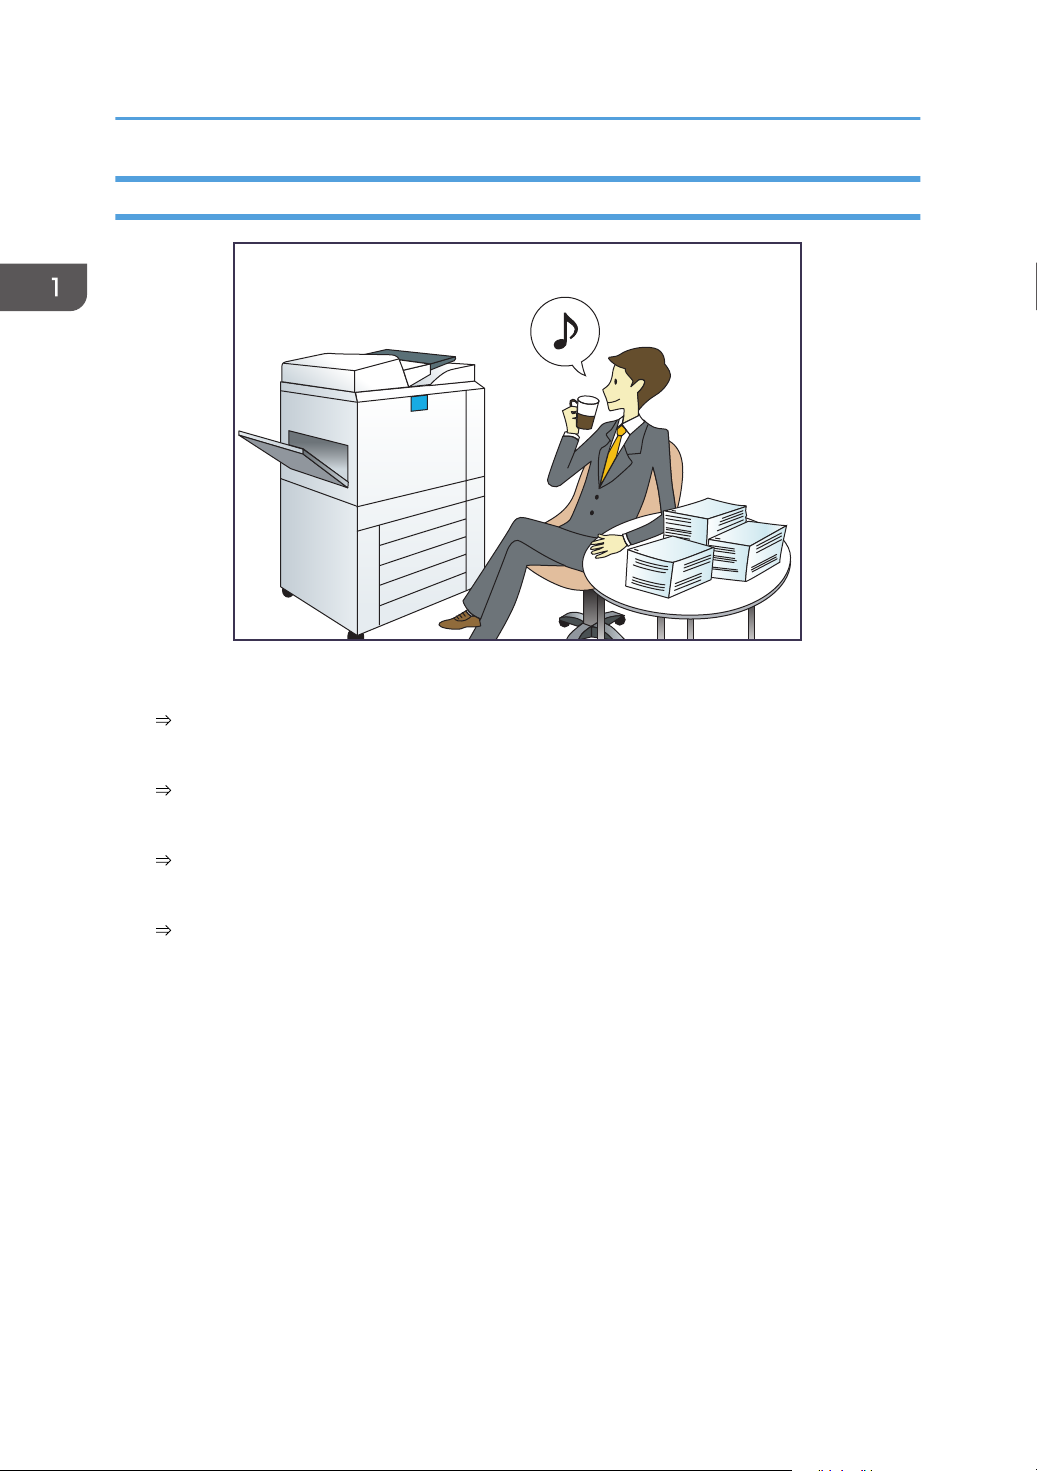
Searching by What You Want to Do
You can search for a procedure by what you want to do.
Reducing My Costs
Checking how much paper is saved ([Information] screen)
See "How to Use the [Information] Screen", Getting Started.
Reducing electricity consumption
See "Saving Energy", Getting Started.
7
BQX139S
1. What You Can Do with This Machine
Operating the Machine More Effectively
Registering frequently-used printing settings to the printer driver
See "Using One Click Presets", Print.
Changing the initial settings of the printer driver to frequently-used printing settings
See "Displaying the Printing Preferences Dialog Box", Print.
Adding the function and shortcut icons
See "Adding Icons to the [Home] Screen", Convenient Functions.
Changing the order of the function and shortcut icons
See "Changing the Order of Icons on the [Home] Screen", Convenient Functions.
8
DER151
What You Can Do with This Machine
What You Can Do with This Machine
This section describes the features of this machine.
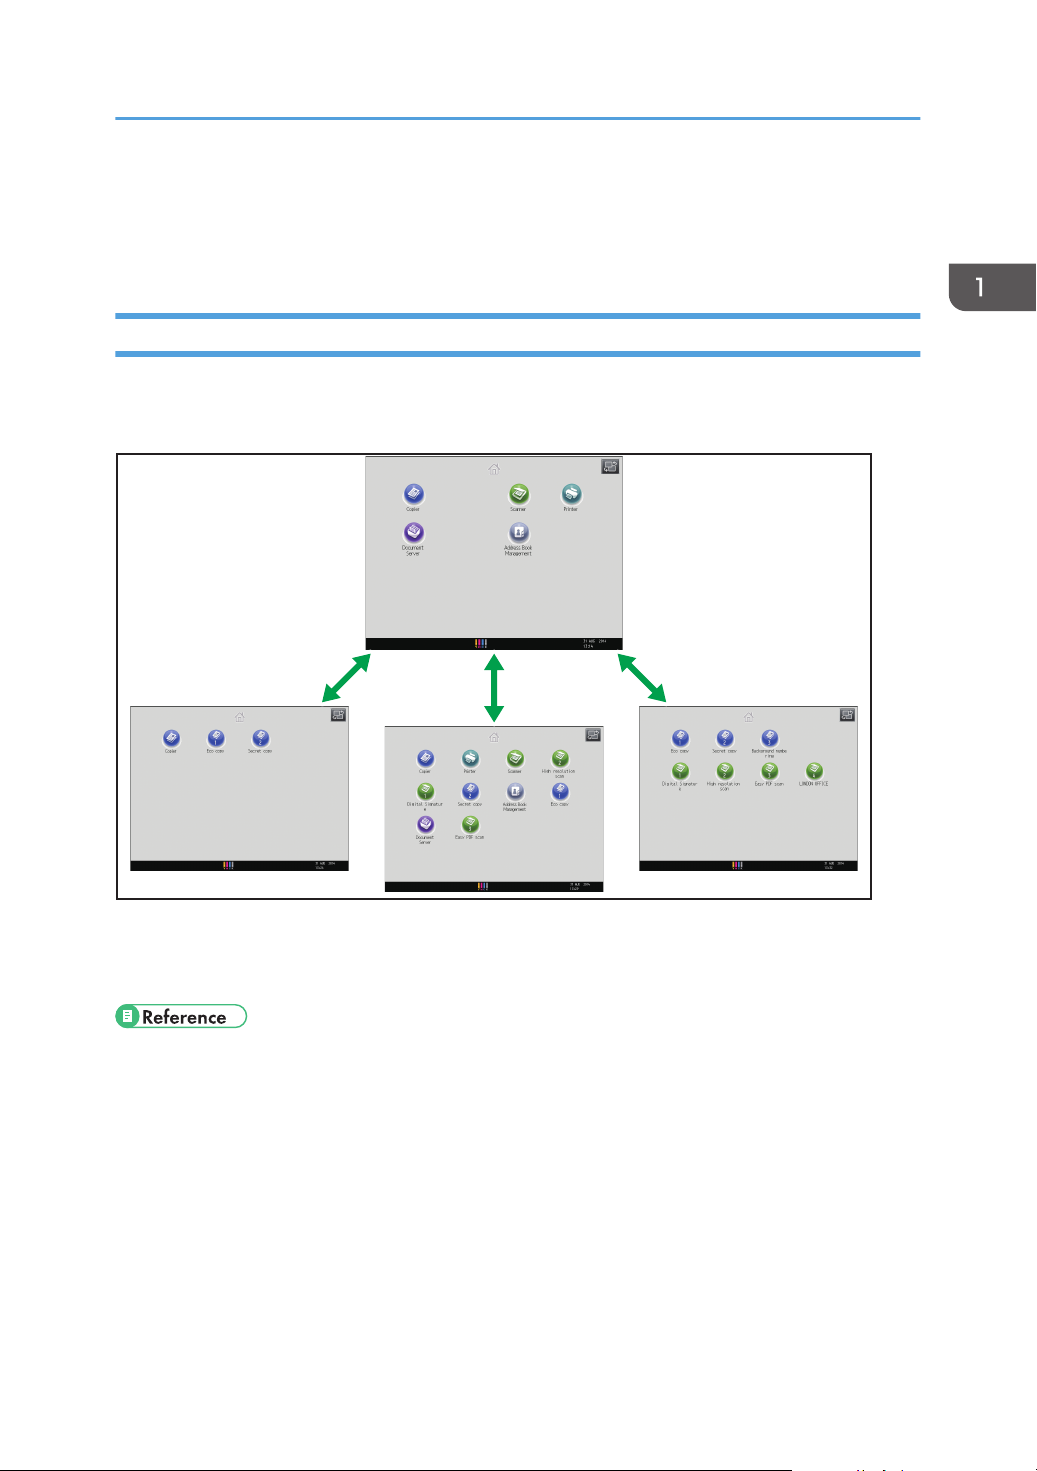
Customizing the [Home] Screen
The icons of each function are displayed on the [Home] screen.
The contents displayed on the following screens differ depending on the machine.
• You can display only the icons of functions and shortcuts that you use.
• You can change the order of the function and shortcut icons.
• For details about the features on the [Home] screen, see "How to Use the [Top] Screen and the
[Home] Screen", Getting Started.
• For details about how to customize the [Home] screen, see "Types of [Home] Screens and How to
Customize Them", Convenient Functions.
9
CWW103
1. What You Can Do with This Machine
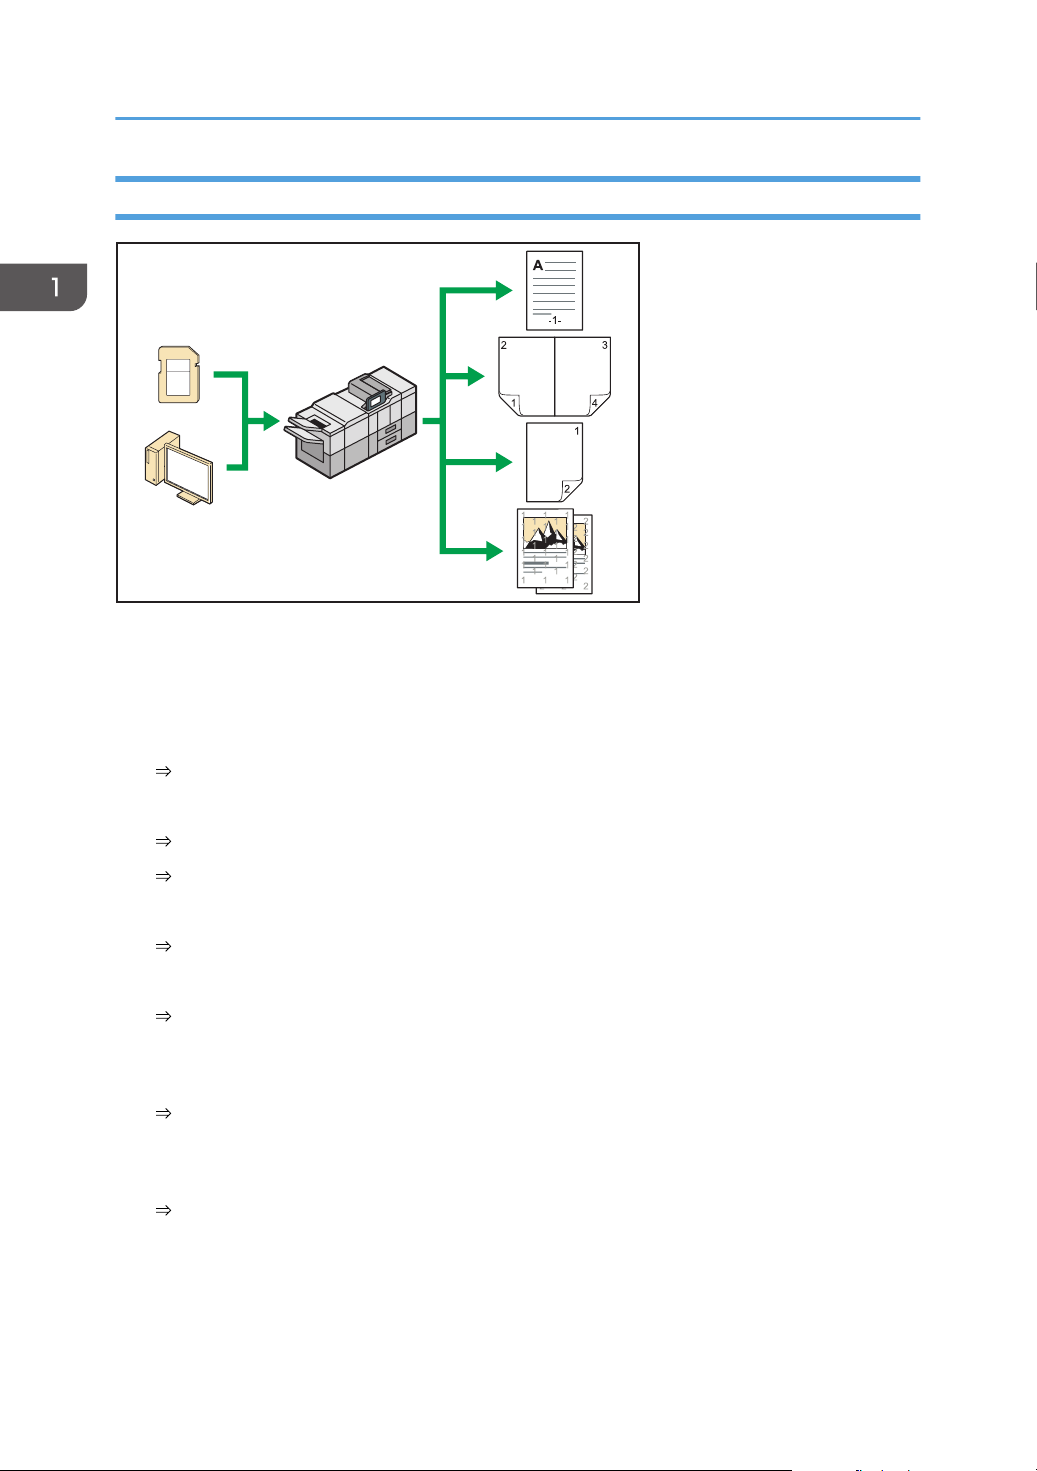
Printing Data Using Various Functions
• This machine supports network and local connections.
• You can print or delete print jobs stored on the machine's hard disk, which have been previously
sent from computers using the printer driver. The following types of print jobs can be selected:
Sample Print, Locked Print, Hold Print, and Stored Print.
See "Storing Documents in the Hard Disk Drive and Printing Them", Print.
• The finisher allows you to staple and punch holes in your prints.
For details about stapling, see "Staple", Print.
For details about punching, see "Punch", Print.
• The multi-folding unit allows you to fold your prints.
For details about multi-folding, see "Fold", Print.
• The ring binder allows you to bind your prints with a ring comb.
See "Ring Binding", Print.
• The perfect binder allows you to apply adhesive to the spine of gathered pages to bind them in a
booklet.
See "Perfect Binding", Print.
• You can print files stored on a removable memory device and specify print conditions such as print
quality and print size.
See "Direct Printing from a Memory Storage Device", Print.
10

CWW108
CWW110
What You Can Do with This Machine
Preventing Information Leakage (Security Functions)
• You can protect documents from unauthorized access and stop them from being copied without
permission.
• You can control the use of the machine, as well as prevent machine settings from being changed
without authorization.
• By setting passwords, you can prevent unauthorized access via the network.
• You can erase or encrypt the data on the hard disk to minimize the risk of information leakage.
• You can limit the usage of functions for each user.
• See Security Guide.
Monitoring and Setting the Machine Using a Computer
Using Web Image Monitor, you can check the machine's status and change the settings.
11
DER153
1. What You Can Do with This Machine
You can check which tray is running out of paper, register information in the Address Book, specify the
network settings, configure and change the system settings, manage jobs, print the job history, and
configure the authentication settings.
• See "Using Web Image Monitor", Connecting the Machine/ System Settings.
• See Web Image Monitor Help.
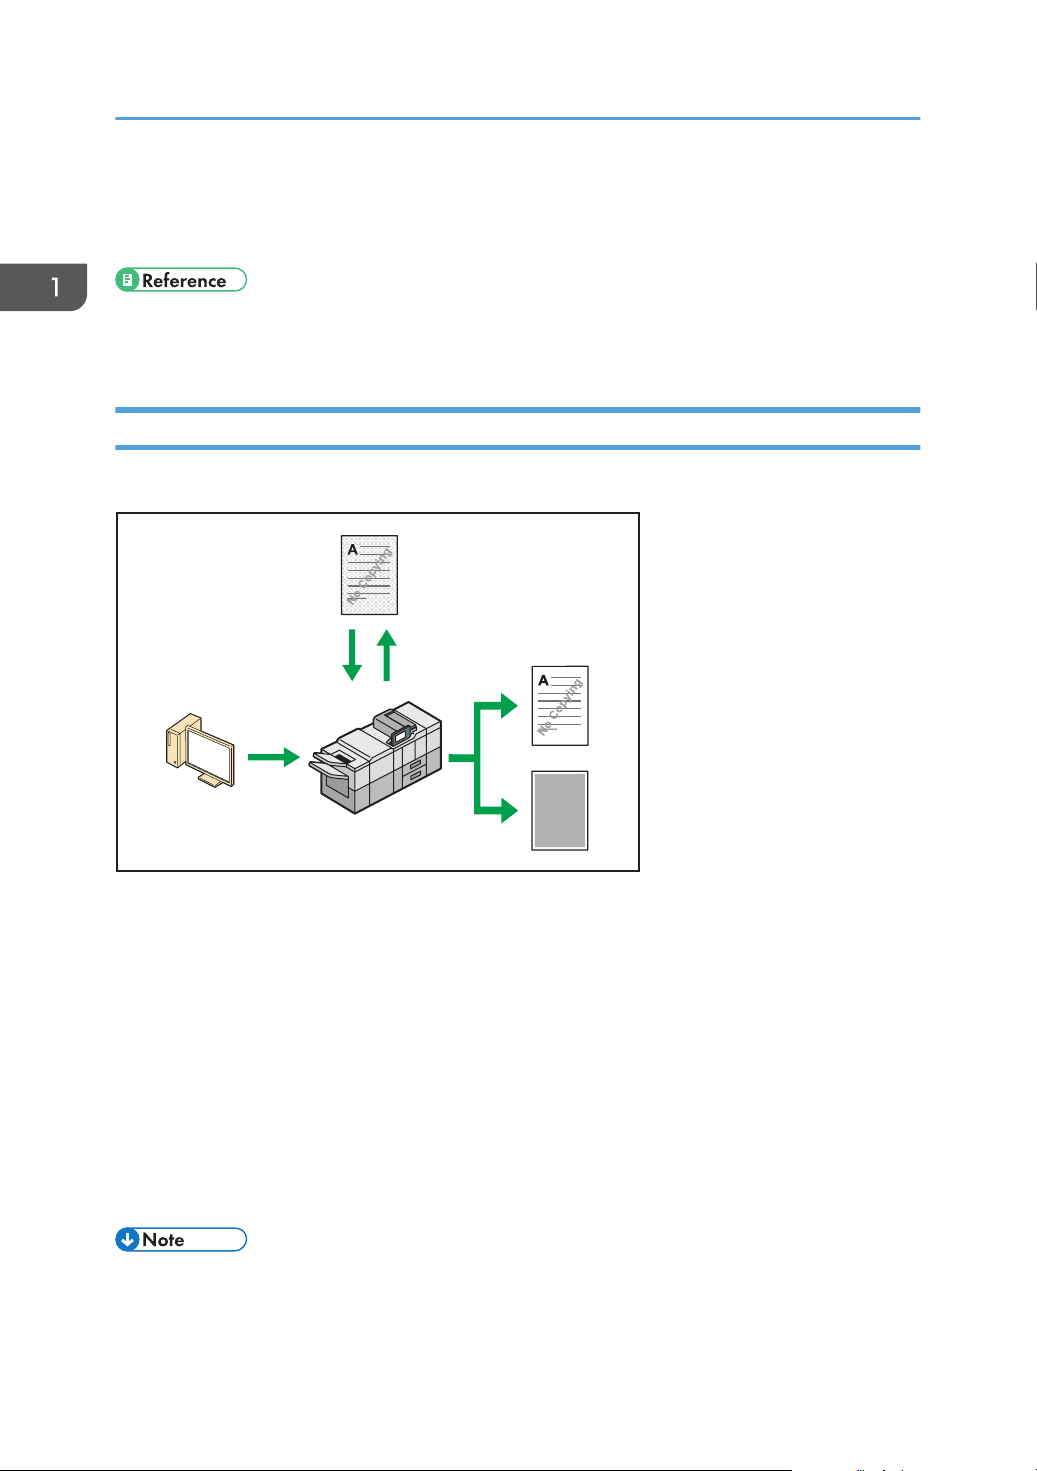
Preventing Unauthorized Copying
You can print embedded patterns on printouts to prevent unauthorized copying.
12
• Using the printer driver, you can embed a pattern in the printed document. If the document is
copied on a machine with the Copy Data Security unit, protected pages are grayed out in the
copy. This can minimize the risk of confidential information being copied. If a document protected
by unauthorized copy guard is copied on a machine that is equipped with the Copy Data Security
unit, the machine beeps to notify users that unauthorized copying is being attempted.
If the document is copied on a machine without the Copy Data Security Unit, the hidden text
becomes conspicuous in the copy, showing that the copy is unauthorized.
• Using the printer driver, you can embed text in the printed document for unauthorized copy
prevention. If the document is copied, scanned, or stored in a Document Server by a copier or
multifunction printer, the embedded text appears conspicuous in the copy, discouraging such
unauthorized copying.
• For details, see the printer driver Help and Security Guide.

What You Can Do with This Machine
• For details about this function in the printer mode, see "Printing Documents That Are Not Authorized
for Duplication", Print.
13

1. What You Can Do with This Machine
14

2. Getting Started
DER006
4
5
6
7
8
23
1
This chapter describes how to start using this machine.
Guide to Names and Functions of Components
• Do not obstruct the machine's vents. Doing so risks fire caused by overheated internal
components.
Front and left view
1. Main power switch
To operate the machine, the main power switch must be on. If it is off, open the main power switch's cover and
turn the switch on.
2. Front left cover
Open to remove paper jams or turn on/off the AC power switch.
15

1
DER007
2. Getting Started
3. Control panel
See page 21 "Guide to the Names and Functions of the Machine's Control Panel".
4. Front upper right cover
Open to change toner cartridges.
5. Front right cover
Open to remove paper jams.
6. Paper trays (Trays 1–2)
Load paper here. Tray 1 is a tandem tray where paper on the left side automatically moves to the right when
paper there has run out.
An indicator on the front left side of the tray lights while paper is feeding.
7. Front lower left cover
Open to replace the waste toner bottle.
8. AC power switch
Press to completely turn off the power of the machine. The AC power switch must be kept on in normal use.
The switch is inside the front left cover. For details, see "Dos and Don'ts", Maintenance and Specifications.
Front and right view
16
1. Attention light
DER008
2
1
1
1
1
See page 17 "Guide to Functions of the Attention Light".
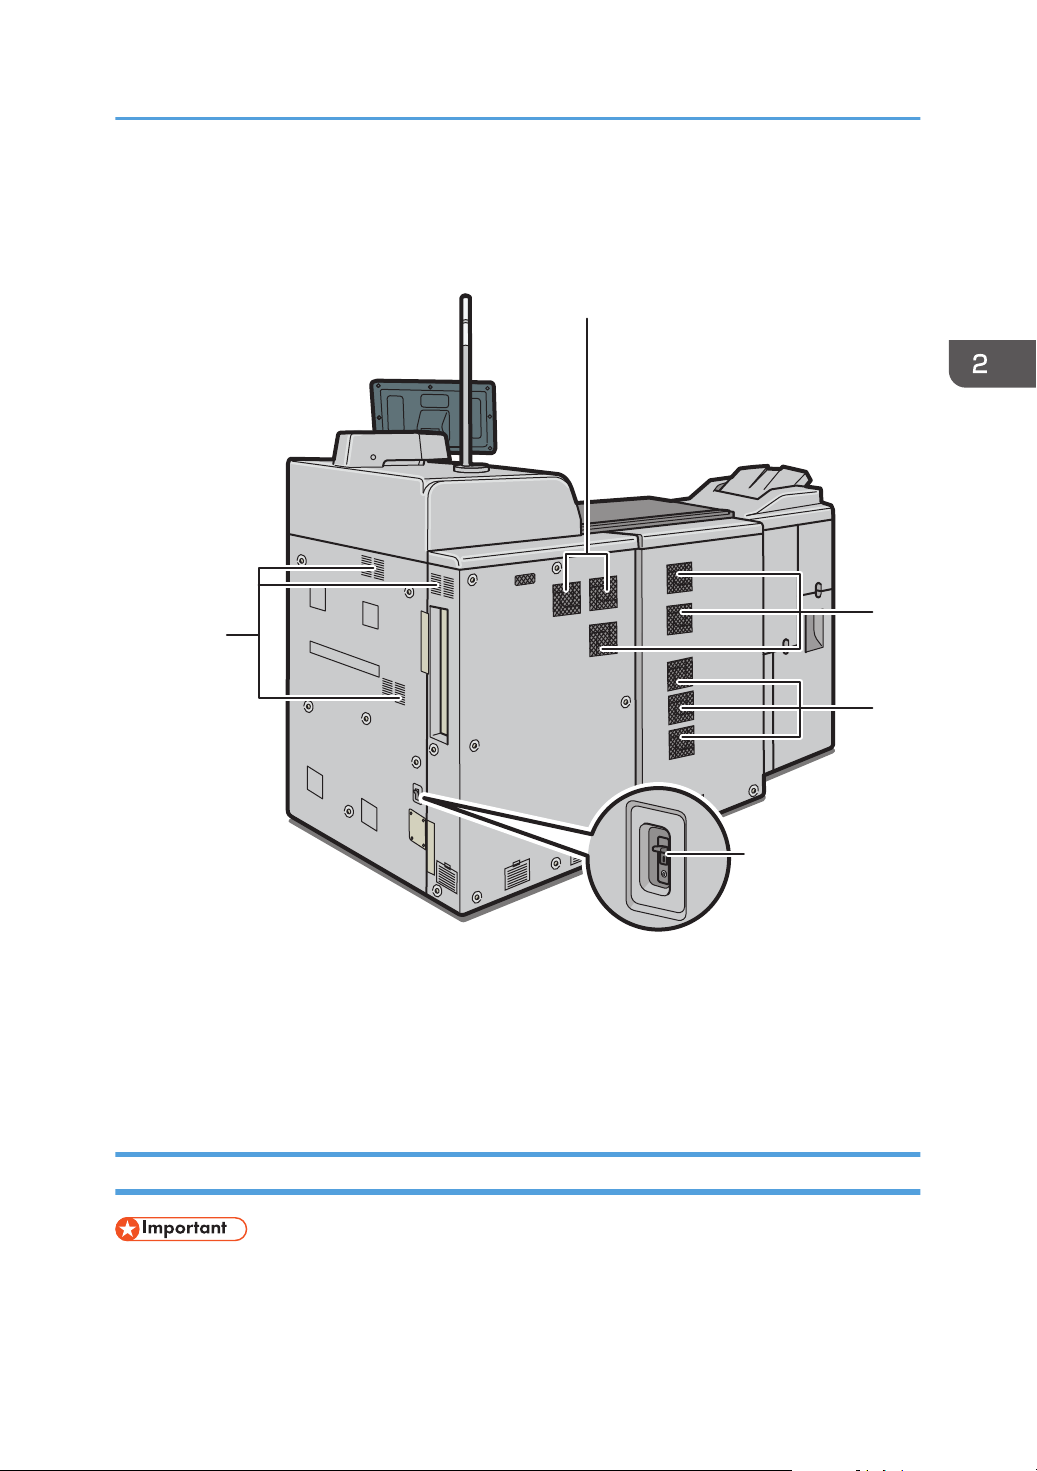
Rear and right view
Guide to Names and Functions of Components
1. Vents
Prevent overheating.
2. Earth leakage breaker
Protects users from electric shock. For details about checking the earth leakage breaker, see "Checking the
Earth Leakage Breakers", Maintenance and Specifications.
Guide to Functions of the Attention Light
• Do not push or pull the attention light when installed to the machine. Doing so may result in
damage or malfunction of the attention light or the machine.
17
CUV121
2. Getting Started
The attention light notifies the user by light when there is a paper jam or no paper is left.
The colors of the lamp and their meanings are as follows:
Lamp Status
The bottom lamp lights blue. Printing
The bottom lamp flashes blue. Data in
The top lamp lights red. Error occurred
(Example)
• When the service call message appears
• Paper jam
• Out of paper
• Out of toner
• Memory overflow
Read the message on the display panel, and then
take appropriate action. For details, see "When
Messages Appear", Troubleshooting.
The top lamp flashes yellow. Warning
(Example)
• Toner has nearly run out.
• Waste toner bottle is nearly full.
Read the message on the display panel, and then
take appropriate action. For details, see "When
Messages Appear", Troubleshooting.
18
1435768
2
151413
10
12
9
1616 17
18
DER010
11
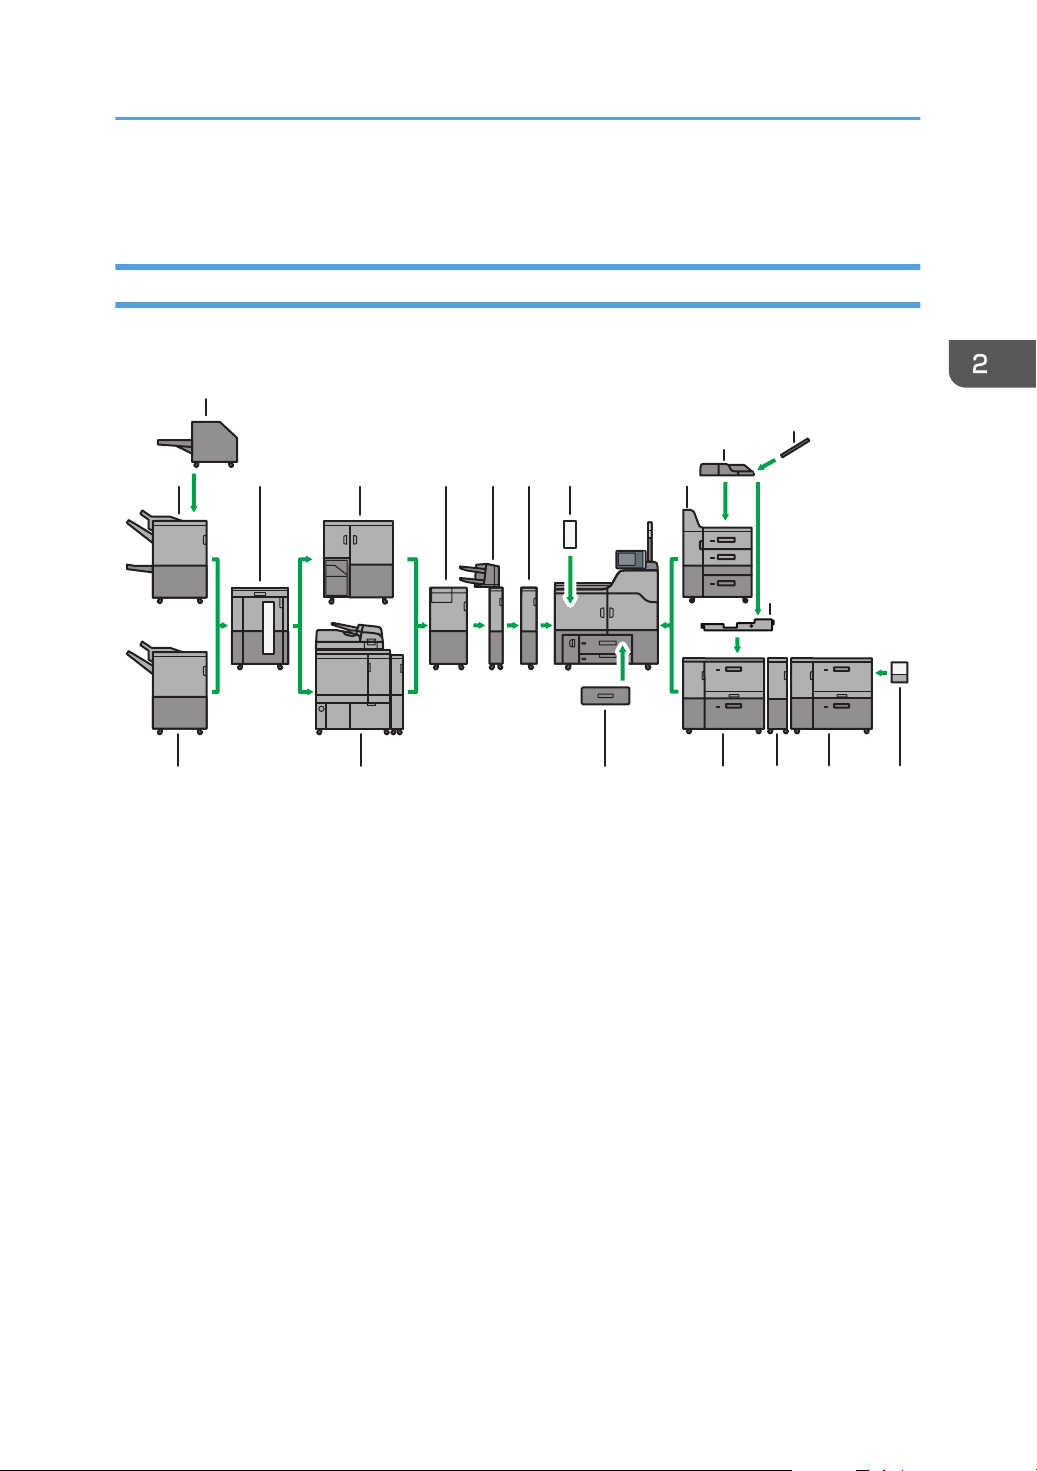
Guide to Functions of the Machine's Options
Guide to Functions of the Machine's Options
Guide to Functions of the Machine's External Options
1. Booklet Finisher SR5060
Sorts, stacks, and staples multiple sheets of paper. The saddle stitch function can staple multiple sheets of
paper in the center and fold them into booklets. Consists of the following paper trays:
• Finisher upper tray
• Finisher shift tray
• Finisher booklet tray
Prints can be punched if the optional punch unit is installed on the finisher.
2. Trimmer
Cuts the fore edge of the book block after the book block is saddle stitched.
3. High capacity stacker
Consists of the following paper trays:
• Stacker upper tray
• Stacker tray
The stacker upper tray can hold up to 250 sheets of paper, and stacker tray can hold up to 5,000 sheets of
paper. You can connect up to two high capacity stackers.
4. Ring binder
Binds sheets of paper with a ring comb.
19

2. Getting Started
5. Multi-folding unit
Applies the following folds: Half Fold, Letter Fold-out, Letter Fold-in, Double Parallel Fold, Gate Fold, and Zfold.
6. Interposer
Inserts cover or slip sheets into printed paper.
7. Buffer pass unit
Cools printed paper.
8. Decurl unit
Flattens curls from sheets to prevent paper jams.
9. Three-tray wide LCT
Holds up to 4,400 sheets of paper. You can load paper whose sizes are up to SRA3 or 13 × 191/5.
10. Multi bypass tray (Tray A)
Holds up to 500 sheets of paper.
11. Multi bypass attachment kit
Attaches the multi bypass tray (Tray A) to the two-tray wide LCT.
12. Banner sheet tray of multi bypass tray (Tray A)
Allows you to load large-sized paper in the multi bypass tray (Tray A).
13. Finisher SR5050
Sorts, stacks, and staples multiple sheets of paper. Consists of the following paper trays:
• Finisher upper tray
• Finisher shift tray
Prints can be punched if the optional punch unit is installed on the finisher.
14. Perfect binder
Applies adhesive to the spine of gathered pages to bind them in a booklet.
15. A3/11 × 17 tray unit
You can load A3, 11 × 17 or larger size paper in Tray 1 using this unit. If you install the A3/11 × 17 tray unit
on your machine, you cannot use it as a tandem tray.
An indicator on the front left side of the tray lights while paper is feeding.
16. Two-tray wide LCT
Holds up to 4,800 sheets of paper. You can load paper whose sizes are up to SRA3 or 13 × 191/5. You can
connect up to three two-tray wide LCTs.
17. Bridge unit of two-tray wide LCT
Connects a two-tray wide LCT to an additional two-tray wide LCT.
18. Banner sheet tray of two-tray wide LCT
Allows you to load large-sized paper in the two-tray wide LCT.
20

DER011
18
21
17
4
3
5
6
7
8
9
10
11121314
1516
19
20
21
Guide to the Names and Functions of the Machine's Control Panel
Guide to the Names and Functions of the
Machine's Control Panel
1. Display panel
Displays keys for each function, operation status, or messages. See "How to Use the Screens on the Control
Panel", Getting Started.
2. [Reset] key
Press to clear the current settings.
21

2. Getting Started
3. Main power indicator
The main power indicator goes on when you turn on the main power switch.
4. [Energy Saver] key
Press to switch to and from Low Power mode or Sleep mode. See "Saving Energy", Getting Started.
When the machine is in Low Power mode, the [Energy Saver] key is lit. In Sleep mode, the [Energy Saver] key
flashes slowly.
5. [Login/Logout] key
Press to log in or log out.
6. [User Tools] key
Press to change the default settings to meet your requirements. See "Accessing User Tools", Connecting the
Machine/ System Settings.
You can find out where to order expendable supplies and where to call when a malfunction occurs. You can
also print these details. See "Checking Inquiry using the User Tools", Maintenance and Specifications.
7. [Paper Setting] key
Specify settings for the paper tray. See Paper Settings.
8. [Counter] key
Press to check or print the counter value. See "Counter", Maintenance and Specifications.
9. [Language] key
Press to change the language of the display. See page 24 "Changing the Display Language".
10. [Simple Screen] key
Press to switch to the simple screen. See "Switching Screen Patterns", Getting Started.
11. [ ] key (Enter key)
Press to confirm values entered or items specified.
12. [Start] key
Press to start printing a counter list, an inquiry list, or another list.
13. [Clear] key
Press to delete a number entered.
14. Number keys
Use to enter the numbers.
15. Data In indicator (printer mode)
Flashes when the machine is receiving print jobs from a computer. See Print.
16. [Check Status] key
Press to check the machine's system status, operational status of each function, and current jobs. You can also
display the job history and the machine's maintenance information.
17. Function keys
No functions are registered to the function keys as a factory default. You can register often used functions. For
details, see "Configuring function keys", Getting Started.
22

Guide to the Names and Functions of the Machine's Control Panel
18. [Home] key
Press to display the [Home] screen. For details, see page 25 "How to Use the [Top] Screen and the [Home]
Screen".
19. Screen brightness slider
Adjusts display panel brightness.
20. Media access lamp
Lights up when a memory storage device is inserted in the media slot.
21. Media slots
Use to insert an SD card or a USB flash memory device.
23
DER048
2. Getting Started
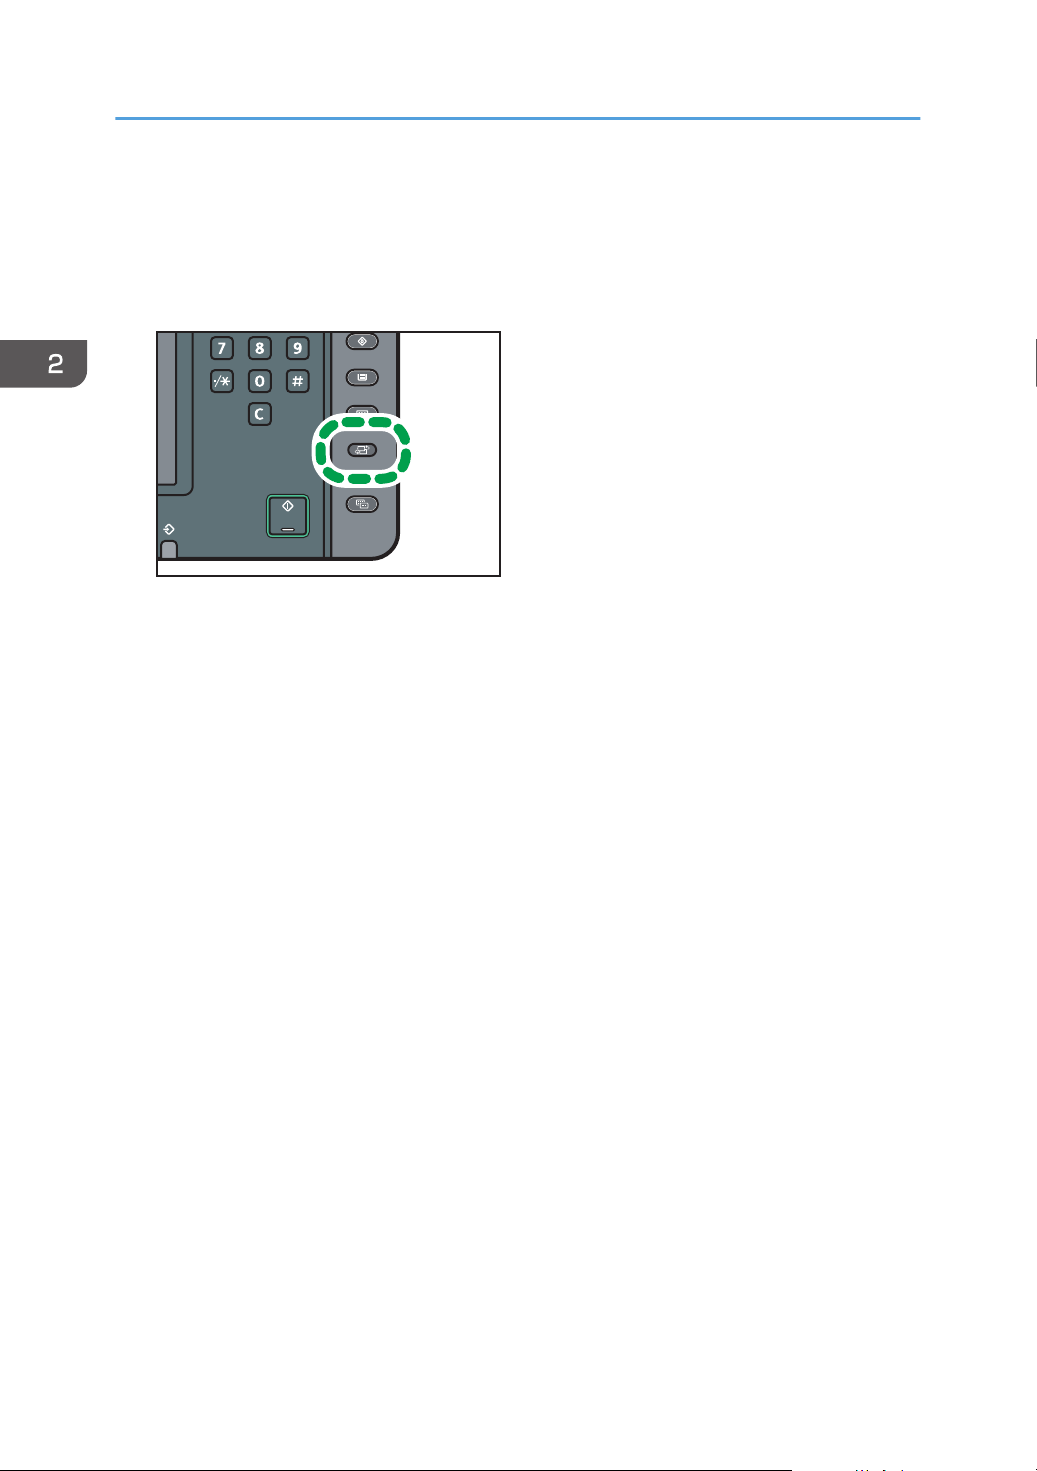
Changing the Display Language
You can change the language used on the display. English is set as default.
1. Press the [Language] key until the language you want to display appears.
24
4
7
9
8
DER023
253
6
1
How to Use the [Top] Screen and the [Home] Screen
How to Use the [Top] Screen and the [Home]
Screen
When you press the [Home] key just after the machine is turned on, the [Top] screen is displayed.
Using the [Top] screen, you can check the job list, toner status, and paper status.
The icons of each function are displayed on the [Home] screen.
To display the [Home] screen, press the [Home] key. If the [Home] screen does not appear, press the
icon at the upper right corner of the screen to switch to the menu screen.
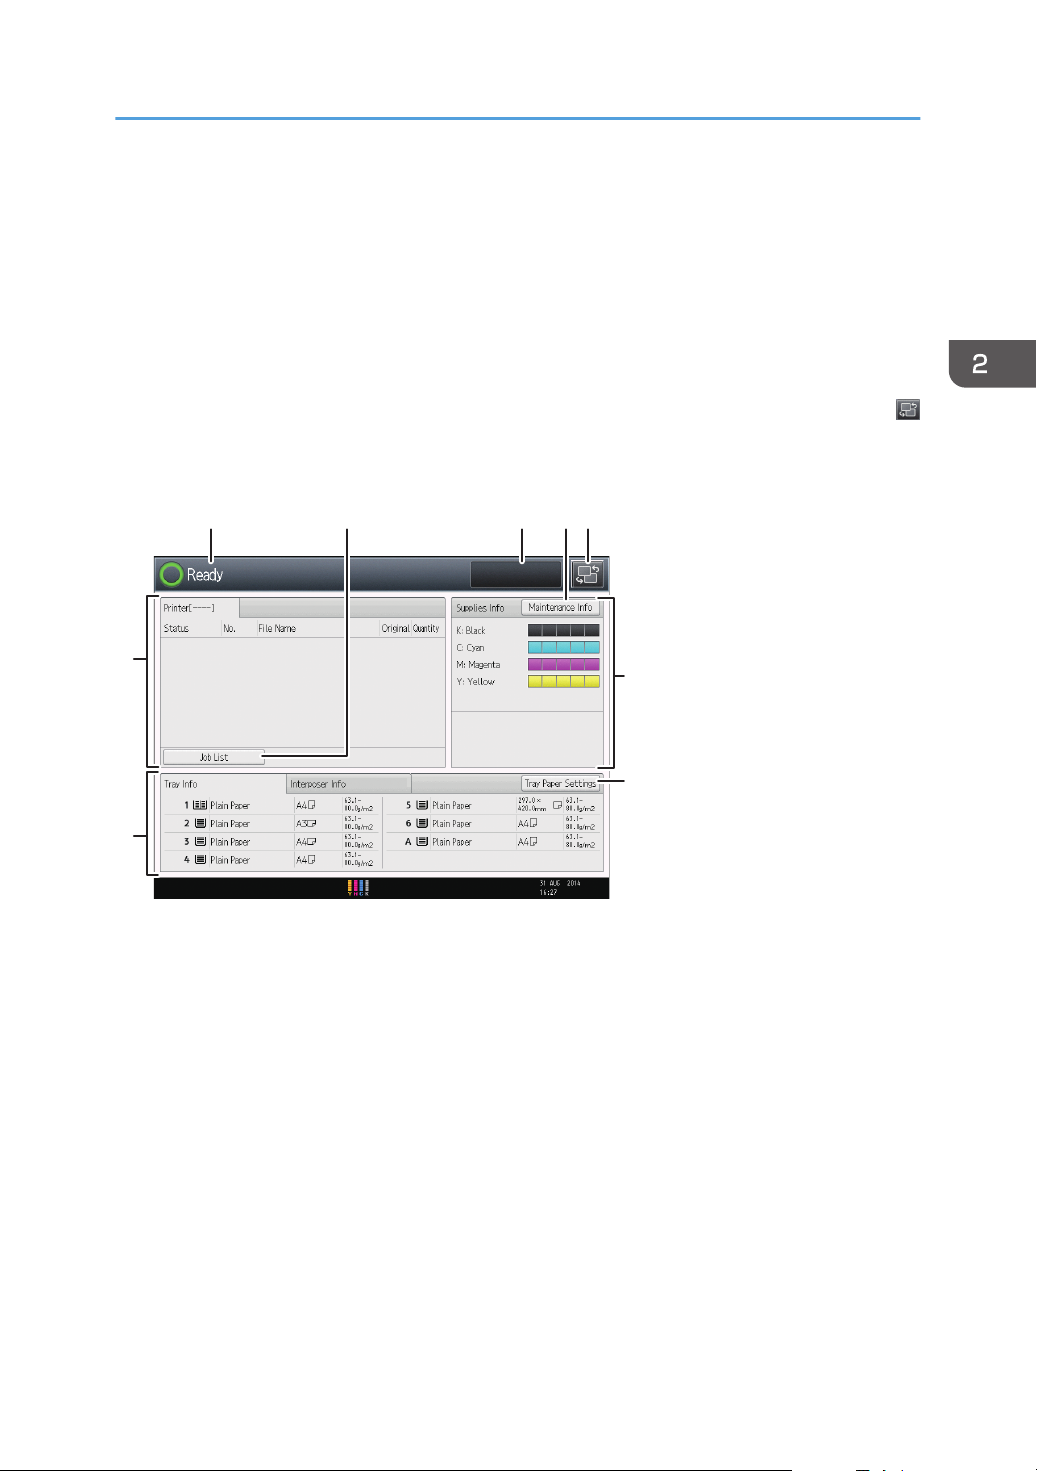
[Top] screen
25

DER024
10 1211 5
13
2. Getting Started
[Home] screen
1. Operational status and messages
Displays operational status and messages.
2. [Job List]
Press to display the [Job List] tab on the [Printer] screen.
3. Estimated time
Indicated by the time estimated to complete the job at the top of the currently displayed job list.
4. [Maintenance Info]
Press to display the [Maintnc./Inquiry/Mach. Info] tab on the [Check Status] screen.
5. Switch screens
Press to switch between the [Home] screen and the [Top] screen.
6. [Supplies Info]
Displays the information about supplies, such as the remaining amount of toner.
7. [Tray Paper Settings]
Press to display the [Tray Paper Settings] screen.
8. [Tray Info]/[Interposer Info]
Displays the status of the paper trays and the interposer.
9. [Job List]
Displays current and pending jobs.
10. [Printer]
Press to make settings for using the machine as a printer.
For details about how to make settings for the printer function, see Print.
26
How to Use the [Top] Screen and the [Home] Screen
11. Home screen image
You can display an image on the [Home] screen, such as a corporate logo. To change the image, see
"Displaying an Image on the [Home] Screen", Convenient Functions.
12. [Address Book Management]
Press to display the Address Book.
For details about how to use the Address Book, see "Address Book", Connecting the Machine/ System
Settings.
13. /
Press to switch pages when the icons are not displayed on 1 page.
Adding Icons to the [Home] Screen
You can add function and shortcut icons.
You can also review icons of functions and embedded software applications that you deleted from the
[Home] screen.
• Shortcut names of up to 32 characters can be displayed in a standard screen. If the name of the
shortcut is longer than 32 characters, the 32nd character is replaced with "...". Only 30 characters
can be displayed in a simple screen. If the name of the shortcut is longer than 30 characters, the
30th character is replaced with "...".
• You can register up to 72 function and shortcut icons. Delete unused icons if the limit is reached. For
details, see "Deleting an Icon on the [Home] Screen", Convenient Functions.
• You can change the position of icons. For details, see "Changing the Order of Icons on the [Home]
Screen", Convenient Functions.
Adding icons to the [Home] screen using Web Image Monitor
1. Start Web Image Monitor.
For details, see "Using Web Image Monitor", Connecting the Machine/ System Settings.
2. Log in to Web Image Monitor.
3. To add icons to the default [Home] screen, point to [Device Management], and then click
[Device Home Management]. To add icons to a user's [Home] screen, point to [Customize
Screen per User].
4. Click [Edit Icons].
5. Point to [ Icon can be added.] of the position that you want to add, and then click [
Add].
6. Select the function or shortcut icon you want to add.
27
DER029
2. Getting Started
7. Click [OK] four times.
Adding icons to the [Home] screen using the User Tools
In the following procedure, a shortcut icon is registered to the [Home] screen.
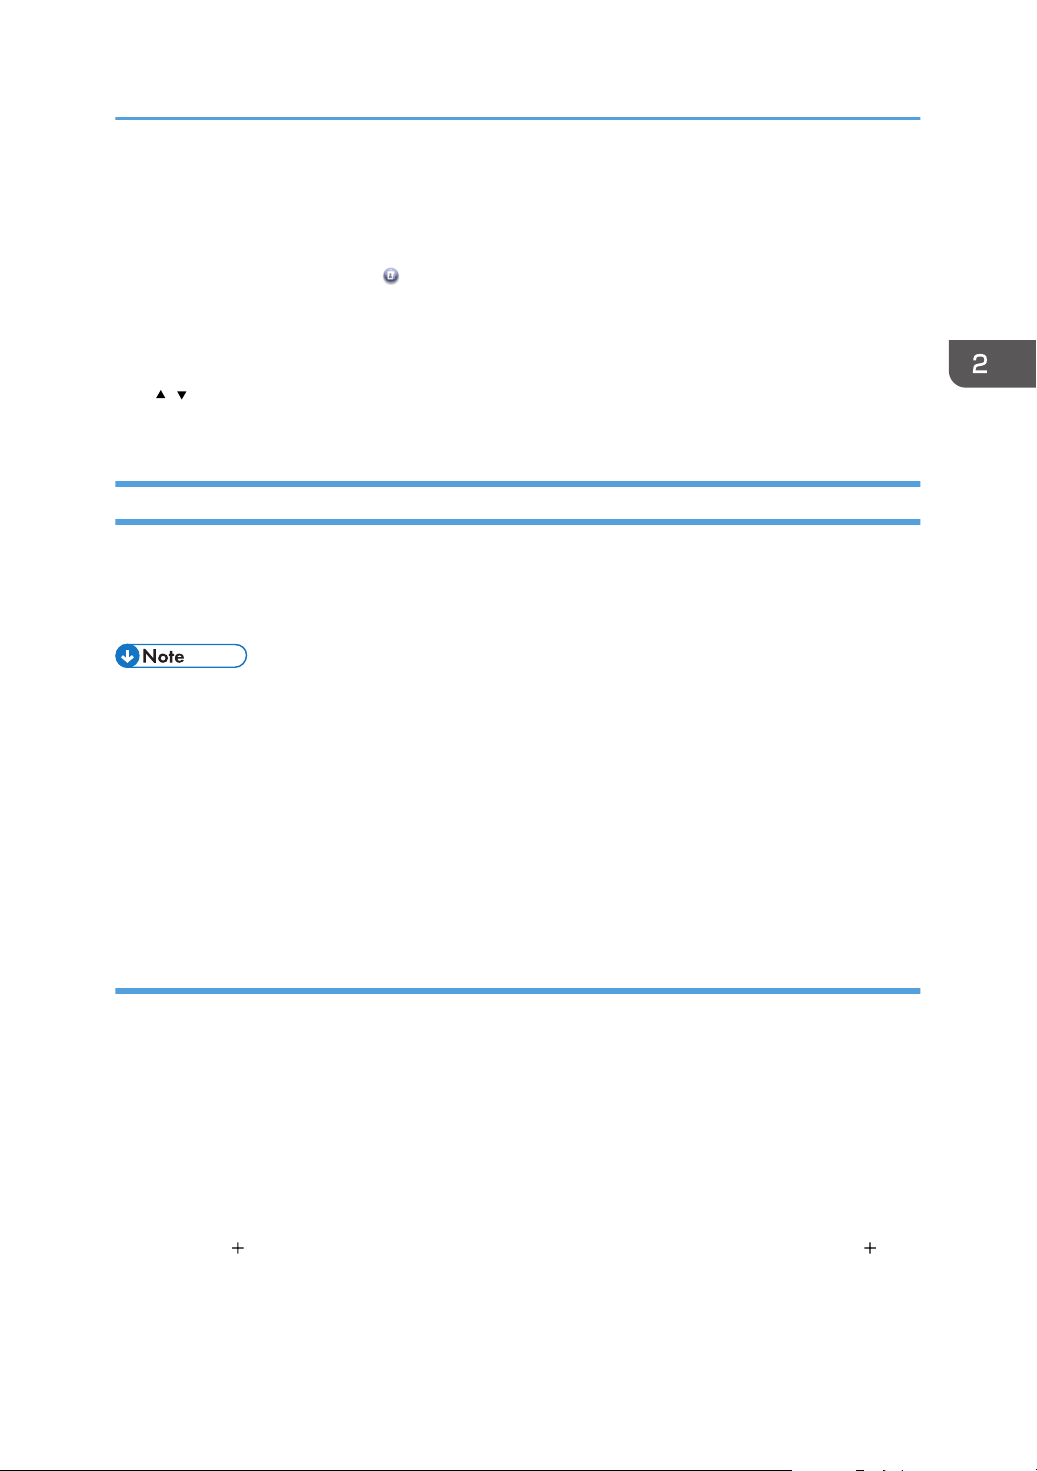
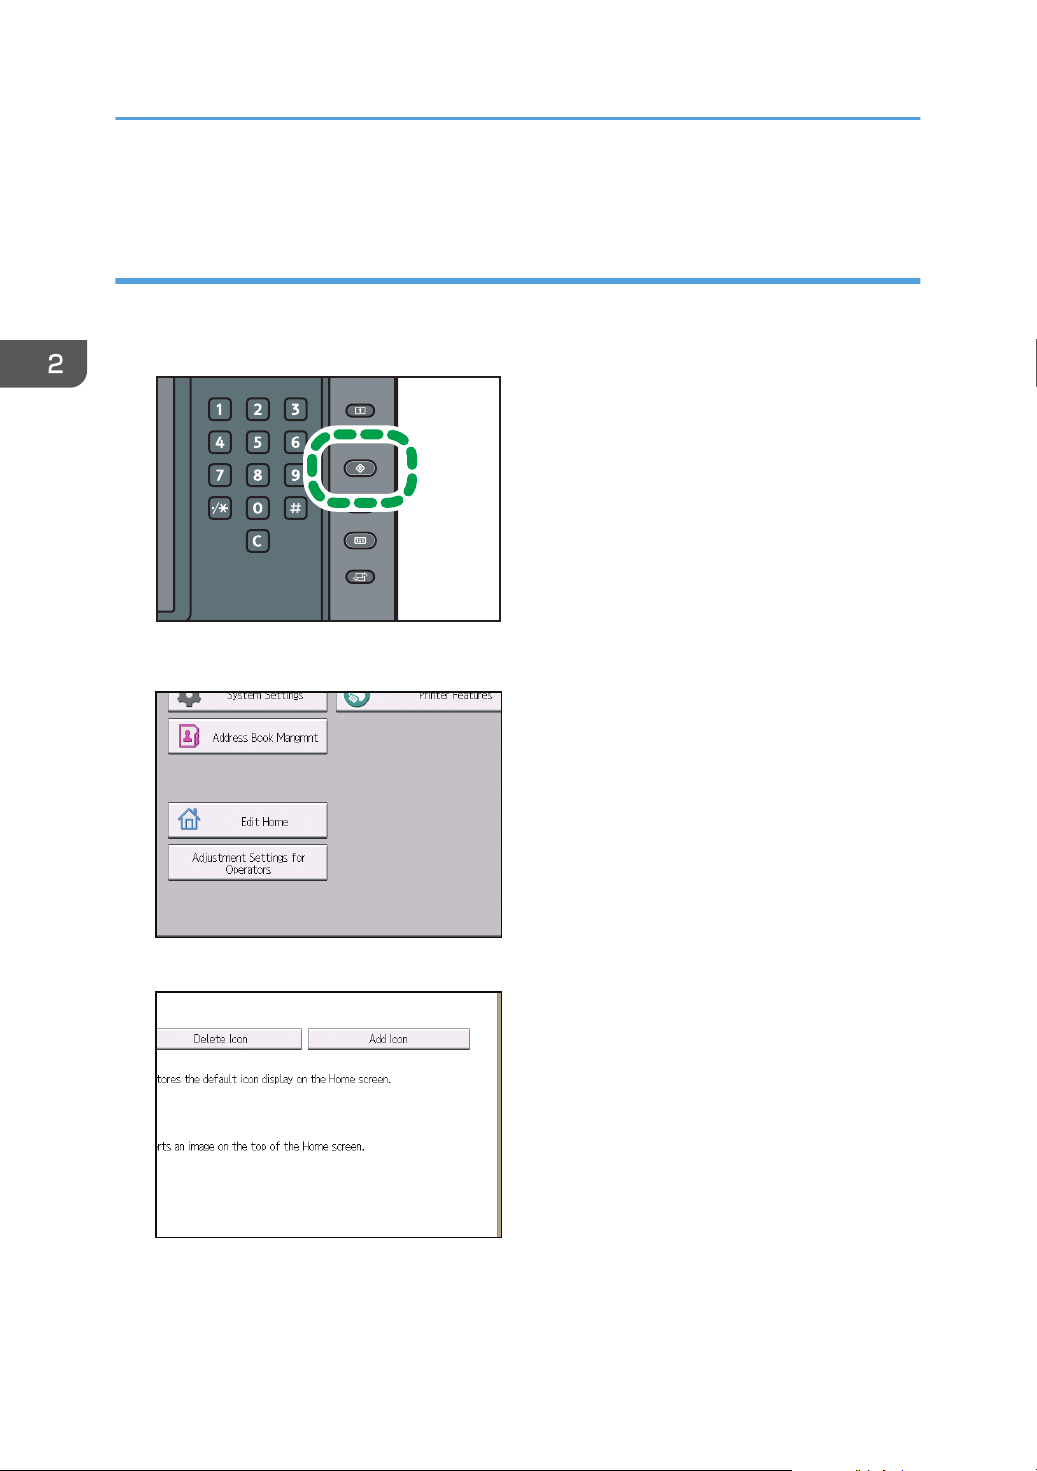
1. Press the [User Tools] key.
2. Press [Edit Home].
28
3. Press [Add Icon].
 Loading...