

Ricoh GX e7700N Installation Manual
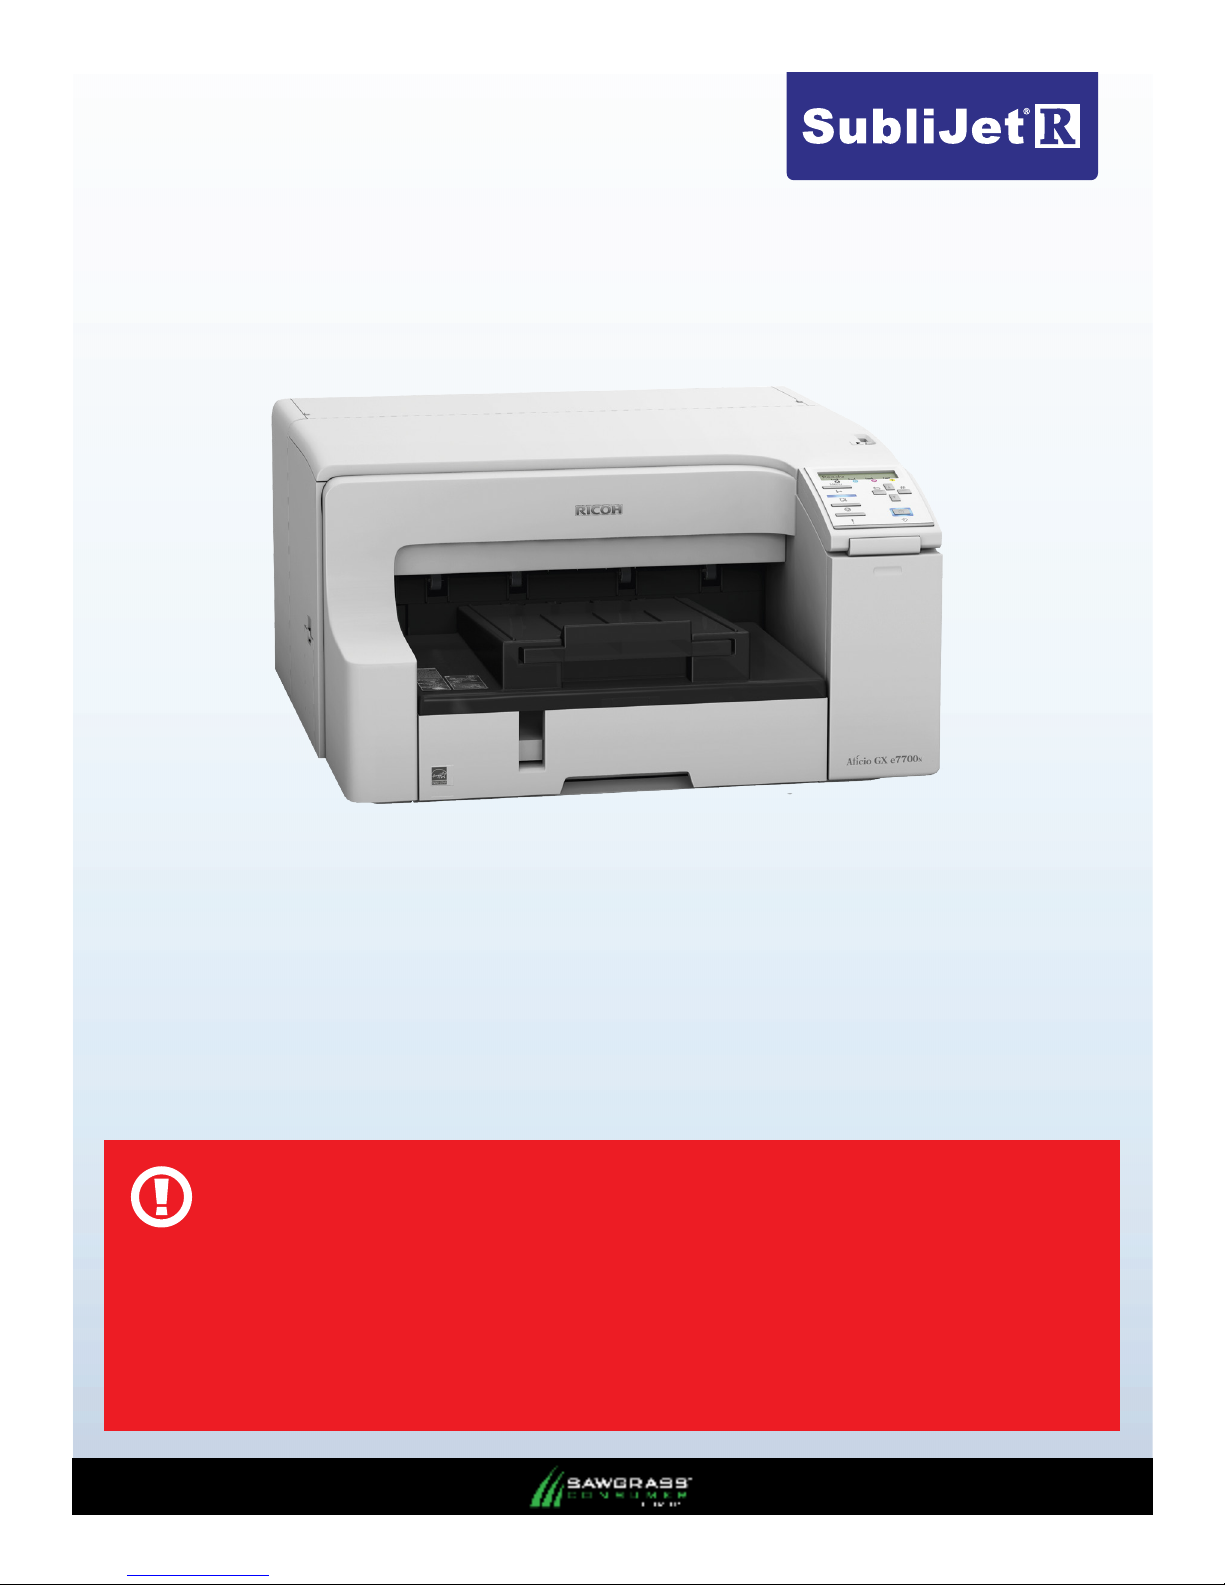
Ricoh GX e7700N
PowerDriver-R
INSTALLATION GUIDE
Windows XP, Vista, 7 & 8
CAUTION
DO NOT INSTALL THE RICOH (OEM) INKS THAT WERE PROVIDED WITH THE PRINTER.
DO NOT POWER ON THE PRINTER BEFORE INSTALLING SAWGRASS SUBLIJET-R INK CARTRIDGES.
DURING DOWNTIME, IT IS HIGHLY RECOMMENDED TO LEAVE THE PRINTER POWERED ON TO ALLOW
THE RICOH AUTOMATIC MAINTENANCE UTILITIES TO KEEP THE PRINT HEAD NOZZLES CLEAR.
v20130417

SECTIONS:
Microsoft Windows Operating System Verication - Page 3
Ricoh (OEM) Printer Setup - Page 4
Ricoh (OEM) Driver Download & Installation - Page 6
PowerDriver-R Installation & Registration - Page 14

Ricoh GX e7700N – Installation Guide
Microsoft Windows OS Verication
To begin, verify your version of the Windows operating system to download the compatible driver.
1.) To check the version, hold down the Windows logo key on the keyboard, then press the “Pause/Break”
key (or your keyboard may only have the “Pause” key) (see FIGURE 1).
Windows logo key Pause/Break key
FIGURE 1
2.) The following screen containing the Windows Edition and System Type should appear (see FIGURE
2). The below example is running Windows 7 on a 32-bit OS. Please note your version number and
remember to only download those utilities which correspond with your version of Windows OS.
1
2
FIGURE 2
PAGE 3 of 20 >>
Ricoh GX e7700N – Installation Guide
Ricoh (OEM) Printer Setup
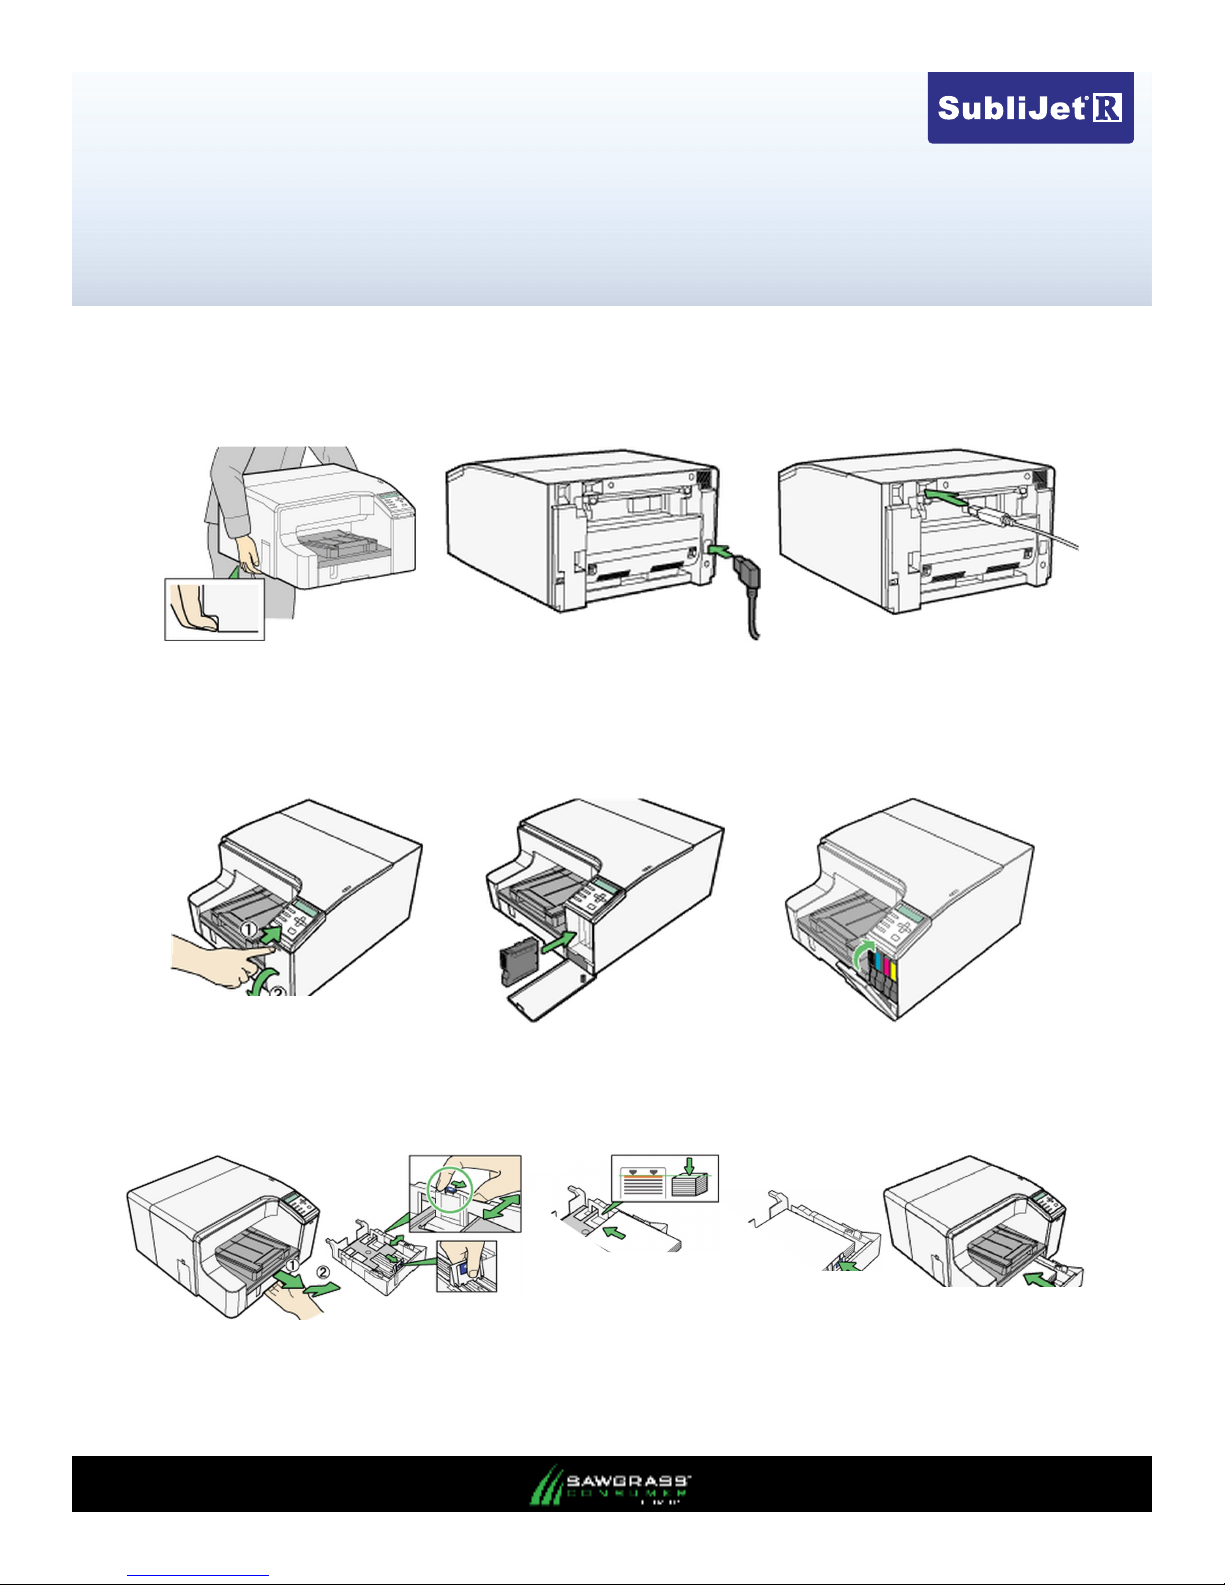
1.) Open the printer box, remove the cables and other accessories, and place them aside. Next, remove
the printer from the box, and place it on a sturdy work surface with sufficient operational clearances
(the printer weighs approximately 17kg). Finally, remove the orange adhesive tape and attach the
power cord and the USB cable. DO NOT POWER ON THE PRINTER AT THIS TIME.
2.) Remove the SubliJet-R ink cartridges from their packages. Open the right front cover on the printer, and
insert the cartridges in the order indicated—from left to right (as you face the printer): black (K), cyan (C),
magenta (M) and yellow (Y). Press each cartridge in until it engages securely, and close the cover once
all of the cartridges are in place. Never shake or agitate the cartridges.
3.) Remove the paper tray, pull the cover straight up, and adjust the guides for the paper size you will be
using. Load the paper, put the cover back on, and reinsert the tray into the printer. For larger paper sizes,
refer to the documentation provided with your Ricoh printer for extending the paper tray.
PAGE 4 of 20 >>
SubliJet-R: Ricoh GX e7700N – Installation Guide
Ricoh (OEM) Printer Setup
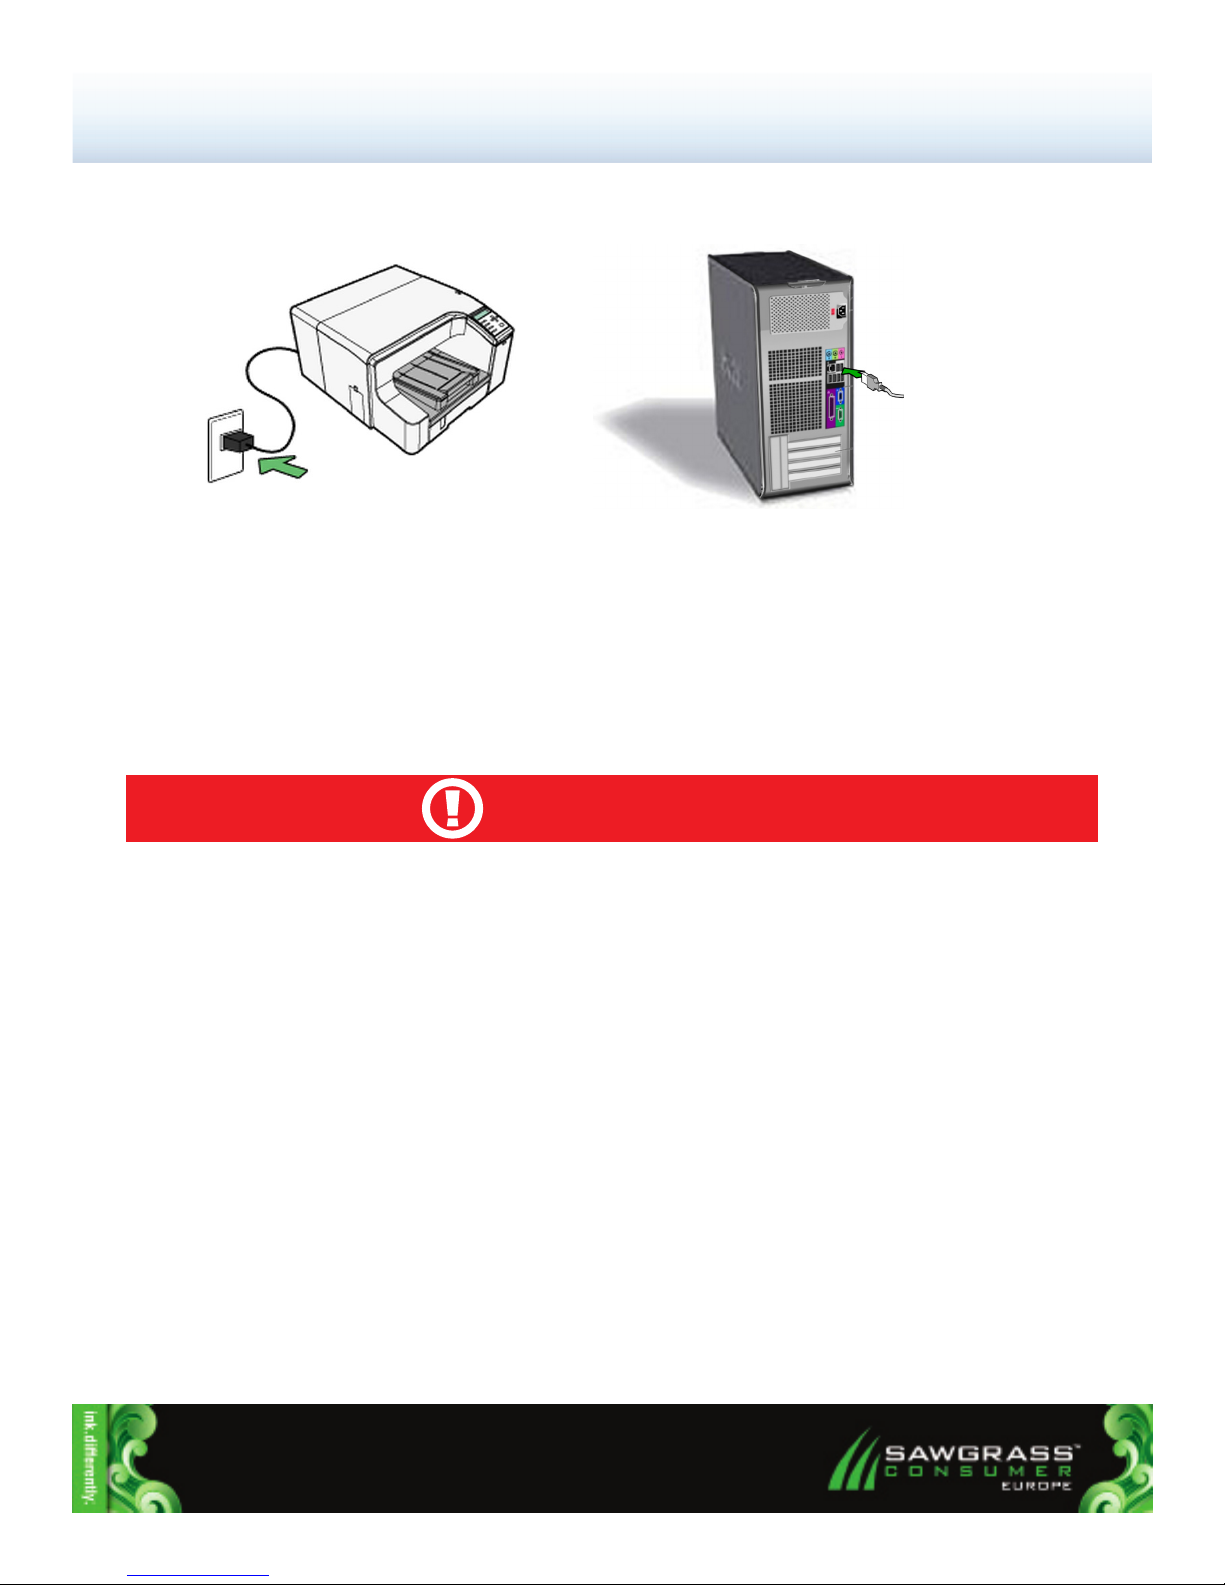
4.) Plug the power cord into a power outlet and plug the USB cable into a 2.0 USB port located on the back of
the computer. DO NOT POWER ON THE PRINTER AT THIS TIME.
5.) Start your computer, wait until Windows is fully operational and proceed to the Ricoh (OEM) driver
download and installation section.
CAUTION
During downtime, it is HIGHLY RECOMMENDED to leave the printer powered ON to allow the Ricoh automatic
maintenance utilities to keep the print head nozzles clear. The Ricoh GelSprinter GX e7700N has been engineered
to perform automatic maintenance at various times in an effort to keep the printhead nozzles in top condition. If
this maintenance cannot be automatically performed, it is possible that the nozzles may suffer permanent effects.
As a result, head cleanings may be unable to restore the print head to optimal operation.
Note: If you experience any communication errors, a powered USB Hub may be required.
PAGE 5 of 20 >>
Ricoh GX e7700N – Installation Guide
Ricoh (OEM) Driver Download & Installation
The following instructions will demonstrate how to install the Ricoh (OEM) printer driver on computers running
Windows Operating Systems.
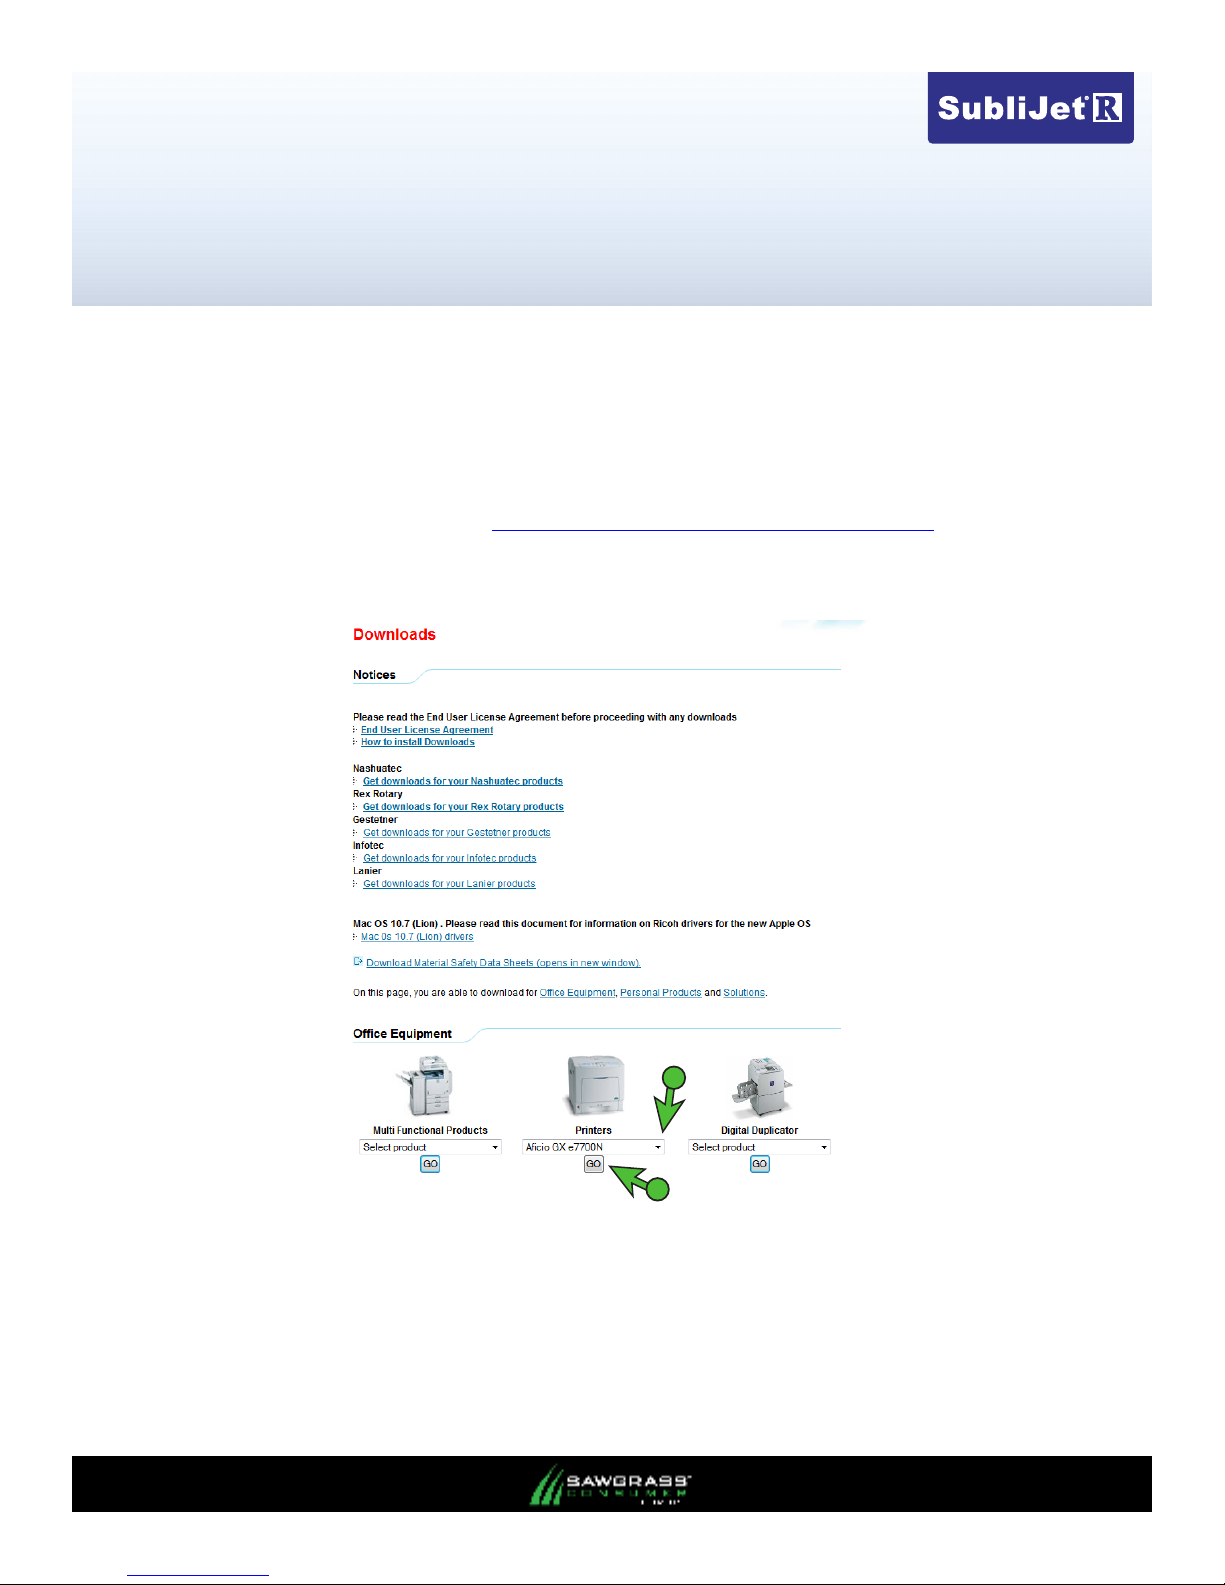
1.) Before installing the SubliJet-R PowerDriver, you will need to install the Ricoh (OEM) printer driver.
If the Ricoh (OEM) printer driver has already been installed on your machine, then please proceed
to the SubliJet-R GX e7700N PowerDriver installation section. First, access the support section on
the Ricoh website by entering http://www.ricoh-support.com/enduser/downloads/ in the address eld
of your web browser. Select the appropriate printer model from the ‘Printers’ (see Figure 1) drop
down menu and click the ‘Go’ button (see Figure 1-2).
1
2
FIGURE 1
PAGE 6 of 20 >>
 Loading...