

RCA RP-6150 User Manual

1
TABLE OF CONTENTS
INTRODUCTION .................................................................. 2
THE SCANNER .................................................................... 3
F
IRST THINGS FIRST ............................................................ 4
P
OWERING THE SCANNER .................................................... 4
CONNECTING THE ANTENNA ............................................... 7
PRIVATE LISTENING ............................................................. 7
U
SING THE BELT CLIP .......................................................... 8
USING THE LIGHT ............................................................... 8
BATTERY SAVER ................................................................... 8
B
UTTONS AND CONTROLS .................................................... 9
THE DISPLAY ..................................................................... 10
USING THE SCANNER .......................................................... 11
ADJUSTING VOLUME AND SQUELCH ..................................... 11
PROGRAMMING FREQUENCIES ............................................... 11
MOVING A FREQUENCY FROM
MONITOR MEMORY TO A CHANNEL ................................... 14
SCANNING STORED CHANNELS ............................................. 15
USING CHANNEL STORAGE BANKS ....................................... 15
SELECTING CHANNELS MANUALLY ....................................... 16
USING DELAY ..................................................................... 16
USING KEYLOCK .................................................................. 17
USING CHANNEL LOCKOUT .................................................. 17
USING PRIORITY SCAN ........................................................ 18
USING THE AM/FM RECEIVE MODES ................................ 18
TROUBLESHOOTING TIPS ...................................................... 20
RESETTING THE SCANNER ..................................................... 20
INITIALIZING THE SCANNER ................................................. 20
EQUIPMENT SPECIFICATIONS ................................................. 21
CARE AND MAINTENANCE ................................................... 22
INDEX ............................................................................... 23
L
IMITED WARRANTY .......................................................... BACK COVER

2
INTRODUCTION
Congratulations! You are now the owner of a brand new RCA RP-6150
200-Channel ScanTrak AM/FM Scanning Receiver.
Your new scanner will provide for you all the excitement and action of
police in pursuit, ambulances en route and fire tracks on the scene.
You’ll know the latest changes in weather conditions, be able to warn
family and friends of the latest accidents on the highways...plus much
more!
With the capacity to scan more than 31,000 frequencies at 25 channels
per second, your new RCA ScanTrak AM/FM Scanning Receiver allows
you to be involved in your community from the comforts of your own
home. Enjoy!
SOME TERMS TO KNOW:
Signal - electrical impulses sent or received.
Transmission - a sent or received signal.
Frequency - a signal transmitted through the air.
Broadcast - to transmit a signal for public service.
Squelch - lessens the scanner’s sensitivity to weak signals.
Channel - a location to permanently store an active
frequency.
Channel Storage Bank - a place to group frequencies
with similar themes. For example, you can group all
police departments in one bank and all fire departments
in another.
Monitor Memory - provides a location to temporarily
hold active frequencies found during a search. If you
decide to permanently store a frequency held in monitor
memory, you can store it in a permanent channel.
Scan - scrolls through all stored channels, pausing on
active frequencies until the transmission ends.
Search - looks for active frequencies within a set range.
3
200 CHANNEL FM
SCANNING RECEIVER
2 31
5 64
8 97
.
0
61-60 61-100 101-120
121-140 141-160 161-180
1-20 21-40 41-60
181-200 ENTER
AM/FM PGM CLEAR
LIGHT MON
PRI MON
SCAN MANUAL
L/OUT
DELAY
KEYLOCK
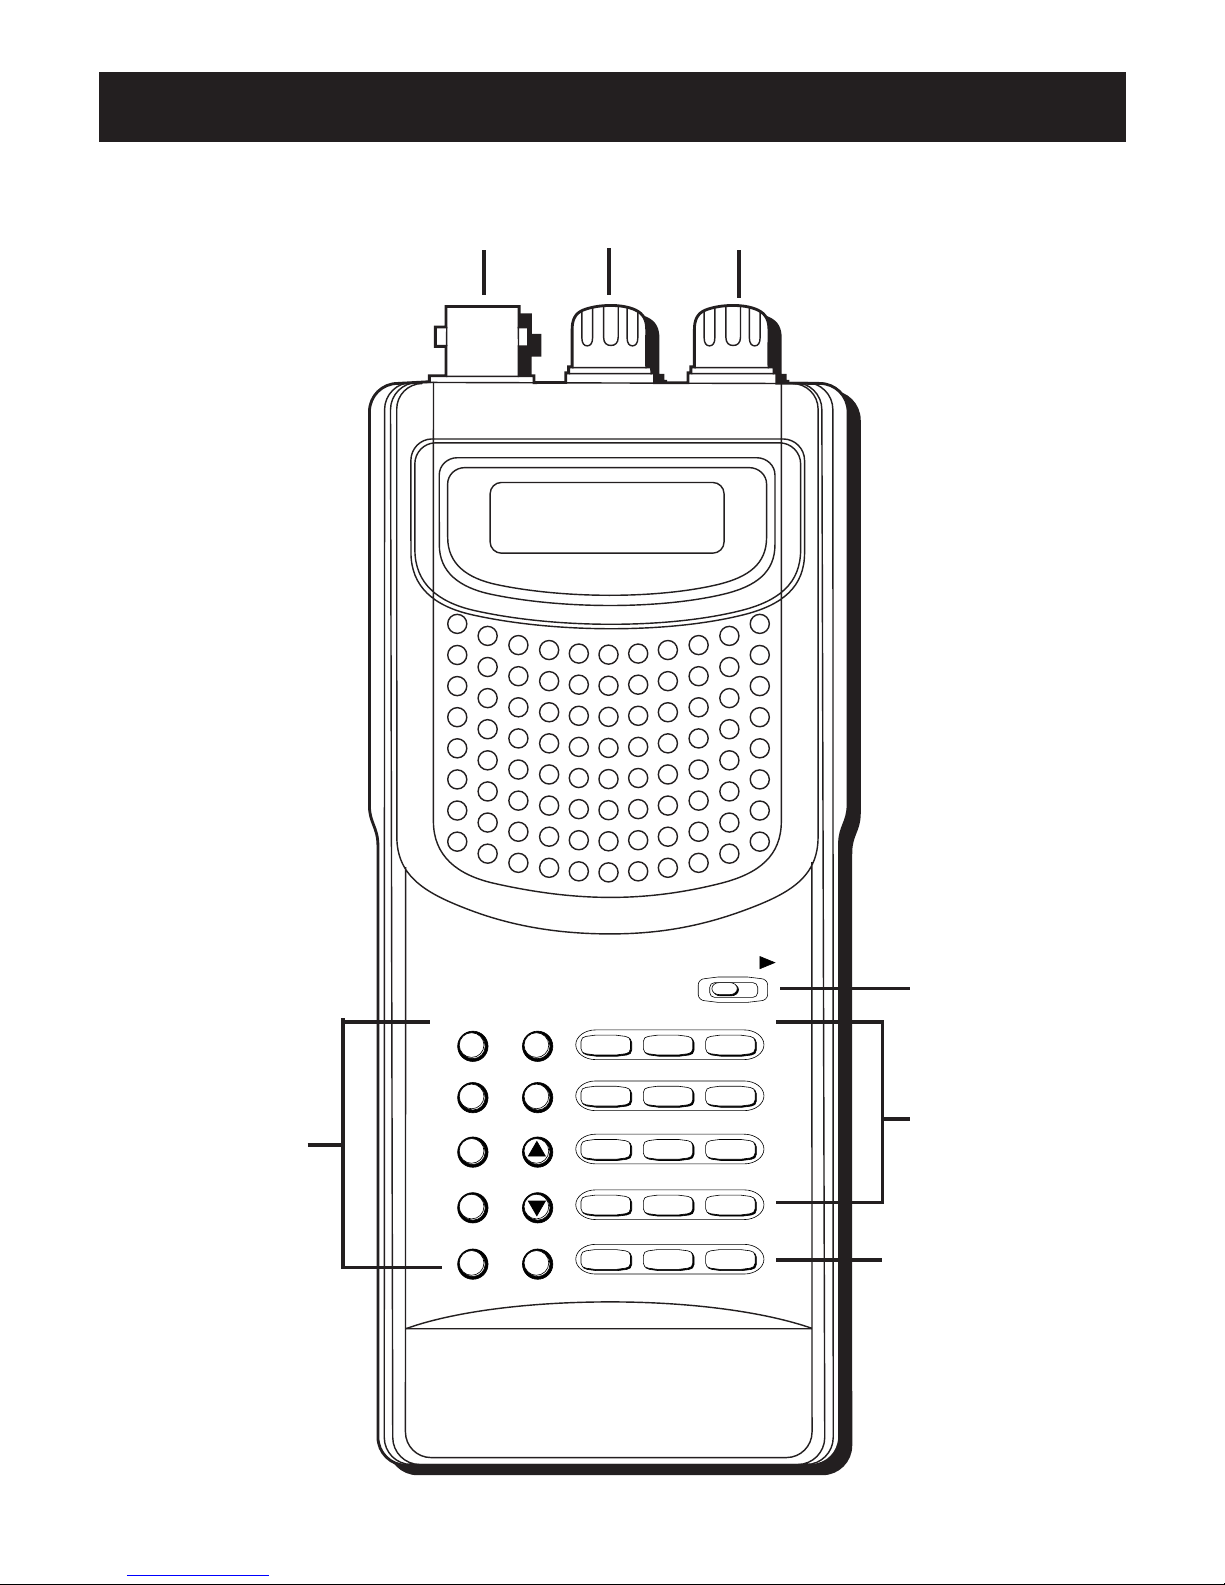
THE SCANNER
Antenna
jack
VOLUME
knob
SQUELCH
knob
Number keys,
ENTER button
KEYLOCK
FUNCTION
buttons
FUNCTION
buttons
4
20 CHANNEL FM
SCANNING RECEIVER
S
C
A
N
M
A
N
U
A
L
C
LE
A
R
P
G
M
K
E
Y
LO
C
K
LIG
H
T
1
23
4
56
7
89
0/M
O
N
./D
LY
L-O
U
T
/E
N
T
POWERING THE SCANNER
There are basically two ways to power your scanner by batteries or adapters. However, you can use
different types of batteries and different kinds of
adapters, so pay close attention to the procedures
and precautions written below for the method you
choose.
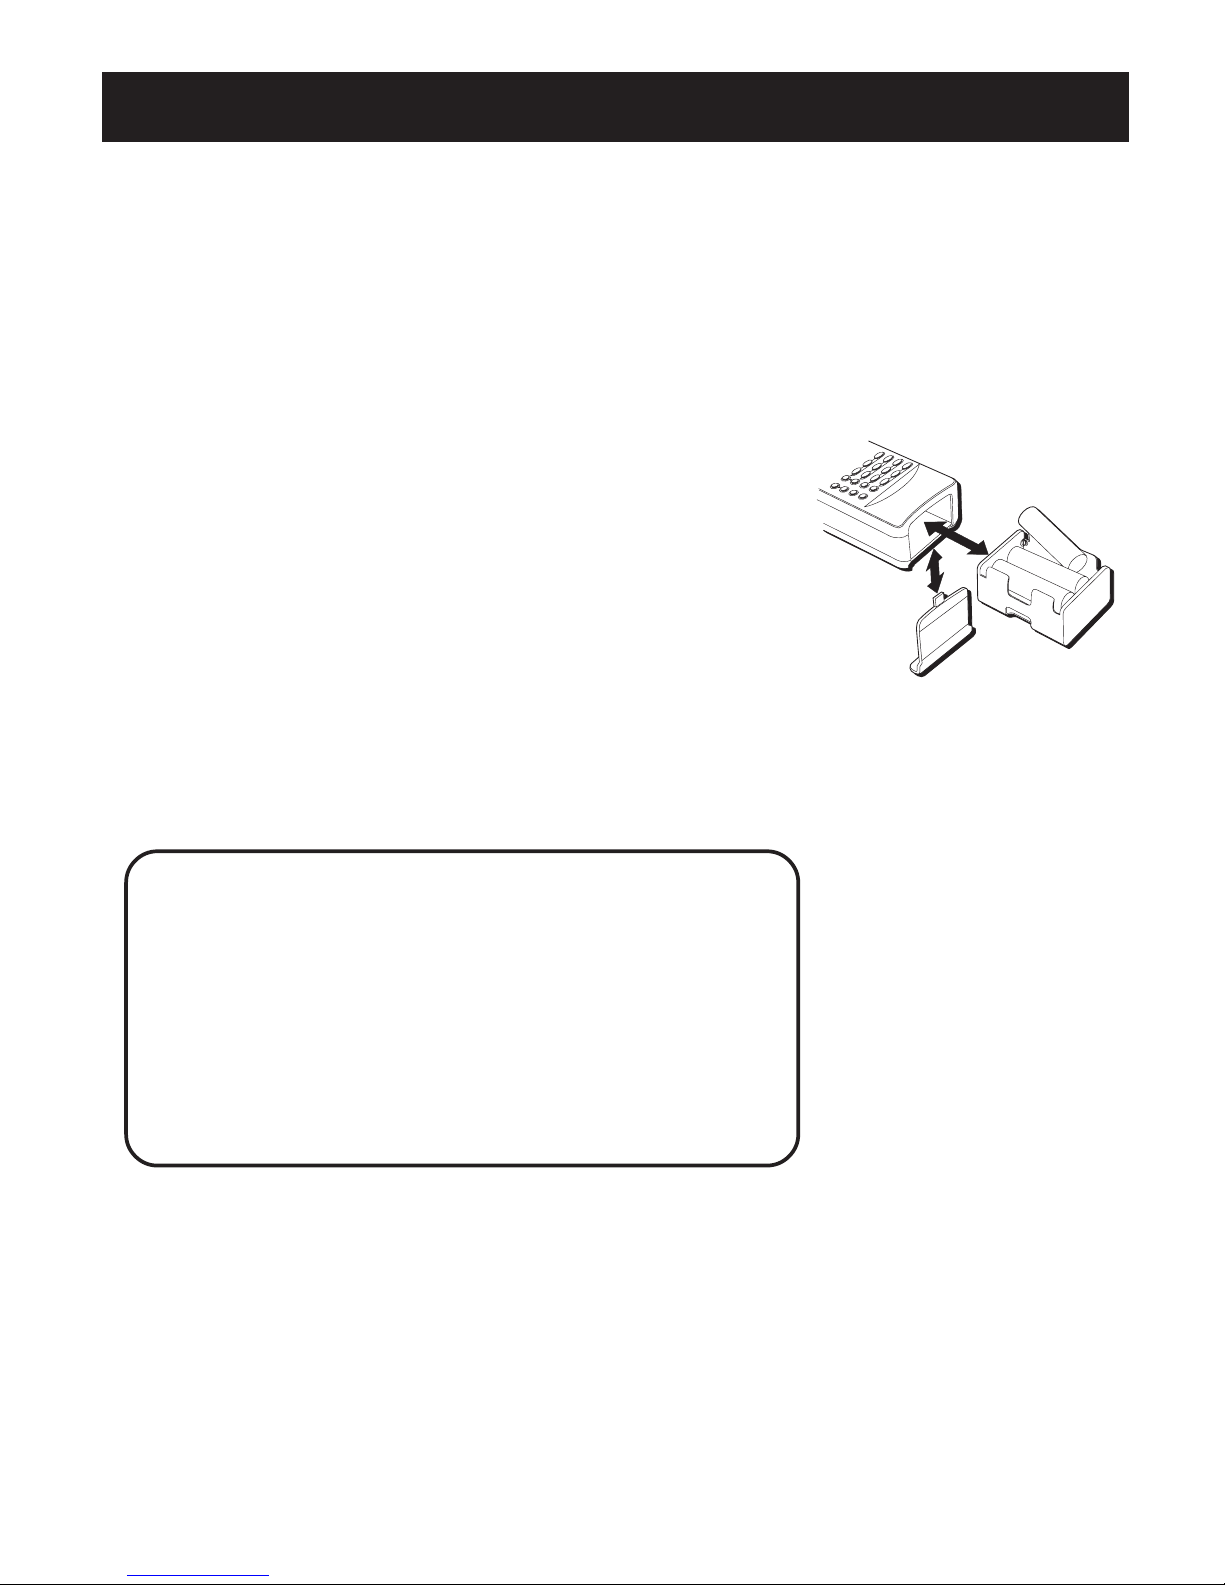
BATTERIES
It takes six batteries to operate your scanner. Alkaline
batteries offer the best results, but it is possible to use
nickel-cadmium rechargeable batteries.
To install batteries:
1. Slide the battery door in the direction of the
arrow.
2. Insert six AA batteries as shown in the diagram.
3. Replace the battery door.
IMPORTANT BATTERY INFORMATION
• Using nickel-cadmium rechargeable batteries
may result in shorter playing time.
It is always a good idea to let the nickel-cadmium
batteries run all the way down before charging
them. Then when you do charge them, do so to
their full potential and they will last longer and
provide more power.
FIRST THINGS FIRST
NOTE: Alkaline batteries are recommended for best
results. As they are not rechargeable, PLEASE DO NOT
ATTEMPT to plug the AC adapter into the CHG jack while
alkaline batteries are in the unit. Doing so may cause
serious damage to you or the unit.
It is always a good idea to let nickel-cadmium batteries
run all the way down before charging them. Then when
you do charge them, do so to their full potential and they
will last longer and provide more power.

5
USING ADAPTERS
This scanner is equipped with two jacks - PWR and
CHG. When an adapter is connected to the PWR
jack and an AC outlet, power from the batteries is
disconnected.
When an adapter is connected to the CHG jack, this
jack will provide power for the scanner while
recharging the batteries.
WARNING: Use the CHG jack only if you have
rechargeable nickel-cadmium batteries installed. DO
NOT CONNECT AN AC OR DC ADAPTER TO THE CHG
JACK IF YOU HAVE NON-RECHARGEABLE BATTERIES
INSTALLED. If you try to recharge non-rechargeable
batteries, you may cause serious injury to yourself and/
or severely damage the scanner.
FIRST THINGS FIRST
• If you do not intend to use the unit for a month
or more, remove the batteries to avoid leakage
or subsequent damage.
• Dispose of batteries in the proper manner,
according to federal, state and local regulations.
• Any battery may leak electrolyte if mixed with a
different battery type; if inserted incorrectly; if
all batteries are not replaced at the same time; if
disposed of in fire; or if an attempt is made to
charge a battery not intended to be recharged.
• Discard leaky batteries immediately to avoid
possible skin burns or other personal injury.
AC POWER
To use the AC adapter provided, simply plug the
barrel end into the PWR jack on the side of your
scanner and the pronged module into a standard
AC outlet.

6
FIRST THINGS FIRST
Be sure to unplug the adapter from the wall outlet
before you remove the barrel from the PWR jack on
the scanner.
Charging Batteries
Should you choose to use nickel-cadmium batteries, it
is possible to recharge them while inside the scanner.
1. Install nickel-cadmium batteries as instructed
above.
2. Plug your AC adapter into the CHG jack.
Your scanner will work off the AC power from the
outlet and recharge the batteries at the same time.
DC ADAPTER
If you plan to operate the scanner in your vehicle, you
may choose to power it using a DC adapter and the
socket of the cigarette lighter. Check to make sure
the socket is attached to a 12-volt, negative-ground
electrical system.
Connect and disconnect with the scanner same as an
AC adapter.
• The adapter’s voltage switch must be set on 9V.
• Never leave the adapter plugged into the lighter
when it isn’t attached to the scanner. Always
disconnect the adapter from the lighter first,
then the scanner.
• If the scanner does not properly operate while
trying to use a DC adapter, simply unplug the adapter
from the lighter socket and clean the socket.
WARNING: The adapter you use must supply 9-volts with
the center tip set to negative.
It also must fit properly into the PWR jack and deliver at
least 300 milliamperes.
7
FIRST THINGS FIRST
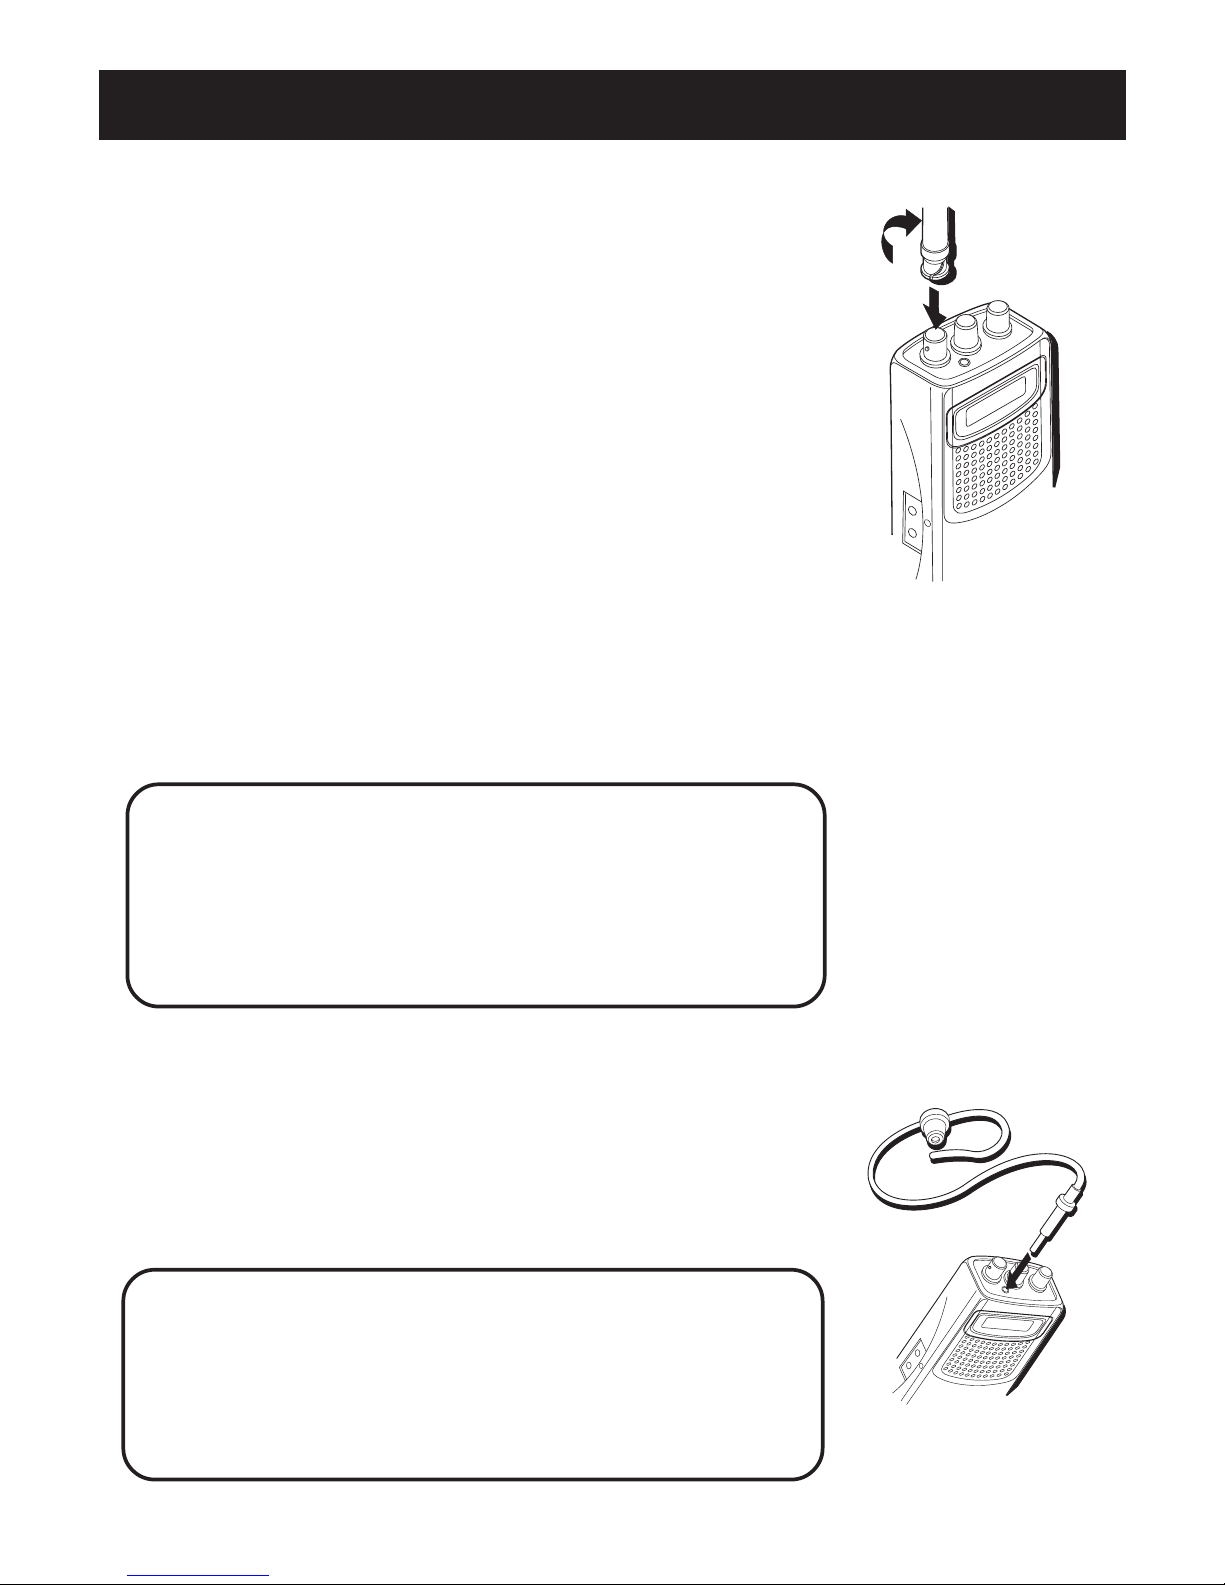
CONNECTING THE ANTENNA
Your scanner comes with a flexible antenna for better
reception. To attach the antenna:
1. Line up the slots on the antenna with the knobs of
the antenna receptor on the scanner.
2. Slip the antenna over the knobs and twist until you
feel the antenna lock into place.
OPTIONAL ANTENNAS
While the flexible antenna provides satisfactory
reception for local signals, you can attach a multiband
outdoor antenna - not provided - for even better
reception.
Install the antenna according to its instructions, then
connect it to the scanner via the ANT jack.
NOTES: Do not place the cable on top of sharp edges or
near moving objects; place it as high as possible outside;
place it as far from any source of electrical noise as possible;
and make sure the antenna is vertical at all times.
Use RG58 or RG8/M for lengths under 50 feet. Use RG-8.
low-loss coaxial cable for lengths more than 50 feet.
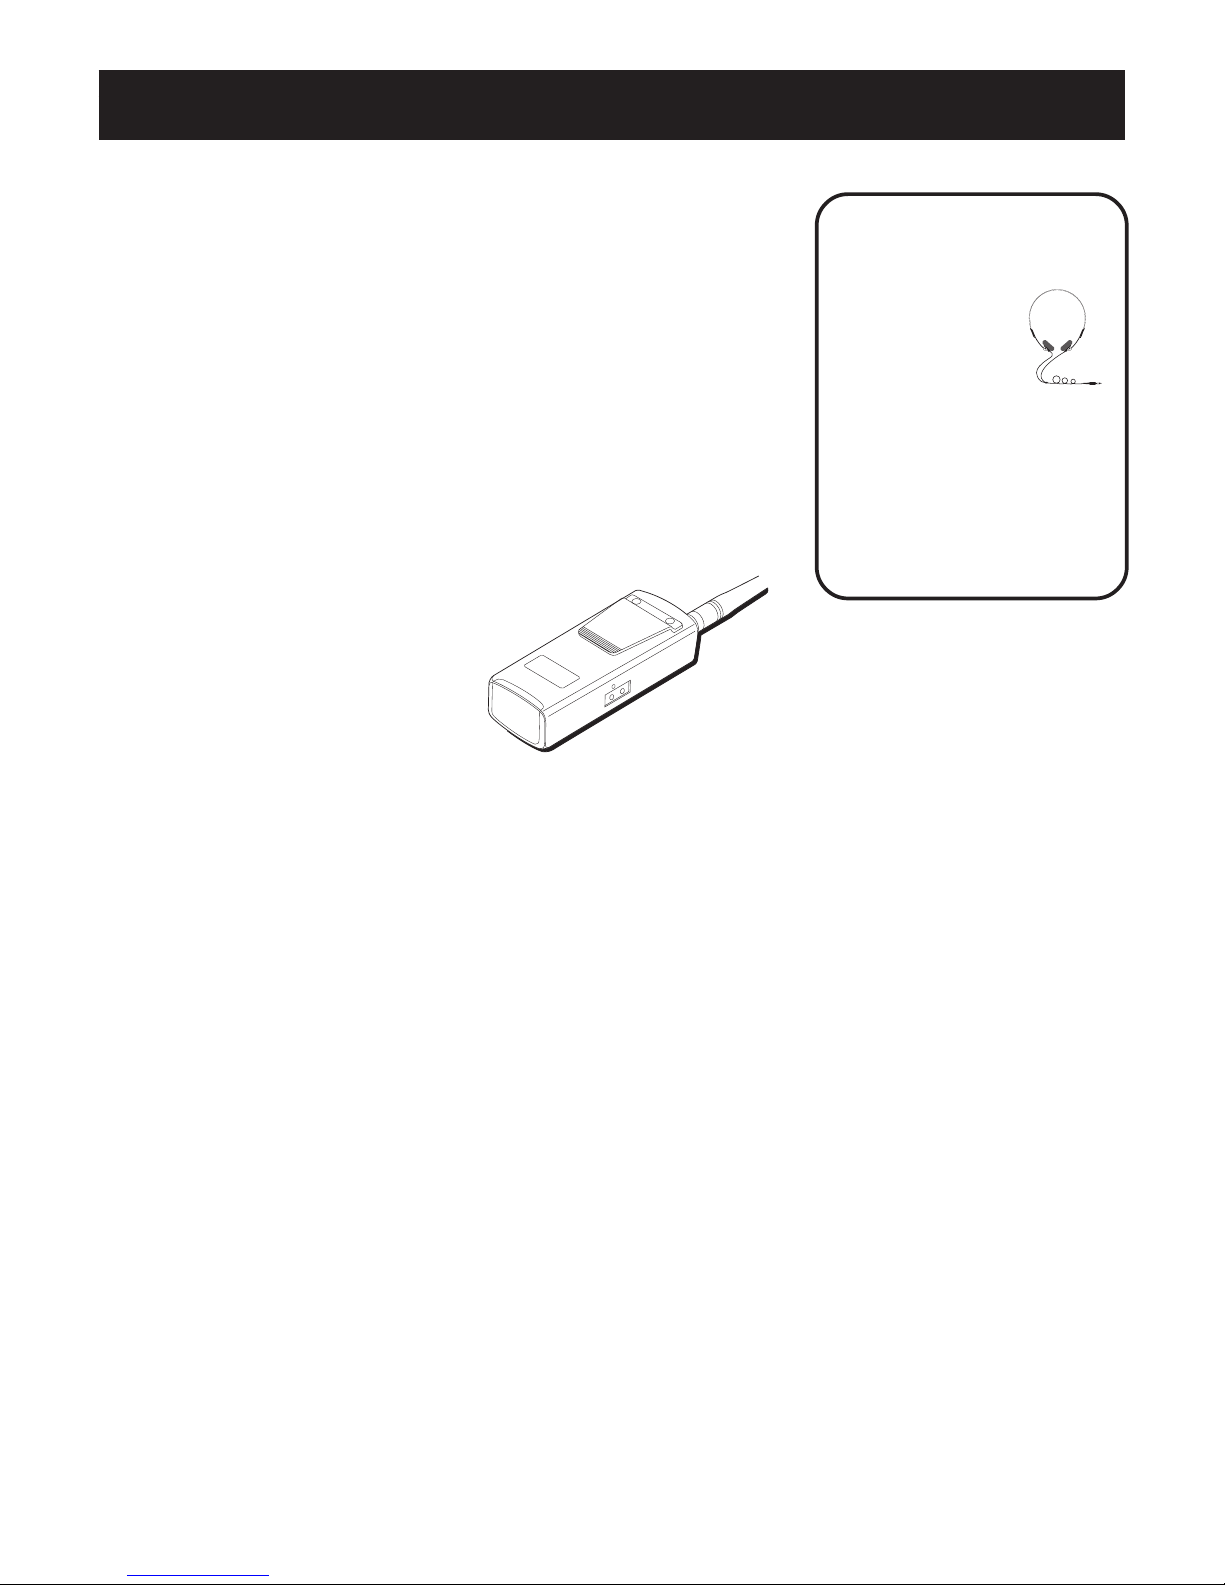
PRIVATE LISTENING
Your scanner has been equipped with a PHONES jack
to allow for private listening. The use of headphones
or an earphone - not included - immediately suspends
audio output from the scanner’s main speaker.
WARNING: Some headphones/earphones allow you to hear
background noise while listening to your scanner at a normal
volume setting. Regardless, wearing headphones or an
earphone while riding a bike or operating a vehicle cannot
only impair your concentration, it is also dangerous and/or
illegal.
8
FIRST THINGS FIRST
• Do not operate your scanner at high volume.
Hearing experts advise against continuous extended
play.
• If you experience a ringing in your ears, reduce
volume or discontinue use.
• You should use extreme caution or temporarily
discontinue use in potentially hazardous situations.
USING THE BELT CLIP
Your scanner has been equipped with
a belt clip to make it more mobile.
To use, simply slide the belt clip
over the waistband of your
pants/skirt or your belt.
USING THE LIGHT
Your scanner has been equipped with a light to help
you see better in dim or dark lit areas. Press and
hold the LIGHT button to activate this feature.
BATTERY SAVER
Your scanner has been equipped with a batterysaving circuit. This feature sends the unit into a
standby mode, which uses only 40 percent of the
available power, if no signal is detected within a 5
second time interval. All LCD indicators remain on.
The scanner will continue to operate in the standby
mode until it receives a signal or you press a button.
HAV E A BLAST – JUST
NOT IN YOUR
EARDRUMS
Make sure you
turn down the
volume on the
unit before you
put on headphones.
Increase the volume to
the desired level only
after headphones are in
place.
 Loading...