

Page 1
mini AM/FM
REVERSE
FWD REW
STOP
PLAY
MODE
Stereo with
cassette player
RP-1882
FCC INFORMATION
This device complies with Part 15 of the FCC Rules. Operation is subject to the following
two conditions: (1) This device may not cause harmful interference, and (2) this device
must accept any interference received, including interference that may cause undesired
operation.
In accordance with FCC requirements, changes or modifications not expressly approved by
Thomson Consumer Electronics could void the user’s authority to operate this product.
This device generates and uses radio frequency (RF) energy, and if not installed and used
properly, this equipment may cause interference to radio and television reception.
If this equipment does cause interference to radio or television reception (which you can
determine by turning the equipment off and on), try to correct the interference by one or
more of the following measures:
• Reorient the receiving antenna (that is, the antenna for the radio or television that is
“receiving” the interference).
• Move the unit away from the equipment that is receiving interference.
If these measures do not eliminate the interference, please consult your dealer or an
experienced radio/television technician for additional suggestions. Also, the Federal
Communications Commission has prepared a helpful booklet, “How To Identify and
Resolve Radio TV Interference Problems.” This booklet is available from the U.S.
Government Printing Office, Washington, DC 20402. Please specify stock number 004-00000345-4 when ordering copies.
Headset Safety
• Do not play your headset at a high volume. Hearing experts advise against
continuous extended play.
• If you experience a ringing in your ears, reduce volume or discontinue use.
• You should use extreme caution or temporarily discontinue use in potentially
hazardous situations.
• Even if your headset is an open-air type designed to let you hear outside sounds,
don't turn up the volume so high that you can't hear what's around you.
Model RP-1882
15307600 (Rev.1 E/S)
98-00
Printed in China
P.O. Box 1976, Indianapolis, IN 46206
© 1998 Thomson Consumer Electronics, Inc.
Trademark(s) ® Registered
Marca(s) Registrada(s)
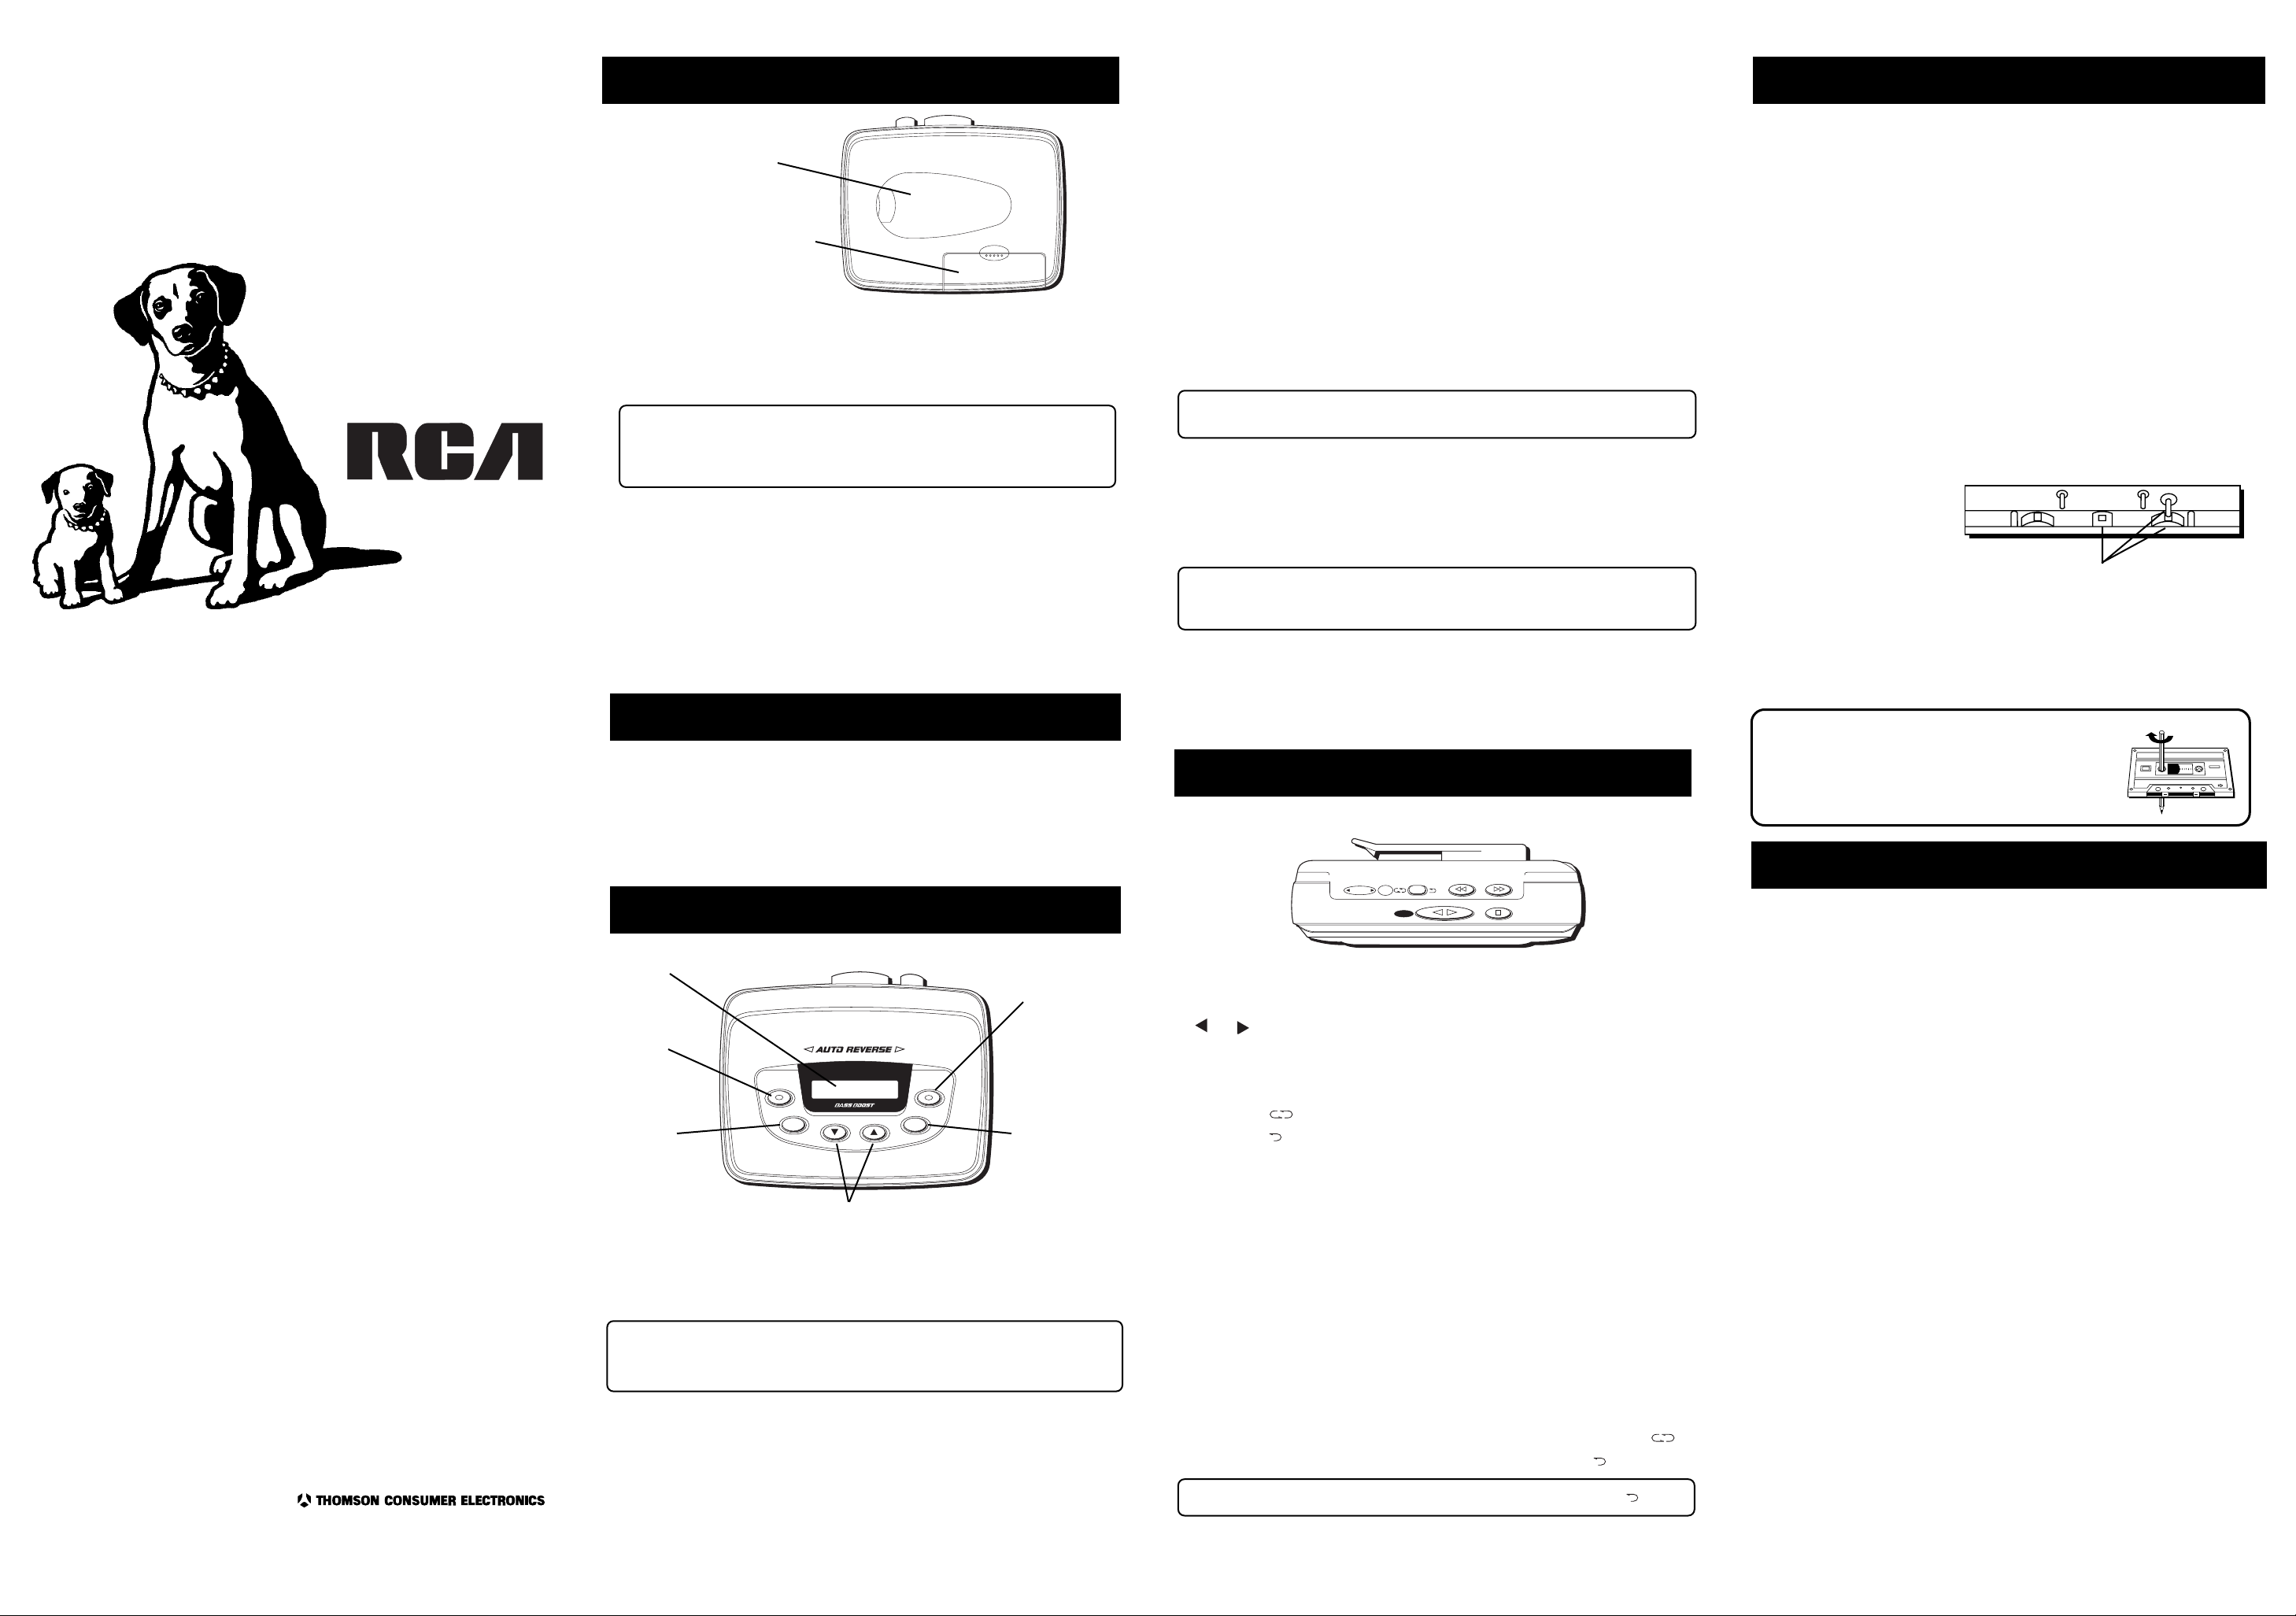
Before you begin Care and Maintenance
Belt clip
Battery compartment
door
Battery Power
This unit is powered by 2 “AA” size alkaline batteries. Open the battery
compartment door on the back of the unit by pressing down and sliding the
door in the direction of the arrow. Insert batteries as shown on the unit.
Batteries Don't Last Forever
If you're not going to use your mini stereo/cassette player for more than a
month, be sure to remove the batteries, or they might leak and cause you
all kinds of problems.
The Clip
The clip enables you to carry your mini stereo on a belt. This belt clip can be
removed by lifting up the lock key while simultaneously pushing it in the
direction of the arrow.
Headphones
You must plug the headphones into the PHONES jack on the side of the unit to
hear the radio or cassette tape. Turn the volume down before you put on the
headphones and increase the volume to desired level after they are in place.
General Controls
Volume
To adjust the sound level, turn the VOLUME control on the side of the unit.
You can store 20 stations (10 AM and 10 FM) in memory by using the PRESET/
STORE and RECALL/SET buttons. These are called preset radio stations. To store
1. Make sure the radio is on by pressing RADIO ON/OFF, the display lights.
2. Select the desired band (AM or FM) by pressing BAND.
3. Select the station you want to preset (store in memory) by using the
TUNING + and — buttons.
4. Press PRESET/STORE button (MEMO for memory flashes in display for
approximately 5 seconds). You must complete steps 5 and 6 within this 5second time period while MEMO is flashing in the display.
5. Press the RECALL/SET button to select the preset channel location. The first
time you press the button, CH 1 (channel 1) is selected and appears in the
display. Each time you press the button, you advance one channel.
6. Press PRESET/STORE button to store the station as a preset station (MEMO
disappears from the display when the station has been successfully stored).
The station you selected in step 3 is now stored in the preset CH number
shown in the display.
Note: Storing a station in memory automatically erases the station that was
previously stored in that memory location (preset location).
listening to a preset station
1. Make sure the radio is on by pressing RADIO ON/OFF.
2. Select the desired band (AM or FM) by pressing BAND.
3. Press and release the RECALL/SET button until the desired preset station
appears in the display.
Note: Preset stations will remain in memory for about 30 minutes when
replacing batteries. If you have removed the batteries for more than 30
minutes, you may need to store stations in memory again.
maximizing am reception
For best AM reception, place the unit in a vertical position (with the volume
knob and headphone jack facing up) when listening to AM stations.
Maximum AM station reception can also be obtained by laying the unit on
its back with the belt clip resting on a table or the floor.
Using the cassette Tape Player
Cleaning the Exterior
• Turn unit off before cleaning the exterior with a soft dust cloth.
Tape Care
• Don’t expose tapes to sunlight or store in hot places. High temperatures may
warp the shell or damage the tape itself.
• Keep cassettes in their boxes when not in use.
• Cassette tapes can be erased by magnetic fields produced by magnets,
electric motors, electrical transformers, and other devices. Keep tapes away
from magnets and magnetic fields.
Cleaning the Tape Heads
Iron oxide particles from the magnetic tape can build up on the parts that come
in contact with the tape. These deposits can cause incomplete erasure, muffled
playback sound, and might prevent automatic stop.
Make sure the unit is turned off and allow 30 minutes drying time when using a
liquid cleaner. To clean a cassette tape, open the compartment door, push the
PLAY button and gently clean the heads, capstan, and pinch wheel with a head
cleaner.
Clean heads after every 25
hours of use.
• Demagnetize the head
occasionally with a head
demagnetizing cassette
(available from many
audio equipment stores).
• Never use any metal
objects on or near the
tape heads.
Do not allow any
cleaning material to fall
into the tape assembly.
Quit Slacking
A little bit of slack in your tapes can cause
scratches on the tape, or worse yet, the tape
could break. If you notice some slack in the tape,
use a pencil to tighten it up before you insert it.
Clean these parts
BASS BOOST
Turn BASS BOOST (on the side of the unit) ON for enhanced bass effect. Turn
Storing Radio Stations in Memory
BASS BOOST to OFF position for normal bass sound.
Using the Radio
Display
BAND
button
RADIO
ON/OFF
button
RECALL/SET
button
• Press the RADIO ON/OFF button to turn the radio on. The last band and
radio station frequency selected appear in the display.
• To choose between AM and FM radio bands, press the BAND button. The
last station and band selected appear in the display.
Note: ST appears in the display when you are receiving a station broadcasting
in FM Stereo. The FM radio station must be transmitting in stereo for you to
receive the broadcast in stereo. AM stations are received in mono only and ST
does not appear in display.
• To change the radio station one channel at a time, press and release the
TUNING + and — buttons to advance up and down the scale.
Automatic Station Seek
The Seek feature automatically searches up and down the scale for the next
station with a strong signal. Pressing and holding TUNING + or TUNING – for
approximately 1 second causes the unit to automatically seek up or down the
scale and stop at the next frequency where a strong signal is being received.
DIGITAL AM/FM PERSONAL STEREO RADIO CASSETTE PLAYER
RADIO ON/OFF
RECALL SET
DIGITAL TUNING
RADIO TUNING
TUNING + and —
buttons
BAND AM/FM
PRESET STORE
PRESET/STORE
button
NEW ART
The Buttons
DIR Shows you the direction the tape is playing.
F FWD Press and lock to advance tape forward.
PLAY Press and lock to play a tape.
QUICK REVERSE Press to change tape direction.
REV. MODE Select to play both sides of the tape continuously.
REV. MODE When started from Side A, unit plays back both sides of
the tape and stops. When started from Side B, the unit
stops after Side B is finished playing.
REW Press and lock to advance tape backward.
STOP Press to stop PLAY, F FWD, or REW.
Playing a cassette tape
1. Open the tape deck door by using the indexes on the side of the door and
pulling the door open.
2. Insert a tape with the exposed tape facing toward the top of the unit.
3. Press REW or F FWD to move tape to the desired starting point.
3. Press and lock the PLAY button on the top of the unit.
Important: The cassette tape won’t play if the radio is on.
Using Auto Reverse/Continuous Play
To continuously play both sides of the tape, set the REV MODE switch to
To play each side of the tape once, set the REV MODE switch to
Note: You must start playback on side A when you choose REV MODE
The DIR indicator shows you which direction the tape is going. To change tape
direction, press the QUICK REVERSE button.
Limited Warranty
What your warranty covers:
• Any defect in materials or workmanship.
For how long after your purchase:
• One year.
(The warranty for rental units begins with the first rental.)
What we will do:
• Provide you with a new, or at our option, a refurbished unit.
• The exchange unit is under warranty for the remainder of the original product’s warranty
period.
How to make a warranty claim:
• Properly pack your unit. Include any cables, etc., which were originally provided with the
product. We recommend using the original carton and packing materials.
• Include in the package evidence of purchase date such as the bill of sale. Also print your
name and address and a description of the defect. Send standard UPS or its equivalent to:
Thomson Consumer Electronics, Inc.
Product Exchange Center
32 Spur Drive
El Paso, Texas 79906
• Pay any charges billed to you by the Exchange Center for service not covered by the
warranty.
• A new or refurbished unit will be shipped to you prepaid freight.
What your warranty
• Customer instruction. (Your Owner’s Manual provides information regarding operating
instructions and user controls. For additional information, ask your dealer.)
• Installation and set-up service adjustments.
• Batteries.
• Damage from misuse or neglect.
• Products which have been modified or incorporated into other products.
• Products purchased or serviced outside the USA.
• Acts of God, such as but not limited to lightning damage.
How state law relates to this warranty:
• This warranty gives you specific legal rights, and you may have other rights which vary
from state to state.
If you purchased your product outside the USA:
• This warranty does not apply. Contact your dealer for warranty information.
does not
cover:
A
 Loading...