

Page 1

12-1632.fm Page 1 Wednesday, May 10, 2000 10:57 AM
Cat. No. 12-1632
OWNER’S MANUAL
Please read before using this equipment.
AM/FM PLL Clock/Table Radio
Page 2
12-1632.fm Page 2 Wednesday, May 10, 2000 10:57 AM
FEATURES
Your RadioShack AM/FM PLL (Phase
Locked Loop) Clock/Table Radio offers
you all the features of an alarm clock and
an AM/FM radio in one convenient package. You can wake to a buzzer or your favorite AM or FM radio station. You can
also fall asle ep with the radio pl aying, and
the radio automatically shuts off at a preset time.
The clock radio’s features include:
PLL Digital Tuning —
digital phase
locked loop synthesizer provides drift-free
frequency tuning with the highest degree
of accuracy and stability.
20 Station Memory
— lets you s tore ten
AM stations and ten F M stations into m emory for easy recall.
Liquid Crystal Display with Brightness
Control
— makes the clock easy to read,
even in low light situations.
1
2
/4" Speaker
— for quality broadcast
sound.
Snooze
— lets you repe ated ly sil enc e the
alarm for about 5 minutes or cancel the
sleep timer feature.
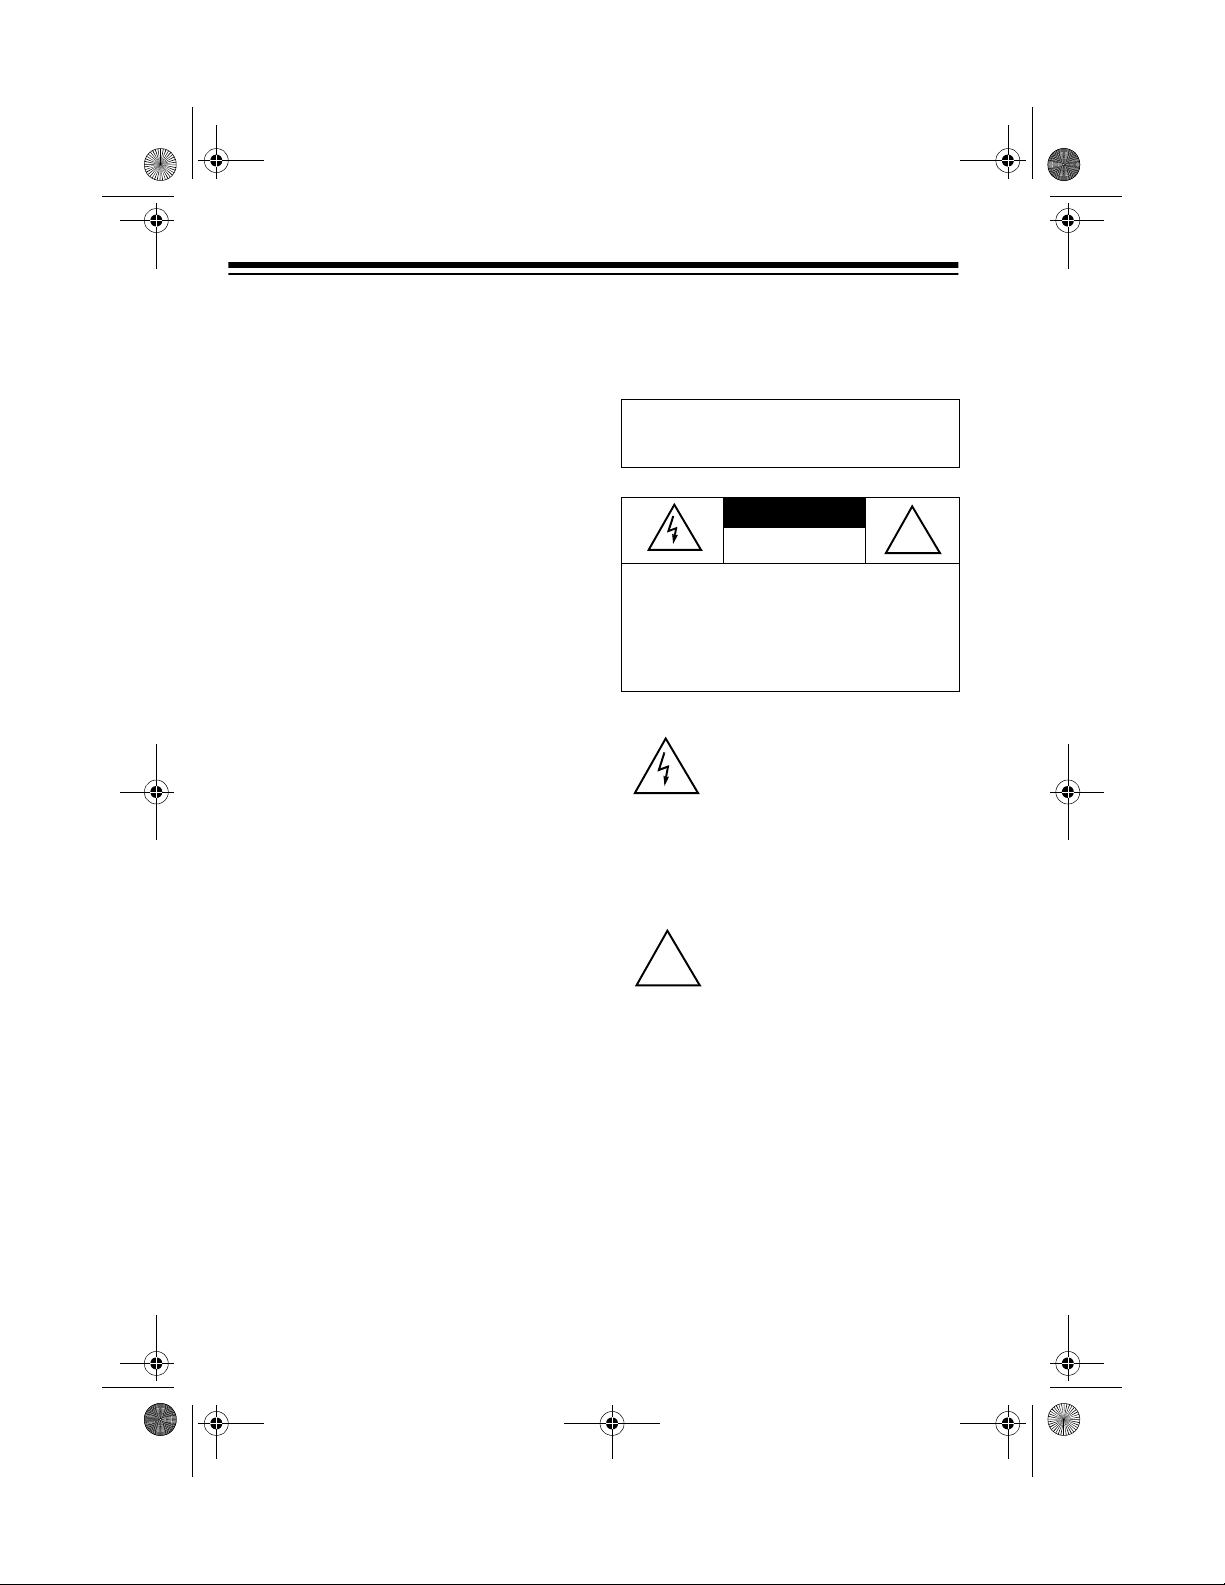
WARNING:
shock hazard, do not expose this product to
rain or moisture.
To reduce the risk of fire or
CAUTION
RISK OF ELEC TRIC
SHOCK. DO NOT OPEN.
CAUTION:
OF ELECTRIC SHOCK, DO NOT
REMOVE COVER OR BACK. NO USERSERVICEABLE PARTS INSIDE. REFER
SERVICING TO QUALIFIED PERSONNEL.
TO REDUCE THE RISK
This symbol is intended to alert
you to the presence of uninsulated dangerous voltage within
the product’s enclosure that
might be of sufficient magnitude to constitute a risk of electric shock. Do not open the
product’s case.
!
Battery Backup with Battery Sentinel
— maintains clock and alarm operation
during a power failure and lets you know
when to install a new battery.
Vertical, Space-Saving Design
— lets
you save space on your night stand or table.
Sleep Timer
— lets you set the radio to
play for up to 90 minutes then auto ma tic al ly turn off.
©
1999 Tandy Corporation.
RadioShack and Battery Sentinel are registered trademarks used by Tandy Corporation.
All Rights Reserved.
2
®
!
The graphical symbols with supplemental
markings are located on the back of the case.
This symbol is intended to
inform you that important operating and maintenance instructions are included in the
literature accompanying this
product.
Page 3

12-1632.fm Page 3 Wednesday, May 10, 2000 10:57 AM
PREPARATION
CONNECTING TO AC
POWER
Plug the clock radio’s power cord into a
standard AC outlet. The display turns on
and the BATTERY SENTINEL indicator
lights. (See “Installing Back-Up Batteries.”)
Caution:
is equipped with a polarized plug to prevent electric shock. One blade on the
cord’s plug is wider than the other and the
plug only fits an outlet one way. If you cannot easily insert the plug, turn it over and
try again. Do not force it.
The clock radio’s AC power cord
INSTALLING BACK-UP
BATTERIES
To keep the clock running for up to 8 hours
during an AC power failure, install three
AA batteries (not supplied) in the battery
compartment. For the longest life, we recommend alkaline batteries.
Follow these steps to install back-up batteries.
1. Slide the battery compartment cover
in the direction of the arrow and
remove it.
2. Place the batteries in the compartment and on top of the attached ribbon, as indicated by the polarity
symbols (+ and –) marked in the compartment.
3. Replace the cover.
The BATTERY SENTINEL indicator lights
if the back-up batteries are not installed or
need to be replaced.
Warning:
promptly and properly. Do not bury or burn
them.
Always dispose of old batteries
Caution:
required size and recommended type.
Note:
the battery, connect AC power
the batteries.
Use only fresh batteries of the
To prevent unnecessary drain on
then
install
3
Page 4

12-1632.fm Page 4 Wednesday, May 10, 2000 10:57 AM
A QUICK LOOK AT THE CONTROLS
Radio/Alarm
Selector
SNOOZE Bar
Display
Brightness
Switch
Time Setting
Indicator
Alarm Indicator
AM/PM
Indicator
Operation
Selectors
Station Memory Selectors
Alarm
Setting
Indicator
Sleep
Timer
Indicator
Station
Memory
Indicator
MEMSLEEP
Battery Sentinel
Radio Station
Tuning Bar/
Hour-Minute
Setting Bar
Indicator
4
Page 5

12-1632.fm Page 5 Wednesday, May 10, 2000 10:57 AM
OPERATION
SETTING THE TIME
1. Press
appear.
2. Hold down
repeatedly press (or hold down)
HOUR
rect hour setting.
Note:
hour.
3. Hold down
repeatedly press (or hold down)
8888
minute setting.
MODE
. The time and
MEMORY/TIME
then
9999
until the display shows the cor-
appears when you set a PM
PM
appears for an AM hour.
AM
MEMORY/TIME
until the display shows the correct
then
MIN
CHANGING THE DISPLAY
BRIGHTNESS
To change the brightness of the display,
DIM HI/LO
set
to HI or LO.
SETTING THE ALARM
TIME
1. Repeatedly press
and the current alarm time appear.
ON
Note:
If you do not set the alarm time
within 10 seconds, the clock radio displays the previous function. To continue, start over at Step 1.
2. Hold down
repeatedly press (or hold down)
HOUR
until the display shows the
desired alarm hour setting.
3. Hold down
repeatedly press or ho ld do wn
until the display shows the desired
alarm minute setting.
MODE
until
MEMORY/TIME
MEMORY/TIME
SET
then
9999
then
MIN
8888
TURNING THE ALARM
ON/OFF
To have the buzzer sound or the radio turn
on at the set alarm time, set
OFF/ALARM AUTO-ALARM
buzzer alarm or to
play as the alarm.
To set the alarm, press
appears. At the preset time flashes and the buzzer sounds or the radio
turns on for up to 2 hours.
To cancel the alarm, press
OFF.
disappears and the alarm (buzzer or radio) stops. To have the alarm
sound the next day at the set time, press
ALARM ON/OFF
To turn on the radio at an y ti me , se t
ON-OFF/ALARM AUTO-ALARM
ON
. Move the switch to either
AUTO
to turn off the radio and set the
alarm again.
Notes:
• To adjust the alarm volume, rotate
VOL
.
• During a power failure, the alarm
sounds instead of the radio regardless
of how you set
AUTO-ALARM
AUTO
again so appears.
RADIO ON-OFF/ALARM
.
RADIO ON-
ALARM
to
to have the radio
ALARM ON/OFF.
for a
ALARM ON-
RADIO
RADIO
to
ALARM
or
USING SNOOZE
To temporarily silence the alarm or radio,
for about 5 minutes, press
can repeat this cy cle a s man y tim es as you
like. To turn off the alarm so it does not
sound again, press
ALARM ON/OFF
SNOOZE
. You
.
5
Page 6

12-1632.fm Page 6 Wednesday, May 10, 2000 10:57 AM
PLAYING THE RADIO
1. Turn
2. Press
3. Repeatedly press
4. Rotate
5. To turn off the radio, slide
Notes:
• If you play the radio and want be cer-
• To display the time while the radio
VOL
to a medium setting, then
RADIO ON-OFF/ALARM AUTO-
set
ALARM
to ON. The frequency of the
last tuned station appears.
AM/FM
to select the desired
band.
Notes:
• The clock radio has a built-in
antenna. For the best AM reception, rotate the radio.
• The FM antenna is built into the
power cord. For the best FM reception, fully extend the clock radio’s
power cord.
MIN
or
8888
9999
to tune up or do wn to the desir ed station. To automatically seek and tune to
the next strong station, hold down
TUNING MIN
8888
or
9999
HOUR
for about
2 seconds.
VOL
to the desired volume.
RADIO ONOFF/ALARM AUTO-ALARM
OFF
.
to
tain that the radio sounds at the alarm
time, be sure to set
ALARM AUTO-ALARM
RADIO OFF
of
when you finish playing
RADIO ON-OFF/
AUTO
to
instead
the radio.
plays, repeatedly press
MODE
the time and appear. To return to
the station frequency display, repeat-
MODE
edly press
until the station fre-
quency appears.
HOUR
RADIO
until
USING THE STATION
MEMORIES
You can store up to 20 stations (10 AM
and 10 FM) into memory and quickly recall
each. Follow these st eps to s tore a station.
1. Turn on the radio and select the desired
band (see “Pl ayin g the Ra dio” ) .
2. Press
3. Press a memory button (
MEMORY/TIME
.
MEM
appears.
M1–M5
within 3 seconds to store the station.
The memory number appears and the
station is sto red. To store a stati on in
locations 6 to10, press
+5
,
and
buttons (
then press one of the memory
M1
for 6, M2 for 7, and so on).
Memory location 10 appears as
Notes:
MEMORY/TIME
.
0
• If you do not store a station within 3
seconds,
disappears. Begin
MEM
again at Step 2 to store the station.
• To replace a stored station, si mply
store a new one in its place.
4. To tune to a stored station, press that
station’s memory button. The memory
location and the stored station’s frequency appear. To recall a stored station from 6 to 10, press +5 then the
memory button
USING THE SLEEP TIMER
You can set the radio to play for up to 90
minutes then automatically turn off.
1. Tune to the desired station.
2. Set
RADIO ON-OFF/ALARM AUTO-
ALARM
OFF, AUTO, or ALARM
to
.
)
6
Page 7

12-1632.fm Page 7 Wednesday, May 10, 2000 10:57 AM
3.
To have the radio play for 90 minutes
then automatically turn off
SLEEP.
SLEEP
and 90 appear.
, press
To have the radio play for less tha n 90
minutes
played time decreases in 10-minute
increments as you hold down
Release
desired pla y time.
4. To turn off the radio before it automatically turns off, press
SLEEP
Note:
not cancel an alarm setting.
, hold down
SLEEP
again.
Using the sleep timer feature does
SLEEP
. The dis-
SLEEP
when you reach the
SNOOZE
or press
CARE
To enjoy your RadioShack AM/FM PLL
Clock/Table Radio for a long time:
• Keep the clock radio dry. If it gets wet,
wipe it dry immediately.
• Use and store the clock radio only i n
normal temperature environments.
• Handle the clock radio gently and
carefully. Do not drop it.
• Keep the clock radio away from dust
and dirt.
• Wipe the clock radio with a damp
cloth occasionally to keep it looking
new.
Modifying or tampering with the
’s internal components can cause a
dio
malfunction and might invalidate its warranty and void your FCC authorization to
use it. If y our
as it should, take it to your local RadioShack store for assistance.
clock radio
is not performing
clock ra-
THE FCC WANTS YOU TO
KNOW
Your clock radio might cause TV or radio
interference even when it is operating
properly. To determine whether your clock
.
radio is causing the interference, turn off
your clock radio. If the interference goes
away, your clock radio is causing the interference. Try to eliminate the interference
by:
• moving your clock radio away from
the TV or radio
• connecting your clock radio to an outlet that is on different electrical circuit
from the receiver
• contacting your local RadioShack
store for help
If you cannot eliminate the reference, the
FCC requires you that you stop using your
radio.
SPECIFICATIONS
Frequencies:
AM ................................ 530–1710 kHz
FM ................................... 88–108 MHz
Output Power ......... 350 mW at 10% THD
Power Sources:
Clock/Radio ........................... 120V AC
Battery Back Up...... 4.5 V DC (3 × AA)
Dimensions (HWD) ......... 6 × 44/
(152 × 122 × 72 mm)
Weight (without batteries):........... 1 lb 6 oz
Specifications are typical; individual units
might vary. Specifications are subject
change and improvement without notice.
5
2
×
(625 g)
4
/5 in
7
Page 8

12-1632.fm Page 8 Wednesday, May 10, 2000 10:57 AM
Limited Ninety-Day Warranty
This product is warrante d by RadioShack aga inst manufacturi ng defects in mate rial and workma nship under normal u se for nine ty (90) days from the date of purchase fro m RadioShack companyowned stores and authorized RadioShack franchisees and dealers. EXCEPT AS PROVIDED
HEREIN, RadioShack MAKES NO EXPRESS WARRANTIES AND ANY IMPLIED WARRANTIES,
INCLUDING THOSE OF MERCHANTABILITY AND FITNESS FOR A PARTICULAR PURPOSE,
ARE LIMITED IN DURATION TO THE DURATION OF THE WRITTEN LIMITED WARRANTIES
CONTAINED HEREIN. EXCEPT AS PROVIDED HEREIN, RadioShack SHALL HAVE NO LIABILITY OR RESPONSIBILITY TO CUSTOMER OR ANY OTHER PERSON OR ENTITY WITH RESPECT TO ANY LIABILITY, LOSS OR DAMAGE CAUSED DIRECTLY OR INDIRECTLY BY USE
OR PERFORMANCE OF THE PRODUCT OR ARISING OUT OF ANY BREACH OF THIS WARRANTY, INCLUDING, BUT NOT LIMITED TO, ANY DAMAGES RESULTING FROM INCONVENIENCE, LOSS OF TIME, DATA, PROPERTY, REVENUE, OR PROFIT OR ANY INDIRECT,
SPECIAL, INCIDENTA L, OR CONSEQUENT IAL DAMAGES, EVEN I F RadioShack HAS BEEN ADVISED OF THE POSSIBILITY OF SUCH DAMAGES.
Some states do not allow limitations on how long an implied warranty lasts or the exclusion or limitation of incidental or consequential damages, so the above limitations or exclusions may not apply to
you.
In the event of a pro duct defect duri ng the warranty period, take the p roduct and the R adioShack
sales receipt as proof of purchase date to any RadioShack store. RadioShack will, at its option, unless otherwise provid ed by la w : ( a) correct the de fect by pro du c t r epa ir wi th ou t ch arg e fo r par ts a nd
labor; (b) replace the product with one of the same or simil ar design; or (c) refun d the purchase
price. All replace d parts a nd produ cts, and p roducts on which a refund is made, become th e property of RadioShack. New or recondit ioned parts and products may be used in the per formance of
warranty service. Re paired or repl aced parts and p roducts are warr anted for the r emainder of the
original warranty period. You will be charged for repair or replacement of the product made after the
expiration of the warranty period.
This warranty does not cover: (a) damage or failure caused by or attributable to acts of God, abuse,
accident, misuse, improper or abnorm al usag e, failure to fo llow in struction s, improp er inst allatio n or
maintenance, alteratio n, lightning or other incidence of excess voltage or cur rent; (b) any repairs
other than those provided by a RadioShack Authorized Service Facility; (c) consumables such as
fuses or batteries; (d) cosmetic d amage; (e) transporta tion, shipp ing or insu rance co sts; or (f) costs
of product removal, installation, set-up service adjustment or reinstallation.
This warranty give s you specific le gal rights, and you may also h ave other right s which vary fr om
state to state.
RadioShack Customer Relations, 200 Taylor Street, 6th Floor, Fort Worth, TX 76102
We Service What We S ell
12/99
RadioShack
A Division of Tandy Corporation
Fort Worth, Texas 76102
12A99 Printed in the Philippines
 Loading...