

Page 1
User Manual
1.6 GHz
Page 2

Dear valued customer!
On behalf of our proud company we wish to welcome you to the QUORION family of fine business machines. We sincerely hope you will appreciate the many benefits of being associated with a distinguished
product name that represents both quality and commitment to customer satisfaction.
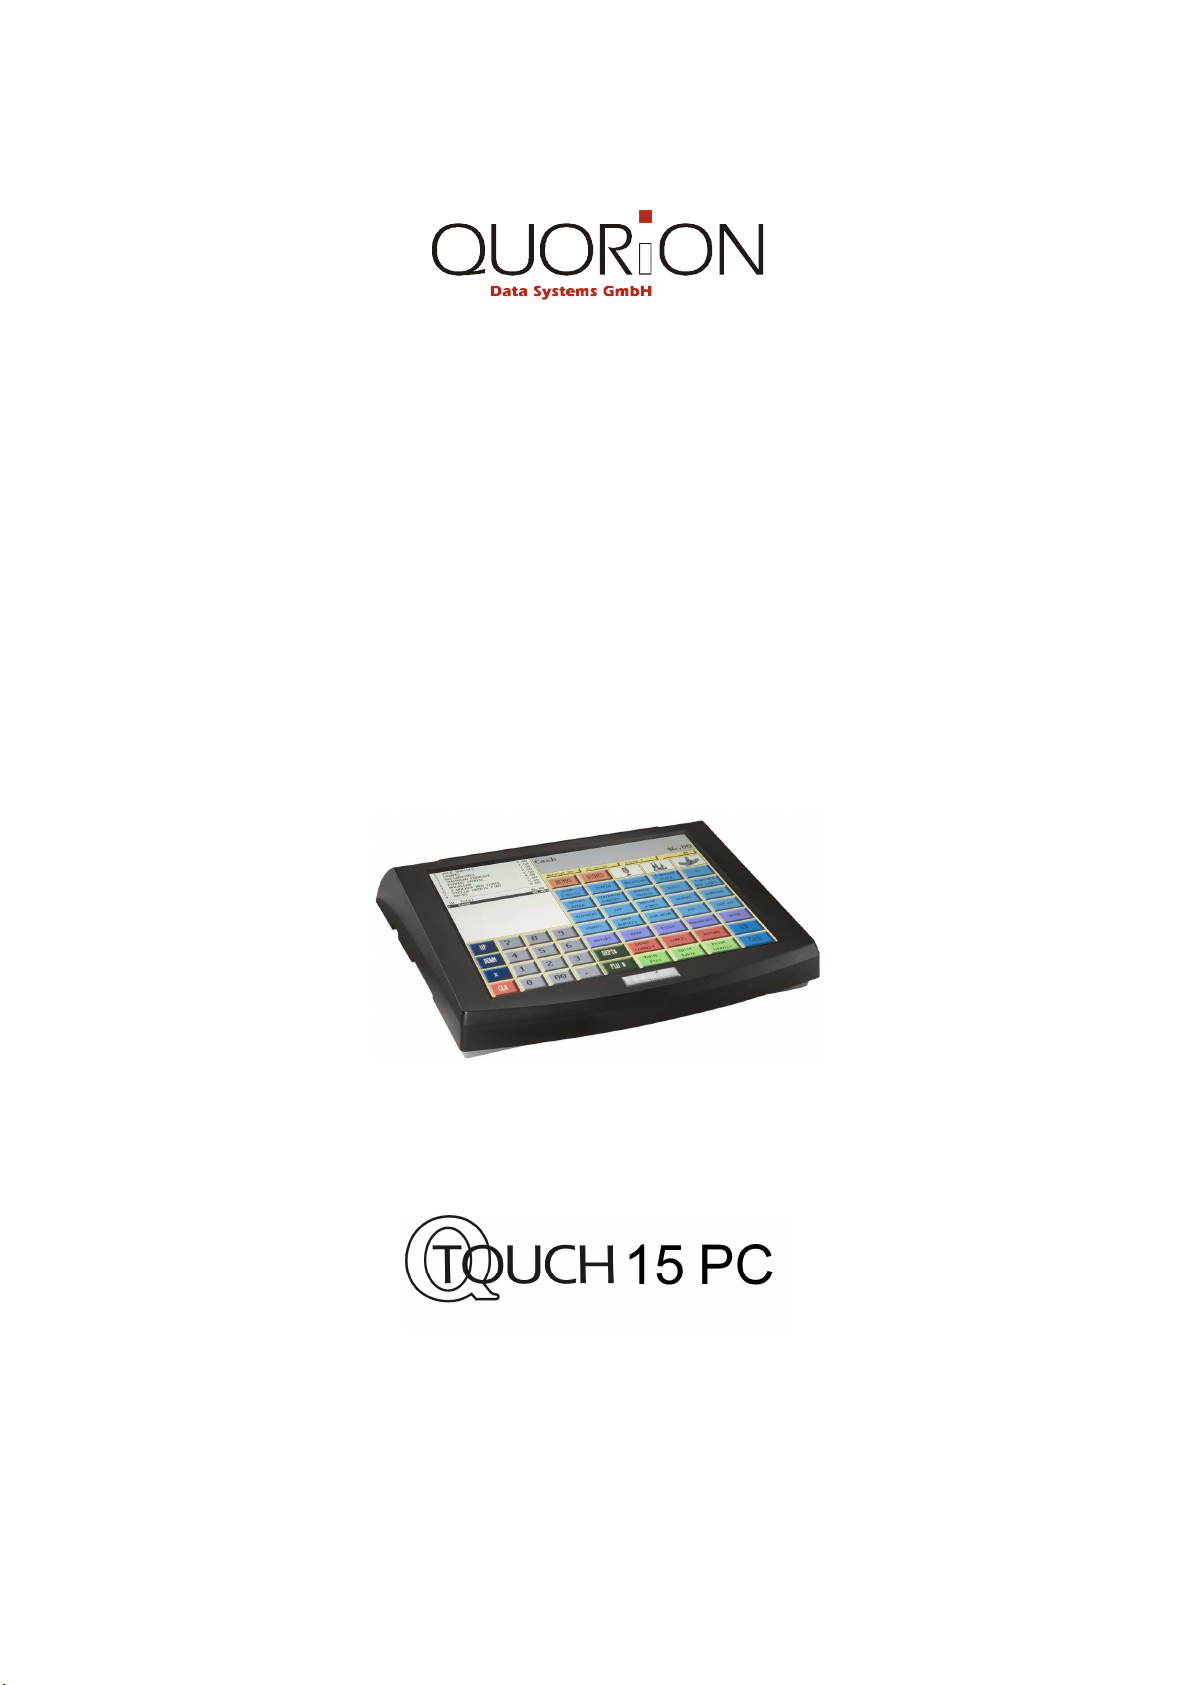
The QUORION QTouch 15 PC is fully customizable and yet simple to operate. Users can easily adapt it
to any type of retail/scanning or hospitality system. Moreover, our dynamic software generates a compatible environment for a wide array of peripheral devices. It is exactly this versatility and quality that has
made us successful among our multinational customers.
It is therefore with great pride that we look forward to continuing our close collaboration with our customers.
Your QUORION Team
2
Page 3
Index
1. SAFETY PRECAUTIONS ............................................................................................ 4
2. GENERAL INFORMATION ......................................................................................... 5
2.1 T
ECHNICAL DATA
2.2 O
2.3 I
NTERFACES
VERVIEW
................................................................................................................ 6
3 GETTING STARTED .................................................................................................... 7
3.1 F
IRST STEPS
3.2 OS I
3.3 D
3.4 A
3.5 T
NSTALLATION
RIVER INSTALLATION
PPLICATION INSTALLATION
ROUBLE-SHOOTING
4. INFORMATION ON THE ELECTROMAGNETIC COMPATIBILITY AND SAFETY .... 9
5. APPENDIX ................................................................................................................ 11
...................................................................................................... 5
.............................................................................................................. 7
............................................................................................................ 7
..................................................................................................... 8
............................................................................................... 8
....................................................................................... 8
.................................................................................................. 9
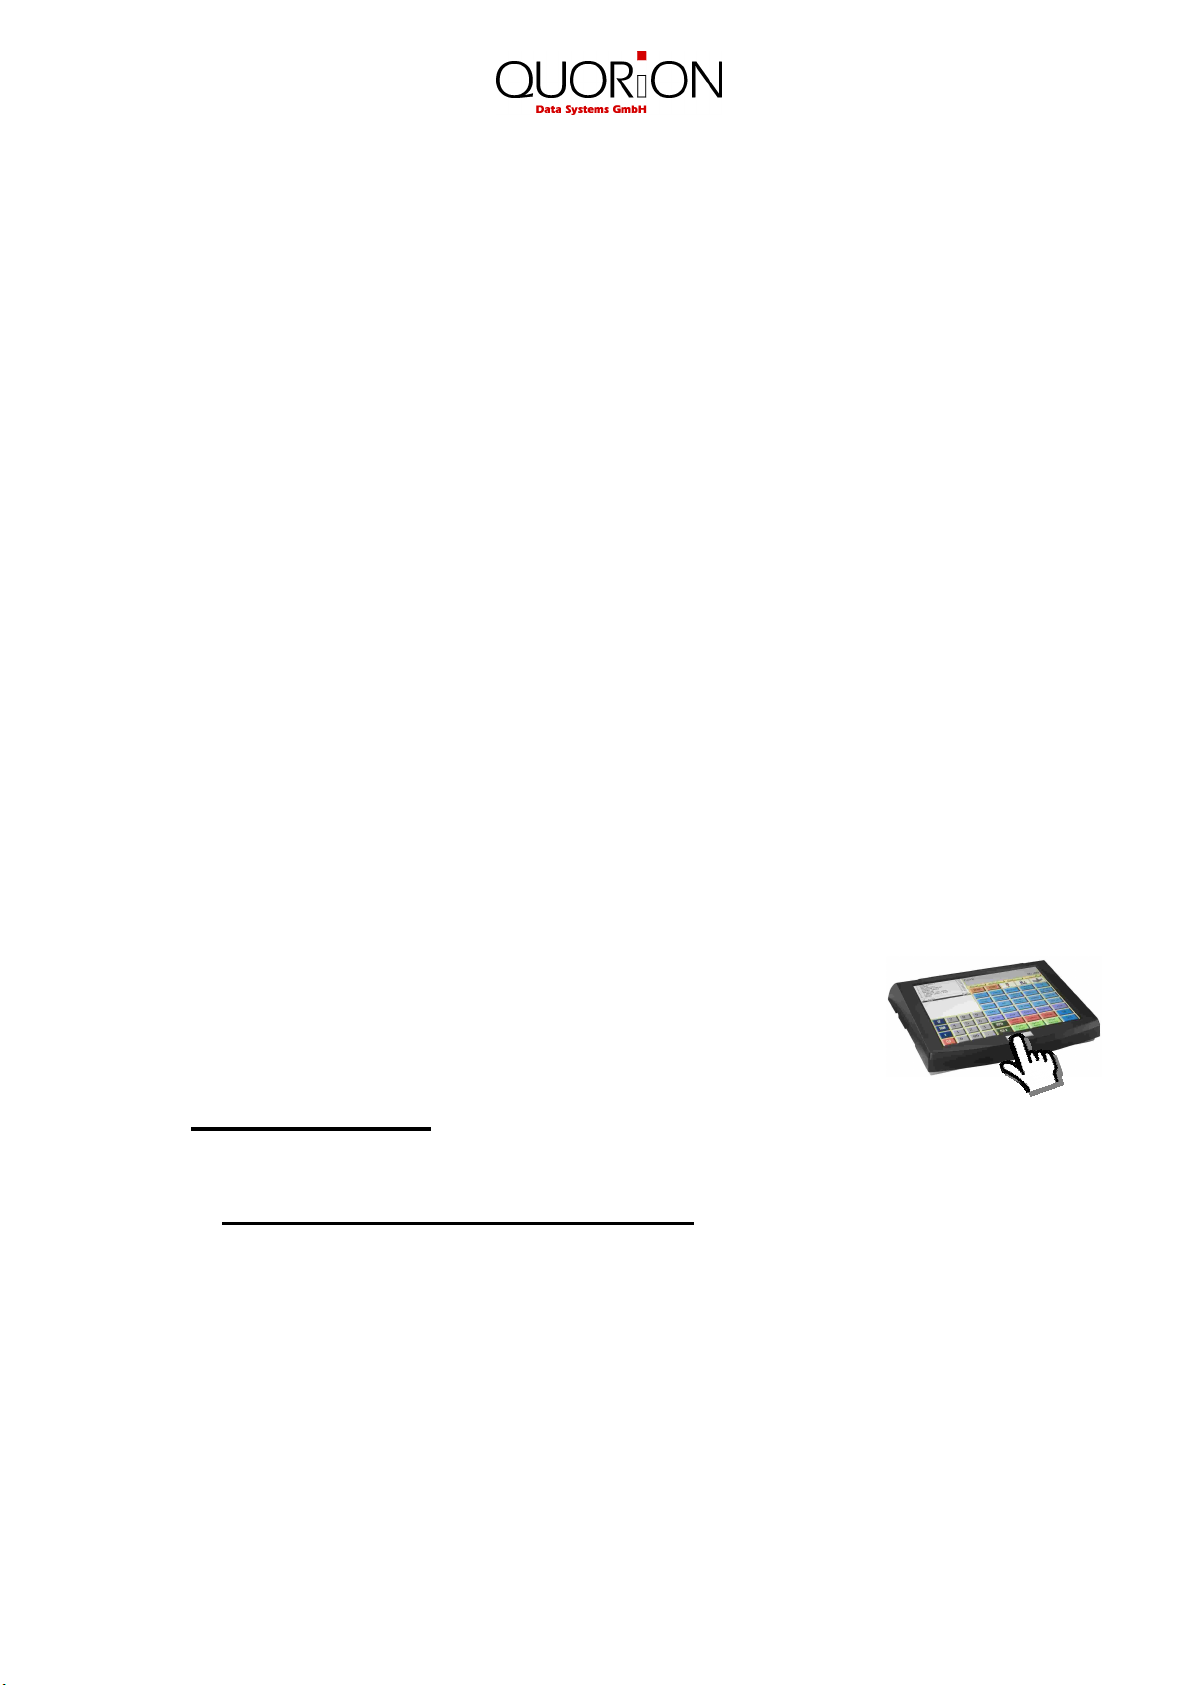
IMPORTANT!
Finger Touch Screen!
Use
only your finger
Please
All other BIOS changes will cause the loss of warranty!
don't change the BIOS settings
to operate this Touch Screen nothing else!
except the boot priority and order.
3
Page 4

1. Safety Precautions
This section presents important information intended to ensure safe and effective use of the
QMP 5000 series. Please read this section carefully and store it in an accessible location.
• Be sure the voltage of your main power net corresponds to the input voltage printed on the
rating plate of the system. Do not connect power adapters from other manufacturers. Use
this product only for its intended application. Improper usage may lead to equipment damage, fire, or shock.
• Be sure your power cable meets the relevant safety standards and includes a power-system
ground terminal (PE terminal). Otherwise shock may result.
• Never attempt to stretch the cables to enable a connection. The power cable and DC cable
must have adequate slack at all times during use.
• Do not connect to electrical outlets close to devices that generate voltage fluctuations or
electrical noise. In particular, stay clear of devices that use large electric motors.
• Never insert or disconnect the power plug with wet hands. Doing so may result in severe
shock.
• Always connect the DC cable before plugging the power cable into the wall outlet.
• When disconnecting the DC cable, hold it firmly at the connector area. Do not tug on the
cable itself.
• Never attempt to repair this product yourself. Improper repair work can be dangerous.
• Never disassemble or modify this product. Tampering with this product may result in injury,
fire, or electric shock.
• Be sure to set this unit on a firm, stable, horizontal surface. Product may break or cause injury if it falls.
• Keep the system away from all conditions, which may cause damage, fire or accidents: Direct sunlight, high temperature and humidity, extreme changes in temperature, heating and
cooling equipment, or humidity, volatile materials, high levels of dust, vibration, and impact.
• Keep away any liquids from the system. If water or other liquid spills into the equipment,
unplug the power cable immediately, and then contact your dealer for advice. Continued
usage may lead to fire or shock.
• To prevent possible harm to the environment or human health please separate this product
from other waste streams to ensure that it can be recycled in an environmentally sound
manner. For more details on available collection facilities please contact your local dealer
where you purchased this product.
4
Page 5

2. General Information
2.1 Technical Data
1,6 GHz intel ATOM CPU
1024 MB DDR2 SDRAM 533 MHz (upgradable to 2 GB)
Intel® 945GSE Integrated GMA 950 Graphics, shared memory
160 GB 2.5“ SATA hard disk (upgradable)
Case cooling with 2 temperature controlled fans (“super silent”)
Standard human interface:
15“ TFT display (1024x768) with touch screen
Interfaces:
3 external serial ports (COM1, COM2, COM3, powered with 5 V)
4 external USB 2.0 ports
PS2 mouse connector
PS2 keyboard connector
2 x 10/100/1000 Ethernet LAN
secondary display connector VGA
audio connector (ear phone)
Power supply
12V 8.3A AC/DC external power supply
Optional devices
internal graphical VFD customer display 140x16 dots (2 lines à 20 characters
with 5x7 font, currently: Noritake GU140X16J; internal connected to COM2,
38400 8N1, hardware flow control; available now)
internal clerk keylock (available on request)
internal cash drawer connections (available in the future)
additional internal USB connectors (available in the future)
2 additional 5V-powered serial port (available in the future)
You can connect ready-to-use external devices to the existing interfaces.
5
Page 6

QTouch
15
PC
2.2 Overview
6
Page 7

2.3 Interfaces
You will find the interface connectors on the back side of the QTouch15 PC. The socket
for the external power supply is on the left side near the keyboard connector.
3 Getting Started
3.1 First Steps
Connect mouse and keyboard.
Connect external DVD (or CD) drive via USB connector (Note: Installation can be
made by any other bootable USB device, e.g. USB memory stick, as well; Select the
correct boot priority / boot device order in the BIOS).
Power on DVD drive (or other boot device).
7
Page 8

3.2 OS Installation
Insert the boot medium (DVD or CD) into the boot drive to install the OS.
Connect the external power supply to the QTouch 15 PC.
Switch on the QTouch 15 PC with power button (left side on the front)
The OS installation menu should start.
Install the OS (Win XP) in accordance to the user manual and screen instructions.
Do not forget to change back the boot priority / boot device in the BIOS for booting
from hard drive with new installed OS. Please do not change other BIOS settings!
3.3 Driver Installation
Once the OS is installed, place the motherboard drivers CD into the USB drive and
install the drivers for ENDAT-2794A (see also: Installation Chapter 4 of the Motherboard User Manual).
Next, place the QUORiON QTouch 15 PC driver CD into the USB drive and install
the driver for the touch controller (see section “Windows” or “Linux”, depending on
your OS).
Calibrate touch screen (start the corresponding utility for the touch controller and fol-
low the instructions).
3.4 Application Installation
QTouch 15 PC should work now like a normal (Windows-) PC.
To use it as a POS system, you have to install your POS software (via USB device).
The optional built-in customer display works via COM4, with settings 38400 8N1.
If your customer display driver does not work well, please try an EPSON-compatible
driver.
If supported by your software, an external monitor via the VGA interface can work
like a customer display as well.
Ready-to-use external devices can be connected to the interfaces (see 1.3 Interfac-
es), if they are supported by your software.
If 4 USB connections are not sufficient to meet your requirements, please connect a
(separately powered!) USB hub to the QTouchPC.
8
Page 9

3.5 Trouble-shooting
In case of the QTouch 15 PC „hangs up“ and can not shut down normally, you can
push the power button longer than 4 seconds to switch off the QTouchPC.
Notice: All unsaved user data will be lost in this case!
In case of a „dark screen“ we recommend to connect an external monitor via the
VGA interface, as well as mouse and keyboard to QTouch 15 PC interfaces.
Check, if the ...
green LED on the external power supply is on
⇒ if not, check power cord and connections to main power
red power LED on QTouch 15 PC (QUORiON label) is on
⇒ if not, check the connections to the external power supply
BIOS settings are correct (no wrong user settings or BIOS crash)
⇒ see main board user manual and QTouch 15 PC BIOS settings (Appendix
A; These settings are very important for TFT display function)
In case of „BIOS crash“
⇒ check the battery on the main board: It has to be changed, if the voltage is
less than 2.4V.
⇒ after a battery change we recommend to load „default settings“ for BIOS and
renew the specific BIOS settings for the QTouch 15 PC (see Appendix A)
4. Information on the Electromagnetic Compatibility and Safety
CE Conformance
This QUORiON cash register conforms to the European Community’s EMV 2004/108
directive. The cash register fulfills the following technical European requirements:
• EN 55022: “Norm values and measuring procedures for radio interference proper
tiescharacteristics of information technology devices“
• EN 55024: “Norm values and measuring procedures for the interference resistance
properties characteristics of information technology devices“
• EN 60950: “Security measurements for the installation of IT“
9
Page 10

A "conformance explanation" in accordance with the directives and standards cited on
top has been delivered and can be reviewed with
QUORiON Data Systems GmbH
An der Klinge 6
99195 Erfurt
(Email: rd@quorion.de; web: www.quorion.de)
REMARK: If the cash register is installed in a system with other devices and components, all other devices and components must each show EMV conformance to the
norm. According to the EMV 2004/108 directive as well as EC and national laws, the
system integrator is responsible to ensure that the built system complies with regulations
Power Cord Exchange
The power cord can only be exchanged by a certified technician. The same type of cord
has to be used.
10
Page 11

5. Appendix
Appendix A
Special BIOS settings for QUORiON QTouch 15 PC (1,6 GHz ATOM)
Standard CMOS Features
Date current date
Time current time
Drive A None
Halt On All, But Keyboard
Advanced CMOS Features
Hard Disk Boot Priority Bootable Add-In Card (for installation) *)
First Boot Device USB-CDROM (for installation) *)
Second Boot Device USB-CDROM
Third Boot Device Hard Disk
Boot Other device Disable
Advanced Chipset Features
Boot Display CRT+LCD
Panel Number 1024x768x24bit 1CH
Integrated Peripherals
Onboard Serial Port 3 3E8
Serial Port 3 Use IRQ IRQ5 (default)
Onboard Serial Port 4 2E8
Serial Port 4 Use IRQ IRQ10 (default)
USB Device Settings
USB Keyboard Function Enabled
USB Keyboard Function Enabled
PnP/PCI Configurations
Init Display First Onboard
PC Health Status
Shut Down Temperature 80°C
All the other settings: Default or as user requests.
*) depending on the boot medium
1.50.417353 BA-englisch GB QTouch 15 PC QUORION (Stand: 14.10.09)
11
 Loading...