

Page 1
User Manual
Page 2

Dear valued customer!
On behalf of our proud company we wish to welcome you to the QUORION family of fine business
machines. We sincerely hope you will appreciate the many benefits of being associated with a
distinguished product name that represents both quality and commitment to customer satisfaction.
The QUORION QTouch 15 is fully customizable and yet simple to operate. Users can easily adapt
it to any type of retail/scanning or hospitality system. Moreover, our dynamic software generates a
compatible environment for a wide array of peripheral devices. It is exactly this versatility and
quality that has made us successful among our multinational customers.
It is therefore with great pride that we look forward to continuing our close collaboration with our
customers.
Your QUORION Team
2
Page 3

Index
1. General Information ................................................................................. 5
1.1 Technical Data ....................................................................................................................... 5
1.2 Components of QTouch 15 ................................................................................................... 6
1.3 Interfaces ............................................................................................................................... 6
1.4 Operating modes ................................................................................................................... 7
1.5 Names of Keys and Their Function ...................................................................................... 8
2. Getting Started ....................................................................................... 10
3. Sign in and Register .............................................................................. 10
3.1 Sign in a Clerk/Sales Person .............................................................................................. 10
3.2 Register a Department ........................................................................................................ 11
3.3 Register Pre-Programmed PLU’s ....................................................................................... 11
3.4 Enter a New Price ................................................................................................................ 11
3.5 Create a PLU during the Sale ............................................................................................. 12
3.6 Multiplication/Division ........................................................................................................ 13
3.7 Holding a Sale ..................................................................................................................... 14
3.8 Tendering in Local Currency .............................................................................................. 14
3.9 Tendering in Foreign Currency .......................................................................................... 15
3.10 Receipt On/Off and Receipt Copy .................................................................................... 15
3.11 Time and Date .................................................................................................................... 15
3.12 No Sale / Open Drawer ...................................................................................................... 15
4. Corrections ............................................................................................ 16
4.1 Clearing of Inputs and Error Messages ............................................................................. 16
4.2 Error correction ................................................................................................................... 16
4.3 Void function ....................................................................................................................... 16
4.4 Refund.................................................................................................................................. 17
4.5 Transaction Refund ............................................................................................................. 17
4.6 Transaction Cancel ............................................................................................................. 18
4.7 Tender Correction ............................................................................................................... 18
5. Discounts, RA and PO ........................................................................... 18
5.1 Percentage Discount/Surcharge ........................................................................................ 18
5.2 Amount Discount/Surcharge .............................................................................................. 19
5.3 Received on Account / Paid Out ........................................................................................ 19
6. Using Shift Levels .................................................................................. 20
6.1 PLU/Department Shift ......................................................................................................... 20
6.2 Price Shift ............................................................................................................................ 20
6.3 Tax Shift ............................................................................................................................... 20
6.4 Keyboard Levels ................................................................................................................. 21
7. Balance Functions (Tables) .................................................................. 21
7.1 Open and Close a Balance ................................................................................................. 21
7.2 Print the Invoice .................................................................................................................. 22
7.3 Transfer Balance ................................................................................................................. 22
7.4 Splitting a Balance .............................................................................................................. 23
7.5 Balance Clerk Transfer ....................................................................................................... 23
7.6 Modifiers and Condiments ................................................................................................. 24
3
Page 4
8. Reports ................................................................................................... 24
8.1 System Reports ................................................................................................................... 25
8.2 User Reports........................................................................................................................ 25
8.3 Electronic Journal ............................................................................................................... 26
8.3.1 Text Format ..................................................................................................................... 26
8.3.2 Binary Format ................................................................................................................. 27
9. Programming ......................................................................................... 27
9.1 Programming of Date and Time ......................................................................................... 27
9.2 Easy Programming .............................................................................................................. 28
9.3 Program Version and Test Routines .................................................................................. 28
10. Training Mode ...................................................................................... 29
11. Instructions for Use ............................................................................. 29
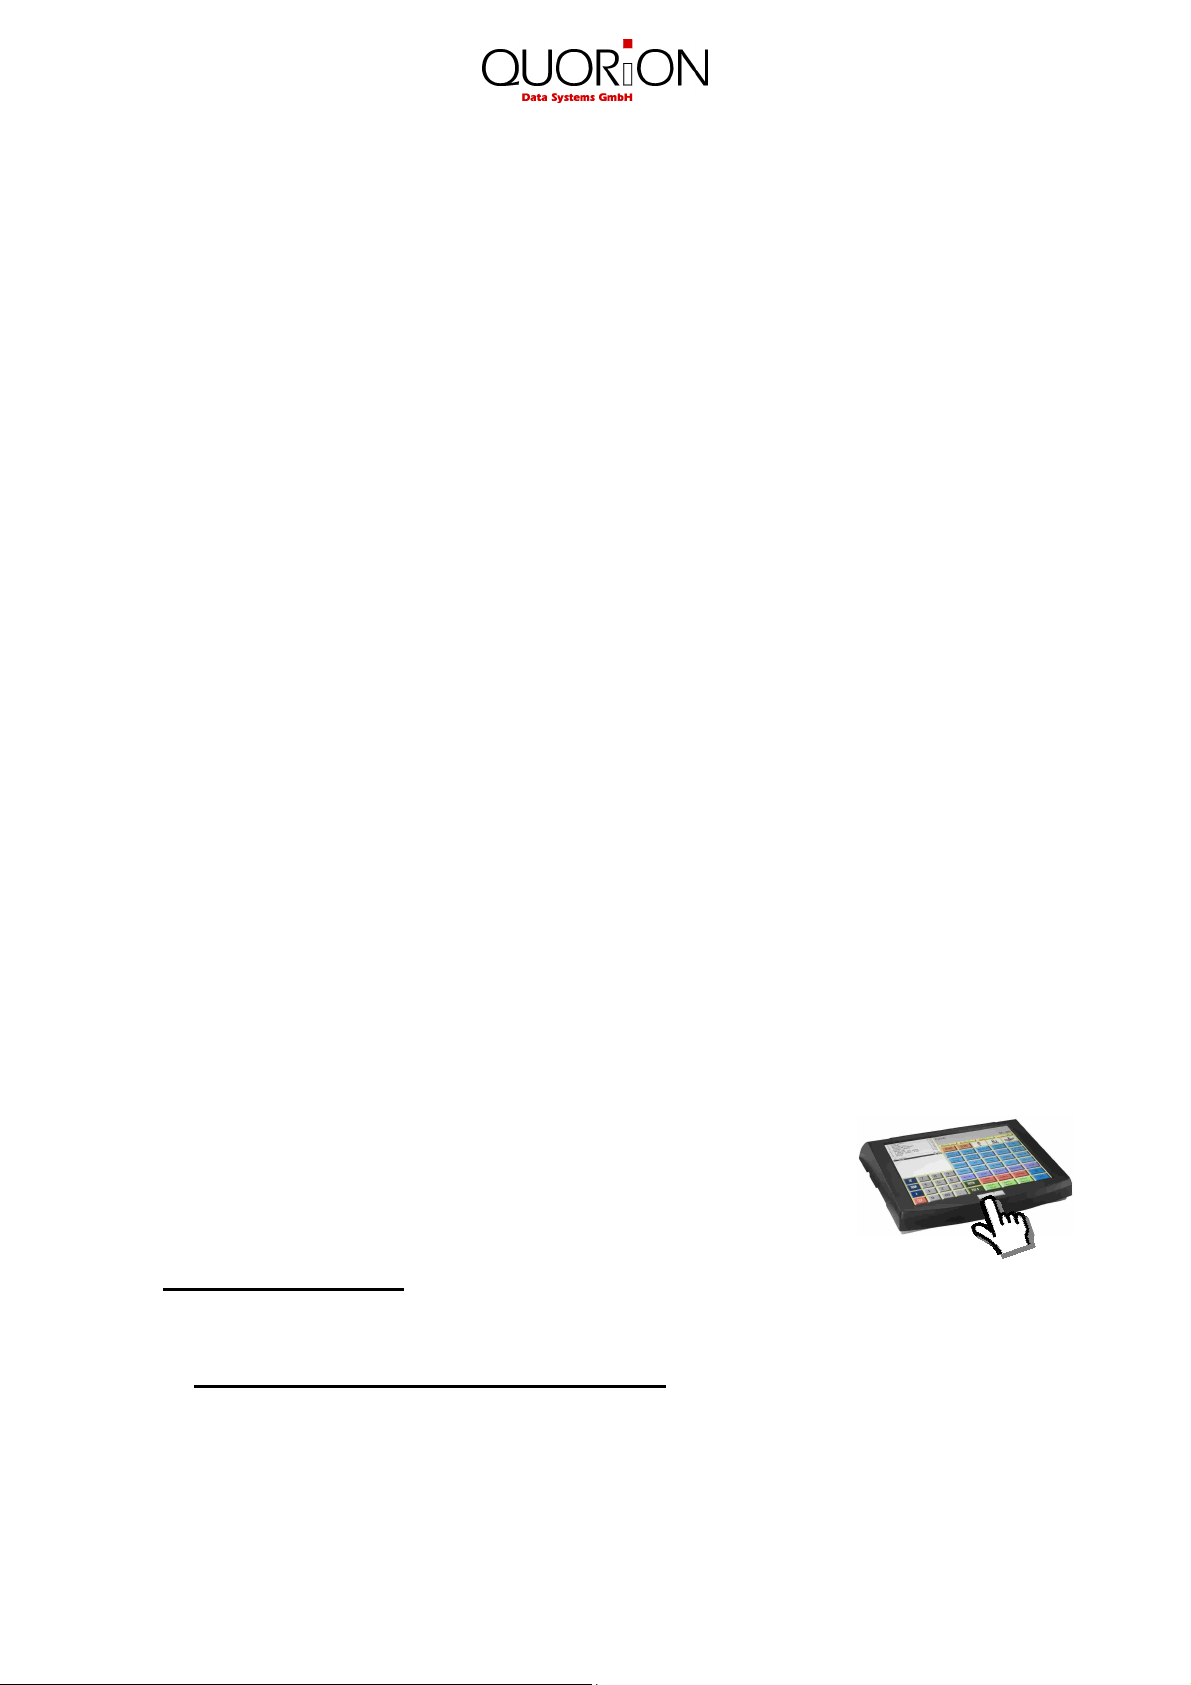
11.1 Touch Screen .................................................................................................................... 29
11.2 Shutdown the System ....................................................................................................... 29
11.2 Power Supply and Interfaces ........................................................................................... 29
11.3 Cleaning ............................................................................................................................. 29
11.4 Wake up from standby modus ......................................................................................... 30
11.5 Service and Maintenance .................................................................................................. 30
12. Information on the Electromagnetic Compatibility and Safety ......... 30
Appendix A ................................................................................................. 31
IMPORTANT!
Finger Touch Screen!
Use
only your finger
Please
All other BIOS changes will cause the loss of warranty!
don't change the BIOS settings
to operate this Touch Screen nothing else!
except the boot priority and order.
4
Page 5

1. General Information
1.1 Technical Data
500 MHz VIA Eden CPU, passive cooling
512 MB DDR2 SDRAM 533 MHz (upgradable to 1 GB)
VIA S3 Unichrome Pro integrated graphics with 64 MB shared memory
1 GB IDE Flash Module (for Linux installations, upgradable to HDD 160 GB)
Case cooling with 2 temperature controlled fans (“super silent”)
Standard human interface:
15“ TFT display (1024x768) with touch screen
Interfaces:
3 external serial ports (COM1, COM2, COM3, all powered 5V @ Pin 9)
2 external USB 2.0 ports
PS2 mouse connector
PS2 keyboard connector
2 external Gigabit Ethernet connectors
secondary display connector VGA
1 audio connector
Power supply
12V 5.5A DC external power supply
Optional devices
internal graphical VFD customer display 140x16 dots (2 lines à 20 characters with 5x7 font,
currently: Noritake GU140X16J; internal connected to COM4, 38400 8N1, hardware flow
control; available now)
internal clerk keylock (available in the future)
internal cash drawer connections (available in the future)
additional internal USB connectors (available in the future)
additional internal powered serial port (available in the future)
You can connect ready-to-use external devices to the existing interfaces.
5
Page 6

1.2 Components of QTouch 15
Customer display
(optional)
Interfaces
Clerk key lock
(optional)
Touch Screen
Power LED
Touch Screen
Main switch
1.3 Interfaces
The QTouch 15 include many different interfaces to connect several external devices. Beside the
well-known serial RS232-interfaces the QTouch 15 also supports modern PC interfaces like USB
or Ethernet. So it has ports for typical cash register peripheral devices such as kitchen printer,
scanner, display, card reader, modem as well as new powerful interfaces for fast data transmission
and easy networking.
Please note that all interfaces have to be programmed before connecting any external devices.If
you have any questions about the programming, please ask your local QUORION dealer.
6
Page 7
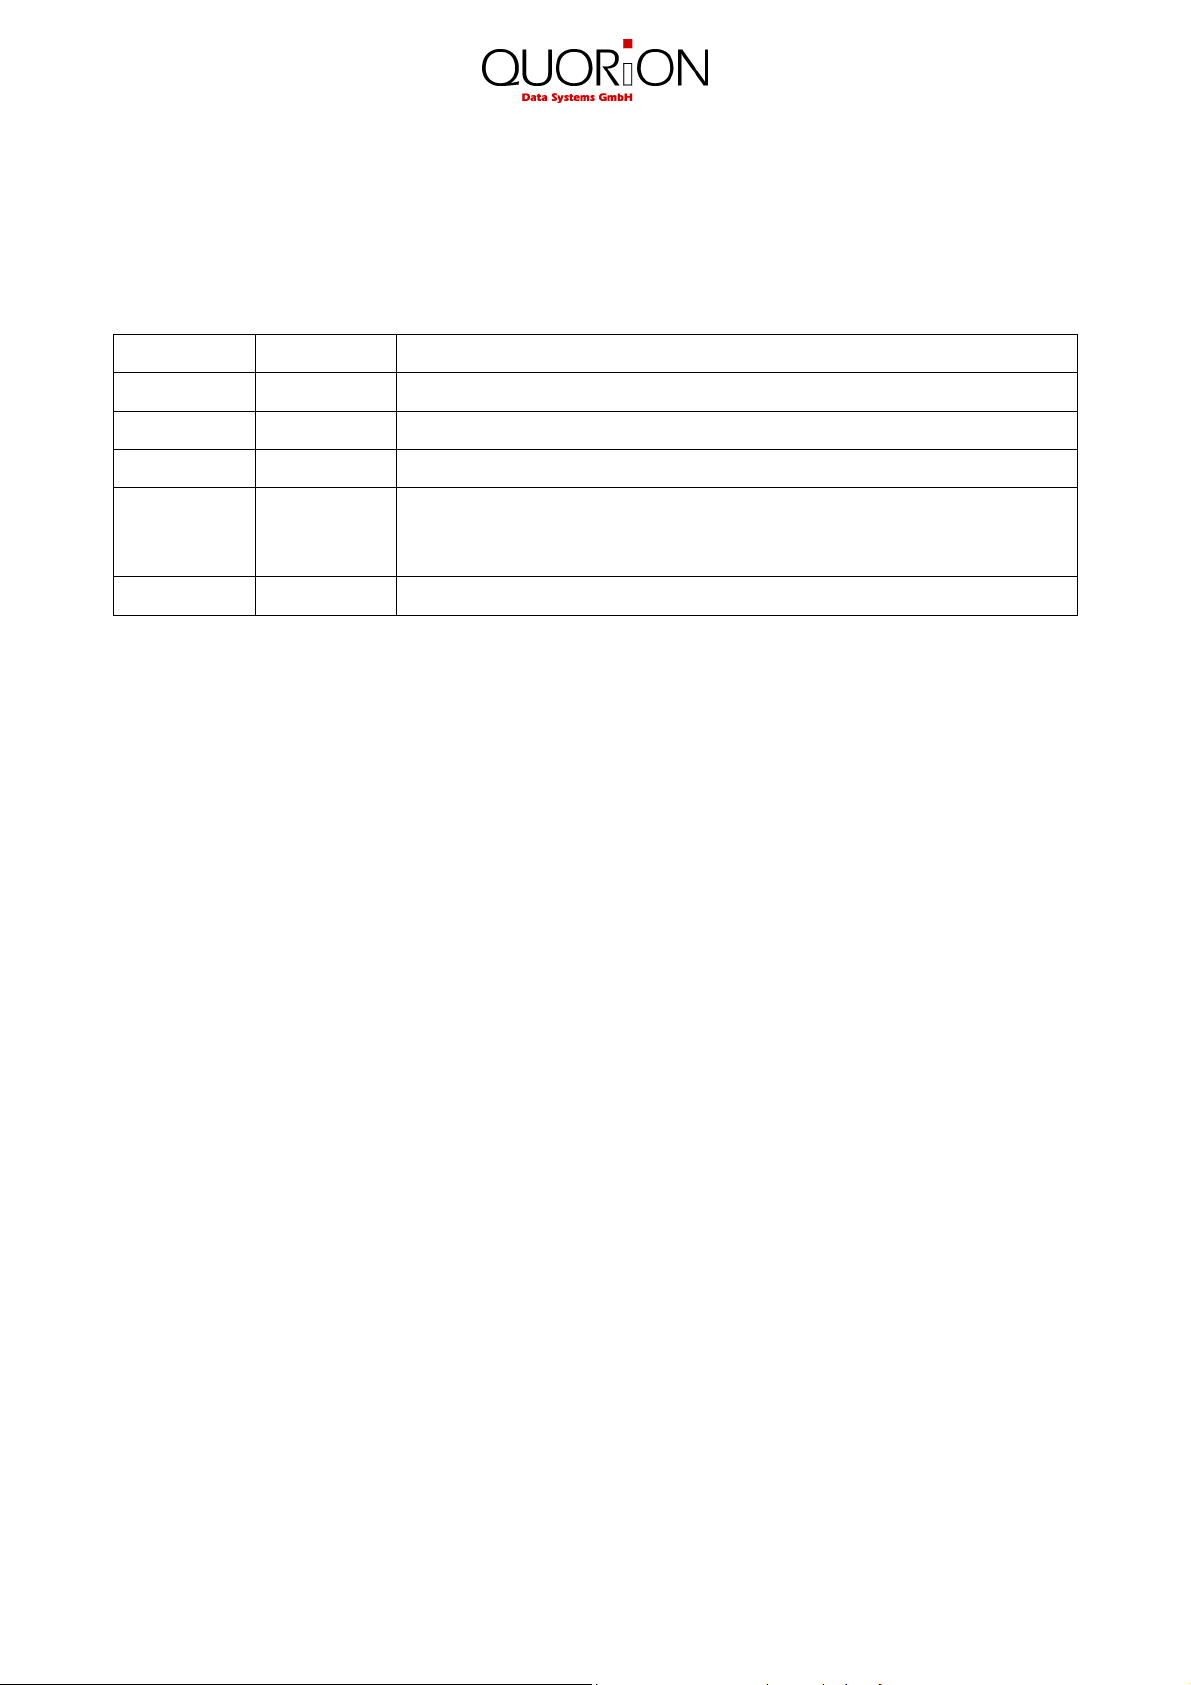
1.4 Operating modes
The operating modes control the operation of your system. There are 5 different modes for various
functions. You switch between corresponding modes with the touch key at the upper right side of
the touch screen, alternating R – X – Z – M – P.
Mode Display Function
R
X
Z
M
P
– REG – Registration – all sales operations and registrations
– – X – – X-Report – viewing and printing of all reports without clearing
– – Z – – Z- Report – viewing and printing of all reports with clearing
– MGR – Manager – all sales operations and registrations
– all functions with manager authority
– easy programming
– – P – – Programming – programming of all functions
7
Page 8
0 9
RECEIPT
JOURNAL
X
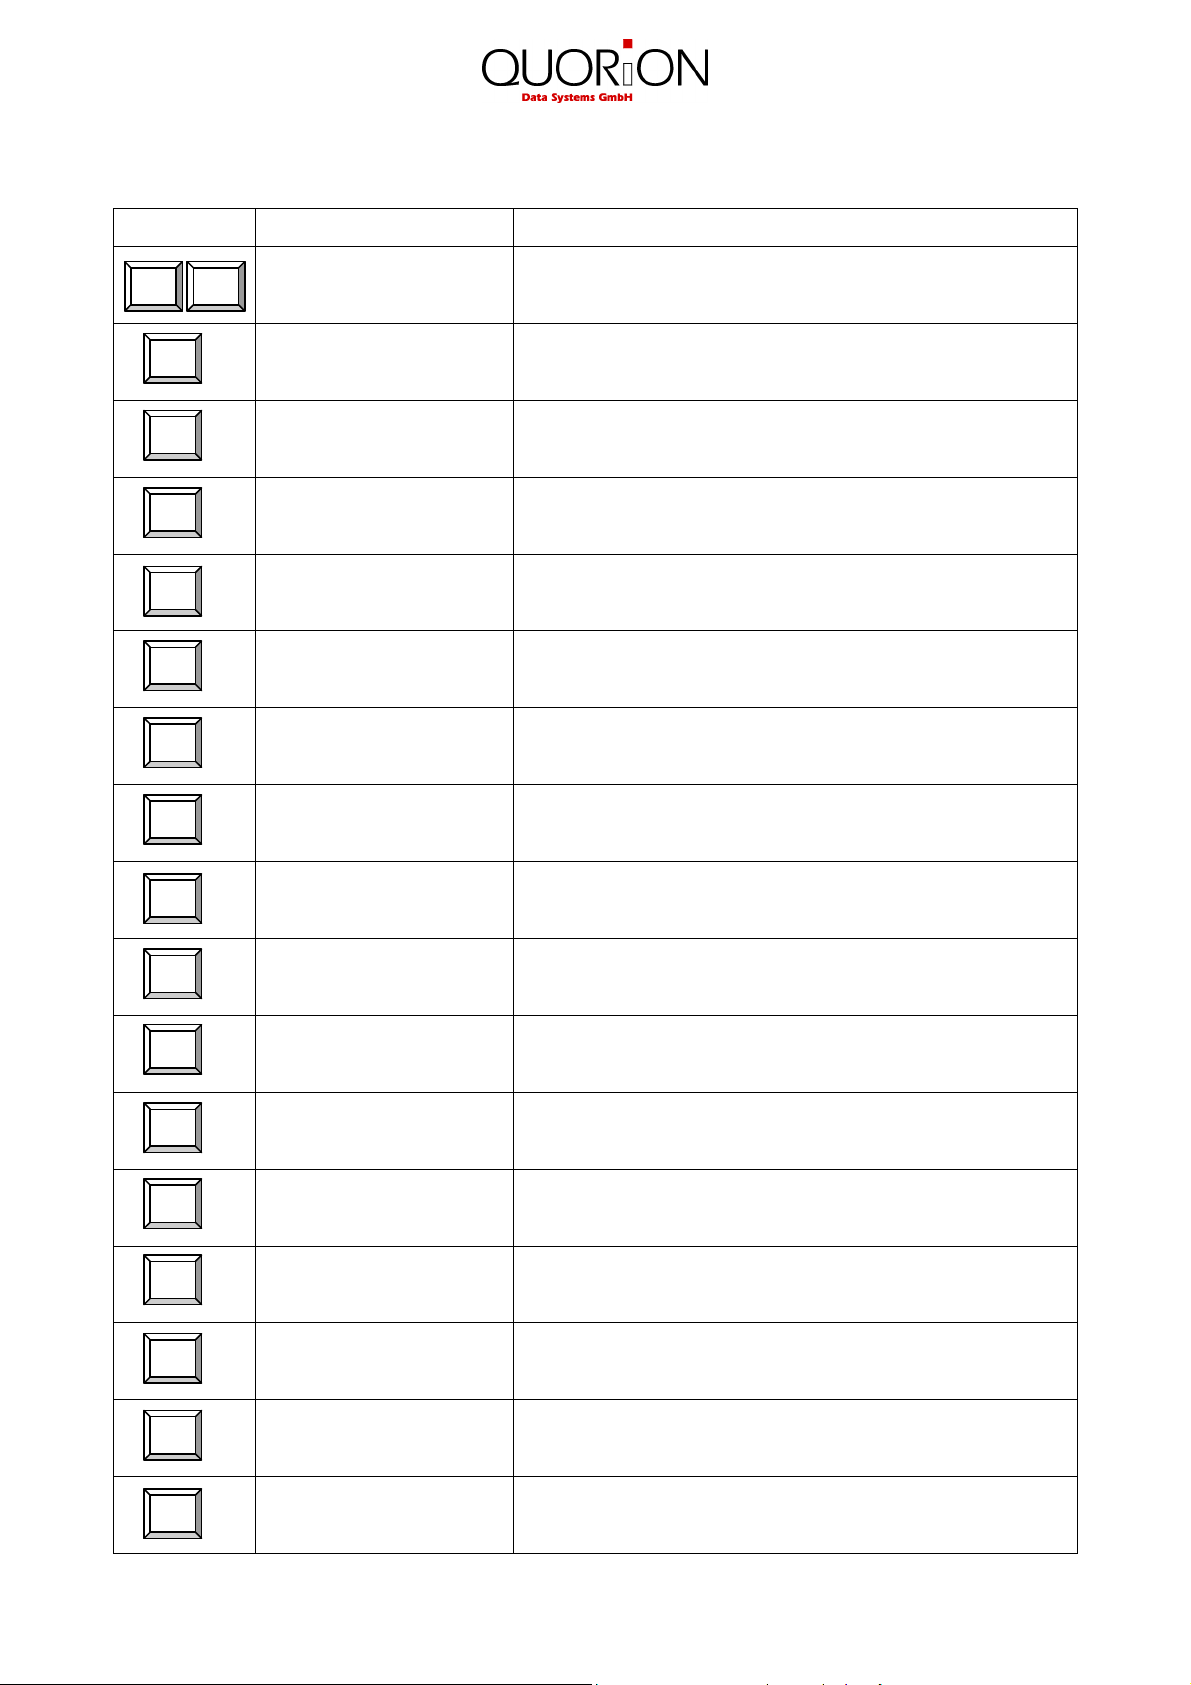
1.5 Names of Keys and Their Function
Key label Key name Key function
CLEAR
EC
VOID
Clerk
#
PLU
enter
PLU
1
RA
PO
+ %
- %
( - )
#
NS
Numeric Keys - used for entering numbers
Receipt Feed - advances the receipt paper
Journal Feed - advances the journal paper
Clear
Error Correction
- clears incorrect entries and stops the error alarm
- deletes the last registration
Void - voids a previously entered transaction
Multiplication / Time
- multiplication / division
- time display
Clerk - used to enter a preset clerk ID numeric code no.
PLU Price Entry - used to manually change a preset PLU price
PLU - used to access preset PLU items
Department - used to enter items to the respective departments
Received on Account - used to record payments to the drawer
Paid Out - used to record payments out from the drawer
Percent Plus - used to add percentage values to the total
Percent Minus - used to deduct percentage values from the total
Coupon Key - used to deduct fixed amounts from the total
No Sale - prints a reference number / opens the cash drawer
8
Page 9
CURSOR
on/off
CURSOR
PAGE
PAGE
TOTAL
Key Label Key Name Key Function
SUB
Sub Total
CASH
Cash Payment
Check
Check Payment - used to tender payments in check
Card
Card Payment - used to tender payments in card
Shift
Shift Key
FCE
Hold
Foreign Currency
Exchange
Receipt Hold - temporarily holds a sale to be recalled later
Receipt
Receipt On/Off - receipt printer can be switched on or off
Scroll Cursor - used to scroll the display selection by one line
Scroll Page - used to scroll the display selection by one page
Table
#
Table Number - used to open or close a table
Table
split
Table Split - separates single articles of a table
Table
trans.
Table Transfer - transfers an existing table to another table
Print
invoice
Print Invoice - closes table and prints invoice
Guest
invoice
Print Guest Invoice
Modi
#
Modifier - prepares instructions for a particular article
- calculates sub total
- prints out receipt copy if no receipt opened
- used to tender payments in cash
- shift department key levels
- shift PLU key levels
- calculate amounts in foreign currency
- closes table and prints invoice including endorsement
message
9
Page 10

2. Getting Started
Place the QTouch 15 on a stable or even surface. Use it only within the operating temperature
range (see technical data) and protect it from splashes and high humidity.
The QTouch 15 come with an external power supply. First, please check if the specifications
printed on the label fit your local voltage. If so, connect the power pack to the QTouchPC. The
power plug is at the rear next to the interfaces. Now connect the power supply with the power
circuit and turn on the QTouch 15 with the main switch.
The QTouch 15 will now load the operating system and automatically launch the cash register
program. You may immediately start working with your new system.
3. Sign in and Register
3.1 Sign in a Clerk/Sales Person
A clerk is the person who is working on the point-of-sale and performing registrations. Before
starting any transaction, it is necessary to sign in a clerk. Now all sales and actions can be
assigned to each single clerk in the reports. Furthermore, it is possible to define individual access
rights for each clerk (e.g. for refund or program modifications).
Sales persons are employees who do not work directly at the but their sales data should also be
saved in the reports. This can be used to calculate commissions, for instance.
To sign in a clerk or sales person you may use either a Dallas-Key or the keyboard. The key has
the advantage of security, because each key is unique and cannot be duplicated. To sign in, simply
place your key on the respective magnetic lock. As long as the key is attached, you are logged into
the system. If you remove the key, you will automatically log out. The QTouch 15 is blocked until a
clerk signs in again.
To sign in with the keyboard it is necessary to have a dedicated clerk button on the keyboard. If
you push this key, you will see a list of all programmed clerks. Use the scroll keys or enter a
number to select a certain clerk. Alternatively, you may also enter the clerk number directly on the
clerk button or define a dedicated key for each clerk. Depending on the programming, it may be
necessary to enter an additional code number to sign in.
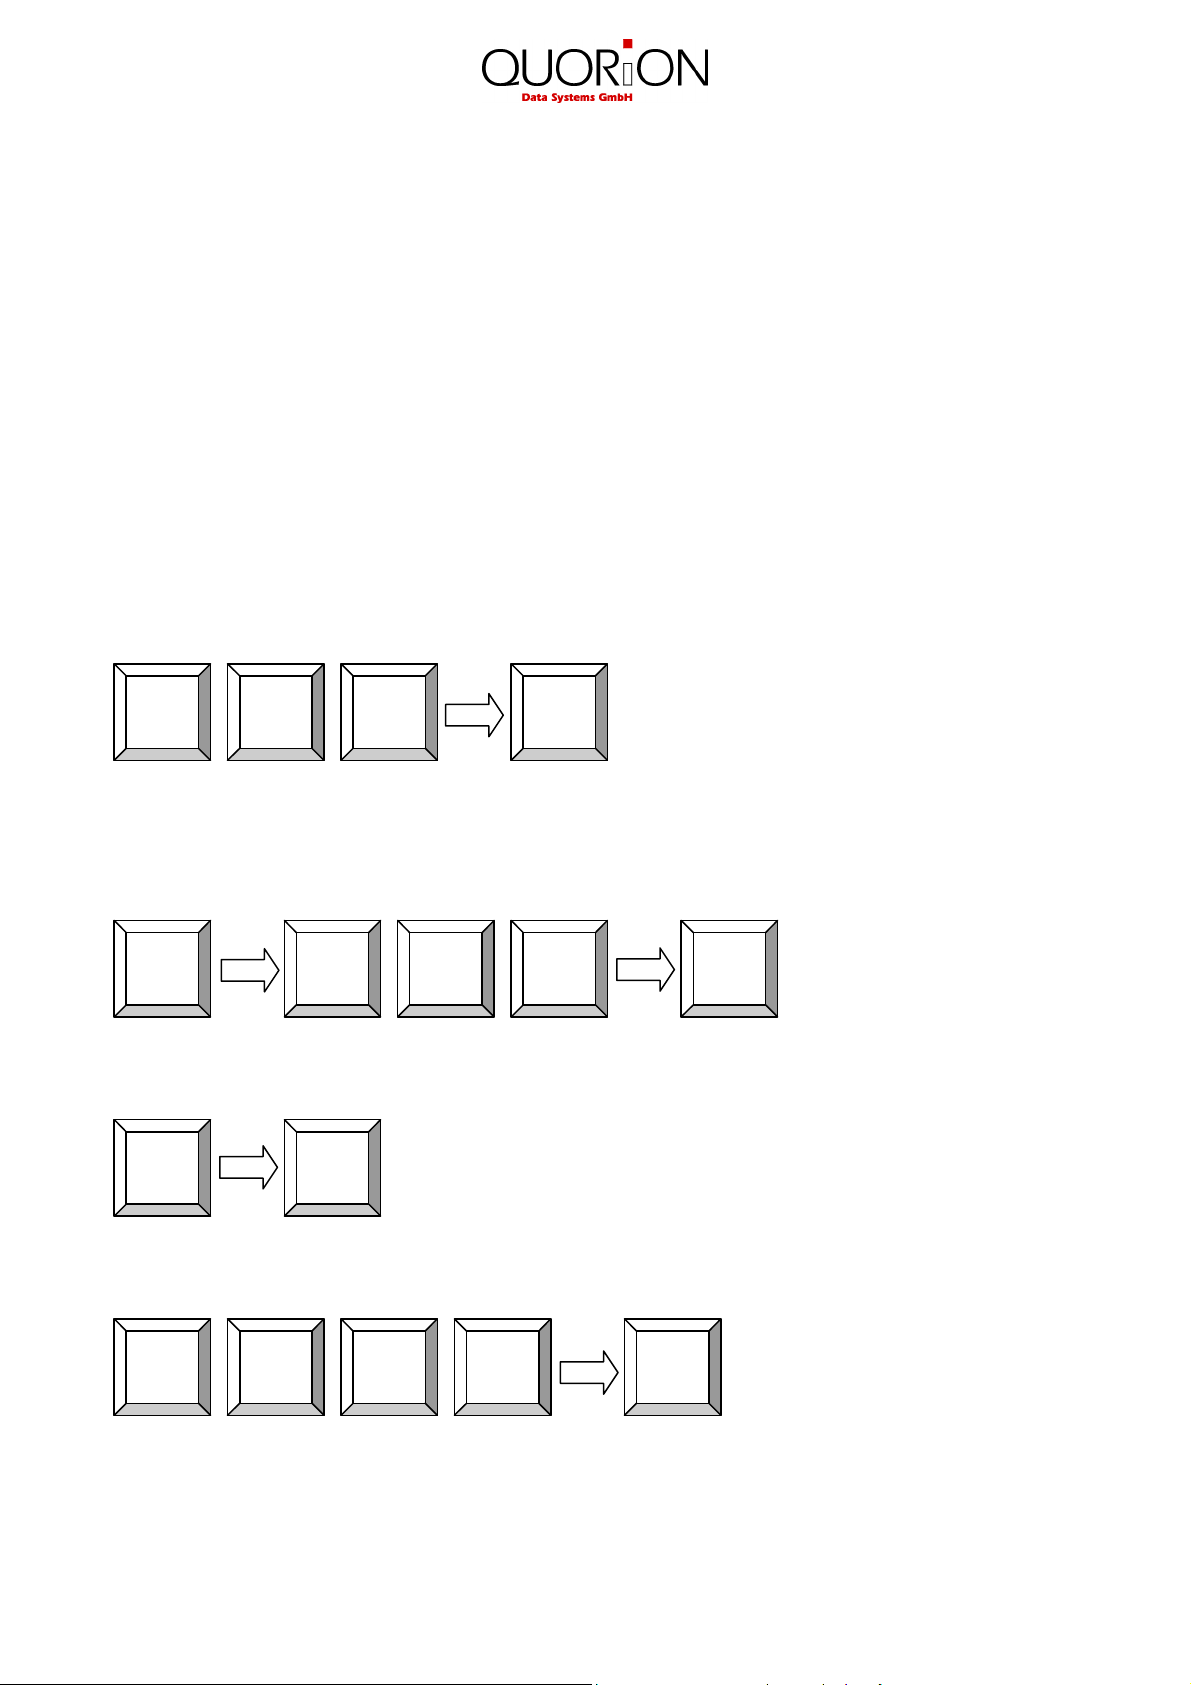
Example:
Clerk
1
10
#
Enter
code number
Clerk
#
Page 11

2
2
2 1
3.2 Register a Department
Department keys may be used either to enter free prices or to select PLU’s from a list. If you press
a department key without entry, you will see a list with all PLU’s which are linked to that
department. Use the scroll keys or enter a number to select a certain PLU from that list.
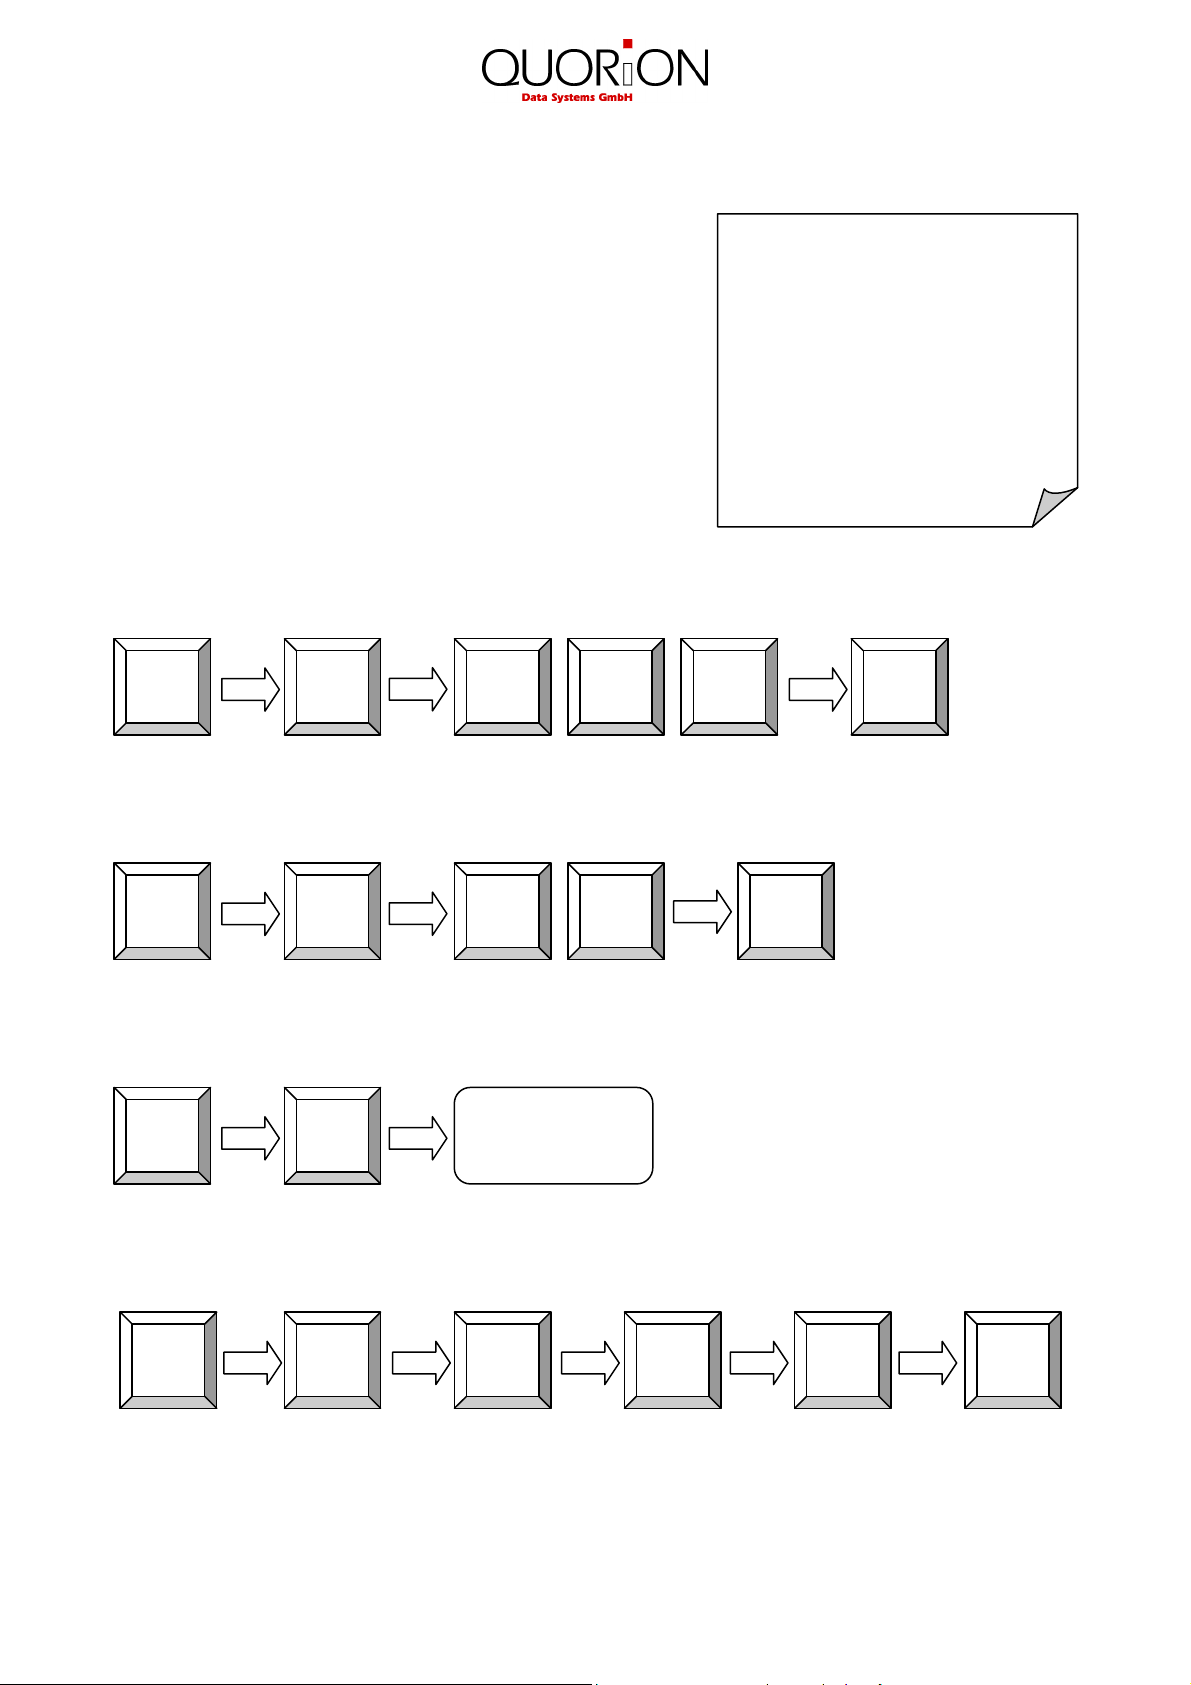
If you wish to register an undefined price for a department,
just enter the price with the numeric keys and press the
respective department key.
Example: Register 2.00 EUR in department 3:
3
00
CUSTOMER LOGO
1 Department 2,00
---------------------------
1 Total 2,00
CASH 2,00
3.3 Register Pre-Programmed PLU’s
Pre-programmed PLU’s are registered by entering the respective number on the PLU key. The preprogrammed price and the description are now read from memory. Alternatively, you may also
program direct keys for certain PLU’s on the keyboard. You only need to press one key for
registering a PLU.
If you are working with scan codes, you may either enter
the code number by keyboard or use a barcode scanner.
In that case, you do not need to press any additional key –
the PLU will be registered directly.
Example: Register PLU number 123:
CUSTOMER LOGO
1 PLU23 5,00
---------------------------
1 Total 5,00
Cash 5,00
3
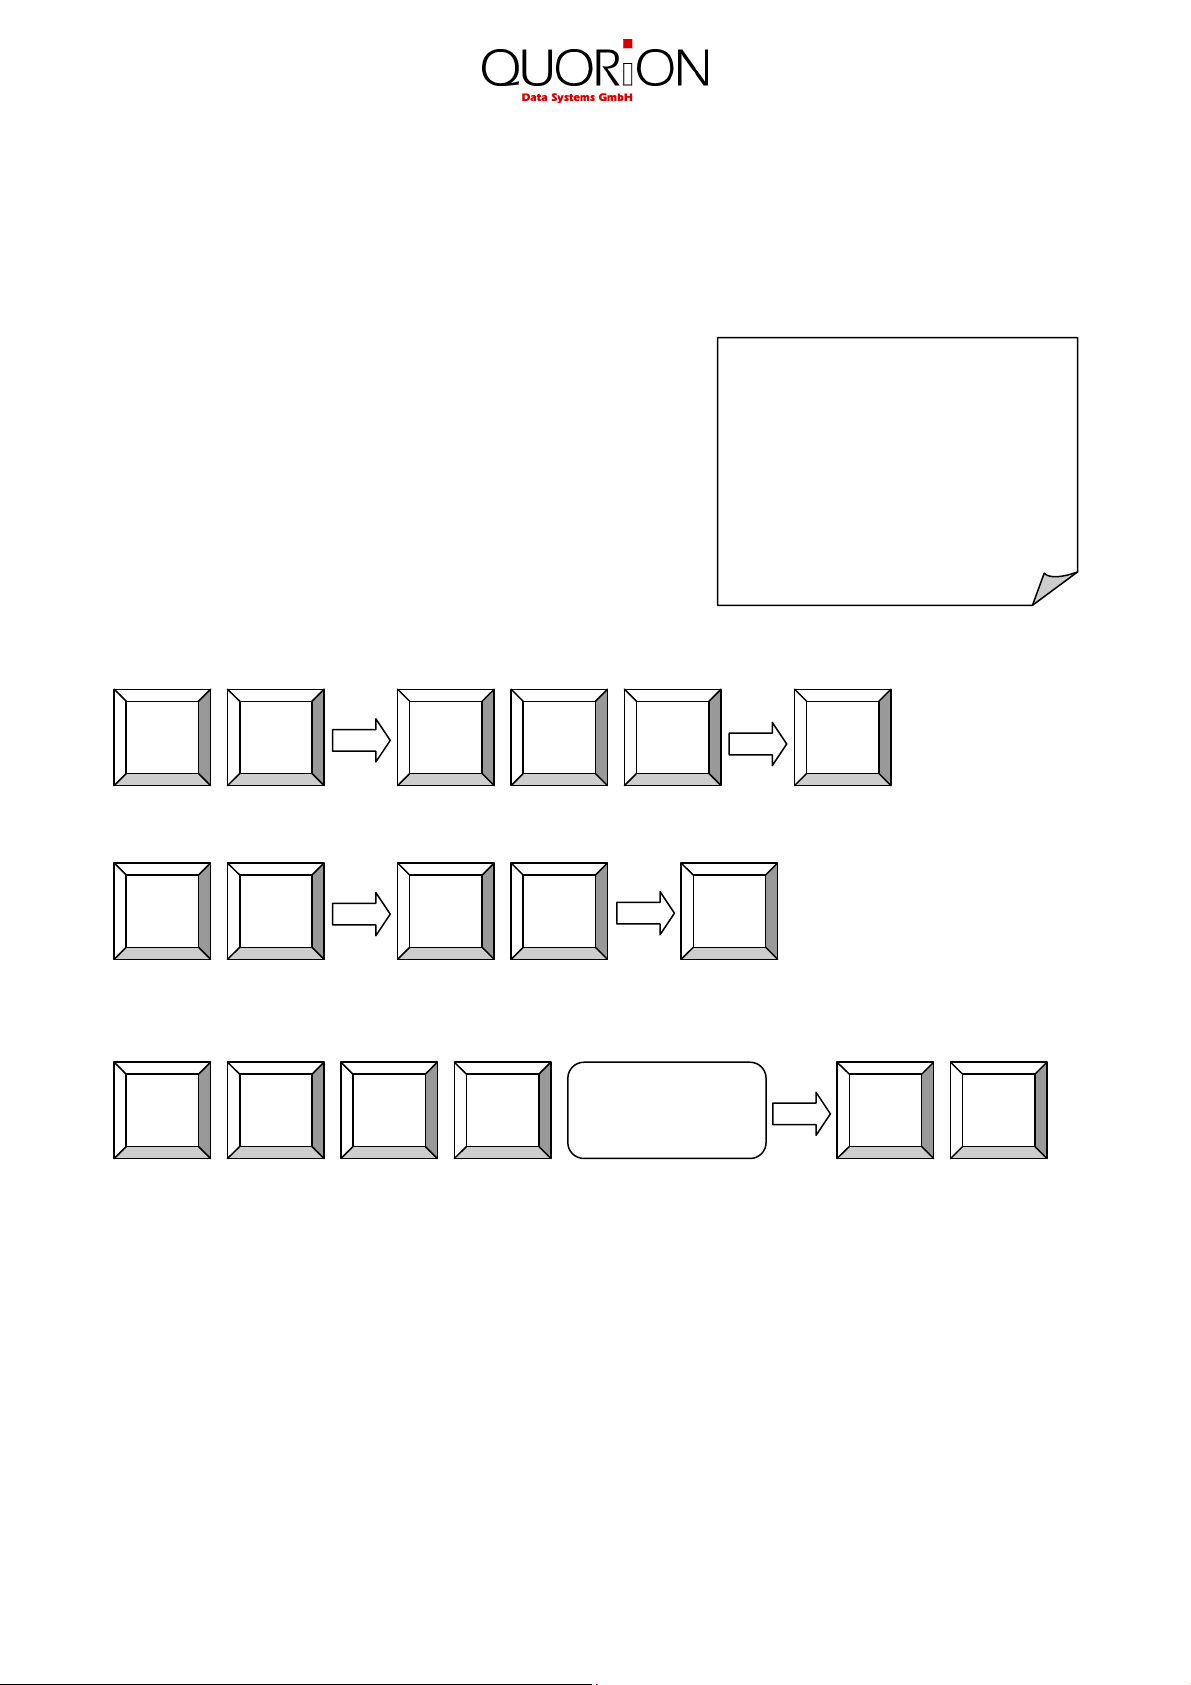
3.4 Enter a New Price
It is possible to change the price of a PLU for a transaction. Simply enter the new price and press
the key “New price” before entering the PLU. This is valid for both scanning as well as manual
entry.
Example: Register PLU number 1 with new price of 2.00 EUR:
PLU
New
00
11
price
1
PLU
Page 12
E
K
O
C
5 1
2 1
3.5 Create a PLU during the Sale
Occasionally, a clerk may have to enter a new item, which has not been programmed in the data
base of the POS. If this happens, the QTouch 15 will automatically prompt you to create this item.
Press the “Sub total” key to confirm or the “Clear” key to exit the prompt.
Once confirmed the QTouch 15 will ask you for the price. Upon entry of the price, press the “Sub
total” key again to confirm. Then enter the department to which the PLU is linked and press
Subtotal to confirm.
If the system has been programmed to allow for the creation of new PLU names during
registration, you will be asked to enter a name for the PLU. Alternatively, the PLU will assume the
name of the department that it is linked to.
After confirmation with the Subtotal key the new PLU will be stored in memory for future
transactions.
Example: Create PLU number 123 – Coke – with price of 1.50 EUR, linked to department 3:
3
If the PLU is not yet programmed, you will be prompted to create it now:
PLU
1. Confirm and enter the price:
Sub
total
2. Enter the department link:
Sub
3
3. Enter the PLU name via keyboard (depends on programming):
total
0
Sub
total
Sub
total
12
Page 13
1
X 5
3
2 X 3
5 3 X 5
3.6 Multiplication/Division
Instead of pressing the same item repeatedly, you may
use the “Multiplication” key. First, enter the quantity to be
rung up, followed by the “Multiplication” key and then the
item.
Depending on the programming, the “Multiplication” key
can also be used for division. First enter the numerator and
press the “Multiplication” key. Now enter the divider and
press “Multiplication” again. Finally, select the
corresponding PLU or department.
Example: Register 5 x 3.50 EUR in department 1:
CUSTOMER LOGO
5 Department 1 17,50
3 PLU 25 3,00
3 4912345678901 3,00
0.2 PLU 2 1,20
---------------------------
11.2 Total 24,70
Cash 24,70
Example: Register 3 x PLU 25:
5
Example: Register 3 x the scan code 4912345678901:
Scan
X
Example: Register 1/5 of PLU 2:
4912345678901
0
1
PLU
X
13
2
PLU
Page 14

Cash
0,30
1
1
3.7 Holding a Sale
The Hold function is used to temporary save an open
receipt, e.g. because a customer has to stop the
registration of his items and you wish to tend on the next
customer. Press the “Hold” key to save the open receipt.
By pressing the “Hold” key again and the old receipt will be
recalled.
Please note that all transactions on hold must be closed
before a Z-report can be performed!
HOLD
3.8 Tendering in Local Currency
CUSTOMER LOGO
1 PLU 1 0,10
---------------------------
1 On Hold 0,10
CUSTOMER LOGO
1 Recall 0,10
1 PLU 2 0,20
---------------------------
2 Total 0,30
Any sale will be closed by entering a payment media key. There are keys for various tenders
programmed on the keyboard, usually CASH, CHECK and CARD. Additional tenders may be
programmed if necessary.
It is recommended to press the “Subtotal” key before tendering, to have the possibility to check the
subtotal and to enter the tendered amount. The QTouch 15 will then automatically calculate the
change owed to the customer.
Example: 1.00 Euro CASH payment:
Sub
total
Generally, it is also possible to split the subtotal to different
tenders. After each tender the QTouch 15 will show the
short amount on the display.
Example: 1.00 Euro CARD payment, short CASH payment:
00
CASH
CUSTOMER LOGO
2 Cola 0,40 0,80
---------------------------
2 Total 0,80
Tendered 1,00
Cash 0,80
Change -0,20
Sub
total
14
00
CARD
CASH
Page 15

Number: 123
2 1
1
3.9 Tendering in Foreign Currency
In addition to the local currency the QTouch 15 can operate with different foreign currencies, which
are saved separately in the reports.
Just press the “FCE” key instead of Subtotal to convert the
total amount in a pre-programmed foreign currency. On the
display the new amount in foreign currency will now
appear. Select a tender as described above and the
change amount will be calculated either in local or in
foreign currency, depending on programming.
Example: 1.00 Dollar CASH payment:
FCE
00
CASH
CUSTOMER LOGO
2 Cola 0,40 0,80
---------------------------
2 Total 0,80
USD
Tendered 1,00
Cash $0,96
EUR
Change -0,03
3.10 Receipt On/Off and Receipt Copy
If a receipt does not have to be printed at all, you may switch off the receipt printer by pressing the
“Receipt on/off” key. To reactivate the printer, simply press the “Receipt on/off” key again. In any
case you can print a receipt copy by pressing the “Sub total” key after a sale.
3.11 Time and Date
If all receipts are closed, you can view the current time and date in the display by pressing the
“Multiplication” key. Depending on the programming this information will be shown automatically
after a certain time has passed. All models with graphical display can also show a programmable
customer logo.
3.12 No Sale / Open Drawer
The No Sale function allows you to open the cash drawer
without registering a sale. You can check the number of
times a No Sale function has been performed in the
reports.
The “No sale” key can also be used as a reference key.
To print a specific reference number on a receipt, enter the
reference number and press the “No sale” key.
Example: Enter reference number 123:
CUSTOMER LOGO
1 PLU 1 0,10
---------------------------
1 Total 0,10
Cash 0,10
3
15
No
sale
Page 16

5 3
4. Corrections
4.1 Clearing of Inputs and Error Messages
To erase an incorrect entry not yet registered, and to clear any error messages just press the
“Clear” key.
CLEAR
4.2 Error correction
The “Error Correct” key (EC) is used to clear the last item
immediately. Alternatively you may use the scroll keys to
select another item from the actual receipt for voiding.
CURSOR
Select
item
EC
CUSTOMER LOGO
1 PLU 1 0,10
1 PLU 2 0,20
EC
-1 PLU2 -0,20
---------------------------
1 Total 0,10
Cash 0,10
4.3 Void function
The “Void” function is used to clear certain items from the
current receipt. First press the “Void” key and then enter
the item which should be cleared. You can also use a
barcode scanner to enter the item number.
Example: Void PLU with scan code 4912345678901:
Scan
VOID
Example: Void 3.50 EUR from department 1. Please note that only those amounts can be voided,
which were previously entered.
4912345678901
1 PLU 1 0,10
1 PLU 2 0,20
VOID
-1 PLU1 -0,10
---------------------------
1 Total 0,20
Cash 0,20
CUSTOMER LOGO
VOID
16
0
1
Page 17

5 3
1
4.4 Refund
A refund is used to return previously sold items. The PLU’s
will be added to the stock and the money is returned to the
customer. The turnover in the reports will be corrected.
To refund an item, press the “Refund” key first and then
the item to be returned. The “Refund” key has to be
pressed before each item, if more than one item is being
returned. After refund the receipt can be continued with
normal sales or can be closed with a payment media.
Example: Refund of PLU 1 and 2:
CUSTOMER LOGO
CUSTOMER LOGO
REFUND
REFUND
-1 PLU 1 -0,10
-1 PLU 1 -0,10
REFUND
REFUND
-1 PLU 2 -0,20
-1 PLU 2 -0,20
---------------------------
---------------------------
-2 Total -0,30
-2 Total -0,30
Cash -0,30
Cash -0,30
0
Refund
2
PLU
1
2
PLU
Refund
Example: Exchange of PLU 1 and 2:
Refund
Example: Refund of 3.50 EUR from department 1:
Refund
1
PLU
PLU
4.5 Transaction Refund
The function “Transaction refund” operates just as the “Refund” function. The difference is that the
does not automatically return to normal sales mode after each item, but stays in refund mode until
you finish the receipt with a payment.
Press first the key “Transaction Refund” and then enter all items which should be returned. Please
note that it is not possible to switch into normal sales mode.
Example: Refund of PLU 1, 2 and 3:
Trans-
refund
17
1
PLU
2
PLU
3
PLU
Page 18

1
4.6 Transaction Cancel
The “Transaction cancel” is used to void a complete receipt before it is finalized with a payment.
Simply press the key “Transaction cancel” to automatically void all items from the current receipt.
4.7 Tender Correction
With the function “Tender Correction” you may change any amount from one payment media to
another.
First press the key “Tender Correction”, enter the desired
amount and then select the payment media from which this
amount should be rebooked. Now, the amount is opened
again and can be assigned to any other payment. It is also
possible to split the amount to more than one payment
media.
Example: Rebook 5.00 EUR from CASH to CARD:
CUSTOMER LOGO
Tender correction
Cash -5,00
Card 5,00
Tender
correct.
5
00
CASH
CARD
5. Discounts, RA and PO
5.1 Percentage Discount/Surcharge
Discounts are price deductions on single items or on the sub total of the receipt. To enter a
discount, first ring up the item, then enter the discount percentage and press the “%(-)” key. If the
discount should be valid for the entire receipt, press the “Subtotal” key first and then enter the
percentage on “%(-)” key.
Likewise discounting items is also possible to order
surcharges. In that case please use the function “%(+)”.
In both cases the percentage values can be preprogrammed to avoid mistakes and manipulation.
Furthermore, it is possible to block single or subtotal
discounts and to set maximum limits.
Example: Percentage discount of 10% to PLU 2:
CUSTOMER LOGO
1 PLU 1 10,00
1 PLU 2 5,00
-10% Rabatt -0,50
---------------------------
2 Total 14,50
Cash 14,50
2
18
PLU
0
% (–)
Page 19

2
2
5.2 Amount Discount/Surcharge
Similarly, it is possible to use amount rebates. The only
difference is that no percentages are calculated but rather
total amounts such as coupons are subtracted/added.
Enter the amount directly after the item or the subtotal and
press the “(-)” or “(+)” key to subtract or add the entered
amount from/to the actual price. Amount discounts and
surcharges can be pre-programmed or blocked in the
same way as percentage rebates.
Example: Discount a pre-programmed COUPON amount
from the total:
CUSTOMER LOGO
1 PLU 1 10,00
1 PLU 2 5,00
COUPON -1,00
---------------------------
2 Total 14,00
Cash 14,00
1
PLU
2
PLU
Sub
total
(–)
CASH
5.3 Received on Account / Paid Out
Cash can be paid out of the cash drawer for special purposes, such as petty cash, etc. This is
referred to as a “Paid Out” (PO). Conversely, cash can also be added to the cash drawer. This
transaction is known as “Received on Account” (RA). Adding more cash to the cash drawer is
another example of “Received on Account”.
In both cases enter the amount first and then press either the key “RA” or “PO”. Depending on the
programming of the the operation will be automatically finalized with the Cash key or can be
continued as a normal receipt.
Example: 25.00 EUR Received on account:
5
Example: 25.00 EUR Paid out:
5
00
00
RA
PO
CUSTOMER LOGO
R.A. 25,00
CUSTOMER LOGO
P.O. 25,00
19
Page 20

6. Using Shift Levels
6.1 PLU/Department Shift
The PLU/department shift is a preset function to switch all article- and department keys to a
second level. This is done by adding a pre-programmed offset to the actual PLU or department
number. Please note that the shift is valid for the very next item, it will be automatically reset
after entry. It is also possible to block the shift for either PLU’s or departments.
6.2 Price Shift
The QTouch 15 allows for more than one sales price for each PLU. This is a useful function for
special occasions, such as Happy Hour or item promotions. You may program an automatic price
shift based on a time period or manually change the price shift via key entry.
First select the price level by pressing the corresponding key. Then, enter the PLU. Depending on
the programming the price level will be reset automatically after an item, a transaction or not at all.
In that case you must reset the price level manually by choosing another keyboard level.
By using price levels it is also possible to realize tax shifts. In such a case the second price level
has the same price but a different tax rate.
Example: Shift to price level 2 and register PLU 1:
Price
level 2
1
PLU
6.3 Tax Shift
As an alternative to the tax shift via price levels, there is a preset function to activate or deactivate
certain tax rates directly.
Just press the corresponding “Tax” key to activate or deactivate a certain tax rate.
Depending on the programming the tax shift will be reset
automatically after an item, a transaction, or not at all. In
that case you must reset the tax manually by pressing the
respective tax key again.
Example: Shift to tax 3 and register PLU 1:
Tax
shift 3
1
PLU
CUSTOMER LOGO
1 PLU 1 10,00
---------------------------
1 Total 10,00
Tax 3 1,00
Cash 10,00
20
Page 21

6.4 Keyboard Levels
Keyboard levels are used to change the complete programming of the keyboard. As a result it is
not only possible to change PLU- and department keys, but all functions. It is therefore very easy
to activate time- or season-dependant actions and functions without re-programming the POS.
Depending on the programming, the keyboard level will be reset automatically after an item, a
transaction, or not at all. In that case you must reset the keyboard level manually by choosing
another level with the corresponding key.
Please make sure to program keys for resetting the level in all keyboard levels. Otherwise it
is not possible to reset a certain level manually.
7. Balance Functions (Tables)
7.1 Open and Close a Balance
Tables are used to temporary store several open balances. This function is mainly used in
hospitality settings in order to save and sort all items per table. Furthermore, it can be used in
hotels to save room accounts or in retail applications to save accounts per customer. The QTouch
15 therefore support three independent memory configurations for tables, rooms and accounts.
The functionality of these configurations is same. Therefore they are all assigned to Balance
functions. In this manual all functions are described under the heading of tables. However, all of
them are operated the same way regardless it they are tables, rooms or accounts.
To save a table, assign a certain number to the open receipt. Usually this number must be entered
before the initial order. Depending on the programming it is also possible to enter this number at
the end of the transaction and book the receipt to tables afterwards.
You may either enter the table number directly and press the ”Table” key afterwards or press the
“Table” key first and select a table number with the cursor keys thereafter.
Example: Open table 1:
1
Example: Select table from the list:
TABLE
Once you completed the current order, you may close the table by pressing the “Table” key again.
All items are saved to the table memory now. Depending on the programming certain items will be
sent to the kitchen printer.
21
TABLE
CURSOR
TABLE
Page 22

2 Burger 2,00 4,00
7.2 Print the Invoice
To invoice a table you must re-open it first. All ordered
items and the subtotal will be displayed. Now press the key
“Print Invoice”.
You may choose to finish the table immediately by
payment or receive a proforma invoice. This allows the
customer to check the invoice first and select a payment
media. After printout of a proforma invoice, the table will be
closed, but stays in memory until final payment.
Before payment you may enter the tendered amount. This
will cause the to calculate the change amount. If you need
an extended invoice with additional text lines, use the key
“Guest Invoice” instead of “Print Invoice”.
Example: Print final invoice of table 1 with CASH:
CUSTOMER LOGO
INVOICE 1
Table # 1
-------------------------- 2 Cola 1,40 2,80
---------------------------
4 Total 6,80
Tendered 10,00
Cash 6,80
Change -3,20
1
Example: Print proforma invoice of table 1:
1
TABLE
TABLE
Print
invoice
Print
invoice
CASH
TABLE
7.3 Transfer Balance
Occasionally, it is necessary to transfer the complete table contents from one table to another to
combine two tables, for instance. To do that you should first open the table you want to transfer
and press the key “Table Transfer”.
If the table was already opened and any new items were entered, you have to close and re-open it.
“Table Transfer” is only possible with new opened tables.
Now enter the number of the new table and confirm with the “Table” key. Alternatively, you may
press the “Table” key without entry and select a number from the list with the cursor keys (see
“Open and Close Balances”).
Example: Transfer all items from table 1 to table 2:
1
22
TABLE
Table
transfer
2
TABLE
Page 23

7.4 Splitting a Balance
The function “Table Split” is used to create more than one invoice from the same table. This may
be necessary if the guests of one table wish to pay separately, for example. To split a table, first
open it and press the key “Table split”.
If the table was already opened and any new items were entered, you have to close and re-open it.
“Table Split” is only possible with newly opened tables.
Now use the cursor keys to select the items, which should be split and confirm each item with the
“Table Split” key. By pressing the “Subtotal” key you may check the sum of all items at any time.
To finish splitting you have two options:
If you want to print out the invoice of the split items directly, you should press the key “Invoice” and
enter the payment media. Alternatively, you may move the split items to another table. In that case
please enter the new table number on the “Table” key or select a table with the cursor keys.
Example: Split from table 1 to invoice:
1
Example: Split from table 1 to table 2:
1
TABLE
TABLE
Table
split
Table
split
CURSOR
CURSOR
Table
split
Table
split
Print
invoice
2
CASH
TABLE
7.5 Balance Clerk Transfer
If you wish to transfer any tables from one waiter to another, please use the function “Clerk
Transfer”. To transfer all tables of a certain clerk, first log this clerk on, press the key “Clerk
Transfer” and select a new clerk either by keyboard or by Dallas key. If you only want to transfer a
single table, you should open this table before pressing “Clerk Transfer” and selecting the new
clerk.
Example: Transfer all open tables from clerk1 to clerk 2:
Clerk
1
23
#
Clerk
transfer
2
Clerk
#
Page 24
X 2
7.6 Modifiers and Condiments
Some special articles need to be specified by supplying cooking instructions or additional items. To
do that, press the “Modifier” key directly after registering the PLU. Depending on the programming,
it may also be necessary to select a condiment. In that case you do not need to press the
“Modifier” key, because the condiment dialog will appear automatically.
Using the cursor keys, you can now select the desired
condiment and confirm with the “Modifier” key. When
required, you can also confirm with the “Multiplication” key.
If a PLU was ordered more than once, it is necessary to
enter a number for the condiment. Enter the desired
number and confirm with the “Multiplication” key.
Thereafter, the request will be continued for the remaining
PLU’s. To confirm the selection for all PLU’s, just press the
“Multiplication” key without entry
Example: Register PLU 1 with modifier 3:
CUSTOMER LOGO
1 STEAK 10,00
*MEDIUM
---------------------------
1 Total 10,00
Cash 10,00
1
or direct entry:
1
Example: Register 2 x PLU 1 with compulsory condiment:
PLU
PLU
Modi
#
3
1
CURSOR
Modi
#
PLU
Modi
#
CASH
Select
condiment
CASH
CURSOR
X
8. Reports
The QTouch 15 offer a wide range of reports to collect and monitor your sales data. All functions of
the system have their own report memory in four periods. They can be checked separately as
system reports or combined as free programmable user reports. The report memory of each
function does not only contain the total sum, but also information about clerks and time periods.
All reports can be performed as X or Z. Both types contain the same information. The X-report can
be printed as a temporary report at any time, because the report data will not be cleared. The
Z-report is a final report – after printing the data, the report memory will be cleared.
24
Page 25

8.1 System Reports
Each function of the has its own system report, which is permanent in the software. Depending on
the configuration, this report can contain different information such as customer count, quantity,
and amount.
If you press the key “SYS” in mode X or Z you will receive a list of all available system reports.
Now, you can select one report with the cursor keys and confirm by pressing “SYS” again.
Alternatively, you may also enter the number of a system report directly on the “SYS” key. Please
note the programming of the system keys. By default the “SYS” key is located on the key
“(–) Coupon”.
The following system reports are available:
1 Total Sales
2 Groups
3 Departments
4 Articles
5 Tax Totals
6 Tendering Functions
7 Drawer Totals
8 PO and RA
9 Discount Functions
10 Corrections
11 Foreign Currencies
12 Balance Functions
13 Table Totals
14 Table Items
15 Menus
16 Price Levels
17 Transactions
18 Special Itemizers
19 Action Tables
CUSTOMER LOGO
System Report
--------------------------Period 1: Standard
---------------------------
Departments
--------------------------Dept 1
CCount 1
Quantity 2
Amount 10,00
Dept 2
CCount 3
Quantity 5
Amount 25,00
--------------------------X-Counter :000001
---------------------------
20 Stock Control
21 Room Totals
22 Room Items
23 Account Totals
24 Account Items
8.2 User Reports
User reports are freely programmable report lists containing several system reports. Hence, you
have the possibility to create your individual reports. While programming the POS, you can define
what data should be printed in the “Daily Report”, for instance. Later you only need to call one user
report instead of manually selecting several different system reports.
If you press the key “ENTER” in mode X or Z you will receive a list of all available user reports.
Now, you can select one report with the cursor keys and confirm by pressing “ENTER” again.
Alternatively, you may also enter the number of a system report directly on the “ENTER” key.
Please note the programming of the system keys. By default the “ENTER” key is located on the
“Cash” key.
25
Page 26
0
0 1 0
3 1 0
0
8.3 Electronic Journal
The Electronic journal will log all operations of the by storing a copy of each receipt printout.
Depending on the programming you can do this either in binary or in ASCII text format.
If you press the key “ENTER” in mode X or Z you will receive a list of all available user reports.
Scrolling to the end of the list, you will find the entry “Electronic journal”. If you select this and
confirm with “ENTER”, a copy of the last receipt will be printed.
Alternatively, you may also enter the number 101 directly on the “ENTER” key to access the
electronic journal. If you want to print more than one receipt, just enter the number before and
confirm with the “Multiplication” key.
To print out the complete journal enter “0”.
If you enter 102 on the “ENTER” key in mode Z, the journal will be cleared without printout. Please
note the programming of the system keys. By default the “ENTER” key is located on the
“Cash” key.
Print out the last receipt:
1
Print out the last 3 receipts:
1
X
Print out the complete journal:
X
Clear the journal (only in Z):
1
8.3.1 Text Format
2
1
1
CASH
ENTER
CASH
ENTER
CASH
ENTER
CASH
ENTER
The Electronic journal is saved in normal text format. Journal data, saved in text format, can only
be displayed and printed going backwards, beginning with the last receipt. Searching for a certain
receipt number is not possible. The format of the printout depends on the programming. It is
therefore possible to print out the journal in two or more columns to save paper. The text format is
suitable for recording all transactions and reports as well as for controlling or exporting data to
other applications.
26
Page 27

0
1
8.3.2 Binary Format
The Electronic journal is saved in binary format. Any receipt can be recalled by number for
controlling purposes or print out. Please note that only sales receipts are saved. The
increasing receipt number is used as reference to navigate through the journal. Reports
and programming are not saved in the binary electronic journal.
To recall the last receipt, press the keys “PAGE UP” or “CURSOR UP” in mode R or M. Using the
keys “PAGE DOWN” or “CURSOR DOWN” you receive the first receipt. If you want to view a
certain receipt, just enter the receipt number before pressing “PAGE UP” or “CURSOR UP”. After
the initial recall you may use the scroll keys to navigate through the journal entries.
If you are in manager mode (M), you can print out a copy of the activated receipt by pressing the
“Subtotal” key. If you print a copy of a table invoice, the endorsement message will be added
automatically.
Example: Search receipt number 15 and print out a copy:
5
PAGE
Sub
total
9. Programming
This manual only discusses the operation of the QTouchPC. It does not contain detailed
information on how to configure and program your system. If you have questions referring to
programming, please ask your local QUORION dealer. He will gladly help you.
The following illustrations merely described how to set date and time and how to program minor
article modifications such as price- or stock-changes during the day.
9.1 Programming of Date and Time
Programming the date and time is easily achieved in mode P, using the system keys “DATE” and
“TIME”, which are programmed by default on the function keys “Void” and “EC”.
Enter the date in the format DDMMYYYY and confirm with the “DATE” key. The new date will be
activated immediately.
Enter the time in the format HHMM and confirm with the “TIME” key. The new time will be activated
immediately.
Example: Set new time 8:00 (only in P):
8
27
0
EC
TIME
Page 28
0 3
1
9.2 Easy Programming
The easy programming of PLU’s is done in manager mode (M) only. To program a PLU enter the
number of the data field you want to change and confirm with the “Subtotal” key. The following data
fields are available:
1 Sales Price
2 Cost Price
3 Description
4 Description 2
5 Department Link
6 Add Stock
7 Subtract Stock
8 Minimum Stock
After selecting a data field, enter the new value, confirm it by pressing “Subtotal” again, and
choose a PLU to be programmed. This can be done either by pressing a direct PLU key or by
entering the number on the “PLU” key. If you want to continue programming articles, you may
repeat the same steps. To finish the programming mode press the key “Subtotal” without entry.
Example: Change price of PLU 5 to 2.00 EUR:
Sub
total
2
00
Sub
total
9.3 Program Version and Test Routines
The QTouch 15 have a set of test routines built-in to check
certain hardware components and receive information
about the installed drivers and software version.
Enter the test number in mode P and confirm with the key
“TYPE”. Please note the programming of the system keys.
By default the “TYPE” key is located on the key “PLU”.
The following test routines are available:
302 Display Test
305 Print out Program Version
306 Init printer
400 Transaction Test Direct Sale
401 Transaction Test Tables
Example: Print out the actual software version (only in P mode):
5
--------------------------F: 1v-WE
P: QC061010
C:
QTouchPC
RAM: 8192K
SERIAL#: 1234567
---------------------------
PLU
5
28
PLU
TYPE
Page 29

10. Training Mode
The training mode is used to test all functions of the QTouch 15 without adding the turnover to the
reports. The report memory will not be changed and all counters remain constant. Please note
that in this mode all receipts will be automatically marked as „Training”.
In order to access the training mode, a pre-programmed training clerk must be signed-in. Training
mode will remain activated until a new clerk is assigned. You will have full access to all registration
and programming functions for testing and training purposes.
11. Instructions for Use
11.1 Touch Screen
The touch screen may only be touched with fingers. The use of pens, pencils or other sharp
objects may damage the screen. No liability is accepted for such damages.
11.2 Shutdown the System
To shutdown the system, do not use the Main switch! In the menu on the display you can see in
the up right corner a Button. You have to press it and answer the following question with yes. The
system now should shutdown.
11.2 Power Supply and Interfaces
Please use the delivered power supply for the QTouch 15 only. The usage of other power supplies
may damage your system. No liability is accepted for such damages.
The interface connections should only be plugged if the system is switched off. Please note also
the maximum cable lengths of 5 meters for USB and 15 meters for RS232.
11.3 Cleaning
To clean your QTouch 15 please use a lint-free dry or slightly damp cloth only. Disconnect the
system from the power supply before cleaning. Do not use any abrasive substances or agents
containing solvents.
Special caution is required when cleaning the display. Be careful not to scratch the surface and
prevent any liquids from entering the housing.
The touch screen may only be touched with fingers. Do not use any pens, pencils or other sharp
objects which can scratch the surface. No liability is accepted for such damages.
29
Page 30

11.4 Wake up from standby modus
To wake up the system from standby modus please touch the Touch screen only in the marked
area (see picture below).
Touch screen
OK
Don´t
Touch
11.5 Service and Maintenance
The QTouch 15 do not contain any components, which can be serviced or repaired by the user.
Please have all maintenance performed by a qualified QUORION dealer. Unauthorized
manipulations may lead to a loss of warranty.
12. Information on the Electromagnetic Compatibility and
Safety
CE Conformance
This QUORiON cash register conforms to the European Community’s EMV 2004/108 directive.
The cash register fulfills the following technical European requirements:
• EN 55022: “Norm values and measuring procedures for radio interference properties
• EN 55024: “Norm values and measuring procedures for the interference resistance
• EN 60950: “Security measurements for the installation of IT“
A "conformance explanation" in accordance with the directives and standards cited on top has
been delivered and can be reviewed with
QUORiON Data Systems GmbH
An der Klinge 6
99195 Erfurt
(Email: rd@quorion.de; web: www.quorion.de)
REMARK: If the cash register is installed in a system with other devices and components, all other
devices and components must each show EMV conformance to the norm. According to the EMV
2004/108 directive as well as EC and national laws, the system integrator is responsible to ensure
that the built system complies with regulations
Power Cord Exchange
The power cord can only be exchanged by a certified technician. The same type of cord has to be
used.
characteristics of information technology devices“
properties characteristics of information technology devices“
30
Page 31

Appendix A
Special BIOS settings for QUORiON QTouch 15 (500 MHz VIA Eden)
Standard CMOS Features
Date current date
Time current time
Drive A None
Halt On All, But Keyboard
Advanced BIOS Features
Hard Disk Boot Priority 1. TRANSCEND
First Boot Device Hard Disk*)
Second Boot Device USB-CDROM
Third Boot Device Hard Disk
Boot Other device Disabled
Advanced Chipset Features
AGP & P2P Bridge Control
All the other settings: Default or as user requests.
Select Display Device CRT+LCD
Panel Type 1024x768x24 1CH (for LG LM150X08)
Init Display First AGP
Integrated Peripherals
VIA OnChip PCI Device
USB Emulation ON
Onboard Serial Port 3 3E8
Serial Port 3 Use IRQ IRQ5
Onboard Serial Port 4 2E8
Serial Port 4 Use IRQ IRQ5 (!)
Save & Exit Setup Y (⇒ Enter)
1.50.417350 BA-englisch GB QTouch 15 QUORION CE (Stand: 13.10.09)
31
 Loading...