

Page 1
Device Application Notes For NetVault Revision A7
Application Notes
Product: CERTANCE CLL6400 LTO-3 Loader
Firmware Revision: V11x
Drive: CERTANCE ULTRIUM 3
Drive Firmware Revision: 1688
Interface: SCSI LVD
Automated Tape Subsystem: CERTANCE CLL6400 LTO-3 Loader
(CERTANCE LTO3 LDRCLL6400)
Key Features
• Tape Slots: 8
• Tape Drives: 1
• Tape Drives Supported
• Supported Media
• Bar Code Reader: Supported (Optional)
• Tape Import/Export Slot: None (Front Door Only)
• Interface
• Additional Features
o CERTANCE ULTRIUM 3 (CL 800 LTO-3)
o LTO Ultrium-1 Tape (Read Only)
o LTO Ultrium-2 Tape
o LTO Ultrium-3 Tape
o LTO Cleaning Cartridge
o Type: Standard
o SCSI LVD
o Rackmount ready
NetVault Software:
Minimum Release Required
• Version Release:
o V653_R021217
Additional Software Required
• Device Template(s):
o CLL6400.npk (cll6400.tpl)
o CLTO300.npk (viper200.tpl)
BakBone Software, Inc. 1 11/2/2004
Page 2
Device Application Notes For NetVault Revision A7
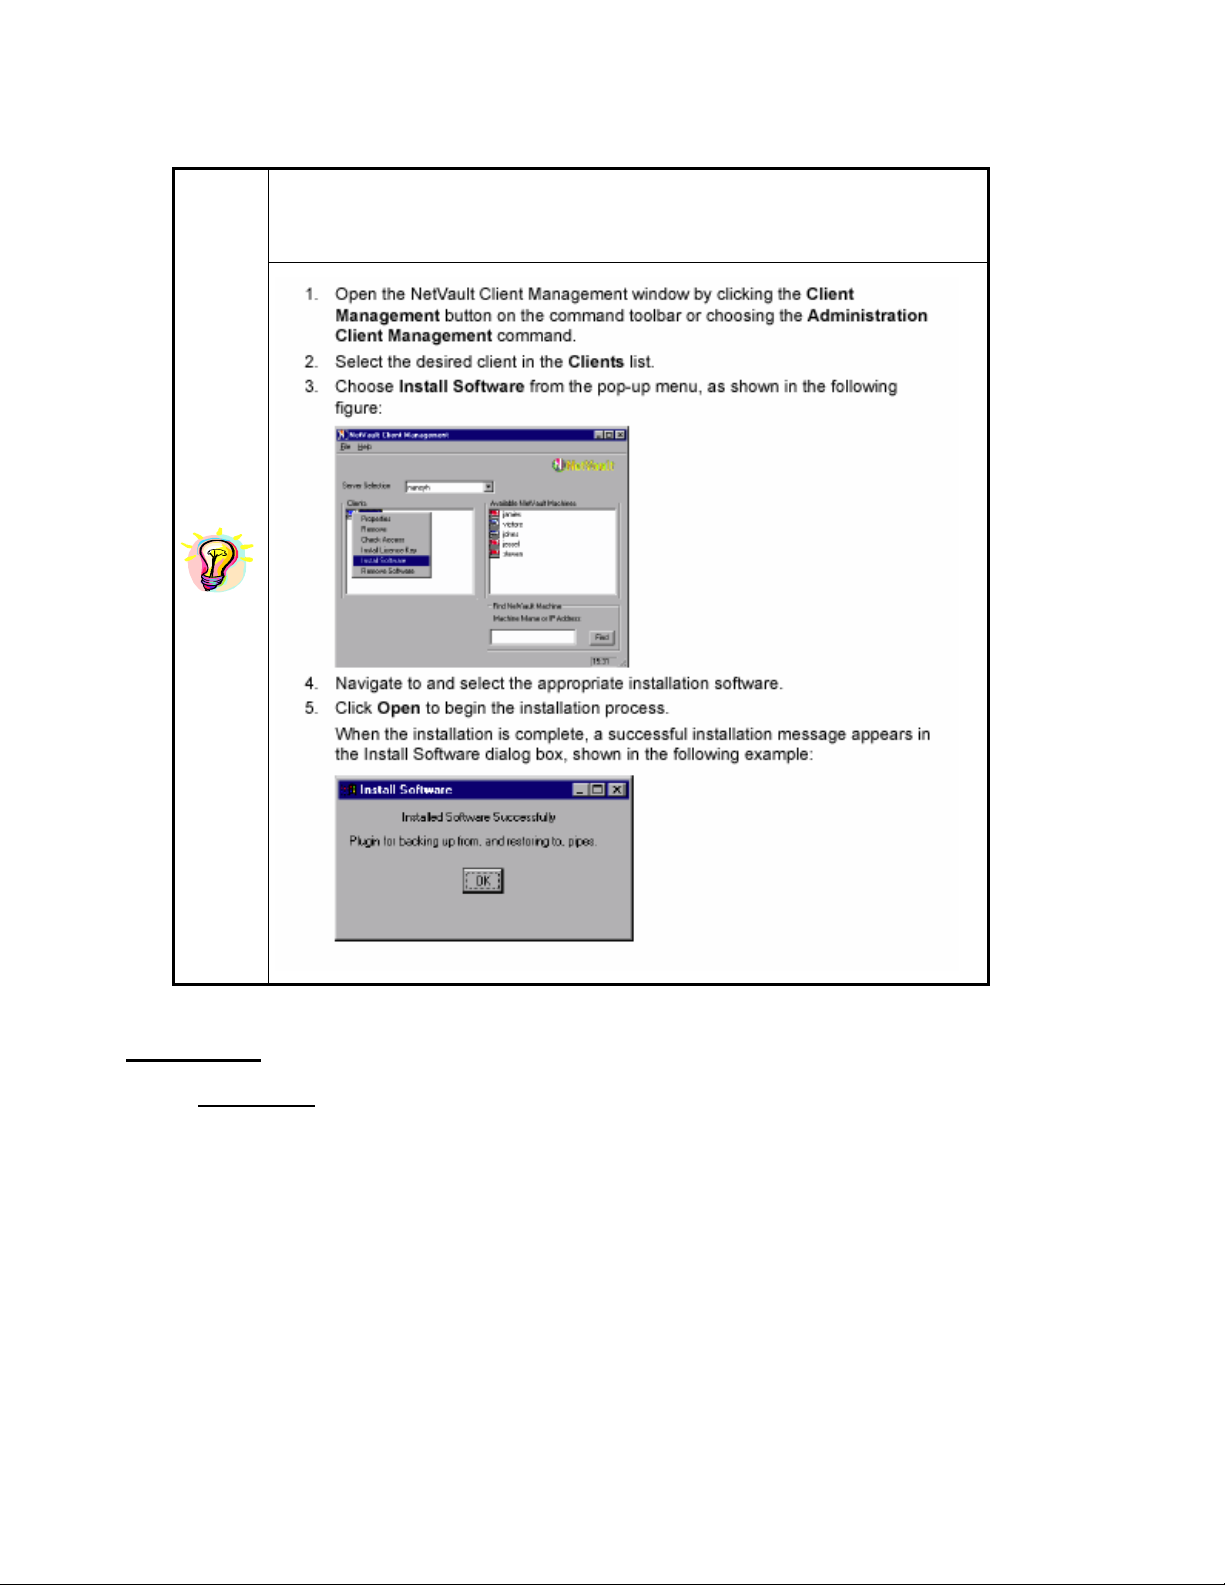
Attention: Device Template Installation available through the use of standard
package installation procedures. Refer to the following for details.
Installation:
¾ Prerequisites
9 Ensure Termination is configured correctly by using the Manufacturer User’s Guide for
reference.
9 Attach Device to system by using the Manufacturer’s Installation Guide for reference.
9 Power On Unit, if required and allow for the completion of the device’s POST (Power-On Self-
Test).
9 Ensure the Certance CLL6400 LTO-3 Loader is set to its default settings. For further details
refer to the Installation and Operation Manual for the Certance CLL6400 LTO-3 Loader.
9 Configure SCSI IDs via front panel. This autoloader is a two SCSI ID device, one for the
Certance LTO drive (Default ID=6) and one for the robotic arm changer (Default ID=5). For
further details refer to the Installation and Operation Manual for the Certance CLL6400 LTO-3
Loader.
9 Power on Computer System.
BakBone Software, Inc. 2 11/2/2004
Page 3
Device Application Notes For NetVault Revision A7
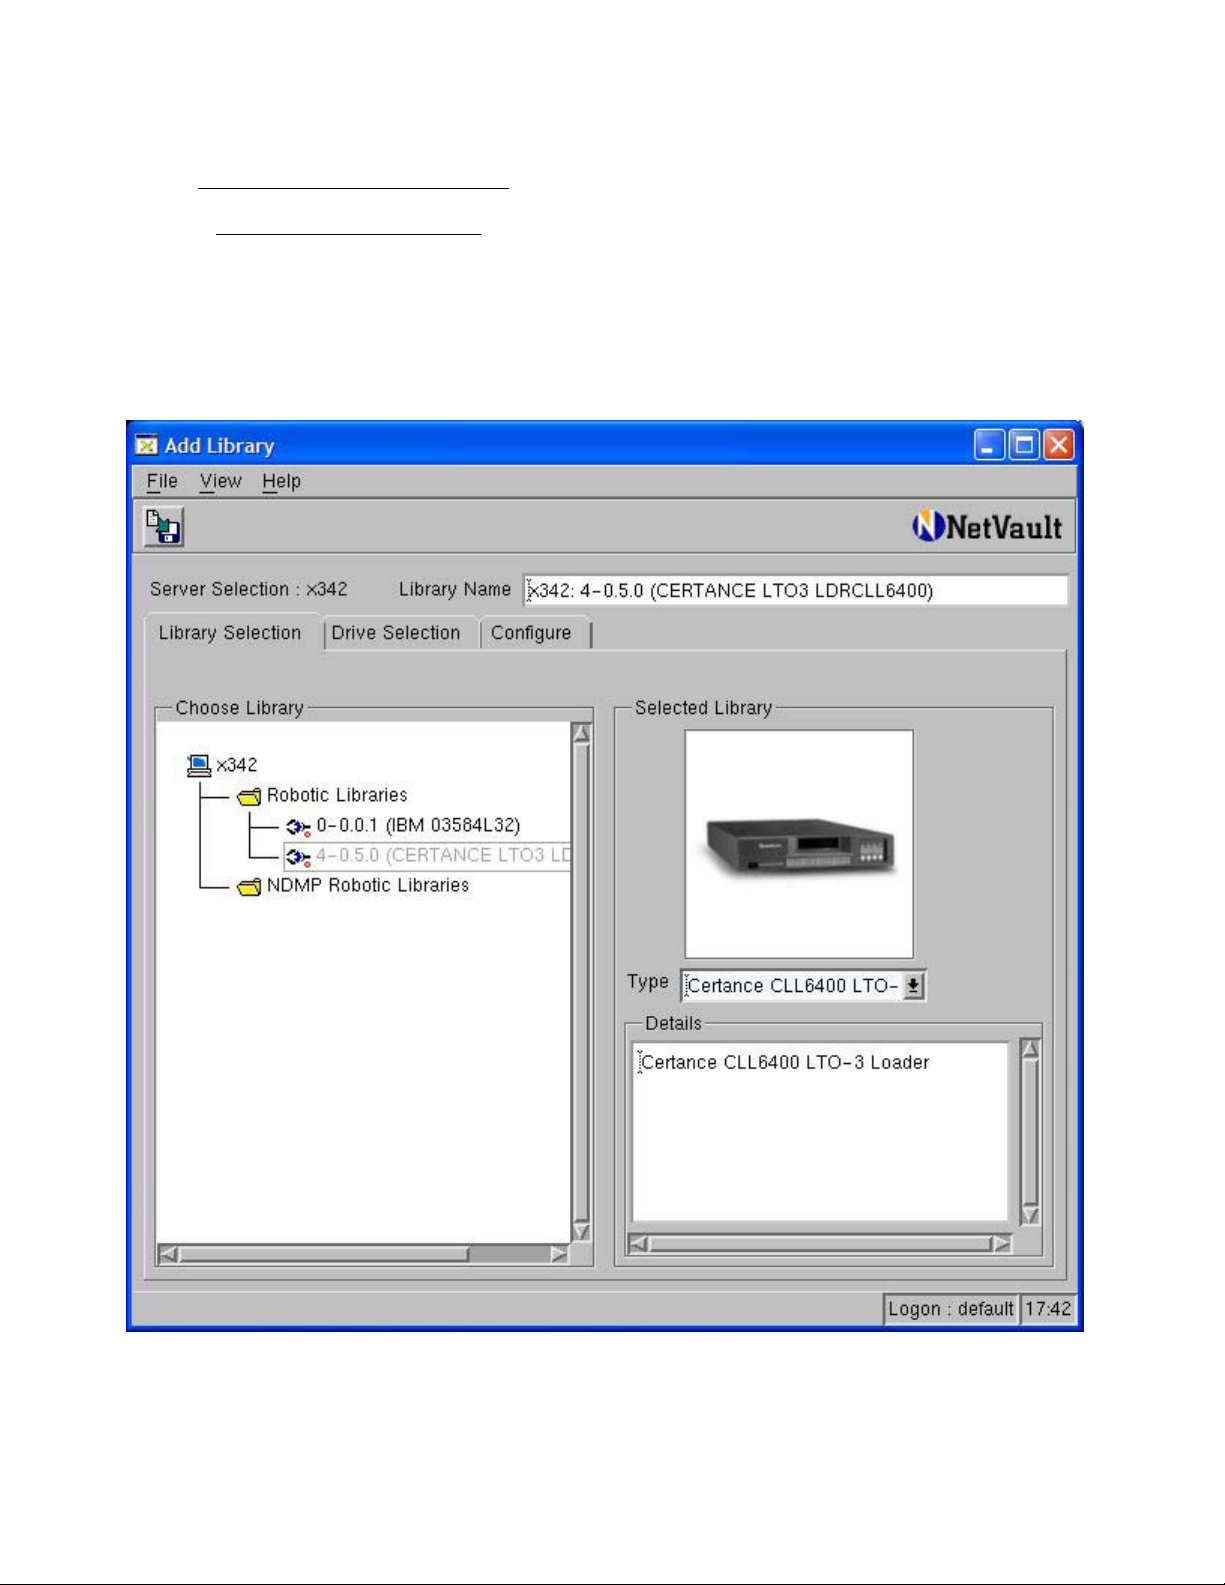
¾ Selection of Device within NetVault
Library Robotic Arm Selection
9 Select the Device Management Facilities.
9 Select to Add a Library.
9 Select Server/Client machine and open it to view attached Robotic Libraries in “Library
Selection” tab.
9 Select Library arm under Library Selection (Refer to Figure 1) and verify the correct device is
displayed in the Selected Library area on the right.
Figure 1. Library Addition Within NetVault
BakBone Software, Inc. 3 11/2/2004
Page 4

Device Application Notes For NetVault Revision A7
Drive Selection
9 Select the Drive Selection tab. Select Server/Client machine and open it to view the attached
9 Add the drive by selecting the drive and verify the correct device is displayed in the Selected
9 If there are more drives in the library, add the remaining drives, mapping them to each drive
9 Change the Library Name if desired or leave as default.
tape drive.
Drives area on the right. (Refer to Figure 2 for an example)
bay.
Figure 2. Drive Addition Within NetVault
BakBone Software, Inc. 4 11/2/2004
Page 5

Device Application Notes For NetVault Revision A7
Configuration (for Optimum Performance)
9 Select the Configure tab, right-click the drive and select Configure, to display the
Configure Device dialog box. (Refer to Figure 3 on next page.)
9 Click the Configuration tab in the dialog box and increase the Media block size (Kb)
from the default setting of 32 Kb. Ensure your operating system and drive can support
the new value entered.
9 Click the Performance tab in the dialog box and increase the default transfer memory
buffer setting from the default setting of 257 Kb. Ensure your operating system can
support the new value entered.
NOTE: The Amount of memory to assign to transfer buffers (Kb) is what is often
referred to as the shared memory setting. The shared memory is allocated in 32Kb
blocks, with one byte added. The optimum figure is dependent on the drive model, and
will be stated in the relevant BakBone Software Benchmark document, but the
minimum value to use is at least 4x the block size setting for the drive. Ensure there is
sufficient RAM (Windows NT or 2000) or Kernel Memory (UNIX). Use more if available
and as required.
9 If there are more drives repeat the above steps for each drive as required.
9 Save device configuration by selecting the “Save Details” button in the top left corner.
9 Select OK for the “Device added successfully” window.
9 Close the “Add Library” window.
BakBone Software, Inc. 5 11/2/2004
Page 6

Device Application Notes For NetVault Revision A7
Figure 3. Drive Performance Tuning
BakBone Software, Inc. 6 11/2/2004
Page 7

Device Application Notes For NetVault Revision A7
Other information
Known Firmware Issues: None.
Device Notes: When importing/exporting tapes through the front door, once complete, you
must exit (cancel) all the way out of the front panel menus for the loader to
re-inventory and return to an ONLINE state. Otherwise, when issuing the
“close door” operation in NetVault, the loader will remain OFFLINE
according to NetVault.
For optimal performance, Certance recommends a block size of 64Kb and
a shared memory setting of 64Mb (65536 Kb). Note your operating system
must be able to support this when configured.
The LTO Ultrium capacity specification (re)defines 1 Gb as 1,000,000,000
bytes instead of the standard 1024 x 1024 x 1024 bytes (1,073,741,824
bytes). Due to this calculation and since NetVault calculates 1 Gb using
the 1024 x 1024 x 1024 method, NetVault will appear to see less than 400
Gb per tape natively with LTO-3 tape cartridges. Using the Ultrium spec,
400 Gb = 400,000,000,000 bytes and when NetVault calculates space
remaining on a 400 Gb tape, NetVault will only see 381 Gb – 2 Gb
(reserve) = 379 Gb. This is correct and normal as full capacities are being
attained.
Cleaning Tape Support: NetVault 6.5.3 and 7 – Supported.
Type: Generic Cleaning Method.
Cleaning cartridges must be placed in pre-defined CLEANING SLOTS
and/or if a barcode reader is being utilized, cleaning cartridge
barcode prefixes must be configured prior to importing any cleaning
media into this library. NetVault will NOT auto-discover cleaning
cartridges. If a cleaning cartridge is auto-discovered, it may make
this device unusable. If this condition is encountered, the remedy for
this situation is to:
1. Stop the NetVault services
2. Remove all cleaning cartridges from the library
3. Restart the NetVault services
4. Configure CLEANING SLOT(s) and/or cleaning cartridge barcode
prefixes.
5. Import cleaning cartridge(s) into CLEANING SLOT(s) and/or
import cleaning cartridge(s) with configured barcode prefixes.
Ensure Generic Cleaning tape support is enabled for the drive. To
ensure this setting is enabled, in Device Management
, while the drive is
idle, right-click on the drive and select Configure. On the Configuration
tab, ensure the option “Cleaning Tapes Supported” is checked and if not,
check it. On the Generic Cleaning tab, ensure the option “Use Generic
Cleaning” is also checked and if not, check it. Select OK.
Emulation Mode: None.
BakBone Software, Inc. 7 11/2/2004
 Loading...