

Presonus Eris E3.5 Owner’s Manual
Eris™ Series E3.5
High-Definition Near Field Studio Monitors
Owner’s Manual
®
www.presonus.com
English

Table of Contents
1. Overview — 1
1.1. Introduction — 1
1.2. Summary of Eris E3.5
Features — 2
1.3. What’s in the Box — 3
2. Hookup — 4
2.1. Rear Panel Connections
and Controls — 4
2.1.1. Inputs (Active
Speaker) — 4
2.1.2. Power (Active
Speaker) — 5
2.1.3. Acoustic Tuning Controls
(Active Speaker) — 5
2.1.4. Speaker
connections — 6
2.2. Active Speaker Front Panel — 6
2.3. Hookup Diagram — 7
3.0 Tutorials — 8
3.1 Monitor Placement — 8
3.2 Level Setting — 9
3.3 Equalizer Setting Suggestions — 9
4. Resources — 10
4.1. Technical Specifications — 10
4.2. Troubleshooting — 11
4.3 Warranty Information — 11
1. Overview
1.1. Introduction
1. Overview
1.1. Introduction
Eris™ Series E3.5
Owner’s Manual
Thank you for purchasing the
PreSonus® Eris™ E3.5 studio monitors.
Eris E3.5 active near-field monitors
offer excellent performance at
a reasonable price for budgeconscious personal studios, with
features normally reserved for
more expensive monitors.
PreSonus Audio Electronics
is committed to constant
product improvement, and we
value your suggestions highly.
We believe the best way to achieve our goal is by
listening to the real experts: our valued customers. We
appreciate the support you have shown us through
the purchase of this product and are confident that
you will enjoy your Eris E3.5 studio monitors!
ABOUT THIS MANUAL: We suggest that you use this manual
to familiarize yourself with the features, applications, and
connection procedures for your Eris E3.5 monitors before
connecting them to the rest of your studio gear. This will
help you avoid problems during installation and setup.
Throughout this manual you will find Power User Tips
that can quickly make you an Eris expert. In addition
to the Power User Tips, you will find several tutorials
that cover monitor placement, as well as setting the
input level, EQ, and Acoustic Space controls.
1

1. Overview
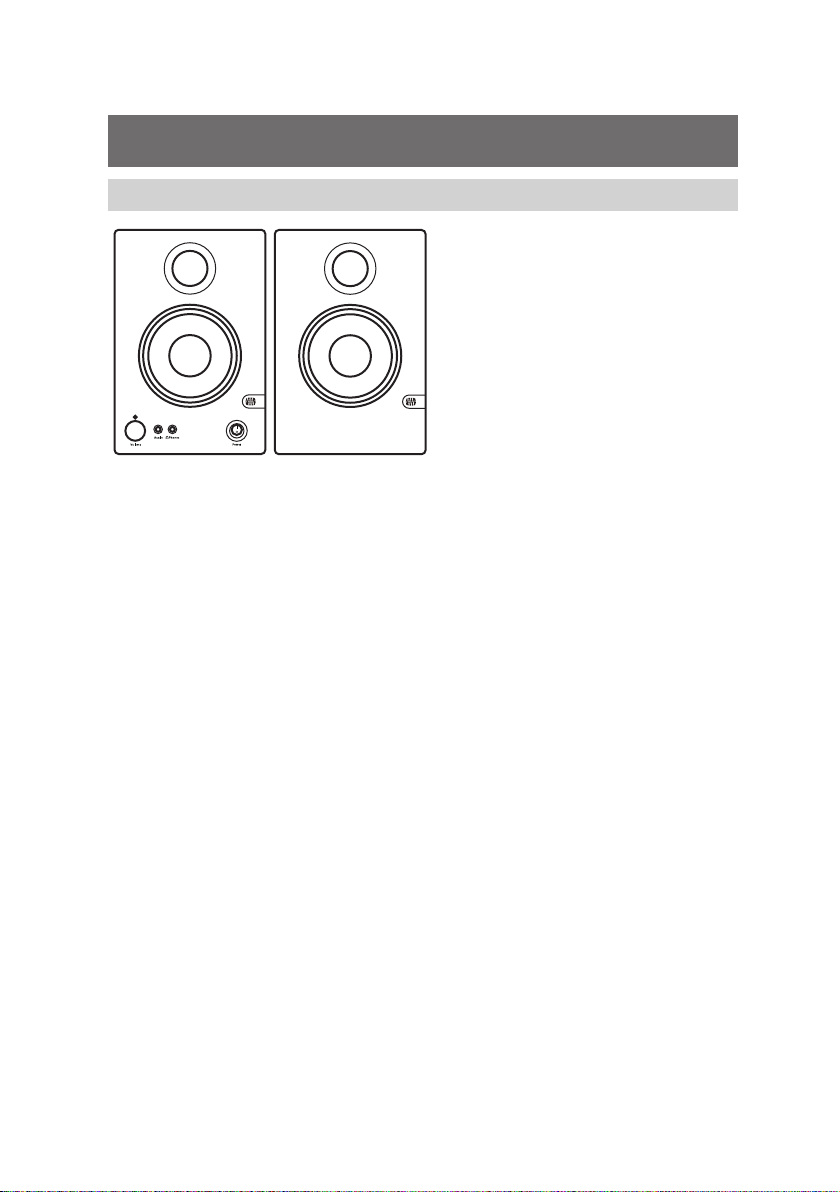
1.2. Summary of Eris E3.5 Features
1.2. Summary of Eris E3.5 Features
• 1” (22 mm) silk-dome tweeter
• 3.5” Kevlar woofer
• Peak SPL: 100 dB
• Frequency response: 80 Hz to 20 kHz
• Class A/B amplifier
• Balanced ¼” TRS and unbalanced RCA inputs
• 1/8” headphone output
• 1/8” stereo Auxiliary input
• Front-panel volume control
• Rear bass-reflex port
• High-frequency shelf EQ with ± 6 dB of
boost/cut centered at 10 kHz
• Low-frequency shelf EQ with +/- 6 dB of
boost/cut centered at 100 Hz
Eris™ Series E3.5
Owner’s Manual
2
1. Overview
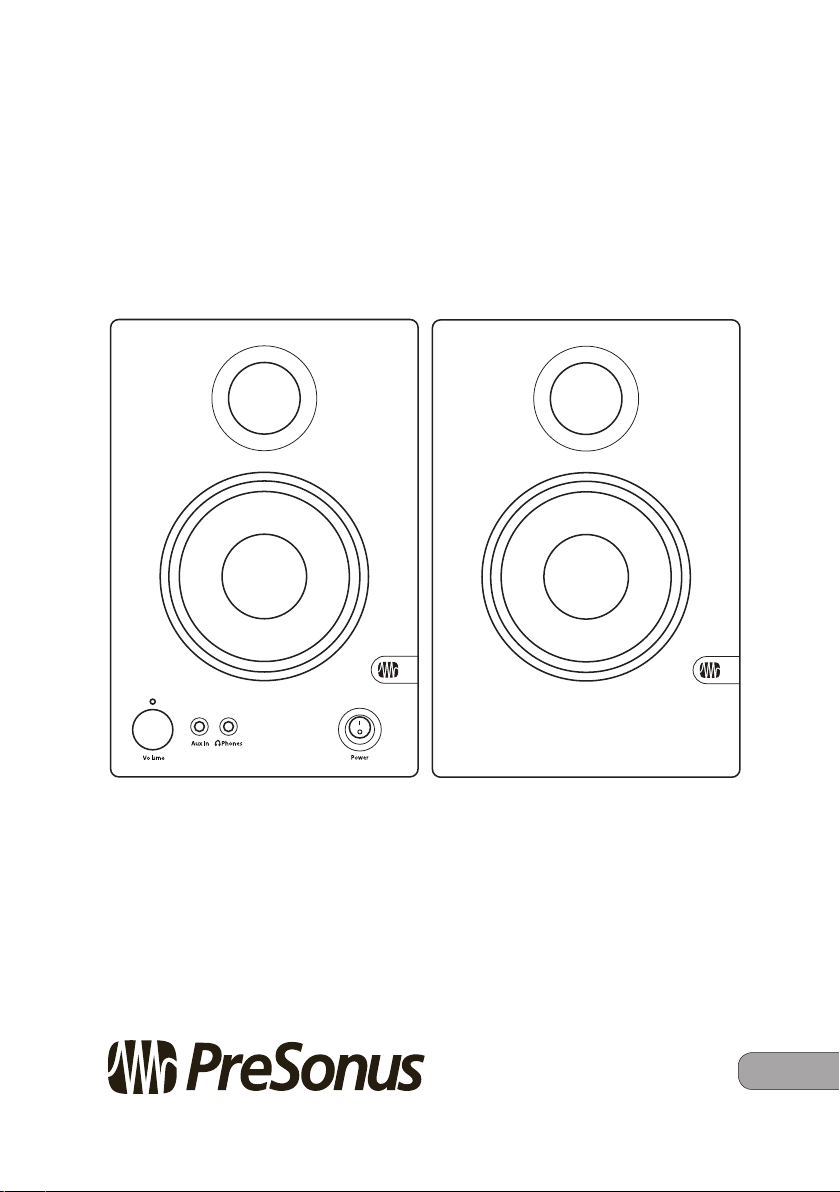
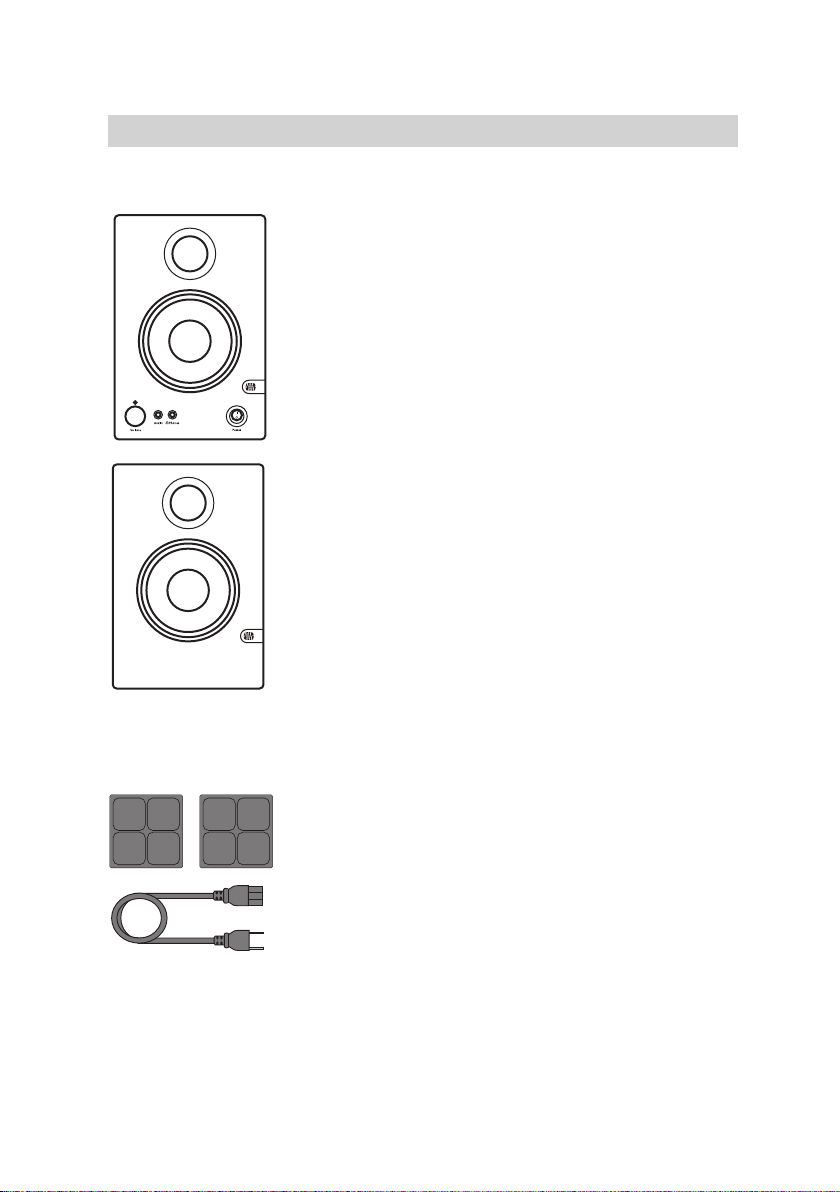
1.3. What’s in the Box
1.3. What’s in the Box
In addition to this manual, your Eris E3.5
package contains the following:
• (1) PreSonus Eris E3.5 active studio monitor
• (1) PreSonus Eris E3.5 passive studio monitor
Eris™ Series E3.5
Owner’s Manual
• (1) 1.5m TRS 1/8” to 2 RCA cable
• (1) 1.5m TRS 1/8” stereo cable
• (1) 2m bare-wire speaker cable
• (8) Foam feet, (4) to be placed on the bottom of each
speaker to improve isolation
• (1) Power cable
3

2. Hookup
2.1. Rear Panel Connections and Controls
2. Hookup
2.1. Rear Panel Connections and Controls
Each Eris E3.5 pair consists of one active E3.5 and one
passive E3.5. Nearly every connection is located exclusively
on the active speaker. This speaker provides signal and
power for the passive speaker. The exceptions are the
bare-wire connectors, which send power and signal
from the active speaker to the passive speaker.
2.1.1. Inputs (Active Speaker)
Eris™ Series E3.5
Owner’s Manual
Line-level Inputs. The Eris E3.5 active monitor provides a
choice of two pairs of inputs: left and right balanced ¼” TRS
and left and right unbalanced RCA. These inputs accept a
line-level signal from an audio source and feed that signal to
the each monitor’s built-in power amplifier. These inputs are
provided to enable flexible connectivity, not for connecting
multiple sources to your speakers simultaneously.
Power User Tip: The left inputs (balanced or unbalanced) send
signal to the amplifier that powers the active speaker; while the
right inputs send signal to the amplifier that powers the passive
speaker. Because of this, PreSonus recommends that the active
speaker be placed on the left side of your mixing space, and the
passive speaker be placed on the right. However, if you prefer
to have the controls located on your active monitor placed on
the right side of your workspace, be sure to reverse the inputs
from your audio source to maintain the correct stereo image.
4
 Loading...