

Page 1
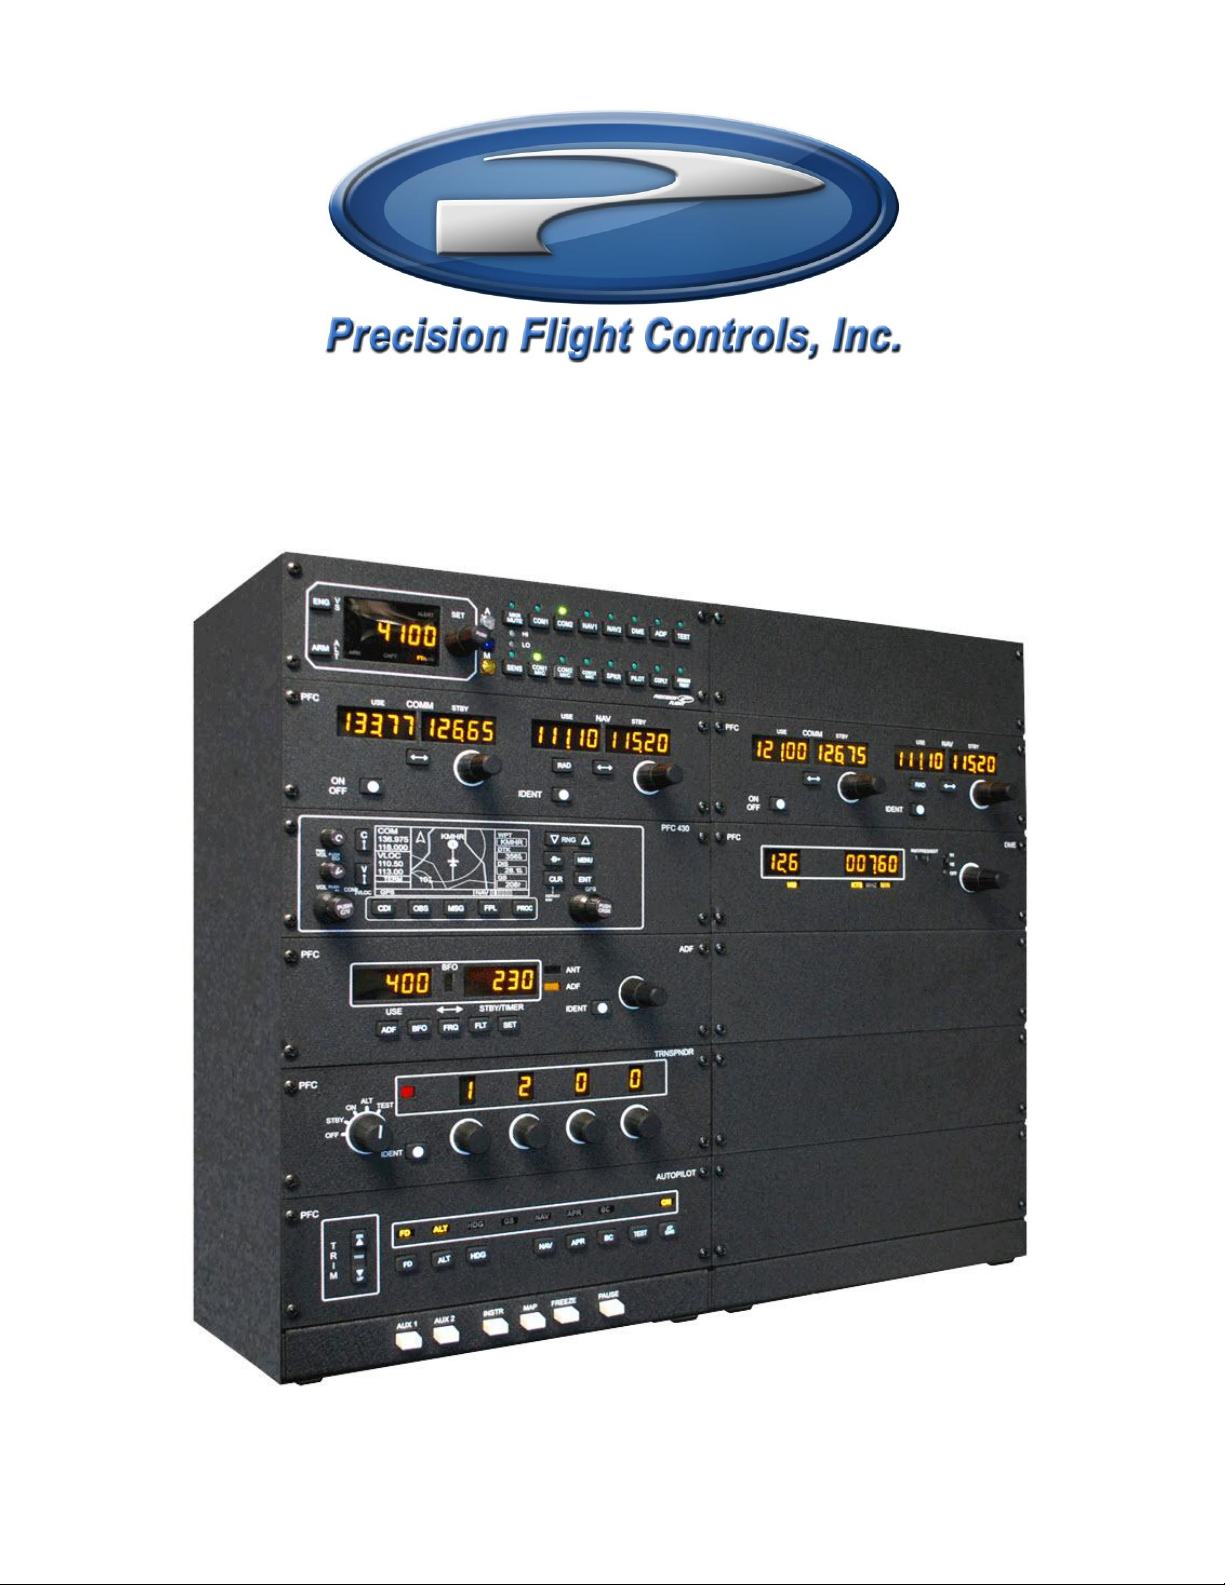
P F C U S B D i g i t a l A v i o n i c s P a n e l a n d
X - P l a n e 9 S e t u p G u i d e
Page 2
Preface
This setup guide will walk you through the necessary steps to setup your Precision Flight
Controls (PFC) Avionics Panel USB Model with X-Plane 9.xx. If you purchased a complete system such
as a CR-12, CAT III, CAT II or CAT I, then use the appropriate setup guide for the complete system. This
guide is only to be used with a stand-alone avionics purchase.
To make the PFC Avionics Panel work properly with X-Plane, you need to have the power supply and
USB cable connected to your avionics. If you have not done so, please do so now before continuing
with this guide.
Once the USB cable and power supply is connected properly, you will need to install our
USBHIDPLUGIN; this is the driver that allows the PFC Avionics Panel to communicate properly to XPlane. The USBHID Plugin requires a minimum of X-Plane 9.41 so make sure you have at least X-Plane
9.41.
Installation of PFCUSBHID PLUGIN for X-PLANE 9.xx
The PFC USBHID plugin, is the software makes USB manufactured by Precision Flight Controls, Inc
work with X-Plane 9.41 and higher.
If you are using our serial device/s, please do not install this as they are not compatible. Please
refer to your software manual for software installation.
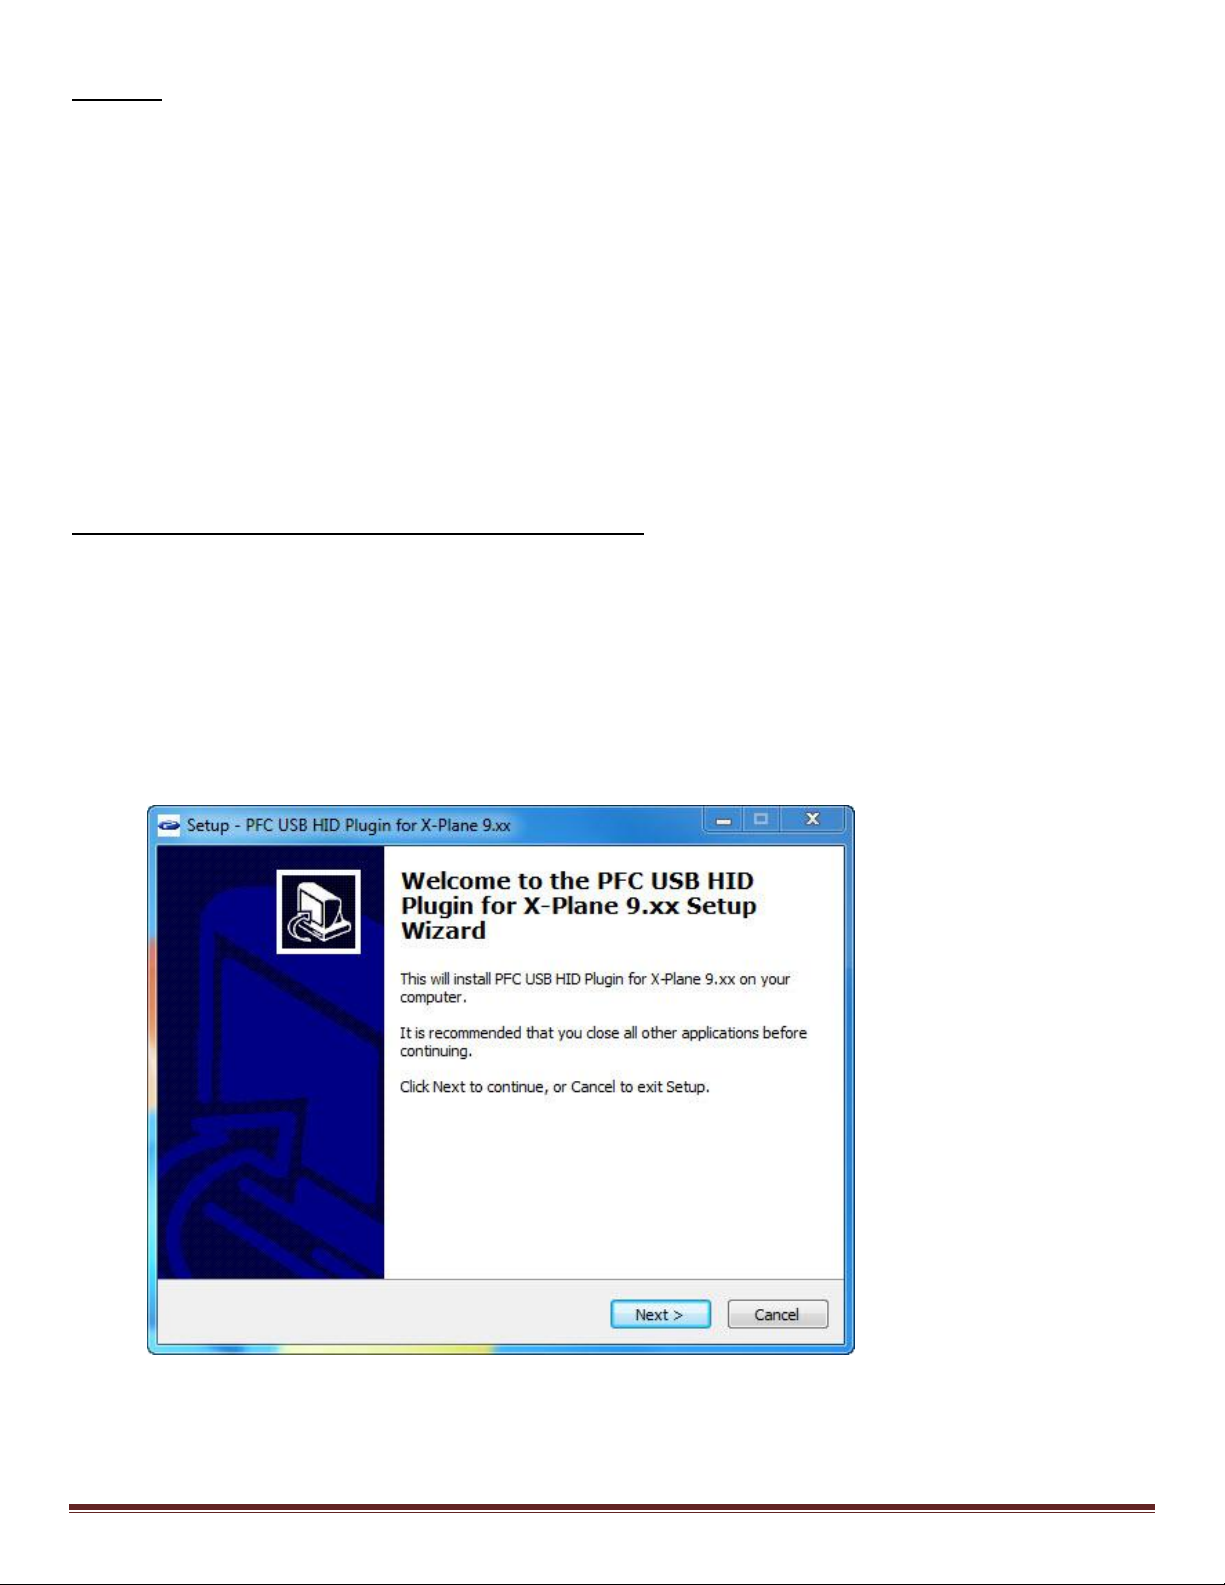
1. Insert the CD PFC Driver Disk.
2. Look for the PFCUSBHID_plugin_XP9.xx and double click on it.
3. Click on Next
Set Up Guide for USB Avionics X Plane 9 Page 2
Page 3
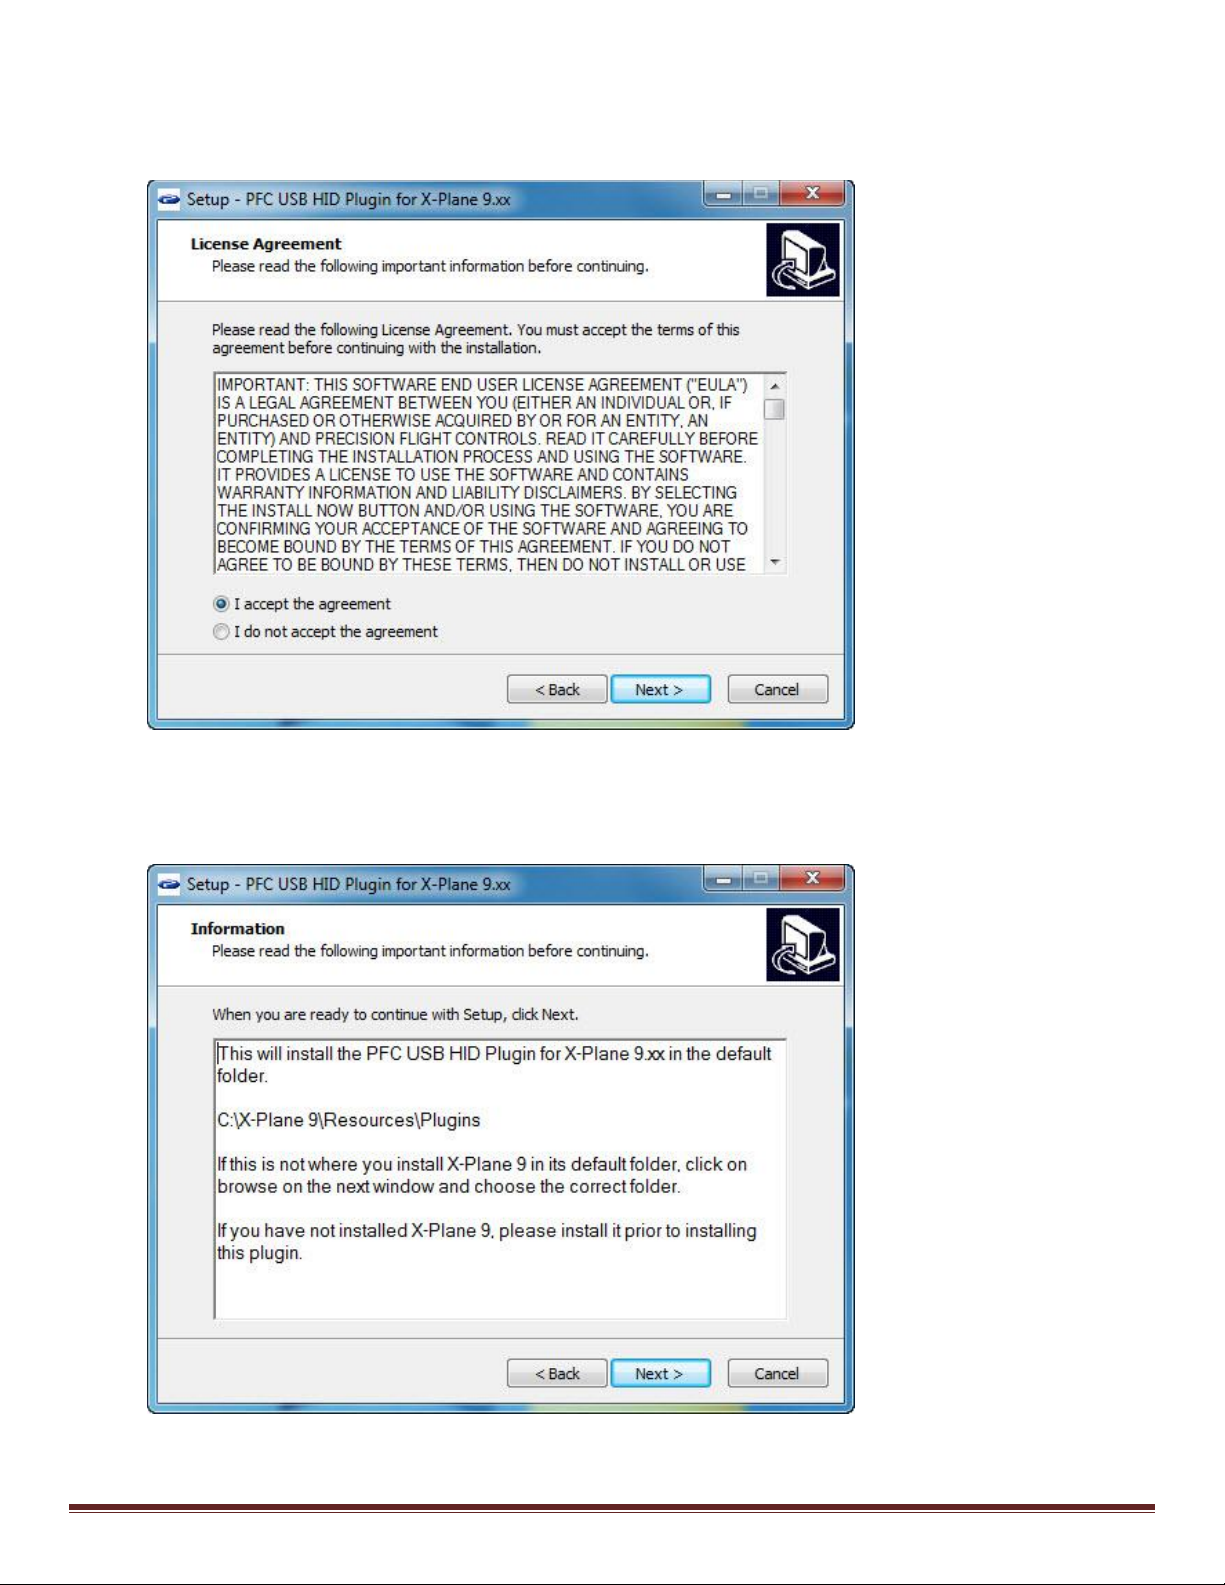
4. Read the license agreement. You will need to Accept the agreement to be able to use the
plugin. Click on I accept the agreement and then click on Next. If you do not agree, please
click on Cancel.
5. This explains that the plugin will be installed on the default location of C:\X-
Plane\Resources\plugins. If you did not install X-Plane in the default directory above you will
need to point the installer to that location in the next step.
Set Up Guide for USB Avionics X Plane 9 Page 3
Page 4
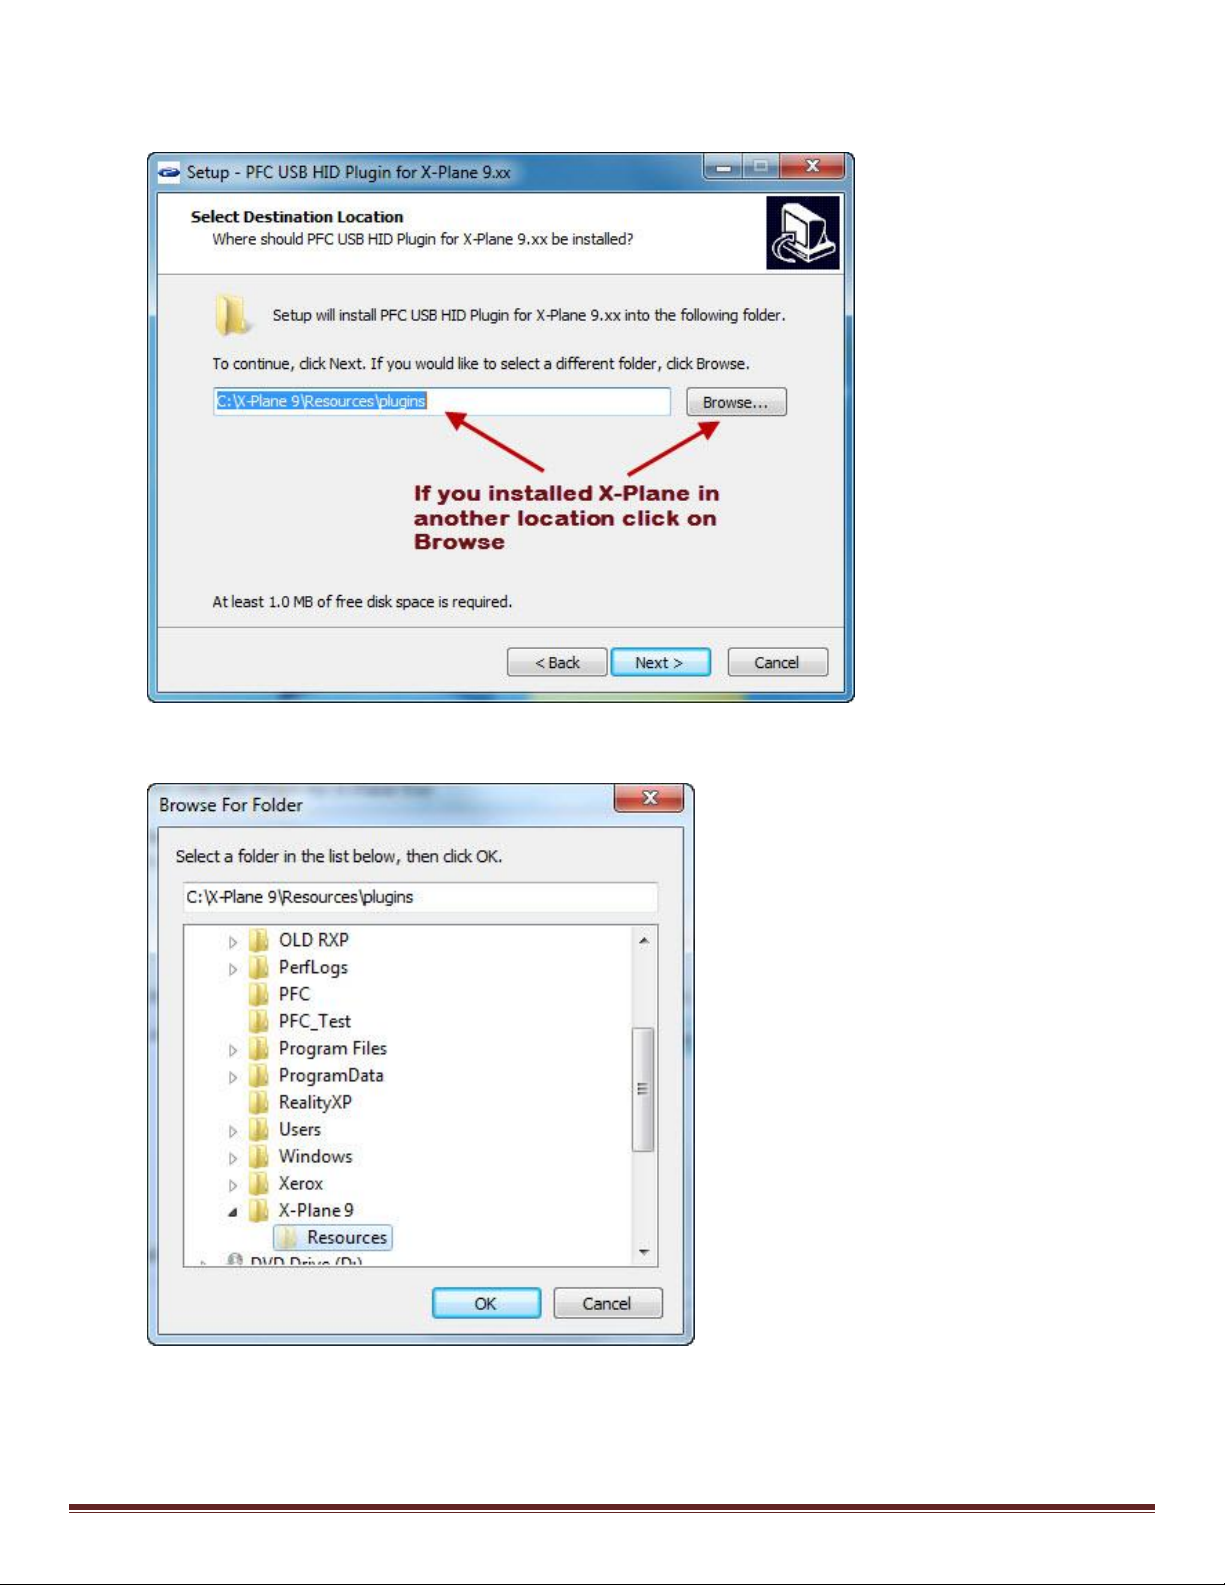
6. If you installed X-Plane in the default location, click next here. If not click on browse and
choose the folder X-Plane is installed in.
7. If you clicked on Browse, find your X-Plane 9 folder click on Ok.
Set Up Guide for USB Avionics X Plane 9 Page 4
Page 5
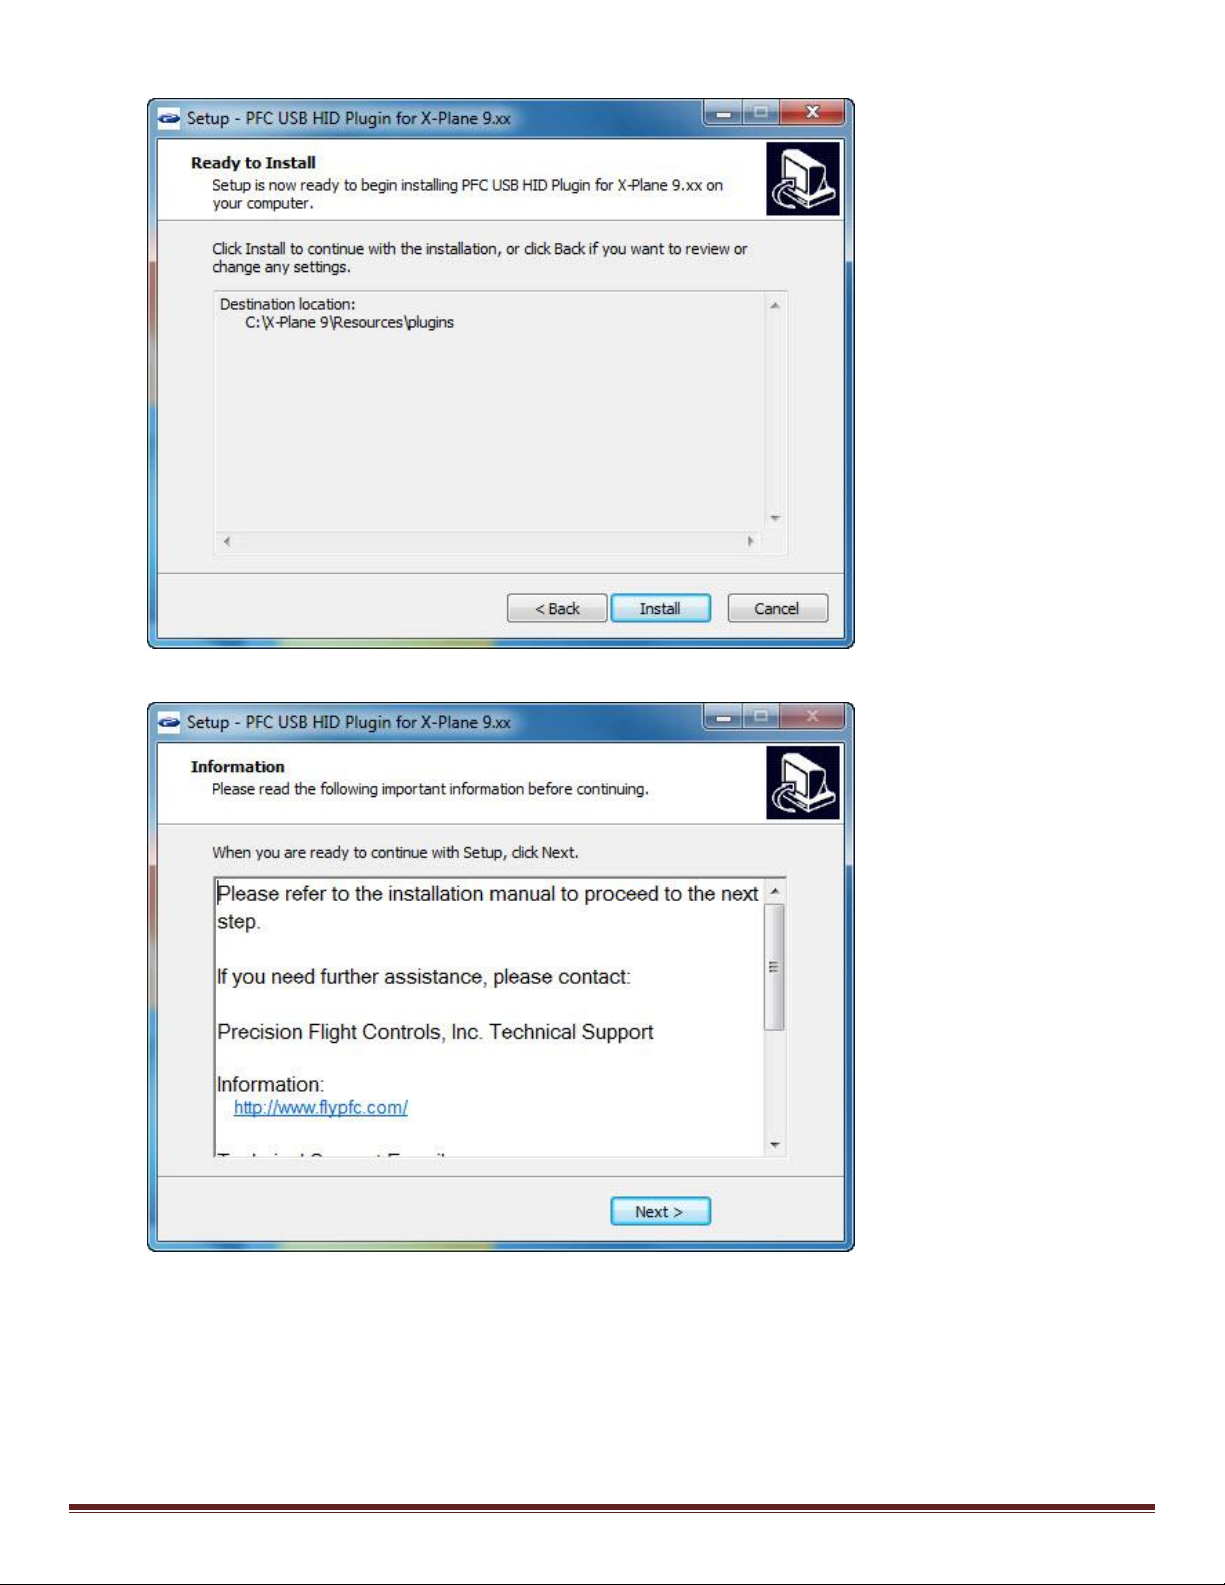
8. Click on the Install to start installation.
9. Now click on Next.
Set Up Guide for USB Avionics X Plane 9 Page 5
Page 6
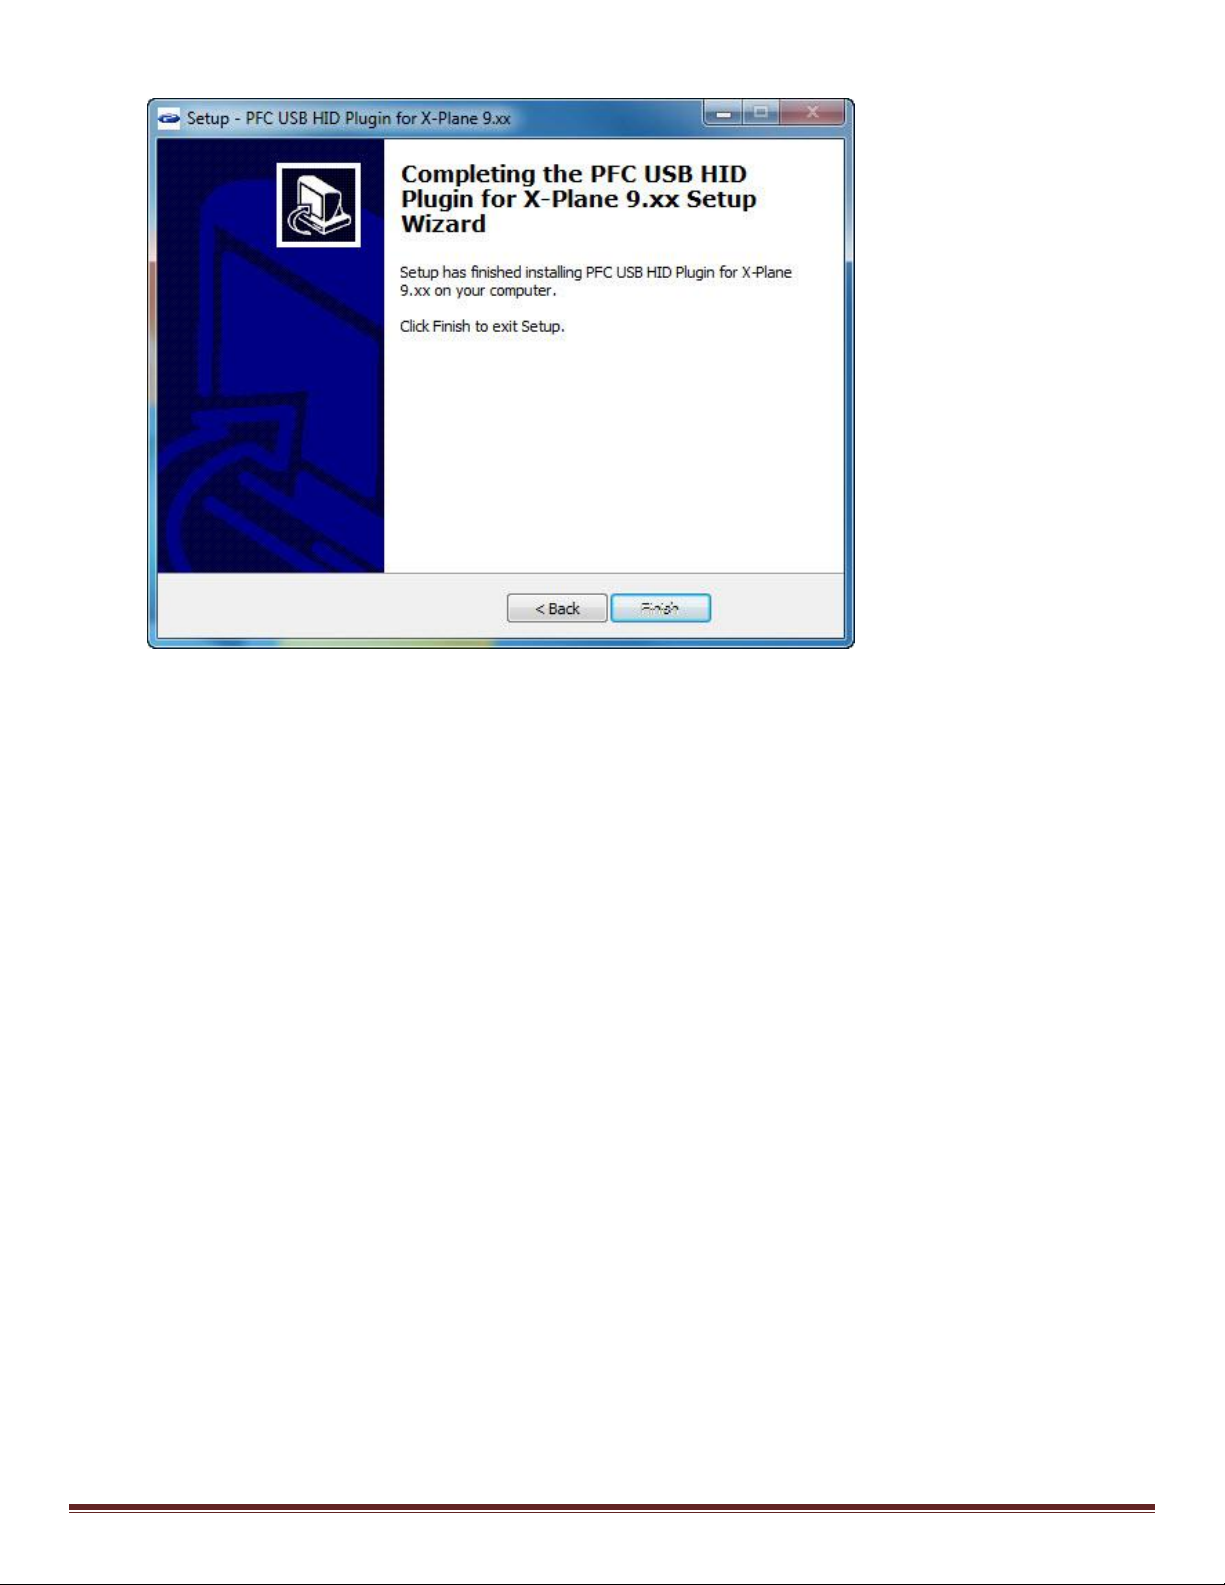
10. Now click on Finish.
11. After you have installed the plugin, you will need to start X-Plane and then you are ready to
use the PFC Digital Avionics panel.
Set Up Guide for USB Avionics X Plane 9 Page 6
Page 7
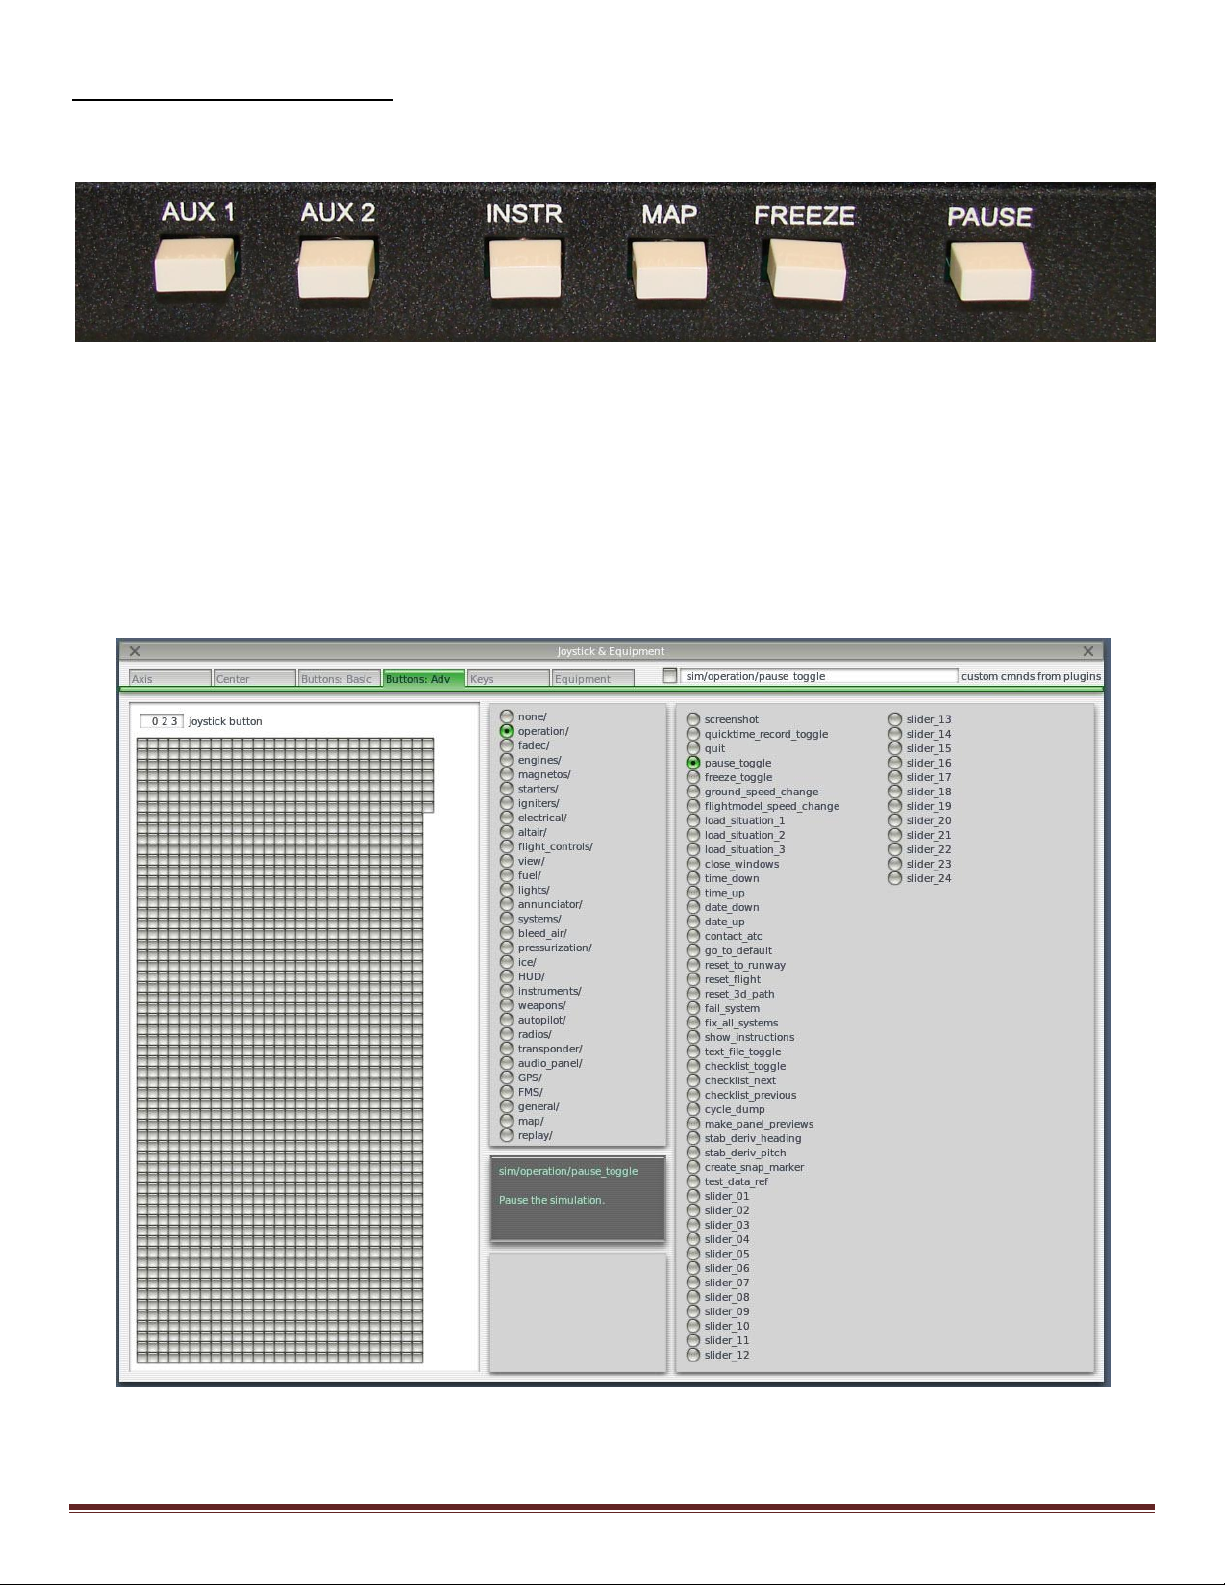
Auxiliary Button Assignment
The Auxiliary buttons are the white buttons located on the bottom of the PFC Enhanced Avionics
Panel.
1. Start X-Plane 9
2. If you have the instructor’s station map, click on X on the upper left hand corner.
3. Move your mouse to the top of the screen to show the menu bar.
4. From the menu bar choose Settings.
5. From the settings menu choose Joystick, Keys & Equipment.
6. Go to the Buttons: ADV tab.
7. Press the Pause button and you will notice a number on the top left corner of the window. In
this example that number is 23 this may be a different number than what you will see.
8. From the selections on the right choose Operation and then choose Pause Toggle.
Set Up Guide for USB Avionics X Plane 9 Page 7
Page 8

The rest of the assignment will be as follows:
Button Label
Function Location
AUX 1
Button: ADV → Instruments → Thermo Units
Toggle
AUX 2
Button: ADV → Operation → Fix All Systems
INSTR
Button: ADV → Map → Show Low Enroute
MAP
Button: ADV → Map → Show High Enroute
FREEZE
Button: ADV → Operation → Freeze Toggle
PAUSE
Button: ADV → Operation → Pause Toggle
Set_Up_Guide_Serial_Avionics_XPlane9.pdf REV092611
9. Once you have assigned the functions, click on X.
10. Exit and restart X-Plane 9.
Set Up Guide for USB Avionics X Plane 9 Page 8
 Loading...