

Page 1
105 STEAMBOAT DRIVE
WARMINSTER, PA 18974
Ph: 215
-
675-9220
Fax: 215
-
675-0878
800-673-7868
Website: powersequipment.com
Instructions for Installing, Operating, and
Maintaining
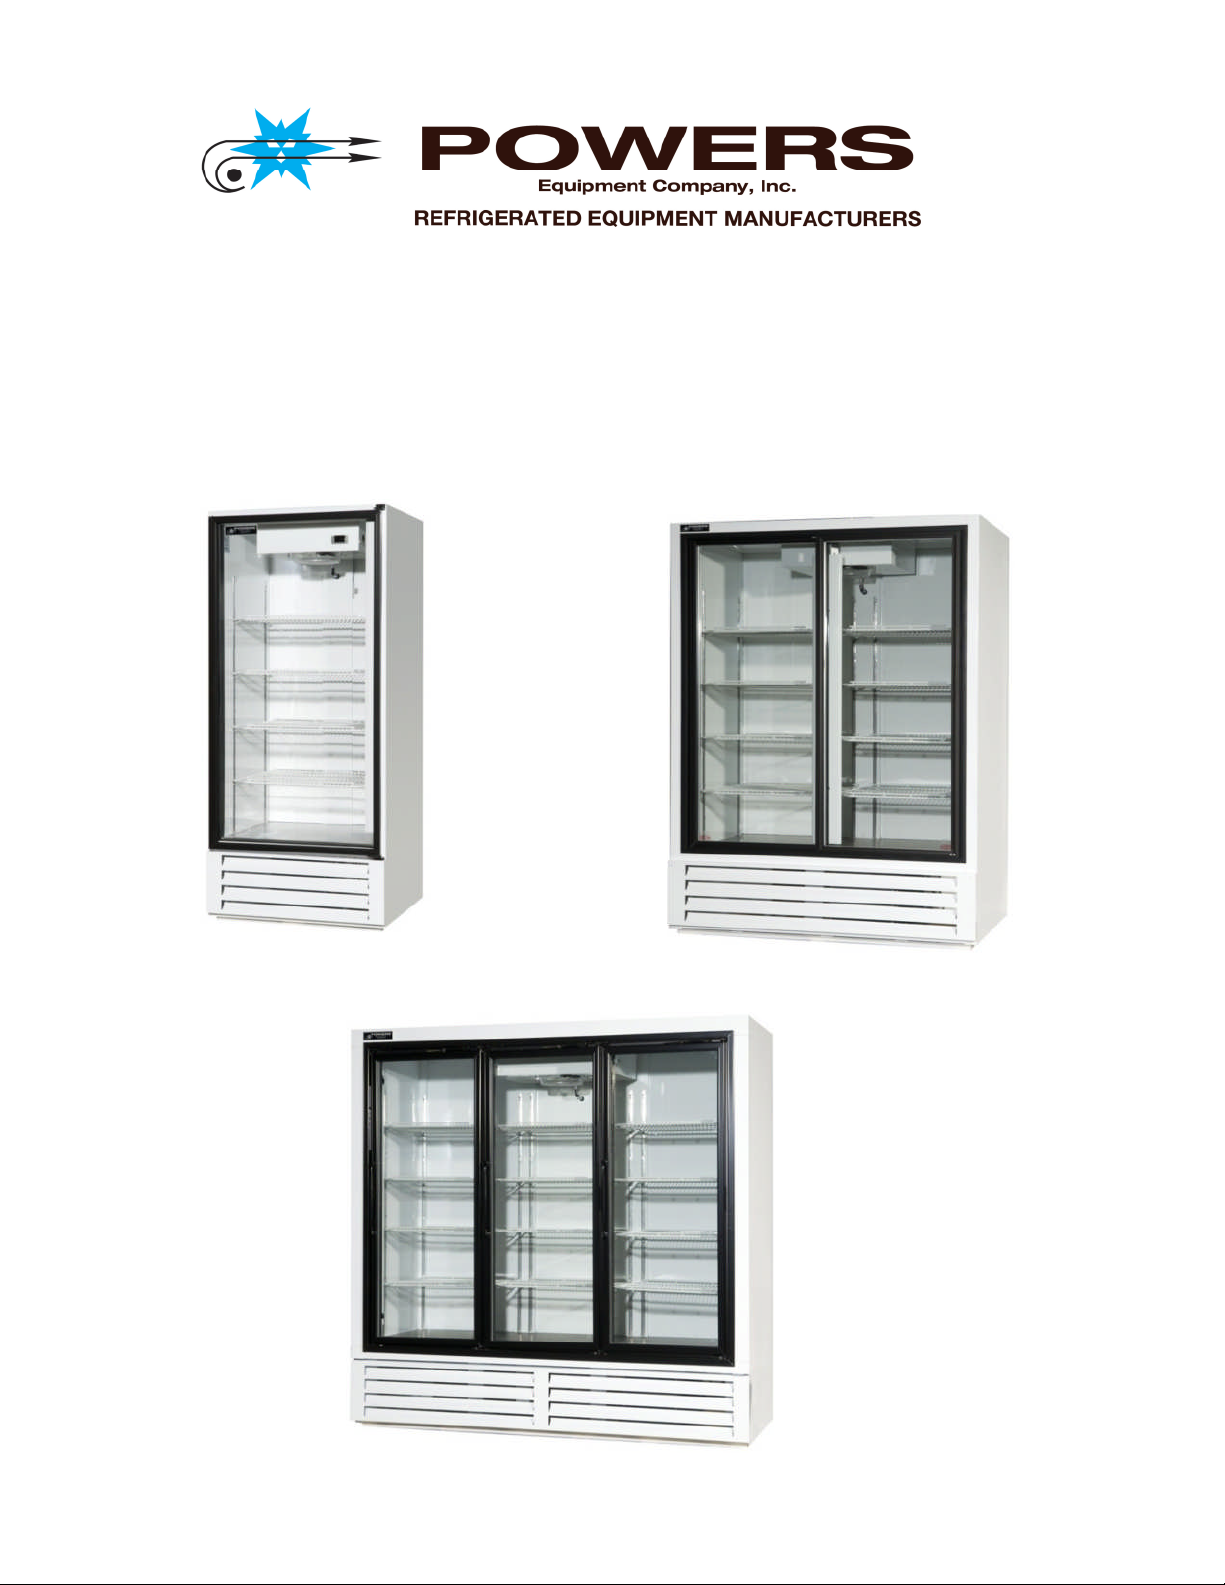
Swinging
and Sliding Door Refrigerators
Page 2

T
hank you for purchasing a Powers cooler. We take pride in designing and manufacturing reliable,
high quality refrigerated equipment. These instructions were prepared to help you install, operate,
and maintain your cooler so it will provide you with many
years of efficient service.
Please carefully
read all instructions before uncrating your cooler.
USE CAUTION WHEN REMOVING
THE CRATE
–
THE STAPLES CAN SCRATCH THE PAINTED
SURFACES.
Receiving and In
spection
When you receive your cooler, thoroughly examine the crate for signs of damage.
If you discover any damage, note it on the bill of lading and contact the trucking company. If you
notice any concealed damaged after uncrat
ing your cooler contact the trucking company immediately
and save the crate.
In either case, you should file a damage claim
with the
trucking company.
All equipment was shipped in good order on a clear bill of lading, F.O.B. Warminster Pennsylvania. It
is
your responsibility to file all claims for damages with the trucking company. Powers Equipment
Company will try to assist you whenever possible.
Uncrating
Tools Required for Uncrating:
Utility knife, Diagonal cutting pliers & Phillips screw driver
1.
Cut
tape from top of crate then remove top.
2.
Cut and remove staples from bottom of crate where crate is stapled to wooden skid.
3.
Cut one corner of the crate vertically and remove lid. Be careful not to damage cooler.
4.
Remove screws and brackets from base with
Phillips head screw driver.
5.
Remove stretch wrap and shelving from back of cooler.
6.
Slide cooler off of wooden skid.
7.
Remove wooden shipping spacers from doors.
8.
Level and square cooler.
Installation
Use shims to level the cooler. A level cooler is essential for proper condensate drainage and for the
doors to be correctly aligned and operate smoothly.
If the doors are misaligned after you have leveled the cooler,
make sure the cooler is not out of
sq
uare. To check that the cooler is squar
e, measure from the upper left
front of the cabinet to the
lower right front and then from the upper right front to the lower left front. Both measurements should
be the same. If they are not, shim the appropriate
corner of the cooler until the two measurements
are equal.
Page 3

For NSF
-
approved coolers:
After the cooler is installed, the base of the cooler must be sealed to the floor with silicone sealant.
Run a bead of sealant around the base of the cooler, then run your finger along the bead to push the
sealant into the seam. Failure to do this will v
oid the NSF listing on your cooler.
Shelving
Each shelf is supported by four shelf clips. Snap the clips ont
o the slotted pilasters and then place
the shelf on the clips. Note that the slots on the pilasters are numbered to simplify locating the proper
slot for the clips.
For beverage coolers:
The first level of shelving should be as close to the bottom of the cooler as possible, but not directly
on the bottom pan. This will result in better airflow and protect your product from sitting i
n spills.
For floral coolers:
Buckets of flowers can sit on the bottom pan with the shelving installed above them.
Electrical Conn
ections
Most coolers are supplied with an eight foot, 115 volt, 15 or 20 amp, three conductor grounded power
cord.(If the cooler is s
upplied with a four prong, twist lock plug, the circuit must be 115/230 volt and
20 amps.)
The power cord is located behind the motor cover on bottom mount coolers, or on the top or back of
top mounted or remote coolers.
Use of Extension Cords
NEVER USE AN
EXTENSION CORD! Powers will not warranty any refrigerator that has been
connected to an extension cord.
DO NOT OPERATE ANY OTHER EQUIPMENT ON THE SAME CIRCUIT AS THIS UNIT.
All coolers have been run and tested at the factory. If the compressor does not s
tart, or has difficulty
in starting, the line voltage is probably low
–
make sure the cooler is on its own circuit.
Temperature Control
-
Digital
1. Push the SET key for more than 2 seconds to change the Set point value.
2. The value of the set point will be displayed and the “C” or “F” LED starts blinking.
3. To c
hange the Set value push t
he up or down arrows within 10 seconds.
4. To lock in the new set point value push the SET key again or wait 10 seconds.
Lighting
The light switch is
located
on the vertical center light fixture
on gliding doors
.
On swing doors the
switch is located on
either
the
center or top
mullion behind the right hand door.
This switch controls
all the interior lighting.
Page 4

Condensate Evaporation
In most coolers
,
external drain plumbing is not required. A drain tube runs from the fan housing
inside the cooler to the base of the condensing unit where the hot gas line and fan from the
condensing unit evaporates the condensate.
On larger bottom
mount coolers and all coolers with top mounted condensing units, an electric
condensate pan plugs into a receptacle under the cooler or on top of the cooler. The condensate
evaporator pan is optional on remote condensing unit coolers.
Maintaining Your Ref
rigerator
Long life and satisfactory performance of any equipment is dependent upon the care given to it. To
ensure efficient operation, proper sanitation, and a minimum maintenance, the cooler should be
thoroughly cleaned on a regular basis.
TO AVOID
PERSONAL INJURY OR DAMAGE TO ELECTRICAL COMPONENTS, ALWAYS
DISCONNECT THE COOLER FROM ITS POWER SOURCE BEFORE CLEANING OR SERVICING.
Cleaning the Interior and Exterior of the Cooler
Clean the interior and exter
ior of the cooler with a mild solution
of soap and warm water, and a soft
cloth or sponge. For stubborn stains, use alcohol, baking soda, or vinegar. Never use a caustic
soap, abrasive cleaners, or steel wool. Stainless steel can be cleaned with glass c
leaner and a soft
cloth.
Cleaning the Condensing Unit
Thecondensing unit must be cleaned every three to six months. A dirty condenser restricts airflow,
which decreases the unit’s ability to cool efficiently and
results in higher energy bills. A dirty
condenser will eventually cause the compressor to fail.
The
condensing unit is located behind the motor cover on bottom mount coolers or on top of the
cooler on top mount coolers. Use a stiff brush to loosen dirt on the finned tubes of the condenser and
remove the dirt with a vacuum cleaner.
Maintaining the Door
Track and Rollers on Sliding Door Refrigerators
It is important to keep the bottom door and door rollers clean and free of debris. Dirt on the door
rollers will cause them to slide rather than roll. This could cause the track to wea
r out prematurely.
To check the door rollers, remove the doors from the track by lifting up on the door and pulling the
bottom of the door toward you. Turn the doors upside down a
n
d lubricate the rollers with WD
-
40 or a
similar product.
Page 5

POWERS EQUIPME
NT COMPANY, INC.
One
-
Year Parts
One
-
Year Labor
Five
-
Year Compressor
Warranty
STANDARD ONE
-
YEAR WARRANTY
Powers Equipment Company warrants to the original purchaser of every Powers refrigerated unit,
that all parts used in the construction or fabrication of that un
it will be free from defects in material and
workmanship, under normal use and service, for a period of one year from the date of installation.
Our obligation under this warranty is limited to repairing or replacing, FOB the factory, any part that
we find
to be defective upon inspection, within the time period covered by this warranty.
STANDARD FIVE
-
YEAR COMPRESSOR WARRANTY
In addition to the standard one year parts warranty, Powers warrants to the original purchaser for a
period of five years from the dat
e of installation, that we will replace the hermetically sealed
compressor on the unit if found, in the reasonable opinion of the factory, to be defective in material or
workmanship. Relays, overloads, capacitors, and any other electrical components are no
t included in
the five
-
year warranty. It is the owner's responsibility to return the serial plate of the failed
compressor, or the compressor itself, at the option of the factory. Failure to
do so will void the
warranty.
Replacement of a defective compress
or is limited to one (1) compressor by Powers during the five
-
year (5) pe
riod.
This warranty does not give the original purchaser of the refrigerated unit the right to purchase a
complete replacement condensing unit of the same make or another make. It fur
ther does not permit
the replacement to be made with a compressor of another make unless authorized by Powers. In the
event that Powers authorizes the original purchaser to purchase a replacement compressor locally,
only the wholesale cost o
f the compresso
r is refundable.
STANDARD ONE
-
YEAR WARRANTY
Powers provides a one year service labor warranty on warranted repairs, subject to the f
ollowing
terms and conditions:
The warranty is in effect for one
year from the date of installation.
Factory authorization must be obtained before any work may be performed under the labor
warranty. Call Powers directly fort his authorization. No claim will be honored without
authorization from Powers.
The warranty covers reasonable labor costs, based o
n straight time, when the unit has been
diagnosed as defective.
This warranty does not cover original installation, initial start
-
up, normal adjustments, or
maintenance.
Travel time for service personnel will be covered under this warranty within a reasona
ble
distance from the installation site.
OEM parts needed for making warranty repairs can be obtained from Powers.
Page 6

KEY POINTS
Defective conditions caused by abnormal use or misuse, lack of or improper maintenance, damage
by third parties, alterations,
acts of God, failure to follow installation, maintenance, or safety
instructions, or any other event beyond the control of the Company will not be covered under this
warranty. These warranties are in lieu of all other warranties, expressed or implied
.
Pow
ers assumes no obligation whatsoever for consequential or incidental damages, including but not
limited to loss of product.
 Loading...