

Page 1
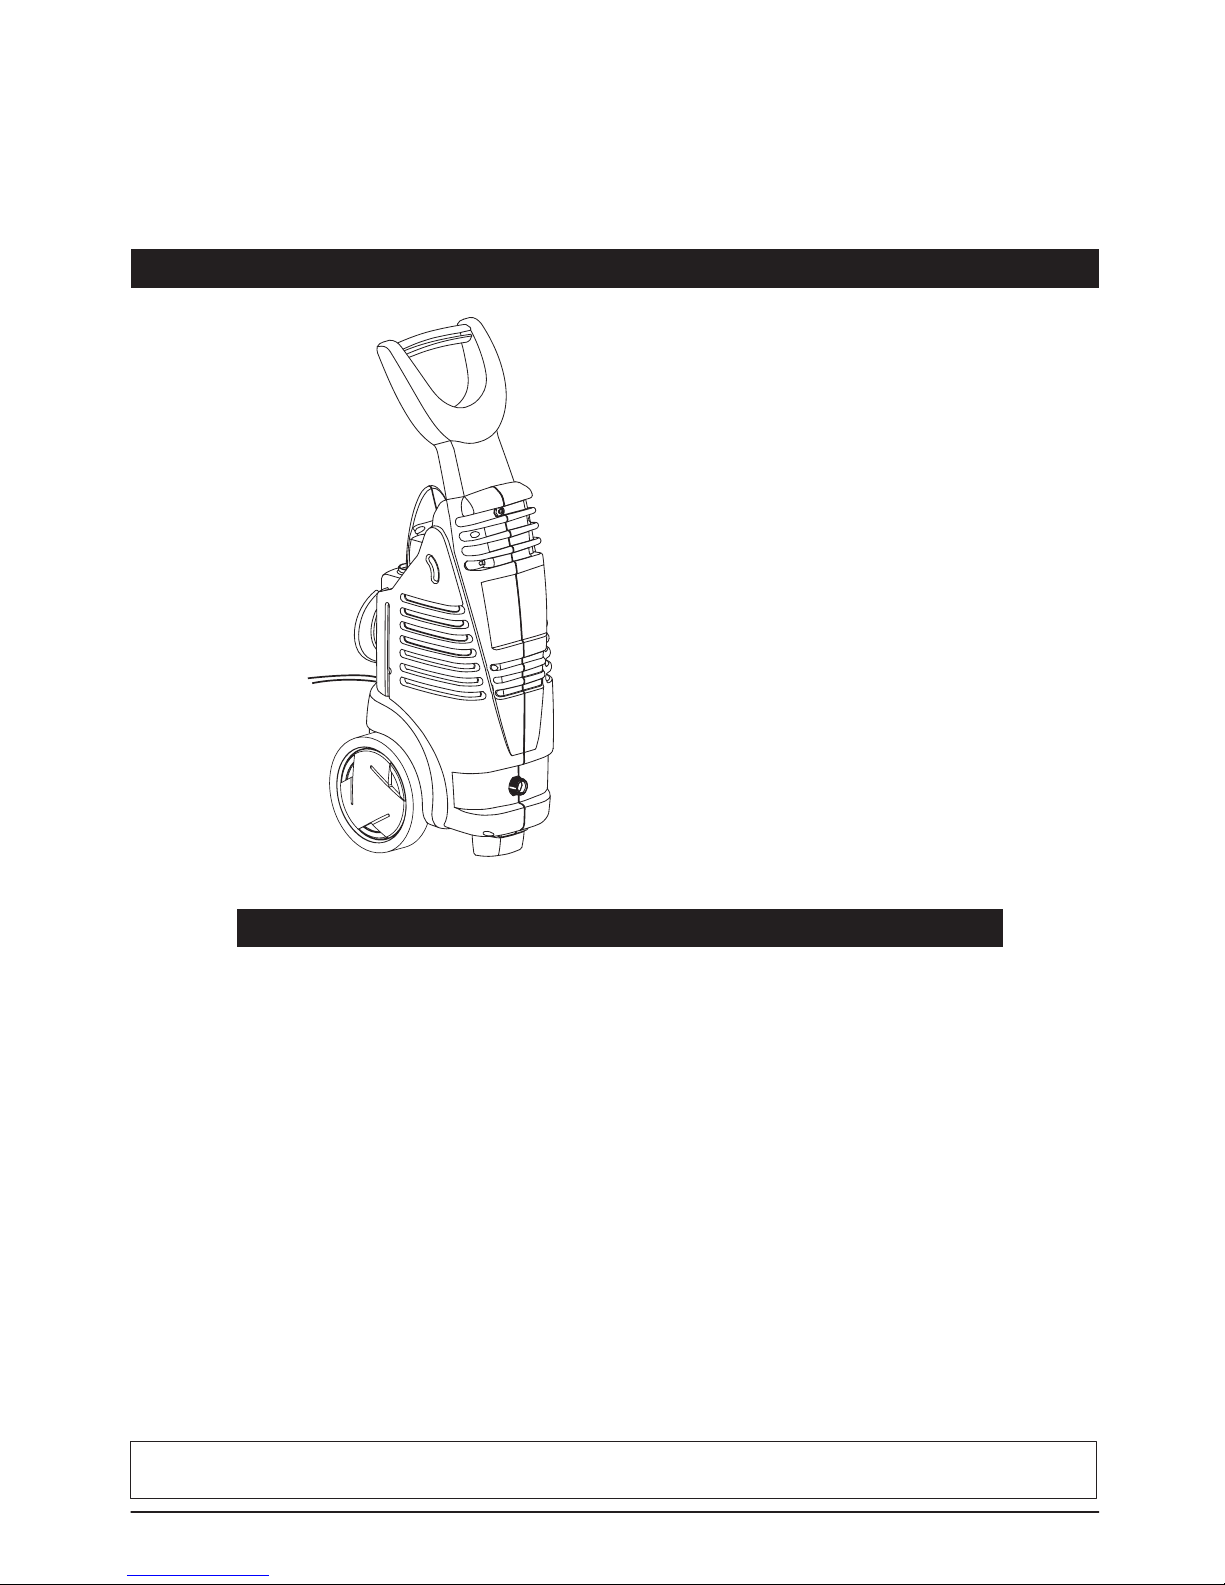
Electric Pressure
Washer
Model: PW0501400
Operating Instructions
REMINDER: Keep your dated proof of purchase for warranty purposes! Attach it to this
manual or file it for safekeeping.
Contents Page
Safety and Warning Information 2 - 4
Specifications 4
Assembly Instructions 4 - 5
Pre-Operation 8 - 9
Operation, Shutdown and Storage 10 - 11
Troubleshooting Chart 12
Replacement Parts List 13
200-2627 - 11-06
Carefully read and understand these instructions
before operating this pressure washer
Page 2
2
Safety Guidelines
This manual contains information that is very
important to know and understand. This
information is provided for SAFETY and to
PREVENT EQUIPMENT PROBLEMS. To help
recognize this information, observe the
following symbols.
Danger indicates an
imminently hazardous situation which, if
not avoided, WILL result in death or serious
injury.
Warning indicates an
potentially hazardous situation which, if
not avoided, COULD result in death or
serious injury.
Caution indicates an
potentially hazardous situation which, if
not avoided, MAY result in minor or
moderate injury.
NOTE: Information that requires special
attention.
Important Safety Instructions
SAVE THESE INSTRUCTIONS
When using this product, basic precautions
should always be followed, including the
following:
1. Read all instructions before using the
product.
2. To reduce the risk of injury, close
supervision is necessary when a product
is used near children.
3. ALWAYS disconnect power before
disassembling or repairing the unit.
4. Follow all safety codes as well as the
Occupational Safety and Health Act
(OSHA).
5. Ensure safety devices are operating
properly before each use. DO NOT
remove or modify any part of the gun or
unit.
6. Know how to stop this product and bleed
pressure quickly. Be thoroughly familiar
with the controls.
7. Stay alert - watch what you are doing.
8. Do not operate the product when fatigued
or under the influence of alcohol or drugs.
9. Keep operation area clear of all persons.
10. Do not overreach or stand on unstable
support. Keep good footing and balance
at all times.
11. Follow the maintenance instructions
specified in the manual.
12. This product shall be connected to a
power supply receptacle protected by a
ground fault circuit interrupter (GFCI).
13. If product is provided with a GFCI, be
sure to inspect cord and GFCI prior to
use. Any repair or replacement of the
power cord must be performed by a
qualified (licensed or certified) electrical
technician.
The power cord on this
product contains chemicals, including
lead, known to the State of California
to cause [cancer and] birth defects or
other reproductive harm. WASH
HANDS AFTER HANDLING!
Risk of injection or severe
injury. Keep clear of nozzle. Do not
discharge streams at persons. This
product is to be used only by trained
operators. Always remove lance from
gun before cleaning debris from tip.
• Keep clear of nozzle. NEVER direct high
pressure spray at any person, animal or
self.
• Always wear ANSI Z87.1 approved safety
glasses or goggles and protective clothing
when operating or performing maintenance.
• Never put hand or fingers over the spray
tip while operating the unit.
• Never try to stop or deflect leaks with any
body part.
• Always engage the trigger safety latch in
the safe position when spraying is stopped
even if only for a few moments.
• Always follow detergent manufacturer’s
label recommendations for proper use of
detergents. Always protect eyes, skin and
respiratory system from detergent use.
Safety and Warning Information
Pressure Washer
!
WARNING
!
CAUTION
!
DANGER
!
WARNING
!
WARNING
!
WARNING
Page 3
3
SERVICING OF A DOUBLE-INSULATED
APPLIANCE
In a double-insulated
product, two systems of
insulation are provided
instead of grounding. No
grounding means are
provided for a double-insulated product, nor
should grounding means be added to the
product. Servicing a double-insulated product
requires extreme care and knowledge of the
system, and should be done only by qualified
service personnel. Replacement parts for a
double-insulated product must be identical to
the original parts. A double-insulated product
is marked with the words “Double Insulation”
or “Double Insulated”. Product may also be
marked with symbol shown in Figure 1.
Do not use pressure that
exceeds the operating pressure of any of
the parts (hoses, fittings, etc.) in the
pressurized system. Ensure all equipment
and accessories are rated to withstand the
maximum working pressure of the unit.
Explosion hazard.
• NEVER spray flammable liquids or use
pressure washer in areas containing
combustible dust, liquids or vapors.
•Never operate this machine in a closed
building or in or near an explosive
environment.
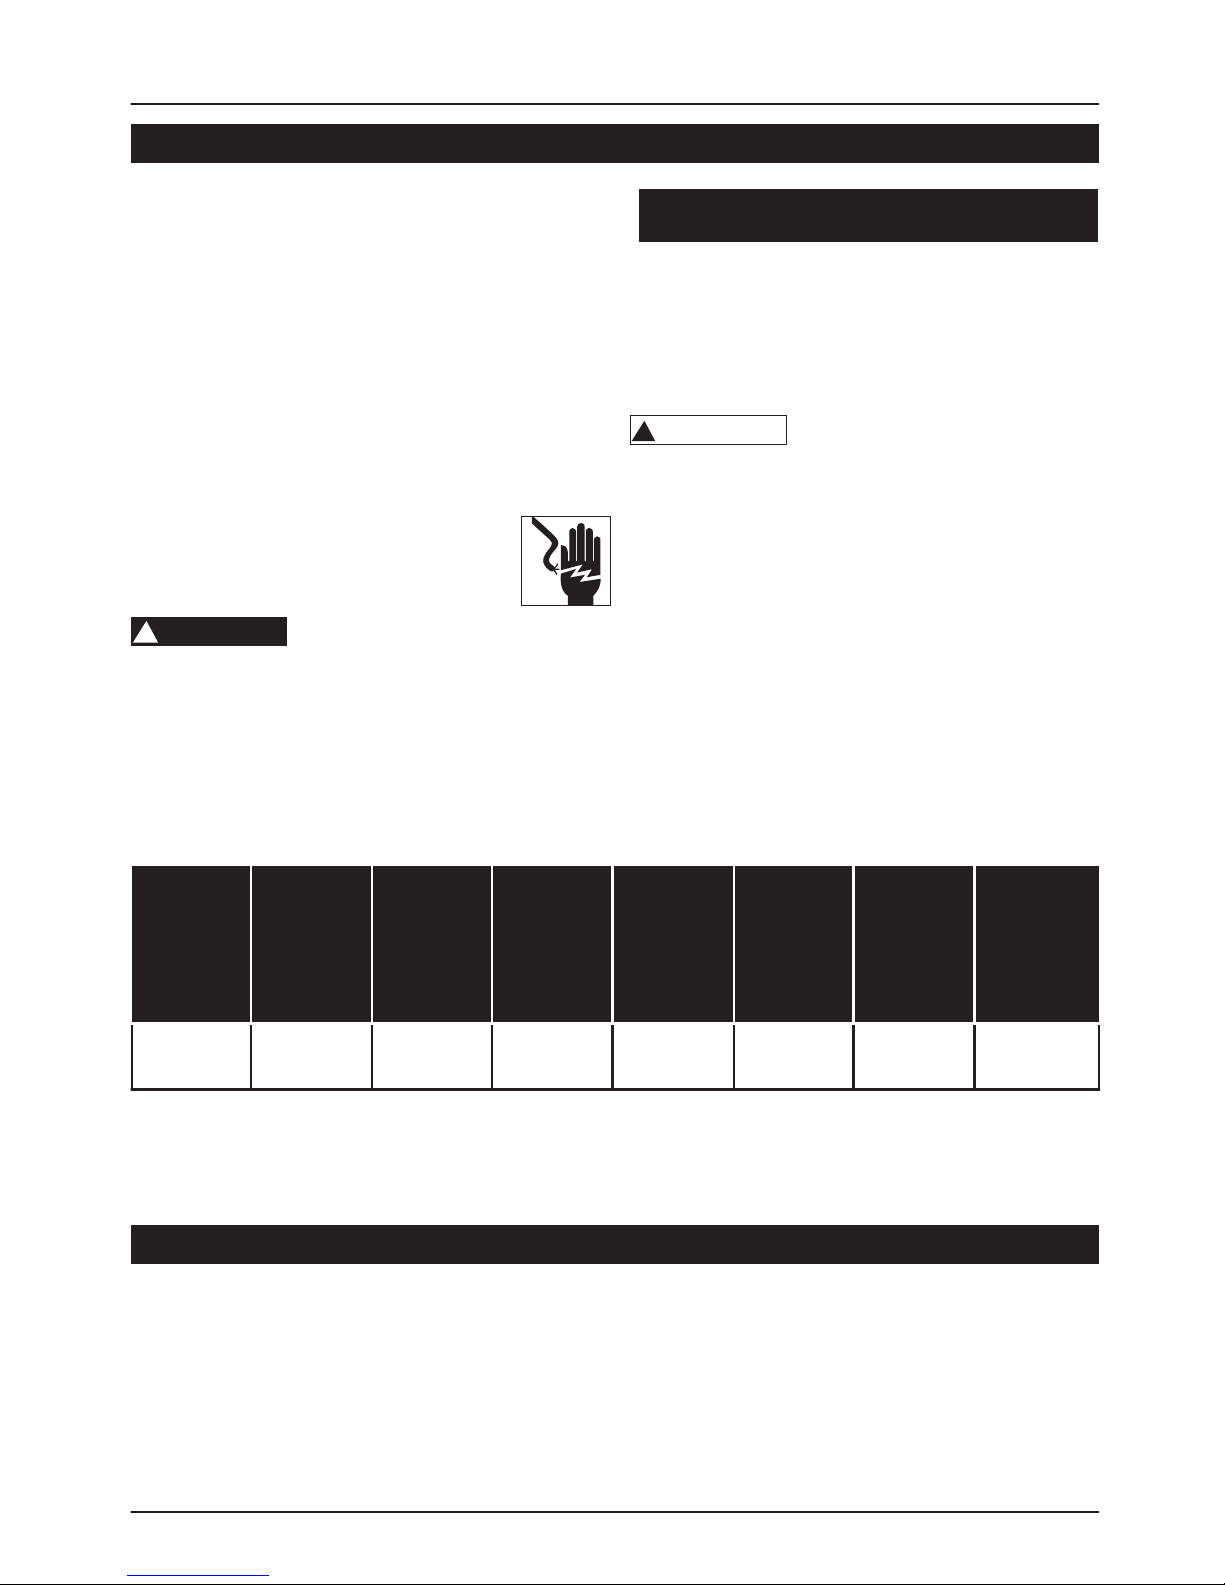
Do not spray electrical
apparatus and wiring.
•Never disconnect the high pressure
discharge hose from the machine while
the system is pressurized. To depressurize
machine, turn power and water supply off,
then press gun trigger 2-3 times.
• Never permanently engage the trigger
mechanism on the gun.
• Never operate the machine without all
components properly connected to the
machine (handle, gun/wand assembly,
nozzle, etc.).
Equipment damage.
• ALWAYS turn water supply “ON” before
turning pressure washer “ON”. Running
pump dry causes serious damage.
• Do not operate the pressure washer with
the inlet water screen removed. Keep
screen clear of debris and sediment.
• NEVER operate pressure washer with
broken or missing parts. Check equipment
regularly and repair or replace worn or
damaged parts immediately.
• Use only the nozzle supplied with this
machine.
• Never leave the wand unattended while
the machine is running.
• Never attempt to alter factory settings.
Altering factory settings could damage the
unit and will void the warranty.
• Always hold gun and wand firmly when
starting and operating the machine.
• NEVER allow the unit to run with the trigger
released (off) for more than one (1) minute.
Resulting heat buildup will damage pump.
• Pressure washer is not meant to pump hot
water. NEVER connect it to a hot water
supply as it will significantly reduce the life
of the pump.
• NEVER store the pressure washer
outdoors or where it could freeze. The
pump will be seriously damaged.
• Release trigger when changing from high
to low pressure modes. Failure to do so
could result in damage.
Keep hose away from sharp
objects. Bursting hoses may cause injury.
Examine hoses regularly and replace if
damaged. Do not attempt to mend a
damaged hose.
EXTENSION CORDS
If using an extension cord,
use only grounded, three wire extension
cords that are in good condition.
Use of an extension cord is not recommended.
If one is used, then use only wire sizes and
lengths shown in chart below.
Safety and Warning Information (Continued)
Pressure Washer
!
WARNING
!
CAUTION
!
WARNING
!
WARNING
!
WARNING
!
WARNING
Figure 1 - Double
Insulated symbol
!
DANGER
Page 4
4
Use only extension cords intended for outdoor
use. These are identified by the marking
“Acceptable for use with outdoor appliances;
store indoors while not in use”. Use only
extension cords having an electrical rating
equal to or more than the rating of the product.
Do not use damaged extension cords. Examine
extension cord before using and replace if
damaged. Do not abuse extension cord. Do
not pull on the cord to disconnect. Keep cord
away from heat and sharp edges. Always
disconnect product from extension cord.
NOTE: Do not use 16 or 18 AWG
common extension cords on this
product.
Failure to follow these
instructions can result in serious injury,
including death.
14 AWG Yes No
12 AWG Yes Yes
REFER TO ASSEMBLY INSTRUCTIONS
FOR ASSEMBLY, SET-UP AND
CONNECTION PROCEDURES
To reduce the risk of
electrocution, keep all connections
dry and off the ground. Do not touch
plug with wet hands.
PW0501400
2250 1500 psi 1.5 GPM 13 Amps 120V 100°F 26 lbs.
Specifications
Please read and save these instructions. Read carefully before attempting to assemble,
install, operate or maintain the product described. Protect yourself and others by
observing all safety information. Failure to comply with instructions could result in
personal injury and/or property damage! Retain instructions for future reference.
Safety and Warning Information (Continued)
Pressure Washer
!
DANGER
!
WARNING
Extension
Cord size
Allowable length
25’ 50’
Model
Cleaning
Power
Max.
Pressure
with
Standard
Lance
Max.
Capacity
Motor
Power
(single
phase)
Voltage
Max.
Inlet
Water
Temp.
Unit
Weight
Assembly Instructions
Page 5
5
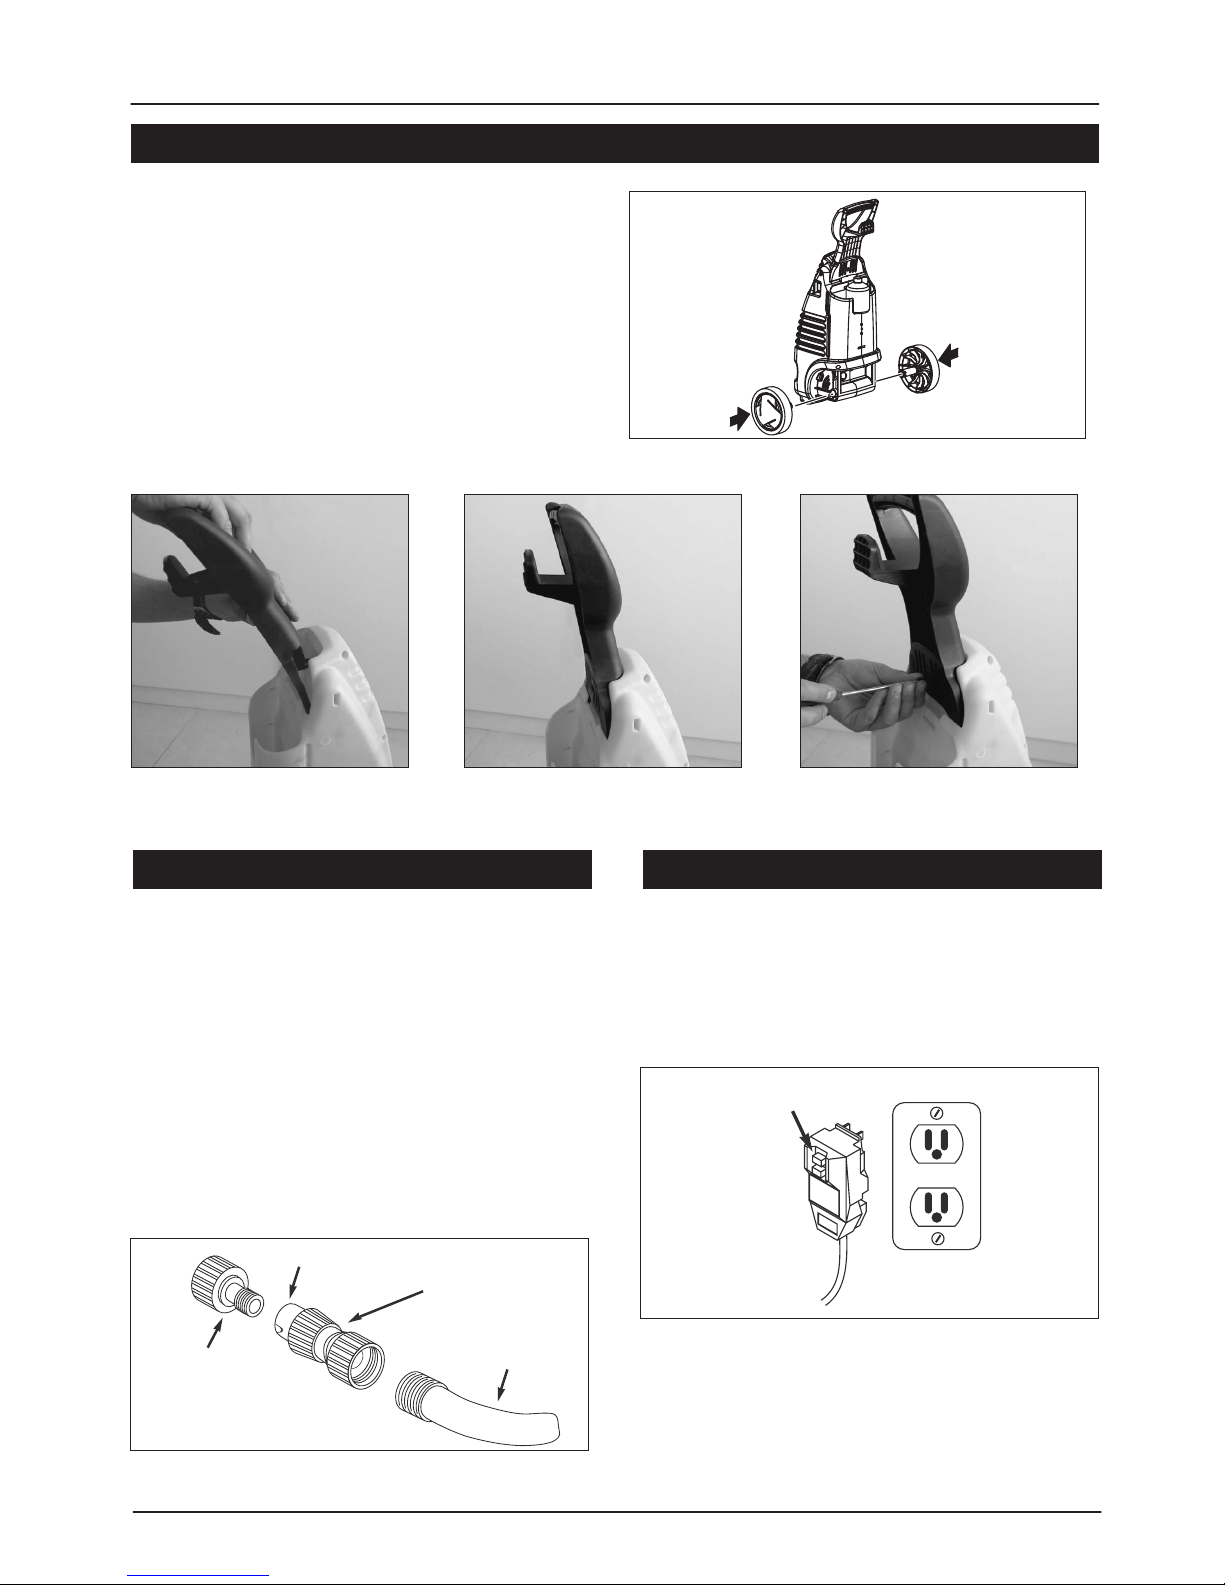
1. Assemble wheels by pushing wheels into
mounting holes, as shown in Figure 1.
2. Insert handle into back of unit at an angle,
as shown in Figure 2.
3. While pressing down on handle, push
handle fully forward, as shown in Figure
3.
4. Attach handle to unit with enclosed screw,
as shown in Figure 4.
GARDEN HOSE CONNECTION
INSTRUCTIONS
1. Attach nipple adapter to inlet fitting on
the unit (this may already be attached to
the pump).
2. Attach quick connect fitting to garden
hose.
3. Pull side “A” of quick connect fitting
towards garden hose and push onto
nipple adapter.
4. Push side “A” of quick connect fitting
towards nipple adapter and release.
1. Plug the power cord into a grounded
120V outlet and press the reset button
as shown in Figure 6.
2. THIS MUST BE DONE EACH TIME THE
UNIT IS PLUGGED IN AN OUTLET.
Assembly Instructions (Continued)
Figure 1
Figure 2 Figure 4Figure 3
Figure 6 - Grounded plug/reset button
Reset
Garden Hose Connection
Figure 5 - Garden Hose Connection
“A”
Quick Connect Fitting
Garden Hose
Nipple
Adapter
Power Cord
Pressure Washer
Page 6

6
Pressure Washer
! IMPORTANT !
This pressure washer is equipped with a microswitch sensitive to water flow. This Instant
Start/Stop switch (ISS) senses water flow in the pump. When the trigger is released,
water stops flowing through the pump. The ISS then automatically turns the motor off
to protect pump from overheating.
OPERATION
1. Pull trigger on gun.
2. Turn the “ON/OFF” switch to “ON”.
3. Release trigger. The pressure washer motor will stop running.
4. To spray again, pull trigger and motor and pump will restart.
Note: Occasionally the motor may run for a short time to bring fresh, cool water into
the pump even if trigger is released. This is part of normal operation and will not damage
the unit.
Risk of Injection.
Unit will start spraying when trigger is squeezed if ON/OFF switch is in “ON”
position. Always point gun in safe direction.
Always turn the “ON/OFF” switch to “OFF”, then trigger gun to
release hose pressure before unplugging power cord.
Risk of equipment damage. Always make sure the “ON/OFF”
switch on the unit is “OFF” and unit is unplugged prior to storage.
!
WARNING
!
CAUTION
NOTICE
Page 7

7
1. Insert lance into the gun and turn
clockwise to positive stop as shown in
Figure 7.
2. Ensure that the power switch is in the
“OFF” position.
3. Attach the high pressure hose and gun
assembly to the unit.
4. Connect garden hose as explained under
Garden Hose Connection Instructions.
5. Plug the power cord into a grounded
120V outlet, that is on a dedicated circuit.
6. Turn water on.
7. Depress and hold the trigger on the gun
for one minute to release pressure and
remove any air trapped in the system.
8. Turn the “ON/OFF” switch to the “ON”
position.
System Connection
Pressure Washer
Figure 7 - Gun/Lance Connection
Figure 8
13 mm
OUTLET
INLET
ON/OFF
Switch
Garden
Hose
Gun
High
Pressure
Hose
Page 8

8
ADJUSTING FAN PATTERN
The angle of spray coming out of the lance
may be adjusted on some lances by rotating
the nozzle. This will vary the spray pattern
from approximately a 0° narrow high impact
stream to a 60° wide fan spray (See Figure
2).
A narrow stream has high impact force on the
cleaning surface and results in maximum deep
cleaning in a concentrated area. However, this
narrow high impact spray must be used
cautiously, as it may damage some surfaces.
A wide fan pattern will distribute the impact of
the water over a larger area, resulting in
excellent cleaning action with a reduced risk
of surface damage. Large surface areas can
be cleaned more quickly using a wide fan
pattern.
NOZZLE CLEANING INSTRUCTIONS
A clogged or partially clogged nozzle can cause
a significant reduction of water coming out of
the nozzle and cause the unit to pulsate while
spraying.
To clean out the nozzle:
•Turn off and unplug unit.
•Turn off water supply. Relieve any pressure
trapped in the hose by squeezing trigger
2-3 times.
• Separate lance from gun.
• Rotate nozzle to the narrow stream setting.
This opens up the fan blades.
• Using included tip cleaner, or an un-folded
paper clip, insert wire into the nozzle hole
and move back and forth until debris is
dislodged (See Figure 5).
• Remove additional debris by back-flushing
water through the nozzle. To do this, place
end of a garden hose (with water running)
to end of nozzle for 30 - 60 seconds.
Pre-Operation
Nozzle
Figure 2 - Adjusting nozzle for fan pattern
Figure 3 - Narrow high impact stream
Figure 4 - Wide fan pattern
Pressure Washer
Nozzle Tip Cleaner
Figure 5 - Insert tip cleaner in nozzle hole
and move back and forth until debris is
dislodged.
Page 9

9
ANGLE TO THE CLEANING SURFACE
When spraying water against a surface,
maximum impact is generated when the water
strikes the surface “head on”. However, this
type of impact tends to cause dirt particles to
imbed in the surface, thereby preventing the
desired cleaning action.
The optimum angle for spraying water against
a cleaning surface is 45 degrees.
Spraying water against a surface at this angle
provides for the most beneficial impact force
combined with efficient removal of debris from
the surface.
DISTANCE FROM CLEANING SURFACE
Another factor that determines the impact force
of the water is the distance from the spray
nozzle to the cleaning surface. The impact
force of the water is increased as the nozzle
is moved closer to the surface.
HOW TO AVOID DAMAGING SURFACE
Damage to cleaning surfaces occurs because
the impact force of the water exceeds the
durability of the surface. The impact force can
be varied by controlling the three previously
noted items. Never use a narrow high impact
stream or a turbo/rotary nozzle on a surface
that is susceptible to damage. Avoid spraying
windows with a narrow high impact stream or
turbo nozzle as this may cause breakage. The
surest way to avoid damaging surfaces is to
follow these steps:
1. Before triggering the gun, adjust the
nozzle to a wide fan pattern.
2. Place the nozzle approximately 4-5 feet
from and 45 degrees to the cleaning
surface, and trigger the gun.
3. Vary the fan pattern spray angle and the
distance to the cleaning surface until
optimum cleaning efficiency is achieved
without damaging the surface.
DETERGENTS
The use of detergents can dramatically reduce
cleaning time and assist in the removal of
difficult stains. Some detergents have been
customized for pressure washer use on specific
cleaning tasks. These detergents are
approximately as thick as water. The use of
thicker detergents, such as dish soap, will clog
the chemical injection system and prevent the
application of the detergent.
The cleaning power of detergents comes from
applying them to a surface and giving the
chemicals time break down the dirt and grime.
The combination of chemical action and high
pressure rinsing is very effective. On vertical
surfaces, apply the detergent starting at the
bottom and work your way upward. This will
prevent the detergent from sliding down and
causing streaks. High pressure rinsing should
also progress from the bottom to the top. On
particularly tough stains, it may be necessary
to use a brush in combination with detergents
and high pressure rinsing.
Pre-Operation (Continued)
Pressure Washer
Figure 6 - Optimum Angle to Cleaning
Surface.
Page 10

10
The following cleaning procedure will help you
to organize your cleaning task, and ensure
that you achieve the most beneficial results in
the shortest amount of time. Remember to
use the spraying/cleaning techniques
previously listed.
Before starting a pressure washer cleaning
job, it is important to prepare the surface that
is to be cleaned. This is done by cleaning the
area of furniture, and making sure that all
windows and doors are closed tight. In addition,
you should make sure that all plants and trees
adjacent to the cleaning area are protected
by a drop cloth. This will ensure that your
plants won’t be sprayed by the detergents.
The next step is to spray the cleaning surface
with water to clear off any dirt or grime that
may have collected on the surface. This will
allow your detergent to attack the deep down
dirt that has worked its way into the cleaning
surface. Before triggering the gun, adjust the
nozzle to a wide fan pattern and slowly adjust
to the desired spray pattern. This will help you
avoid applying too much concentrated spray
to the surface which could cause damage.
NOTE: Use only detergents formulated for
pressure washers.
NOTE: Test detergent in an inconspicuous
area before use.
Follow manufacturer’s label directions for
mixing correct concentrations of soap/
detergents. The soap/detergent to water ratio
through the pressure washer is approximately
5.4%.
1. Unscrew top of detergent applicator and
fill applicator with detergent.
2. Replace top on applicator.
3. Remove lance from gun.
4. Attach detergent applicator to gun (See
Figure 8).
5. Apply detergent so it throughly covers
cleaning surface. Apply from bottom to
top to prevent detergent from sliding down
and streaking.
6. Allow detergent to remain on the surface
for a few minutes. This is a good time to
use a brush to lightly scrub heavily soiled
areas.
7. Remove detergent applicator from gun
and replace with the lance, or remove
applicator from end of lance.
8. Rinse detergent from surface.
Note: Flush detergent applicator with clear
water following each use.
Start final rinse at bottom and work upward.
Make sure you throughly rinse the surface and
that all detergent has been removed.
1. Be sure all detergent is flushed from
system.
2. Turn off motor.
3. Turn off water supply.
4. After motor and water supply are turned
off, trigger gun to depressurize system.
Pressure Washer
Operation
1. Surface Preparation
2. Initial High Pressure Rinse
3. Detergent Application
Figure 7 - Detergent application
Figure 8 - Attach applicator to gun
4. Final Rinse
5. Shutdown
Page 11

11
NEVER turn water supply
off before turning motor off. Serious
damage could occur to the pump and/or
motor.
NEVER disconnect high
pressure discharge hose from machine
while system is pressurized. To
depressurize, turn motor off, turn water
supply off and squeeze gun trigger 2-3
times.
5. After each use, wipe all surfaces of the
pressure washer with a clean, damp cloth.
• Do not store pressure washer outdoors.
• Do not store pressure washer where it
might freeze.
TIPS FOR EXTENDING THE LIFE OF
YOUR PRESSURE WASHER
1. Never operate unit without water.
2. Pressure washer is not meant to pump
hot water. Never connect to hot water
supply - this will significantly reduce life
of the pump.
3. Using detergents other than foreseen for
pressure washer brand may cause
damage to pump components (o-rings,
seals, etc). This also applies to chemicals
such as bleach, dish soap, etc.
4. Never operate unit for more than one (1)
minute without spraying water. Resulting
heat buildup will damage pump.
5. Before adjusting nozzle for pressure
(high-to-low or low-to-high) release trigger.
Failure to do so will reduce life of o-rings
in lance.
Operation (Continued)
Pressure Washer
6. Storage
!
WARNING
!
CAUTION
Page 12

12
Troubleshooting Chart
Pressure washer does not
start up
Pump does not reach
necessary pressure
Fluctuating pressure
Motor stops suddenly
No detergent suction units with attachable
applicators
Unit begins to smoke
1. Unit is pressurized.
2. GFCI has tripped (if so
equipped).
3. Plug is not well connected
or electric socket is faulty.
4. Extension cord too long or
wire size too small.
5. Main voltage supply too
low.
6. Thermal safety switch has
tripped.
1. Water inlet filter is clogged.
2. Pump sucking air from
hose connections.
3. Nozzle worn or not correct
size.
4. Unloader clogged or worn.
5. Valves clogged or worn.
1. Pump sucking in air.
2. Clogged nozzle.
3. Valves dirty, worn or stuck.
4. Water seals worn.
1. Extension cord too long or
wire size too small.
2. Thermal safety switch has
tripped due to overheating.
Detergent applicator clogged
Overheated, overloaded or
damaged motor
1. Squeeze trigger on gun.
2. Push reset button on
plug.
3. Check plug, socket and
fuses.
4. Remove extension cord
(see page 4).
5. Check that main supply
voltage is adequate.
6. Switch off unit and allow
motor to cool down.
1. Clean water inlet filter.
2. Check that connections
and locking ring are
properly tightened.
3. Call Customer Service.
4. Call Customer Service.
5. Call Customer Service.
1. Check that hoses and
connections are tight.
2. Clean with tip cleaner
(see page 5).
3. Call Customer Service.
4. Call Customer Service.
1. Remove extension cord
(see page 4).
2. Check that main supply
voltage corresponds to
specifications.
1. Clean applicator with
warm water.
2. Replace applicator.
Turn off unit and call
Customer Service.
Symptom Possible Cause(s) Corrective Action(s)
Pressure Washer
Page 13

13
Replacement Parts List
For Replacement Parts,
Call Customer Service
1-800-445-1805
Please provide following information:
-Model number
-Serial number (if any)
-Part description and number as shown in
parts list
Address any correspondence to:
Powermate Corporation
4970 Airport Road
P. O. Box 6001
Kearney, NE 68848
www.powermate.com
Adjustable lance
Hose
Gun
Nipple adapter
Quick connect fitting
Tip cleaner
Wheel
Handle
Detergent applicator
005-0038
012-0134
010-0023
065-0106
036-0077
103-0152
095-0059
112-0144
010-0024
1
1
1
1
1
1
2
1
1
1.
2.
3.
4.
5.
6.
7.
8.
9.
Ref.
No.
Pressure Washer
7
6
7
2
1
3
4
5
8
9
Description
Part
Number
Q.ty
Page 14

14
NOTES......................................................................................................................
..................................................................................................................................
..................................................................................................................................
..................................................................................................................................
..................................................................................................................................
..................................................................................................................................
..................................................................................................................................
..................................................................................................................................
..................................................................................................................................
..................................................................................................................................
..................................................................................................................................
..................................................................................................................................
..................................................................................................................................
..................................................................................................................................
..................................................................................................................................
..................................................................................................................................
..................................................................................................................................
..................................................................................................................................
..................................................................................................................................
..................................................................................................................................
..................................................................................................................................
...................................................................................................................................
Pressure Washer
 Loading...