

Page 1

20” LCD Television
FLM-2017
20061107
Page 2

Table of Contents
Important Safety Instructions-----------------------------------------------Product Features ---------------------------------------------------------------Front Panel------------------------------------------------------------------------Rear Panel-------------------------------------------------------------------------Remote Control------------------------------------------------------------------System Connections------------------------------------------------------------
Connecting to External AV Signal Source-----------------------------------Connecting to External AV Signal Source (YPbPr) -----------------------Connecting to External AV Device(AV Out)---------------------------------Connecting to PC -----------------------------------------------------------------Connecting to Headphones----------------------------------------------------Connecting to Power Adapter--------------------------------------------------Connecting to TV Antenna-------------------------------------------------------
TV Setup and Operation--------------------------------------------------------
1
3
4
6
7
9
9
10
11
12
13
13
14
15
Preparations------------------------------------------------------------------------Image Setting-----------------------------------------------------------------------Audio Setting------------------------------------------------------------------------Sleep Setting-----------------------------------------------------------------------Parental Setting--------------------------------------------------------------------Setup Setting------------------------------------------------------------------------
Other Function--------------------------------------------------------------------
External AV Input Function------------------------------------------------------Computer Screen Function------------------------------------------------------
Troubleshooting-----------------------------------------------------------------Specifications---------------------------------------------------------------------
1
15
15
16
17
18
21
25
25
25
26
27
Page 3
Important Safety Instructions
POWER SUPPLY:
Plug the two-prong end of the power cord to an AC100-240V outlet. If you have difficulty inserting
the plug, turn it over and reinsert it. If the unit will not the used for a long time, disconnect the plug
from the outlet.
NOTE:
Before plugging the power cord into an AC outlet, make sure that all the connections have
been made.
CAUTION: These servicing instructions are for use by qualified service personnel only. Don’t
perform any servicing other than that contained in the operating instructions unless you are
qualified to do so. Refer to service manual for servicing instructions.
WEEE STATEMENT:
This product contains electrical or electronic materials. The presence of these
materials may, if not disposed of properly, have potential adverse effects on the
environment and human health. Presence of this label on the product means it
should not be disposed of as unsorted waste and must be collected sep arately. As
a consumer, you are responsible for ensuring that this product is disposed of
properly. To find out how to properly dispose of this product, please go to
www.polaroid.com and click on “Company“ or call the customer service
number for your country listed in the instruction manual.
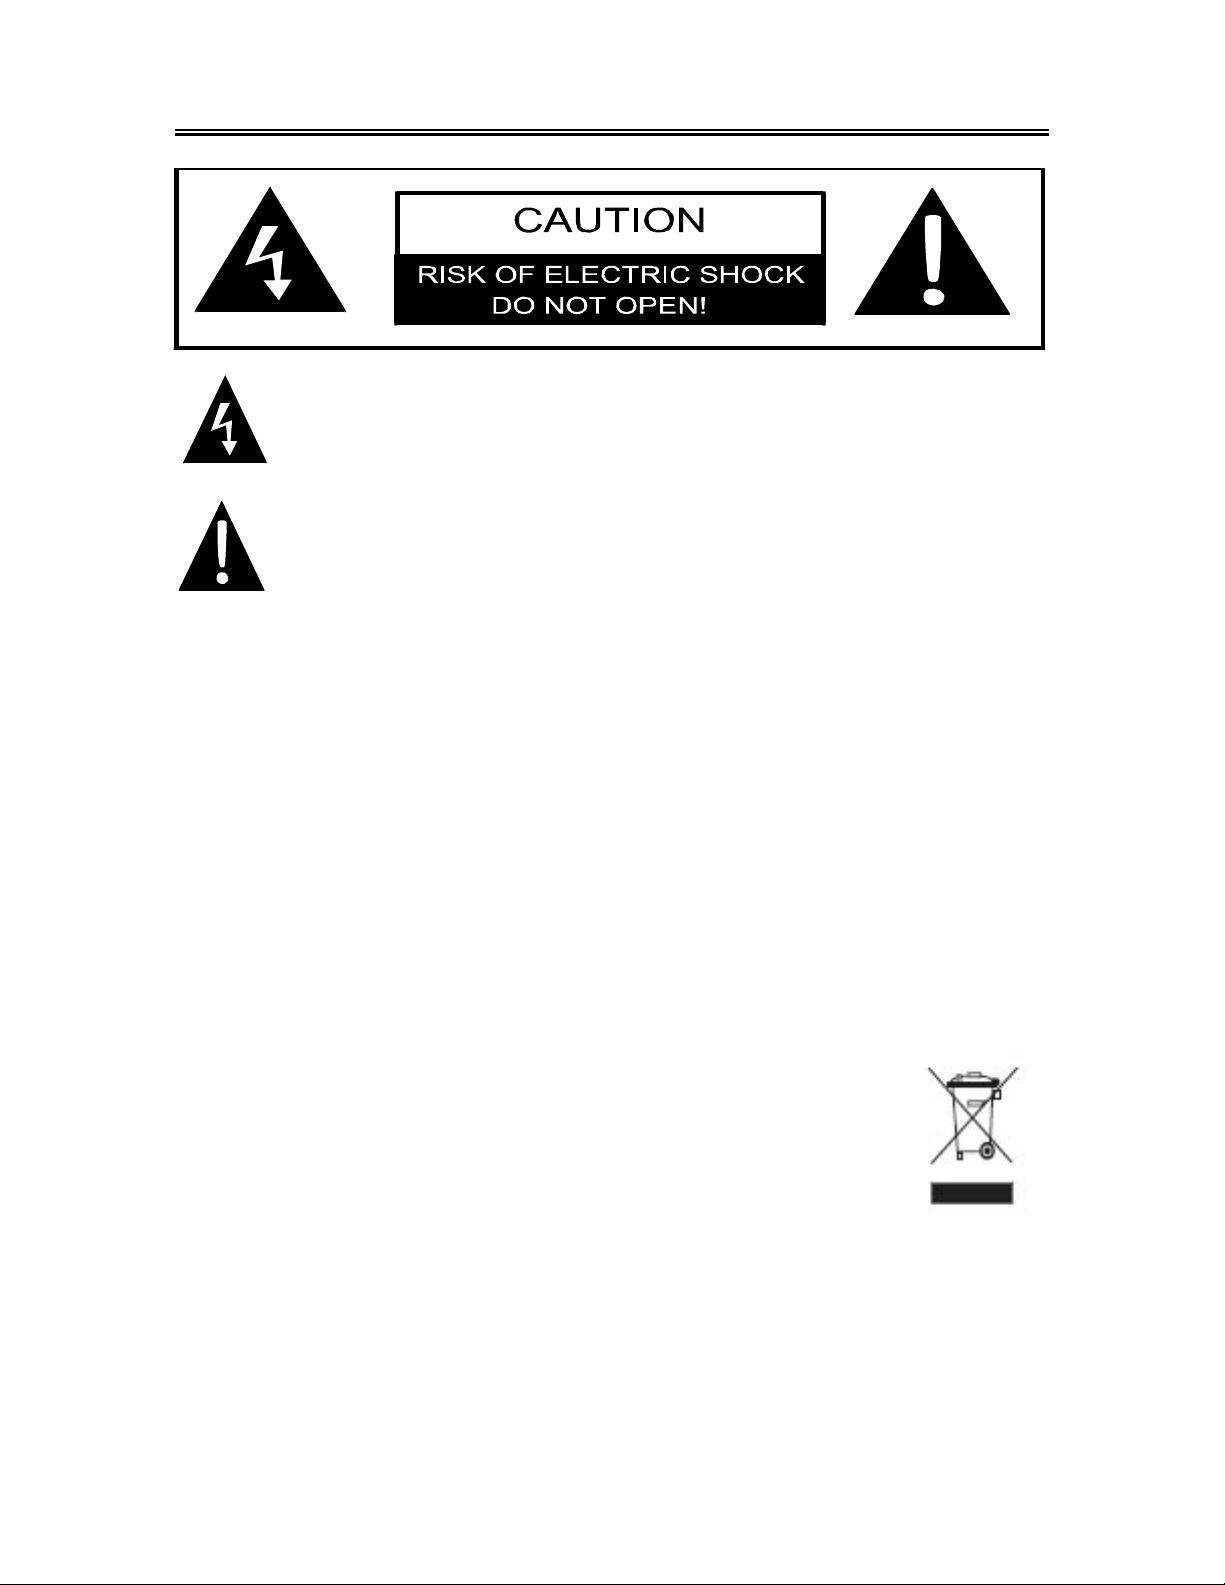
The lightning flash with arrowhead symbol, within an equilateral triangle, is
intended to alert the user to the presence of un-insulated “dangerous voltage”
within the product’s enclosure that may be of sufficient magnitude to constitute a
risk of electric to persons.
The exclamation point within an equilateral triangle is intended to alert the user
to the presence of important operating and maintenance (servicing) instructions
in the literature accompanying the appliance.
- 2 -
Page 4

Important Safety Instructions
Note:
1. Read these instructions.
2. Keep these instructions.
3. Heed all warnings.
4. Follow all instructions.
5. Do not use near water.
6. Clean only with dry cloth.
7. Do not block any ventilation openings. Maintain well ventilated conditions around the product.
Do not put product on bed, sofa or anything that blocks ventilation. Install in accordance with
the manufacturer’s instructions.
8. Do not install near any heat sources such as radiators, heat registers, stoves, or other
apparatus (including amplifiers) that produce heat.
9. Do not defeat the safety purpose of the polarized or grounding-type plug. A polarized plug has
two blades with one wider than the other. If the provided plug does not fit into your outlet,
consult an electrician for replacement of the obsolete outlet.
10. Protect the power cord from being walked on or pinched particularly at plugs, convenience
receptacles, and the point where they exit from the apparatus.
11. Only use attachments/accessories specified by the manufacturer.
12. Use only with the cart, stand, tripod, bracket, or table specified by the
manufacturer, or sold with the apparatus. When a cart is used, use
caution when moving the cart/apparatus combination to avoid injury
from tip-over.
13. Unplug this apparatus during lightning storms or whe n unused for long periods of time.
14. Refer all servicing to qualified service personnel. Servicing is required when the apparatus has
been damaged in any way, such as power-supply cord or plug is damaged, liquid has been
spilled or objects have fallen into the apparatus, the apparatus has been exposed to rain or
moisture, does not operate normally, or has been dropped.
15. Apparatus shall not be exposed to dripping or splashing and no objects filled with liquids, such
as vases, shall be placed on the apparatus.
Note: Do not touch the color TFT LCD screen by hand directly.
Copyright Protection
This product incorporates copyright protection technology that is protected by U.S. patents and
other intellectual property rights. Use of this copyright protection technology must be authorized
by Macrovision, and is intended for home and other limited viewing uses only unless otherwise
authorized by Macrovision. Reverse engineering or disassembly is prohibited.
- 3 -
Page 5

Product Features
This product incorporates LCD display and TV receiver in one system.
Multiple Mode
Component mode
VGA mode
TV mode
Composite mode
S-VIDEO mode
High Quality Property
High Resolution
Adopt an MPEG2 decoding format to achieve
horizontal resolution more than 500 lines.
LCD (Liquid Crystal Display)
Designed with 20" color TFT liquid crystal
display clearly shows the data.
AV and VGA Input
Can be connected external audio and video
signal source and PC.
Special Function
Supports sleep timer setting and V-Chip
function.
Multi-audio and Multi-video modes
Supports multi-audio and multi-video modes,
provide more selecting.
MTS (Multi-Channel Sound) Function
Supports the MTS function. According to the
broadcasting programs, you can choose the
corresponding soundtrack.
Stereo amplifier
Built-in 2x5W speakers provide high quality
sound.
Multi-Screen Aspect Ratio
Support several different screen aspect ratio.
Auto TV Searching Function
Can be connected to the TV antenna, which
supports Auto TV progra ms searching function.
NOTE: It is normal for a TFT screen to
experience some light or dark spots appearing
on the LCD screen
- 4 -
Page 6

Front Panel
1. 20" color TFT screen
20" color TFT screen clearly show the data.
2. SOURCE button
Press to select the modes: Component, VGA, TV, Composite or S-VIDEO.
3. MENU button
Press to enter or exit setup menu.
4. CH
5. VOL+ /VOL-button
+ /CH- button
In the TV mode, press to select channels.
In setup menu, the same function as ▲/▼ direction buttons.
In the TV mode, press to decrease or increase the volume.
In setup menu, the same function as ◄/►direction buttons.
In setup menu, the VOL
▲ has the same function as ENTER button.
- 5 -
Page 7

Front Panel
6. POWER button
Press to enter or exit the standby mode.
7. Earphone Jack
When connected to earphone, the internal speakers will automatically turn off.
8. Remote Sensor
Remote sensor window for the remote control.
9. Power Indicator
In normal playback status, it is blue; in standby mode, it turns red.
10. Speakers
Two speakers output high quality stereo sound.
- 6 -
Page 8

Rear Panel
1. Y/Pb/Pr Input Jack
Connected to the Y/Pb/Pr input in
Component mode
2. L/R Audio Input Jack
Connected to the L/R audio input in
Component mode. The L/R audio input
jacks can also be used in S-Video mode.
3. AV Output Jacks
Connected to the external AV input
device.
4. S-Video Input Jacks
In the S-VIDEO mode, connected to
S-VIDEO signal input.
5. TV Signal Input Jack
Connected for the external NTSC TV
signal input.
6. DC 9.5/12V IN Jack
Connected to power adapter.
7. VGA Input Jack
Connected to the VGA output jack on a
personal computer .
8. VGA AUDIO IN Jack
Connected to the PC audio output jack.
- 7 -
Page 9

Remote Control
Remote Control Drawing
1. SOURCE button
Press to select the mode Component,
VGA, TV, Composite or S-VIDEO.
2. 0~9 Number buttons
Press to select numbers
3. LAST button
In the TV mode, press to return to the
channel last viewed.
4. VOL +/- button
Press to increase or decrease the volume.
5. SLEEP button
Press to select sleep time.
6. MUTE button
Press to turn on or off the speaker output.
7. Direction buttons (▲▼◄►)
In the setup menu, press the ▲▼button to
select the desired item and press the ◄►
button to adjust or set.
8. OK button
Press to confirm your selection.
9. INFO button
Press to display the information about
current status on the screen.
10. POWER button
Press to enter or exit the standby mode.
11. ENT button
In TV mode, when selecting channels 1-99,
press this button to confirm and enter the
selected channel.
12. CH / button
In TV mode, press to select channel.
13. MTS button
Press to activate MTS function in TV
mode.
14. CC button
In TV mode or with Composite as the input
source, press to display the closed
captions or cancel display.
15. MENU button
Press to enter the LCD setup menu.
16. EXIT button
Press to exit the setup menu.
- 8 -
Page 10

Remote Control
Preparation of Remote Control
Push the back cover to open the battery
compartment.
Insert two batteries (1.5V, size AAA), please
make sure the polarity matches the marks
inside the compartment.
Press the back cover to close it.
z Under normal use the battery will last for
six months.
z Take out batteries when the remote is not
in use for a long time.
Using of Remote control
Point the remote control unit from no more than
about 7m from the remote control sensor and
within about 60 degrees of the front of the unit.
• The operating distance may vary
depending to the surrounding brightness.
Notes:
• Do not point bright lights directly at the
remote control sensor.
• Do not place objects between the remote
control unit and the remote control sensor.
• Do not use this remote control unit while
simultaneously operating the remote
control unit of any other equipment.
- 9 -
Page 11

System Connections
• Do not connect the power cord until all other connections have been made.
• Ensure that you ob serve the color-corded cables when connecting audio and video cables.
Connecting to External AV Signal Source
Use the audio and video cable to connect the AV input jacks on the rear panel of the unit to the
external AV signal source.
Use the S-VIDEO cable to connect the S-VIDEO input jack on the rear panel of the unit to the
external AV signal source.
After making all AV connections, turn on the power of the unit and the external AV signal source
and press the SOURCE button to shift to Composite or S-VIDEO mode.
Note: the L/R audio input jacks can be used in the both Composite and S-VIDE O modes.
- 10 -
Page 12

System Connections
Connecting to External AV Signal Source (YPbPr)
Use the audio and video cables to connect the YPbPr (Component) input jacks on the rear panel of
the unit to the external AV signal source.
After making all AV connections, turn on the power of the unit and external AV signal source and
press the SOURCE button to shift to Component mode.
- 11 -
Page 13

System Connections
Connecting to External AV Device(AV Out)
The unit supports audio and video signal input function, it can be connected to the external audio
and video device.
Use the audio and video cables to connect the AV output Jacks on the rear panel of the unit to the
external AV input device.
- 12 -
Page 14

System Connections
Connecting to PC
The unit can be connected to PC (personal computer) via the VGA cable. Follow the steps and the
figure below to connect:
1. Connect one end of the VGA cable to the VGA input jack on the rear panel of the unit.
2. Connect the other end to the PC.
3. Connect one end of the audio cable to the PC audio input jack on the rear panel of the unit.
4. Connect the other end to the PC audio output jack.
5. Set the PC’s resolution at 800 x 600 @60Hz.
After making all connections, turn on the unit and the PC and press the SOURCE button to shift to
VGA mode.
- 13 -
Page 15

System Connections
Connecting to Headphones
This unit can be connected to an earphone for listening music in private. See below figure for
details:
After connecting to the earphone, the internal speakers’ output will turn off automatically.
Connecting to Power Adapter
Power is supplied through the provided appropriative power adapter, one end is connected to the
DC 9.5/12V IN jack on the rear panel of the unit, the other end to the AC100~240V wall outlet.
- 14 -
Page 16

System Connections
Connecting to TV Antenna
This unit can be connected to the TV signal input source via the TV jack on the rear panel.
After making all connections, turn on the power of the unit and press the SO URCE button to shift to
TV mode.
When channel system is set to Antenna, you can select channels from 2 to 69:
¾ For 2~9 channels:
Press the number buttons to select channel X, wait five seconds to go to the selected channel,
or press ENT button to go to the selected channel directly without waiting.
¾ For 10~69 channels:
Press the number buttons to select channel XX
When channel system is set to Cable, HRC or IRC, you can select channels from 1 to
125
1. For 0~9 and10~99 channels :
Press the number buttons to select the channel X
channel, or press ENT button to go to the selected channel directly without waiting.
2. For 100~125 channels:
Press the number buttons to select channels XXX, the unit will go to the selected channel
, the unit will go to the selected channel directly.
or XX, wait five seconds to go to the selected
- 15 -
Page 17

directly .
* X is the channel number.
TV Setup and Operation
Preparations
1. After making all connecti ons, press the POWER bu tton to turn on the power. (If it is turned on, the
power indicator is blue.)
2. Press the SOURCE button to shift to TV mode. You can go on with the following operations:
Image Setting
Note: This item is only available when there is signal input.
Press the MENU button once to enter the setup
menu, as shown on the right:
In the setup menu, press the ▲▼ button to select
Image and then press the ENTER button to enter
the item. Press the ▲▼ button to select. Press the
MENU button to return to the previous menu.
Scheme Setup
Press the ▲▼ button to select Scheme and press
the ENTER button to enter. Press the ▲▼button
to select the desired item and press the ENTER
button to confirm your selection. Press the MENU
button to return to the previous menu.
Brightness Setup
Press the ▲▼ button to select
Brightness and press the
◄► button to adjust the
value. Press the MENU button
to return to the previous menu.
- 16 -
Page 18

TV Setup and Operation
Contrast Setup
Press the ▲▼ button to select Contrast and press the ◄► button to adjust the value. Press the
MENU button to return to the previous menu.
Hue Setup
Press the ▲▼ button to select Hue and press the ◄► button to adjust the value. Press the MENU
button to return to the previous menu.
Saturation Setup
Press the ▲▼ button to select Saturation and press the ◄► button to adjust the value. Press the
MENU button to return to the previous menu.
Sharpness Setup
Press the ▲▼ button to select Sharpness and press the ◄► button to adjust the value. Press the
MENU button to return to the previous menu.
Advanced Setup
Press the▲▼ button to select Advanced and press the ENTER button to enter.
In the menu, press the ▲▼ button to select the desired item and press the ENTER button to
confirm. Press the MENU button to return to the previous menu.
Note: This item is only available in Component and VGA modes.
Audio Setting
Press the MENU button once to enter the setup
menu. Press the ▲▼ button to select Audio and
press the ENTER button to enter the menu
shown on the right.
In the Audio setup menu, press the ▲▼ button
to select the desired item and press the ENTER
button to enter. Press the MENU button to return
to the previous menu.
Volume Setup
Press the ▲▼ button to select Volume and press the ◄► button to adjust the level. Press the
MENU button to return to the previous menu.
- 17 -
Page 19

Bass Setup
Press the ▲▼button to select Bass and press the ◄► button to adjust the level. Press the MENU
button to return to the previous menu.
TV Setup and Operation
Treble Setup
Press the ▲▼button to select Treble and press the ◄► button to adjust the level. Press the
MENU button to return to the previous menu.
Balance Setup
Press the ▲▼ button to select Balance and press the ◄► button to adjust the level. Press the
MENU button to return to the previous menu.
MTS Setup
Press the ▲▼ button to select MTS and press
the ENTER button to enter. Press the ▲▼
button to select the desired item and press the
ENTER button to confirm your selection. Press
the MENU button to return to the previous
menu.
Sleep Setting
Press the MENU button to enter the setup
menu. Press the ▲▼ button to select Sleep
and press the ENTER button to enter the menu
shown on the right.
In the Sleep setup menu, press the▲▼ button
to select 15Min, 30Min, 45Min, 60Min, 75Min,
90Min, 105Min, 120Min or Off. Press the
MENU button to return to the previous menu
- 18 -
Page 20

TV Setup and Operation
Parental Setting
Note: The Parental Function is the same as that of V-CHIP.
Press the MENU button to enter the setup
menu. Press the ▲▼ button to select
Parental and press the ENTER button to
enter the menu shown on the right.
In the Parental setup menu, press the ENTER
button and use the number buttons to enter
the pin. The default pin is 1111. Press the
ENTER button to continue and display the
menu as shown on the right.
Note: The Master password is 3308. This
password is always effective even after you
have selected your own password and
changed it.
Change PIN
Press the ▲▼ button to select Change
PIN and press the ENTER button to
enter. Use the number buttons to enter
the new pin you want and then press the
ENTER button to confirm. Use the
number buttons to enter the new pin
again and press the ENTER button to
confirm and return to the previous menu.
- 19 -
Page 21

TV Setup and Operation
Clear All
Press the ▲▼ button to select Clear All and press the ENTER button to enter. Press the ▲▼
button to select the desired item and press the ENTER button to confirm your selection. Press the
MENU button to return to the previous menu.
TV Rating
Press the ▲▼ button to select TV Rating
and press the ENTER button to enter. Press
the ▲▼ button to select the desired item and
press the ENTER button to confirm your
selection. Press the MENU button to return to
the previous menu.
Movie Rating
Press the ▲▼ button to select Movie Rating
and press the ENTER button to enter. Press
the ▲▼ button to select the desired item and
press the ENTER button to confirm your
selection. Press the MENU button to return to
the previous menu.
- 20 -
Page 22

TV Setup and Operation
CA Eng Rating
Press the ▲▼ button to select CA Eng
Rating and press the ENTER button to
enter. Press the ▲▼ button to select the
desired item and press the ENTER button to
confirm your selection. Press the MENU
button to return to the previous menu.
CA Fr Rating
Press the ▲▼ button to select CA Fr
Rating and press the ENTER button to
enter. Press the ▲▼ button to select the
desired item and press the ENTER button to
confirm your selection. Press the MENU
button to return to the previous menu.
Parental Lock
Press the ▲▼ button to select Parental Lock and press the ENTER button to enter. Press the ▲▼
- 21 -
Page 23

button to select the desired item and press the ENTER button to confirm your selection. Press the
MENU button to return to the previous menu.
TV Setup and Operation
Setup Setting
Press the MENU button once to enter the setup
menu. Press the▲▼ button to select Setup and
press the ENTER button to enter the menu shown
on the right.
In the Setup menu, press the▲▼ button to select
the desired item and press the ENTER button to
enter. Press the MENU button to return to the
previous menu.
Tuner/Channel
Press the ▲▼ button to select the
Tuner/Channel and press the ENTER
button to enter the menu as shown on the
right. Press the ▲▼ button to select the
desired item and press the ENTER button to
enter. Press the MENU button to return to
the previous menu.
Auto Scan
Press the ▲▼ button to select the Auto Scan, press the ENTER button to start auto scan. The
screen will display as below:
Auto scan will take a few minutes. When the tuning operation completes the unit will exit and
- 22 -
Page 24

memorize the programs by sequence automatically.
During tuning, press the MENU button to exit the auto scan mode.
TV Setup and Operation
Channel System
Press the ▲▼ button to select Channel
System and press the ENTER button to
enter. Press the ▲▼ button to select the
desired item and press the ENTER button to
confirm your selection. Press the MENU
button to return to the previous menu.
Prog Organizer
Press the ▲▼ button to select the
Prog Organizer and press the
ENTER button to enter the menu
as shown on the right.
In the Prog Organizer setup menu,
press the ▲▼ button to select the
desired item. Press the MENU
button to return to the previous
menu.
Channel Name
Press the ▲▼ button to select the Channel Name and press the ENTER button to enter. Then
press the ▲▼button to select letters or press the number button to input numbers. Press the
MENU button to return to the previous menu.
Add Program
Press the ▲▼ button to select the Add Program and press the ENTER button to activate the skip
function which when using the CH ▲▼button to select channels under normal playback status, it
will skip the current channel. Press the MENU button to return to the previous menu.
Delete Program
Press the ▲▼ button to select the Delete Program and press the ENTER button to cancel the skip
- 23 -
Page 25

function which when using the CH ▲▼button to select channels under normal playback status, it
will play the channels in sequence. Press the MENU button to return to the previous menu.
TV Setup and Operation
Fine Tune
If two black bars appear on the sides of your LCD screen and your picture is compressed, you may
need to adjust the settings of your cable/satellite set-top box. For instructions on adjusting the
picture, consult your cable/satellite set-top box’s manual or call your local cable/satellite company.
Language
Press the ▲▼ button to select the
Language, press the ENTER button to enter
the setup, press the ▲▼ button to select
item. Press the MENU button to return to the
previous menu.
Factory Reset
Press the ▲▼ button to select the Factory Reset, press the ENTER button to resume default
status.
CC Mode
Press the ▲▼ button to select CC Mode and
press the ENTER button to enter. Press the
▲▼ button to select the desired item and
press the ENTER button to confirm your
selection. Press the MENU button to return to
the previous menu.
- 24 -
Page 26

Other Function
External AV Input Function
The unit has external AV input function. It supports Composite, S-VIDEO and Component modes.
Use the audio, video and S-Video cable to connect the unit to the external AV sig nal source such as
recorder, satellite receiver or game player etc. Turn on the unit and the external AV signal source.
Press the SOURCE button to shift to the corresponding mode: Composite, S-VIDEO or Component.
This will allow you to enter the Setup Menu of that mode.
Computer Screen Function
The TFT LCD screen of the unit can be used as the computer screen. Take the steps of connecting
the unit to the PC and then you can set up the menu.
Set the PC’s resolution at: 800 x 600 @60Hz.
The operations of these menus in Composite, S-VIDEO, Component and VGA modes are the
same with those in the TV mode. Please refer to the introduction in “TV Function”.
Note: Some of these menus are not available in these modes.
- 25 -
Page 27

Troubleshooting
SYMPTOM CHECK ITEM
Make sure system connection is correct.
There is no sound.
Make sure the speakers are not muted.
In the TV mode, set the correct sound mode.
Nothing display on the LCD.
LCD screen is blank.
There is no picture or picture
moves up and down.
The remote control does not
work.
Make sure the unit is turned on and the connections are
correct.
Make sure the power adapter is correctly connected.
Check if the connections with the external AV signal source
are correct.
Correctly set the items in the picture menu.
Check to see if the video type input signal is correct.
Make sure the unit is turned on and in correct video type.
Make sure there are no obstructions between the remote
control and the player.
Make sure the remote control is pointing at the player.
Make sure batteries are inserted and the polarity is correct.
Make sure battery is not weak.
Other Notes:
Static or other external interference may cause the LCD TV to behave abnormally. If this occurs,
unplug the power supply cord from the outlet and plug it in again to reset the player. If the problems
persist, please disconnect the power and consult a qualified technician.
- 26 -
Page 28

Specifications
TFT-LCD Resolution 800 x 600
TFT-LCD Screen Size 20 inches
AC100~240V 50/60Hz
Power
DC 12V 5A
Power Consumption < 60W
Dimension 490mm ×478mm ×184mm (LXWXD)
Weight About 9.52 Kg
Ambient Temperature 10~45
DESIGN AND SPECIFICATIONS ARE SUBJECT T O CHANGE WITHOUT NOTICE
"Polaroid" and “Polaroid and Pixel” are trademarks of Polaroid Corporation, Waltham, MA, USA.
For service, support and warranty information, visit www.polaroid.com
.
- 27 -
Page 29

- 28 -
 Loading...