

Page 1
AddressRight® DA400 Printer
Installation Instructions
Taking the Printer Out of Box
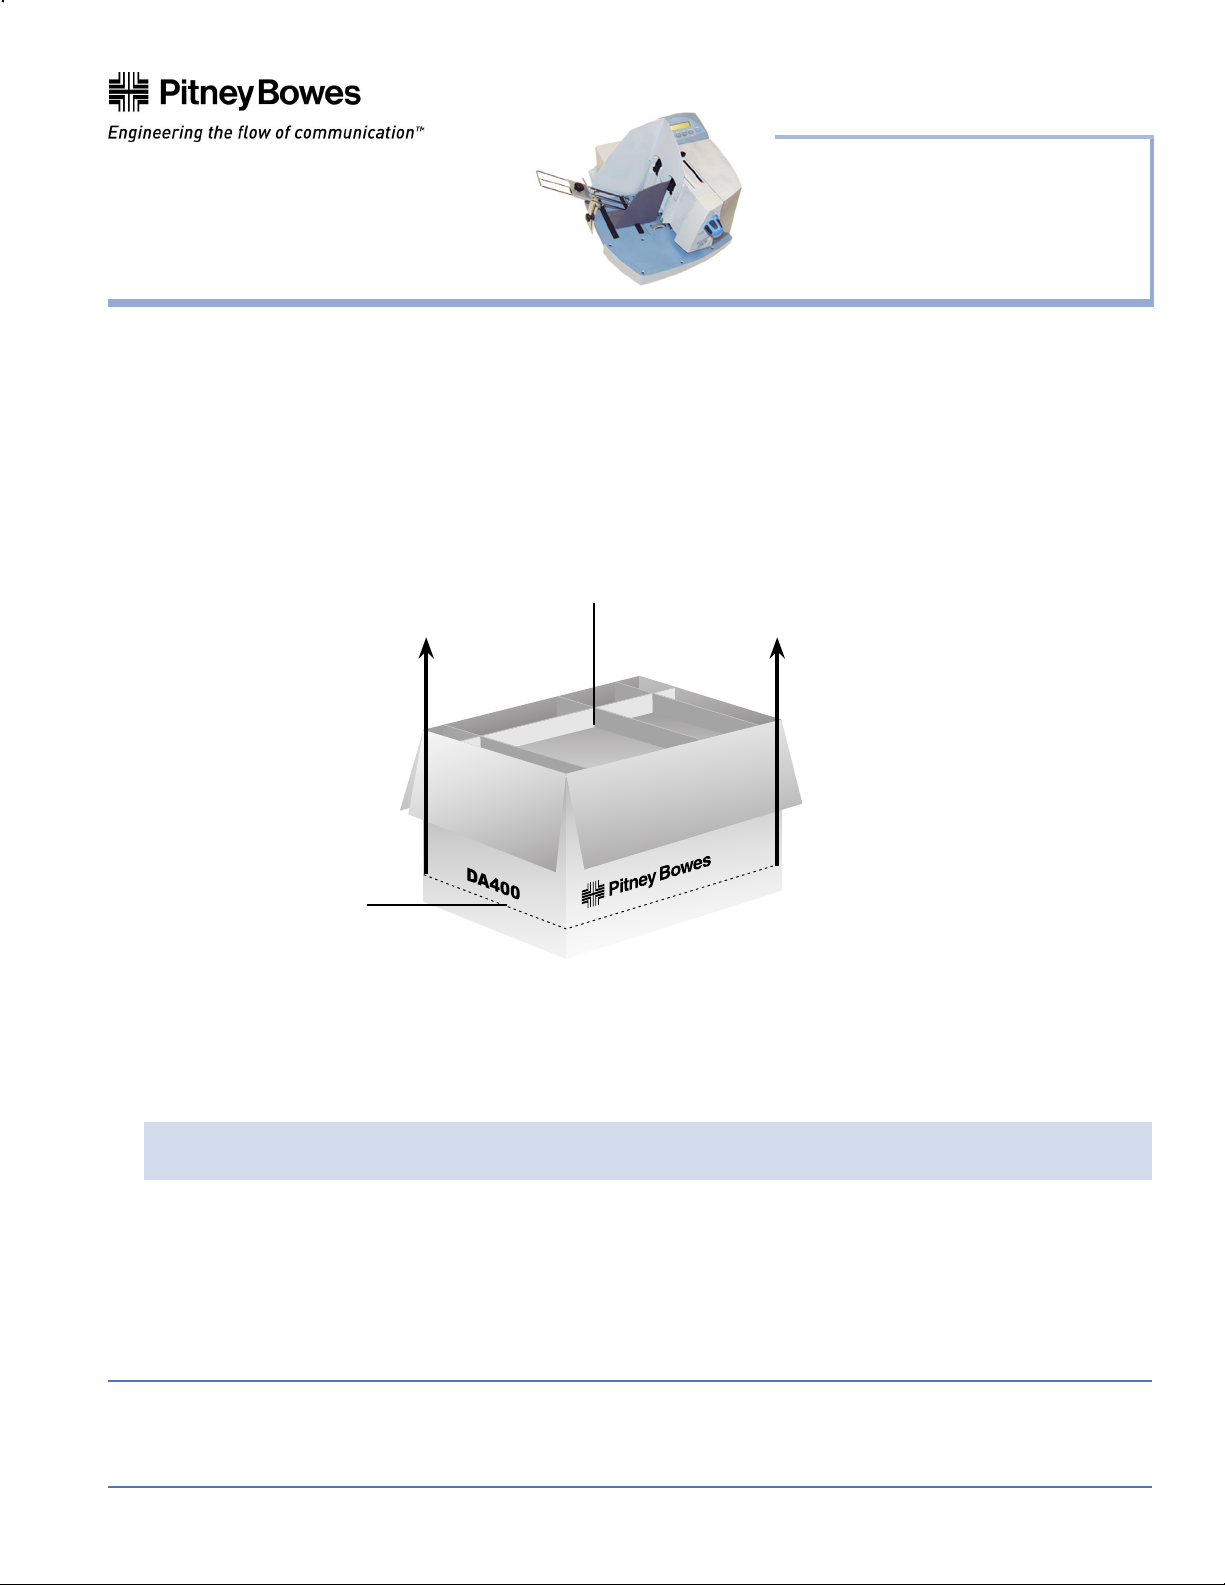
1. Open the top of the box and remove the accessories.
2. Cut around the bottom of the box.
3. Lift the box off of the printer.
IMPORTANT! Do not attempt to lift the printer without assistance.
1. Remove accessories from the top of the box.
Installation Instructions
Page 1 of 8
3. Lift the box off of the printer.
2. Cut the box (e.g.,
along the dotted line
as shown here).
Choosing a Location
The following environmental considerations must be kept in mind when selecting a location for the Address
Printer. Doing otherwise may affect the operation and performance of the Address Printer.
1. Place the printer close enough to the computer for the parallel or USB cable to reach.
NOTE: A/B Parallel switches are not recommended for operation with this printer.
2. Place the printer on a flat, stable surface.
3. Use a grounded, dedicated outlet for the printer only. Do not use an adapter plug.
4. Avoid locations near direct sunlight, excessive heat, high humidity, moisture, or dust.
5. Keep the entire system away from large motors or other appliances that might disturb the power supply or
create potential interference.
This document is a publication of Pitney Bowes. The use of this information by the recipient or others for purposes other than the repair, adjustment
or operation of Pitney Bowes equipment may constitute an infringement of patent and/or other intellectual property rights of Pitney Bowes or others.
Pitney Bowes assumes no responsibility for any such use of the information. Except as provided in writing, duly signed by an officer of Pitney Bowes,
no license, either express or implied, under any Pitney Bowes or any third party’s patent, copyright, or other intellectual property rights is granted by
providing this information.
SV61187 Rev. B 4/04 ©2004 Pitney Bowes Inc.
1 Elmcroft Road Stamford, CT 06926-0700
Page 2
AddressRight® DA400 Printer
Page 3 of 8
AddressRight® DA400 Printer
Installation Instructions
SV61187 Rev. B
Installation Instructions
Assembling the
Printer
Once you've placed the printer in a suitable location, assemble the printer components in the following order:
NOTE: Do not plug the printer into the power source until you've completed
steps 1-4.
1. Installing the Bin Extension
2. Installing the Wire Frame Assembly
3. Installing the Sliding Fence
4. Connecting the Parallel or USB Cable
5. Connecting the Power Cord and Turning the Printer ON
6. Installing the Print Cartridge(s)
1. Installing the Bin Extension
Seat the Bin Extension on the
upper floor as shown at right. Use
the screws provided to secure the
Bin Extension.
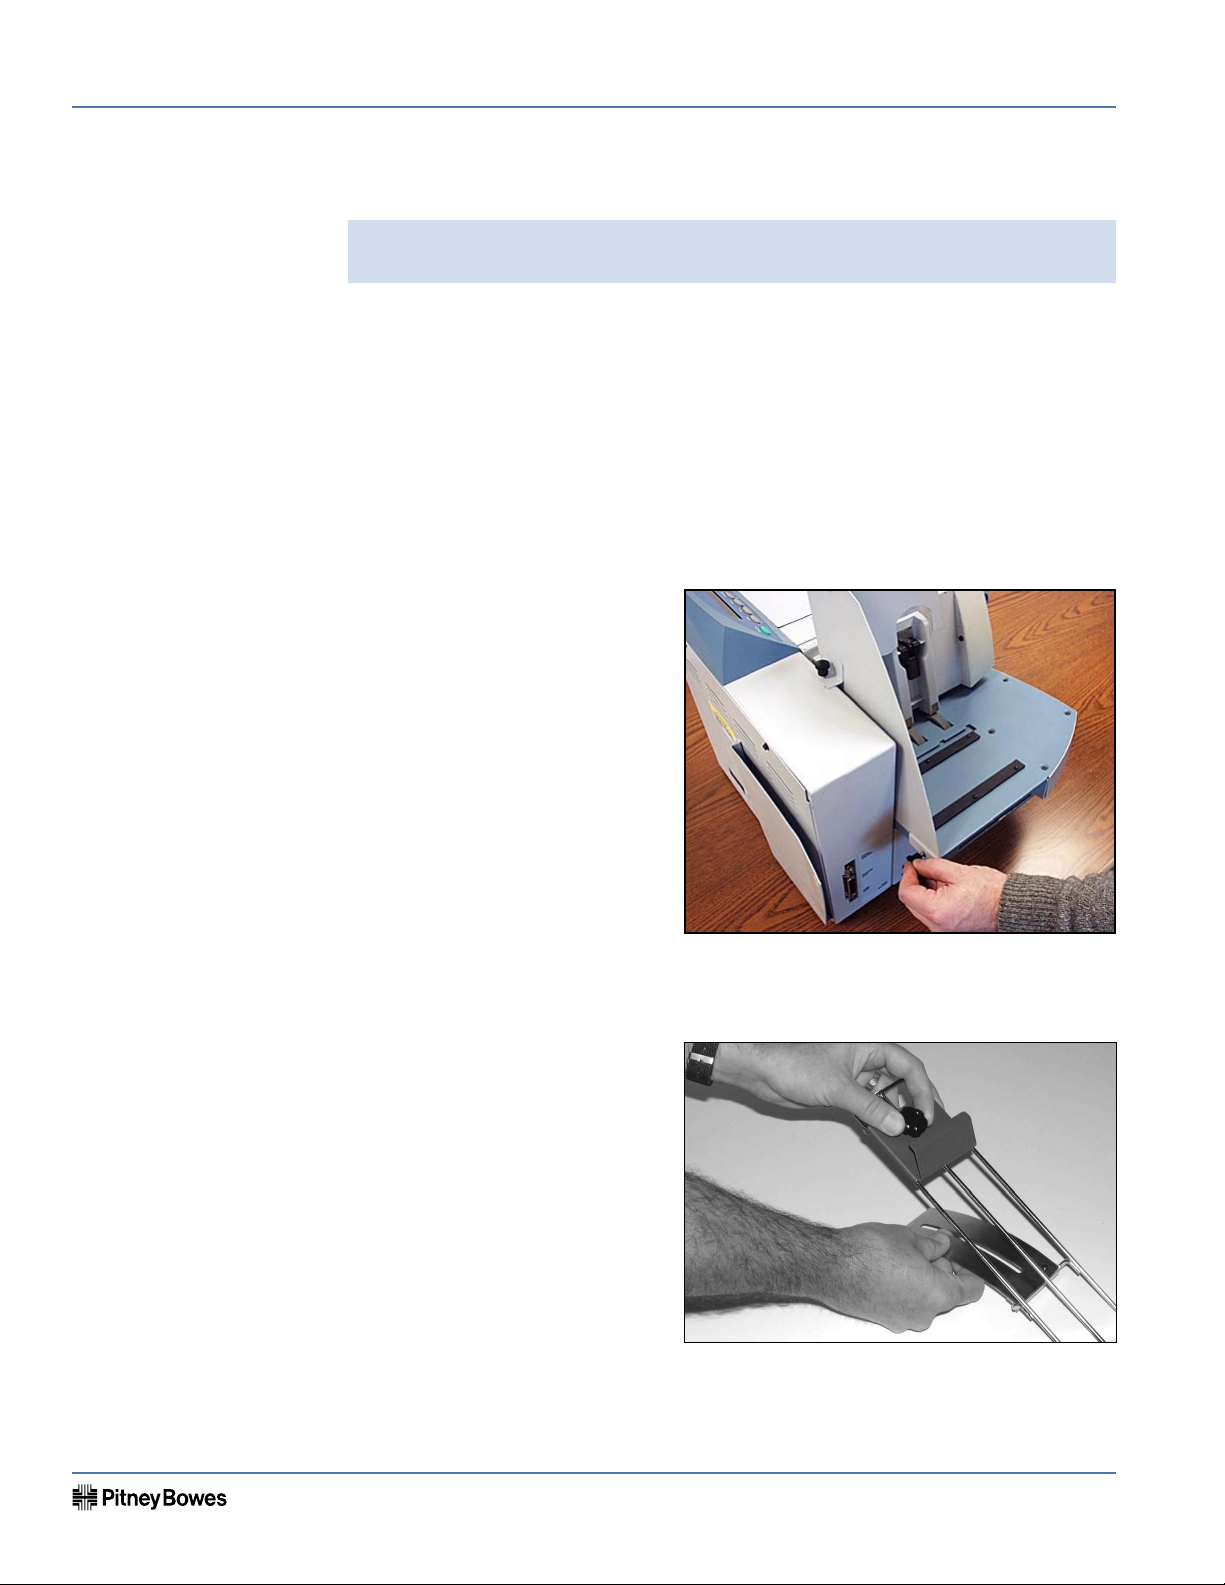
2. Installing the Wire Frame Assembly
A. Turn the Clamp Knob to
loosen the Feed Ramp. Slide
the Ramp to the top of the
Wire Frame Assembly and
retighten the Clamp Knob to
secure it.
SV61187 Rev. B
Page 2 of 8
Page 3
AddressRight® DA400 Printer
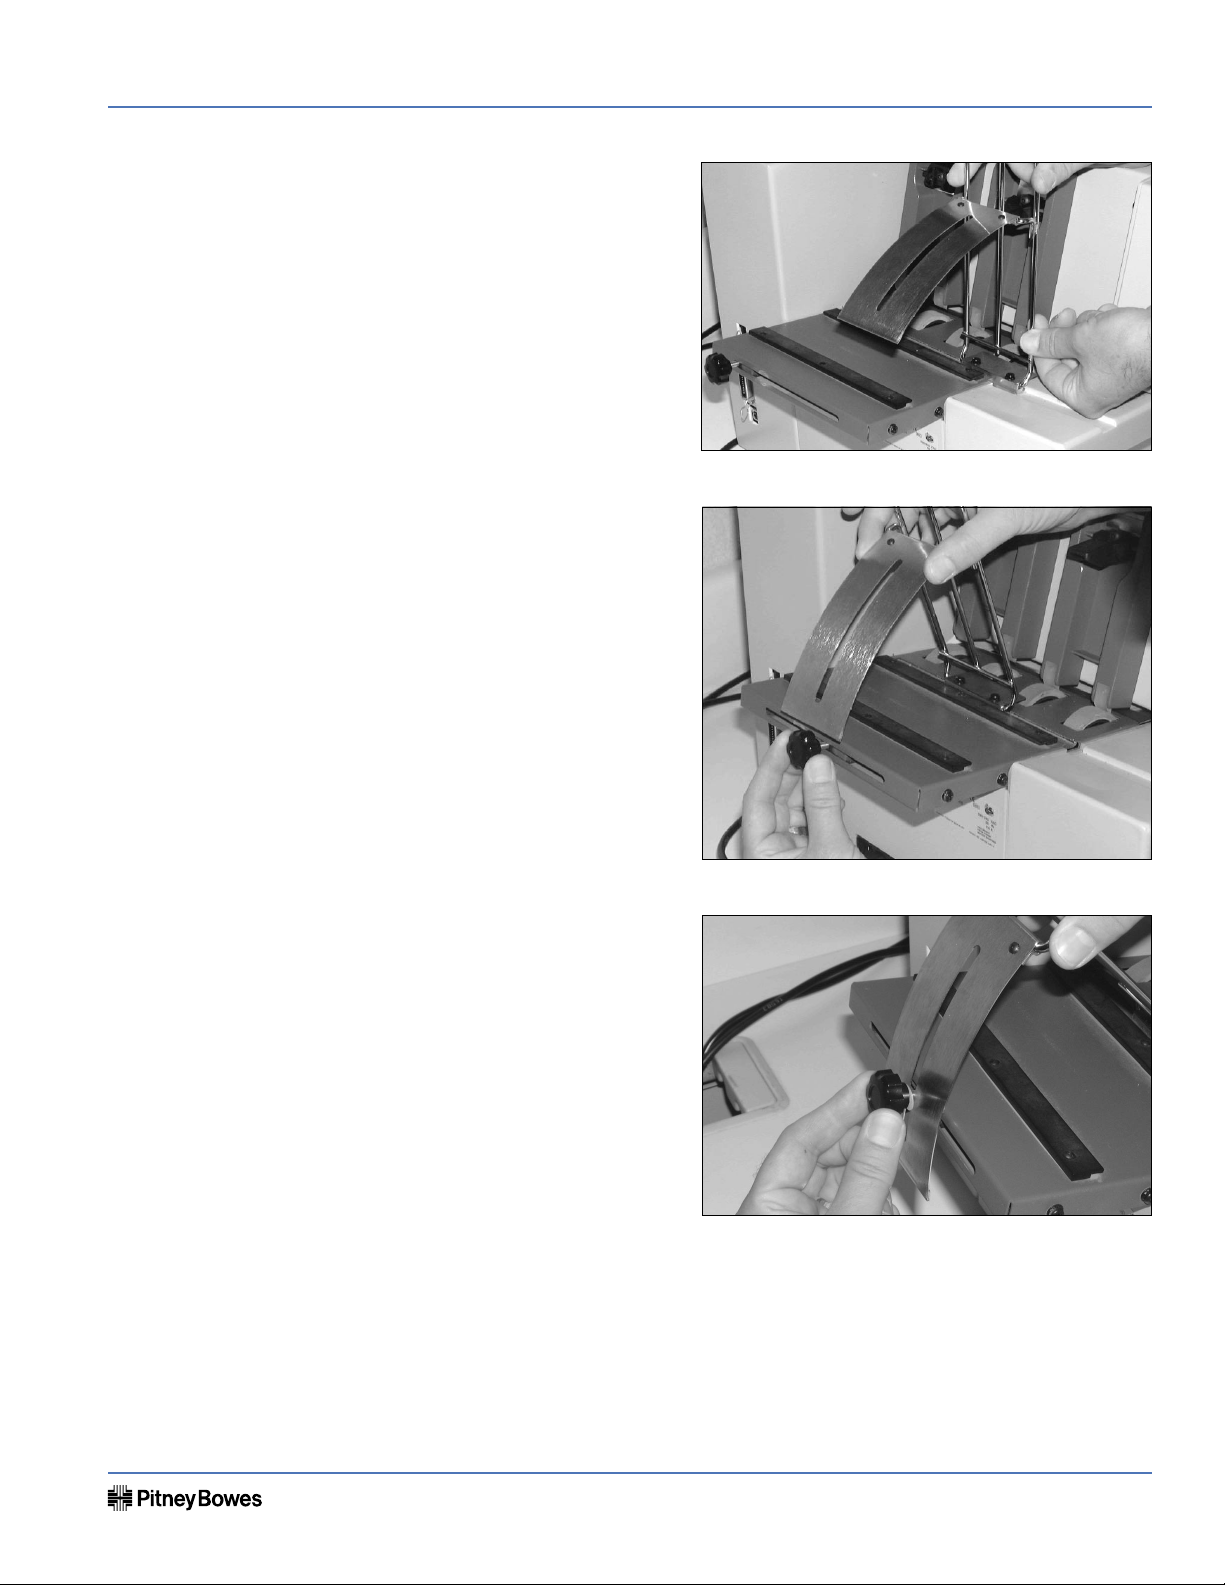
B. Hold the Wire Frame As-
sembly nearly vertical with
the Feed Ramp on the upper end and the Deflector
Plate on the lower end.
C. Insert the Deflector Plate
and Slide into the channel
in the Upper Floor Assembly. Slide the Wire Frame
Assembly to the center of
the floor. When properly
installed, the slide is contained in the channel by
the lips on both sides of the
channel.
Installation Instructions
D. Locate the Clamp Knob on
the back of the printer’s
Upper Floor Assembly. Turn
to loosen the Clamp Knob
and move it over to align
it to the center of the Wire
Frame Assembly.
SV61187 Rev. B
Page 3 of 8
Page 4

AddressRight® DA400 Printer
Page 5 of 8
AddressRight® DA400 Printer
Installation Instructions
SV61187 Rev. B
Installation Instructions
Assembling the
Printer
(continued)
2. Installing the Wire Frame Assembly (continued)
E. Remove the Clamp Knob
and the nylon washer from
the printer and save for installation of the Wire Frame
Assembly.
F. Lower the Wire Frame As-
sembly. Align the slot in the
Media Support to the hole
for the Clamp Knob.
G. Reinstall the Clamp Knob and washer through the slot in the Media Support.
Tighten the Clamp Knob to hold the Wire Frame Assembly in place.
3. Installing the Sliding Fence
Included in the Accessory Kit is a long and short Sliding Fence. The fences keep
the media together in a stack. Use the short Sliding Fence for postcards and media up to the size of DL envelopes. Use the Long Sliding Fence for all other sizes.
A. Locate the two long slotted
Fence Retainer tabs on the
Upper Floor. This is where
the Sliding Fence attaches
to the printer.
B. Slide the rectangular
shaped edge of the Sliding
Fence between the two tabs.
SV61187 Rev. B
Page 4 of 8
Page 5

AddressRight® DA400 Printer
Installation Instructions
Assembling the
Printer
(continued)
4. Connecting the Parallel Cable or USB Cable
Use the parallel cable to connect the printer to a standard Centronics parallel
port on your computer, or if your computer has USB ports, you can use a USB
cable.
The Address Printer ports are located on the rear of the printer near the power
switch.
Parallel Cable
A. Align the male end of the parallel cable to the port on the printer. Push the
cable connector completely in.
B. Secure the cable in place by snapping the two wire clips located on each side
of the parallel connector into the tabs on the cable.
C. Align the other end of the cable to the connector on the computer and push
into the port.
D. Secure the cable in place by screwing the thumb screws on the cable connec-
tor into the connector on the computer.
USB Cable
A. Align the squarer end of the USB cable to the USB port on the printer. Push
the cable connector completely in.
B. Align the flatter, rectangular end of the USB cable to the USB port on the
computer or USB hub. Push the cable connector in completely.
Parallel Port
USB Port
SV61187 Rev. B
Page 5 of 8
Page 6

AddressRight® DA400 Printer
Page 7 of 8
AddressRight® DA400 Printer
Installation Instructions
SV61187 Rev. B
Installation Instructions
Assembling the
Printer
(continued)
5. Connecting the Power Cord and Turning the Printer ON
A. Make sure that the power switch is turned OFF (0), then connect the power
cord to the printer.
Power cord and USB cable attached
B. Plug the power cord into a grounded outlet. Please review the safety informa-
tion on pages 1-5 and 1-6.
Once you've connected the cable, press the printer’s power switch to the “I” (ON)
position. The switch is located next to the power cord receptacle.
When you turn the printer on. The LCD menu displays that the printer is initializing. After a few seconds, the printer will automatically go "ON LINE".
You can tell if the printer is ON LINE, by looking at the green indicator light
above the ON LINE key. When the printer is ON LINE, the indicator will be lit.
Power cord and Parallel cable attached
6. Installing the Print Cartridge(s)
The printer uses Print Cartridges which you must now install before you can
print. Make sure the printer is OFF LINE before you install the print cartridges.
A. Open the Print Station Cover.
B. Remove the Cartridge from the shipping container by peeling the top cover
off. Be careful not to touch the copper ribbon.
C. Gently remove both pieces of tape covering the ink nozzles on the Print Car-
tridge. Be careful not to touch the copper nozzles.
SV61187 Rev. B
Page 6 of 8
Page 7

AddressRight® DA400 Printer
D. Raise the latch all the way
up on the Head Print Assembly. Hold the cartridge
from the notched handle
on top of the cartridge. Insert the cartridge down at
approximately a 45 degree
angle into the cradle.
E. Push down on the ink car-
tridge until it is seated on
the bottom of the Head
Print Assembly. Push and
rock the ink cartridge forward to stand the ink cartridge up.
Installation Instructions
F. Press down the blue latch
to lock the ink cartridge in
place.
G. Repeat this process to load
the other ink cartridges.
SV61187 Rev. B
Page 7 of 8
Page 8

AddressRight® DA400 Printer
Installation Instructions
Performing Print Head
Calibration
Installing the Printer
Driver and Envelope
Designer Plus™
Refer to pages 3-17 through 3-19 of SV61188, DA400 Service Manual, for instruc-
tions on print head calibration.
Refer to SV61108, Installing Printer Drivers and Envelope Designer™ Plus for
AddressRight® DA Printing Systems and DocuMatch®, for instructions on installing
the printer driver.
SV61187 Rev. B
Page 8 of 8
 Loading...