

Philips SPH8208, SPH8008 User Manual
© Royal Philips Electronics N.V. 2009
All rights reserved.
Specifi cations are subject to change without notice.
Trademarks are the property of Koninklijke Philips
Electronics N.V. or their respective owners.
QSG_V2.0 3ULQWHGLQ&KLQD
PhotoFrame
1
Get started
Play
Setup
2
3
What you also need
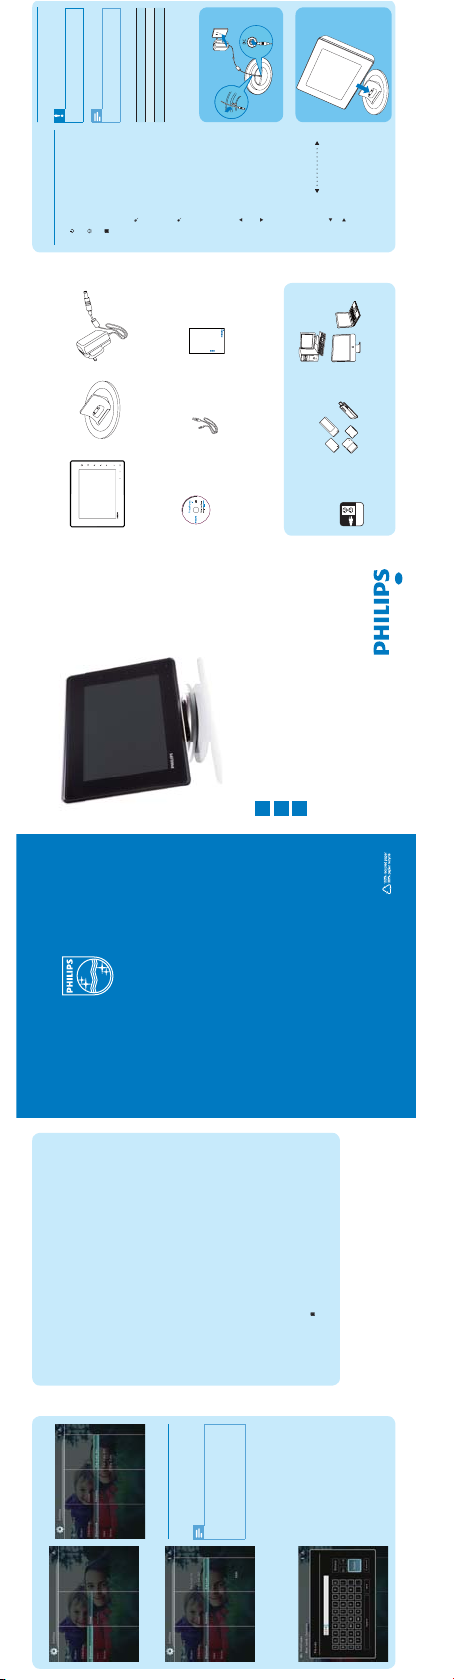
What’s in the box
Philips Digital PhotoFrame
AC power socket
AC-DC power adaptor
Memory card/USB
Charging dock
Computer
CD-ROM, including
• Digital User Manual
• Philips PhotoFrame Manager
(Software and User Manual)
USB cable
Quick Start Guide
SPF2107
SPA2007
1 Get started
Control buttons
a
Turn on/off the PhotoFrame•bAccess the home scree n•cAccess the quick menu•
Access option menu•
d Zoom in/out
•
Zoom in an image
Switch modes: Album mo de
-
>
thumbnail mode
-
> slideshow mode
-
> zoom in 2 times
-
> zoom in 4
times
•
Zoom out an image
Switch modes: Album mo de <-thumbnail mode <
-
slideshow mode
<
-
zoom out 2 times <
-
zoom out 4
times
e Up/down slider
Scroll up/down at high spe ed
•
Select the uppe r item
Increase the volum e•Select the item b elow
Decrease the volum e
f OK
Display slideshow•
Play/Pause slideshow/video•
Confi rm a selection•
g Left /right slider
Scroll left/r ight at high speed
•
Select the left item•Select the right item
Welcome to Philips!
Register your product and get support at
www.philips.com/welcome
Is the LCD screen touch-enabled?
The LCD screen is not touch -enabled. Afte r
you turn on the PhotoFr ame, you can use the
touch boarder on the f ront panel to control
the PhotoFrame .
Can I use the PhotoFrame to delete photos
on a memory card?
Yes, it supports operations to delete photos
on external devices such as a memory card.
Ensure that you enable the delete function on a
memory card available on the PhotoFrame.
Why does not my PhotoFrame show some of
my photos?
The PhotoFrame p lays only JPEG photos •
(maximum: 800 0 x 6000 pixel re solution) and
progressive JP EG photos (maximum: 1024 x
768 pixel resolutio n).
Ensure that thes e photos are not damage d.
•
Why does my PhotoFrame not show some of
my video fi les?
The PhotoFrame p lays most video clips of a •
digital still c amera in M-JP EG (*.avi/*.mov),
MPEG-1 (*.mpg), MPEG -4 (*.avi/*.mov/*.mp4),
H.263 (*.avi/*.mov) for mat. Some video cl ips
might have compatibi lity issues when p layed
on your PhotoFram e. Before playing, e nsure
that these video cl ips are compatible w ith your
PhotoFrame.
Ensure that the si ze of the video fi les are •applicable to your P hotoFrame (For de tails,
see “Product i nformation” in the Us er Manual).
Ensure that the vi deo fi les are not damaged.
•
Why cannot my PhotoFrame show video fi les
even I could see them in [Browse] mode, and I
played them before?
Ensure that [Slideshow Photo Only] is not
enabled.
To play video in slideshow mode:
1. In slideshow mode, tap
.
2. In the displayed option menu, select
[Slideshow Photo Only].
Frequently asked questions
3. In the displayed message, select [No] and
then tap OK to confi rm.
Now you can play these video fi les in slideshow.
Why does my PhotoFrame not show some of
my music fi les?
The PhotoFrame on ly supports MP3 (M PEG
Audio Layer III) mus ic fi les. Ensure that these
MP3 (MPEG Audio Laye r III) music fi les are
not damaged.
Why does the PhotoFrame not go into auto-
off status after I set it?
Ensure that you set the cu rrent time, auto-
off time, and auto -on time correct ly. The
PhotoFrame auto matically turns off i ts display
exactly at the au to-off time. If the ti me has
already passed for t he day, it starts to en ter
auto-off status at the specifi ed time from the
next day.
The PhotoFrame is ON but the PhotoFrame
does not respond anymore. What can I do?
Ensure that the Photo Frame is turned on.
Then, use a pin to tri gger the RESET button
located on the back to re store the system .
2 Select [Bluetooth], and then tap OK to confi rm.
3 Select [Security], and then tap OK to confi r m.
4 Select [Pin Code], and then tap OK to confi rm.
A key pad is displayed.»
5 Select a numbe r, and then tap OK to confi rm.
6 Repeat Step 5 until t he pin code is complete.
7 Select [Enter], and then tap OK to confi r m.
8 To set the pin code on, selec t [Pin Code On]
and then tap OK to confi rm.
To set the pin code off, selec t
• [Pin Code
Off] and then tap OK to confi rm.
Send photos via Bluetooth
connection by your mobile phone
Note
Ensure that • Bluetooth connection on your
mobile phone is enabled.
Ensure that
• Bluetooth connection on your
PhotoFrame is enabled.
Detailed oper ation procedure m ay vary based
•
on different mobile phones.
On your mobile phone:
1 Select photos to be s ent to the PhotoFra me.
2 Select [Send ] > [Bluetooth], and th en confi rm
the selection.
Your Philips PhotoFrame is searched.»
3 If a pin code is requir ed, enter the pin code
(0000 by default ) of the PhotoFrame.
4 Select [Send ], and then confi rm the selection.
Selected photos are sent to and »
saved in the Bluetooth album on the
PhotoFrame.
Charge the built-in battery
Caution
Never drop the pro duct. When you d rop the •
product, it will be damaged.
Note
For the fi rst time use of your PhotoFram e, •
charge the built- in battery.
Approximate time for charging the built-in battery.
Set on 5 hours
Set off 2.5 hou rs
Standby mode 3 hours
1 Connect the sup plied power cord to the
supplied chargi ng dock, fi x the cord to the
cord channel, and t hen connect the powe r
cord to a power supply so cket.
2 Connect the Pho toFrame to the char ging dock.
SPH8008
SPH8208
EN
a
b
c
Quick start guide
SPH8008
SPF2107
SPA2007
PhotoFrame
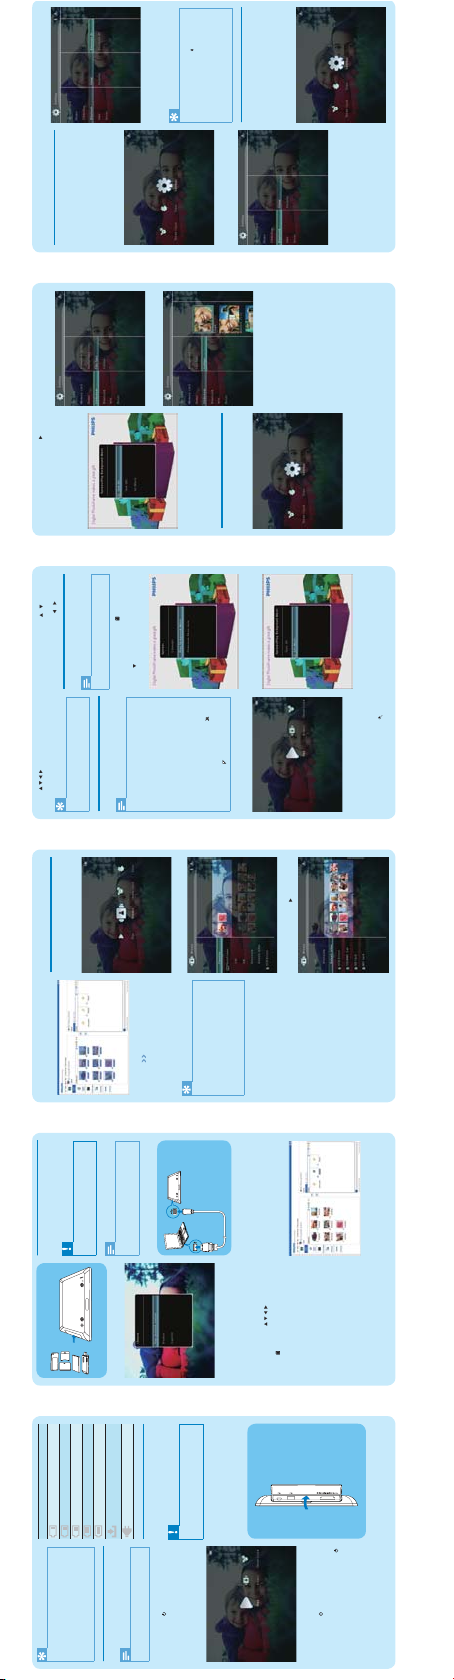
Connect
Install
Enjoy
123
Quick start guide
Eng
AC
4 Under [My comput er photos] / [My computer
music] / [My computer vi deos], select photos
or video/music fi les.
5 Click the icon to s tart trans fer.
6 After all tra nsfer actions are co mplete,
disconnect the U SB cable from the PC a nd the
PhotoFrame.
The PhotoFrame reboots. »
Tip
If Philips PhotoFr ame Manager does no t start •
automaticall y, you can double click its i con on
the desktop of you r PC to start it .
You can also transfer p hotos or video/music fi les •from the PhotoFr ame to a PC.
Actual trans fer speed may vary b ased on the •operating system and software confi guration of
a PC.
2 Play
Browse photos/video fi les in album mode
1 In the home scree n, select [Browse] and then
tap OK to confi rm.
Photos/video files are displayed in album mode. »
2 Select an al bum, and then t ap to access the a lbum.
3 Tap / / / to b rowse photos/vid eo fi les in
the album.
Tip
If you select an alb um and then tap • OK, photos/
video fi les in the selected album ar e displayed in
slideshow.
Play photos/video fi les
Note
With the PhotoFr ame, you can play JPE G/•
progressive JP EG photos and most vid eo clips
of a digital still c amera in M-JPE G (*.avi/*.mov),
MPEG-1 (*.mpg), MPEG -4 (*.avi/*.mov/*.mp4),
H.263 (*.avi/*.mov) for mat. Some video cl ips
might have compatibi lity issues when p layed
on your PhotoFram e. Before playing, e nsure
that these video cl ips are compatible w ith your
PhotoFrame.
Some video clips in a fo rmat which is not •compatible well wi th your PhotoFrame , like
*.3gp/*.3g2 and some ot hers, may be played
with no audio out put. When a video c lip is
played with no audio o utput, the icon
is
displayed on the scr een.
In album/thumbnail/fi lmstrip mode, a video fi le is
•
displayed with the icon on the left top corner.
1 In the home scree n, select [Play] and then tap
OK to confi rm.
Photos/video fi les are displayed in »
slideshow mode.
During play:
To view the album where t he photo/•
video in slidesho w is saved, tap twice.
To adjust volume, tap • /
To pause/resume play, tap • OK.
To play the previous/nex t fi le, tap
/ .
Play background music
Note
Only MP3 (MPEG Aud io Layer III) music fi les •
can be played on the Pho toFrame.
1 During photo disp lay, tap .
An option menu is displayed.»
2 Tap repea tedly to select [Play Background
Music], and then tap OK to confi rm.
3 Select [Set Music], and then tap OK to
confi rm.
4 Select a folder. .
5 To play all music fi les in the folder, tap OK to
confi rm.
To play a single music fi le, tap • to access
the folder, select a mu sic fi le, and then
tap OK to confi rm.
If you have set music before:
In • [Play Background Music] m enu, select
[Turn On] and then tap OK to confi rm.
Selected music fi les are played.
•
To stop music play:
In • [Play Background Music] menu, select
[Turn Off] and then tap OK to con fi rm.
Display collage photos
1 In the home scree n, select [Settings] and then
tap OK to confi rm.
2 Select [Slideshow], and then tap OK to
confi rm.
3 Select [Collage], a nd then tap OK to confi rm .
4 Select a collage for mat, and then ta p OK to
confi rm.
To stop collage display, selec t [Settings] >
•
[Slideshow] >[Collage] > [Single] and then tap
OK t o confi rm.
3 Setup
Set up Bluetooth connection
With your PhotoFrame, you can set up
Bluetooth connection with a device like a
mobile phone. Once a device is recognized, it is
automatically accepted when it tries to connect
with the PhotoFrame.
1 In the home scree n, select [Settings] and then
tap OK to confi rm.
2 Select [Bluetooth], and then tap OK to
confi rm.
3 Select [Setup], and then tap OK to confi rm.
4 Select [Bluetooth On], and then tap OK to
confi rm.
To set off • Bluetooth connection, select
[Bluetooth Off] and then t ap OK to
confi rm.
Tip
If • Bluetooth connection on your PhotoFrame is
enabled, the Bluetooth icon
is displayed on
the top-right co rner of the screen .
Photos obtained v ia
• Bluetooth connection are
saved in the Bluetooth album. You can access
or manage the Bluetooth album the same way
you access or manage oth er albums on the
PhotoFrame.
Set Bluetooth pin code
To keep security, you can set a pin code (from 1
to 16 digits) on the PhotoFrame. The default pin
code is 0000.
1 In the home scree n, select [Settings] and then
tap OK to confi rm.
Tip
During charge , the LED indicator s after the •
control butto ns on the front panel bl ink.
When the built-i n battery is full y charged, •the LED indicato rs stop blinkin g and you can
share your memor ies with the Photo Frame
everywhe re for up to 2 hours.
Battery lif e varies with use .
•
Turn on/off the PhotoFrame
Note
You can only turn off the P hotoFrame afte r all •
copy and save actions a re complete.
For the fi rst time use:
1 Press and hold for more than 1 s econd.
The language selection menu is »
displayed.
2 Select a langua ge, and then tap OK to confi rm.
The home screen is displayed.»
For other times when the on screen language
is set before:
1 Press and hold for more than 1 s econd.
The home screen is displayed.»
To turn off the PhotoFr ame, press and hold •
for about 2 seconds .
The display indicates the approximate levels of
the battery status and the PhotoFrame status
as follows:
Icon Status
Battery leve l 0%~19%
Battery level 20 %~39%
Battery leve l 40%~59%
Battery leve l 60%~79%
Battery leve l 80%~100%
PhotoFrame in dock , AC-
powered, not under ch arge
PhotoFrame unde r charge
Transfer photos/music or video
fi les from an SD card
Caution
Do not remove a stor age device from the •
PhotoFrame wh en fi les are transfe rring from or
to the storage dev ice.
For details on other applicable storage device,
refer to the User Manual of your PhotoFrame in
the supplied CD-ROM.
1 Open the cover on the r ight rear of the
PhotoFrame.
2 Insert an SD ca rd or other stora ge device into
the PhotoFrame fi rmly.
Transfer by Philips PhotoFrame
Manager (recommended way)
Caution
Do not disconnect t he PhotoFrame fr om the •
PC when fi les are transferring between the
PhotoFrame and t he PC.
Note
Ensure that you have in stalled Philip s PhotoFrame •
Manager on your PC . For details, r efer to Philips
PhotoFrame Man ager in the supplie d CD-ROM.
1 Connect the sup plied USB cable to th e
PhotoFrame and t o the PC.
Philips PhotoFrame Manager starts »
automatically.
2 Select [Trans fer Photos] / [Tranfer Musi c] /
[Transfer Video].
3 Under [My fram e photos] / [My frame musi c] /
[My frame vide os], select a destin ation album/
folder.
An option menu is displayed.»
3 Select [Transfer], and then tap OK to confi rm .
A confi rmation message is displayed.»
4 To select all photos or video/music fi les, select
[Yes] and then tap OK to confi rm.
To select some of photos or vi deo/music
•
fi les, select [No] and then tap OK to
confi rm. Tap
/ / / and OK to select
photos or video/mus ic fi les, and then tap
to continue the tr ansfer operatio n.
5 Select a desti nation album on the P hotoFrame,
and then tap OK to confi rm.
Photos/video fi les are transferred to »
the PhotoFrame.
To remove a storage devi ce, pull it out from •
the PhotoFrame .
 Loading...