

Page 1
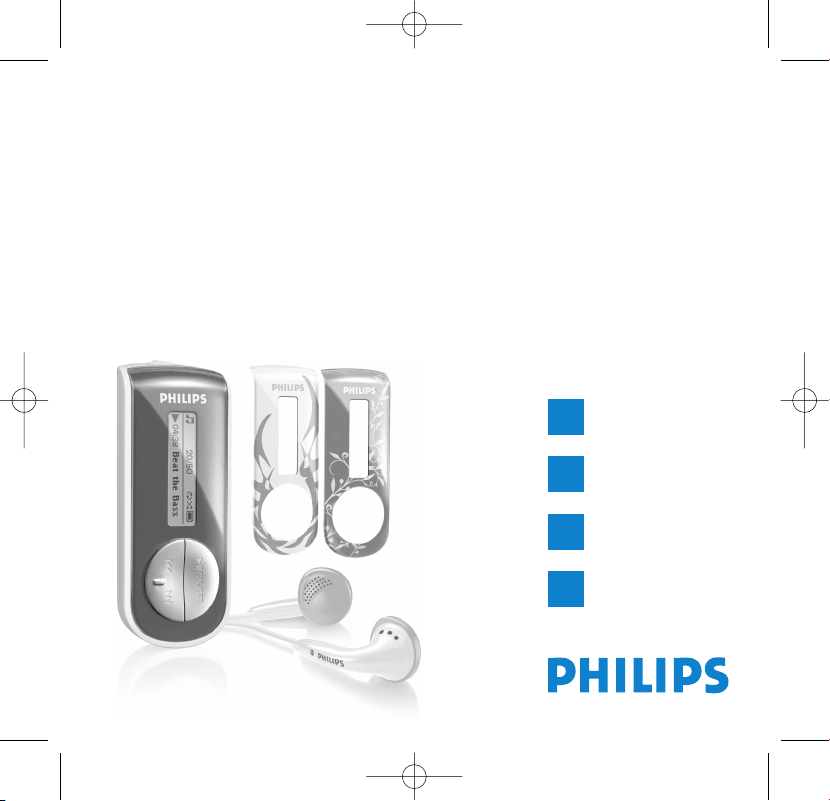
Philips audio player
Quick start guide
1
2
3
4
SA4126
SA4127
SA4146
SA4147
Install
Connect
Transfer
Enjoy
sa41x6_QSG_01eng.qxd 2007-06-27 11:35 AM Page i
Page 2

Need help?
Please visit
www.philips.com/welcome
where you can access to a full set of supporting materials
such as user manual, the latest software upgrades and
answers to frequently asked questions.
sa41x6_QSG_01eng.qxd 2007-06-27 11:35 AM Page ii
Page 3

Need help?
Besoin d’aide ?
Look up our Support Centre website
www.philips.com/welcome
Visitez la page Web de notre centre
d’assistance à l’adresse
www.philips.com/welcome
sa41x6_QSG_01eng.qxd 2007-06-27 11:35 AM Page iii
Page 4

¿Necesita ayuda?
Support?
Consulte nuestra página Web de Soporte técnico,
www.philips.com/welcome
Besuchen Sie unser Support Center auf
www.philips.com/welcome
sa41x6_QSG_01eng.qxd 2007-06-27 11:35 AM Page iv
Page 5

1
EN
Contents
2 Is there a manual?
2 Register your product
2 Don’t forget about upgrades
3 What’s in the box
4 Overview of controls and connections
5 Install
5 Connect
5 Insert the battery
5 Read the battery level indication of your player
6 Transfer
6 Transfer music with Windows Media Player 11
7 Enjoy
7 Power on and play
7 Navigate the menu
8 Music mode
8 Recordings
8 Make recordings
8 Play back recordings
9 Using the pouch
9 Changing the cover
10 Attaching the neck strap
11 Troubleshooting
11 How do I recover my player?
11 How do I reset my player?
11 Disposal of your old product
sa41x6_QSG_01eng.qxd 2007-06-27 11:35 AM Page 1
Page 6

2
Is there a manual?
You have a detailed user manual and FAQ on the CD by-packed with your player. You can also
download the same file from this website: www.philips.com/welcome
Register your product
Since it is possible for you to upgrade your product, we recommend that you register your
product on www.philips.com/welcome so we can inform you as soon as new free upgrades
become available.
Don’t forget about upgrades
We know you will enjoy your product for a long time. For best performance, we recommend that
you regularly check in to www.philips.com/support for free upgrades of the latest software and
Firmware Manager for your product. These downloads will help you to optimize your product’s
performance and to take advantage of our future support of new audio formats.
Enjoy your new music experience.
sa41x6_QSG_01eng.qxd 2007-06-27 11:35 AM Page 2
Page 7

3
EN
What’s in the box
A computer with:
Windows XP (SP2 or above)
Pentium Class 300MHz processor or higher
CD-ROM drive
128 MB RAM
500MB Hard Disk space
USB Port
Internet connection (preferable)
Microsoft Internet Explorer 6.0 or later
What else will you need?
USB cable
CD-ROM
Quick Start Guide
Computer
Pouch Extra cover
AAA battery
Headphones
* The color of your player’s cover may differ from the pictures in this user manual, depending on the
region in which you bought your player.
*
sa41x6_QSG_01eng.qxd 2007-06-27 11:35 AM Page 3
Philips audio player
Quick start guide
Quick start guide 1
Guida di riferimento rapido 46
IT
EN
Guide de démarrage rapide 10
Início rápido 55
PO
FR
Guía de inicio rápido 19
Быстрый запуск 65
RU
ES
Kurzanleitungsanleitung 28
Krótka instrukcja obsługi 74
PL
DE
HU
NL
Handleiding voor snel gebruik 37
Gyors áttekintés 83
SA4126 SA4127
SA4146 SA4147
Install
1
Connect
2
and charge
3
Transfer
Enjoy
4
Page 8

4
Overview of controls and
connections
A p Headphones jack
B Microphone
C Display Dynamically display menu, options and track
information
D J( Press to return to a previous song, press and
hold to fast rewind.
In menu mode, press to navigate through the menu.
E )K Press to skip to the next song, press and hold to
fast forward.
In menu mode, press to navigate through the menu.
F 2; Power on/off and Play/Pause, confirm a menu
setting
G Eyelet for neck strap
H REC Start or stop voice recording
I MENU/ Press to access the menu / Return to previous
menu
Press and hold to disable or enable the player’s
controls
J Vol - Volume down
K Vol + Volume up
L Battery door
M USB connector
A
C
D
E
M
B
H
G
I
J
K
L
F
sa41x6_QSG_01eng.qxd 2007-06-27 11:35 AM Page 4
Page 9

5
EN
Install
1
1 Insert the CD supplied with your product into the CD ROM drive of your PC.
2 Follow the on-screen instructions to complete the installation of Windows Media
Player 11 and Philips Device Manager.
Connect
2
Insert the battery
Read the battery level indication of your player
The approximate power levels of your battery are indicated as follows:
Full Two-thirds full Half full Low Empty
A
B
TIP When the batteries are almost empty, the low battery screen
blinks. Your
player will power down in less than 60 seconds. Your player will save all settings and
un-finished recordings before it powers down.
1 Remove the battery door by
sliding it in direction of the
arrow.
2 Insert the supplied AAA
battery into the battery
compartment.
sa41x6_QSG_01eng.qxd 2007-06-27 11:35 AM Page 5
Page 10

6
Transfer
3
Transfer music with Windows Media Player 11
A
1 Start Windows Media Player 11.
2 Connect the player to your computer using the supplied USB cable.
3 Once the player is connected, the sync tab changes as shown ( ) and the device
and its contents become visible in Windows Media Player 11(see figure above).
4 Windows Media Player 11 will automatically start synchronizing the contents of
your music library to your player.
3
4
For details on how to set synchronization options in Windows Media Player 11,
pls refer to the user manual.
sa41x6_QSG_01eng.qxd 2007-06-27 11:35 AM Page 6
Page 11

7
EN
Enjoy
Power on and play
4
To power on, press 2; until the PHILIPS welcome screen appears.
To power off, press and hold 2; until there is no display on the screen.
A
Navigate the menu
Your player has an intuitive menu navigation system to guide you through various settings
and operations. Use J( and )K to browse through menus. Press 2; to confirm your
selection. You can press MENU to access the menu and return to the previous level.
When your player powers up, you can see the Root menu. It includes:
Music Play your digital music tracks
Recordings Play your recordings
Settings C
hange the play mode, equalizer, backlight or language settings,
display the player information
From the main menu, select Music to enter music mode.
You can search from the following music options:
B
All songs
Album
Artists
Playlists
Alphabetically listed albums
Alphabetically listed artists
Playlists collections
sa41x6_QSG_01eng.qxd 2007-06-27 11:35 AM Page 7
Page 12

8
TIP You can pause and restart a recording anytime with 2;.
Play back recordings
You can find your recordings in the recordings mode.
1 From the root menu, select RECORDINGS to enter the recordings mode. Your player will
play all your recordings alphabetically and playback will start with the latest recording made.
2 Press 2; to pause the current recording on playback.
3 Press J( or )K to play the next or previous recordings.
4 Press and hold J( or )K to fast forward or fast rewind the current recording on playback.
Recordings
Your player allows you to make voice recordings and play back your recordings.
Make recordings
1 Press and hold REC to start voice recording.
> Your player displays the recording progress.
2 Press and hold REC again to stop voice recording
> Your player displays the saving progress. The voice recording will be saved on your player. (Filename
format: VOICEXXX.WAV where XXX is the recording number which is automatically generated.)
Music mode (also applicable to playback of recordings)
You can do the following actions during music playback:
To Do this
Play / Pause music Press 2;
Skip to next song Press )K
Return to previous Press J(
song
Fast forward Press and hold )K
To Do this
Fast rewind Press and hold J(
Return to browsing Press MENU key
Increase volume Press Vol +
Decrease volume Press Vol -
sa41x6_QSG_01eng.qxd 2007-06-27 11:35 AM Page 8
Page 13

9
EN
Using the pouch
1234
1 Place the magnetic side of the pouch on one of the flat surfaces of the player as shown above.
2 Flip pouch over to wrap around the player.
3 The pouch should cover the player completely.
4 With the pouch in position, the navigation keys and LCD display are fully visible through the
clear window.
Changing the cover
1 Use a fingernail to lift the
cover off in direction of the
darts in the illustration.
2 Position the new cover while
aligning the 5 tabs of the
cover with the
corresponding slots in the
player casing.
3 Press the cover down until it
locks into place with an
audible click.
sa41x6_QSG_01eng.qxd 2007-06-27 11:35 AM Page 9
Page 14

10
123
4
Attaching the neck strap
1 Thread the fine loop at the end of
the neck strap through the little
eyelet at the back of your player.
(This involves some skill and you
may need to use a needle to do
so).
2 Then thread the whole neck strap
through the small loop to secure
the player to the strap.
3 The neck strap can be detached
from the fine loop by pressing the
two locking tabs of the buckle and
pulling the two buckle halves
apart.
4 To re-attach the neck strap,
simply push the two buckle halves
back together until they interlock
with an audible click.
Please note that the neck strap
should be attached “after” the
pouch is fitted to the player.
When removing the pouch, the
neck strap has to be detached
first.
sa41x6_QSG_01eng.qxd 2007-06-27 11:35 AM Page 10
Page 15

11
EN
WARNING When the first time you connect the device to a PC in recovery mode, a
hardware wizard will be popped up to install the software. Please select "install the software
automatically" and click Next, and then click Finish to complete the installation.
During the installation, a warning message stating "The Software you are installing for this
hardware has not passed Windows Logo testing." , please select "Continue Anyway", this
installation will not affect your PC.
How do I reset my player?
In case the player does not react on any key press, did hang up or freeze up, please remove the
battery and insert it again.
Disposal of your old product
Your product is designed and manufactured with high quality materials and components, which can be recycled and
reused.
When this crossed-out wheeled bin symbol is attached to a product it means the product is covered by the European
Directive 2002/96/EC
Please inform yourself about the local separate collection system for electrical and electronic products.
Please act according to your local rules and do not dispose of your old products with your normal household waste. The correct
disposal of your old product will help prevent potential negative consequences for the environment and human health.
Troubleshooting
How do I recover my player?
In the event of a device error, please follow the below procedures:
1 Make sure the player is disconnected from the PC and turned off.
2 Launch the Philips Device Manager at Start > Programs > Philips Device Manager >
Philips Device Manager.
3 Press and hold )K.
4 Connect the player to the computer USB port.
5 Keep holding )K until the Philips Device Manager acknowledges your player and goes into
recovery mode.
6 After the repair process is completed, click OK and disconnect your player.
7 The player is ready for use again after a restart.
sa41x6_QSG_01eng.qxd 2007-06-27 11:35 AM Page 11
Page 16

Specifications are subject to change without notice.
Trademarks are the property of Koninklijke Philips Electronics N.V.
or their respective owners
2007 © Koninklijke Philips Electronics N.V. All rights reserved.
www.philips.com
wk7241
sa41x6_QSG_01eng.qxd 2007-06-27 11:35 AM Page 12
Printed in China
 Loading...