

Philips PCVC675K99 User Manual
Philips USB PC Camera
Models PCVC675K and PCVC680K
1

1 Introduction
Brilliant images and blazing colours. That's what the Philips USB PC Camera gives you. Forget about installing
grabber cards and separate power supplies. You don't need them. Power is supplied direct to the camera
through the USB cable and the camera returns audio and video straight to your PC!
This USB PC Camera has several unique features:
• Full Plug&Play use of the USB port
• Video images in true VGA resolution of 640x480 pixeis and stili images in SVGA resolution of 800x600
pixeis, sharper than you've ever seen before with other PC Cameras
• Point-and-Click snapshot button on top of the camera
• Several top-of-the-line software packages included on CD-ROM, so you can start using the camera
straightaway
Congratulations on purchasing the Philips USB PC Camera. This new digital camera is the most advanced
means of recording high-quaiity movies or still pictures quickly and easily on your PC or laptop computer. After
installation, the new camera can be used for all sorts of applications, such as:
• Video e-mail / Video capture: Create your own video presentations, video mail, product
demonstrations, training videos, Internet clips etc..
• Snapshot images: Use images in presentations, create postcards, or send them via e-mail or on
diskette. The camera works with all applications that use the TWAIN interface to acquire an imagq.
• Video conferencing: Use the camera for establishing a point-to-point video conference via a modem
and telephone line with another PC Camera or a Video Phone. Or use the camera for network
conferencing or Internet conferencing.
• Editing and special effects: After recording the images you want with the Philips USB PC Camera, the
images can be easily edited using image or video editing programs.
Congratulations again on choosing the Philips USB PC Camera. The following sections in this manual give a
step-by-step description of the installation process and explain how to use the USB PC Camera.
2

2 Preparation
This HTML file describes how to install the hardware and software and how to create your first video recording.
2.1 Contents of the box
Check that the box contains the following items:
• the Philips USB PC Camera;
• clover-leaf shaped base to support the camera;
• one or more CD-ROMs, containing the Philips installation software, application software packages and
electronic software manuals;
• Quick Install Guide.
2.2 Your first video recording in four easy steps
The best way to get quick results is to perform the following steps;
1. Unpack the box.
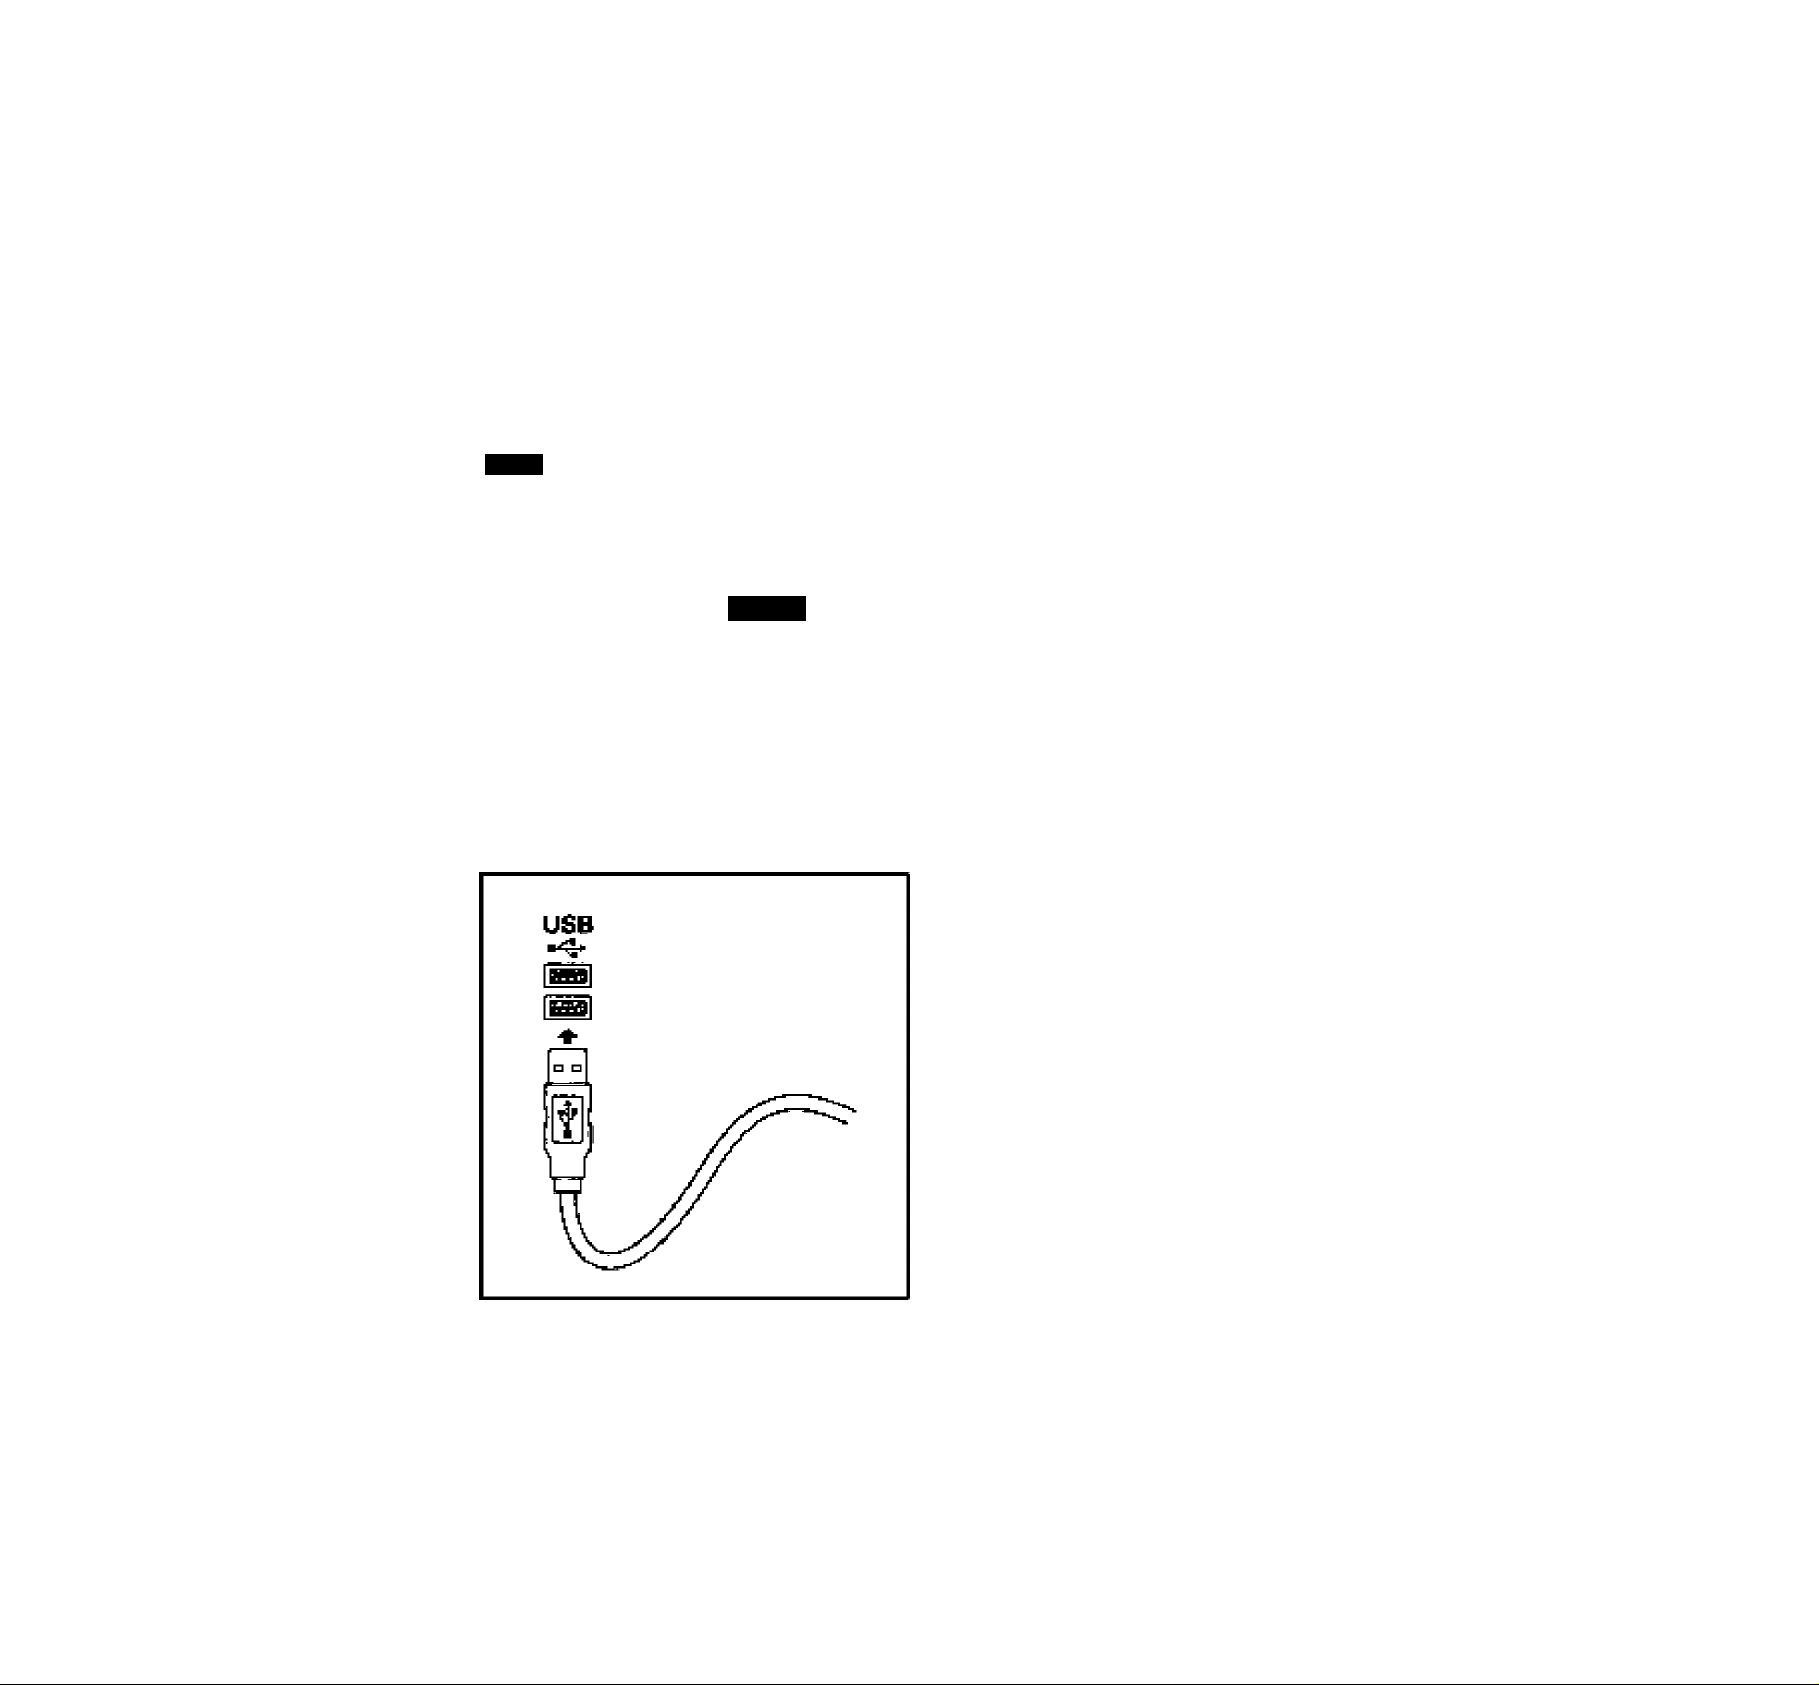
2. Put the Philips installation CD-ROM into your CD-ROM player, let the Philips installation program install
the driver software and the application software, and connect the camera to the USB port (marked with
the USB-logo: ) when asked for by the installation program.
3. Start one of the video applications.
4. Have fun!
3
3 Camera and software installation
In ord^r td thd vidAti and audFd dffanad by your camara, vra hav& included a Philips
installatidri prdpram dh CD-ROM. Plaasa fcllbw Uissa dirsdiohs fdr tha danriHa installalidn axadly, and make
SLifB Itlat you have your WindowsSfl CD-ROM be hahd.
1. Unplug all your USB devlcss {except USB kByboand or USB maufie) baforB you starl
2. lns№t tr>a Philip« instalfallbri CD-ROM imo iha CD-ROM dгi^re.
3. The inatellation program starts aulofriancelly If г^o^^ dick the Windows "&terl" buflon, irien dick "Run",
pnd type:"!C:\BB(tiJp.eKe'', where X stands fprttie drivs name of your CD-RQM diive.
4. Let the Ptiil^s iheLallatlKn pre^ram ^ide you through lha eatjup procadura.
Sfliiw
FUpa USQ PC VGA Cawü CD $cti^ a- piecing
the IristaSShietdFllWizaid vikichtvil guide you
ttvoji^ Ihe reft of the ístup prooefE waü.
100 %
5. When Bs.kad für Ehe WindcwB'9S CD-RDM. insart it into the drive and dick "OK'. Exit the Windows -9S
Set-Up screen IF it appears.
6, Aflef the camera Mftwefa hee been installed, the Philips inatallaticin progfam will ask you lo conneef Ihe
camera to the JS8 port.
7r To install the video application software, click the 'Applicaliona' tHJiten, end follow the inalnuctlons cm
your soreon.
4

IMPORTANT NOTE:
itiB inEtall^tkin pno^Bfn asks yc?u la placB B dirferial CD-ROM In ItiB CD-RiOM drwe. Ibr instanca Uii
irEtallatian CD-ROM cr ih* WindowsBB CD-ROM, always wall until:
* irw 'aus/ cufsor Icon (usually a htour-^lass icon} has disappeared from your scneer, and
* lha 'bus/ LED on your CO-ROW drlue estingusliea,
Peiore you press the eject butlon on the CD-ROM dnve.
This pisvenls the appearance of a blue screen Windows error message prompting you lo replace the last CD
ROM into the drhe.
Should you encounter iPis Windows error message, oorrocT the blue screen error by replacing the CD-ROM
you Just removed and wait for Wlridows to step roading ffem ibe CO-ROM.
1. Wlwi the cam»a has bsen msla№d, a lest will be performed. This tesi window conflmns the correct
mstaltatloii by showing you the first live' pidures from your use PC Camera.
2. Exi| the Phiipe in^teltaiiori program efter closing the foof window,
3. Plug in any USB devices you migtil have disconneclad in the rrst step
of the Installation.
4. You are now rBarfy to slart workir>g with your Philips USB Camera.
Have funi
5
4 Using the applications
In this section^ we will give you i bri6t description Ot hüw tP utd thd V-ld40 pdCkagdt itltliJded
on CD-ROttr Jf you hflven't Iroisll«! thege opplicgtion? yvl, ptesse read ^Camera and software
ln«laMaliori‘for Inttallallod Inttructüont.
4.1 Générai
Usually, aocti Eoftwars рвс'кадд cnealBS its own program group in the Windows Start Menu which is activaled
by clicking the Windows ^tgrt button. These- program groups exx^tain itiB applicatior program icon arrd rïthor
(terns (Hglp files, ElKtronip Manuals, Uninstall Wizards, Readme files, etc.) for Ehat specirir;. aoftware package.
Veil can start the video applications by clicking on them in iha program group, just like any other Windows
application. The shortcuts for the USB Canwra can be found in the program grrxjp: "Start / Pro^arns i Philips
use PC VGA Camera',
The Philips use PC Camera not only woriis wHb the software applications mduded on CD-ROM with this
cernera, but w*lh any epplicatron lhal uses DlreclX or the Video for Windows formal or the AVI formal or the
TWAIN IhterfBce.
Where to get helpî
Mormally, programs cxintain a help fiMiction within Ihe program that allows you Id access help about the exact
USB оГ the- prrjgram. Look for a ITelp topic in the menu bar or for Help buttons irt the rrMfiuS themselves, just
lik« in arty ов)ы WlndcAvs apjjlicatlori.
For dalailsd intormalion about the use of these software packages, please read the infoiraalion accompanying
tha Individual software package«. All available informaljon i« usually acoessiPle via the seftwse's program
group. Of ihrougri the hielp op№tu m the program.
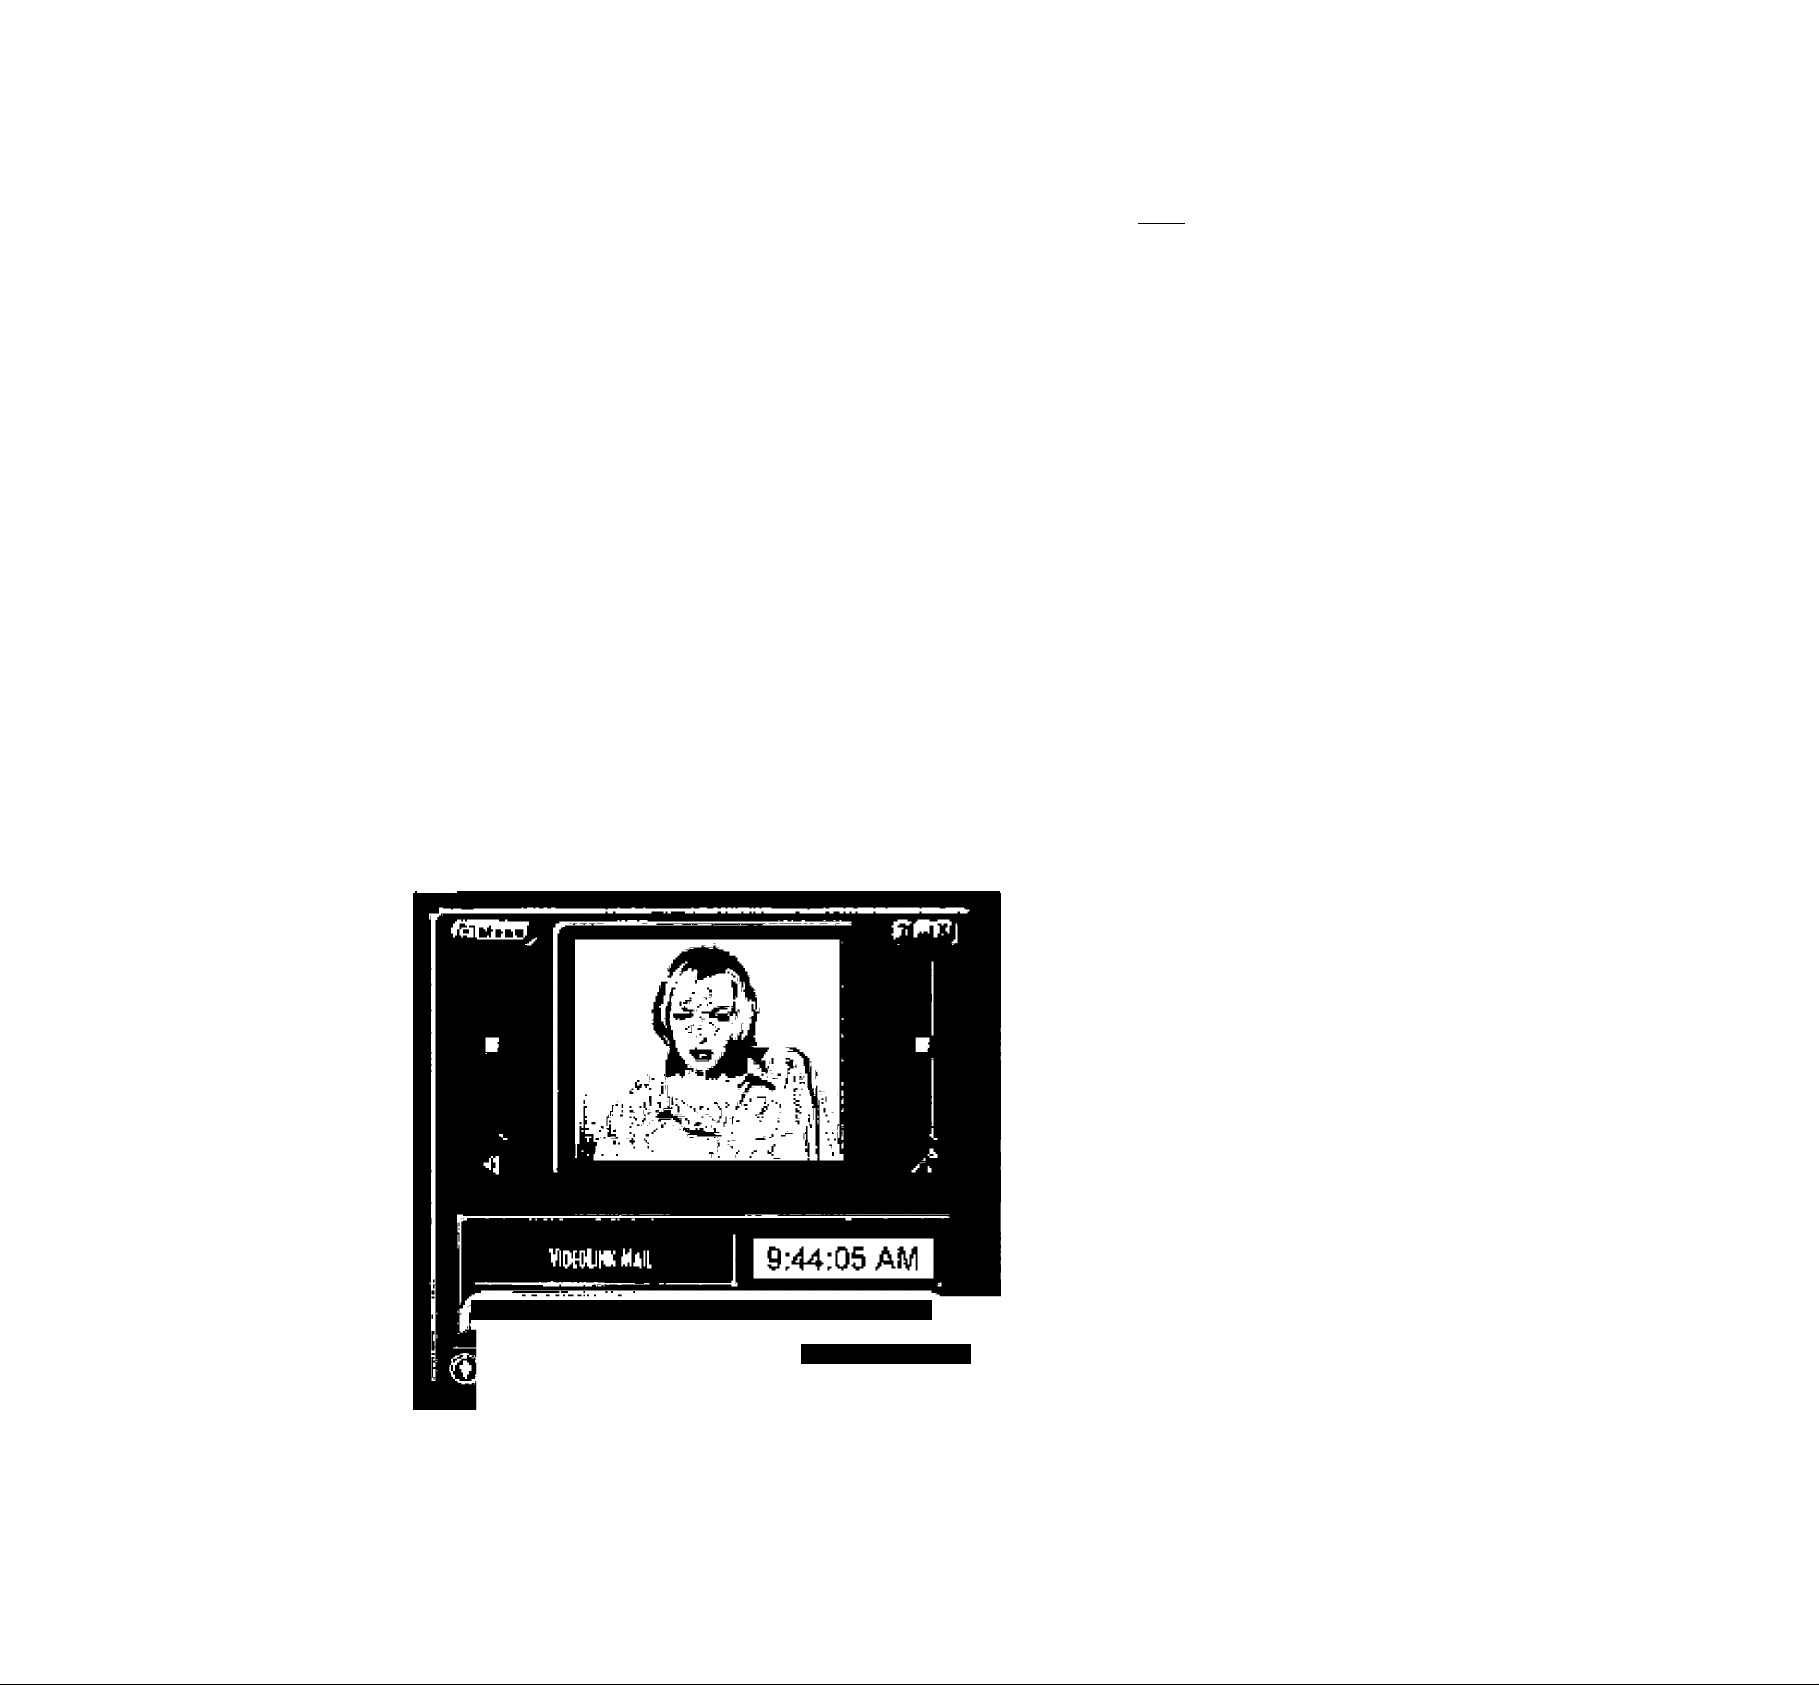
4.2 Video e-mail and video capture: VideoLink №ail (by Smith Micro Software)
H(3W to record and send a video rruil.
1. Btarl VideoLirik Mail. The mair»
window Bppeari.
2. Wait for your евтегв to inilializia.
and position ifiB camera arrt
microphona нЬагв you would like
them.
y. Click the Record botlon.
VkJeoLlhk Mail wilt begin
recordtìig.
4. When you have tinished
recording, efick №b Stop button.
5, ypu can now review your
recording, save ^r recording,
mall your recording as an e-mail
or discard the recording.
INd «pAi4lv to 1ф|г1 vOlmir cO**
6

4.3 Pofnt-to-point vtdËO confér^ííChiig software: VideoLínk (by Smith Micro Software)
g VideoLink
[j ^iow ^afwet X»ls Hdp
J V ci • Û — 0 - Î*
Ü . 1 . . .
;] ^ J -
1 Nuiibei 1
II -f" L--... .
How to urmKt to vidH phone users
№ to other VideoLEnk иавгв.
1.
Start VidaoLink.
2.
Run thft Con^LiraliOn Advisor to
coringune your mtidem or network
connectionai.
3.
Enter the telephone number or
the network tP-eddress of the
pHSOn yOu wish to Pali.
4,
Click the Dial OuUon. VidaoLlnk
will dial the seecilled telepTione
number or access the network:
5.
If the recipianl of the video
tOlOphone Call has a video phone
M(^.Jwf4Rl93g V5&38PM Mcldbn |
or video ConTerenCinB software
Conrgured to answer incoming
calls, VidaoUnk wil eslablisti the
video connection.
4.4 Video communication software: NatMaeting ^by Microsoft)
№ Hiorotoft MetMoeting - Ha Üunnêirtit
£al £dl
Г ^ шГ
^pdriDiol
Directory ns.mlcrasQTt com
Catogoor
Di«tuy
. BuühHï
E-mJ I 'Oj jP[ ] LattW^mp j Oly/Slaip \ pj^
Hitíiocf .
iL
Nckinacal
Seivec
Hd bga°d pri
Щ[=1Ш
How to connect Ю а
person on the intemet
or ar в ТСРЛР'
retwork.
t. Typo the name of
Ihe per^n you
üf.n^CQdi.con
НЩ
warn tecali.crihe
name of itu
ccmpuler you
warn to reach.
2. Click on It»
telephone «on.
3. If NetMealir>g
d0№ not have
enough
inlomiBlion for the
connection, the
Advanced dialog
box appears
autqmalioelly,
2}
Jílbü
4. Only two
ccnvpubers in a
MaiMeating
Cerefenenoe cpn
use audio for
communication.
All other
parlfcipanls must
corrin>unicate
through other
options, like Chat
Of the shared
7
Whuieboard.

4.5 Image Capture and Photo Editing software: Photo Express (by Ulead)
Uhod PholD ExpiDti. ^ IPhotoDnc]
Eie üiBW üe^
Te capture rramei from your camera:
1. Finît, CliCh the Get buUcMi ail the tap teR ai yaur îCToen uridar üib Ulaed lege.
2
. Next. dicK lhe Scanner button on the Toolbar to the rigrtt of the Ulead logo.
3r Select ihe epprepriate cptioris in the menu cn the right of your screen.. Choose the Philips PC Camera
Bs your TWAIN data seurpa, and ^er^t the dcsiinption for the caplured frame
4. Once y□u^re set your capture aplianG. click the Acquire buttcri.
5. Finally, point your camara at the object or person you want lo capture and cilck on the Acquire button in
the View Finder window or press Ihe Snapshpi button on lop of the osmers lo capture the rmage
displayed xi the View Finder.
8
5 Settings
The свл1вгй ргсгрвгИйЁ {audiü Énd videú] úáil only bü fhángbd Ííi¡íti within йЛ áppllcatiürl..
А|л^р
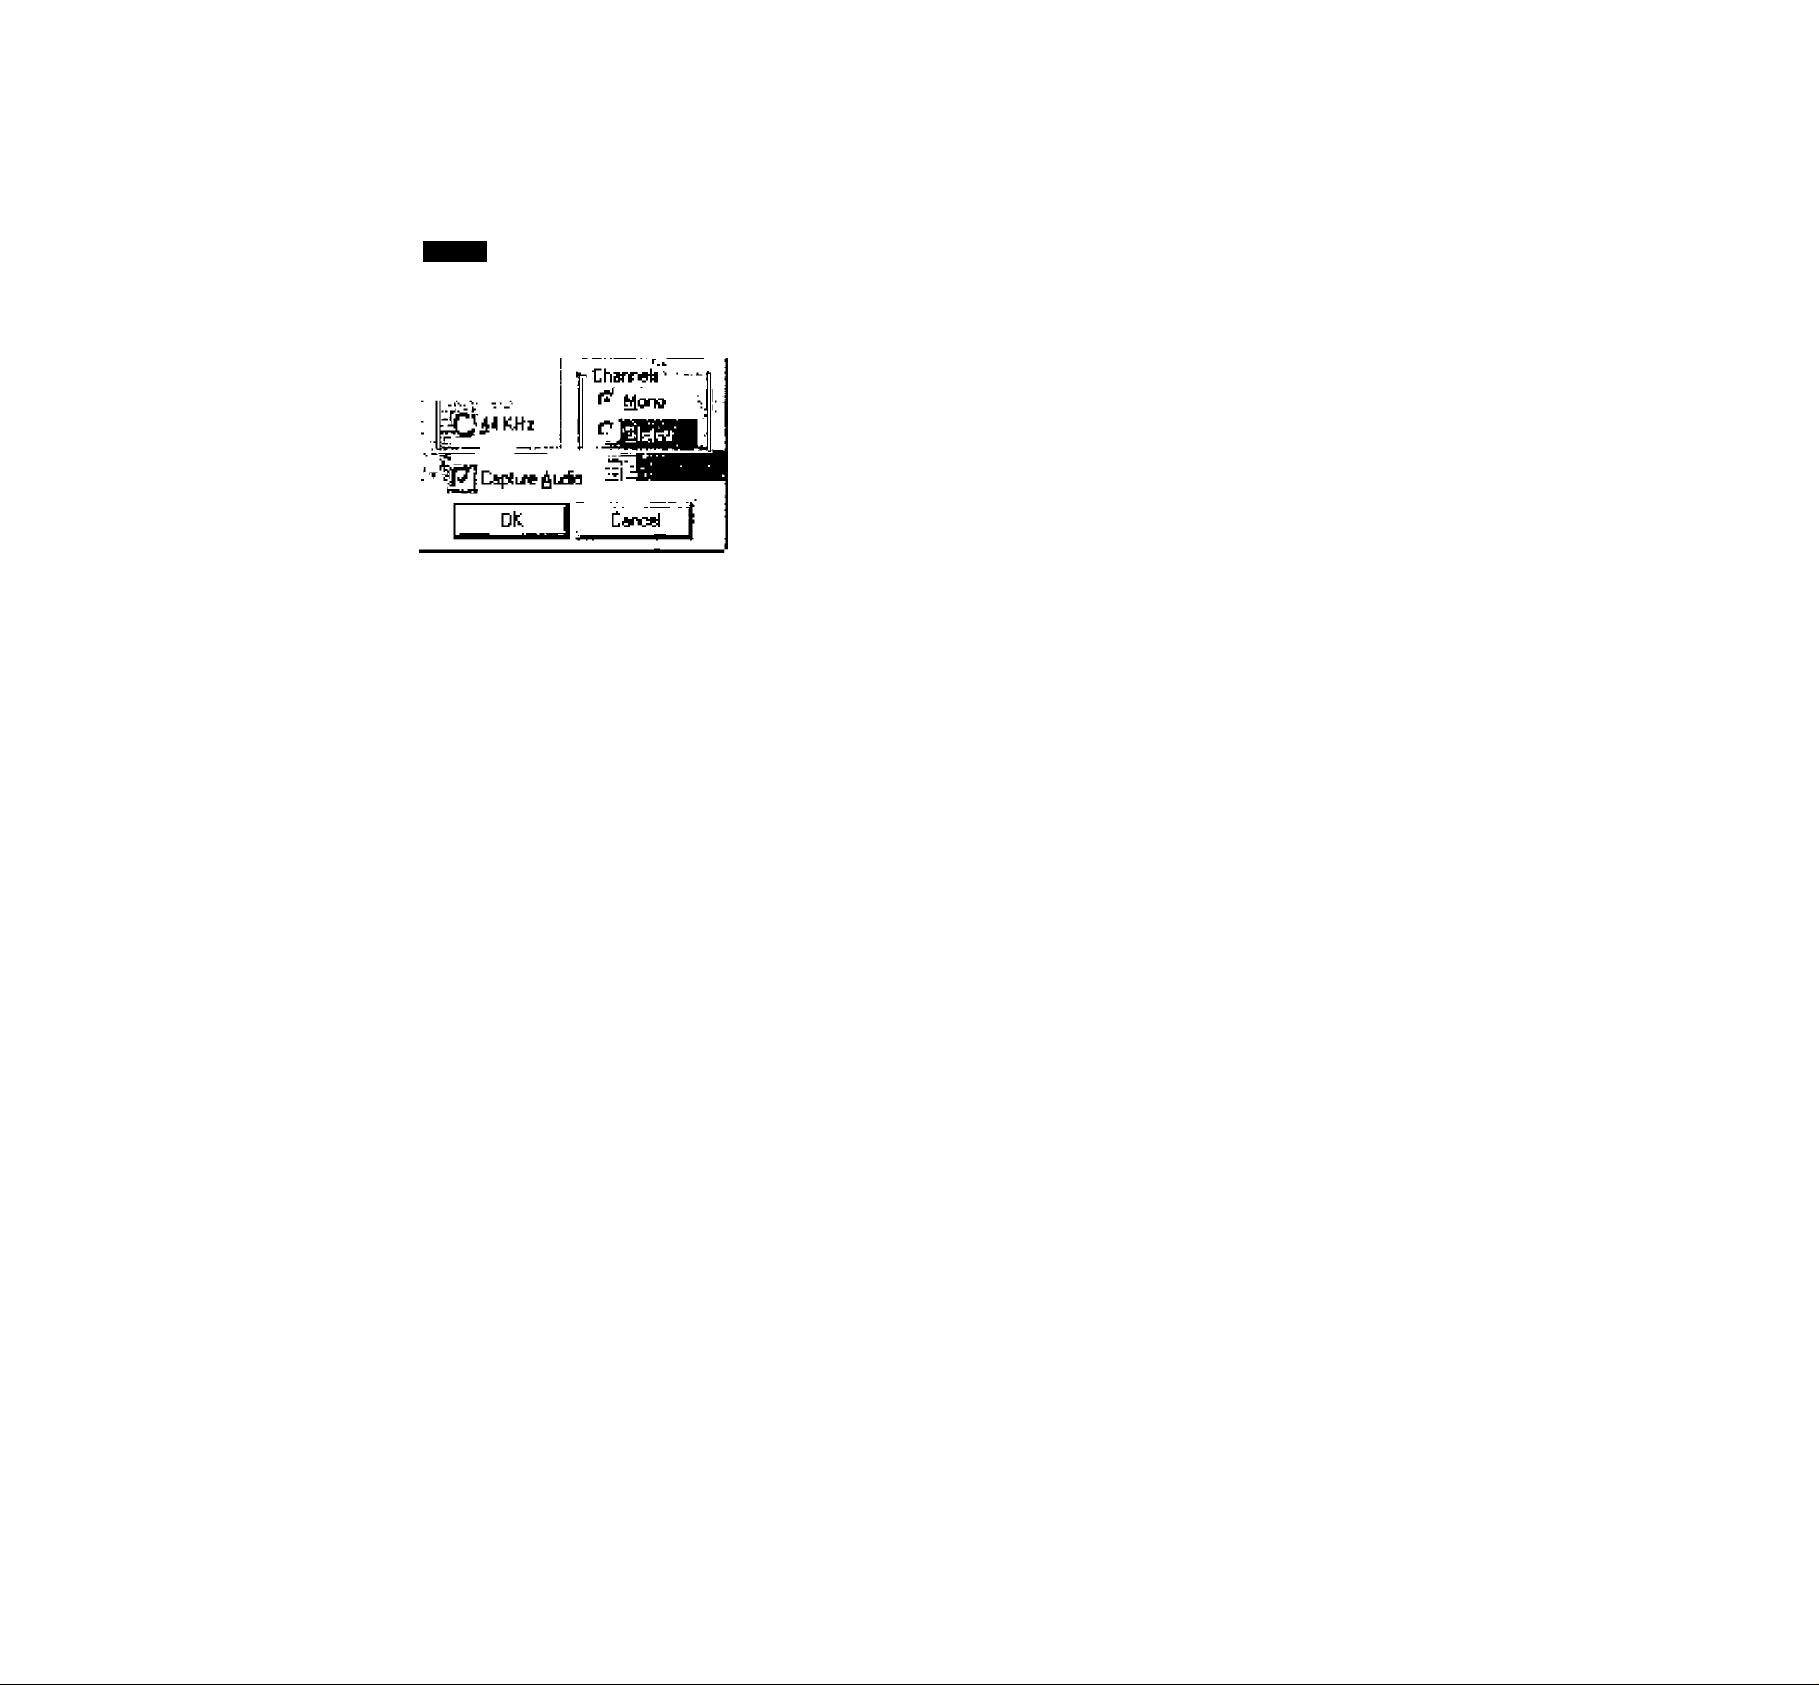
|^S,1 Sound properties
pFftt^ncj/—! ¡- 5ÍM=
Access ti) (he sound properlws Is deperuJenl or (he eppbcsflion software.
ÍÍ.IÉH
But usually It will loGlt somethpTiQ Nke (he when you opeo в 'Sound Se№i^'
орФюп.
The camofa mlcroprione can only pfoduoe a mono aiidio sl^at.
Applioallons may offer you the choice of otTief aud« c)ua4ltles, but bear tr
mhd (hflt fliimorw micnophone can never create stereo scLAitfal
Nota: Should you wi&h (d lisb tha csmera miorcptione as your sound
source for ^yiplicetkins, Ihe opphoolior miglit ask you fgr rhe 'Recording Device' setting. SbIbcI the IPttilips VC^
Digital Camera; Audio {Microphone)' os your input device From the device tist. Otherwise, your sound cord '
snd not the camera microphone - will produoo the sounds for Ihe video applioeticn.
5 J Camera properties
The Ptiilips USB PC Свшеге is very u&er-friendlyend can be used mtuHively. The video oplnne can be
BdjLTsted in itie Camera Property Page'. Access to ttiis property page is dependent on the epplicetian scftware..
For eielBTCB, in one program you mighl choose 'Oplions'i Video Source' From Ihe menu ber (o Open (he
properly page. ITowever, in other epplicetions you may have tc open the TreTerences' nieilu Cr Ihe Video
□ptiore' menu. '
Access the camera properly page {its location in (he menus differs between applications) artd yOu will see two
labs with user-changeable eeltings. Moel applications can show a live' video image on your monitor. Aways
use this option to &ae tha affect of changed settings on your screen.
Some applrcallons may offer you a third tab called 4^ptore sour«'. Usually this setting has only one option
whan the USB PC Camera is tha only video soiree corvnacled lo your computer. HoweverH If mora than ene
video source is conneclad to your system, then this is where
>íhj switch between them. Appticallons that don't
show this third tab will offer video source swilcfiing under a different menu item within the appileabon itself.
MOTE: If two cr more Philips C№ieras bf Ihe sema type - cr cf the same cernerá famiy - ere connected to ypgr
computer., pnlyorte [if Iheee сатегвь can (>e u^sd. Сетвтаа that use (he sema Philipe driver soHwere cen not
be used eimulleneously on one compulod
9
 Loading...