

Page 1

Philips USB PC Camera
Model PCVC665K
1
Page 2

1 Introduction
Brilliant images and blazing colours. That's what you get with the Philips USB PC Camera. Forget about
installing grabber cards and separate power supplies. You don't need them. Power is supplied direct to the
camera through the USB cable and the camera returns video straight to your PC!
This USB PC Camera has several unique features:
• Full Plug&Play use of the USB port
• Video images and still images in true VGA resolution of 640x480 pixels
• Several top-of-the-line software packages included on CD-ROM, so you can start using the camera
straightaway
Congratulations on purchasing the Philips USB PC Camera. This new digital camera is the most advanced
means of recording high-quality movies or still pictures quickly and easily on your PC or laptop computer. After
installation, the new camera can be used for all sorts of applications, such as:
• Video e-mail / Video capture: Create your own video presentations, video mail, product
demonstrations, training videos, Internet clips etc.
• Snapshot images: Use images in presentations, create postcards, or send them via e-mail or on
diskette. The camera works with all applications that use the TWAIN Interface to acquire an image.
• Video conferencing: Use the camera for establishing a point-to-point video conference via a modem
and telephone line with another PC Camera or a Video Phone. Or use the camera for network
conferencing or Internet conferencing.
• Editing and special effects: After recording the images you want with the Philips USB PC Camera, the
images can be easily edited using image or video editing programs.
Congratulations again on choosing the Philips USB PC Camera. The following sections in this manual give a
step-by-step description of the installation process and explain how to use the USB PC Camera.
2
Page 3

2 Preparation
This HTML file describes how to install the hardware and software and how to create your first video recording.
2.1 Contents of the box
Check that the box contains the following items:
• the Philips USB PC Camera;
• one CD-ROM, containing the Philips installation software, application software packages and electronic
software manuals;
• Quick Install Guide.
2.2 Your first video recording in four easy steps
The best way to quick results is as follows:
1. Unpack the box.
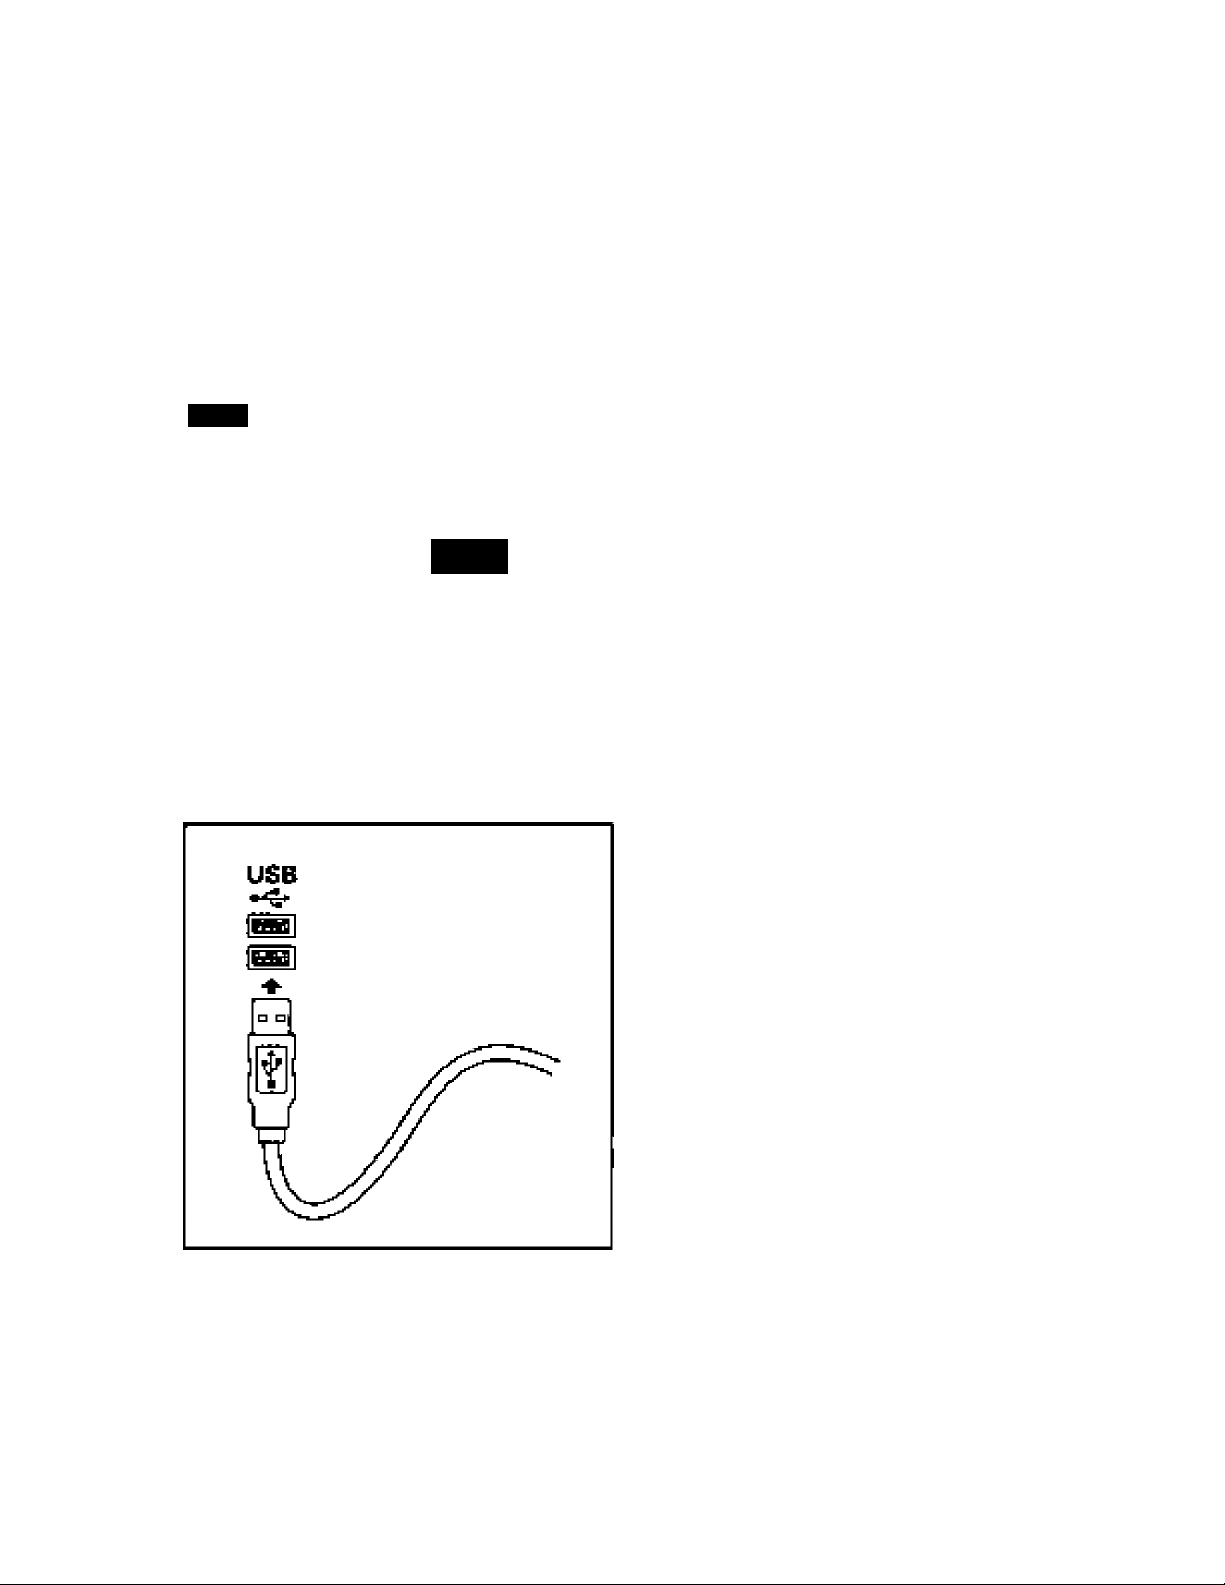
2. Put the Philips installation CD-ROM into your CD-ROM player, let the Philips installation program install
the driver software and the application software, and connect the camera to the USB port (marked with
the USB-logo: ) when asked for by the installation program.
3. Start one of the video applications.
4. Have fun!
3
Page 4
3 Camera and software installation
№ tf> rï1âxi№izâ thâ vidâD add audio p^rformar^ca tïffered by yi>ijr camera, wa havs moludad a PtiiMpa
Intlallalian program m CD-ROM. Plaase follow ftiase diTBcHona for the OBmera inEtaDalüûn SKactty^ ard
aurd thât you hâva ynur WindowaSS CD-ROM to htartd.
1, Unplug all yxHjr USB dovicaa {excapt USB haytaaard or USB mouse) before you etart.
2. IO£№t the Rhilipi iristâllâllon CD-ROM IblO №b CD-ROM drfv4.
3r The insfellartion proyw should start aulomaticalsy. ff notn cllcü Ihe Wlrtdows 'Slart' butlon, then dick
'RunV and type:'X:>setup.eïe', where X stands for the dnue nsme oi your CD’ ROM driue.
4. Let Ihe Ptlil^s ibStallation program guida you through the salup procadura.
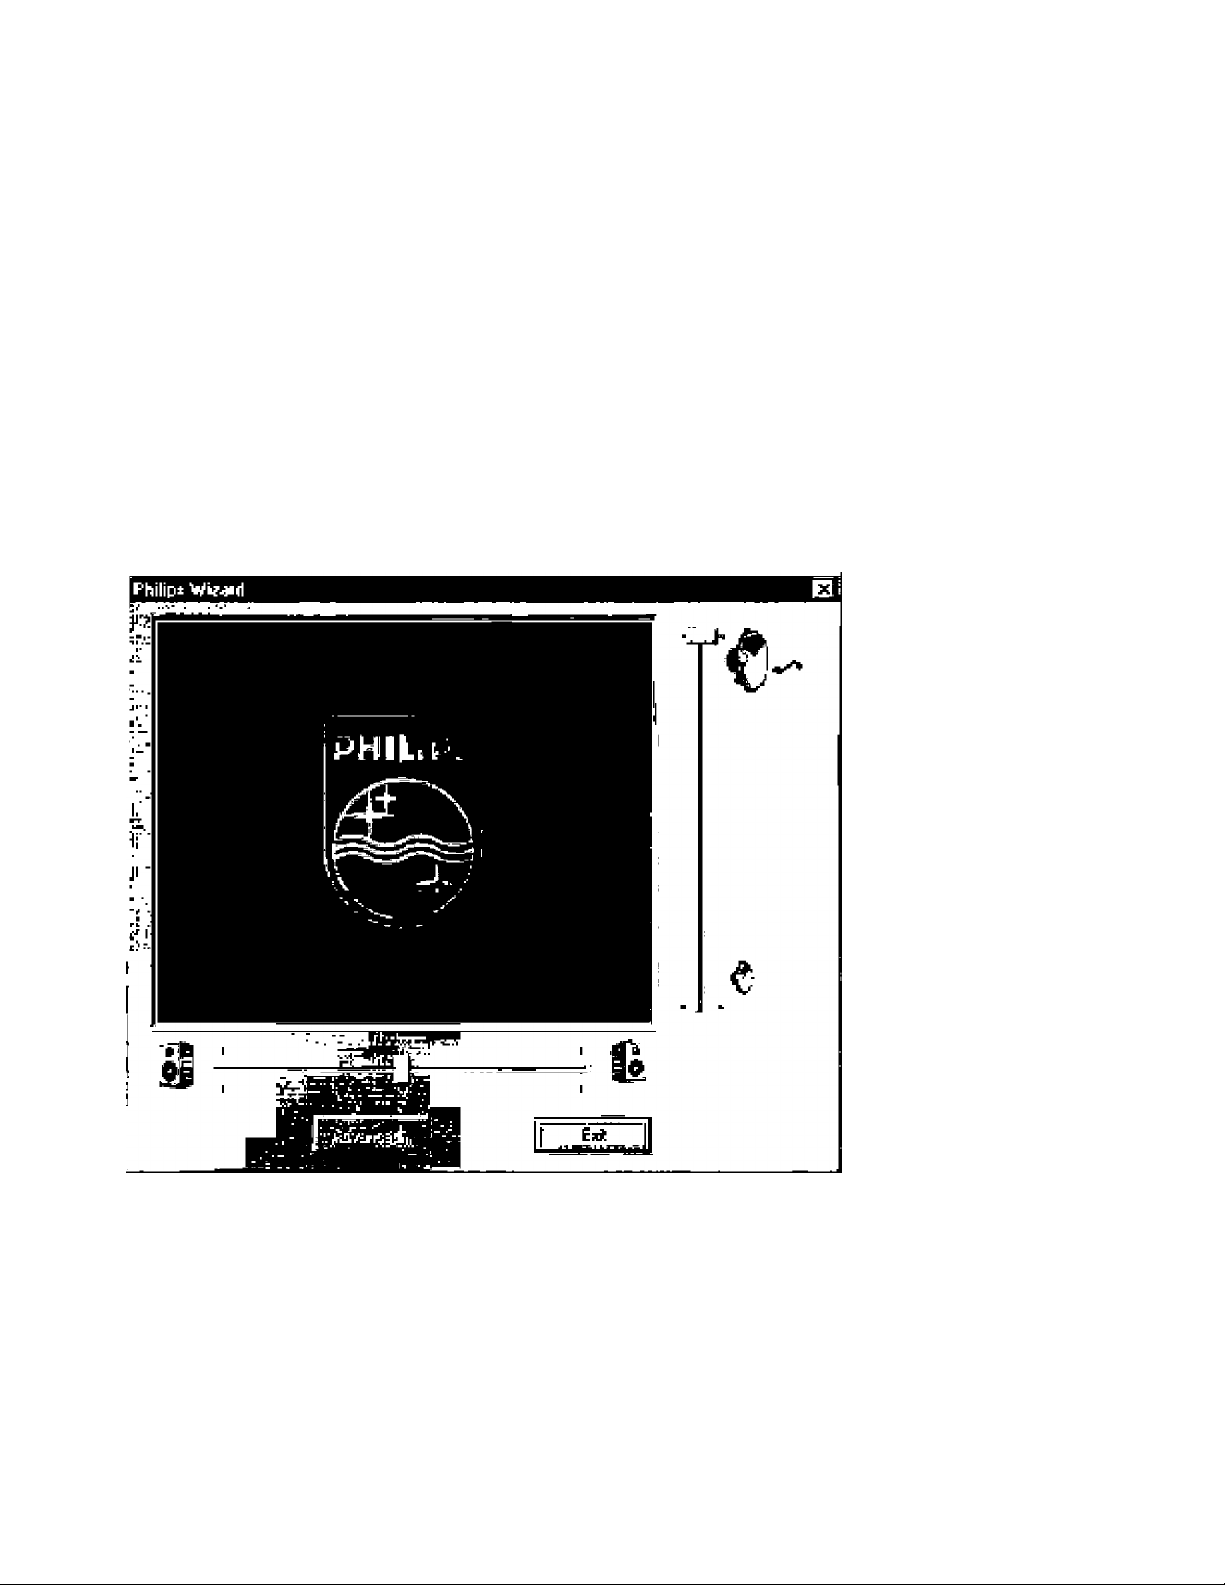
Set IV
FTiipi US0 PCVSa Cifnera CO Sdsii □ prqçssing
tha lrrttdlSh№kf=l) WIîMd whcli nil giidayeu
though lha r«$l cd №fl E€tDp Pi«№awail.
100 %
5. When ashed for the W indowsQS CD-ROM. insert it info the drive ard dick 'OH'. Exit Ihe Windows 96
£et-up scra«ri if it appaars.
6. After the csmera software has tweo Instslledn the Philips insOHalvn program will ask you to connect the
camera to the USB pod.
7. To install the vrdeo appiicatton software, dick me 'ApplKstlons' botlon, and follow the nslrxjctlons on
ywr sgreen.
4
Page 5
IMPORTANT NOTE:
If Ih« initallalian program asMs you to p4ac« a drfforam CD-ROM in iTia CD-ROM Oriv«, fw ¡nslanoo №e
l№tallafbon CD-ROM or Iho Wlndowsd^ CD-ROM, alwS)« ^ll untlL
• №e ‘busy' cursor Icon (usually a hour-glass pooh} has Oisappaared rrom yixir screen. and
■ tTie 'busy' LED on your CD-ROM drive extsг|gua^e5^
Uefore you press iTie eject butlon on tne CO-ROM dnve.
Th<s prevents Ibe appearance of a blue screen Windows error message prompting you to replace Ibe last CD
ROM Inlolbe drive.
Sbould yorj enctwnler (ho Windows error message, correci the Pliie screen error by replacing the CD-ROM
you Just removed and wart for Windows lo stop reading from ibe CD-ROM.
I. Wben the camera bas been installed, a test will be performed. Tnis test window confirms the correct
Insiallatiion by sncwing you Ibe finei 'live' pictures from your USB PC Camere.
2. Exil itie Philips DlSlOllelion program after cloEirtg the test window.
3. Plug In any DS& devices you mlgTit have disconnected in Ihe first step of the inslallatian.
i. V«j aro now ready lo start writing with your Philips USB Camera. Have funl
5
Page 6
4 Usïhg the applications
In ItlÌB. SBctian, we will give you a brief cjaecriptla-n of how to uea the video software packages included
on CD-RGH. If you hiven't Installed these appllciUont yot, please read 'CsnrttH'a and software
insta llBtion' for Installation instriiotloos.
4.1 General
Eech software peefcege usually createg its own program group m the Windows Slart Menu which is activated
try dtekimg the Windows Sten twtton. These program groups condaln ihe application program icon and ollw
Hems СИе1р files, Electronic Menuals, Un^isleil Wizards, Readme files, etc.) for that specific software package.
Vou can start the video eppiicatlons by clltAIng on them In ihe program groups just like any other W^idows
eppiluatron, The shortcuis for ihg USB Camera сэп be found in the program group: 'Start f Programs f Philips
USB PC VGA Camera'.
The Phelps use PC Camera is only guaranleed to work with the applications included on the CD-ROM you
received with the canwa.
Where to get help?
Programs usually ooni^ e help funotign within the program ihai allows you to aocess help aboul the exact use
of Ihe program. Look far a Help topic on the menu ber or for Help butions on the menus (hemselves, |usl Ilka in
any elher Windows Bfiptioation.
For detailed inlontiation about the use of these SoFtware packages, please need Ihe information aoctKnpenying
the individual software packages. Art avalable тГогтаНоп is usually accassibla via the soDware's program
group, or Itireugh the Help Options in the program.
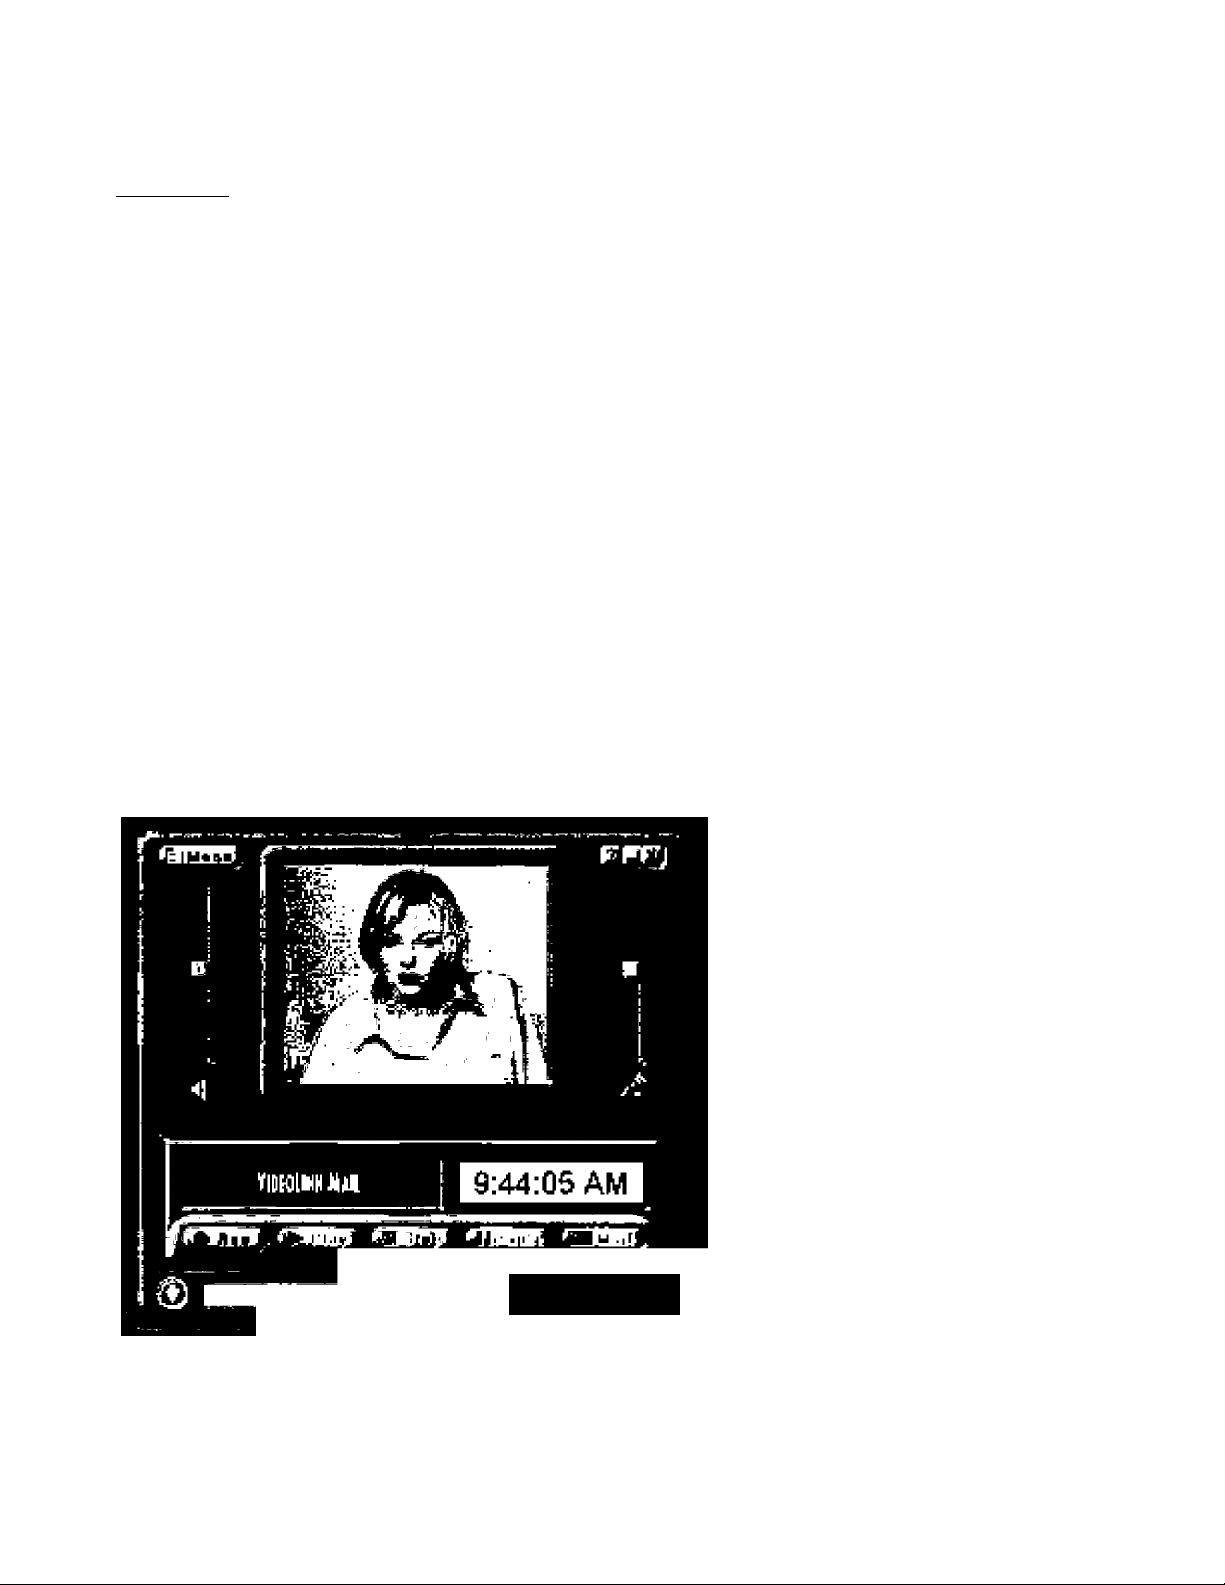
4.2 Video йчпа!1 and vtdao captura: Video Link Mail (by Smith Micro Softwara}
How to rKord and send g video mall.
1, Start VideoLink hlaH, The mpin
window appears.
2. WaH for your camera to Initlallz«.
and place the oemorp and
microphone In an eppropfiste
position.
3h Clioh the Record Pulton.
VidenLlnh Mari will begin
raoirding.
4. When you have (Inisherf
reoordirig, click the Stop button.,
5. You can naw review your
racordihg, save yoiM recording,
mail ydur recording as an e-mai
Or discard the reoording.
I t4o глреРИу 1o R(t)u3t v{>)unie [»rtroli
" ■ ■ w .» r
6
Page 7
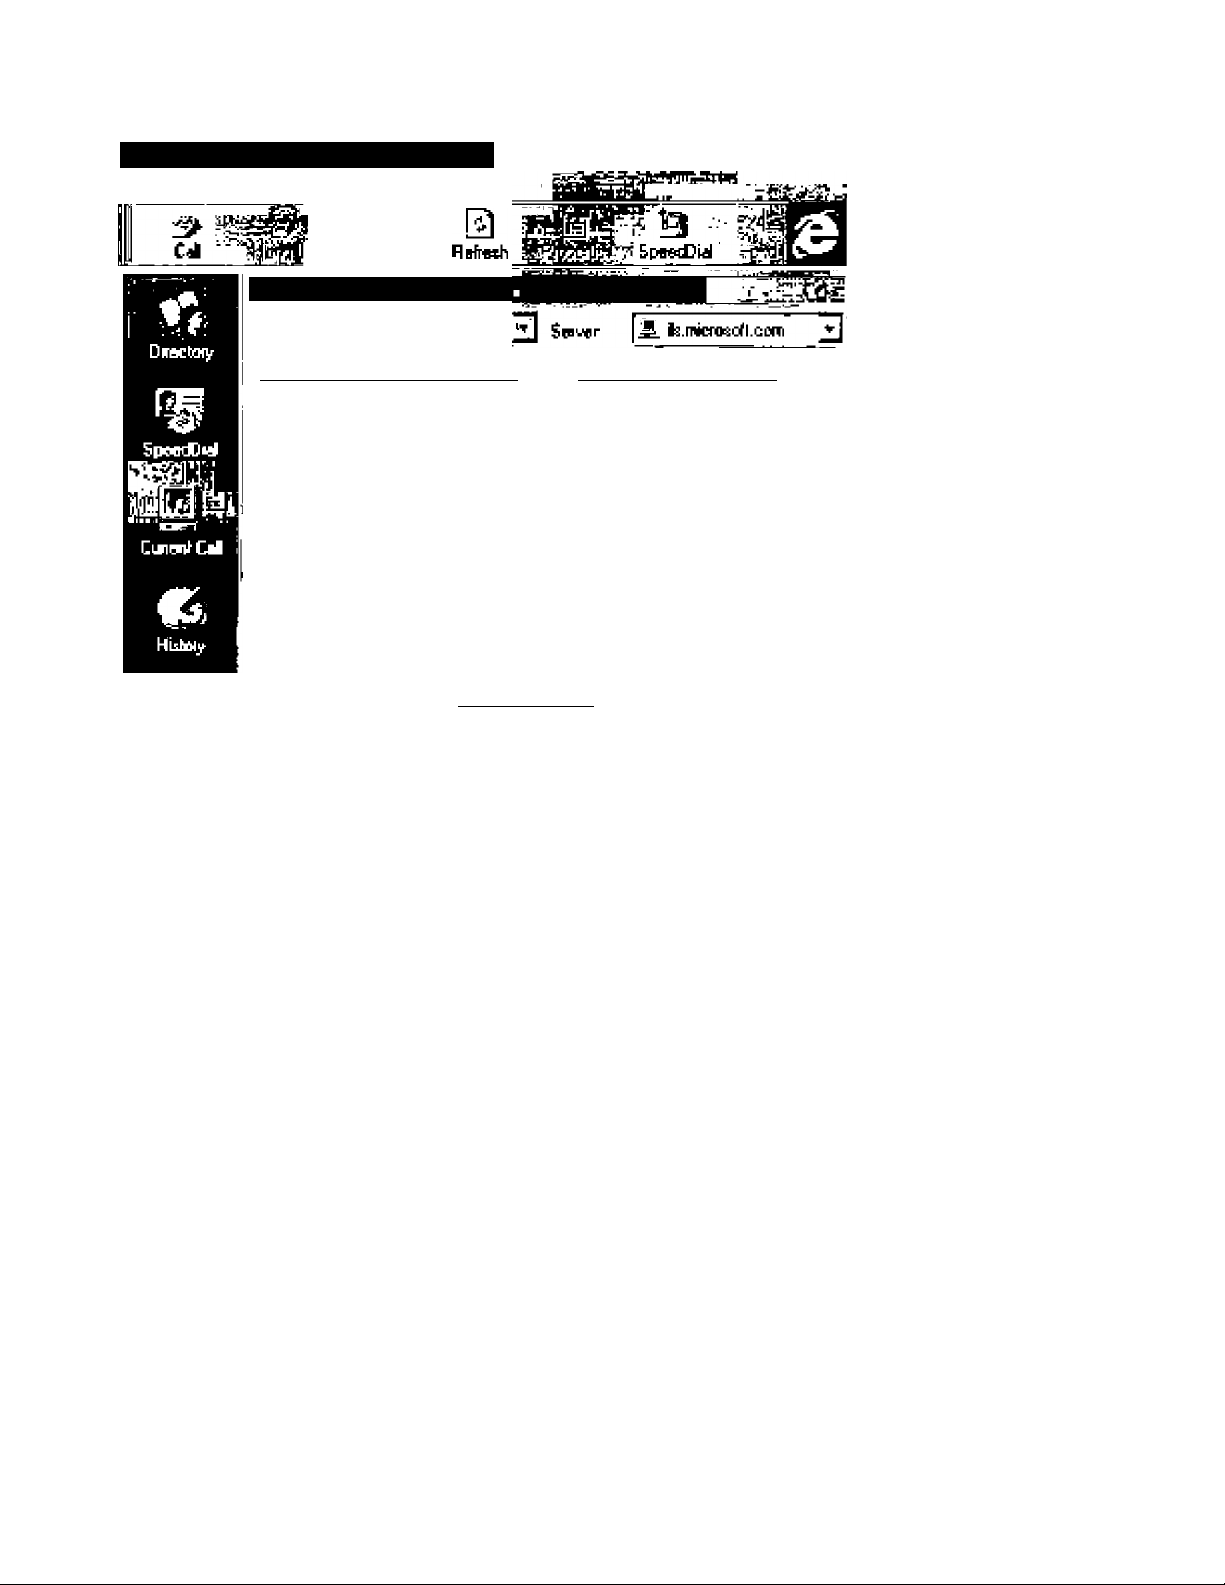
4.3 Video ccxnmunicatíon software: NetMeeting (by lUlicroeoft)
^ Iftkiainll rlcHriccInig - Hd f ^nnnfMihfini
Cad I«ili ipeed[>ial Цв^
CunectDry. ifî micTioiiïTt com
CqlQfpqr
Efiai —~П=й MariT |T*d Haïtfl I Ciln/Stata i Goirt
|NoiI n«cdl IHel loQflfld art
BUÏT№3$
Haw to wnnBct to a
р4Г»П on the Ihtfrnnet
or on a ТСРЛРnatworii.
1, T>pe ll4 name of
the person you
want Id call, gr ttig
npfnp of thg
compufter you
went [p reegti,
2. Click on the
telephone Icon.
X If NeH-leetiinj
doe& not have
enough
inf(HTnaiti(jn for (he
conneclion, the
Advpnoed dialog
box appears
Butomptically,
4, Only twD
Ш
computéis In a
NeüMeetírig
conFargnce can
use alide for
commorMcallon.
All other
parilcipsnts most
communicate
through other
optMns, like Chat
or the shared
Whitehoard.
7
Page 8
5 Settings
The «emera propsftiee and video} can only Oe changed from within an applica№n.
Audio
FrequwcjJ See —
г eb*
t^;2iíHí
p Ühümdt-
■\ .;^-Ио™
Vf^ - j* KHi ^
Nott: A mono miorapr>OrW can only produce a mono audio signal. Applications may offer you the choice of
Dlhaf audio pualrlies, but bear in mind that a mono micropbone can never produce stereo soundsi
{'-rüsn
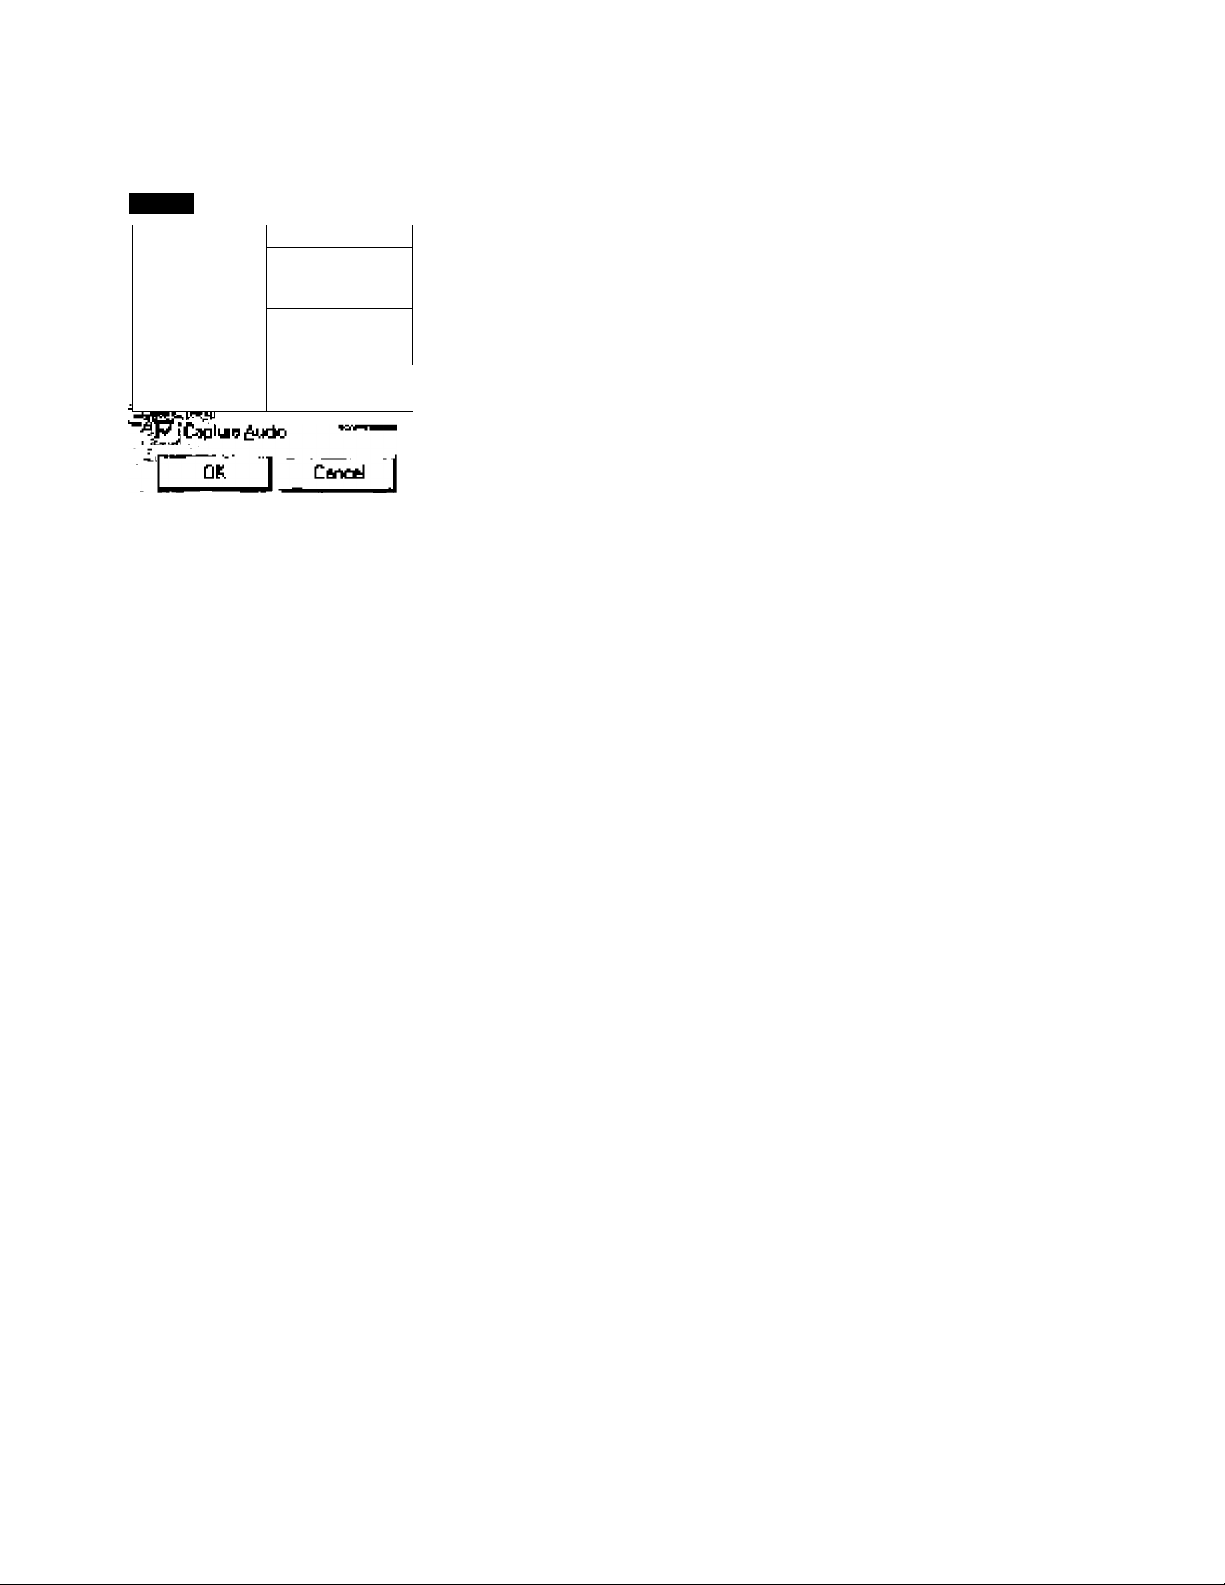
^5.1 Sound pnoparlieB
AccesB to the sound pngpertte? Í9 dependent on the appticalion software
But usually it will look something I8:g this wtien you open a 'Sound Settings'
option.
----
The Comoro hog no built-in m5croi)ho№, so a micioplwne (not ncJuded)
oorwiected to your sound cord will be used as a sound Input iof your video
opolicotion- Chech your sound recording capabilities with a recording
application, e.g. Sound Recorder from Windows. If you can record sourtd
ihrough your sound card w№ such an applrcallon, you «hould al» be able
to record »und and camera images together m any video application.
5,2 Camera pr&|i>ertjes
The Phihps USB PC Camera Is very user^fklendly and can be used intuitively. The vidH options can be
adjusted m the tramerà Property Page'. Access to this properly page is dependent on the application soUware.
For inelance, m one program you might choose 'Options' f 'Video Source' from the menu bar to open the
property page However, In other applications you may ftave to open the 'Proferences' menu or the Video
Options' menu.
Aooass the camera property page (ns location on the menus differs between applications) and you will see two
tabs with usef'Chengeeble setlirigs. Most applications can show a live' video imaga on your noonitor. Always
изо this option to see the effed of chenged setlings on your screen.
S.2.1 Cemera Controls
One of tbo property labs is 'Camera Controls'.
This lab shows you deveral carriera sailings you can change. If a setting can bo adjusted automaticefly by tho
camera, there wHl he an active Auto chachlxM available to the right of (ho value box. Click Itoo ciieckbox to
engage the automatic aOjjuslment for that setting.
Remove the check mark in 1Гн Auto checkbox bolore manually changing the »Itirvgs. Use the sliders ed
change settings or type a numerical value in tho box lo the right of в particular slider. This value bo? to bo
within the valid rartge for the setting, which ia diffaroni for every setting. Mo^t application^ can show a ^ivo'
video image on your morubcr. Always use this option to aae the effor^E of ohangod setlings Oh your screen I
8
Page 9

Video Soupce
Сапиге Cortioit |cBriwe SptJce|
T'i^dFifct----------------------------—^—“
<^.Чспе> r GDHz Г 5Wz
Qiichlnaii
^№hAit
Йье
ietiifoiian
Shonine::
Цепни
Wbt9 Salarce
AQ
2D
4D
*Q
30
40
40
40
cklfjfiL CiiTfi.
^ AJtj
I 1'
1? AJO
'P Ajp
f? AJd
F Avto
F AUto
F AlAi
Г'
AJo
Sand Fihor
The 694id Filter spiion stwjid only be used Ltni^ flickefing SO v €0 Hf li^titvig wndiiiione {e.g. fluorescent or
reon lemps) to pnevervt fp^^ring or str^ngoty gploiired vrdee images. If thia eptiori osed under normal
lighfting «ndHions the video imege will tend to be ovenexposed Oiseble Iho Serid Filter oplion by choosing
Uene'r
£x;»tijre
The exposure setting Ootermines the amount of tight iTist win fall onto the video sensor cTilp. In Auto exposure
mode the оаггьег^ automaltcally adyusis this exposure setting He the Hghting of the scone wUhln view of the
camera. In manual mode (no chockrrurk In the Auto сПосМзок) you can control me setting manually.
SriglitnB&o
Adjusts ttiB brightness of the свтвгв imsgo to tho ovailablG light.
Conirasi
Affects №0 contrast between the fight and dark areas of the camera image. Move tl>e slpder to the teft to reduce
oontrast {make the сыоиге more alike) and to the rig^E to increase the contrast (make the colours mure
distinct).
Hue
Adjusts the overall colour represenlahon of the camera Image. With this setting you can halance the red. blue
and green components of the video stream. Most appllcauons can show a live' camera image on your monitor.
Always use this oplion to see the effect of char>ged settings on your screen.
Situratloh
The colour saturation setting Is a sliding scale between eiack i Whne and fuH cdow intensity Move the sluJer
to the left te obtain a Black A While image.
Sharpness
Adjusts the sharpness of the image. Sherper imegas show irore cuntrest in Ehu smell details, txit far some
eppUceligns you might prefer a 'softer' епадв.
9
Page 10

Gimma
ТГкв char^teriiLics йГ dFtfJlay« usì[>q ргю«ргип& (like computer nnorillws with caffiooe ray tubes) are rtoo-lnear.
This etfed is known ав датгпй. Before being displeyOd, the nonlinear video dels will be processed (^amme
ooTTBctied ) 1o compensate Гог ibe gemma Of №е OiSpley. Use the Slider td Choose a даппггге value appropriate
for your display.
While Be lance
In Auto mode the camera eutomelicall/oontiols Itte different colour components in the picture to obtain the
most netorel oqbur reproduction. This settkig б (he preferred salting for nornial use.
Remove the check merk in (he Auto box to swifch off the automatic white belence Control. The cunent colour
setting rernains irezen end is noi influenced by die еатвге''в intemei controle. Bwibch off the automatic white
balance when you heve a colourfii] acerte end stable lighlirtg conditions.
Bechlight Companaetlon
Turn on the backli^t compensation to improve the imago quality when you have a scene where Che
background has a high iluminaiion level (for instarbce when you are sitting in front еГ a bright light).
Save Setting f Default
If you like в particular setting for partiQulBr lighling conditionE. you can use the Save Setting button to seva thie
preferred satlirtg. Should you wish to mtore ell standard settings, then Click en the □efeull button.
C.i.2Ciptui4 Source
The other Eeti is marked 'Capture Souroe',
Usueüy this setting has oftly dne optioh when the JSB PC Canwe is (he only video source conrtecled to your
computar, hlowever, if more than one video source is connected to your system, then this is where ydu switch
between them. ApplFcetions that donT show (his tab win offer video source Switching under a differeni menu
item within the applicelir^ itSeif.
MOTE’ If two or more cerrscfas of the same type ’ or of the same camera family - are connected to your
computer, only one of these cameras can be used. Cameras that use the same driver software can not bo
used simulteneousOy on one computerl
10
Page 11

5.3 Other camera settings
Usually applications offer separate menu items for 'hardware' settings. These settings are not included in the
camera property pages themselves, and might be called different names in different applications. The most
important ones are Frame rate, Resolution and Format.
5.3.1 Frame rate (or Image rate, or something similar)
The frame rate setting determines the number of pictures per second in the video stream.
The set of frame rates from which the user can choose depends on the currently selected video format
(resoiution) and the available bandwidth on the USB bus (the number of devices connected to your USB port
and the amount of data they transport). To enable higher frame rates choose a smaller video image format in
your application. Applications will usually offer resolution switching (image format setting) under menu items
within the applications themselves. The maximum frame rate for VGA resolution (640 x 480) is 10 frames per
second
5.3.2 Resolution (or Size, or something similar)
Typically given in terms of pixels, this is used to describe overall video size. Related to quality in that the higher
the resolution, the better the quality and the more pixels. But more pixels and a high frame rate demand a lot of
bandwidth from your computer. So you have to compromise between frame rate and resolution for your
different applications if your computer lacks computing power.
5.3.3 Format (or Quality or Codec, or something similar)
This refers to a compression format for creating sound and video streams on the computer; a process for
compacting or squeezing video information into a smaller than normal size. For example, 2 to 1 compression
would indicate that 2 pixels would now only occupy the space of 1 pixel. Not all video applications use the
same formats (or codecs). It may be a source of error messages if your camera and the video application do
not use the same formats.
11
Page 12

6» TWAIN appHcations
Tile PhJIpj US& PC Camers ¡5 TWAIN-compatible (like a scameOi so you can use lh»e iamera as an input
devtce for applicatiori wftwBie llial uses TWAIN as a data source (e.g, photo editinfl software).
Philips CMOS USB PC Camera
Ш
Capture II
rinse
Imago
rasters rrntrfiii
Bbout
e.1 Capfurln^ Ima^ns within applicntjoiis
In TWAIN-compatible applications you wllF soe the hnllips USB PC Camera listed as an availabis TWAIN daia
soLiroe among your olhe^ TWAIN soi^rces {o.g. scanners). Just pick the J56 PC Camera as your saiHca in
ac{^jire camera pictures diredly into your application. Then choose 'Acquire' in launch the camera viawteirier
which displ^ the movirvg video picture. Click on Ihe Capture It' nplion in this viewfinder tc capture a slill
Image .Use the 'Close' button to close the TWAIN viewtHiOer.
e.2 Capture settings
To the right of the camera picture you wil Find Ihe 'image Bi^' and 'Camera Controls' buttons, which are used
to change Ihe &eltingE.
Image Bkxo
Here you can select the size of the still image to be captured.
Свтега Cantrols
The 'Cemefe Coninols' button will bring up the same cemera setting tabs as In Ihe chapter 'Settlrigs^
About
Brings up an intomiafticn window an Ihe TWAIN driver.
12
Page 13

7 Tips and Frequently Asked Questions (FAQs)
7.1 TIPS
The camera installation
• Always use the Philips installation CD-ROM to install the correct camera drivers as described below. Do
not connect the camera to a USB port before installing the Philips drivers. If you do this, Windows98 will
try to install its own drivers, which might be less compatible with the camera than the Philips drivers. You
must have Windows98 running and have the Windows98 CD-ROM at hand.
• Your USB controller should be working correctly. You can check this in the Windows98 Device Manager
{Click on the My Computer icon on your desktop, right-click Properties, then click on the Device
Manager tab). An icon with the name 'Universal serial bus controller' should be visible. Click on this icon
and Windows98 will tell you if this part of your computer system is operating correctly.
Camera performance and system requirements
In VGA resolution this digital USB PC Camera provides a very large data stream that needs to be processed in
real-time by the application you are using. Although the camera will perform satisfactorily on a Pentium 166 at
the lower resolutions, we recommend a more powerful computer, e.g. a Pentium II with 32 MB RAM, for
optimum performance at the highest resolution. We regret that optimum camera performance cannot be
guaranteed if the computer meets only the minimum system requirements.
Using more than one camera
If two or more Philips cameras of the same type - or of the same camera family - are connected to your
computer, only one of these cameras can be used at the time. Cameras that use the same Philips driver
software can not be used simultaneously on one computer!
USB
You can connect the camera to any USB port on your computer. You do not have to switch off the computer.
USB ports are 'hot-swappable', which means that you do not have to restart Windows98 every time you
connect a new USB device. The USB driver will detect the camera as new hardware. It can be used within a
few seconds without the need to restart the computer.
If you unplug the camera while it is actively providing a video stream to an application on your computer, the
computer may crash. To avoid problems, first close all applications that use video from the camera before
unplugging your Philips USB PC Camera.
Driver software check
You can determine if the camera is installed correctly, and if it is being recognized by the operating system by
checking the Device Manager menu in the System Properties.
1. Access this menu by right-clicking the 'My Computer' icon in the top left-hand corner of your desktop,
then click on Properties. Alternatively, click on Start / Settings / Control Panel, then double-click on
System to access this menu,
2. Click on the Device Manager tab to see the list of installed devices.
If the USB PC Camera has been installed correctly and it is plugged into a USB port, you should see the
following device in the list (double-click on the device to see its specifications);
13
Page 14

SjfltDH РЕПрвЪвЕ
Бвпа'а1|| Ptofilstl FEriBmianea-|
if'v" div^iM by liv« ^ ^Jvn de«Mi bv £этчс1вп
'
5-
4qid A*
bi4^TgP#v^
PUpt ^GA Diflid Снтчча: Vidn
Kvb9*4
M^wr
Нйяс
Sv^, ^ wpcc^ili’glb*
i
CiHtiw Lsbf SwndSioitwPClG4
t
L
S}4ti*m dov^n
VGA J Сапчр a: Audo (Hip?Dphcirw)
UnrwHl misl bu9 wHidbr
■rtd 6G371A4^B PCI tgUSB Ur¥vn?dH«tCai(ralw
Ptiipi Cpfiip(»j№ D?v)»: VGA [>ч)4(э1 С«тг»
USBRniH^t
"3
F^optttiftt I Faftiih
imagirt^ □Ёчпсй:
Pltilipi& VGA Diigital СЯгПйгЁ
J flattiQVA ^ FV^- I
if you unplug iTie camera from iFe USS port, this devict wil disappear from tha list (and car therafdre not ba
used by any ^plication on your computer until you raconnact the USB camera).
WEB SITE
If yOu havB any other queetims or prablemS, plaaEa vH^ pgr wep gibe www.PC&luff.phflips.ocrnteBm^ras him!
for n№ dr updated infdmnaJten.
7.2 FAQa
Q: Why сапЧ | chonaa higher frame rates for the USS- Camera?
A: Aa ifia digital camara ia a USB deviw. it shares lha bandvwdtii of the USB port ivith all other USB
peripherals. If theee USB devioos are active fspeakerg providing sound or scanners performifig a scan), ms
remaining bandwidth may he restricted to frame rales tower than those leled m the Technical apeenficalloris'
9S the maxirnium frame rate for that nasofluHon.
Q: Why la the 3StF rsHlutlon (24G x 17^} rot available on my computer?
A: The BSIF reaolulion ie only aveileble lo ueere of Windows^ SE (second editior).
14
Page 15

Q; My PC will not start when the camera is connected.
A: It is highly likely that your BIOS is not compatible with the USB standard. Contact your PC supplier for an
updated BIOS.
Q: With additional USB peripherals installed my PC seems to be unstable (blue screens).
A: Check if Phoenix Plugworks is one of your applications. You need to have version 1.1 or higher for proper
operation with Windows98.
Q: Where can I find application software for this camera?
A; Visit the Philips web-site for the latest information on available application software packages for the USB
PC Camera, and for information on how to obtain these software packages. Our URL is:
wvkiw.pcstuff.philips.com/cameras.html
Q: No USB Device: My Windows98 Device Manager reports 'No USB device' even though I have a
physical USB port. In the Windows 98 Device Manager (My Computer, click on the right mouse button,
Properties, Device Manager tab), no section with the name 'Universal serial bus controller' is visible.
A: Check whether your BIOS enables the USB port as follows: reboot your computer, enter your BIOS setup
and look for a text such as 'USB function’. This should be enabled.
Q: No Video: My application doesn't display any video.
A; There are several reasons for not having video:
1. Check whether the USB PC camera is connected to a USB port
2. Check whether 'Microsoft WDM Image Capture' Is the current capture source. On systems with other
devices, this other device may be the selected capture source.
3. If more than one USB capture device is connected to the PC, check whether the correct USB capture
device has been selected.
Q: No 'Microsoft WDM Image Capture': 'Microsoft WDM Image Capture' is not available as image capture source.
A: All USB Image devices need 'Microsoft WDM Image Capture’ as the capture source. Check whether this
capture source is enabled. (Start, Settings, Control Panel, MultiMedia, Device tab, Video Capture Devices
entry. Double click the 'Microsoft WDM Image Capture' entry. A property page will pop up. The option 'Use the
video capture device' should be selected).
Q: Why does my application crash when I unplug the camera from the USB port?
A: If you unplug the camera white it is providing a video stream to an application on your computer, the
computer may crash. Always close applications that use video from the camera before unplugging your Philips
USB PC Camera to avoid problems.
Q: Video works, but no audio is recorded: My application doesn't produce any audio.
A; There are several reasons for not having audio:
1. Your microphone can only produce a mono audio signal. Check whether the application uses this
setting. If not, adjust the audio setting to mono.
2. Check whether your sound card is selected as the current recording device. (Start, Settings, Control
Panel, MultiMedia, Audio tab. In the recording section, your sound card should be selected).
Q: System lockup: My camera stops responding (black or frozen picture or LED off) for no obvious reason.
A: Switch off the Hardware Accelerator for your video card (click on: My computer, right mouse
button/Properties/Performance tab/Graphics button. Set "Hardware Acceleration" to "None"). Contact your
video display card manufacturer to obtain the latest video card drivers. See the video display card's
documentation for more information.
15
Page 16

Q: Picture Flicker: My video picture is flickering.
A: This may happen in office environments with 50 Hz fluorescent lighting when certain frame rates are used.
There are two solutions:
1. Select the 'Band Filter' option. This option is located in the 'Camera Controls’ tab on the camera property
page. This property page is accessible from within the application you are using.
2. Deselect the 'Band Filter' option. The frame rates '5', '10' and '20' are always flickerless in 50 Hz lighting
environments. Only the frame rates 15, 25 and 30 are affected by the electronic 'Band Filter' control.
Q: 'Unable to draw this data format': The message 'Unable to draw this data format' appears.
A: This can happen when the selected data stream format could not be processed due to a missing codec. Re
install the camera driver software to install the missing codec.
Q: Why are frames dropped during the recording of a streaming video?
A: If a video clip is created at a high resolution such as VGA and at high frame rate, a tremendous amount of
data is generated. For example, the amount of video data generated using VGA resolution at 10 fps with 24 bit
full colour is 640x480x10x24= 73,728,000 bits (73 Mbit) or 9,22 Mbyte per second. Audio adds even more data
on top of this. Almost no current hard drive is capable of handling this kind of data stream, which is roughly
twice the maximum data transfer rate of current hard drives. In this example, the result would be that half the
number of frames would have to be dropped to match the data stream to the properties of the hard drive. This
effect can be reduced or completely eliminated by applying the following measures:
1. changing to a lower resolution such as 320x240 or lower
2. changing to a lower frame rate
3. putting the hard drive in DMA mode
4. using a new file instead of overwriting an existing one
Q: Why do I sometimes hear clicks in my audio during the piayback of a video ciip?
A: During the recording phase the processor (CPU) has to process a lot of data. In the above example, even a
450 MHz processor would require a processor load of nearly 60% to handle all the data properly. This also
explains why the actual video result you can achieve strongly depends on the processor present in your
computer. The processor also has to control the timing for the transmission of video data from the camera to
your computer. This is done by giving the camera a command to send video data every millisecond. If the
processor load is high, commands will sometimes be missed, resulting in gaps in the audio and video stream.
With audio, this results in a 'click' sound. The higher the processor load, the more clicks may be generated.
This effect can be minimized and even eliminated completely by reducing the processor load, for example by:
1. changing to a lower resolution e.g. 320x240
2. changing to a lower frame rate
3. putting the hard drive in DMA mode
4. using a new file instead of overwriting an existing one
Please bear in mind that the majority of the video applications do not require high resolutions and high frame
rate combinations. You will therefore not encounter this phenomenon at all in most cases.
16
Page 17

8 Technical specifications
Optical
Sensor 1/3" CMOS
Pixels
Illumination
Integrated lens F2.0
Resolution/performance
Output resolution Pixels (H X V)
VGA 640 X 480 Up to 10
CIF 352 X 288 Up to 30
SIF 320 X 240 Up to 30
SSIF 240X176
QCIF
QSIF 160x120
SQCIF 128x96 Up to 30
Data format
176X144
640 (H) X 480 (V)
15-50000 lux
Frame rate [frames/sec]
Up to 30
Up to 30
Up to 30
JBYR
Camera adjustment paramétrés
Contrast, brightness, gamma, hue, satmation, sharpness, white balance, exposure
control
Interfacing
Cable
Minimum system requirements
2 m
Processor Pentium 166 MHz
RAM
OS
16 MB
Windows98
17
Page 18

CD-ROM drive Required (for installation only)
USB interface
USB speakers or sound card with speakers and a microphone or other sound
input device
Software
Required
Windows98 drivers by Philips
VideoLink Mail
NetMeeting by Microsoft
Bonus Pack Various
Audio
by Srnith Micro
Microphone External (not included)
Weight
Appr160 gr
Dimensions
2 X 54 X 51 mm (L x W x H)
Ambient temperature
Operating 0 to 45"C
Storage
Power suppiy
• The power is supplied via the USB cable
• Compliant with general USB specifications for power requirement
• Three modes for power supply:
1. Suspend (max 500 µA)
2. Default (max 100 mA)
3. Configured (full operation) (max 400 mA)
-25 to 70“C
18
Page 19

9 Regulations, Warnings & Maintenance
9.1 FCC compliance
This device complies with Part 15 of the FCC Rules. Operation is subject to the following two
conditions:
(1) this device may not cause harmful interference, and
(2) this device must accept any interference received, including interference that may cause
undesired operation.
NOTE: This equipment has been tested and found to compiy with the limits for a Class B digital device,
pursuant to Part 15 of the FCC Rules. These limits are designed to provide reasonable protection against
harmful interference in a residential installation. This equipment generates, uses and can radiate radio
frequency energy and, if not installed and used in accordance with the instructions, may cause harmful
interference to radio communications. However, there is no guarantee that interference will not occur in a
particular installation. If this equipment does cause harmful interference to radio or television reception,
which can be determined by turning the equipment off and on, the user is encouraged to try to correct the
interference by one or more of the foliowing measures:
• Reorient or relocate the receiving antenna.
• Increase the separation between the equipment and receiver.
• Connect the equipment to an outlet on a circuit different from that to which the receiver is
connected.
• Consult the dealer or an experienced radio/TV technician for help.
Any unauthorized modification to this equipment could result in the revocation of the authorization to
operate the equipment.
9.2 Warnings & Maintenance
If you observe the following guidelines, you wiii prevent defects and the camera will operate
safely.
Clean the outside of the camera with a soft cloth.
Do NOT use cleaning fluids based on alcohol, methylated spirit, ammonia, etc..
Avoid direct contact between the camera and water.
If the lens has to be cleaned, use a special lens-cleaning tissue, avaiiabie at any camera store.
You can only use the camera indoors.
Keep the camera free from oil, vapour, steam, moisture, and dust.
Keep the camera away from a heater, lighting equipment, and direct sunlight.
Never direct the lens of your camera toward the sun.
All brand names and trademarks acknowledged.
Copyright © 2000 Philips Electronics N.V.
All data subject to change without notice.
19
Page 20

10. Glossary
Audio input device (recording device)
One of the Windows98 multimedia settings is the recording device setting. This setting determines which
audio hardware is being used to provide audio signals to audio applications. This setting is accessible
through: the Windows 'Start' menu, Settings, Control Panel, MultiMedia, Audio tab. In the recording
section, your sound input device should be selected.
AVI
The Microsoft standard file format for combined video and sound files on the PC. This is part of the Video
for Windows standard.
BMP / JPG / TIFF / FlashPix.
These are various file formats for images. BMP files are the largest since they do not use compression
and retain full image quality. JPG uses 'lossy' compression which dramatically reduces file size but the
original image quality can never be restored. TIFF can use a 'lossless' compression algorithm with less
file size reduction but retaining full image quality. FlashPix is a relatively new image format that uses
minimal resolution within the application to speed up the image processing. All accepted changes are
processed afterwards, before writing to disk.
Codec (coding & DECoding)
This refers to a compression format for creating sound and video streams on the computer.
Compression
Term used to describe a process of compacting or squeezing video and sound information into a smaller
than normal size. For example, 2 to 1 compression would indicate that 2 pixels would now only occupy
the space of 1 pixel.
DirectX
The latest standard developed primarily by Microsoft to help establish a common method for exchanging
audio and video information between your hardware and software in the PC.
Frame
A single image in a video stream.
Frame Rate
Typically quoted in seconds (fps, frames per second), this refers to the number of single images that will
be displayed or captured in a video stream.
Gamma Correction
The characteristics of displays using phosphors (like computer monitors with cathode ray tubes) are
nonlinear. Nonlinear characteristics means that a small change in voltage when the voltage level is low
produces a change in the output display brightness level, but this same small change in voltage at a high
voltage level will not produce the same magnitude of change in the brightness output. This effect is
known as gamma. Computers like to process with linear RGB data. Before being displayed, this linear
RGB data will be processed (gamma corrected) to compensate for the gamma of the display.
Philips installation program
A standard installation program that runs from CD-ROM. Usually, this program starts automatically after
inserting the installation CD-ROM into your CD-ROM drive, and guides you through the whole installation
process. The program can be started manually by running 'setup.exe' from your CD-ROM drive.
Pixel
The smallest square or round element in an image. These are the 'building blocks' that are only one color
in their individual state, but combine with others to form complete images.
20
Page 21

Plug & Play
An operating system principle for connecting hardware to your computer. The idea is to automatically
recognize the new hardware and to load the appropriate drivers without restarting your computer. With
USB devices this usually means that you will have to perform an installation procedure only once, i.e. the
first time you connect the new hardware. After this first time, you will not have to restart the computer
when connecting the camera to the USB port. The USB driver will detect the camera as newly connected
hardware. It can be used within a few seconds without the need to restart the computer.
Preview Window
The window within the capture application that is used to display live, or moving, video.
Property page
A window with camera setting tabs that appears when you click on a setting menu item within an
application. This setting menu item can have different names in different applications, but is usually called
'Settings', 'Preferences', 'Video settings' or something similar.
Rebooting
Restarting your PC to initialize all original settings and finalize all settings changed during an installation
procedure.
Resolution
Typically given in terms of pixels, this is used to describe overall video size. This is related to quality in
that the higher the resolution, the better the quality and the more pixels.
TWAIN
Standard software interface for imaging applications. If a hardware device has a TWAIN driver, it can be
used as an image source for TWAIN-compatible imaging applications. Choose your TWAIN source in the
imaging application itself. Then choose 'Acquire' to start the TWAIN driver for the TWAIN source.
USB
Universal Serial Bus, used for connecting external devices to the PC without having to restart your PC.
Video for Windows
Developed by Microsoft, this is a standard for displaying video on the Windows desktop. Windows 98 has
this built in.
Video stream
A collection of images that combine to form motion - or moving - pictures (also known as movies or video
clips).
21
Page 22

11. Your international guarantee
UK & IRELAND
Dear Customer,
Thank you for purchasing this Philips product which has been designed and manufactured to the highest
quality standards.
If, unfortunately, something should go wrong with this product Philips guarantees free of charge labour and
replacement parts irrespective of the country where it is repaired during a period of 12 months from date of
purchase. This international Philips guarantee complements the existing national guarantee obligations to you
of dealers and Philips in the country of purchase and does not affect your statutory rights as a customer.
The Philips guarantee applies provided the product is handled properly for its intended use, in accordance with
its operating instructions and upon presentation of the original invoice or cash receipt, indicating the date of
purchase, dealer's name and model and production number of the product.
The Philips guarantee may not apply if:
• the documents have been altered in any way or made illegible;
• the model or production number on the product has been altered, deleted, removed or made illegible;
• repairs or product modifications and alterations have been executed by unauthorised service
organisations or persons;
• damage is caused by accidents including but not limited to lightning, water or fire, misuse or neglect.
Please note that the product is not defective under this guarantee in the case where modifications become
necessary in order for the product to comply with local or national technical standards which apply in countries
for which the product was not originally designed and/or manufactured. Therefore always check whether a
product can be used in a specific country.
In case your Philips product is not working correctly or is defective, please contact your Philips dealer. In the
event you require service whilst in another country a dealer address can be given to you by the Philips
Consumer Help Desk in that country, the telephone and fax number of which can be found in the relevant part
of this booklet.
In order to avoid unnecessary inconvenience, we advise you to read the operating instructions carefully before
contacting your dealer. If you have questions which your dealer cannot answer or any related question please
write or call:
PHILIPS CONSUMER HELP DESK
PO Box 298
420 London Road
Croydon
Surrey
CR9 3QR
UNITED KINGDOM.
Phone: (0181)-665-6350
Fax: (0181)-689-4312
PHILIPS ELECTRONICS IRELAND LIMITED CONSUMER INFORMATION CENTRE
Newstead
Clonskeagh
Dublin 14
Phone: 01-7640292
Fax: 01-7640299
22
Page 23

ALL OTHER COUNTRIES
INTERNATIONAL GUARANTEE CONDITIONS
Dear Customer,
This product is guaranteed by Philips for a period of one year after the date of purchase against defects due to
faulty workmanship or materials. The guarantee covers both parts and labour.
Service under guarantee is only provided upon presentation of reasonable evidence (e.g. completed guarantee
card or purchase receipts) that the date of the claim is within the guarantee period.
The guarantee is not valid if the defect is due to accidental damage (including in transport), misuse or neglect
and in case of alterations or repair carried out by unauthorised persons.
The guarantee may not apply if the product requires modification or adaptation to enable it to operate in any
country other than the country for which it was designed, manufactured, approved and/or authorised or if any
damage results from these modifications.
Service (during and after guarantee) is available in all countries where this product is officially distributed by
Philips. In countries where Philips do not distribute the product, the local Philips Service organisation will also
provide Service although there may be a delay if the appropriate spare parts and technical manual are not
readily available.
These statements do not affect your statutory rights as a consumer.
In the event of difficulty please contact the Philips Information Centre in any country (see enclosed addresses).
CONSUMER INFORMATION CENTRES
EASTERN EUROPE
CZECH REPUBLIC
Philips Service
V Mezihori 2
180 00 Präge
Phone: (02)-6831581
Fax: (02)-66310852
HUNGARY
Philips Markaszerviz
Kinizsi U 30-36
Budapest 1092
Phone: (01 )-2164428
Fax: (01 )-2187885.
POLAND
Philips Polska CE
UL.Marszalkowska 45/49
00-648 Warszawa
Phone: (02)-6286070
Fax: (02)-6288228
23
Page 24

RUSSIA
Philips Representation Office
Ul.Usacheva 35a
119048 Moscow
Phone: 095-755 6900
Fax: 095-755 6923
TURKEY
Türk Philips Ticaret A.S.
Talatpasa Caddesi No. 5
80640-Gültepe/lstanbul
Phone: (0800)-211 40 36
Fax: (0212)-281 18 09
LATIN AMERICA
ANTILLES
Philips Antillana N.V.
Kaminda A.J.E. Kusters 4
Zeelandia
P.O. box 3523-3051
Willemstad, Curacao
Phone: (09)-4612799
Fax: (09)-4612772
ARGENTINA
Philips Argentina S.A.
Centro de Información al Usuario
Vedia 3892
1430-Buenos Aires
Phone: (01)-5442047
Fax: (01)-5452928
BRASIL
Philips da Amazona Indùstria Eletrònica Ltda.
Rua Jacerù, 151-Brooklin
04705-000
Sao Paulo-SP.
Phone: 800123123
Fax: (011)-5315973
CHILI
Philips Chilena S.A.
Avenida Santa Maria 0760
P.O. box 2687
Santiago de Chile
Phone: (02)-730 2000
Fax: (02)-777 6730
COLOMBIA
Industrias Philips de Colombia
S.A.-Division de Servicio
Calle 13,No 51-39
Apartado 4282
Bogota
Phone 1: (01)-6235511
Phone 2: 9800-18971 (toll free)
Fax: (01)-6234399
MEXICO
Consumer Information Centre
Norte 45 No. 669
Col. Industrial Vallejo
C.P. 02300, -Mexico, D.F.
Phone: (05)-3687788/9180050462
Fax: (05)-7284272
PARAGUAY
Philips del Paraguay S.A.
Avenida Artigas 1519
Casilla de Correos 605
Asuncion
Phone: (021)-211666
Fax: (021)-213007
PERU
Philips Peruana S.A.
Customer Desk
Comandante Espinar 719
Casilla 1841
Lima. 18
Phone: (01)-2412890
Fax: (01)-2412913
URUGUAY
Ind. Philips del Uruguay S.A.
Avenida Uruguay 1287
Customer Help Desk
11100 Montevideo
Phone: (02)-923392
Fax: (02)-920752
VENEZUELA
Industrias Venezolanas Philips S.A.
Apartado Postal 1167
Caracas 1010-A
Phone: (02)-2377575
Fax: (02)-2376420
NORTH AMERICA
CANADA
Consumer Service Division
4977 Levy Street
Ville St. Laurent,
Quebec H4R2N9
Phone: (514)-9560120
Fax: (514)-9560828
USA
Philips Service Company
P.O. box 555
Jefferson City TN 37760
Phone: (423)-475-8869
Fax: (423)-475-0387
PACIFIC
AUSTRALIA
Philips Consumer Service
Customer Information Centre
3 Figtree Drive
Homebush Bay NSW 2140
Phone: (02)-131391
Fax: (02)-97644681
NEW ZEALAND
Philips New Zealand Ltd.
Consumer Help Desk
2 Wagener Place
Mt. Albert
P.O. box 1041
/\uckldncl
Phone: 0800 658 224 (toll free)
Fax: (09)-849-7858
ASIA
BANGLADESH
Philips Service Centre
100 Kazi Nazrul Isiam
Avenue Kawran Bazar C/A
Dhaka-1215
Phone: (02)-812909
Fax: (02)-813062
CHINA
Philips Authorized Service Centre
Consumer Information Centre
148fu Jian Road M
200001 Shanghai
Phone: (02)-812909
Fax: (02)-813062
Philips Authorized Service Centre
801 Dong Feng Road East
Guangzhou 510080
Phone: (020)-7766990
Fax: (020)-7766990
Philips Service Logistic Centre
Consumer Information Centre
P.O.Box 002-027
Nextage Department Store
Pudong New District
200002 SHANGHAI
Phone: (021 )-63511263
Fax: (021 )-63510799
Beijing Authorized Service Centre
Consumer Information Centre
Building 6, West Street
Chong Wen Men, Beijing
Jin Bang Co. Led.
100051 BEIJING
Phone: (010)-65122276
Fax: (010)-65226236
24
Page 25

HONG KONG
Philips Hong Kong Limited
Consumer Information Centre
16/F Hopewell Ctr.
17 Kennedy Road
WANCHAI
Phone: 2821-5345
Fax: 2861-3104
INDIA.
Philips India
Customer Relation Centre
Bandbox House
254-D Dr.A Besant Road
Worli
Bombay 400 025
Phone: (022)-4926611
Fax: (022)-4941698
MALAYSIA
Philips Maiaysia Sdn. Berhad
Service Dept.
No. 51, sect. 13 Jalan University
46200 Petaling Jaya, Seiagor.
P.O. box 12163
50768 Kuala Lumpur
Phone: (03>-7562144
Fax: (03>-7560761
PAKISTAN
Philips Electrical Ind. of Pakistan
Consumer Information Centre
F-54, S.l.T.E.
P.O.Box 7101
75730 KARACHI
Phone: (021 >-2560071-82
Fax: (021 >-2562386
THAILAND
Philips Electronics (Thailand> Ltd.
Philips Service Centre
209/2 Sanpavut Road,
Bangna,
Bangkok 10260
Phone: (02>-3980141/3980790
Fax: (02>-3983319
AFRICA
MOROCCO
Philips Electronique Maroc
304, BD Mohamed V.
Casabianca
Phone: (02>-302992
Fax: (02>-303446
Customer Relation Centre
7 justice Chandra Madhab Road
Caicutta 700 020
Phone: (033)-747333
Fax: (033)-4753839
Customer Relation Centre
3, Haddows Road
Madras 600 006
Phone: (044)-8292221
Fax: (044)-8275208
Customer Relation Centre
68, Shivaji Marg
NewDehii 110 015
Phone : (011)-5469692
Fax: (011 >-5442402
INDONESIA
Philips Group of Companies in Indonesia
Consumer Information Centre
Ji. Buncit Raya Kav. 99-100
12510 JAKARTA
Phone: (021 >-7940040
Fax: (021 >-7940080
JAPAN
Philips Consumer Eiectronics
1-11-9, Ebisuminami
Shibuya-Ku
Tokyo 150
Phone: (03>-3719-2235
Fax: (03>-3715-9992
Philips Consumer Service Centre
168-F, Adamjee road.
Rawalpindi Cantt
Phone: (051 >-580902-3
Fax: (051 >-584944
PHILIPPINES
Philips Electronics and Lighting Inc.
106 Valero St. Salcedo-Village
Makati, Metro Manilla
Phone: (02>-8100161
Fax: (02>-8173474
SINGAPORE
Philips Singapore Private Ltd.
Consumer Service Dept.
Lorong 1,Toa Payoh.
P.O. box 340
Singapore 1231
Phone: 3502000
Fax: 2508037
TAIWAN
Philips Taiwan Ltd.
Consumer Information Centre
Nr. 96 Section 1
Chien-Kuo N. Road
TAIPEI
Phone: (02>-382-4567
Fax: (02>-2134-2670
SOUTH AFRICA
South African Phiiips
S.V. Div. 195 Main R.D.
Martindaie
Johannesburg
P.O.box 58088
Newvilie 2114
Phone: (011 >-4715000
Fax: (011 >-4715034
MIDDLE EAST
Philips Middie East B.V.
Consumer Information Centre
P.O. Box 7785
DUBAI
Phone: (04>-353666
Fax: (04>-353999
EGYPT
Philips Egypt
Consumer Information Centre
10, Abdel Rahman El Rafei
Mohandessin -Cairo
P.O. Box 242
DOKKI
Phone: (02>-3313993
Fax: (02>-3492142
KOREA
Philips Korea Ltd.
Philips House
C.P.O. box 3680
260-199,
Itaewon-Dong.
Yongsan-Ku
Seoui 140-202
Phone 1: (02>-5961195/1196
Phone 2: (02>-5967632/76325
Fax: (02>-5959688
25
 Loading...