

Page 1
H
Philips Medical Systems
SERVICE MANUAL
732
Subsystem
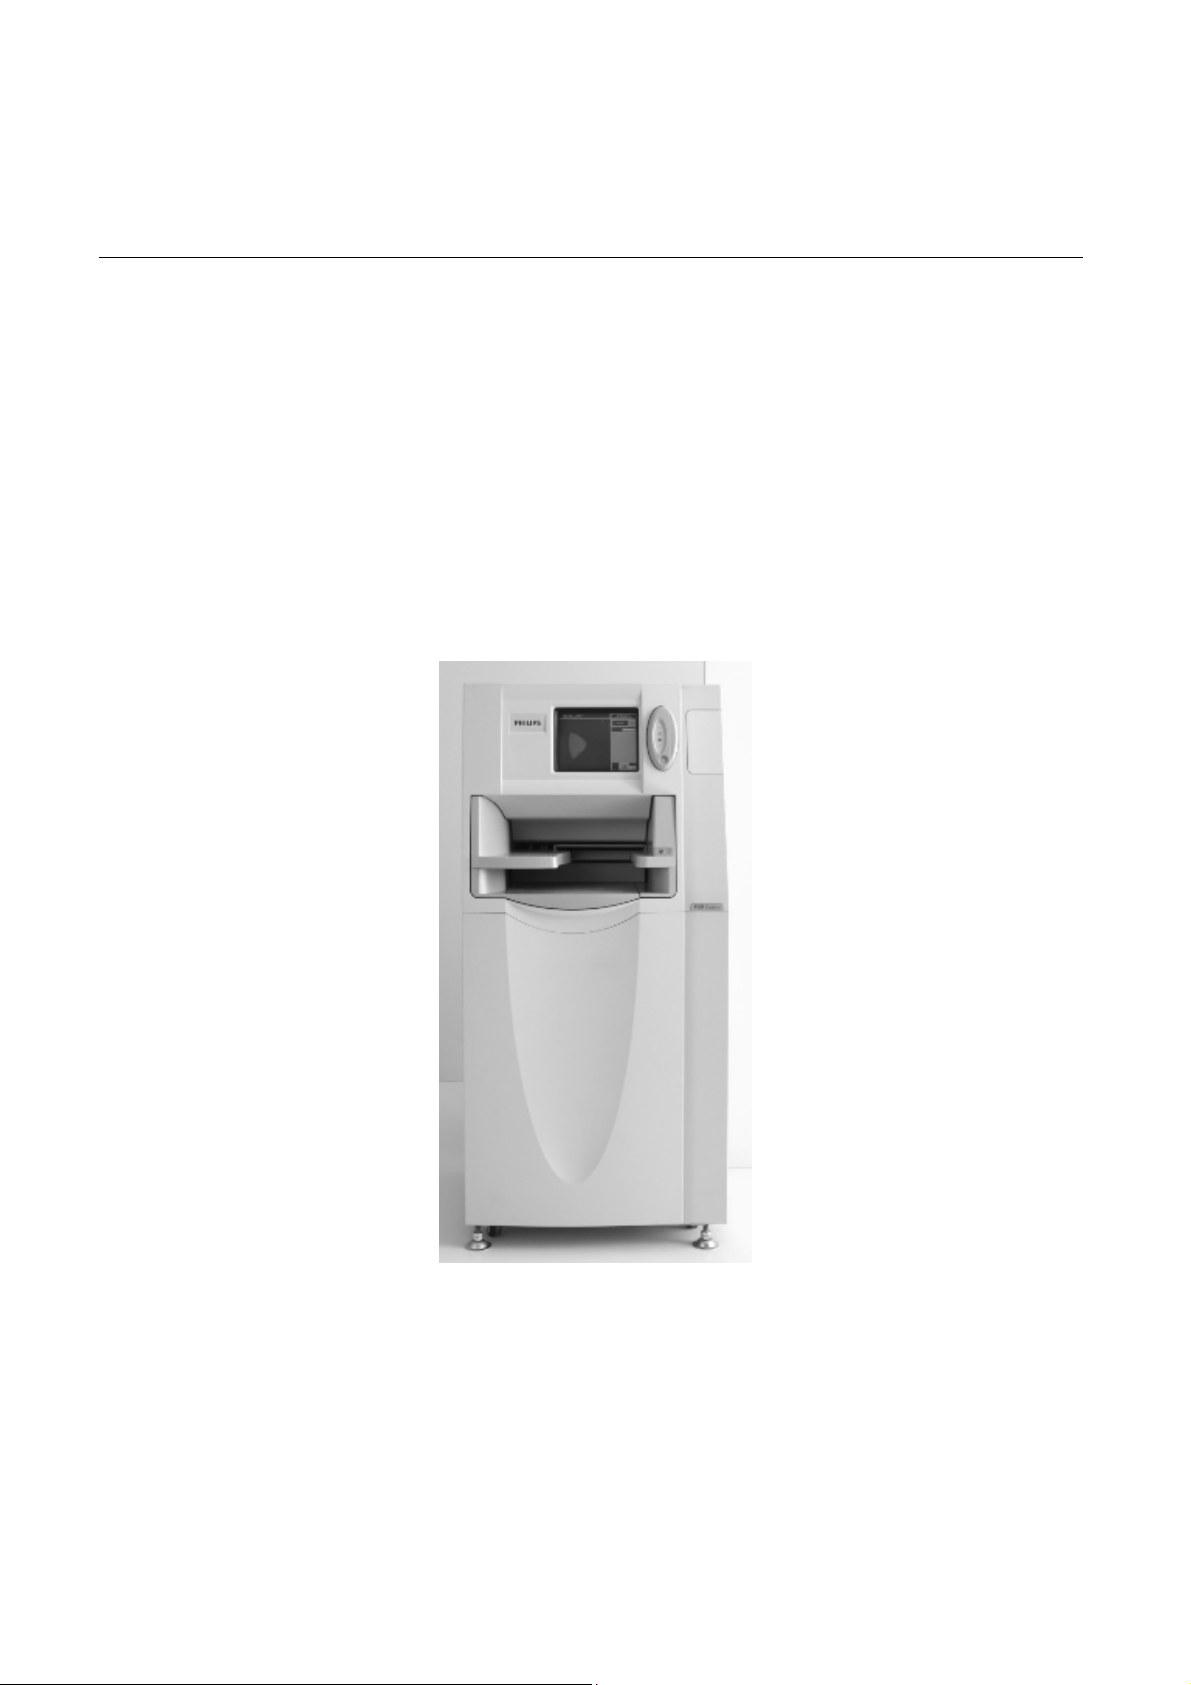
PCR Cosima
4512 201 01961
Printed in Hamburg, Germany
4512 984 26441 1
DMC Hamburg
© 2002 Philips Medical Systems
ALL RIGHTS RESERVED
Page 2

PCR Cosima
SERVICE MANUAL – Subsystem
PCR Cosima
4512 201 01961
732
Author: B.Freytag
In case there are any questions concerning this manual,
please send this LOPAD via fax to 49/(0)40/5078 2481
File: SM Cosima_030.doc
List of pages and drawings (LOPAD) Manual Order No: 4512 984 26441
released: [07/2003]
1
2
3 …. 9 (03.0)
INSTALLATION 009-058-02 PMS (02.0) Fuji Photo Film Co., Ltd.
CD- ROM 4512 984 26681
2
© 2003 Philips Medical Systems 4512 984 26441
ALL RIGHTS RESERVED
Page 3

PCR Cosima
Contents
1. Introduction and technical data ......................................................................................4
1.1. Abbreviation and acronyms......................................................................................................................4
1.2. Introduction...............................................................................................................................................4
1.3. Compatibility.............................................................................................................................................4
1.4. Technical data ..........................................................................................................................................4
2. System Installation Guide ...................................................................................................5
2.1. Package Check ........................................................................................................................................5
2.2. Sequence of Installation and Setting-to-work ..........................................................................................6
2.3. Unpack the Reader ..................................................................................................................................7
2.4. Remove the Security Material ..................................................................................................................7
2.5. Install the Units and PCBs .......................................................................................................................7
2.6. Installation of the Other System Components .........................................................................................7
2.7. Finishing the Installation Work at the Reader ..........................................................................................8
2.8. Power On .................................................................................................................................................8
2.9. SW Installation and Configuration............................................................................................................8
2.10. Detailed Installation Procedure of the Reader......................................................................................8
3. Programmings ...............................................................................................................................9
4512 984 26441 (03.0) 3
© 2003 Philips Medical Systems
ALL RIGHTS RESERVED
Page 4

PCR Cosima
1. Introduction and technical data
1.1. Abbreviation and acronyms
Abbreviation Explanation
PCR Philips Computed Radiography
RAD Radiography
USIT User Interface
USIT PC Personal Computer of the User Interface
DICOM Digital Imaging and Communication in Medicine
1.2. Introduction
This PCR system consists of the following components:
- Reader
- PCR User Terminal (USIT PC and Terminal Display)
- EasyVision RAD
- Monitor
For each component, Subsystem and Unit service manuals are available.
Software depending information e.g. installation of software and configuration is described in release bulletins.
The service manual of the reader contains information about all possibilities of use.
Important to know are the following things typically for the use of a reader in systems which are offered by
Philips Medical Systems:
- The reader delivers the images in DICOM format to the EasyVision RAD via Ethernet.
- Patient and examination data will be delivered by the PCR User Terminal. This terminal is connected to the
reader via a serial interface.
- Neither a printer nor an archive nor an original IDT (can be compared with the function of our PCR User
Terminal) are connected directly to a reader.
The service manual of the reader contains:
- This quick installation guide for a PCR system
- The detailed installation section of the reader
- A CD-ROM containing all needed sections in PDF format to install and repair a reader.
Commercial and technical names:
COSIMA = IR347 P = AC5000MA
1.3. Compatibility
The Reader is compatible with:
Easy Vision RAD .................................9896 050 0534x
PCR Terminal Display .........................4512 201 0171x
PCR PC ...............................................4512 201 0139x
1.4. Technical data
See Planning Reference Book in the Intranet and section Machine Description on CD- ROM.
4 (03.0) 4512 984 26441
© 2003 Philips Medical Systems
ALL RIGHTS RESERVED
Page 5

PCR Cosima
A
2. System Installation Guide
2.1. Package Check
2
Reader
4
3
Accessories of Reader
Easy Vision
Cosima : 194
1
PCR User Terminal
92
95
120
»
» 62
measures in [cm]
56
5
EasyVision workspot (optional)
6
dditional PCR User
Terminals No. 5 ... 8
(optional)
Number of this package and
sum of the delivery
Before the packages are opened, it is necessary to make a check on both the number of packages and their
stated contents. As soon as the packages are opened, check the contents of each to make sure that all
components and items required for the installation have been delivered. Any component or item that is not
delivered must be reported immediately. The contents of each package must be checked against the Delivery
Note to make sure that the delivery is correct.
4512 984 26441 (03.0) 5
© 2003 Philips Medical Systems
ALL RIGHTS RESERVED
Page 6

PCR Cosima
Installation to be carried out in the same order as the package items.
No. Contents
PCR User Terminal 92 cm 62 cm 78 cm 56 kg 46 kg
1
Length
Width
Height
Gross
weight
Net
weight
+ Service Documentation
+ CE Documentation
+ Cassettes / IPs
+ AC cord (for Reader)
Measurements and weight vary depending on number of
delivered PCR User Terminals
+ Network (for Reader)
2 Reader
116 cm 95 cm 194 cm 360 kg 223 kg
Accessories to Reader 95 cm 55 cm 144 cm 36 kg 36 kg
3
Easy Vision, e.g.
120 cm 100 cm 114 cm 108 kg 73 kg
or
4
150 cm 88 cm 114 cm 120 kg 85 kg
Measurements and weight may vary depending on scope
of delivery
Additional PCR User
6
Terminals No. 5 ... 8
(optional)
The marking corresponds to the marking of the colli.
2.2. Sequence of Installation and Setting-to-work
Advisable order to read and carry out the installation instructions.
Please open first the box containing the PCR User Terminals. There you will find the service documentation.
Unpacking
Set up
Cabling Power on
Configuration
Final Inst.
Acceptance
Customization
PCR User
Terminal
1. 2. 2. 2. __ 3.
1 ... 4
Reader 2. 1. 1. 1. 1. __
Easy
Vision
3. 3. 3. 3. __ 1.
PCR User
Terminal
5 ... 8
4. 2. 2. 2. __
__
(optional)
6 (03.0) 4512 984 26441
© 2003 Philips Medical Systems
ALL RIGHTS RESERVED
Page 7

PCR Cosima
2.3. Unpack the Reader
• Open the wooden crate. Be carefully with the top cover.
It will be used later as a ramp to move down the reader from the pallet.
• Remove the four clamps mounted at the feet of the reader.
• Nail the top cover of the crate as a ramp onto the pallet on the rear side of the reader.
• Turn upwards the 4 adjustable feet.
• Move the reader from the pallet.
2.4. Remove the Security Material
• Remove all side covers of the reader.
• Remove all security material (tapes, tie raps and plastic foam blocks).
• Unclamp the Vertical Conveyor (two brackets ). Park the brackets at both sides.
• Unclamp the Side Positioning Conveyor. Park the clamp in the left position.
• Pull out the scanner unit.
• There remove the retaining screws of the retaining brackets.
• Slide the brackets into a position and fix them so that the scanner unit can swing free on its
rubber suspension.
2.5. Install the Units and PCBs
• Install the two light- collecting guide assemblies and connect them.
• Slide the scanner unit into its working position and fix it.
• Connect all plugs of the scanner unit.
• Switch on the HV on the SCN08 board.
• Install the erasure lamp assembly and connect it.
• Check all circuit breakers installed on the boards.
• Check the jumper setting of the CPU90E board, especially:
S5 – in position STRAIGHT (if the network port will be used for remote service)
S6 - in the right position (RS232)
S2.1 - ON
S2.2 - ON
• Install two RAM cards DIM08A on the motherboard.
• Install the CPU90F/ LAN90B board after checking the jumper setting of it.
• Install the HCP08A board.
• Check the programming of the addresses of the boards.
IMG07B: 4
HCP08A: 5
CPU90F/LAN90B: 6
• Install the power cable of the reader.
• Set the mode switch of the power supply of the reader into position REMOTE.
2.6. Installation of the Other System Components
• Unpack and install the PCR User Terminal(s). See Subsystem manual of this units.
• Make sure the USIT PCs are set to the right mains voltage.
• Connect the power cable of the USIT PC.
USIT PC and reader should be connected at the same phase of the mains supply.
• Connect the serial interface cable at the USIT PC (COM1) and at the reader (IDT).
• Connect the network cable (STP) of the USIT PC and the reader to the prepared network, at least to a
small hub/ switch.
• Connect the barcode reader and the keyboard at the Terminal Display.
• Connect the PS/2 cable and the VGA cable to the Terminal Display and the USIT PC.
• Connect the power cable of the Terminal Display at the same phase the USIT PC is connected to.
• Unpack and install the EasyVison RAD including the monitor(s).
See corresponding manuals.
• Make sure the EasyVision is set to the right mains voltage.
• Establish the network connection of the EasyVision.
4512 984 26441 (03.0) 7
© 2003 Philips Medical Systems
ALL RIGHTS RESERVED
Page 8

PCR Cosima
Depending on the HW configuration there may be up to five ports.
2.7. Finishing the Installation Work at the Reader
• Install all covers of the reader.
• Move the reader to its planned position. Take care of the minimum distances to the walls.
2.8. Power On
• Switch on the circuit breaker at the left side of the reader.
• Switch on the reader.
• Switch on the EasyVision.
• Put the bootable CD containing the USIT software into the USIT PCs beginning with the server.
• Switch on the USIT PC.
2.9. SW Installation and Configuration
Note: The SW of the reader and of the EasyVision have been installed by the factory.
• Install the PCR User Terminal software. See release bulletin of the PCR User Terminal.
Start with the server if more than one User Terminals are present.
• Configure the PCR User Terminal during the installation of the SW.
• Configure the EasyVision. See release bulletins of EasyVision.
• Configure the reader. See release bulletin of the reader.
• Make a backup of all configurations.
• Check the adjustment of the monitor of the Terminal Display in text and graphic mode.
For correction use the OSD menu PHASE and POSITION.
2.10. Detailed Installation Procedure of the Reader
The detailed installation of the reader is described in the next section.
8 (03.0) 4512 984 26441
© 2003 Philips Medical Systems
ALL RIGHTS RESERVED
Page 9

PCR Cosima
3. Programmings
Enter the network related information here. The programming of the units itself has to be executed according to the release bulletins.
Room System or
Host ID
Example:
Reader
- CPU90 F/ LAN90B board
- CPU90 E board (remote)
PCR User Terminal
EasyVision RAD
X-ray 1
X-ray 2
A
80e66a69
Reader
- CPU90 F/ LAN90B board
- CPU90 E board (remote)
A
-
-
PCR User Terminal, Server - ___ . ___ . ___ . ___ ___ . ___ . ___ . ___ PCR User Terminal, Client 1 - ___ . ___ . ___ . ___ ___ . ___ . ___ . ___ PCR User Terminal, Client 2 - ___ . ___ . ___ . ___ ___ . ___ . ___ . ___ PCR User Terminal, Client 3 - ___ . ___ . ___ . ___ ___ . ___ . ___ . ___ PCR User Terminal, Client 4 - ___ . ___ . ___ . ___ ___ . ___ . ___ . ___ PCR User Terminal, Client 5 - ___ . ___ . ___ . ___ ___ . ___ . ___ . ___ PCR User Terminal, Client 6 - ___ . ___ . ___ . ___ ___ . ___ . ___ . ___ PCR User Terminal, Client 7 - ___ . ___ . ___ . ___ ___ . ___ . ___ . ___ -
EasyVision RAD ___ . ___ . ___ . ___ ___ . ___ . ___ . ___
Viewing: ___ . ___ . ___ . ___ ___ . ___ . ___ . ___
Printer: ___ . ___ . ___ . ___ ___ . ___ . ___ . ___
Archive: ___ . ___ . ___ . ___ ___ . ___ . ___ . ___
Router/ Bridge: ___ . ___ . ___ . ___ ___ . ___ . ___ . ___ -
Host name IP address Netmask DICOM AE Title
cosima-f
cosima-e
usit1
ev1
...................
...................
172.16.0.1
172.16.0.2
172.16.0.3
172.16.0.4
___ . ___ . ___ . ___
___ . ___ . ___ . ___
255.255.255.0
255.255.255.0
255.255.255.0
255.255.255.0
___ . ___ . ___ . ___
___ . ___ . ___ . ___
..........................
Cosima-f
-
-
ev1
4512 984 26441 (03.0) 9
© 2003 Philips Medical Systems
ALL RIGHTS RESERVED
 Loading...