

Philips M1700A, PageWriter XLi M1700A Instructions For Use Manual

Cardiograph
PageWriter XLi
M1700A
INSTRUCTIONS FOR USE

Notice
About This Edition
Edition 9
Printed in the USA
Publication number
M1700-92909
The information in this guide
applies to the PageWriter XLi
cardiograph. This information is
subject to change without
notice. Philips shall not be
liable for errors contained
herein or for incidental or
consequential damages in
connection with the furnishing,
performance, or use of this
material.
Edition History
Edition 1 May 1990
Edition 2 July 1991
Edition 3 January 1992
Edition 4 April 1993
Edition 5 July 1993
Edition 6 June 1994
Edition 7 January 1995
Edition 8 April 2000
Edition 9 February 2002
Copyright
Copyright ©2001 Philips
Electronics North America
Corporation Philips Medical
Systems
3000 Minuteman Road
Andover, MA 01810-1099
USA
(978) 687-1501
All rights are reserved.
Reproduction in whole or in part
is prohibited without the prior
written consent of the copyright
holder.
WARNING
As with electronic equipment,
Radio Frequency (RF)
interference between the
cardiograph and any existing RF
transmitting or receiving
equipment at the installation
site, including electrosurgical
equipment, should be evaluated
carefully and any limitations
noted before the equipment is
placed in service.
Radio frequency generation
from electrosurgical equipment
and close proximity transmitters
may seriously degrade
performance.
Like all electronic devices, this
cardiograph is susceptible to
electrostatic discharge (ESD).
Electrostatic discharge typically
occurs when electrostatic
energy is transferred to the
patient, the electrodes, or the
cardiograph. ESD may result in
ECG artifact that may appear as
narrow spikes on the
cardiograph display or on the
printed report. When ESD
occurs, the cardiograph’s ECG
interpretation may be
inconsistent with the physician’s
interpretation.
Philips assumes no liability for
failures resulting from RF
interference between Philips
medical electronics and any
radio frequency generating
equipment at levels exceeding
those established by applicable
standards.
CAUTION
Use of accessories other than
those recommended by Philips
may compromise product
performance.
THIS PRODUCT IS NOT
INTENDED FOR HOME USE.
IN THE U.S., FEDERAL LAW
RESTRICTS THIS DEVICE
TO SALE ON OR BY THE
ORDER OF A PHYSICIAN.
Medical Device Directive
The PageWriter XLi
Cardiograph complies with the
requirements of the Medical
Device Directive 93/42/EEC
and carries the
accordingly.
Authorized EU-representative:
Philips Deutschland GmbH
Herrenbergerstrasse 130
D-71034 Boeblingen
Germany
Fax: +49-7031-14-2346
0123
mark
ii
Safety Summary
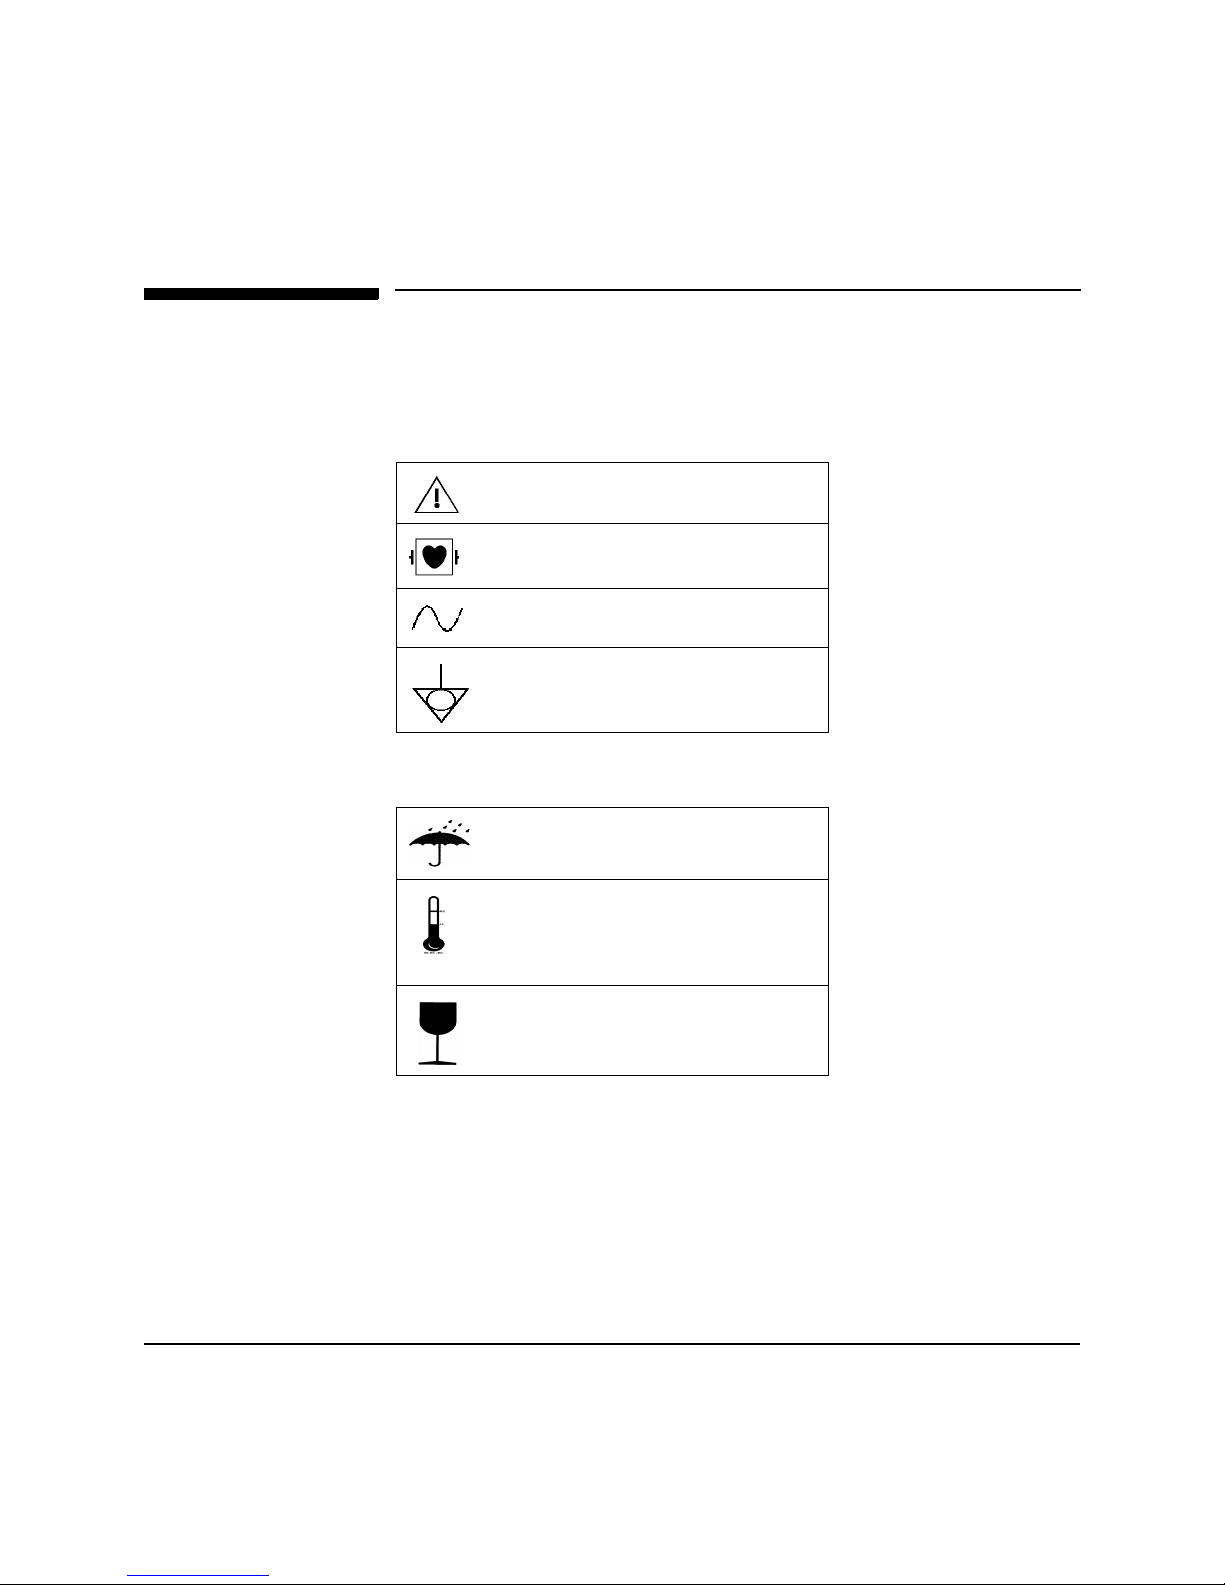
Safety Symbols Marked on the Cardiograph
The following symbols are used on the cardiograph.
Caution - See operating instructions
Type CF, defibrillation protected
Alternating current
Equipotential (this is on the ground lug)
The following symbols appear on the cardiograph packaging.
Keep dry
iii
Temperature and relative humidity
ranges
Fragile

Conventions Used in This Manual
y
WA RN I N G Warning statements describe conditions or actions that can result in personal injury
or loss of life.
CAUTI ON Caution statements describe conditions or actions that can result in damage to
the equipment or software.
NOTE Notes contain additional information on cardiograph usage.
Softke
represents the temporary key labels that appear on the keyboard
display.
represents keys on the front panel.
Key
iv

Documentation Map
Documentation Map
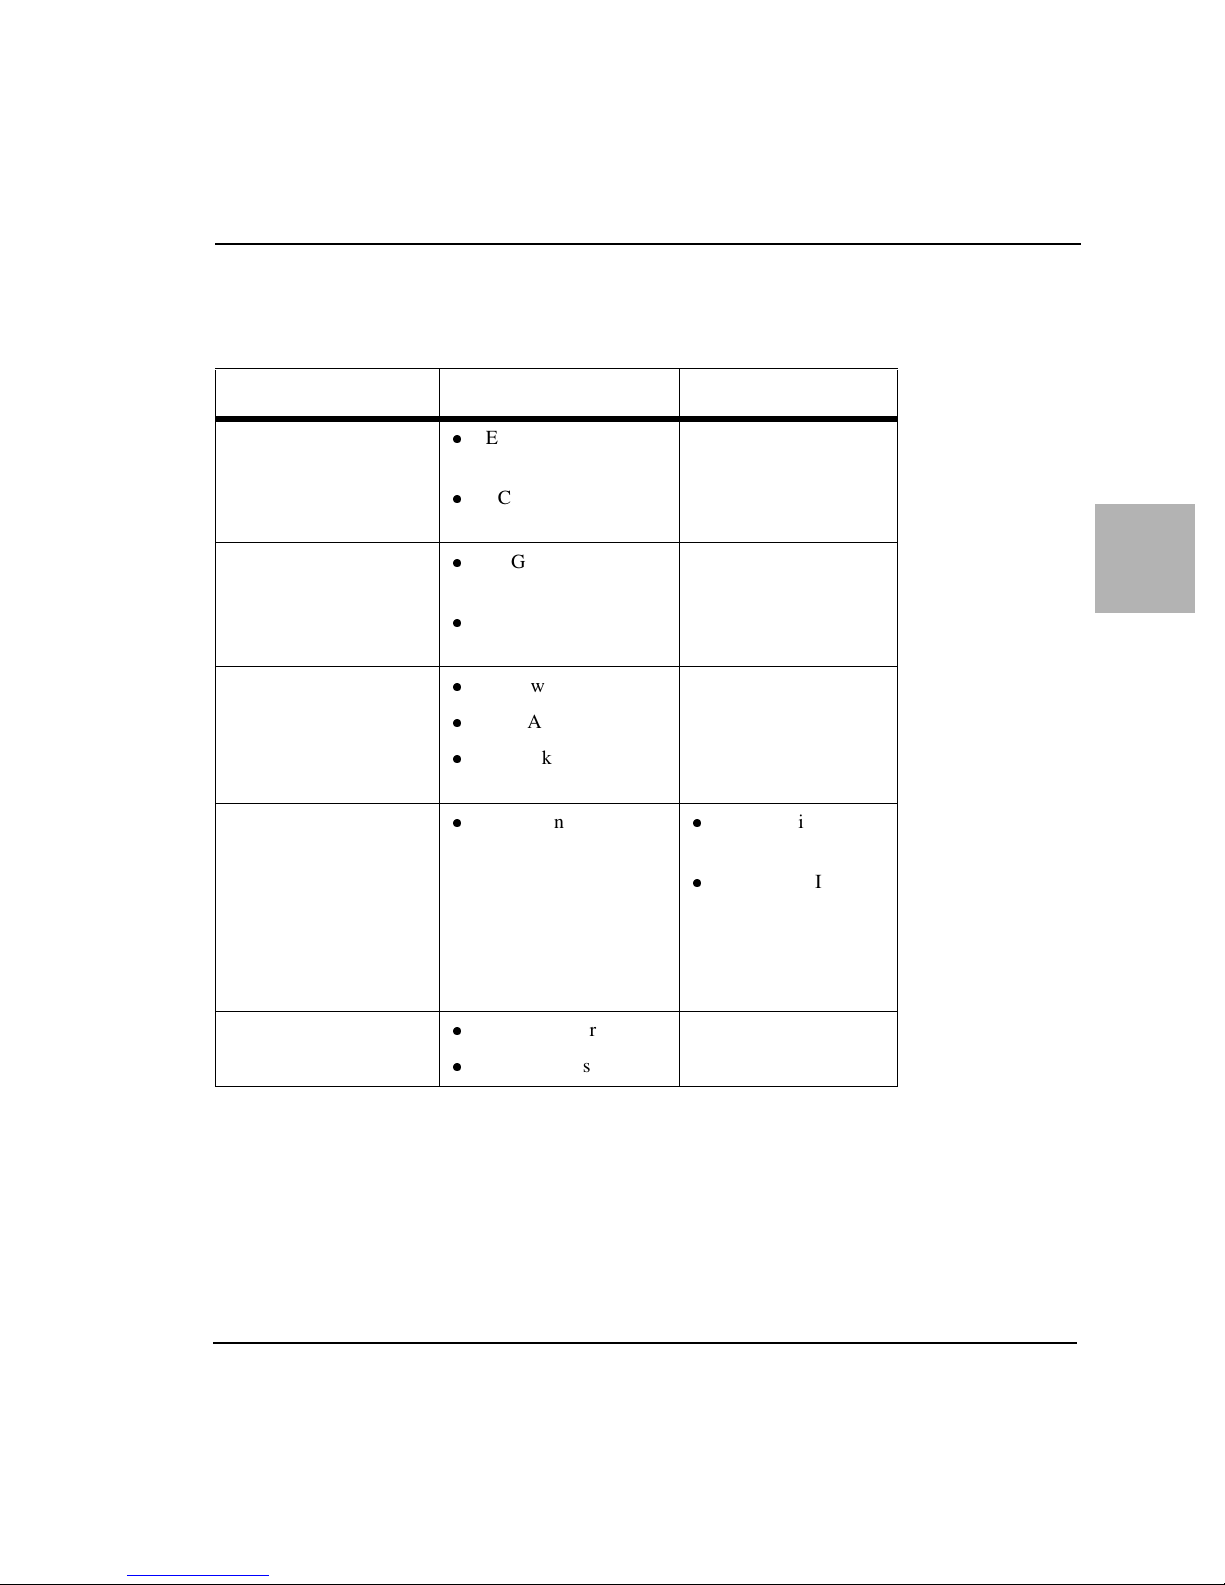
If you want to: Use this manual:
Verify that all equipment is included Packing List
Record ECGs Operating Guide
Enter patient ID
Make copies of ECGs
Store ECGs
Transmit or receive ECGs
Troubleshoot problems
Maintain the cardiograph
Set up the cardiograph
Install the battery
Install the software
Load paper
Change applications
Install or use Preview Plus
Configure the cardiograph Instructions for Use
Prepare the patient
Maintain the cardiograph
Install and use the modem
Configure and use Special Applications Instructions for Use
v

Documentation Map
If you want to: Use this manual:
Order supplies
Use filters
Understand analysis Physician’s Guide
vi

Contents
Safety Summary . . . . . . . . . . . . . . . . . . . . . . . . . . . . . . . . . . iii
Safety Symbols Marked on the Cardiograph . . . . . . . . . iii
Conventions Used in This Manual . . . . . . . . . . . . . . . . . iii
Documentation Map . . . . . . . . . . . . . . . . . . . . . . . . . . . . . . . . v
1 Introduction
About This Manual . . . . . . . . . . . . . . . . . . . . . . . . . . . . . . . 1-1
2 Acquiring an ECG
ECG Technique. . . . . . . . . . . . . . . . . . . . . . . . . . . . . . . . . . 2-1
Relaxing the Patient . . . . . . . . . . . . . . . . . . . . . . . . . . . 2-2
Preparing the Patient. . . . . . . . . . . . . . . . . . . . . . . . . . . 2-2
Preparing the Skin at the Electrode Positions. . . . . . . . 2-3
Securing the Electrodes . . . . . . . . . . . . . . . . . . . . . . . . 2-4
Monitoring ECG Quality . . . . . . . . . . . . . . . . . . . . . . . . . . 2-6
Quality Messages on the Cardiograph’s Display . . . . . 2-7
3 Understanding the PageWriter XLi Special Applications
Overview . . . . . . . . . . . . . . . . . . . . . . . . . . . . . . . . . . . . . . 3-1
Indications for Use . . . . . . . . . . . . . . . . . . . . . . . . . . . . 3-1
Understanding TPI Variables . . . . . . . . . . . . . . . . . . . . 3-2
Understanding ACI TIPI Variables . . . . . . . . . . . . . . . 3-3
Using the TPI and ACI-TIPI Applications . . . . . . . . . 3-3
Analyzing an ECG with the Predictive Instruments . . 3-4
Generating Reports with the Special Applications Off 3-5
Generating Reports with the Special Applications On 3-6
Auto Analysis and the Default Choice . . . . . . . . . . . . 3-7
Generating a STAT ECG Report . . . . . . . . . . . . . . . . . 3-8
Contents-1

4 Choosing Report Features
ECG Formats . . . . . . . . . . . . . . . . . . . . . . . . . . . . . 4-1
The Auto Report . . . . . . . . . . . . . . . . . . . . . . . . 4-1
Auto Report Information . . . . . . . . . . . . . . . . . 4-1
Manual Formats . . . . . . . . . . . . . . . . . . . . . . . . 4-6
The Manual Lead Sets . . . . . . . . . . . . . . . . . . . 4-6
5 ECG Storage
Advantages of Disk Storage . . . . . . . . . . . . . . . . . . 5-1
Storing Reports with the Special
Applications Off . . . . . . . . . . . . . . . . . . . . . . . 5-2
Storing Reports Using Auto Analysis and
the Default Choice . . . . . . . . . . . . . . . . . . . . . . 5-2
Automatically Storing Reports Using
Forced Auto-Store . . . . . . . . . . . . . . . . . . . . . . 5-2
Disk Handling and Maintenance Instruction . . . . . 5-3
Using the ECG-Log and Store-Log . . . . . . . . . . . . 5-4
Printing ECG Logs . . . . . . . . . . . . . . . . . . . . . . . . . 5-7
6 Configuring Your Cardiograph
Using Configuration Menus . . . . . . . . . . . . . . . . . . 6-1
Selecting Configuration Parameters . . . . . . . . . . . 6-3
Understanding Global Configuration . . . . . . . . . . . 6-4
Interpretation Parameters. . . . . . . . . . . . . . . . 6-10
Line Frequency . . . . . . . . . . . . . . . . . . . . . . . 6-11
Selecting Custom Lead Groups . . . . . . . . . . . 6-11
Selecting AutoCopy . . . . . . . . . . . . . . . . . . . . 6-11
Selecting ECG Management Parameters . . . . 6-12
Selecting Battery Timeout Periods . . . . . . . . 6-12
Setting a Password . . . . . . . . . . . . . . . . . . . . . 6-13
Turning Off Unused ID Fields . . . . . . . . . . . . . . . 6-13
Storing the Configuration Information . . . . . . 6-14
Using a Stored Configuration . . . . . . . . . . . . . 6-15
Contents-2

Printing the Configuration . . . . . . . . . . . . . . . 6-16
7 Setting Up Your Cardiograph for Transmitting
ECGs
Transmitting ECGs Directly . . . . . . . . . . . . . . . . . . 7-3
Configuring the Cardiograph to Transmit
ECGs Directly . . . . . . . . . . . . . . . . . . . . . . . . . 7-4
Transmitting ECGs by Telephone to Another Site. 7-5
Installing the Modem
(For United States use only) . . . . . . . . . . . . . . . 7-5
Connecting a Telephone to the Same Line
as the Modem . . . . . . . . . . . . . . . . . . . . . . . . . . 7-7
Configuring the Cardiograph for Modem Usage7-7
Entering the Phone Number . . . . . . . . . . . . . . . 7-9
Configuring the Cardiograph for AutoDial . . . 7-9
Installing the Modem on the Cart . . . . . . . . . 7-10
Transmitting ECGs by FAX to Another Site . . . . 7-11
Installing the FAX/Modem . . . . . . . . . . . . . . 7-12
Connecting a Telephone to the Same Line
as the FAX/Modem . . . . . . . . . . . . . . . . . . . . 7-14
Configuring the Cardiograph for FAX Usage 7-14
Entering the Phone Number . . . . . . . . . . . . . . 7-15
Transmitting an ECG via FAX . . . . . . . . . . . 7-16
Printing an ECG on an HP LaserJet Printer . . . . . 7-17
Setting up the LaserJet Printer7-18
Configuring the Cardiograph to Print ECGs
on the HP LaserJet . . . . . . . . . . . . . . . . . . . . . 7-18
Receiving ECGs . . . . . . . . . . . . . . . . . . . . . . . . . . 7-20
Configuring the Cardiograph to
Receive ECGs Directly . . . . . . . . . . . . . . . . . 7-20
Configuring the Cardiograph to Receive
ECGs via Modem . . . . . . . . . . . . . . . . . . . . . . 7-21
Receiving an ECG via FAX . . . . . . . . . . . . . . 7-21
Configuring the Cardiograph to Receive
via FAX . . . . . . . . . . . . . . . . . . . . . . . . . . . . . 7-22
Contents-3

Receiving ECG Reports from a 5600C
ECG Management System . . . . . . . . . . . . . 7-22
Receiving ECGs from Philips M1730A/
M3700A TraceMaster ECG Management
System . . . . . . . . . . . . . . . . . . . . . . . . . . . . 7-23
8 Troubleshooting
Troubleshooting Leads Off . . . . . . . . . . . . . . . . . . 8-1
Troubleshooting ECG Noise . . . . . . . . . . . . . . . . . 8-1
Understanding Error Messages. . . . . . . . . . . . . . . . 8-3
Calling for Assistance. . . . . . . . . . . . . . . . . . . . . . . 8-3
Solving Equipment Problems . . . . . . . . . . . . . . . . . 8-4
9 Supplies
Availability . . . . . . . . . . . . . . . . . . . . . . . . . . . . . . . 9-1
A Lead Systems
Frank Leads . . . . . . . . . . . . . . . . . . . . . . . . . . . . . . A-1
Special Lead Configurations. . . . . . . . . . . . . . . . . . A-2
V3R, V4R, V7 and V8 . . . . . . . . . . . . . . . . . . . A-2
VX1, VX2, VX3 and VX4 . . . . . . . . . . . . . . . . A-2
Glossary
Contents-4

1Introduction
About This Manual
This guide contains reference information and configuration instructions for
experienced PageWriter XLi cardiograph users. For additional help on using
your cardiograph refer to the Philips PageWriter XLi Operating Guide.
1
1-1

2 Acquiring an ECG
One of the most important aspects of recording a clear ECG is good
ECG technique. This chapter includes a review of recommended ECG
technique as well as information about using the patient module.
NOTE Computerized ECG analysis should always be reviewed by a
qualified physician.
ECG Technique
ECG technique is very important, both to avoid difficulty when taking
the ECG and to achieve the best quality result. There are three key
aspects of good ECG technique:
l
helping the patient to relax
l
preparing the patient for electrode connection
l
using the patient module to check lead connections
For best results, perform the following steps in the order given. More
details on good technique follow this list.
l
Check that the patient is comfortable and relaxed. Reassure
the patient that the procedure is painless.
2
l
If possible, place the patient away from electrical fixtures and
their power cords, and away from the cardiograph’s power
cord if AC power is on.
l
Expose the patient’s forearms, lower legs, and chest.
l
Beginning with the right leg position, apply electrolyte and
attach electrodes.
2-1

Acquiring an ECG
NOTE Disposable electrodes, when used properly, may be used for
acceptable ECGs. For best results, prepare the skin and carefully
follow manufacturer’s usage instructions.
Relaxing the Patient
The more the patient relaxes, the less the ECG will be affected by
noise. Your good technique helps the patient relax. You can help the
patient to relax by the following:
l
Make sure the patient is lying down and comfortable. The
patient’s arms and hands must be relaxed. If the table is too
narrow, place the patient’s hands under the buttocks to
prevent muscle tension in the arms.
l
When possible, take the ECG in a quiet room or area where
others can’t see the patient. Privacy is important to relaxation.
Draw the curtains around the bed area when taking the ECG
in a room with other people.
2-2
l
Gain the patient’s confidence by explaining the test and that it
won’t hurt.
l
Your calm, relaxed attitude will help put the patient at ease.
l
Don’t let the patient move unnecessarily. It’s also best to
avoid all conversation during the actual ECG recording to
keep the patient as still as possible.
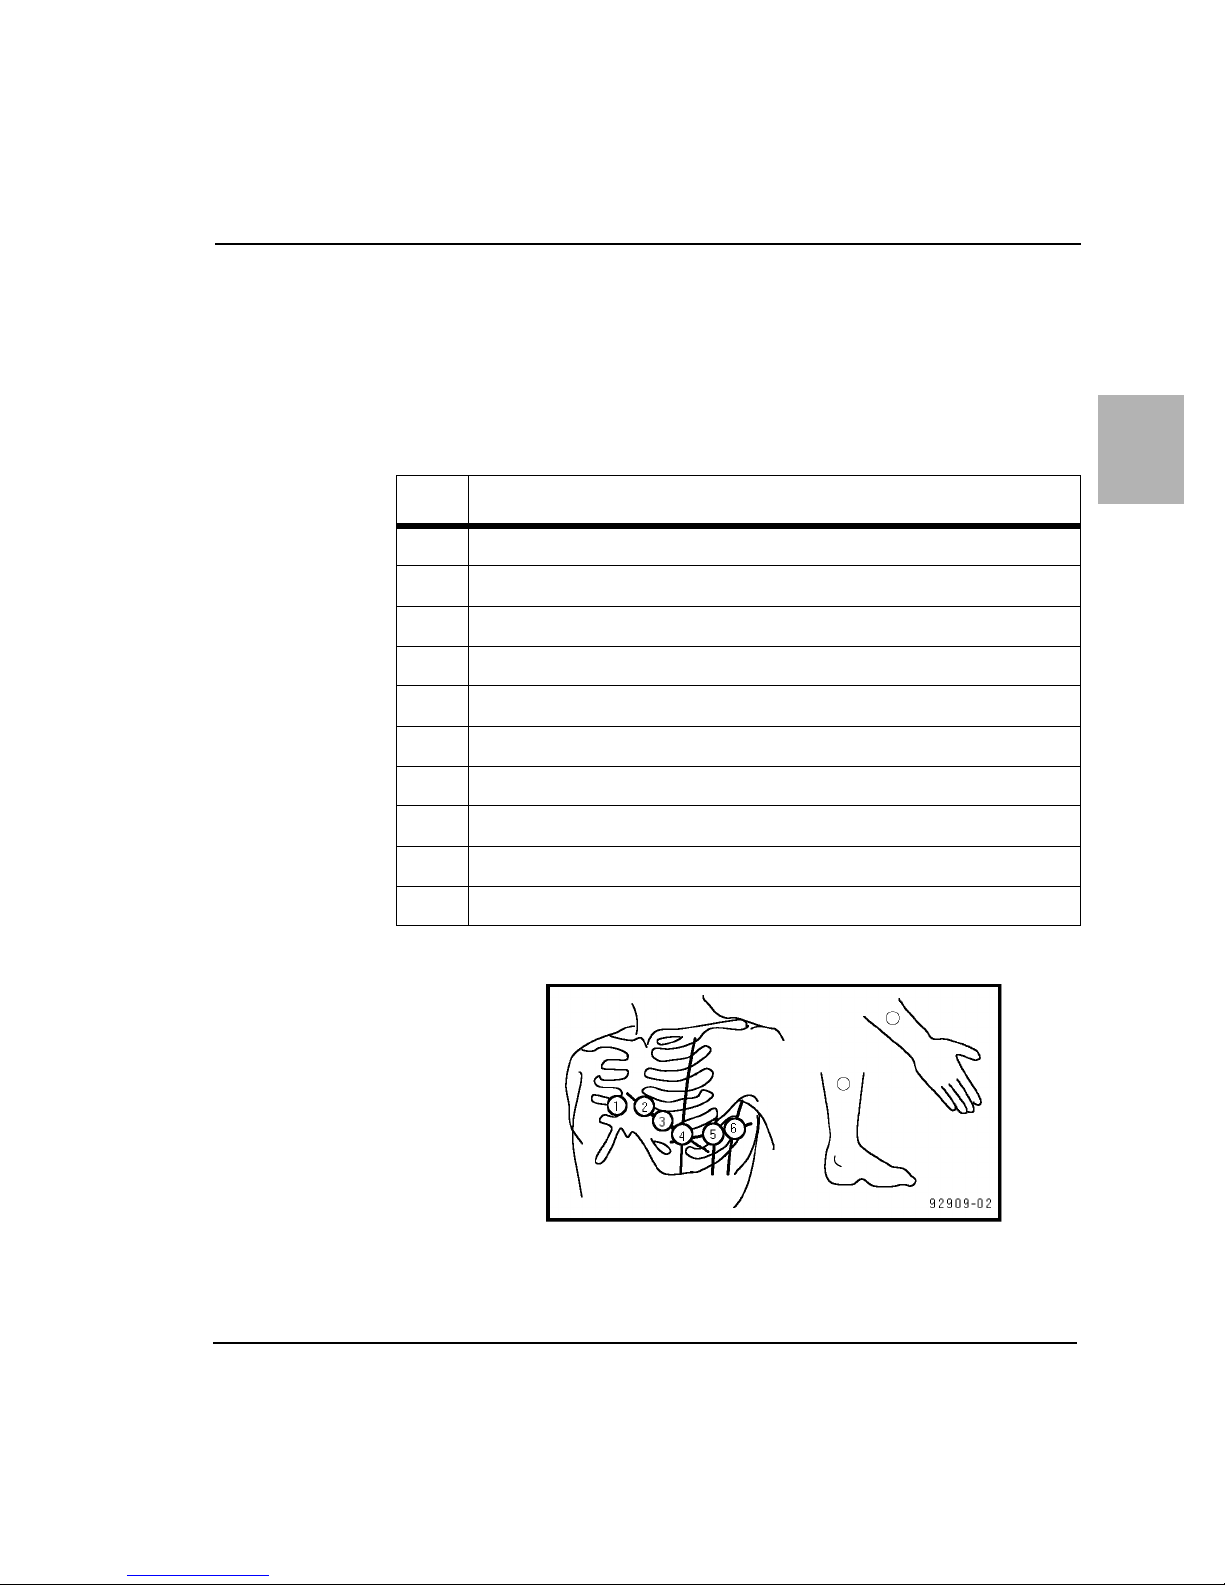
Preparing the Patient
Selecting the Electrode Positions, Table 2-1, shows the proper
electrode positions for taking an ECG. Put the electrodes in the correct
anatomical locations according to information in Figure 2-1.
Additional information concerning other lead systems may be found
in Appendix A.
Acquiring an ECG
The tip of each lead wire is lettered and color coded for easy lead
identification. For example, make sure that the RA lead wire and
electrode connect to the right arm and the RL lead wire and electrode
connect to the right leg.
Table 2-1 Standard 12-Lead Electrode Positions
Lead Position
RL On the right leg (inside calf, midway between knee and ankle)
LL On the left leg (inside calf, midway between knee and ankle)
RA On the right arm (on the inside)
LA On the left arm (on the inside)
V1 Fourth intercostal space, at right sternal margin
V2 Fourth intercostal space, at left sternal margin
V3 Midway between V2 and V4
2
V4 Fifth intercostal space at left midclavicular line
V5 Same transverse level as V4, on anterior auxiliary line
V6 Same transverse level as V4, at left midaxillary line
Figure 2-1 Standard 12-Lead Electrode Positions
2-3

Acquiring an ECG
Preparing the Skin at the Electrode Positions
Since dry skin is a relatively poor electrical conductor, you must
prepare the skin to ensure good contact between the skin and the
electrode. Before securing the electrodes, you must lower the skin
resistance at the electrode site by:
l
Making sure that all electrodes are clean and bright. (Dirty or
corroded electrodes prevent a good electrical connection.)
l
Avoiding bony areas. Select flat, fleshy sites. You don’t have
to shave hair from the skin unless the hair is very thick.
l
Rubbing the skin briskly with the edge of the electrode or a
gauze pad until the skin is slightly red, but not bruised.
l
Applying electrolyte to the prepared areas on the skin. Rub
some electrolyte into the skin, but leave a slightly moist
residue. Do not spread electrolyte on the chest area
between electrodes. This will cause distorted waveforms on
the ECG.
NOTE Do not use alcohol or acetone pads in place of the electrolyte
because they impair the electrode contact with the skin.
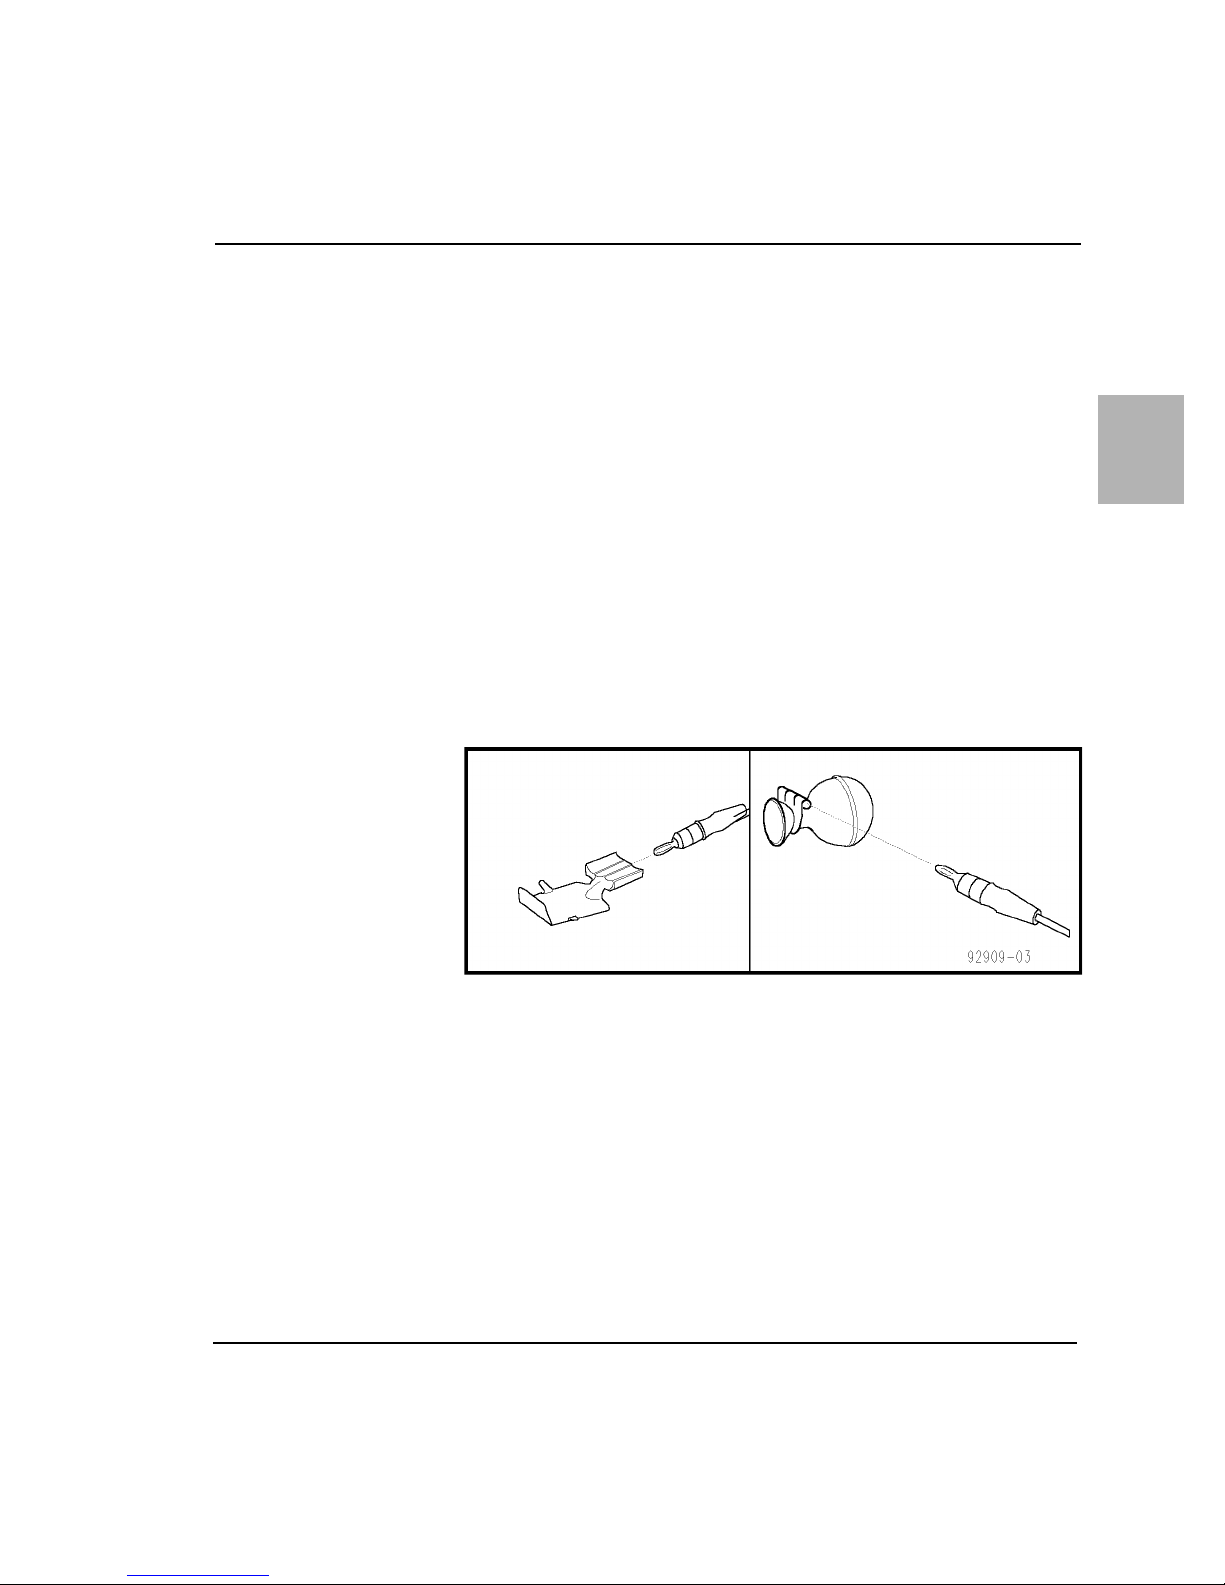
Securing the Electrodes
Two types of electrodes are included in the accessory box:
l
Metal plate limb electrodes, held in place on the patient by
rubber straps.
l
Welsh cup chest electrodes, held in place by suction.
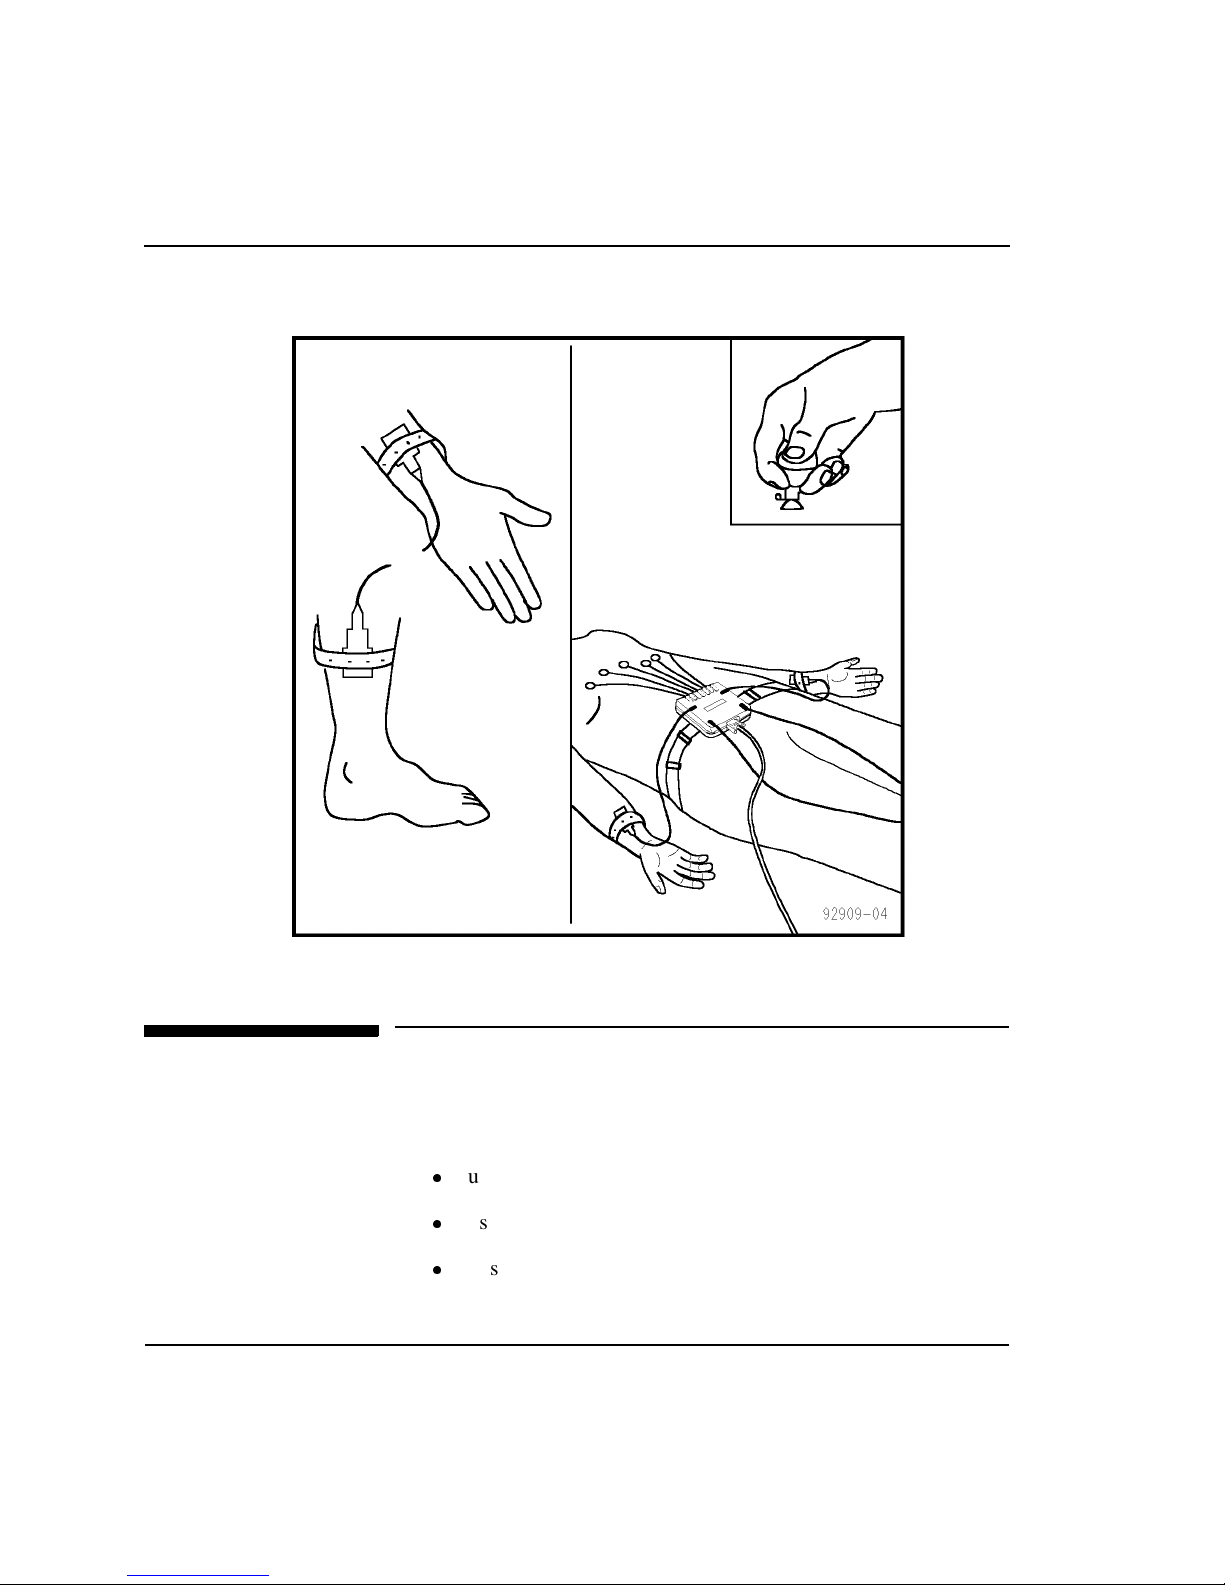
Securing the electrodes is a key part of good ECG technique and
obtaining a good ECG trace. To avoid jittery waveforms, make sure
that the electrodes are secure. Do not overtighten limb plate
2-4
Acquiring an ECG
electrodes, since this might cause discomfort which results in muscle
artifact on the waveforms.
Fasten the electrodes to the chest positions by squeezing the rubber
bulb of the suction cup. See Figure 2-2. The bulb should be partially
deflated when the electrode is firmly attached to the chest.
A good test for firm electrode contact is to grasp the electrode and try
to move it. If it moves easily, the electrode connection is too loose. If
it digs into the flesh, the electrode is too tight. Do not allow the chest
electrodes to move in any way. Check the patient module display for
indications that the connections are good. Ideally, the noise bar should
remain in the green zone.
Do not leave suction electrodes connected to the chest for prolonged
periods. The suction can cause intradermal hemorrhaging.
2
Figure 2-2 Connect Leadwires to Electrodes
2-5
Acquiring an ECG
2-6
Figure 2-3 Fasten Electrodes
Monitoring ECG Quality
There are three ways that the PageWriter XLi helps you monitor the
quality of your ECG recordings.
l
using the patient module display
l
using the preview screen
l
observing quality messages on the cardiograph’s display
Acquiring an ECG
You can stop the recording before or during printing if you see artifact
or other ECG waveform problems on the screen. Modify lead
placement or improve patient preparation and resume recording the
ECG.
For further instructions on using the patient module display and the
preview screen, refer to the PageWriter XLi Operating Guide.
Quality Messages on the Cardiograph’s Display
After you start an Auto ECG recording, the cardiograph’s display will
show messages which indicate the quality of the recording. If there is
minimal noise and all electrodes are securely attached, the message
ECG ok will appear.
Some messages indicate problems with the leads. They list the
condition and the action to take. There are four conditions which
affect the ECG:
l
Leads off
2
l
AC noise
l
Artifact
l
Baseline wander
If any of these conditions are severe, the message directs you to retry
the recording. Correct the problem and then resume recording the
ECG.
2-7

3 Understanding the PageWriter XLi Special
Applications
Overview
The ACI TIPI (Acute Cardiac Ischemia - Time Insensitive Predictive
Instrument) and the TPI (Thrombolytic Predictive Instrument) are
software products that enhance the computer-assisted ECG analysis
capabilities of the PageWriter XLi Cardiograph. These "Predictive
Instruments" generate 0-100% Predicted Probability scores of ACI
(Acute Cardiac Ischemia) and patient outcome with and without
thrombolytic therapy for acute myocardial infarction (AMI). These
predicted probabilities are based on ECG features, patient age,
gender, blood pressure, chest pain status and time since ischemic
symptom onset. The cardiograph can be configured to automatically
print these probabilities on the Auto ECG report.
Indications for Use
The ACI-TIPI is intended for use as an aid to clinicians in the
diagnosis and triaging decision process of patients with ACI, which
includes unstable angina pectoris and acute myocardial infarction
(AMI).
3
The TPI is intended for use as an aid to clinicians identifying which
patients with AMI are appropriate candidates for thrombolytic
therapy. TPI is intended for adult patients, aged 35-75, diagnosed with
symptoms of acute myocardial infarction.
These programs can be used in real-time and retrospective settings
since they rely on information that is readily available in the
emergency department (ED), or by retrospective review of the
patient’s medical record. The emergency physician’s real-time
decision making process is aided by having the predictive instruments
incorporated into the electrocardiograph. The predictive scores, once
3-1

Understanding the PageWriter XLi Special Applications
acquired, can then be used along with actual patient outcome to help
improve patient management practices retrospectively.
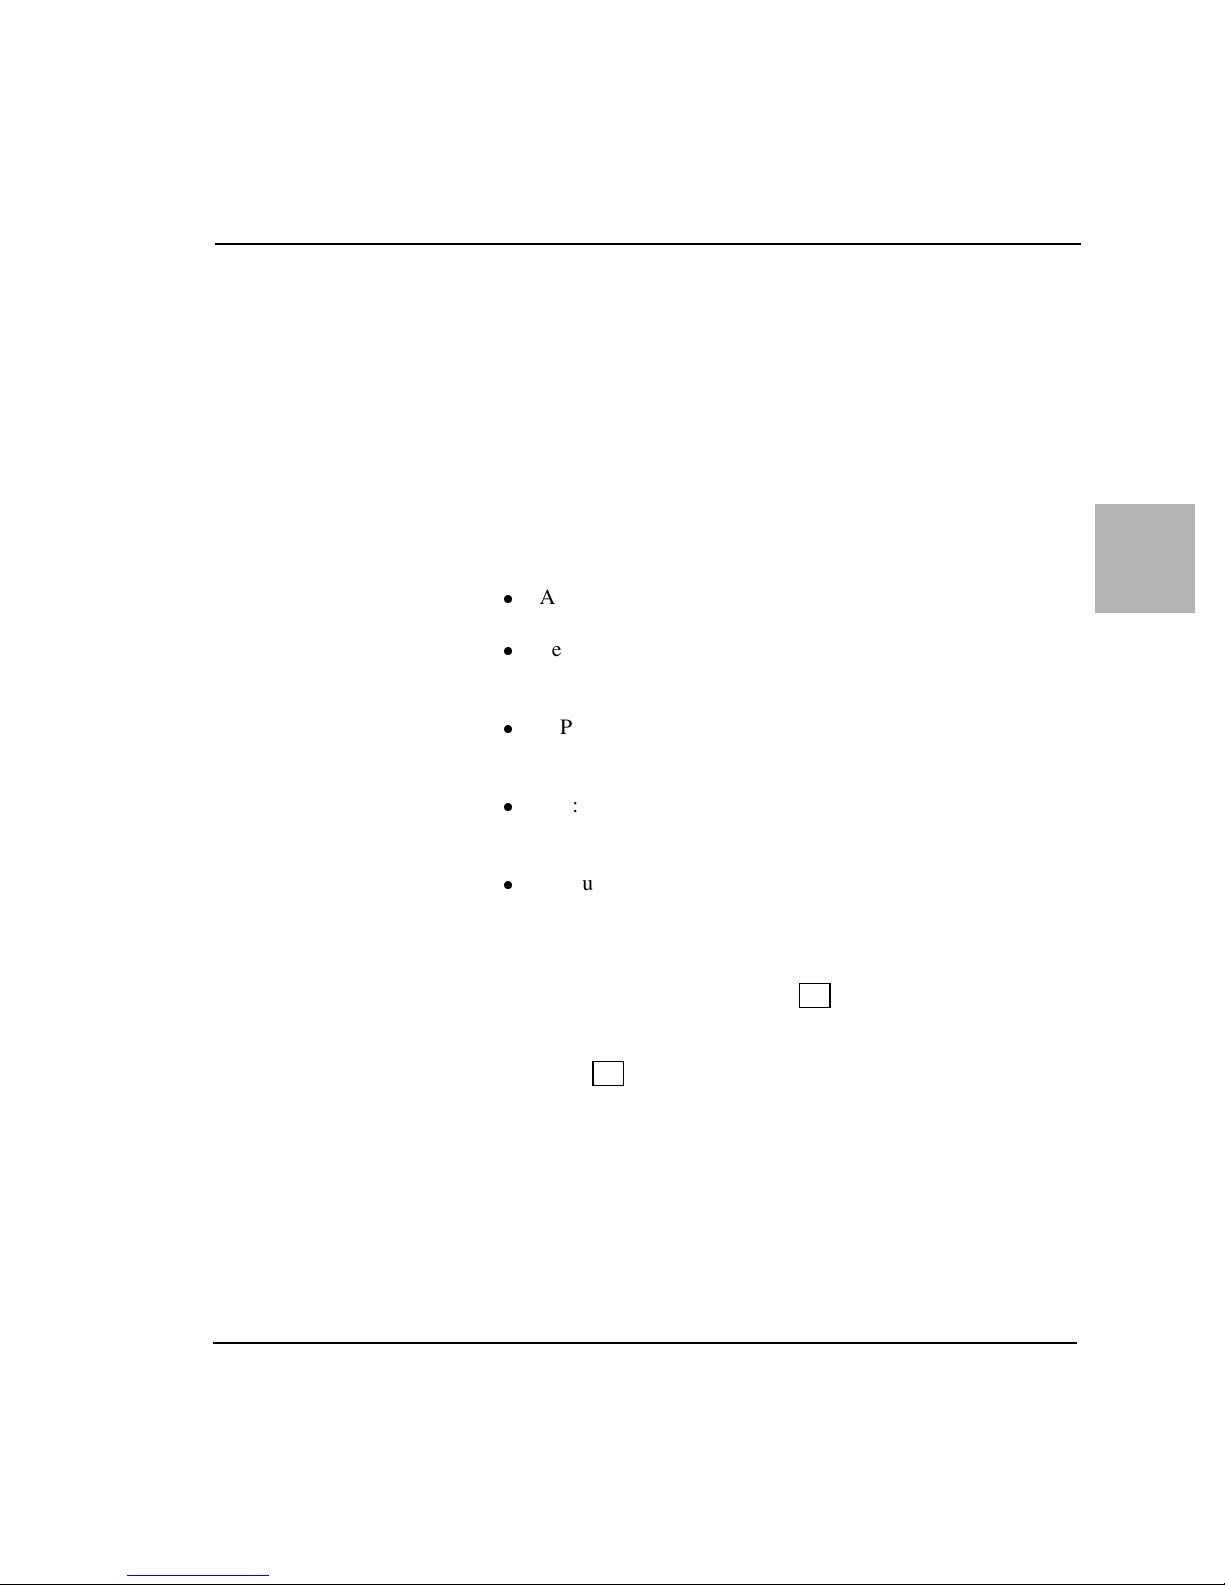
The predictive instruments provide the physician with tools to:
l
aid diagnosis and triage of some patients with symptoms
suggestive of ACI
l
identify those patients most likely to benefit from
thrombolytic therapy
l
facilitate the earliest possible administration of thrombolytic
therapy
NOTE For intended use and contraindication information, consult the
Predictive Instrument Physician’s Guide for important information.
Understanding TPI Variables
3-2
There are nine predictors of thrombolytic-related benefits and risks
which include six clinical factors and detailed information on three
ECG features.
The six clinical factors are:
l
time since ischemic onset
l
patient age
l
patient gender
l
patient blood pressure (systolic and diastolic)
l
patient’s history of diabetes
l
patient’s history of hypertension

Understanding the PageWriter XLi Special Applications
NOTE For each of the clinical factors listed above, patient data must be
entered in order to produce a TPI report.
The three ECG features are:
l
the presence or absence of pathological or significant Q
waves
l
the presence and degree of ST segment elevation or
depression
l
the presence and degree of T wave elevation or inversion
Understanding ACI TIPI Variables
Seven variables are used to predict Acute Cardiac Ischemia. These
variables include four clinical factors and detailed information on
three ECG features.
3
The four clinical factors are:
l
the presence or absence of chest pain or pressure, or left arm
pain
l
if chest pain or pressure, or left arm pain is the patient’s most
important presenting symptom
l
patient age
l
patient gender
NOTE For each of the clinical factors listed above, patient data must be
entered in order to produce the ACI-TIPI report.
3-3

Understanding the PageWriter XLi Special Applications
The three ECG features are:
l
the presence or absence of pathological or significant Q
waves
l
the presence and degree of ST segment elevation or
depression
l
the presence and degree of T wave elevation or inversion
The exclusionary cases for both the TPI and ACI-TIPI applications
are listed in the Predictive Instrument Physician’s Guide. Please refer
to this document for information.
Using the TPI and ACI-TIPI Applications
To use the TPI and ACI-TIPI applications, you must configure the
cardiograph and enable the applications. There are several types of
reports that are produced by the cardiograph. These reports are
summarized in Table 3-1.
3-4
Understanding the PageWriter XLi Special Applications
Table 3-1 PageWriter XLi Reports
Report Type Contents of Report Notes
Standard 09 (Std 09)
Standard P4 (Std P4)
ACI-TIPI (T0)
Risk Management
l
ECG waveforms,
measurements
l
ECL 09 Adult
Interpretation
l
ECG waveforms,
measurements
l
ECL P4 Pediatric
Interpretation
l
ECG waveforms
l
TIPI Analysis
l
No Risk Management
Report
l
Risk Management
Report:
- 1 page summarizing
clinical information
and may be used by
the Clinician to document clinical decisions
l
Only available
when T0 is enabled
l
The ACI-TIPI
Report will also be
printed
3
TPI (H0)
l
ECG waveforms
l
TPI Analysis
Analyzing an ECG with the Predictive Instruments
The flexibility of the PageWriter XLi allows you to configure the
Predictive Instruments based on the type of patients presenting in
your clinical setting. Using the Configuration Menu, you can set up
your cardiograph to provide the desired analysis.
3-5

Understanding the PageWriter XLi Special Applications
When first turned on the PageWriter XLi cardiograph will have the
Special Applications turned off. The Special Application choices are
part of the Global Configuration Menu and enable access to the
following settings.
Table 3-1 Special Applications Settings
Parameter Choices
Research Leads Off/VX1-VX4/V4R-V8 Off
Default Adult Criteria 09/P4 09
Default Pediatric Criteria 09/P4 P4
Patient ID Criteria On/Off Off
ACI-TIPI On/Off Off
Risk Mgmt. On/Off Off
Risk Range 0%-100% -
TPI On/Off Off
Screening On/Off Off
Leads Normal/Cabrera Normal
Storage Mode Standard/Special Normal
VCG Off/vcg1/vcg2/vcg3/vcg4 Off
Default Storage Criteria Def Adult/Ped, TIPI, TPI Def Adult/Ped
Default value when
Special Apps = off
It is important to understand that it is possible to set the Default Adult
Criteria and the Default Pediatric Criteria to be either 09 or P4. This
flexibility is designed for unusual clinical settings, and you should
always be aware of just how your cardiograph is set up.
3-6
Understanding the PageWriter XLi Special Applications
Generating Reports with the Special Applications Off
This method of working enables any kind of report to be generated,
however it does not allow for generation of multiple simultaneous
reports. Through the top level Auto Analysis menu, you can specify
the kind of report to be made. There are five choices available: Adult,
Pediatric, TIPI, or TPI, or Default.
For each of these report options, here are the resulting reports given
when Special Applications are Off and the Auto button has been
pressed:
l
Adult: the XLi will do an 09 report (regardless of patient age)
l
Pediatric: the XLi will do a P4 report (regardless of patient
age)
l
TIPI: the XLi will do a TIPI report. A Risk Management
report will not be generated.
l
TPI: the XLi will do a TPI report. TPI screening will not
occur.
3
l
Default: the XLi will do an 09 report if the age is unspecified
or above 15 years. The XLi will do a P4 report if the age is 15
years or less.
1. From the main display, press the key until Auto Analysis
F1
appears.
2. Press the key to select the desired report format.
F3
3-7

Understanding the PageWriter XLi Special Applications
Generating Reports with the Special Applications On
It is possible to configure the PageWriter XLi to produce multiple
reports. When the setting for Special Applications is turned to On,
and the Auto button is pressed, there are five choices of reports
available: Adult, Pediatric, ACI-TIPI, TPI or Default. The first four
choices and their resulting outcomes are described below.
l
Adult: the XLi will do the Default Adult Criteria Report
(regardless of the patient’s age)
l
Pediatric: the XLi will do the Default Pediatric Criteria
Report (regardless of the patient’s age)
l
ACI-TIPI: the XLI will do a TIPI report. Also, if the Risk
Management Report is set to On in the Special Applications
menu and the ACI-TIPI Report risk factor falls within the
limits set up, a Risk Management Report will be produced.
l
TPI: the XLi will do a TPI report. TPI Screening will not
occur.
3-8
Auto Analysis and the Default Choice
If Default is selected from the Auto Analysis menu, multiple reports
may be produced when the Auto button is pressed. This is also
dependent upon what is enabled in Special Applications in the
Global Configuration menu.
l
TPI
l
TPI is on and TPI Screening is off, a TPI report will be
generated.
l
TPI and TPI Screening are on and the TPI Analysis Criteria are met, a TPI report will be generated.
l
TPI and TPI Screening are on, but the TPI Analysis Criteria are not met, a TPI report will not be generated.

Understanding the PageWriter XLi Special Applications
l
ACI-TIPI
l
ACI-TIPI is on, this will be the next report produced. If
the Risk Management Report is on and the ACI-TIPI calculated risk is between the low and high risk limits as set
up in the Special Applications, then a Risk Management
report will be produced.
l
Standard ECG
l
Patient ID Criteria Off: the XLi will do the Default Adult
Report if the patient’s age is specified as over 15. If the
patient’s age is 15 years or under, the Default Pediatric
Report will be produced.
l
Patient ID Criteria On and Patient ID Criteria Loaded:
this custom interpretation report will be generated.
l
Patient ID Criteria On but Patient ID Criteria Not
Loaded: a Null report will be produced.
3
l
Patient ID Criteria On but Patient ID Criteria Not
Entered: the XLi will do the Default Adult Report if the
patient’s age is specified as over 15. If the patient’s age
15 years or under, the Default Pediatric Report will be
produced.
l
Vectorcardiography
l
If VCG is on and at least one of the X, Y or Z leads is
included as a rhythm lead in the report type, with
Research leads off, then the XLi will produce a VCG
report.
3-9

Understanding the PageWriter XLi Special Applications
Generating a STAT ECG Report
If your cardiograph has been configured with Special Applications
on, and with TPI and/or TIPI interpretations enabled, you may omit
these interpretations by running a STAT ECG. A STAT ECG is
guaranteed to generate a single standard report (typically 09 Adult
Criteria or P4 Pediatric Criteria) without the need for Patient ID
information. A STAT ECG is initiated by pressing the Auto key twice
in succession. A STAT report is produced even if Print Auto = OFF
in the Global Configuration menu.
3-10

4 Choosing Report Features
This chapter describes the various ECG reports and how to print the
Extended Measurements report.
ECG Formats
The Auto Report
Twelve-lead Auto reports display a ten second ECG in the following
formats:
l
Auto 3 x 4
The Auto 3 x 4 format displays consecutive 2.5 second
segments of 12 leads, three leads at a time. One or three leads
can be displayed as rhythm strips at the bottom of Auto 3 x 4
report. The rhythm strips show the same 10 second segments
as in the Auto 3 x 4 section of the report.
4
l
Auto 3 x 5
The Auto 3 x 5 format displays consecutive 2 second
segments of 12 leads. The 5th lead column shows the
extended pediatric leads: V3R, V4R, and V7. One or three
leads can be displayed as rhythm strips at the bottom of the
Auto 3 x 5 report. The rhythm strips show the same 10 second
segments as in the Auto 3 x 5 section of the report.
l
Auto 4 x 4
The Auto 4 x 4 format displays consecutive 2.5 second
segments of 12 leads. The 4th row consists of the extended
research leads: VX1-VX4 or V3R, V4R, V7, and V8. The
Auto 4 x 4 report can show 1 rhythm strip.
4-1

Choosing Report Features
l
Auto 6 x 2
The Auto 6 x 2 format displays consecutive 5 second
segments of 12 leads, six leads at a time.
Auto Report Information
The Auto report may be printed with patient ID information only or
with various types of analysis information. You can select which
information appears on the printed report. See Chapter 6,
Configuring Your Cardiograph, for information on choosing which
features will be printed on the report.
Basic Measurements Report. The Basic Measurements report
includes patient ID information and basic measurements for the ECG.
These measurements, including heart rate, interval, and axis
measurements, are shown in the table below with their associated
symbols as they appear on the report.
4-2
Table 3-1 Basic Measurements
Symbol Description Units
Rate Heart rate beats per minute
PR PR interval milliseconds
QRSD QRS duration milliseconds
QT QT interval milliseconds
QTc QT interval corrected for rate milliseconds
P Frontal P axis degrees
QRS Frontal mean QRS axis degrees
T Frontal T axis degrees
 Loading...