

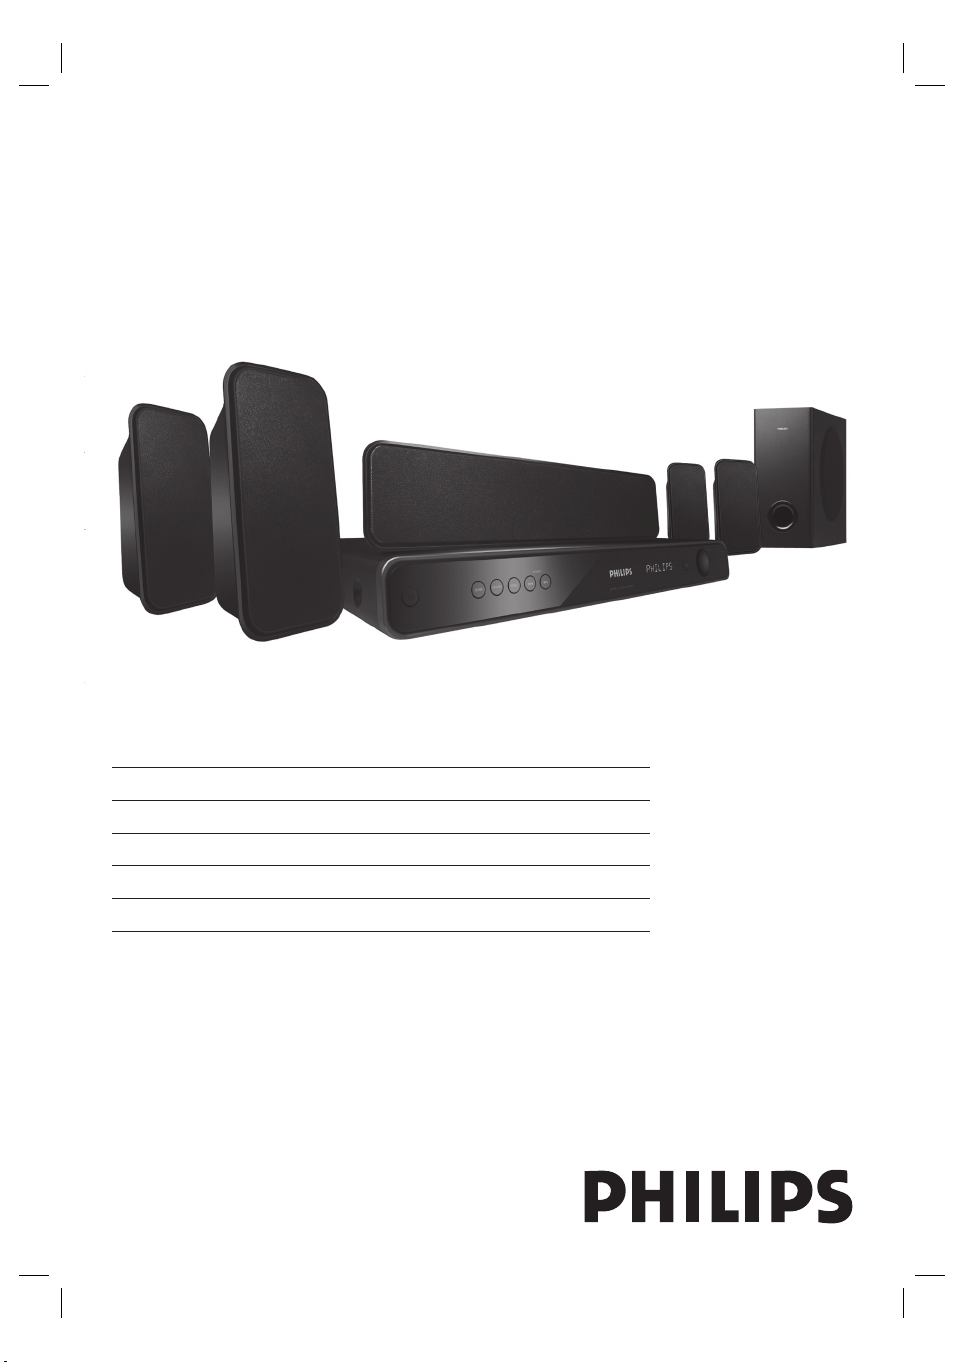
PHILIPS HTR3464 User Manual
Register your product and get support at
Digitaal AV-ontvangersysteem
www.philips.com/welcome
HTR3464
EN Digital AV Receiver System 5
FR Ampli-tuner numérique 25
ES Sistema receptor AV digital 45
DE Digitales AV-Receiversystem 65
NL
Digitaal AV-ontvangersysteem 87
1_htr3464_12_eng4_final812.indd 11_htr3464_12_eng4_final812.indd 1 2008-03-19 2:10:51 PM2008-03-19 2:10:51 PM

Important notes for users in U.K.
Italia
Mains plug
This apparatus is fi tted with an approved 13
Amp plug. To change a fuse in this type of plug
proceed as follows:
1.
Remove fuse cover and fuse.
2.
Fix new fuse which should be a BS1362
5 Amp, A .S .T.A. or BSI approved type.
3.
Re t the fuse cover.
If the fi tted plug is not suitable for your socket
outlets, it should be cut off and an appropriate
plug fi tted in its place.
If the mains plug contains a fuse, this should have
a value of 5 Amp. If a plug without a fuse is
used, the fuse at the distribution board should
not be greater than 5 Amp.
Note: The severed plug must be disposed off to
avoid a possible shock hazard should it be inserted
into a 13 Amp socket elsewhere.
How to connect a plug
The wires in the mains lead are coloured with the
following code: blue = neutral (N),
brown = live (L).
•
As these colours may not correspond with
the colour markings identifying the terminals
in your plug, proceed as follows:
•
Connect the blue wire to the terminal
marked N or coloured black.
•
Connect the brown wire to the
terminal marked L or coloured red.
•
Do not connect either wire to the earth
terminal in the plug, marked E (or e) or
coloured green (or green and yellow).
Before replacing the plug cover, make certain
that the cord grip is clamped over the sheath of
the lead - not simply over the two wires.
DICHIARAZIONE DI CONFORMITA’
Si dichiara che l’apparecchio HTR3464, Philips
risponde alle prescrizioni dell’art. 2 comma 1 del
D.M. 28 Agosto 1995 n. 548.
Fatto a Eindhoven
Philips Consumer Electronics
Philips, Glaslaan 25616 JB Eindhoven,
The Netherlands
Norge
Typeskilt fi nnes på apparatens underside.
Observer: Nettbryteren er sekundert
innkoplet. Den innebygde netdelen er derfor
ikke frakoplet nettet så lenge apparatet er
tilsluttet nettkontakten.
For å redusere faren for brann eller elektrisk
støt, skal apparatet ikke utsettes for regn eller
fuktighet.
Copyright in the U.K.
Recording and playback of material may require
consent. See Copyright Act 1956 and The
Performer’s Protection Acts 1958 to 1972.
2
1_htr3464_12_eng4_final812.indd 21_htr3464_12_eng4_final812.indd 2 2008-03-19 2:10:55 PM2008-03-19 2:10:55 PM

DK
Advarsel: Usynlig laserstråling ved åbning når
sikkerhedsafbrydere er ude af funktion. Undgå
utsættelse for stråling.
Bemærk: Netafbryderen er sekundært
indkoblet og ofbryder ikke strømmen fra
nettet. Den indbyggede netdel er derfor
tilsluttet til lysnettet så længe netstikket sidder i
stikkontakten.
S
Klass 1 laseraparat
Varning! Om apparaten används på annat
sätt än i denna bruksanvisning specifi cerats, kan
användaren utsättas för osynlig laserstrålning,
som överskrider gränsen för laserklass 1.
Observera! Stömbrytaren är sekundärt kopplad
och bryter inte strömmen från nätet. Den
inbyggda nätdelen är därför ansluten till elnätet
så länge stickproppen sitter i vägguttaget.
SF
Luokan 1 laserlaite
Varoitus! Laitteen käyttäminen muulla kuin
tässä käyttöohjeessa mainitulla tavalla saattaa
altistaa käyttäjän turvallisuusluokan 1 ylittävälle
näkymättömälle lasersäteilylle.
Oikeus muutoksiin varataan. Laite ei saa olla
alttiina tippu-ja roiskevedelle.
Huom. Toiminnanvalitsin on kytketty
toisiopuolelle, eikä se kytke laitetta irti
sähköverkosta. Sisäänrakennettu verkko-osa on
kytkettynä sähköverkkoon aina silloin, kun
pistoke on pistorasiassa.
3
1_htr3464_12_eng4_final812.indd 31_htr3464_12_eng4_final812.indd 3 2008-03-19 2:10:55 PM2008-03-19 2:10:55 PM
Manufactured under license from Dolby
Laboratories. Dolby, Pro Logic and the doubleD symbol are trademarks of Dolby
Laboratories.
Manufactured under license under U.S. Patent
#’s: 5,451,942; 5,956,674; 5,974,380;
5,978,762; 6,487,535 & other U.S. and
worldwide patents issued & pending. DTS and
DTS Digital Surround are registered trademarks
and the DTS logos and Symbol are trademarks
of DTS, Inc. © 1996-2007 DTS, Inc. All Rights
Reserved.
ENERGY STAR and the ENERGY STAR mark
are registered U.S. marks
4
1_htr3464_12_eng4_final812.indd 41_htr3464_12_eng4_final812.indd 4 2008-03-19 2:10:55 PM2008-03-19 2:10:55 PM
Contents
1 Important 6
Safety and important notice 6
2 Your product 7
Features highlight 7
Product overview 8
3 Connect 11
Place the unit 11
Connect speakers and subwoofer 12
Connect radio antenna 12
Connect other devices 13
Connect to power outlet 14
4 Get started 15
Prepare the remote control 15
Change speakers settings 15
Select a play source 16
6 Adjust sound 20
Control the volume 20
Sync audio output with video play 20
Select surround sound 20
Select a preset sound effect 21
7 Additional information 22
Specifi cations 22
8 Troubleshooting 23
9 Glossary 24
English
Contents
5 Play 17
Play from portable media player 17
Play from radio 17
Enjoy music through headphone 19
Use sleep timer to power off 19
EN 5
1_htr3464_12_eng4_final812.indd 51_htr3464_12_eng4_final812.indd 5 2008-03-19 2:10:55 PM2008-03-19 2:10:55 PM
1 Important
Recycle notice
Safety and important notice
Warning!
Risk of fi re or electric shock!
Ensure that air can circulate freely through the
•
ventilation holes on this unit. Allow at leas t 5~10 cm
clear ance around the unit.
•
Never expose this unit to direct sunlight, naked
fl ames or heat.
•
Never place this unit on other electrical equipment.
•
Keep away from this unit dur ing lightning storms .
•
Never remove the casing of this unit. Please leave all
maintenance work to qualifi ed personnel.
•
Keep this unit away from water, moisture and liquidfi lled objects.
Caution!
Remove batteries if they are exhausted or if the
•
remote control is not to be used for a long time.
•
Do not mix batteries (old and new or carbon and
alkaline, etc.).
•
Batteries cont ain chemical subs tances, they should
be disposed of properly.
•
Visible and invisible laser radiation when open.
Avoid exposure to beam.
•
Ensur e that t he power outlet is always wi thin r each.
If abnormal situations occur, fully disconnec t power
(unplug power cor d from the power outlet).
Your product is designed and manufactured
with highly quality material and components,
which can be recycled and reused. When this
crossed-out wheeled bin symbol is attached to
a product, it means the product is covered by
the European Directive 2002/96/EC.
Please inform yourself about the local separate
collection system for electrical and electronic
products. Please act according to your local
rules and do not dispose your old products
with your normal household waste. The correct
disposal of your old product will help to
prevent potential negative consequences for
the environment and human health.
This product complies with the radio
interference requirements of the European
Community. This product complies with the
requirements of the following directives and
guidelines: 2006/95/EC, 2004/108/EC.
6 EN
1_htr3464_12_eng4_final812.indd 61_htr3464_12_eng4_final812.indd 6 2008-03-19 2:10:56 PM2008-03-19 2:10:56 PM

2 Your product
Congratulations on your purchase, and
welcome to Philips! To fully benefi t from the
support that Philips offers, register your product
at www.philips.com/welcome.
This Digital AV Receiver is designed to
complement your home perfectly. Enjoy the
Digital AV Receiver with multi-channel surround
sound.
Features highlight
MP3 link
Simply plug your portable media player to the
MP3 LINK socket to enjoy the music play in
superb sound quality.
Listen to rich uncompressed multi-channel
surround sound
This Digital AV Receiver supports 5.1 channels
of uncompressed audio, which realises real-tolife sound and makes you feel that you are really
there.
English
You r pro d uct
Sync the audio output with the video play
This Digital AV Receiver provides you the
feature of delaying the audio output if the video
signals that go directly to the TV is slower than
the audio streams.
EN 7
1_htr3464_12_eng4_final812.indd 71_htr3464_12_eng4_final812.indd 7 2008-03-19 2:10:56 PM2008-03-19 2:10:56 PM
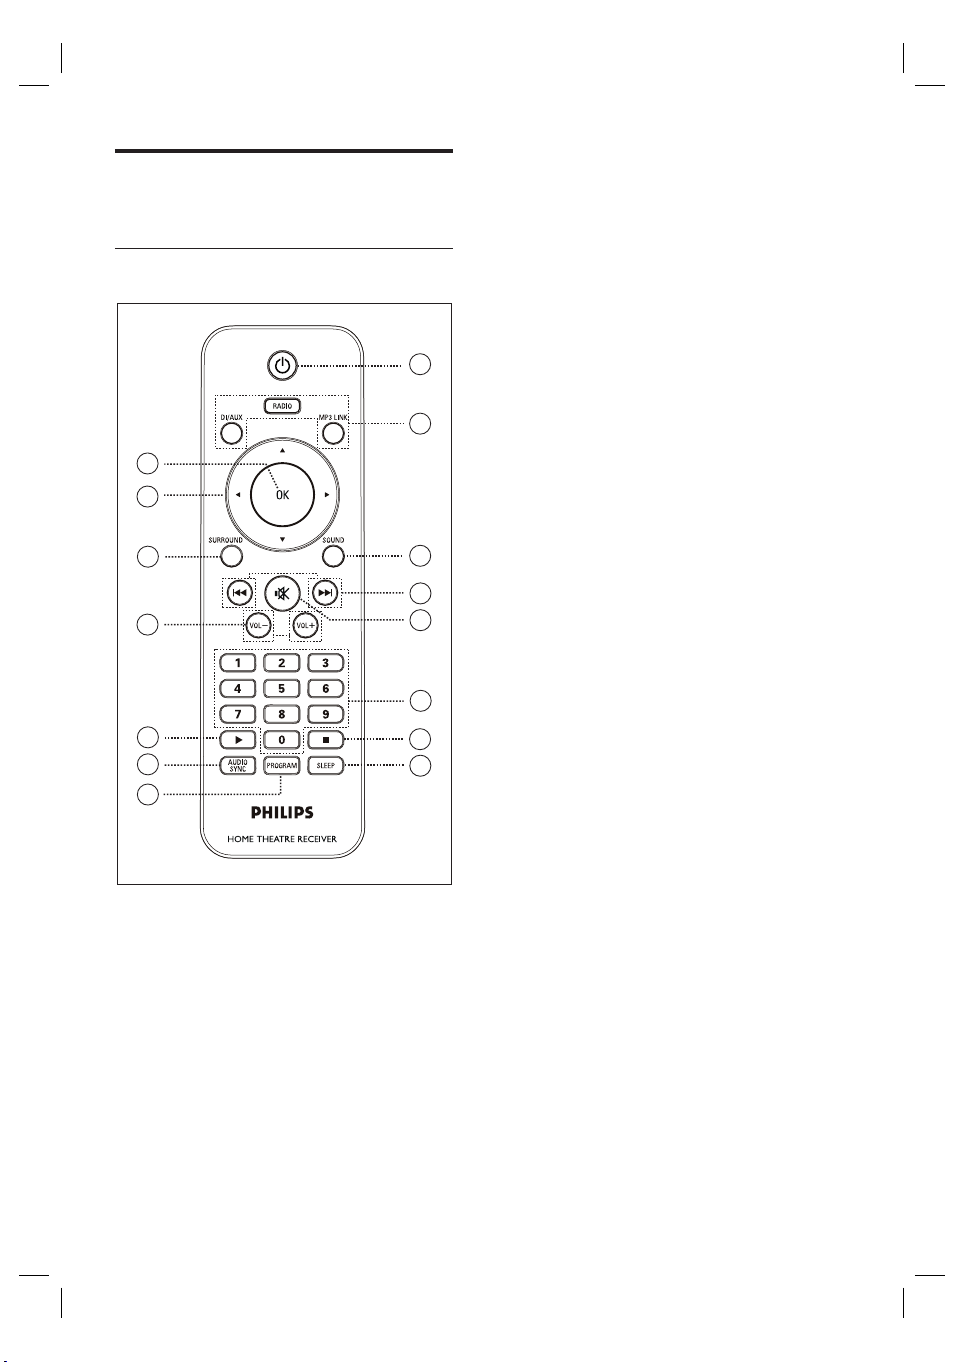
Product overview
Remote control
9
10
11
12
13
14
15
a 2
•
Turn on this unit or turn off to standby
mode.
b Source buttons
•
RADIO: switch to FM band.
DI/AUX: switch to COAX IN1,
•
COAX IN2, OPTI IN, AUX1 or AUX2
that corresponds to the socket you
1
used to connect the external device.
MP3 LINK: switch to the MP3 device
•
that is connected to the MP3 LINK
2
socket.
c SOUND
•
Select a predefi ned sound effect.
d . / > (Previous/Next)
•
3
RADIO: select a preset radio station.
e H (Mute)
4
5
6
7
8
•
Mute or restore the volume.
f Numeric buttons
•
Enter the preset number of a radio
station.
g x (Stop)
•
RADIO: erase the current preset radio
station.
h SLEEP
•
Select a preset timer to turn off this
unit to standby mode.
i OK
Confi rm an entry or selection.
•
j Cursor buttons (vV b B)
•
•
: press up or down to tune the
RADIO
radio frequency.
RADIO: press left or right to start auto
search.
8 EN
1_htr3464_12_eng4_final812.indd 81_htr3464_12_eng4_final812.indd 8 2008-03-19 2:10:56 PM2008-03-19 2:10:56 PM
 Loading...