

Page 1

Steam Iron Elixir
GC 4028
Philips Domestic Appliances and Personal Care
Service Manual
PRODUCT INFORMATION
Features
- Colour white/lilac
- Careeza soleplate
- Tank capacity (350 ml)
- Steam rate (40 g/min)
- Shot of steam (80 g)
- Vertical steam
- Permanentt Anti-Calc
- Protective storage cover
- Integrated cord winder with clip
TECHNICAL INFORMATION
Voltage : 120 V, 220-240 V
Frequency : 50-60 Hz
Power consumption : 1450 W, 2200 W
Water advice : Suitable for tap water use. However if
the tap water in your area is very hard,
we advise you to mix it with an equal
portion of distilled water or to use
distilled water only.
Cleaning of the Iron : Use only the Calc clean button for
cleaning of the Iron.
Never use vinegar or other descaling
agents.
Soleplate
Careeza is a multi layer chemical substance that gives an excellent
gliding over various fabrics and better care for the garments.
Vertical Steam
When the iron is kept in a vertical position, the shot of steam
(S.O.S) button can be used to iron hanging fabrics such as curtains.
Anti drip
Water is only released to through the tank valve into the steam
chamber if the soleplate temperature is high enough to evaporate
all water. If the temperature is too low, the tank valve is closed by
means of a bi-metal disc.
Protective storage cover
The cover protects the soleplate from accidental damage.
Caution : Do not use the cover while the iron is heating
up or with the plug in the mains.
This product meets the requirement regarding
interference suppression on radio and television.
Published by Philips Domestic Appliances and Personal Care Printed in the Netherlands © Copyright reserved Subject to modification
4322 277 00830
02/03
Page 2
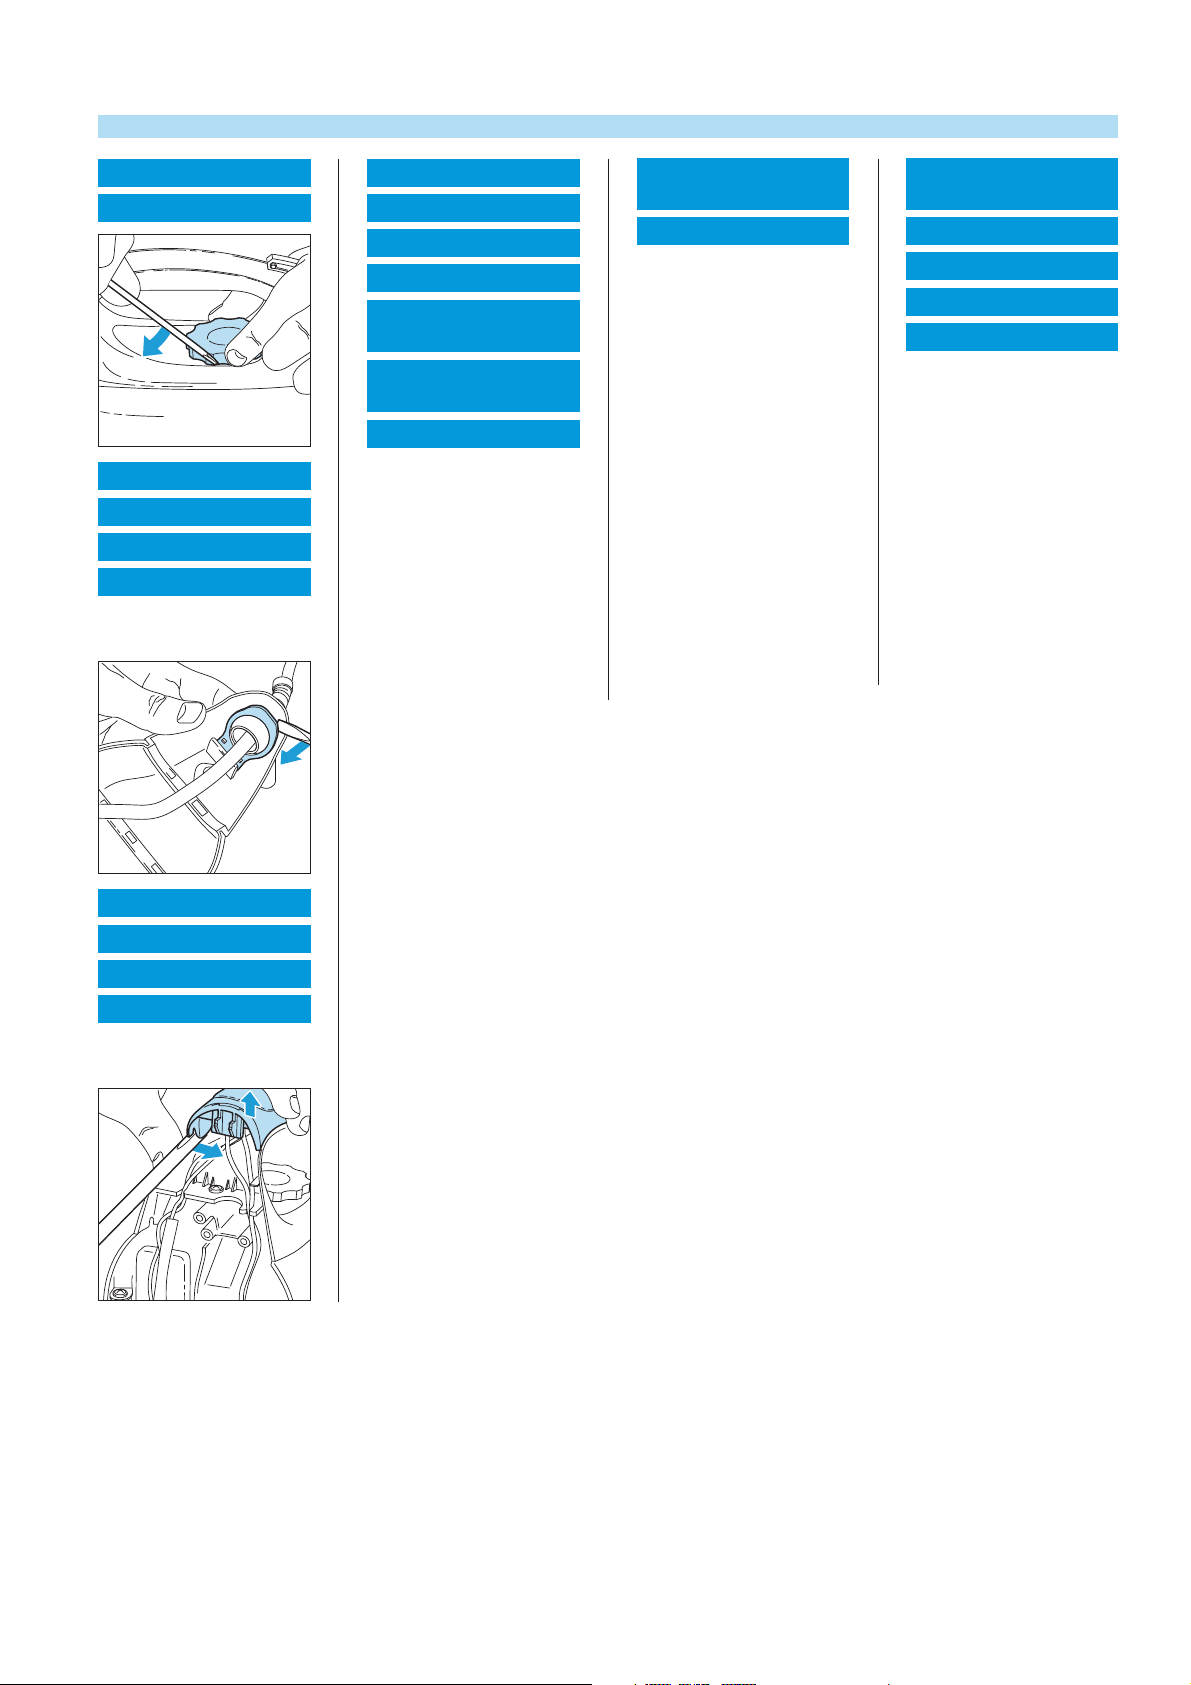
DISASSEMBLY ADVICE IRON
DIAL 1
RATTLE SPRING 2
BACKPLATE 102 103
CORD SET 4
SWIVEL HOLDER 101
SWIVEL 104
Remove Screw A
Remove Screws B1, B2
SLIDE UNIT 10
NEEDLE SET 11
TANK SEAL 12
HANDLE 13
SELF CLEAN
BUTTONS 14
SPRAY NOZZLE
ASSY 15
PUMP ASSY 16
Remove Screw A
Remove Backplate 102, 103
Remove Inlay 106
Remove Operation knobs
107, 108
Remove Screws C1, C2
Remove Slide Unit 114, 115
Remove Needle set
116, 117, 118
Remove Screws D1, D2
THERMOSTAT
BUSH 17
WATER TANK 18
Remove Screw A
Remove Backplate 102, 103
Remove Inlay 7
Remove Operation knobs
107, 108
Remove Screws D1, D2
Remove Handle 13
Remove Screws E1, E2
Remove Water tank 18
Remove Screw F
SOLEPLATE
COVER 19
ISOLATION PLUG 20
SOS SEAL 21
DOSING SEAL 22
SOLEPLATE ASSY 23
Remove Screw A
Remove Backplate 102, 103
Remove Inlay 7
Remove Operation knobs
107, 108
Remove Screws D1, D2
Remove Handle 13
Remove Screws E1, E2
Remove Water tank 18
Remove Screw F
Remove Heat shield
Remove Screws G1, G2
Remove Soleplate cover 19
FILLING DOOR 6
INLAY 7
OPERATION KNOBS 8
LAMP 9
Remove Screw A
Remove Backplate 102, 103
Page 3

PARTS LIST IRON
Description Consist ofPos Service code
1.
Dial
2.
Rattle spring
3.
Backplate 102, 103
4.
Cordset EU 230 V / 2200 W
5.
Swivel 101, 104
6.
Filling door
7.
Inlay printed 105, 106, 109
8.
Operation knobs 107, 108
9.
Lamp
10.
Slide unit 114, 115
11.
Needle set 116, 117, 118
12.
Tank seal
13.
Handle unprinted
14.
Self clean buttons 110, 111
15.
Spray nozzle unit
16.
Pump assy
17.
Thermostat Bush
18.
Water tank (green) 113
19.
Soleplate cover
20.
Isolation plug
21.
Sos seal
22.
Dosing seal
23.
Soleplate assy + thermostat (230 V / 2200 W) 112, 119
24.
Lamp holder
25.
Soleplate storage cover
4239 021 12290
4239 014 53830
4239 022 53361
4239 000 06580
9965 000 08787
4239 021 03200
4239 022 53321
4239 022 53401
4239 021 03140
9965 000 08790
9965 000 08791
4239 015 54400
4239 021 11860
4239 022 53431
4239 021 03040
4239 020 90560
4239 015 98410
4239 022 53481
4239 026 05540
4239 025 98250
4239 015 54410
4239 015 54390
4239 022 53521
4239 026 01220
4239 000 50080
INPUT
N
L
E
FUSE
RESISTOR
HEATING
UNIT
LAMP
THERMOSTAT
Screws : d x 1
A, B, C, D, E 3.5 x 16.5 mm
F 4.0 x 9.0 mm (with washer)
G 4.0 x 9.0 mm
Page 4

EXPLODED VIEW IRON
6
105
109
7
107
8
108
104
5
101
9
10
11
16
12
15
18
113
106
115
114
118
116
117
C2
C1
D1
24
2
D2
B2
B1
A
102
3
103
1
13
17
110
14
111
E1
G1
E2
19
21
112
23
H
F
G2
4
119
20
22
25
Page 5

IMPORTANT + ADJUSTMENT AND CONTROLS
IMPORTANT
Due to high voltage of the iron, only the specifi ed cordsets must be used.
NOTES :
1) For standardisation reasons :
Dial : With English / Spanish text only.
Rattle spring : 5 pcs will be supplied when ordered.
Type plate : No info. about the typenumber and voltage have been stamped onto the typeplate.
When replacing the typeplate, engrave at least typenumber onto the typeplate with a sharp object.
2) Parts with numbers from 100 and higher, cannot be ordered separately.
3) After the product had been repaired, it should function properly and has to meet the safety requirement and legal
regulations as laid down and offi cially established at this moment.
ADJUSTMENTS AND CONTROLS
Thermostat
Thermostat 119, fi tted to the soleplate 23 has already been adjusted by the supplier and secured by glue.
To avoid mal-function of the iron, NEVER re-adjust the thermostat.
NOTE : the thermostat 119 can only be ordered together with the soleplate assembly 23.
 Loading...