

Page 1
quilt expression™ 4.0 sewing machine
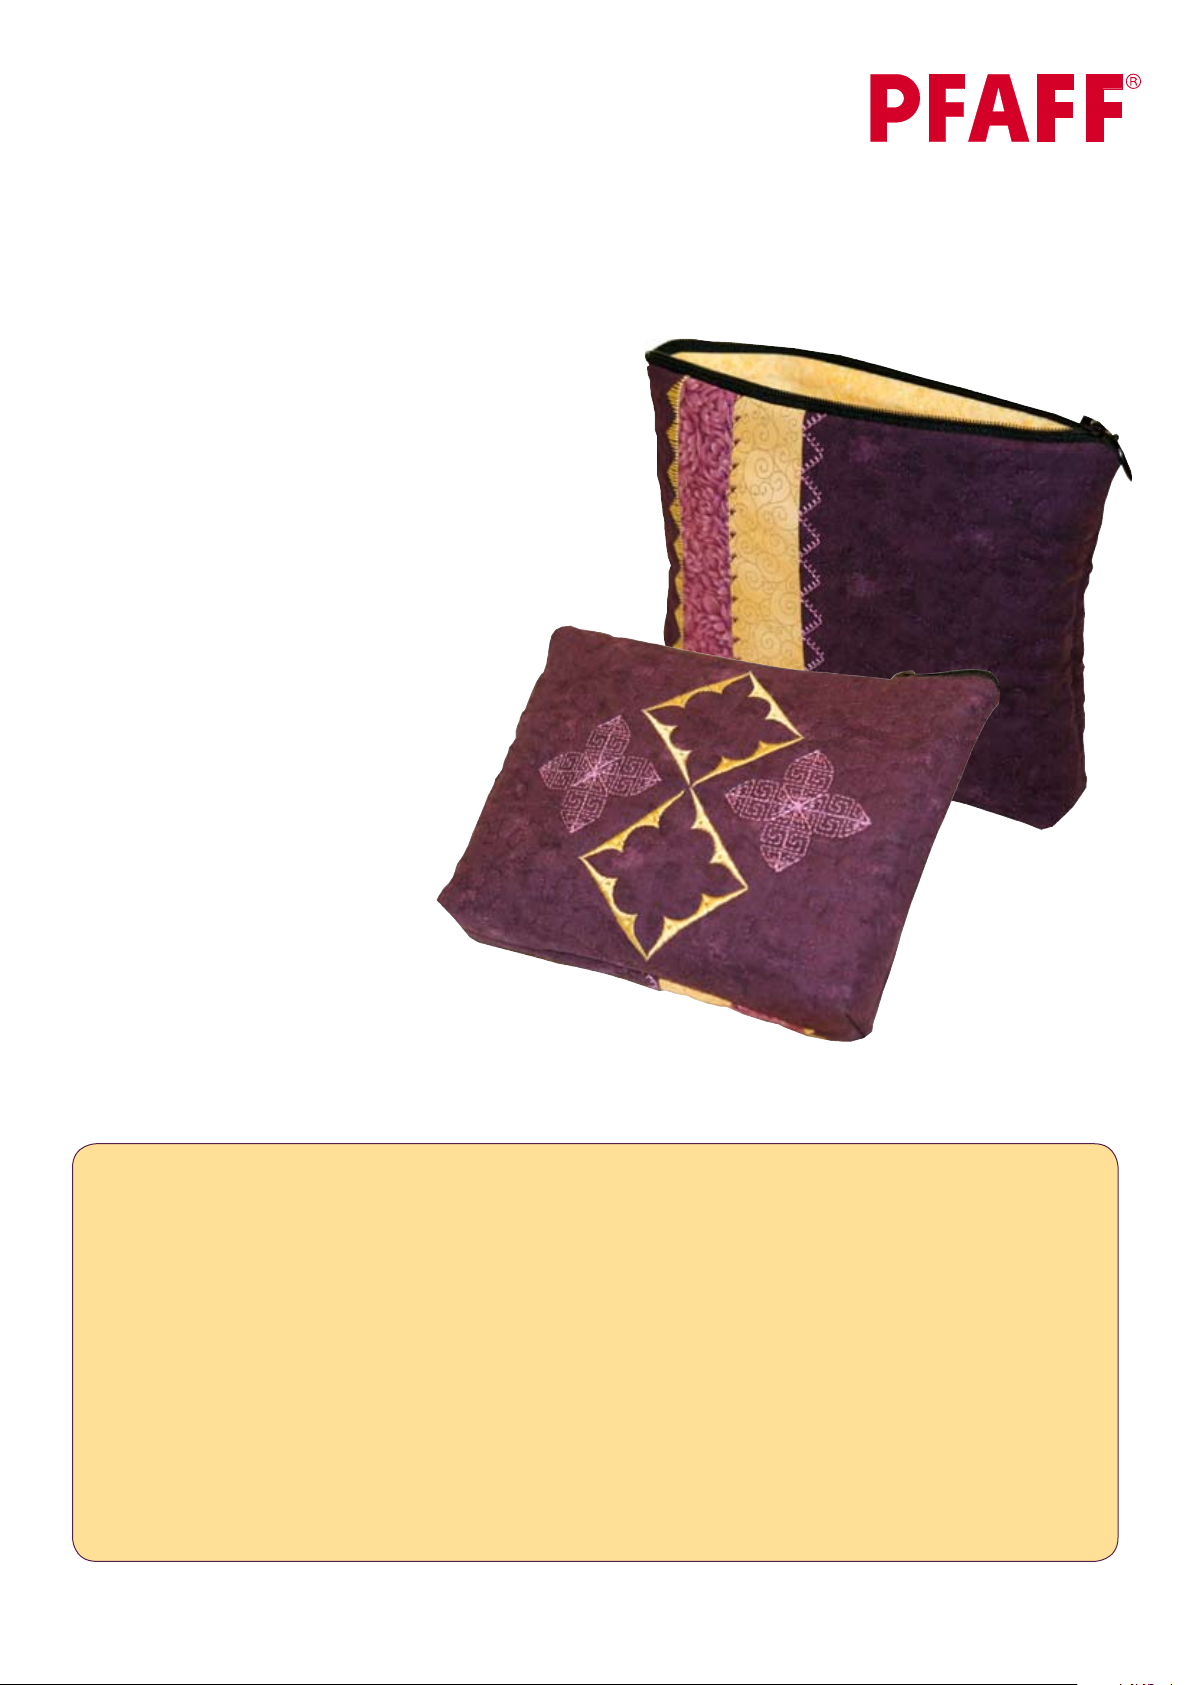
“Make it – Take it Project”
Carry-on Make-up Bag
Put the plastic bag with your travel make-up
equipment (that is allowed as carry-on
luggage) in a beautiful make-up bag.
Features used in this
Make it – Take it project:
• Original IDT™
• Tapering
• 9mm decorative stitches
• Thread Snips
• Two Free-motion modes.
• Automatic presser foot lift
• Electronic thread tension
• Automatic Tie-off
• Needle up/down
• 37 needle positions
• Snap on/off feet
• Mirror image
• Extra ¼” quilting foot included
Final size 22cm x 17cm (8,5” x 6 ¾”)
• Rayon Embroidery threads for
decoration to match fabric
• Regular sewing thread to match fabric
for construction
• 22cm (8¾”) long zipper
• Olfa 45mm Deluxe Rotary Cutter
• Omnigrid Ruler 8 ½” x 24”
• Olfa Rotary Cutting Mat
• Pins
Sewing Supplies
• PFAFF
®
quilt expression™ 4.0 sewing machine
• 20cm (8”), 50cm (20”) wide purple batik
quilt fabric
• 25cm (10”), 50cm (20”) wide yellow quilt fabric
• 4,5cm (1¾” ) pink patterned quilt fabric
• 20cm (8”), 50cm (20”) wide fusible batting
• 20cm (8”), 50cm (20”) wide heavy
fusible interfacing
• Tear away stabilizer
“Make it – Take it Project” Carry-on Make-up Bag | 1
Page 2
PFAFF® Accessories
• Sensormatic Free-motion foot 6A
• 0A Standard presser foot with IDT™
• 1A Fancy stitch foot with IDT™
• 2A Fancy stitch foot
• 4 Zipper foot with IDT™
• ¼” Quilting foot with IDT™
Preparations and Cutting Instructions
Seam allowance included in all measurements.
Use rotary cutter and 8 ½”x 24” omnigrid ruler
with cutting mat.
From purple batik quilt fabric, cut:
• One piece 25cm x 20cm (10” x 8”)
for the back side.
• One piece 6cm x 20cm (2¾ x 8”)
for the front side.
• One piece 14cm x 20cm (5,5” x 8”)
for the front side
From yellow quilt fabric, cut:
• Two pieces 25cm x 20cm (10” x 8”)
for the lining.
• One strip 4,5cm x 20cm (1⅞ x 8”).
From pink patterned quilt fabric, cut:
• One strip 4,5cm x 20cm (1⅞ x 8”).
From fusible batting, cut:
• Two pieces 25cm x 20cm (10” x 8”)
From heavy fusible interfacing, cut:
• Two pieces 25cm x 20cm (10” x 8”)
Press the heavy fusible interfacing onto the wrong
side of the two yellow lining quilt fabric pieces.
Press the fusible batting onto the wrong side of the
purple back piece quilt fabric.
FRONT PIECE
Select a straight stitch (stitch #1), length 2.5mm.
Snap on the ¼” quilting foot. Thread the machine with
regular sewing thread on top and in the bobbin.
illu1
illu 2
illu 3
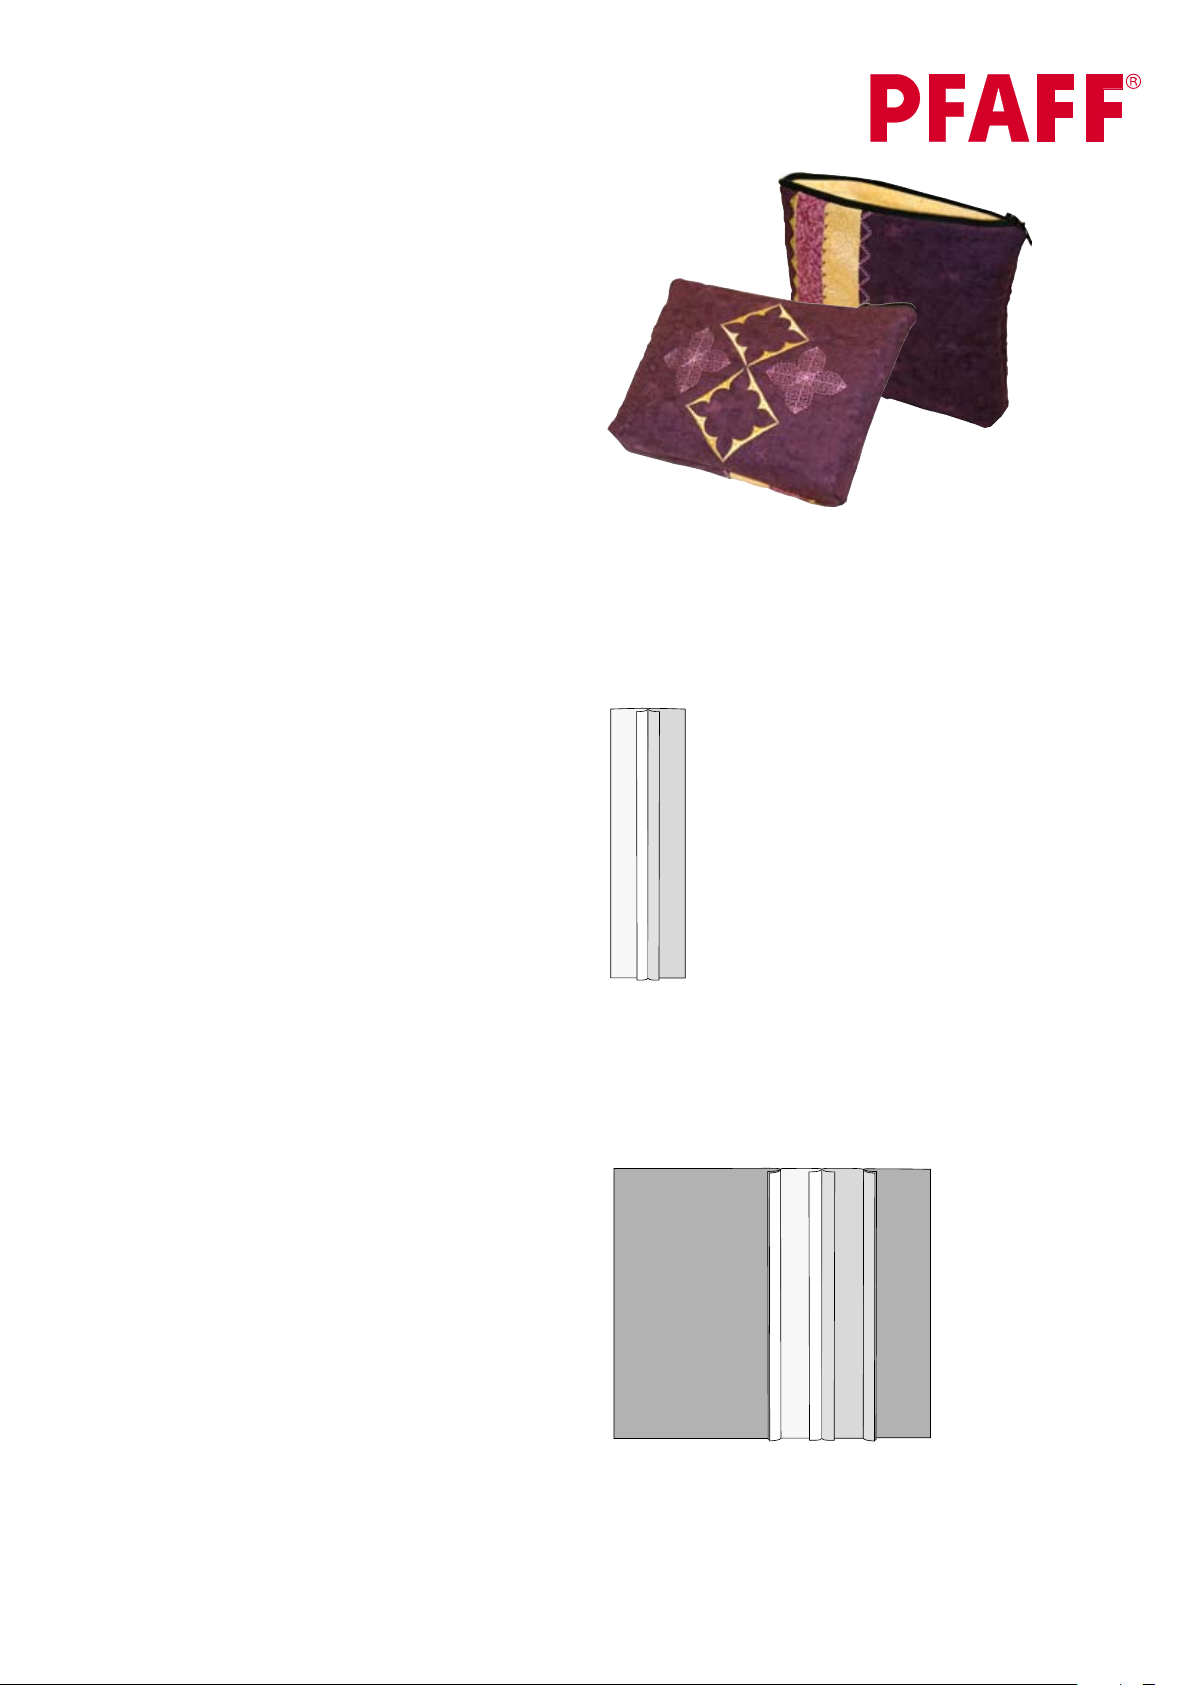
Sew the yellow and the pink strips together.
To get a perfect ¼” seam allowance; let
the edge of the fabric follow the right edge
of the presser foot. Press open seam
allowance.
Sew the pink/yellow strip between the two purple
pieces. Using the same settings, seam allowance, etc as
above. Press the seam allowances together towards the
darker purple pieces.
illu 2
illu 3
Cut down the whole front piece to the same size as all
other pieces 25cm x 20cm (10” x 8”). Press the fusible
batting onto the wrong side of the pieced front piece.
“Make it – Take it Project” Carry-on Make-up Bag | 2
Page 3

Thread the PFAFF® quilt expression™ 4.0 sewing
machine with rayon embroidery thread to decorate
the make up bag. Select three of the 9mm decorative
stitches of your own choice and stitch on top of
the seams. Make sure that you are following the
recommendation for the selected stitch, which means
the right presser foot, stabilizer etc. They are shown in
the graphic display if you press the i-button. You can
of course mirror image the stitches to get the look you
want to achieve. You can also use the stitch positioning
feature to move the complete stitch for easier guidance
with the presser foot you are using.
illu 3
Thread the machine with a regular sewing thread.
Snap on the sensormatic Free-motion foot and
select the straight stitch. Press settings menu and set
the
PFAFF® quilt expression™ 4.0 sewing machine
for sensormatic free-motion. Stipple all over the two
purple pieces on the front piece.
BACK PIECE
Use a decorative thread to decorate the back piece.
Select a 9mm decorative stitch of your own choice
and play with the tapering feature (practice on a
scrap piece of fabric first) to decorate the back piece.
When sewing beautiful details with tapering, it is
much easier to be precise if you engage the needle
down feature. You can create a various shapes by
selecting different angels and continue sewing in
different directions. Use stabilizer underneath.
illu1
illu 2
illu 3
illu 4
illu 5
illu 6
Thread the machine with a regular sewing thread.
Snap on the sensormatic Free-motion foot and select
the straight stitch. Press settings menu and set the
PFAFF® quilt expression™ 4.0 sewing machine for
sensormatic free-motion. Stipple all over the back
piece, but leave out the decorated parts.
SEWING
Pin the upper edge of the front piece right sides
together with one of the yellow lining pieces, put
the zipper in between. Snap on presser foot #4, the
zipper foot. Select a straight stitch (stitch #1), length
2.5mm. Adjust the needle position so that you sew as
close to the zipper teeth as possible.
illu 3
illu 5
illu 6
See the owner’s manual
for detailed instructions
for tapering feature.
Turn right sides out.
Press. Repeat for
the back piece.
“Make it – Take it Project” Carry-on Make-up Bag | 3
Page 4

Turn the right sides out. Close the opening in
the lining, using a straight stitch. Sew close
to the edge. Make sure you are using the
automatic tie-off feature in the beginning and
end of the seam.
illu 3
illu 6
illu 9
Put the yellow lining inside the bag, put
your plastic bag with all your travel make-up
equipment inside the bag and close the zipper.
You’re ready to go!
Open up the zipper. Fold the two purple
pieces up/together. Stitch around all three
edges, using a 1,5cm (⅞”) seam allowance.
Make sure you are using the automatic tieoff feature in the beginning and end of the
seam.
Repeat for the two yellow lining pieces, but
leave an opening in the bottom seam line for
turning the bag right sides out. Make sure
you are using the automatic tie-off feature in
the beginning and end of the seam. Press the
seam allowances.
illu1
illu 2
illu 3
illu 4
illu 5
illu 6
illu 7
illu 8
illu 9
To make a 4 cm (1⅞”) wide base and side for
the bag, finger fold the side seam towards
the bottom seam and sew across the corner
2cm” (¾”) from the tip as illustrated.
illu 3
illu 5
illu 6
illu 8
illu 9
“Make it – Take it Project” Carry-on Make-up Bag | 4
 Loading...