


Calipsa® Videofied Integration
User Guide
Document number:C6745M
Publication date:03/23
C6745M | 03/23 1

Calipsa® Videofied Integration User Guide
Table of Contents
Introduction 3
Videofied 3
Setting up Videofied with Calipsa 3
Understanding Specifications 3
Whitelisting IP Addresses 3
Sending Data to Calipsa 3
Receiving Data from Calipsa 3
Receiving Data from Frontel 3
Setting Up your Calipsa Account 3
Logging into Calipsa 3
Setting Up your Frontel server 5
Processing Alarms through Calipsa 9
Activating a Site 9
Adding your Monitoring Station SMTP Details 11
Accessing Calipsa Account Settings 11
Editing Global Configuration 11
Inputting Your Credentials 12
C6745M | 03/23 2

Calipsa® Videofied Integration User Guide
Introduction
This guide covers the steps required to integrate your Videofied cameras with the Calipsa platform. Other
common integration steps, such as configuring your system to send alarms to your gmail account are
also covered.
Videofied
Setting up Videofied with Calipsa
This guide includes instructions for setting up your Frontel and your Calipsa account when using Calipsa
with Videofied.
Understanding Specifications
Read the following documentation for the Calipsa Videofied integration.
Videofied TCP Server Integration With Calipsa
This document includes essential information and specifications about using Calipsa with Videofied. This
document includes details on how to test the integration as well.
Whitelisting IP Addresses
It is important you whitelist the following IP addresses to make sure you can send and receive data to and
from Calipsa.
Sending Data to Calipsa
Whitelist the DNS record for sending data to Calipsa: videofied.calipsa.io.
Receiving Data from Calipsa
Whitelist this IP address to receive data from Calipsa:
l
52.19.32.51
l
52.212.236.183
Receiving Data from Frontel
In addition to the DNS record for communicating with Calipsa, sometimes Calipsa needs to channel
signals from your receiver to Frontel. To make sure these signals are not blocked by your firewall,
whitelist the following three IP addresses:
l
34.246.49.78
l
52.30.30.208
l
34.252.245.52
Setting Up your Calipsa Account
Logging into Calipsa
Note: Make sure you have the details for your m.calipsa.ioaccount. If you do not know your credentials,
message support@calipsa.ioand a member of the team will provide the details.
1. Log into m.calipsa.iousing your credentials
2. Under Settings, navigate to Account Settings.
C6745M | 03/23 3
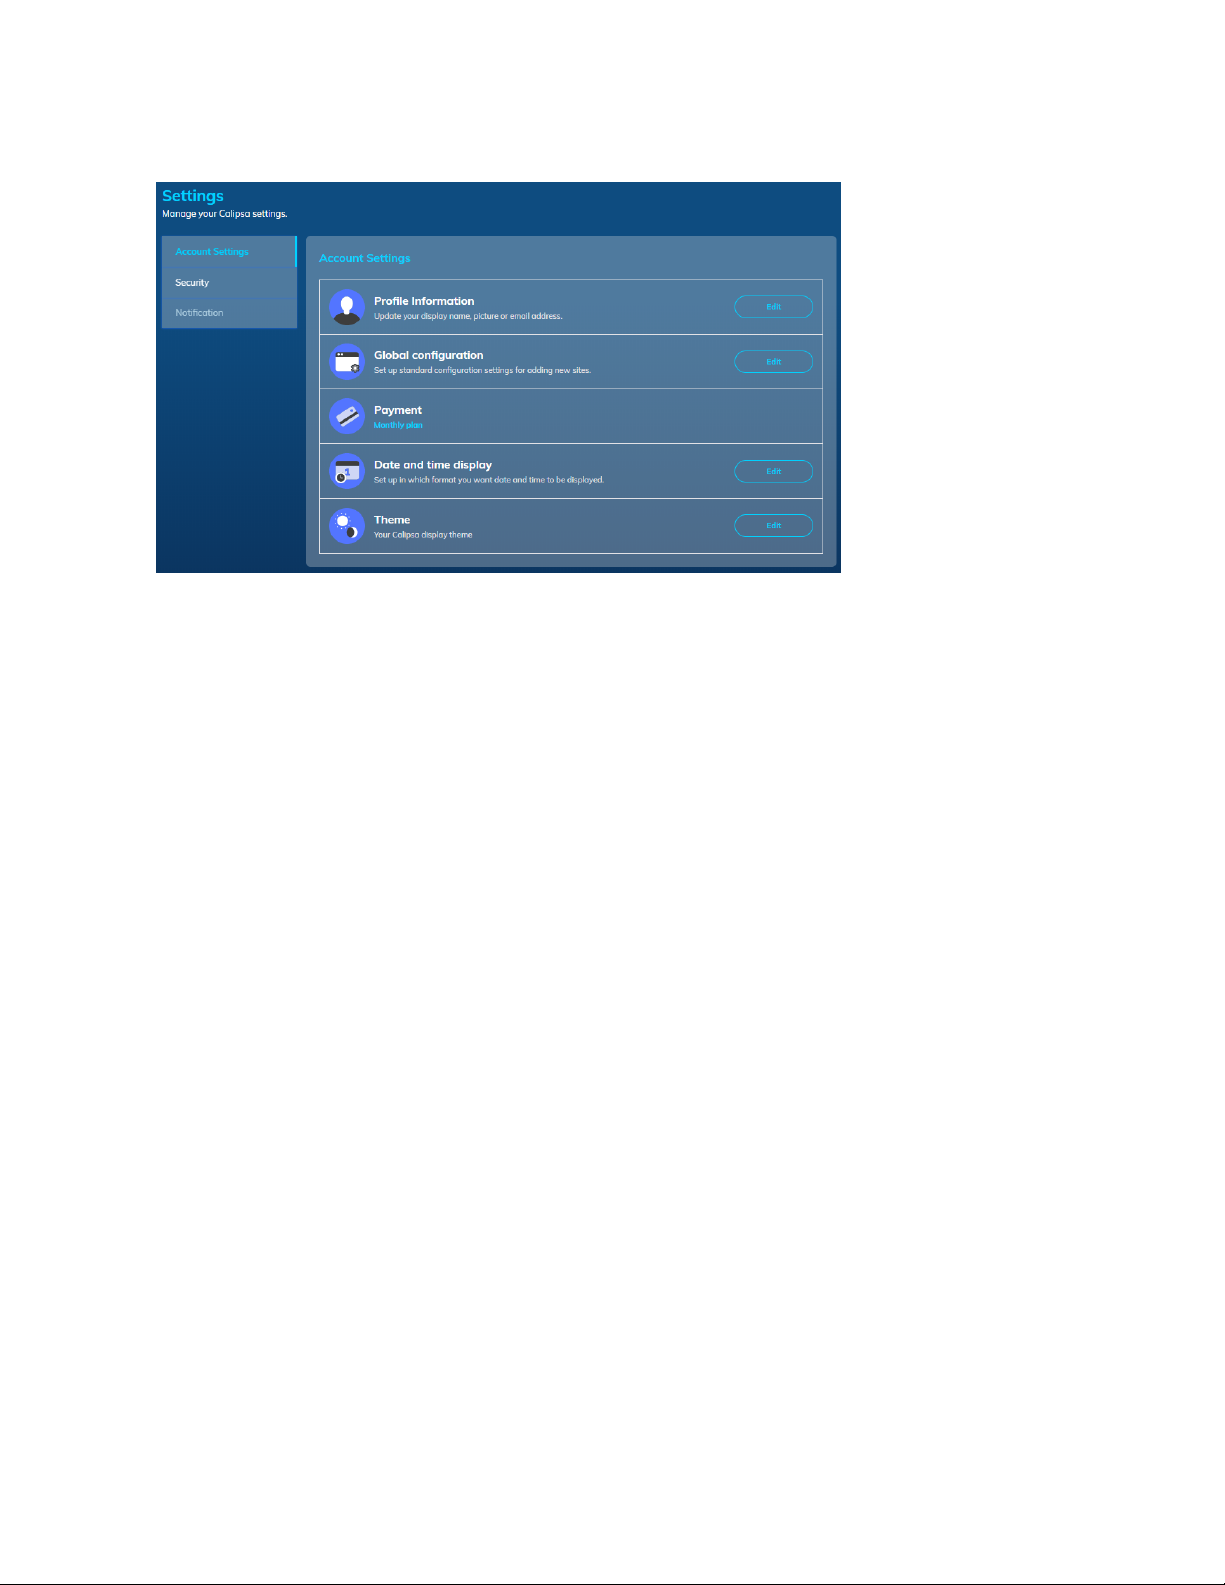
Calipsa® Videofied Integration User Guide
3. Under the Global configurationsection, click Edit.
4. Under the Videofied Configurationsection, enter the following details. A screenshot is shown on
the following page.
l
Autodownload: Enable Autodownload if you have the feature enabled in your Frontel setup.
l
Events+Files: Enable Event+Files if your receiver requires events and files. If your receiver
accepts events only, do not enable Events+Files.
l
Process Alarms at 25%: Select this option to process alarms when they are received by
Calipsa at 25%. At 25%, if Calipsa flags the alarm as true, it will send all events (and files up
to 25% then automatically thereafter for Events+Files receivers) to the receiver without
further processing. If the alarm is false, Calipsa will reprocess it at 100%. This will allow faster
delivery of true alarms.
l
Receiver Connect Host: Enter the IP address for your receiver. Calipsa will send data to this
IP address.
l
Receiver Connect Port: Enter the port for your receiver. Calipsa will send data to to this
port.
l
Frontel IP Address: Enter the IP address for your Frontel server. You can add multiple IP
addresses if you have many Frontel servers that send data to the same receiver.
5. Click Save.
C6745M | 03/23 4
 Loading...