

Page 1
®
IOP19 Series
Integral Color Camera/Lens for
SB1900 Series Dome
Installation/Operation Manual
C718M (10/96)
Pelco • 3500 Pelco Way, Clovis, CA 93612-5699 • (1-209) 292-1981 • (800) 289-9100
FAX (800) 289-9150 or (1-209) 292-3827
Page 2

(This page intentionally left blank.)
iv PELCO Manual C718M-(10/96)
Page 3

TABLE OF CONTENTS
Section Page
1.0 WARNINGS ........................................................................................................................................1
2.0 SCOPE ............................................................................................................................................... 2
3.0 DESCRIPTION ................................................................................................................................... 2
3.1 MODELS ..................................................................................................................................2
4.0 INSTALLATION .................................................................................................................................. 2
5.0 ADJUSTMENTS ................................................................................................................................. 4
5.1 BACK FOCUS .......................................................................................................................... 4
5.2 SHUTTER SPEED....................................................................................................................5
5.3 AUTO GAIN CONTROL ...........................................................................................................5
5.4 WHITE BALANCE (ATW/AWB SWITCH) ................................................................................. 6
5.5 V-PHASE (VERTICAL PHASE) ................................................................................................6
6.0 WIRING DIAGRAM ............................................................................................................................ 7
7.0 EXPLODED ASSEMBLY DRAWING - TVH6 .....................................................................................8
7.1 MECHANICAL PARTS LIST ..................................................................................................... 8
8.0 EXPLODED ASSEMBLY DRAWING - TVH10 ...................................................................................9
8.1 MECHANICAL PARTS LIST ..................................................................................................... 9
9.0 SPECIFICATIONS ............................................................................................................................ 10
10.0 WARRANTY AND RETURN INFORMATION................................................................................... 11
®Pelco and the Pelco logo are registered trademarks of Pelco.
©Copyright 1996, Pelco. All rights reserved.
ii PELCO Manual C718M (10/95)
Page 4

LIST OF ILLUSTRATIONS
Figure Page
1 IOP Package Installation..............................................................................................................2
2 Wiring Diagram for SB1900 Dome and IOP Package ................................................................. 3
3 Back Focus Adjustment ...............................................................................................................4
4 Camera Adjustments ................................................................................................................... 5
5 Wiring Diagram for Color Camera/Lens ....................................................................................... 7
6 TVH6 Camera/Lens Combination Exploded Assembly Drawing .................................................8
7 TVH10 Camera/Lens Combination Exploded Assembly Drawing ...............................................9
8 TVH6 Camera Dimensions ........................................................................................................10
9 TVH10 Camera Dimensions ......................................................................................................10
REVISION HISTORY
Manual # Date Comments
C718M 10/96 Original manual.
PELCO Manual C718M (10/96) iii
Page 5
IOP19 SERIES INTEGRAL
COLOR CAMERA/LENS PACKAGE
FOR SB1900 SERIES DOMES
1.0 WARNINGS
Prior to installation and use of this product, the following WARNINGS should be observed.
1. Installation and servicing should only be done by
Qualified Service Personnel and conform to all
Local codes.
2. Unless the unit is specifically marked as a NEMA
Type 3, 3R, 3S, 4, 4X, 6, or 6P enclosure, it is designed for indoor use only and it must not be installed where exposed to rain and moisture.
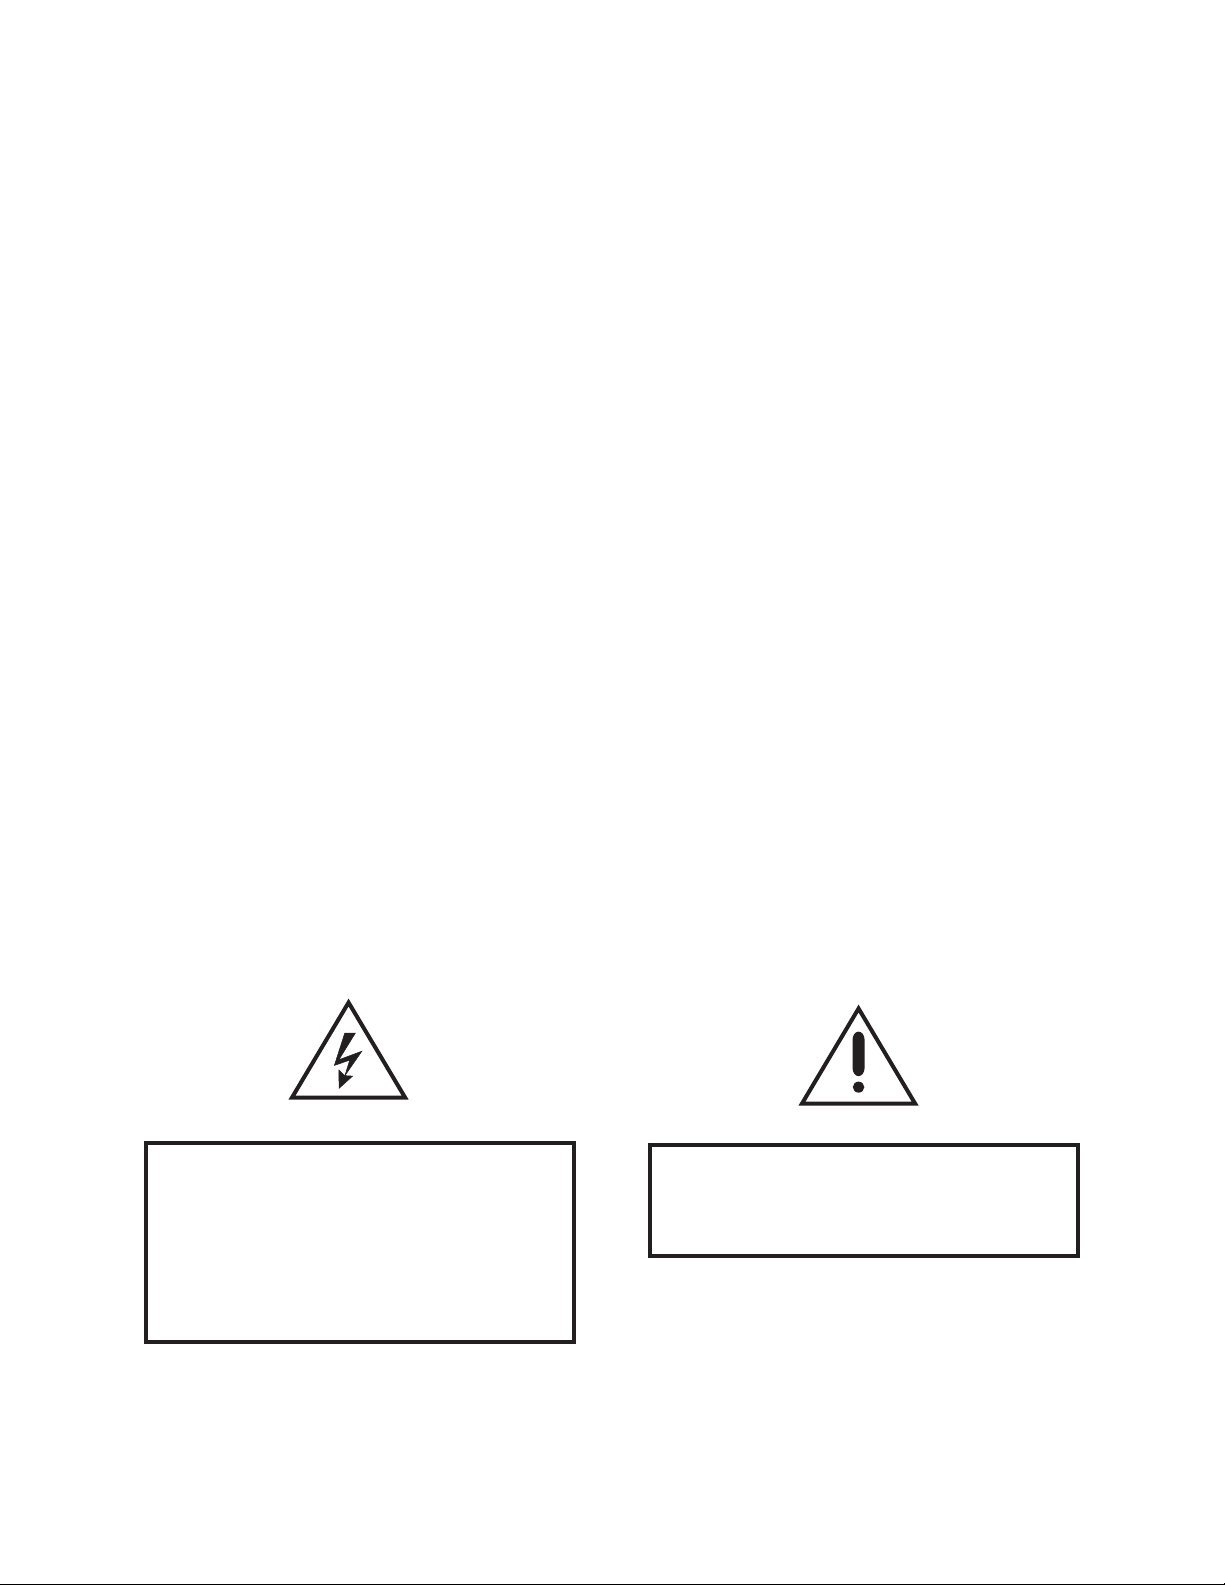
The product may bear the following marks:
This symbol indicates that dangerous voltage
constituting a risk of electric shock is present
within this unit.
3. Only use replacement parts recommended by
Pelco.
4. After replacement/repair of this unit’s electrical
components, conduct a resistance measurement
between line and exposed parts to verify the exposed parts have not been connected to line circuitry.
This symbol indicates that there are important
operating and maintenance instructions in the
literature accompanying this unit.
CAUTION:
TO REDUCE THE RISK OF ELECTRICAL
SHOCK, DO NOT REMOVE COVER. NO
USER-SERVICEABLE PARTS INSIDE.
REFER SERVICING TO QUALIFIED
SERVICE PERSONNEL.
RISK OF ELECTRIC SHOCK.
CAUTION:
DO NOT OPEN.
Please thoroughly familiarize yourself with the information in this manual
prior to installation and operation.
Pelco Manual C718M (10/96) 1
Page 6

2.0 SCOPE
4.0 INSTALLATION
This manual covers the IOP19 Series of integral color
camera/lens packages.
3.0 DESCRIPTION
Pelco's IOP19 Series of integral color camera/lens combinations are specifically designed for use in the SB1900
Series of indoor surveillance dome enclosures.
Design considerations were engineered into this series
of integral camera/lens combinations to ensure ease of
servicing.
3.1 MODELS
The following cameras with integral lens are for use in
SB1900 series domes:
IOP19C3B Basic color NTSC (EIA) series camera
with integral TVH6M-1 lens
IOP19C3G Basic color NTSC (EIA) series camera
with integral TVH10M-1 lens
To install the camera/lens package in your dome, follow the steps below.
1. Disconnect main power to the back box.
2. Remove the dome drive from the back box.
3. Refer to Figure 1. Remove the nuts and flat washers from the 1/4-20 studs on the bottom of the IOP
package. Insert the studs through the slots in the
tilt table. Make sure the lens is facing the front of
the tilt table. Attach the IOP package to the tilt table
with the washers and nuts. Tighten the nuts just
snug.
4. Refer to Figure 2 and make the electrical connections.
5. Insert the dome drive into the back box. Adjust the
IOP package on the tilt table so that it is as close to
the dome as possible without hitting the dome when
the IOP package is tilted up or down. Then securely
tighten the nuts on the IOP package.
Figure 1. IOP Package Installation
2 Pelco Manual C718M (10/96)
Page 7

Figure 2. Wiring Diagram for SB1900 Dome and IOP Package
Pelco Manual C718M (10/96) 3
Page 8

5.0 ADJUSTMENTS
Your optics package comes from the factory adjusted
for a broad range of lighting conditions. For this reason, you may find it necessary to adjust your optics
package to tailor the picture to your specific viewing
environment. The following adjustments can be made
to the optics package:
• Back focus
• Shutter speed
• AGC
• White balance
•V-phase (vertical phase)
The factory adjustments for the above controls are set
as follows:
➤ Back Focus
Adjusted with the camera looking at an object 55
feet (16.76 m) from the lens. The results are a clear,
in-focus picture through the entire zoom range.
➤ Shutter Speed
Factory set to the slowest speed available: 1/60
second.
➤ Auto Gain Control
AGC ON/OFF set to ON.
➤ White Balance
White balance has two positions; one is ATW (Automatic Tracing White), which is a feature that
continuously adjusts the camera for optimum color
reproduction. AWB (Automatic White Balance) is
a feature that retains current settings in memory
even when the power is off.
➤ V-Phase (Vertical Phase)
Synchronizes the picture when multiple optics
packages are used in a system.
The location for the controls of the above features, except for back focusing, are shown in Figure 4. The back
focus adjustment location is shown in Figure 3. The
following sections define the above features and specify
how to adjust them to gain the best system performance
in your environment.
5.1 BACK FOCUS
Back focusing involves controlling the distance between
the focal point of the lens and the image head. If the
lens is focused on the imaging head properly, a clear
picture is maintained through the entire zoom range.
The optics package has been back focused at the factory.
In some cases, additional back focusing may be required. Should this be the case, adjust the back focus
by moving the lens positions to zoom wide and focus
far. Then position the camera on an object with clean
lines such as a window seal, shelf, etc., at a minimum
distance of 55 feet (16.76 m).
The back focus adjustment screw location is shown in
Figure 3. Use a small, standard, straight-slotted screwdriver to adjust the screw, which is recessed in the camera housing. The mechanical movement of the screw
as the screwdriver is turned is about three clicks (or
detents) in either direction.
As you move the back focus set screw back and forth,
the distance between the lens and image head moves in
and out. You will be able to see the clean line come in
and out of focus. Continue to adjust the screw back and
forth until the optimum focus is obtained.
Figure 3. Back Focus Adjustment
4 Pelco Manual C718M (10/96)
Page 9

5.2 SHUTTER SPEED
5.3 AUTO GAIN CONTROL
This optics package is provided with adjustable shutter
speeds. This feature allows minimal streaking when a
very fast moving object passes in front of the nonmoving optics package. The shutter speed is factory
set to 1/60 second. You can select one of eight shutter
speeds (refer to Figure 4).
SHUTTER SPEED
ADJUSTMENTS MAY BE
PERFORMED BY USING
A SMALL STANDARD
SCREWDRIVER
AND MOVING THE
ROTARY SWITCH AS
SHOWN. “0” POSITION
IS FACTORY DEFAULT.
SEE BELOW FOR
SETTING VALUES
Refer to Figure 4. The AGC control setting should be
set and left in the ON position.
V-PHASE BUTTONS (MOMENTARY
PUSH-BUTTON) ADVANCE AND
RETARD THE PHASE INTERVAL
WITH RESPECT TO ZERO
CROSSOVER OF AC LINE ±90°
AGC (AUTOMATIC
GAIN CONTROL) IS
SET IN THE ON
POSITION (SHOWN)
THIS MOMENTARY
BUTTON LOCKS AWB
SHUTTER POSITION SHUTTER SPEED
(IN SECONDS)
0 1/60
1 1/100
2 1/250
3 1/500
4 1/1000
5 1/2000
6 1/4000
7 1/10,000
8 NOT USED
9 NOT USED
Figure 4. Camera Adjustments
Pelco Manual C718M (10/96) 5
Page 10

5.4 WHITE BALANCE (ATW/AWB SWITCH)
In the ATW (Automatic Tracing White Balance) position, the white balance is continuously adjusted to take
into account variations in the incident light conditions.
In the AWB (Automatic White Balance) position, when
the LOCK button is pressed, the white balance is automatically adjusted, and the setting is stored in memory.
When the switch is set to this position the white balance always takes the previously stored value.
White balance is factory set to the AWB position and it
is recommended that the optics package be used in this
mode. Refer to Figure 4.
5.5 V-PHASE (VERTICAL PHASE)
V-phase (vertical phase) is valuable when multiple optic packages are switched by a sequential or matrix
switcher. The vertical phase +/- buttons are used to compensate for vertical phase discrepancies that will occur
in a multiple camera environment. In this type of environment, each camera's output is synchronized by the
frequency of the power supply and phase.
Two persons are required to synchronize the picture:
one person at the optics package location and another
at the control room looking at a monitor viewing switching video signals from the optics packages.
The V-phase adjustment is ±90°. Use the tip of a
ballpoint pen or similar instrument to press the recessed
+/- buttons (refer to Figure 4). The phase change is linear. Pressing a button will activate a phase change in
the direction indicated. The phase change will begin
after about 1/2 second, but the switch must be held down
for a total of 5 or 6 seconds for the phase change to
occur. An equal amount of time is required to go in the
opposite direction.
Each optics package should be adjusted so that as the
switchers switch from one optics package to the next,
the monitor does not “roll” or show partial frames of
the video picture.
6 Pelco Manual C718M (10/96)
Page 11

6.0 WIRING DIAGRAM
Figure 5. Wiring Diagram for Color Camera/Lens
Pelco Manual C718M (10/96) 7
Page 12

7.0 EXPLODED ASSEMBLY DRAWING—TVH6
Figure 6. TVH6 Camera/Lens Combination Exploded Assembly Drawing
7.1 MECHANICAL PARTS LIST (Figure 6)
Item Qty Description Part Number
11Lens, 1/2", 6X motorized zoom, F1.2, 8.5-51 mm H6Z851M
21Frame, 6X lens package JIOP084307COMP
3 Not used
41Clamp, wire fatigue 80010016
51Top cover JIOP084106COMP
61Back cover JIOP084108COMP
71Camera, Sony, 1/2", high resolution, color (NTSC) SC-CPL27
81Circuit board, IOP camera interconnect PCB8500200ASSY
A Not used
B1Screw, 1/4-20 x .375" flat head, Phillips ZH1/4-20X.375SP
C2Screw, 2-56 x 1/2", pan head, Phillips ZH2-56X.500SPS
D5Internal star washer, #2 ZH2LWSIS
E5Screw, 2-56 x 3/8", pan head, Phillips ZH2-56X.375SRS
F16Screw, 4-40 x 1/4" pan head, Phillips ZH4-40X.250BPP
G2Nut, 2-56 ZH2-56NUTSH
H2Screw, 2-56 x 3/16" pan head, Phillips ZH2-56X.187SPS
J2Spacer, 3/16" x .187" SPA9161
K5Spacer, 3/16" x .125" SPA9160
8 Pelco Manual C718M (10/96)
Page 13

8.0 EXPLODED ASSEMBLY DRAWING—TVH10
Figure 7. TVH10 Camera/Lens Combination Exploded Assembly Drawing
8.1 MECHANICAL PARTS LIST (Figure 7)
Item Qty Description Part Number
11Lens, 1/2", 10X motorized zoom, F1.2, 8-80 mm H10Z880M
21Frame, 10X lens package JIOP194504COMP
3 Not used
41Clamp, wire fatigue 80010016
51Top cover JIOP084103COMP
61Back cover JIOP084105COMP
71Camera, Sony, 1/2", high resolution, color (NTSC) SC-CPL27
81Circuit board, IOP camera interconnect PCB8500200ASSY
A Not used
B1Screw, 1/4-20 x .375" flat head, Phillips ZH1/4-20X.375SP
C2Screw, 2-56 x 1/2", pan head, Phillips ZH2-56X.500SPS
D5Internal star washer, #2 ZH2LWSIS
E5Screw, 2-56 x 3/8", pan head, Phillips ZH2-56X.375SRS
F13Screw, 4-40 x 1/4" pan head, Phillips ZH4-40X.250BPP
G2Nut, 2-56 ZH2-56NUTSH
H2Screw, 2-56 x 3/16" pan head, Phillips ZH2-56X.187SPS
J2Spacer, 3/16" x .187" SPA9161
K5Spacer, 3/16" x .125" SPA9160
Pelco Manual C718M (10/96) 9
Page 14

9.0 SPECIFICATIONS
ELECTRICAL
MECHANICAL
Mounting Bracket
Construction: 0.050" aluminum
Dimensions: See Figures 8 and 9
Color NTSC (EIA) Camera Module
Input Voltage: 24 VAC, 60 Hz
Power
Requirements: Less than 5 watts
Video Output: 1 V p–p composite video into 75
ohms
Operating
Temperature: 14° to 131°F (-10° to 55°C)
Imaging Device: 1/2" CCD
Illumination: 2.5 LUX @ F1.2
Scanning System: 525 lines, interlaced/60 Hz
Horizontal
Resolution: 470 TVL
Shutter Speed: Adjustable, 1/60 to 1/10,000
second, 8 steps
Figure 8. TVH6 Camera Dimensions
Automatic Gain
Control: Present in auto mode only
Figure 9. TVH10 Camera Dimensions
10 Pelco Manual C718M (10/96)
Page 15

10.0 WARRANTY AND RETURN
INFORMATION
WARRANTY
Pelco will repair or replace, without charge, any merchandise proved
defective in material or workmanship for a period of one year after the date
of shipment.
Exceptions to this warranty are as noted below:
• Five years on FT/FR8000 Series fiber optic products.
• Three years on Genex
keyboard).
• Three years on Camclosure
CC3701H-2, CC3701H-2X, CC3751H-2, CC3651H-2X, MC3651H-2,
and MC3651H-2X camera models, which have a five-year warranty.
• Two years on standard motorized or fixed focal length lenses.
• Two years on Legacy
DF5/DF8 Series fixed dome products.
• Two years on Spectra
ing when used in continuous motion applications.
• Two years on Esprit
wiper blades).
• Eighteen months on DX Series digital video recorders, NVR300
Series network video recorders, and Endura
network-based video products.
• One year (except video heads) on video cassette recorders (VCRs).
Video heads will be covered for a period of six months.
• Six months on all pan and tilts, scanners or preset lenses used in
continuous motion applications (that is, preset scan, tour and auto scan
modes).
Pelco will warrant all replacement parts and repairs for 90 days from the
date of Pelco shipment. All goods requiring warranty repair shall be sent
freight prepaid to Pelco, Clovis, California. Repairs made necessary by
reason of misuse, alteration, normal wear, or accident are not covered
under this warranty.
Pelco assumes no risk and shall be subject to no liability for damages or
loss resulting from the specific use or application made of the Products.
Pelco’s liability for any claim, whether based on breach of contract,
negligence, infringement of any rights of any party or product liability,
relating to the Products shall not exceed the price paid by the Dealer to
Pelco for such Products. In no event will Pelco be liable for any special,
incidental or consequential damages (including loss of use, loss of profit
and claims of third parties) however caused, whether by the negligence
of Pelco or otherwise.
The above warranty provides the Dealer with specific legal rights. The
Dealer may also have additional rights, which are subject to variation from
state to state.
If a warranty repair is required, the Dealer must contact Pelco at (800) 2899100 or (559) 292-1981 to obtain a Repair Authorization number (RA),
and provide the following information:
1. Model and serial number
2. Date of shipment, P.O. number, Sales Order number, or Pelco invoice
number
3. Details of the defect or problem
If there is a dispute regarding the warranty of a product which does not fall
under the warranty conditions stated above, please include a written
explanation with the product when returned.
Method of return shipment shall be the same or equal to the method by
which the item was received by Pelco.
®
Series products (multiplexers, server, and
®
and fixed camera models, except the
®
, CM6700/CM6800/CM9700 Series matrix, and
®
, Esprit®, ExSite™, and PS20 scanners, includ-
®
and WW5700 Series window wiper (excluding
™
Series distributed
RETURNS
In order to expedite parts returned to the factory for repair or credit, please
call the factory at (800) 289-9100 or (559) 292-1981 to obtain an
authorization number (CA number if returned for credit, and RA number
if returned for repair).
All merchandise returned for credit may be subject to a 20% restocking
and refurbishing charge.
Goods returned for repair or credit should be clearly identified with the
assigned CA or RA number and freight should be prepaid. Ship to the
appropriate address below.
If you are located within the continental U.S., Alaska, Hawaii or Puerto
Rico, send goods to:
Service Department
Pelco
3500 Pelco Way
Clovis, CA 93612-5699
If you are located outside the continental U.S., Alaska, Hawaii or Puerto
Rico and are instructed to return goods to the USA, you may do one of the
following:
If the goods are to be sent by a COURIER SERVICE, send the goods to:
If the goods are to be sent by a FREIGHT FORWARDER, send the goods
to:
Pelco
3500 Pelco Way
Clovis, CA 93612-5699 USA
Pelco c/o Expeditors
473 Eccles Avenue
South San Francisco, CA 94080 USA
Phone: 650-737-1700
Fax: 650-737-0933
Pelco, the Pelco logo, Camclosure, Esprit,
Genex, Legacy, and Spectra are registered
trademarks of Pelco.
Endura and ExSite are trademarks of Pelco.
© Copyright 1999, Pelco. All rights reserved.
Pelco Manual C718M (10/96) 11
Page 16

Pelco
300 West Pontiac Way
Clovis, CA 93612-5699
(209) 292-1981 • (800) 289-9100
FAX (800) 289-9150 or (209) 292-3827 • DataFAX (800) 289-9108 or (209) 292-0435
International customers call 1-209-292-1981 or FAX 1-209-348-1120
(Product specifications subject to change without notice.)
C718M
 Loading...