

Page 1

Quick Reference
Switching Between Print Modes—Peel Mode or Non-peel Mode
1. Press the Pizza Hut® button on your keypad/terminal.
2. Press the Cheese button to display “NON-PEEL MODE” or “PEEL MODE” until the
print mode you want is displayed.
3. Press the Pizza Hut
4. The printer LED will blink red. Press the printer FEED button. The printer LED will
turn green, indicating the printer is ready. Default mode is non-peel.
Loading Labels for Hot-Hold (Peel) Labeling
Follow these instructions to print and peel labels from the backing paper one at a time.
®
button to save your choice.
1. Press the cover release levers towards
SSuuppppllyy HHoollddeerr
GGuuiiddeess
you to release the cover and then lift it
open.
2. Pull out the peel door located on the
front of the printer to display the peel
roller and the peel bar.
3. Remove a supply holder guide from one
4. Slide a roll of labels onto the supply
5. Place the supply holder guide back onto
PPeeeell DDoooorr
PPeeeell RRoolllleerr
PPeeeell BBaarr
Push the label core adapters into the
ends of the supply and center the labels
on the supply holder. The number 4 (on
the supply holder) should be visible on
either side of the supply holder guides.
6. Place the loaded supply holder in the slots
in the label roll mount. Push the plastic
line attached to the end of the supply
holder out of the way.
7. Remove the first two labels from the
backing paper.
8. Feed the labels, printing side up, under the
supply guides and over the platen roller.
end of the supply holder.
holder.
the end of the supply holder.
LLaabbeell RRoollll MMoouunntt
9. Feed the backing paper under the peel
roller and through the peel door opening.
TC941XQR Rev. AA 3/04 ©2004 Paxar Americas, Inc. All rights reserved.
PPeeeell RRoolllleerr
PPeeeell DDoooorr OOppeenniinngg
Page 2
10. Push the peel door closed and close the cover
r
until it locks in place.
11. Press the FEED button. A label will peel off of
the backing paper.
12. Remove the peeled label and another one
prints.
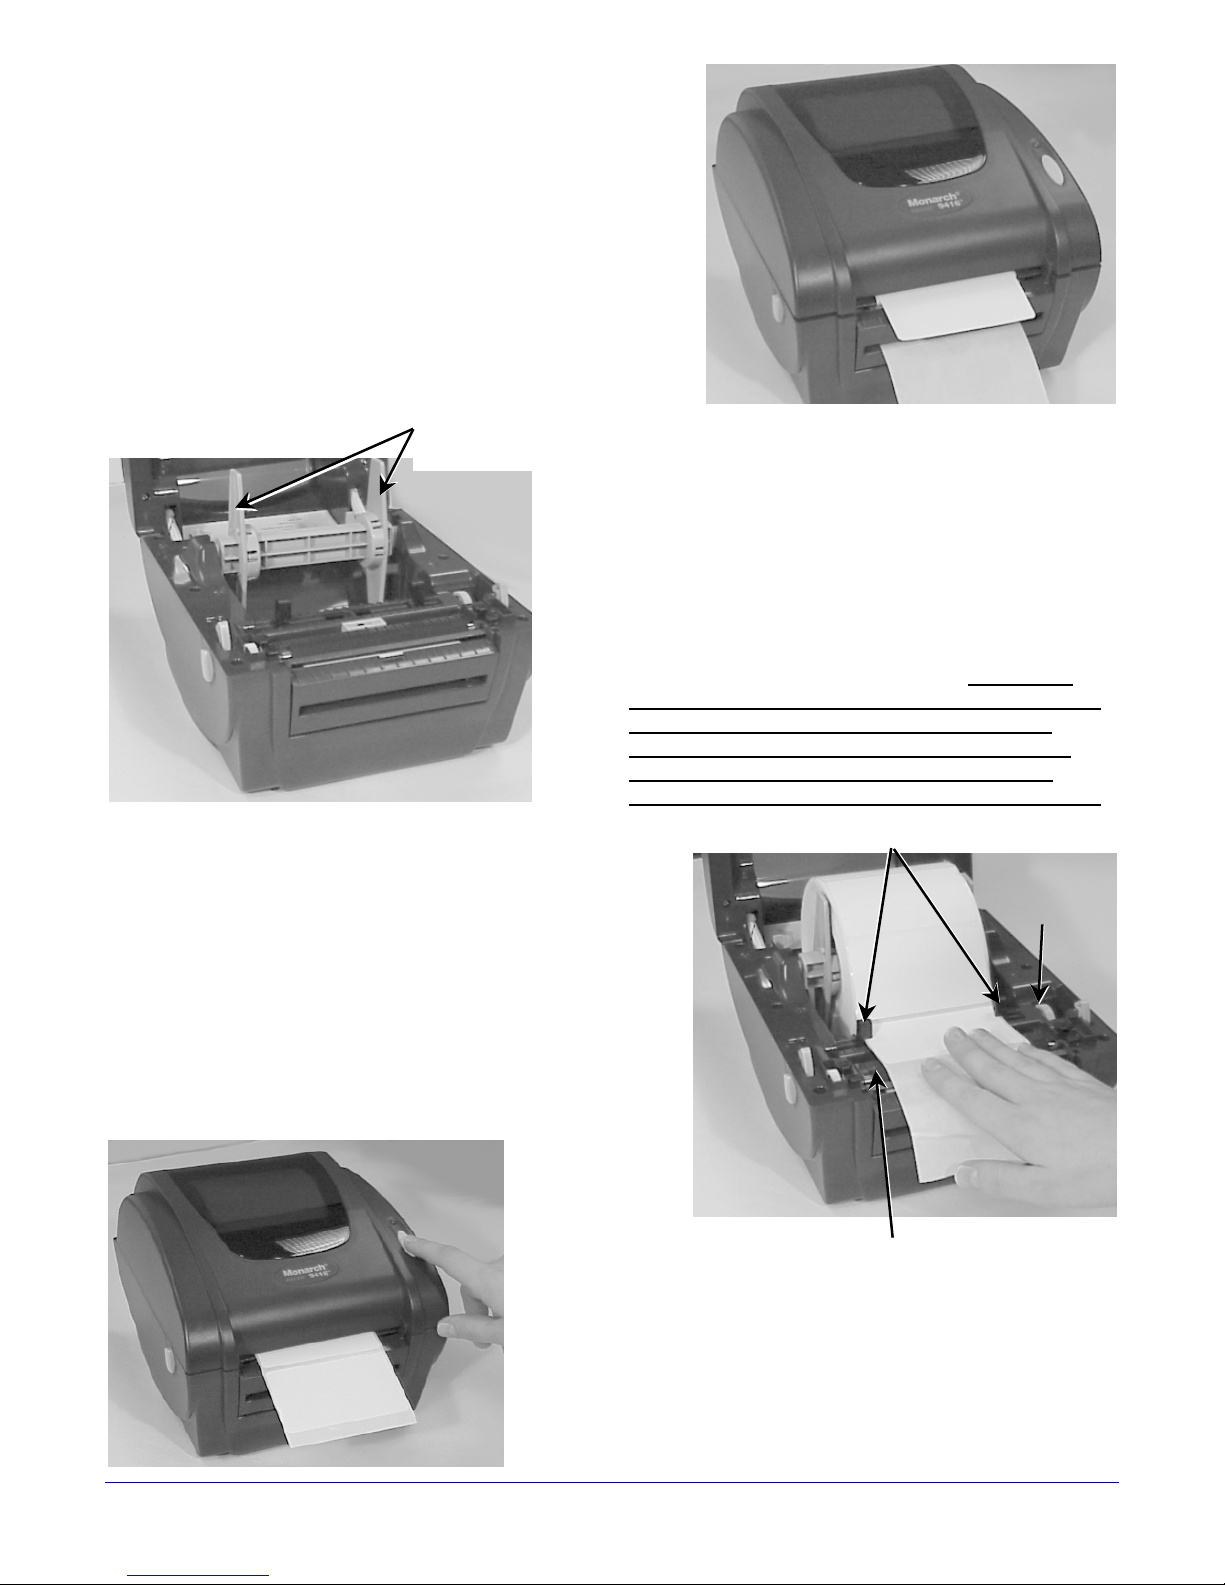
Loading Labels for Dough and MRD
(Non-Peel) Labels
Follow these instructions to print multiple labels on a
continuous strip.
SSuuppppllyy HHoollddeerr
GGuuiiddeess
1. Press the cover release levers towards the
front of the printer to release the cover,
then lift it open.
2. Remove the supply holder guide from one
end of the supply holder.
3. Slide a roll of labels onto the supply
holder.
4. Place the supply holder guide back onto
the end of the supply holder. Push the
label core adapters into the ends of the
supply and center the labels on the
supply holder. The number 4 (on the
supply holder) should be visible on
either side of the supply holder guides.
5. Insert the ends of the supply holder into the
slots in the label roll mount. Push the plastic
line attached to the end of the supply
holder out of the way.
6. Feed the labels, printing side up, under the
supply guides and over the platen roller.
SSuuppppllyy GGuuiiddees
s
l
DDiiaal
7. Turn the dial to move the supply guides so
they barely touch the edges of the backing
paper.
8. Close the cover until it locks in place.
PPllaatteenn RRoolllleer
9. Press the FEED button. The indicator light
should be GREEN.
IF YOU NEED HELP, CALL 1-888-666-9414. IF YOU
NEED MORE PAPER LABELS, CALL ONE OF THE
FOLLOWING:
PrimeSource: 800-397-4737 (order item #85221)
Wasserstrom: 800-999-9277 (order item #374014)
Unified Food Co-Op: 800-444-4144 (order item #374014)
 Loading...