

Page 1

QUICK REFERENCE
This Quick Reference contains supply loading information and
general care and maintenance procedures for the Monarch® Sierra
Sport2™ 9460™ printer. For more detailed information, refer to the
Operator’s Handbook available on our Web site (www.paxar.com).
Note: Information in this document supercedes information in
previous versions. Check our Web site for any updates.
Using the Display and Buttons
P Turns the printer
on and off.
Press and hold
for two seconds.
F Advances the
supply or returns
the printer to
Ready mode.
A Selects options
on the display.
Display
On/Off
Button
Navigation
Buttons
Feed/Ready
Button
Using the Battery
You can install the battery with or without supplies loaded.
1. Open the supply door by pushing down on the release buttons located
on both sides of the printer. The supply door should swing open.
2. Insert the connector end of the battery into the printer.
3. Close the supply door until the release buttons click into place.
Paxar® is a trademark of Paxar Corporation.
Avery Dennison® is a trademark of Avery Dennison Corporation.
TC9460QR Rev. AG 12/07 ©2004 Paxar Americas, Inc. a subsidiary of Avery Dennison Corp.
All rights reserved.
Page 2
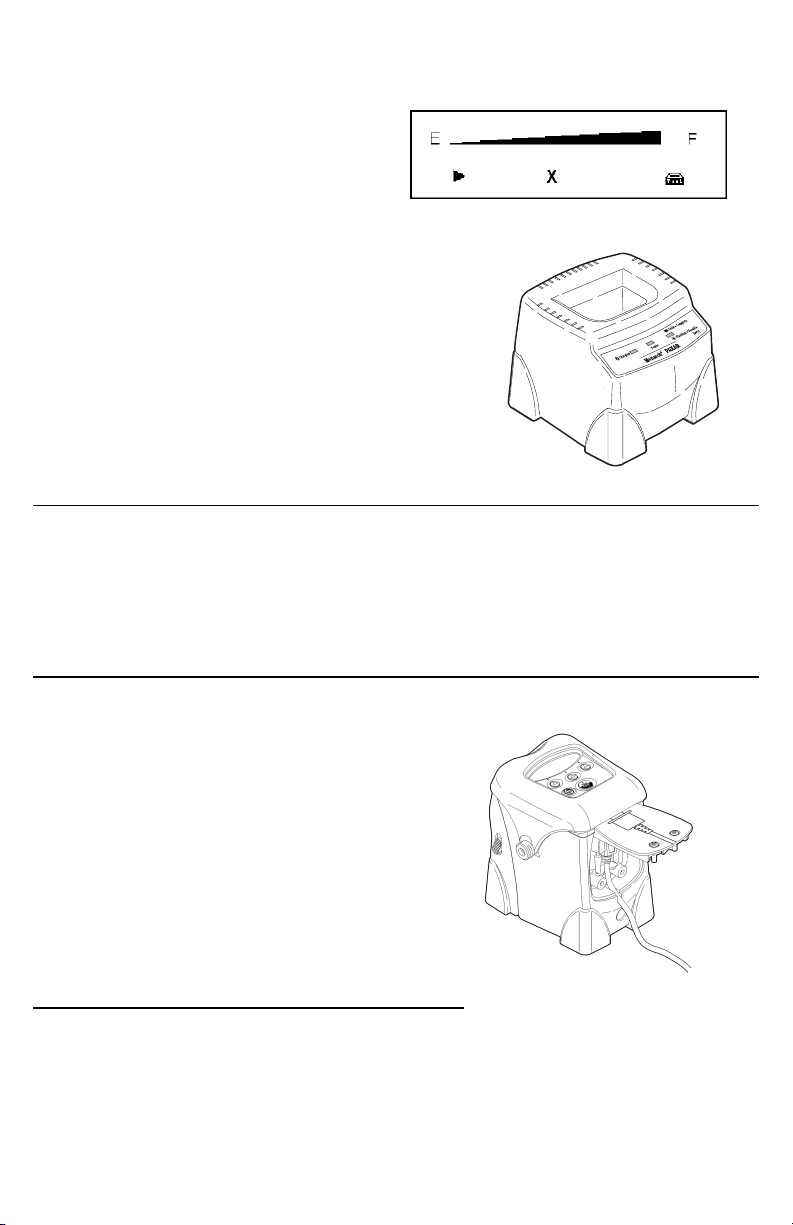
To check the battery:
The battery status flashes briefly
when you turn the printer on. If the
printer is already on, press A
under p. To return to Ready
mode, press the A under R.
To charge the battery:
1. Open the supply door and remove the
battery.
2. Insert the battery into the charger.
The Charging LED flashes and then
turns solid, starting the charging process.
The Complete LED turns solid when the
charging process is finished.
Sleep Mode
If configured to do so, the printer goes into sleep mode when it is inactive
for a period of time to conserve battery power. The printer displays a
coffee cup icon when it is in sleep mode. To wake the printer, press any
button except the power button (P). Or, continue normal data collection
terminal use.
Connecting the Communications Cable
1. Open the hinged cable door by loosening the screws and lifting up on
the door.
2. Plug the cable into the port.
3. Place the cable in the cable cavity.
4. Close the hinged cable door and
tighten the screws.
Loading Supplies
1. Open the supply door by pushing the release buttons down on both
sides of the printer. The supply door should swing open.
2. Remove the tape from a new roll of supply.
Page 3

3. Apply pressure to the supply holder tabs (from the center outward) to
widen the supply holders. Insert a roll of supplies (Figure 1). Make
sure the supply unwinds from the top as shown. Feed the loose end
of the supply through the exit chute.
4. Pull out enough supply to lie across the exit chute (Figure 2).
For Non-Peel (Continuous) Mode:
5.
Close the supply door until the release buttons click into place
(Figure 3).
Figure 1 Figure 2 Figure 3
For Peel Mode:
6.
Remove a couple of labels from the liner. Feed the supply under the
peel bar. If the peel bar is not open, push up on the release buttons
on both sides of the printer (Figure 4).
7. Close the supply door until the release buttons click into place
(Figure 5). The peel bar closes when the supply door clicks into
place.
8. Press F once or twice to advance the labels and to calibrate the
supply under the printhead (Figure 6). The liner separates from the
label.
Figure 4 Figure 5 Figure 6
Page 4

Clearing Label Jams
When you are printing and a jam occurs, you see a supply error message.
To clear the jam:
1. Turn off the printer and open the supply door.
2. Remove the roll of supplies and jammed labels.
3. Reload the supply.
4. Close the supply door and turn on the printer.
Troubleshooting
To clear an error, press A under X.
Problem Solution
Printer will not feed or print. Make sure the printer is in Ready Mode.
Has voids or print is too light. Load supplies properly, charge the
battery, and clean the printhead.
Common Errors
411 Framing Check the cable/Call your System
Administrator.
418 Noise Check the cable/Call your System
Administrator.
611 Error Loading Font or bar code in the batch does not
match the format.
704 – 753 Check Supply Check supply tracking, marks, black mark
sensor position, and roll for binding.
Change supply.
For any other errors, see your System Administrator.
Configuring the Printer
For information on configuring the printer, customizing fonts, and
downloading files, visit our Web site (www.paxar.com).
TC9460QR Rev. AE 12/06 2004 Monarch Marking Systems, Inc. All rights reserved.
 Loading...