

Page 1
Instruction Manual
Manual No. 012-08504A
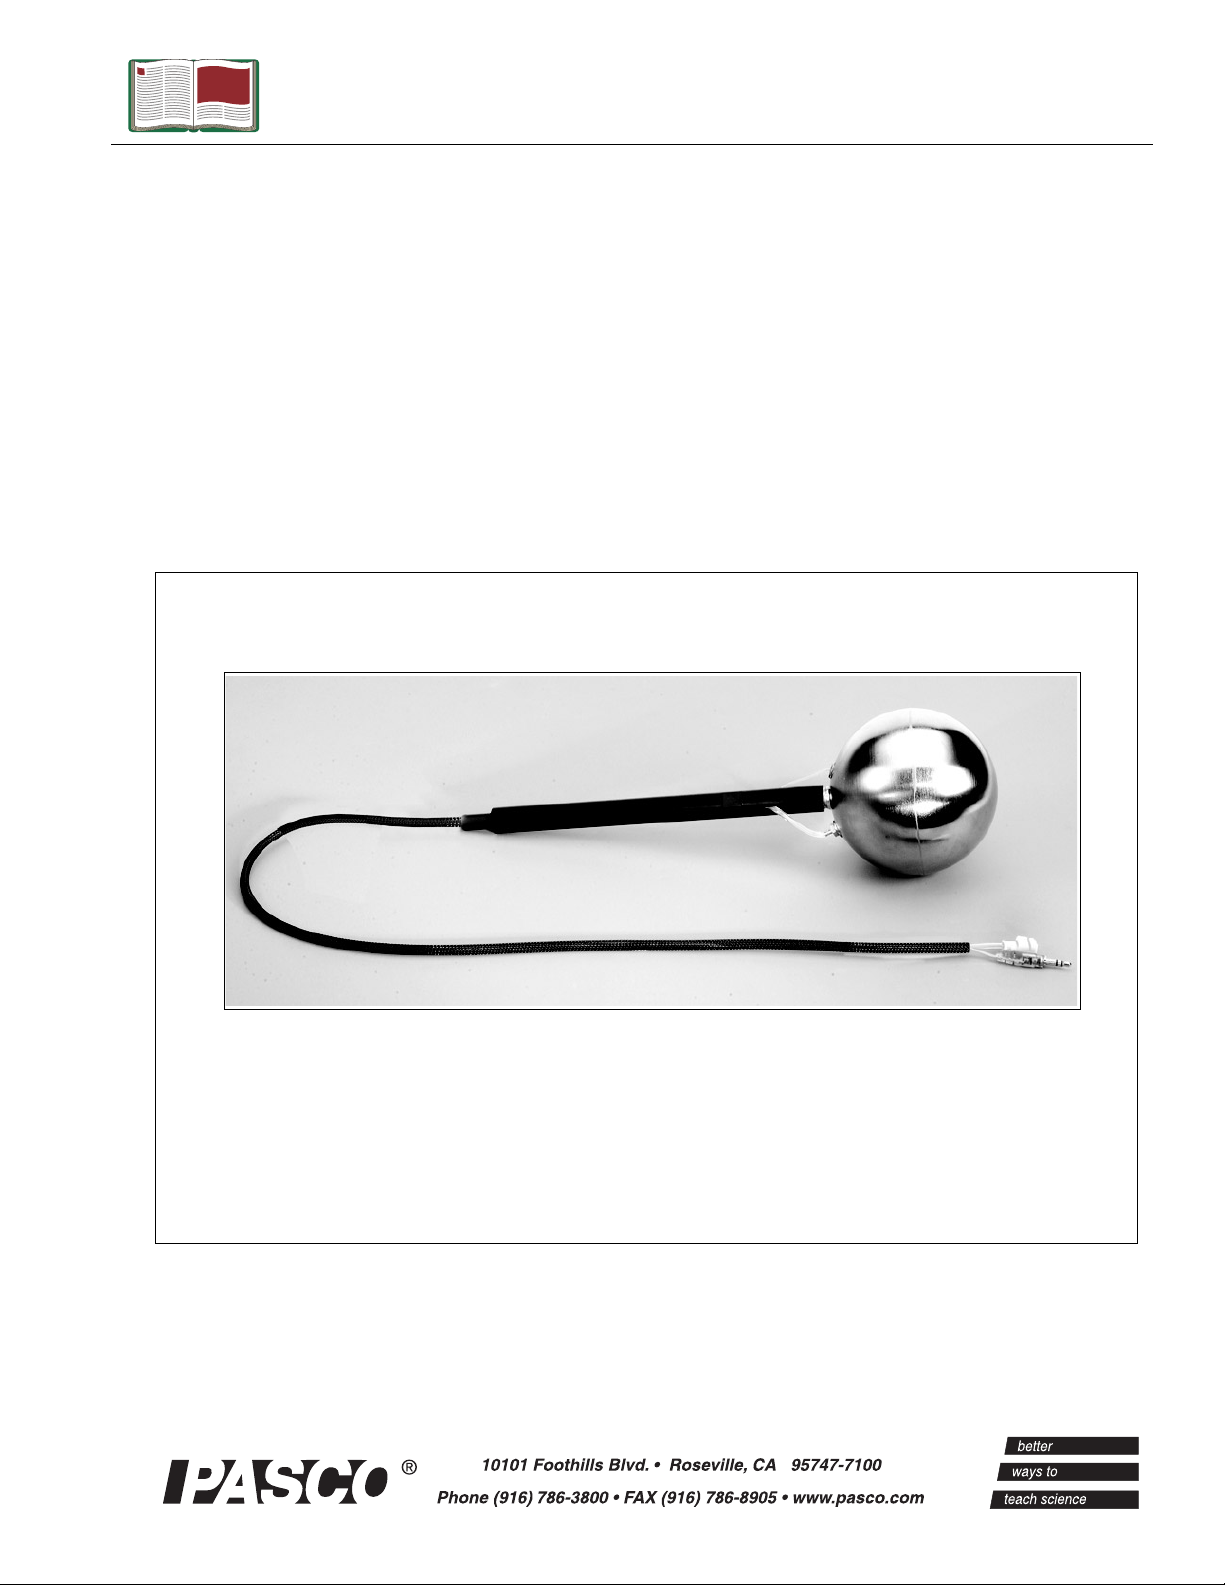
Absolute Zero
Apparatus
Model No. TD-8595
Page 2

Page 3

Absolute Zero Apparatus Model No. TD-8595
Table of Contents
Equipment List........................................................... 3
Introduction ............................................................. 4
Theory ................................................................... 4
Equipment Setup ........................................................ 5
Suggested Experiments ................................................. 6
Exp. 1: Determining Absolute Zero while Keeping the Number of Gas Moles (n) Constant.......6
Exp. 2: Determining Absolute Zero while Varying the Number of Gas Moles (n).......................7
Appendix A: Specifications............................................. 9
Appendix B: DataStudio Setup Instructions ......................... 10
Appendix C: Creating Equations in DataStudio....................... 11
Appendix D: Technical Support ....................................... 12
Appendix E: Copyright and Warranty Information .................. 12
2
®
Page 4
Model No. TD-8595 Absolute Zero Apparatus
Absolute Zero Apparatus
Model No. TD-8595
Equipment List
Included Equipment Replacement Model
Number*
1. Absolute Zero Apparatus TD-8595
*Use Replacement Model Numbers to expedite replacement orders.
Additional Equipment Required Replacement Model
Number*
A PASCO computer interface (PASPORT™ or
DataStudio software (version 1.7 or later) Various (See
Steam Generator or Hot Plate (or other means of heating water) TD-8556 or
Absolute Pressure Sensor or combination Pressure/Temperature
Sensor
Temperature Sensor or Thermistor Sensor*
Ice (approximately 2 cups) N/A
A computer N/A
ScienceWorkshop
®
)*
Various (See
PASCO catalog.)
PASCO catalog.)
SE-8767
PS-2107 or
CI-6532A or
PS-2146
PS-2125 or
CI-6527A
*PASCO sensors require a PASPORT interface;
ScienceWorkshop
and works with any PASPORT interface. If you have a
Thermistor Sensor (instead of a PS-2125 Temp. Sensor) to use the Absolute Zero Apparatus.
®
interface. A Fast Response Sensor is molded into the Absolute Zero Apparatus
ScienceWorkshop
ScienceWorkshop
sensors require a
interface, you will need a
3
Page 5
Absolute Zero Apparatus Model No. TD-8595
b
()
Introduction
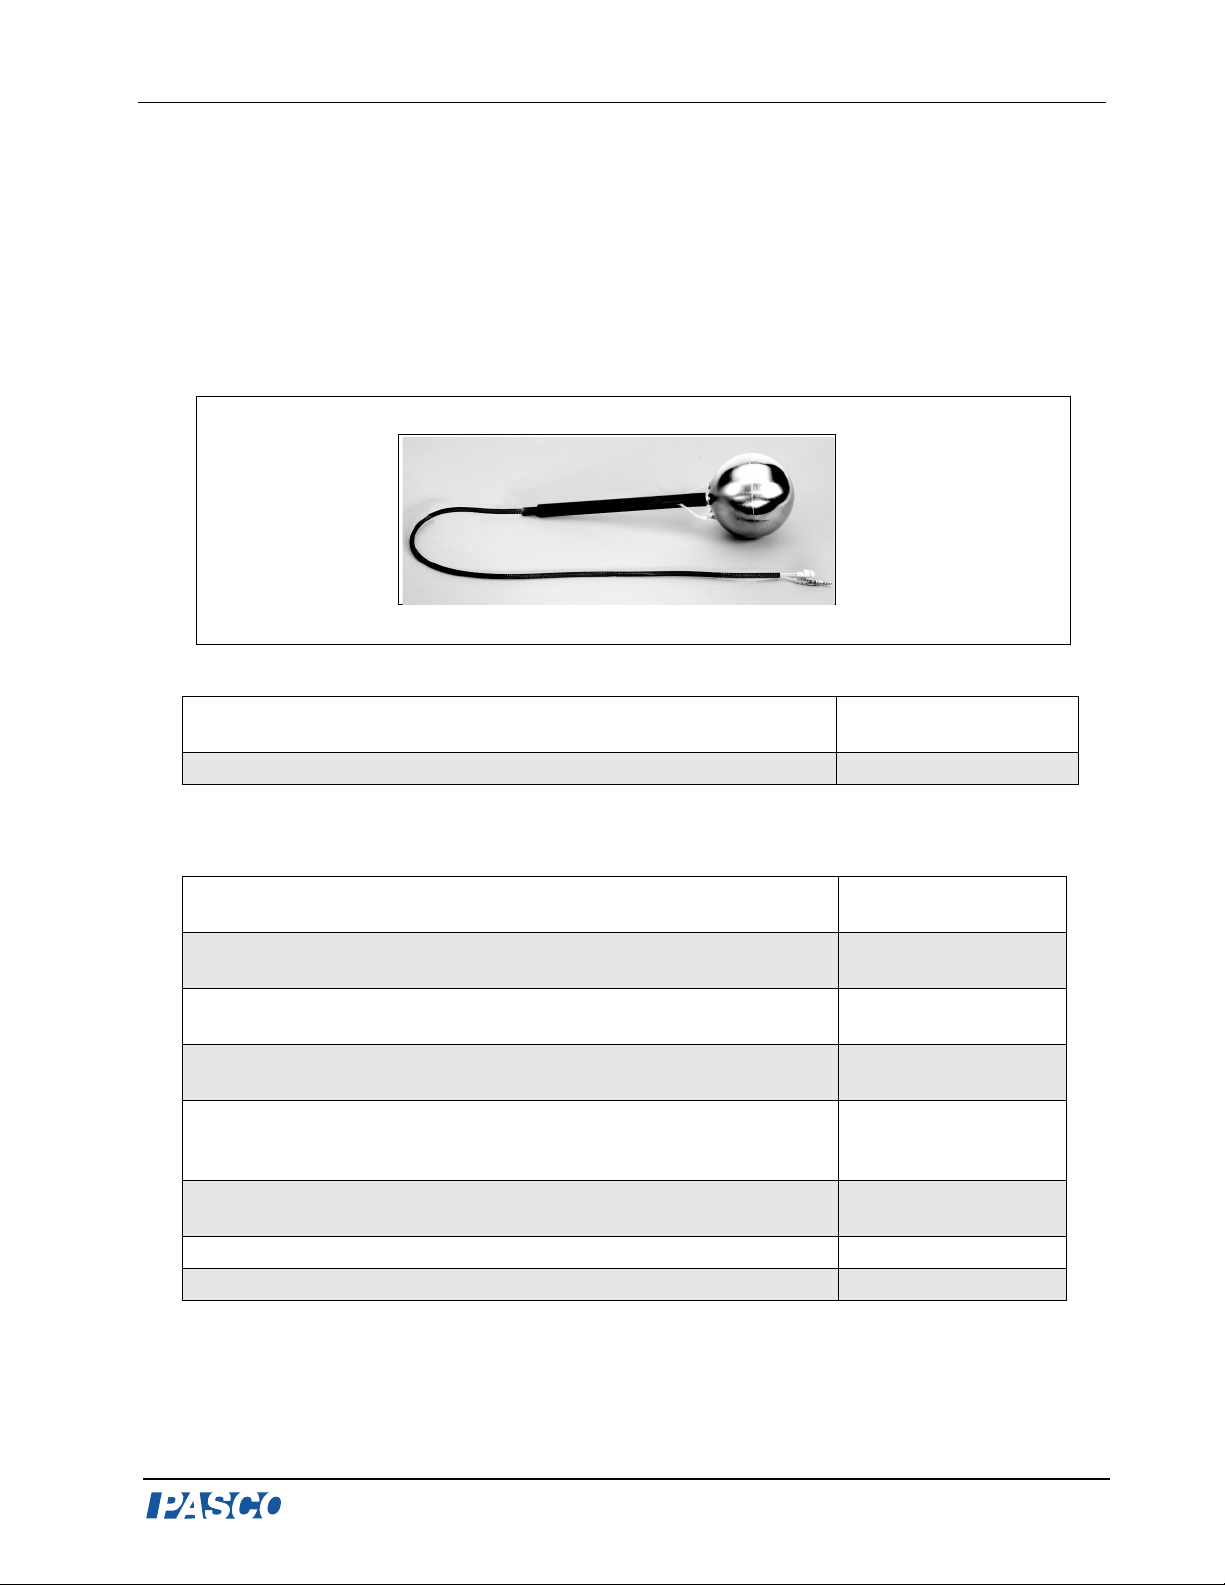
The Absolute Zero Apparatus consists of a Fast Response
Temperature Sensor and plastic tubing (with pressure
connector) mounted into a hollow copper sphere. When
the sphere is submerged in a water bath and connected to a
temperature sensor, pressure sensor, and a computer
interface, DataStudio records and displays the temperature
and pressure.
The Fast Response Temperature Sensor plugs into any
PASPORT Temperature Sensor box or a ScienceWorkshop
Thermistor Sensor, allowing the Absolute Zero Apparatus
to be used with both PASCO’s PASPORT and
ScienceWorkshop interfaces.
The Absolute Zero Apparatus is used to experimentally determine the temperature of
absolute zero (in degrees Celsius). Absolute zero, by definition, is the point at which a gas
exerts zero pressure. With a computer, the Absolute Zero Apparatus can help students to
observe the relationship between temperature and pressure and use DataStudio to
mathematically extrapolate to find absolute zero.
Figure 1: Absolute Zero
Apparatus
Theory:
For an ideal gas, the absolute pressure is directly proportional to the absolute temperature of
the gas.
V
=
T
Thus a plot of temperature vs. pressure will result in a straight line.
=+
yslope x
=
T
The slope of the line depends on the amount of gas in the thermometer, but regardless of the
amount of gas, the intercept of the line with the temperature axis should be at absolute zero.
If we instead plot the temperature in degrees Celsius, the intercept will not be zero, but rather
the temperature of absolute zero in degrees Celsius.
nR
V
nR
P
+
P
0
4
®
Page 6

Model No. TD-8595 Absolute Zero Apparatus
Equipment Setup (for use with DataStudio)
1. Plug the Fast Response Temperature stereo plug into a PASPORT Temperature Sensor box or
into a ScienceWorkshop Thermistor Sensor.
2. PASPORT users: Plug the Temperature Sensor box into a PASPORT interface.
Or
Science Workshop users: Plug the Thermistor Sensor into a ScienceWorkshop interface.
3. Connect the Pressure port connector to a Pressure Sensor. Plug the Pressure Sensor into
the computer interface.
4. Set up your experiment in DataStudio. In DataStudio, open a Graph display and plot
temperature vs. pressure. Use manual sampling, with no keyboard input. (For detailed
software setup instructions, See Appendix B of this manual.)
5. Submerge the sphere into a bucket of ice water.
6. In DataStudio software, click the Start button to begin collecting data. (For suggested
experiments, see pages 6 to 9 of this manual.)
Using the Absolute Zero Apparatus with a PASPORT Xplorer
The Absolute Zero Apparatus can be used with one or more Xplorers. If measuring both the
pressure and the temperature with a combination Pressure/Temperature Sensor, you only need
one Xplorer. If measuring both the pressure and temperature with two sensors, you will need
at least two Xplorers.
1. Plug the stereo plug of the Fast Response Temperature Sensor into a PASPORT Temperature
Sensor box.
2. Plug the Temperature Sensor into the first Xplorer.
3. (Optional): Connect the Pressure port connector to a Pressure Sensor. Then connect the
Pressure Sensor to a PASPORT interface. Plug the Pressure Sensor into a second Xplorer.
4. Grasp the handle and submerge the sphere into the container of ice water.
5. In your Xplorer(s), press the Start/Stop button to begin collecting data.
®
5
Page 7

Absolute Zero Apparatus Model No. TD-8595
Suggested Experiments
Experiment I: Determining Absolute Zero while Keeping the Number of Gas Moles
(n) Constant.
Equipment required:
Absolute Zero Sphere (TD-8595) One bucket of hot water, one bucket of cold
water, ice
Absolute Pressure Sensor
(PS-2107) or (CI-6532A)
Temperature Sensor (PS-2125) or
Thermistor Sensor (CI-6527A)
Procedure:
1. Start with the water as hot as possible.
DataStudio software (version 1.7or later)
Steam Generator (TD-8556) or Hot Plate
(SE-8767)
2. Connect the hose fitting from the Absolute Zero Apparatus
to the Pressure Sensor. Connect the stereo plug from the
apparatus to the Temperature Sensor.
3. Set up your experiment in DataStudio (See Appendix B for
setup instructions.) In DataStudio, open a Digits display and
a temperature vs. pressure graph. Click the Start button.
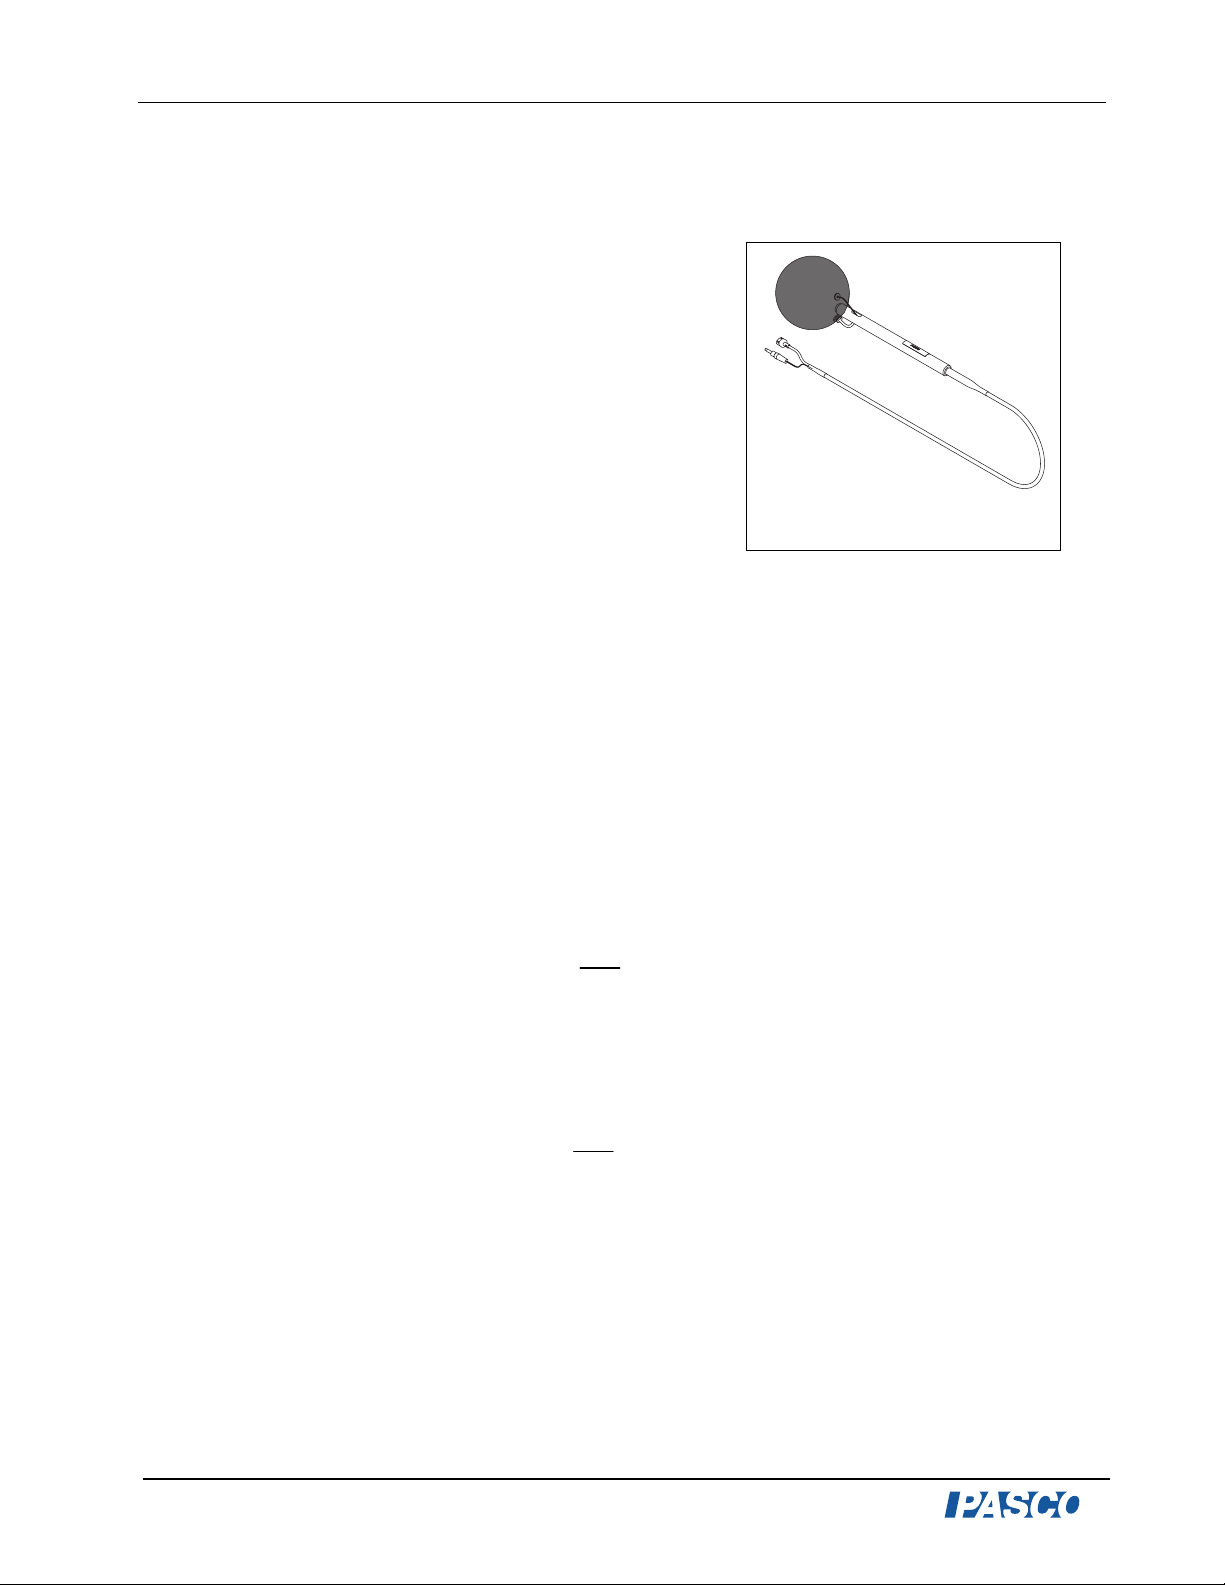
4. Place the sphere of the apparatus in the water bath, and keep
the sphere completely submerged.
5. Watch the Digits display of temperature. When the display
Figure 1-1: Experiment
Set up
stops changing (in the hundredths place), click on the Keep
button. Do not stop recording.
6. Cool the water bath by adding cold water or some ice cubes. When the container becomes
too full, dump out some of the water, but always have enough water to keep the apparatus
completely submerged. Cool the bath by about 10oC, and repeat step (4).
7. Repeat steps 4 through 6, for temperatures down as low as you can go, and then click on
the Stop button to end recording.
8. In the Graph display, click on the Fit button and select a linear curve fit. The y-intercept is
your value for absolute zero.
6
®
Page 8

Model No. TD-8595 Absolute Zero Apparatus
Sample Data (Experiment 1)
Graph of Data Fit
Experiment II: Varying the Number of Moles of Gas (n)
Equipment required:
Absolute Zero Sphere (TD-8595) One bucket of hot water, one bucket of cold
water, ice, one bucket at room temperature
Absolute Pressure Sensor
(PS-2107) or (CI-6532A)
Temperature Sensor (PS-2125) or
Thermistor Sensor (CI-6527A)
Experiment Procedure:
1. Prepare three different temperature water baths: A hot-water
bath, room temperature bath, and a cold-water bath. Keep
the hot-water bath as hot as possible, using a steam generator
or hot plate, if available. Use ice for the cold water bath, if
available. The room temperature bath needs to be
somewhere in the temperature range between the other two
baths.
2. Connect the stereo plug from the Absolute Zero Apparatus to
the Temperature Sensor, but leave the hose fitting
disconnected.
3. Set up your experiment in DataStudio. (For setup
instructions, see Appendix B.)
DataStudio software (version 1.7 or later)
Steam Generator (TD-8556) or Hot Plate
(SE-8767)
Figure 2-1: Experiment
Setup
®
7
Page 9

Absolute Zero Apparatus Model No. TD-8595
4. Place the sphere of the apparatus in the ice-water bath, and connect the hose fitting to the
Pressure Sensor. Keep the sphere completely submerged, click the Start button, and
watch the Digits display of temperature.
5. When the temperature stops changing (in the hundredths place), click on the Keep button.
Do not stop recording.
6. Place the sphere in the room temperature bath and repeat step 5.
7. Place the sphere in the hot-water bath and repeat step 5.
8. Click on the Stop button to end recording. Save this data to disk.
9. Click on the Fit menu button and select a linear curve fit. The y-intercept is your value
for absolute zero.
10. Repeat the above procedure using a different amount of gas (n) in the sphere. This time,
start with the room temperature bath. Disconnect the hose fitting from the Pressure
Sensor. Place the sphere in the bath and re-connect the fitting. Take readings for all three
baths as before. Plot this data on the same graph, click on the Fit menu button, and
choose a linear curve fit. You will now have two lines with different slopes, but about the
same intercept.
11. Repeat the above procedure again, starting this time with the hot-water bath. Take the
readings in the other two baths, and plot this data on the same graph.
12. Average your three values, estimate the uncertainty, and round your answer to the
appropriate number of significant figures. Compare the average of your three values for
absolute zero with the accepted value of -273°C.
13. Measure the volume of the sphere. Using the slope of each of the lines, determine the
number of moles of gas in the container for each of the three runs.
8
®
Page 10

Model No. TD-8595 Absolute Zero Apparatus
Sample Data (Exp.2) - Three Runs with Different Molar Amounts
Graph of Data
Appendix A: Specifications
Component Description
Sphere: Material: copper with hollow center
Radius: 2 inches
Volume: 32.66 inches
Surface area: 50.24 inches
Temperature Probe (Fast
Response):
Tubing: Polyurethane, 3 feet in length
Stereo plug: 3.5 mm male plug
Thermistor is 10,000 Kohms at 25
Range: -35 to 135
238 to 408 K
Resolution:
Accuracy:
±0.5°C
°C, -31 to 279°F,
±0.01°C
°C,
®
9
Page 11

Absolute Zero Apparatus Model No. TD-8595
Appendix B: DataStudio Setup Instructions
Follow the steps specific for the type of sensor and interface (i.e. PASPORT or
ScienceWorkshop).
Procedure Steps
PART I: Plug the
sensors into the
interface:
PART II: Set up
your experiment
PASPORT: a) Plug the Temperature and Pressure Sensors into a
PASPORT interface. b) Connect the PASPORT interface (i.e. USB Link,
PowerLink, etc.) to a USB port on your USB-compatible computer.
c) When the PASPORTAL window opens, select “Launch DataStudio.”
OR
ScienceWorkshop: a) Plug the Temperature and Pressure Sensors into a
ScienceWorkshop
PASPORT: a ) In the Experiment Setup window, scroll to the Temperature
Sensor, select “C” and set the sample rate to 10 Hz. b) Scroll to the
Pressure Sensor, select “kPa” and set the sample rate 10 Hz. c) In the
Experiment menu, select “ Set Sampling Options.” In the Sampling
Options dialog, click on the Manual Sampling tab and click to place a check
in the box next to ”Keep data values only when commanded.” Click OK.
OR
ScienceWorkshop: a) In the Welcome to DataStudio window, double click
“Create Experiment.” b) In the Sensors list, click and drag the Temperature
Sensor and Pressure Sensor icons to channels on the picture of the
interface (i.e. to the same letters in which you have the sensors connected).
c) In the Experiment Setup window, double click on the Temperature
Sensor icon and ensure the sampling rate is set at 10 Hz. Repeat this step
for the Pressure Sensor. Click OK to save any changes. d) In the
Experiment menu, select “ Set Sampling Options.” In the Sampling
Options dialog, click on the Manual Sampling tab and click to place a check
in the box next to ”Keep data values only when commanded”. Click OK.
interface. b) Launch DataStudio.
PART III: Create
the equations for
your experiment
PART IV: Collect
Data
10
a) Temperature equation: Temperature=smooth (10,T)(
temperature in degrees Celsius b) Pressure equation: smooth (10, P)
(kPa), where P= pressure in kPa [Select “data measurement” for the “T”
and “P” variables. c) Change=abs (100*derivative (2, smooth (8,T/P). This
equation can be transferred to a Meter display to show an equilibrium
scale, which indicates how much the temperature deviates from absolute
zero (where zero is no thermal motion of gas molecules). Drag this
equation to a Meter display. In the Scale tab of the Meter display, set the
minimum to 3.0, maximum to 0, start angle to 359.99, and end angle to
0.01. Select custom sweep and click OK. (For more instructions on
creating equations, see Appendix C or the DataStudio online help.)]
a) From the Data list, drag each of the parameters (i.e temperature,
pressure, change) over a y-axis in a separate graph display. b) Drag the
equilibrium parameter to a Meter display. c) Click the Start button on the
main toolbar.
°C) where T=
®
Page 12

Model No. TD-8595 Absolute Zero Apparatus
Appendix C: Creating Equations in DataStudio
Step 2: Type in and/or
build the equation.
(Use the Scientific,
Statistical, and Special
menus, and the
trigonometric functions
to build the equation.)
Click the Accept button.
Step 3: Define the
dependent variables.
Under “Variables,” use
the down arrow to select
a variable or constant,
etc. and click OK.
(Example: For “T,” select
“Data Measurement.” In
the pop-up, select
“Temperature,” and click
OK.
Step 1: Create a new equation. On the main toolbar,
click the Calculate button to open the Calculator
dialog. In the Calculator dialog, click the New button.
Step 4: Enter any experiment
constants (optional). Use the (+)
button to create an experiment
constant. Click New, then enter the
name, value and units for the constant.
Click the Accept button. Go back to
the Variables menu and select
“experiment constant”. Click OK.
Step 6: Save the
equation. Click
the Accept
button.
Step 5: Label the
units. Click on the
Properties button to
open the Data
Properties dialog and
enter the name and
units. (Example: In
the Data Properties
dialog, type
“temperature” in the
name box and “C” in
the units box.)
Note: Each time you build a new equation, click the New button. To edit a completed
equation, double click on the equation in the Data list, make your changes, and click the
Accept button to save your changes.
®
11
Page 13

Absolute Zero Apparatus Model No. TD-8595
Appendix D: Technical Support
For assistance with the TD-8595 Absolute Zero Apparatus or any other PASCO products,
contact PASCO as follows:
Address: PASCO scientific
10101 Foothills Blvd.
Roseville, CA 95747-7100
Phone: (916) 786-3800
FAX: (916) 786-3292
Web: www.pasco.com
Email: techsupp@pasco.com
Appendix E: Copyright and Warranty Information
Copyright Notice
The PASCO scientific 012-08504A Absolute Zero Apparatus Manual is copyrighted and all
rights reserved. However, permission is granted to non-profit educational institutions for
reproduction of any part of the 012-08504A Absolute Zero Apparatus Manual, providing the
reproductions are used only for their laboratories and are not sold for profit. Reproduction
under any other circumstances, without the written consent of PASCO scientific, is
prohibited.
Warranty
For a description of the product warranty, see the PASCO catalog.
12
®
Page 14

 Loading...