

Page 1
Instruction Manual
Manual No. 012-08690A
Solar Constant
Model No. TD-8497
Page 2

Page 3

Solar Constant Model No. TD-8497
Table of Contents
Equipment List........................................................... 3
Introduction ............................................................. 4
Setup Procedure ........................................................ 4
Setup Options with
ScienceWorkshop
Interfaces .................... 5
Setup Options with PASPORT Interfaces ............................. 5
Experiment Tips ......................................................... 5
Suggested Experiment .................................................. 6
Teacher’s Notes......................................................... 8
Sample Data/Results.................................................... 9
Appendix A: Technical Support ....................................... 10
Appendix B: Copyright and Warranty Information .................. 10
2
®
Page 4
Model No. TD-8497 Solar Constant
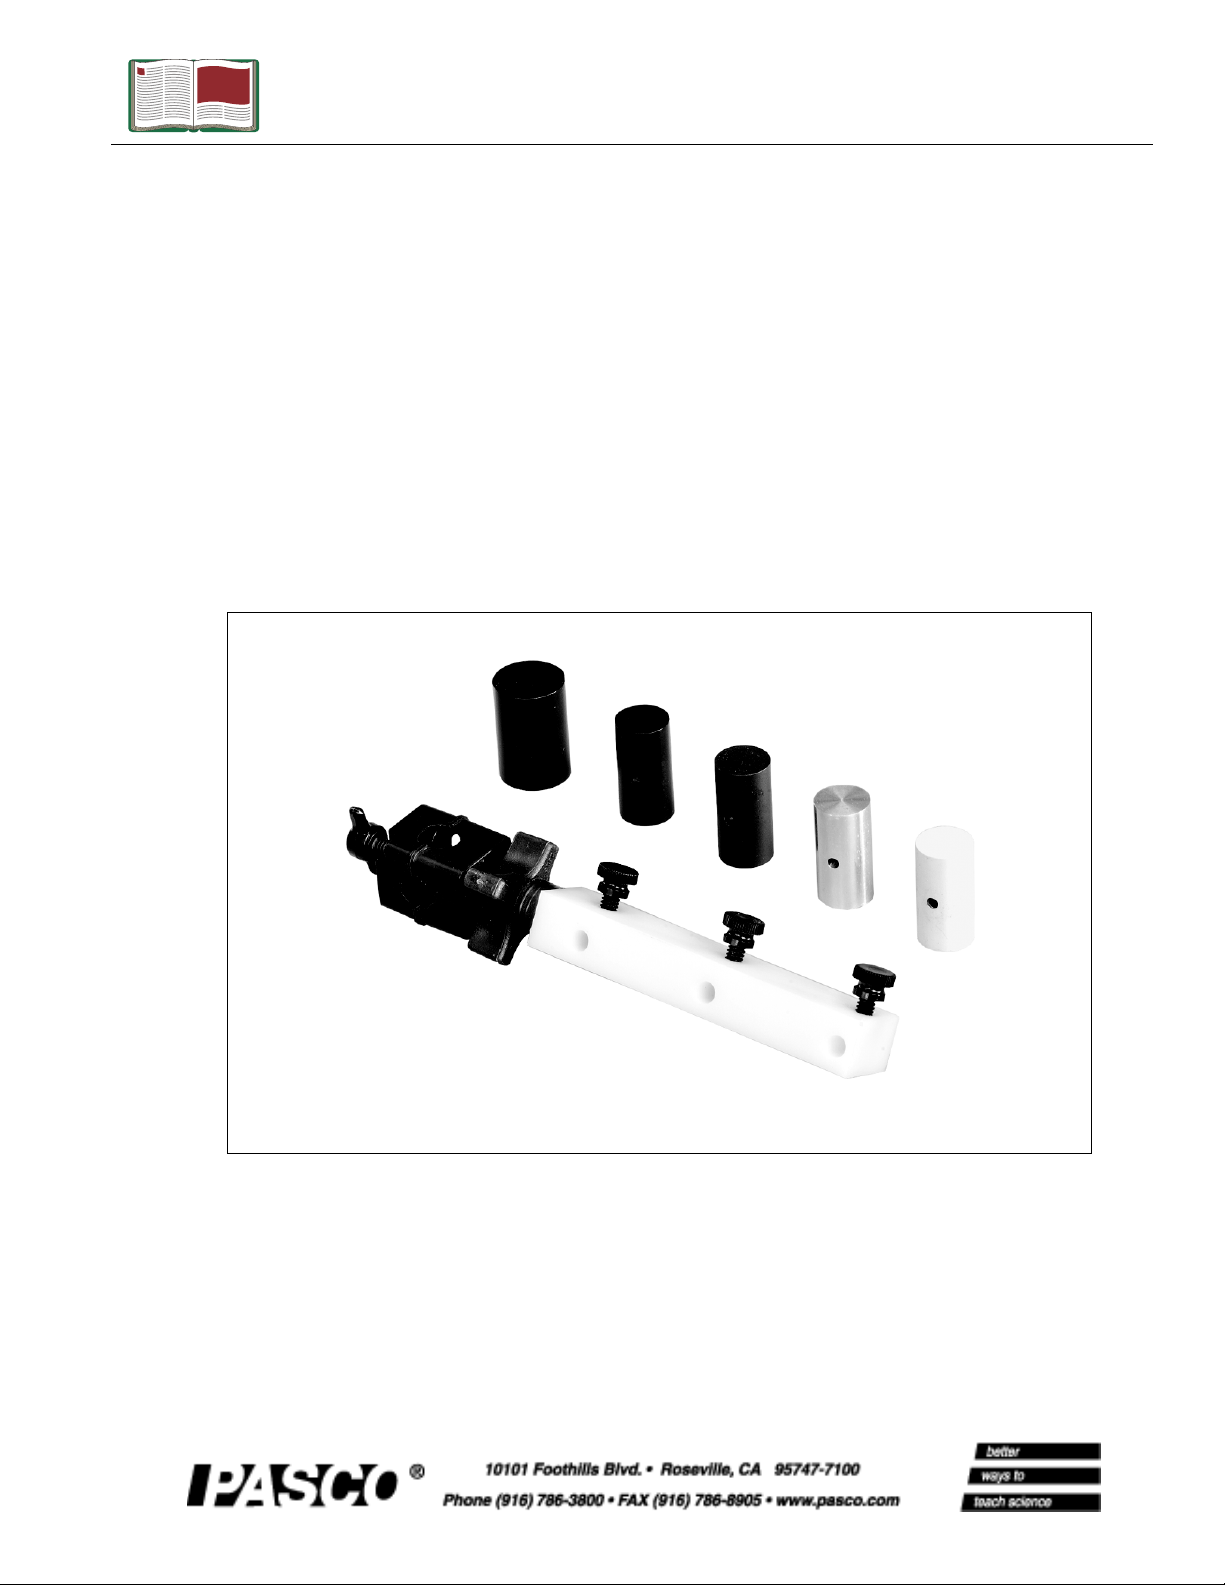
Solar Constant
Model No. TD-8497
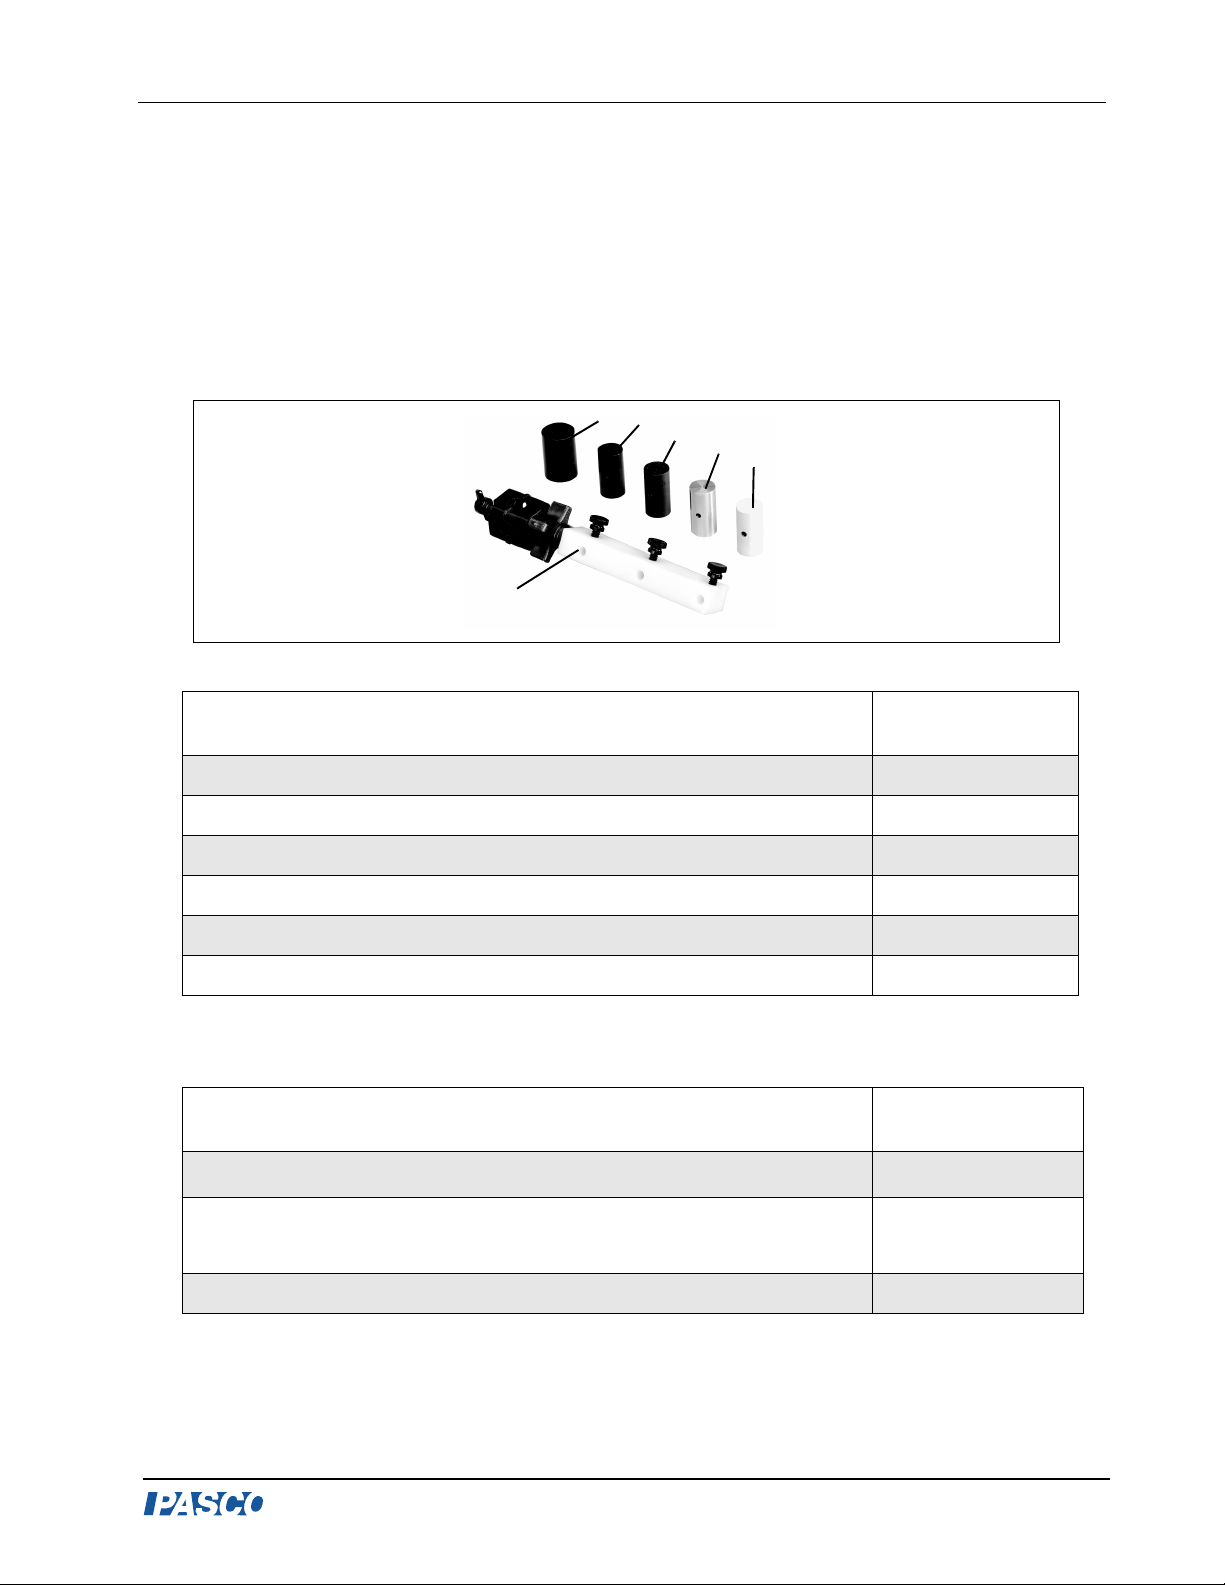
Equipment List
1
2
3
4
5
6
Included Equipment Replacement
Model Number*
1. Cylinder, aluminum, black, 1 inch
2. Cylinder, aluminum, black, 0.75 inch
3. Cylinder, brass, black, 0.75 inch
4. Cylinder, aluminum, polished, 0.75 inch
5. Cylinder, aluminum, white, 0.75 inch
6. Mounting bracket with rod clamp
648-08684
648-08686
648-08688
648-08687
648-08685
003-08691
*Use Replacement Model Numbers to expedite replacement orders.
Additional Equipment Required (for use with PASPORT) Replacement
Model Number*
Any PASPORT computer interface (PASPORT™ or
Quad Temperature Sensor (1) or Temperature Sensors
Stainless Steel Temperature Probes (3)
ScienceWorkshop
®)
See PASCO catalog.
P S- 21 43 (1) or
PS-2125(3) or PS-
2146(3)
PS-2153 or CI-6605
®
3
Page 5

Solar Constant Model No. TD-8497
Introduction
The Solar Constant Set is used for discovering the rate at which radiant energy is received
from the sun. Using the included bracket and a standard ring stand, these cylinders can be
used to discover the solar constant or to simply compare the energy transfer to various
cylinders.
In a typical experiment, the cylinders are each placed on a temperature probe and secured in a
mounting bracket. The cylinders are taken outside and positioned such that each cylinder is
perpendicular to the sun’s light rays. Using a fourth temperature probe (such as our Fast
Response Temperature Probe (PS-2135), the ambient temperature can be measured
throughout the entire experiment. The student typically collects temperature vs. time data for
approximately one-half hour.
Setup Procedure
1. Insert a rod into a rod stand. Slide the rod clamp on
the mounting bracket over the rod, and tighten the
rod clamp.
2. With the big knob, set the angle so that the
temperature probe points directly at the sun.
Note: The cylinders are designed to only fit the new
stainless steel temperature probes (PS-2153 and CI-
6605). The PS-2153 probe can be used with either a
PASPORT Temperature Sensor (PS-2125), Pressure/
Temp. Sensor (PS-2146), Quad Temp. Sensor (PS-
2143), or the CI-thermistor Sensor (CI-6527A). The
CI-6605 Stainless Steel Temperature Probe plugs
directly into a CI-interface.
Figure 1: Setup with
cylinders on temperature
probes
3. Insert each probe through the hole in the bracket
hole and tighten with a thumbscrew. Place a 1.5-in.
piece of blue tubing over the bottom third of the probe to protect the probe. Blue tubing is
provided with both the Stainless Steel Temperature Probe and the Solar Constant Set).
Note: When securing the probe in the plastic holder, make sure that the thumb screw seats
over the tubing, not directly on the stainless steel probe. Do not overtighten the screw, or you
may collapse the probe.
4. Use the holes in the cylinders to fit the cylinders on the tip of the probes. You can position
the cylinders either horizontally or vertically on the probe.
5. Connect each of the probes to a temperature sensor. (Note: The Quad Temp. Sensor (PS-
2143) accommodates all four probes.)
4
®
Page 6

Model No. TD-8497 Solar Constant
6. Connect one or more temperature sensor(s) to either a PASPORT or ScienceWorkshop
computer interface. (See the interface setup options on the this page.)
7. Open DataStudio. To begin collecting data, click the Start button.
Setup Options with
ScienceWorkshop
Interfaces
Interfaces - You can datalog with a 500 or 750 ScienceWorkshop interface in real time. With a
ScienceWorkshop interface, you can use up to three sensor ports.
Sensors and probes - Use the CI-Thermistor Sensor (CI-6527A), and either the PS-2153
Stainless Steel Temperature Probe or the CI-6605 Stainless Steel Temperature Probe.
Setup Options with PASPORT Interfaces
Interfaces - Data log with any of the following: a) an Xplorer, b) laptop computer with USB
link or c) PowerLink with a laptop computer or a palm handheld device.
Sensors and probes - You can use either a single Quad Temperature Sensor (PS-2143) or
three PS-2125 Temperature Sensors. A Quad Temp sensor is recommended. With a single
Quad Temperature Sensor, you can attach four temperature probes (three stainless steel
probes for the temperature of the cylinders and one Fast Response Temperature Probe (PS-
2135) to separately monitor the ambient temperature).
Experiment Tips
1. Place the cylinders and entire apparatus outdoors in direct sunlight. This experiment must
be performed in direct sunlight. It can be performed in early morning and late afternoon, but
of course, the values you record in the early morning will be much lower. If you are trying to
find the true solar constant, you will record a better value if you perform the experiment in
the middle of a clear day in summer.
2. Aim and align the stainless steel probes directly at the sun. The best way to check
alignment is to look at the shadow the cylinder casts on the base. This is why the base is
white. If the experiment lasts for more than 10 or 15 minutes, recheck the alignment to
account for the motion of the sun.
3. Record the initial temperature of the cylinders before starting the experiment. If you are
trying to measure the solar constant, start with the cylinders at least 5°C below outside
ambient temperature. If you bring the cylinders from inside where it is cool, this might be
enough. If not, cool the cylinders with ice or cold water, but make sure they are dry before
starting. Don’t get water in the holes of the cylinders. It also helps to have a shade to
cover the cylinders while you set up and check alignment. When all three cylinders are at
about the same temperature (at least 5°C below ambient temperature), start recording and
remove the shade.
®
5
Page 7

Solar Constant Model No. TD-8497
∆
∆
∆
Suggested Experiment: Finding the Solar Constant
Equipment Required:
Solar Constant Set (TD-8497) (3) Stainless Steel Temperature Probes
(PS-2153 or CI-6605))
Temperature Sensors: (1) PS-2143 or
(3) PS-2125 or (3) PS-2146 or (3) CI6527A
DataStudio software Standard Thermometer or Fast Response
Theory:
Q=mc T (1),
where Q=Thermal Energy added to the cylinder,
m=mass of the cylinder,
Computer interface (PASPORT or
ScienceWorkshop
Temperature Probe (PS-2135)
)
c=specific heat of the cylinder,
T=change in cylinder temperature
Qt⁄
I
----------=
A
(2),
where I=intensity of sunlight (Solar Constant), A=cross-sectional area of the cylinder (area of
the shadow), and t=time.
Combining equations (1) and (2) yields
∆T
--------
mc
I
where is the cylinder’s rate of temperature change and also the slope of the T vs. t
t
------------ ----------=
A
Tt⁄
(3),
∆
graph.
Procedure
1. Follow the “Setup Procedure” on pages 4-5. Place the white, silver, and small aluminum
(lighter weight), black cylinder each on a separate stainless steel temp. probe. If using the
Quad Temperature Sensor, use a fourth temperature probe to measure ambient temperature.
Otherwise, record the value of the outside ambient temperature with a standard thermometer.
Make sure to start with the cylinders colder than ambient temperature (See “Experiment
Tips” on page 5).
6
®
Page 8

Model No. TD-8497 Solar Constant
2. Place the cylinders in direct sunlight, check their
alignment, and start recording. To obtain the solar
constant, you only need to heat the cylinders to about
5 oC above ambient temperature. To see the effect the
different surfaces have on the solar constant, allow the
temperatures to come to equilibrium.
3. To see the effect the different surfaces have on radiant
cooling after equilibrium is reached, shade the
cylinders, (or move them indoors) while still
recording. Continue recording until the temperatures
come to a new equilibrium.
Figure 1-1: Experiment
Setup
Calculations
1. Look at the data for the black cylinder. Using DataStudio, do a linear fit for this data, but
highlight only the area near outside ambient temperature. (To do a linear fit, click the Curve
Fit button on the Graph display. From the menu of fit options, select “Linear Fit.”) Record
the slope of this line. At this point, the heating or cooling effect of the surrounding air is
eliminated, and the temperature increase is only due to the sun. The slope is the rate (oC/sec)
that the temperature is increasing.
2. Measure the mass (m) and the cross sectional area (A) of the black cylinder. Note that this
area is not the surface area, but the projected area of the shadow [A=(Length) x
(Diameter)].
∆T
--------
mc
3. Calculate the intensity of the sunlight (solar constant), where ( T/t) is the
I
t
------------- ---------=
A
∆
slope from your graph, and c is the specific heat of aluminum.
Questions:
1. Calculate the intensity, I, for the white and silver cylinders. Why are they so much less?
Where does the energy go?
2. Which cylinder initially heats up faster, the white or silver cylinder? Look at the values
for the intensity (I) from question (1).
3. If you left the cylinders in the sun long enough to come to equilibrium, you should see that
the white cylinder is the coolest at equilibrium. Does this make sense based on how you
answered question (2)?
4. Look at the cooling curves at the point when the cylinders were removed from the
sunlight. Which color cylinder has the steepest cooling curve? Which color cylinder
radiates energy better?
®
7
Page 9

Solar Constant Model No. TD-8497
For Further Study:
1. Repeat the experiment with the three black cylinders.
2. Calculate the intensity, I, for all three cylinders. The heavier small black cylinder is made
of brass. Did you record about the same intensity value for all three cylinders?
3. Look at the equilibrium temperature that each cylinder reaches. Why aren't the equilibria
the same, in view of your answer from question (2)?
Teacher’s Notes
Shown below are typical heating rates of three aluminum cylinders with three different
surfaces. Notice that both the heating rate and final temperature are largest for the black
cylinder. The white cylinder clearly is the coolest at the final temperature. The slope on the
graph is in degrees C/second, even though the axis is displayed in minutes. This data was
taken in California during the summer around noon. The ambient temperature was measured
with a Fast Response Temperature Probe, and thus the fluctuations there are real, due to very
small air currents around the building. Also notice the small dip in all three temperatures at
about 16 minutes, due to a small cloud that drifted by!
Heating Rates of Three Aluminum Cylinders with Different Surfaces
8
®
Page 10

Model No. TD-8497 Solar Constant
Sample Data
This graph shows cooling rates for the three aluminum cylinders with different surfaces.
When the cylinders were moved inside to a cool room, the white cylinder emitted radiation
almost as good as the black cylinder. The white cylinder cooled faster than the silver; this
shows why white is the best overall color to keep cool!!!
Cooling rates of Aluminum Cylinders
Moved Indoors to a Cool Room
The following graph shows a comparison of heating rates for the three black cylinders, each
of a different size and/or material. Note that the small cylinder heats up faster (because of a
bigger surface to volume ratio, as expected) than the other cylinders, but the big cylinder has
the highest final temperature. Why?
Heating Rates of Black Cylinders
of Different Size and/or Material
®
9
Page 11

Solar Constant Model No. TD-8497
Appendix A: Technical Support
For assistance with the TD-8497 Solar Constant Set or any other PASCO products, contact
PASCO as follows:
Address: PASCO scientific
10101 Foothills Blvd.
Roseville, CA 95747-7100
Phone: (916) 786-3800
FAX: (916) 786-3292
Web: www.pasco.com
Email: techsupp@pasco.com
Appendix B: Copyright and Warranty Information
Copyright Notice
The PASCO scientific 012-08690A Solar Constant Manual is copyrighted and all rights
reserved. However, permission is granted to non-profit educational institutions for
reproduction of any part of the 012-08690A Solar Constant Manual providing the
reproductions are used only for their laboratories and are not sold for profit. Reproduction
under any other circumstances, without the written consent of PASCO scientific, is
prohibited.
Limited Warranty
For a description of the product warranty, see the PASCO catalog.
10
®
 Loading...