


Parkinson Cowan SiG400WN, SiG400WL, SiG400GRN, SiG400GRL, SiG400CN User Manual
...SIG 400
Owners handbook and
Installation Instructions
n oit c u
d
ort nI
S I G 4 0 0
Introduction
This gas cooker has been designed and manufactured to all the necessary British Standards. It also carries the C.E. mark. The cooker complies with European Council Directive 90/396/EEC.
It is important that you understand how to use and care for the cooker properly before you use it for the first time.
We have written this booklet with your safety in mind. Read the booklet thoroughly before you use the cooker. Keep the booklet in a safe place so that anyone who uses the cooker can read it. Pass the booklet on with the cooker if you give or sell it to someone else.
For your safety
The cooker is designed for domestic use to cook food. You must not use it for any other purpose. It is not designed for commercial use.
Keep children, babies and toddlers away from the cooker at all times.
The installation instructions tell you how and where it can be fitted. If the cooker is already installed you must make sure that all instructions have been followed. If you are in any doubt ask a registered person. More details on installation on page 32.
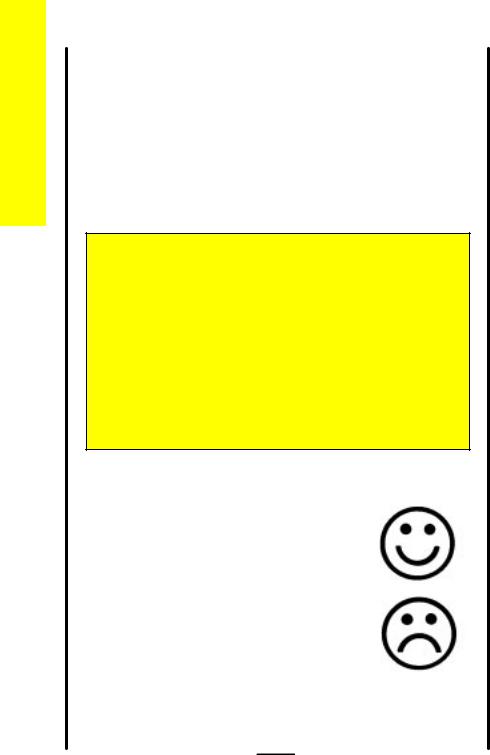
We have included several drawings to show the right and wrong way of doing things.
The right way will have a smiling face by it.
A sad face shows something is wrong.
Do not remove the rating plate from the cooker as this may invalidate the guarantee.
2

S I G 4 0 0
Contents |
Page |
Lighting the cooker |
4 |
|
|
The grill |
7 |
|
|
The hotplate |
10 |
|
|
The ovens |
13 |
|
|
Oven cooking chart - main oven |
16 |
|
|
- second oven |
19 |
|
|
The electronic timer |
22 |
|
|
Slow cooking |
26 |
|
|
Care and cleaning |
28 |
|
|
Installing the cooker |
32 |
|
|
General information |
34 |
|
|
What is wrong and why? |
36 |
|
|
Servicing |
38 |
|
|
Installation Instructions |
40 |
|
|
Technical Data |
41 |
|
|
Safety requirements/ventilation |
42 |
|
|
Location of appliance |
43 |
|
|
Installation |
44 |
|
|
Testing |
46 |
|
|
Contents
3
Lighting the cooker
S I G 4 0 0
Lighting the cooker
The system works by means of an electric spark system. Details about the plug are given on page 34.
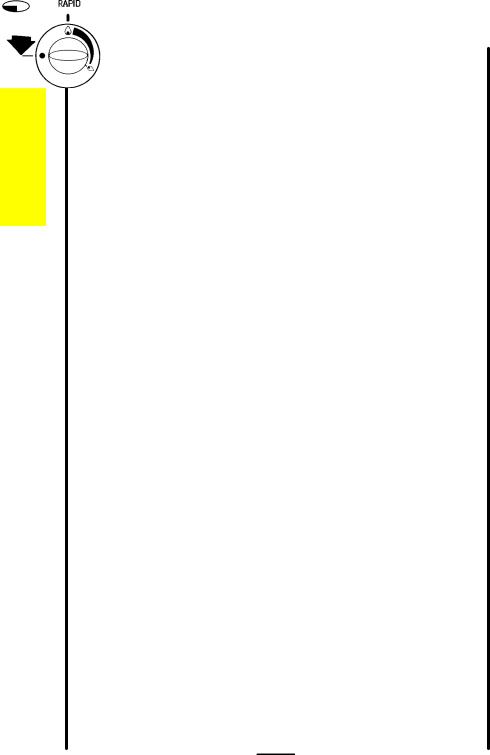
Hotplate
To light
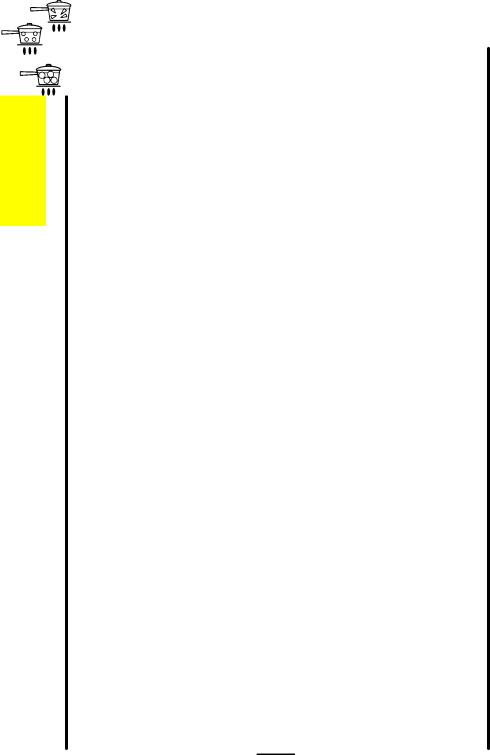
Push in the control knob and turn it to the large flame symbol (highest setting), and press the ignition button immediately. When the burner has lit release the button.
RAPID
Warning: If the ignition button is not pressed immediately a build up of gas may cause the flame to spread.
Please note: If you have any trouble lighting a hotplate burner turn all the hotplate control knobs off and make sure the hotplate burner parts have been replaced correctly.
See page 29 for more information.
4

S I G 4 0 0
Grill/second oven
The grill and the second oven are operated by the same control so you cannot use them both at the same time.
Grill
To light:
1Open the door.
2Push in the control knob and turn it to the right to the large flame symbol (highest setting), and press the ignition button immediately. When the burner has lit release the button.
OVEN / GRILL
3 Leave the grill door open when you are using the grill.
Warning: If the ignition button is not pressed immediately a build up of gas may cause the flame to spread from the grill cavity.
For your safety
Never cover the grill pan or grid with foil as this can lead to grill fires.
Second oven
To light:
1Open the oven door.
2Push in the control knob and turn it to left to gas mark 1. Press the ignition button. When the burner has lit release the button. There will
only be small flames at first. |
|
OVEN / GRILL |
3 |
Now turn the control knob to the gas |
|
|
mark you want. |
OVEN / GRILL |
|
|
|
|
|
|
4 |
Wait until the burner is showing large |
|
|
flames. |
|
5 |
Close the oven door. |
|
Important: Remember to remove the grill pan handle before you use the second oven.
Lighting the cooker
5

Lighting the cooker
S I G 4 0 0
Main oven
To light:
1Open the oven door.
2Push in the control knob and turn it to gas mark 9. The oven will light
automatically. |
|
|
|
MAIN OVEN |
|
||
|
|
|
|
|
|
|
|
|
|
|
|
3 |
Now turn the control knob back to the gas |
MAIN OVEN |
|
||
|
mark you want. |
|
|
|
|
4 |
Close the oven door. |
|
If there is an electrical power failure (such as a power cut) you cannot use the main oven. You can use the second oven.
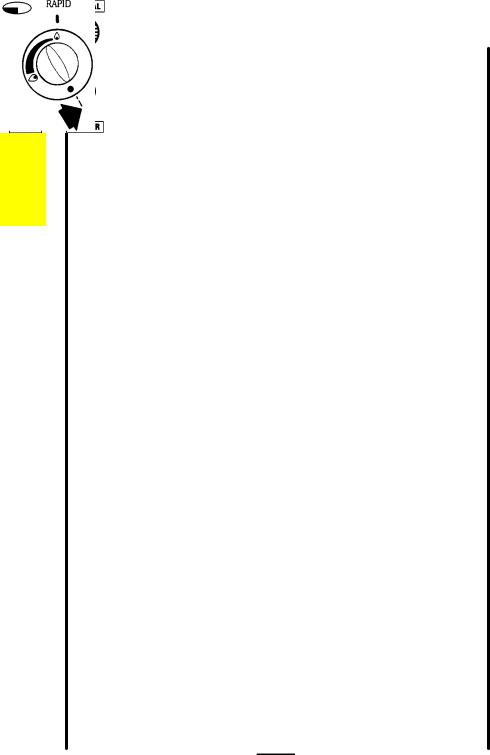
To turn off any burner
1Push in the control knob and turn it to the off position. This is shown by a large dot.
|
MAIN OVEN |
|
|
RAPID |
|
|
|
|
|
|
|
|
|
|
|
|
|
|
|
For your safety
When you are lighting any burner check that it has lit before you leave the cooker.
When you are turning off a burner, do not leave the cooker until the flame has gone out.
6

S I G 4 0 0
The grill
The grill is a high-speed grill. The instructions below tell you how to vary the heat setting and how to change the height of the grid to suit the food you are cooking. You should remember to turn the food regularly.
You should not use the grill to keep food warm as it will continue to cook the food.
For your safety
You must keep the grill door open when the grill burner is lit. Accessible parts may be hot when the grill is used. Young
children should be kept away.
Never cover the grill pan or grid with foil as this can lead to grill fires.
Heat control |
|
OVEN / GRILL |
|
|
|
The grill control has two heat settings. The control knob turns to the right from 'OFF' to 'HIGH' and then to 'LOW'. Use the high setting for fast cooking such as toast. Use the low setting to cook thicker food such as chicken after you have browned it on
the high setting.
Cooking positions
There is only one position for the grill shelf.
Most food should be cooked on the grid in the grill pan. You can turn the grid over to suit different thicknesses of food.
You can place some dishes straight on to the grill shelf. This is useful when you are browning the top of food such as cauliflower cheese.
The grill
7
The grill
S I G 4 0 0
General
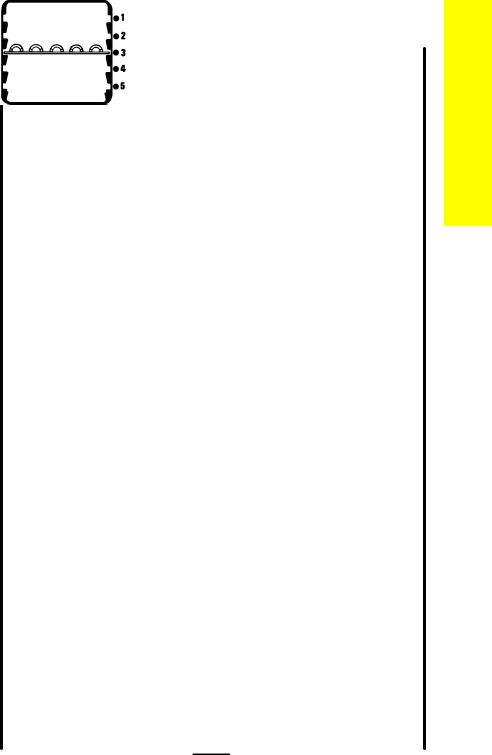
The shelf in the grill/second oven is different from the shelves in the main oven. It is important that you do not swap them over. Only use the shelf with the solid metal plate underneath it in the grill/second oven.
When you are not using the grill you should remove the handle and store the pan on the shelf in the grill. Turn the grill burner off before you store the pan. Remember that the pan will get hot when you are using the main oven.
You can use the grill compartment to warm plates when you are using the main oven.
Preheating
You don't usually need to preheat the grill. You may wish to preheat it for a couple of minutes when you are cooking steak or browning food.
Positioning food on the grid
Place food such as toast, tea-cakes and muffins towards the centre of the grid.
Place food which needs a gentle heat, such as tomatoes and mushrooms towards the edge of the grid.
Arrange meat, meat products and fish to suit their thickness and how you like them cooked.
8

S I G 4 0 0
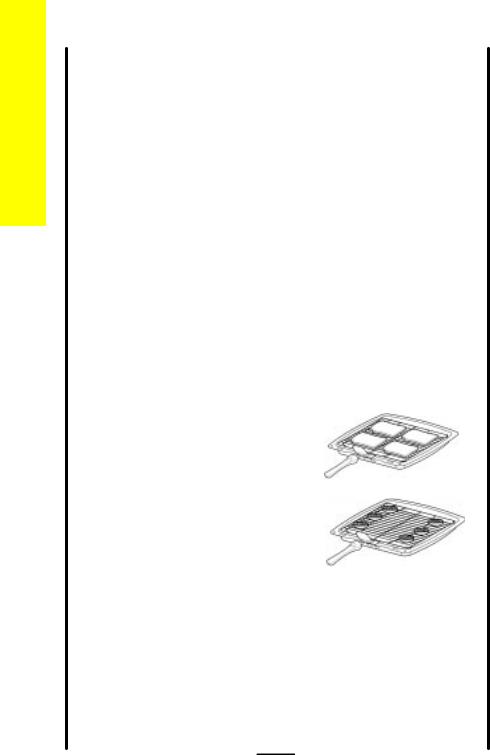
The grill pan and handle
The grill pan is supplied with a removable handle.
To attach the handle, place the wirework under the cut out in the pan so that the metal plate hooks over the top of the grill pan.
Slide the handle to the left and over the central bump on the grill pan.
Ensure the handle is correctly located. It is not necessary to remove the grill pan handle during grilling.
Place the grill pan on the shelf so that the pan is positioned centrally beneath the grill.
To remove the handle, slide the handle to the right and lift the handle away from the cut out on the grill pan.
Note
If you require an additional handle for your grill pan, this can be ordered from Parkinson Cowan by quoting part number 311479800\6.
The grill
9
The hotplate
S I G 4 0 0
The hotplate
If you have any trouble lighting a hotplate burner turn all hotplate control knobs off and make sure the hotplate burner parts have been replaced correctly. See page 29 for more information.
Heat control
The hotplate control knobs turn |
RAPID |
|
|
anticlockwise from 'OFF' to 'HIGH' |
|
|
|
and then to 'LOW'. You can adjust |
|
the heat by turning the control |
|
between the highest and lowest |
|
settings. These are shown as a |
|
large and a small flame symbol. |
|
Burner sizes
The hotplate has three burner sizes to suit different types of cooking:
Largest burner (Rapid) - use a large pan for food such as chips.
Medium burners (Normal) - use for everyday cooking.
Small burner (Simmer) - use for simmering food such as soups and stews.
The largest pan which you should use on any burner is 230mm (9"). The base of the smallest pan should not measure less than 100mm (4").
10
S I G 4 0 0
For your safety
Take care to avoid burns and scalds when you are reaching across the hotplate.
Use pans with flat bases. They are more stable than pans which are warped.
Do not use pans with very heavy handles which cause the pan to tip.
Put pans on the centre of the burners.
Position pan handles so they cannot be accidentally knocked.
Take extra care when you are deep fat frying. Do not cover the pan with a lid.
RAPID
Do not leave a pan unattended. If the pan catches fire, leave it where it is and turn off all controls.
Place a damp cloth or a fitting lid over the pan to smother the flames.
Never put water on the fire.
Leave the pan to cool for 30 minutes.
If you are using a Wok we recommend it has a flat base as it will stand stable on the pan supports. If you use a round based Wok with a collar support, the collar must be of the open wire work type. A closed collar will affect the performance of the burner. Before you use the Wok make sure that the collar is stable on the pan supports. Always follow the instructions that come with the Wok.
The hotplate
11
The hotplate
S I G 4 0 0
Helpful hints
1 |
Keep flames under the base of pans. If |
|
the flames lick round the sides of the |
|
pans you are wasting gas. |
2 |
Only heat the amount of liquid you |
|
need. Do not overfill pans. |
3 |
Cover pans with a lid whenever |
|
possible. The food will heat up more |
|
quickly and there will be less steam in |
|
the kitchen. |
4 |
Try cooking more than one vegetable in |
|
the same pan, for example potatoes |
|
and carrots. |
5 |
Cut vegetables into smaller pieces. |
|
This way they will cook more quickly. |
6 |
A pressure cooker will save time and |
|
energy. |
12
S I G 4 0 0
The ovens
Before you use the ovens you should wipe them out with a damp cloth to remove any dust.
Heat zones
Main oven - There are zones of heat within the oven. The temperature in the middle is the gas mark you have chosen. The top of the oven is slightly hotter and the lower shelf slightly cooler. The base of the oven is quite a lot cooler. You can make use of these heat zones when you are cooking foods that need different temperatures all at the same time.
If you are cooking more than one tray of similar items, for example cakes or biscuits, swap the trays around during cooking. Or you can remove the top tray when the food is cooked and move the lower tray to the higher shelf to finish cooking.
Second oven - You should turn food round during the cooking time.
Preheating
You do not need to preheat the main or second oven for casseroling and so on.
Preheat the ovens for baking or when you are cooking sensitive food such as Yorkshire puddings, soufflés and yeast mixtures.
When you are cooking or reheating frozen or chilled food read the instructions on the packaging. When you are using the second oven to reheat food you should preheat the oven to gas mark 8. When you need to preheat the oven, we recommend you do so for 20 minutes.
Oven shelves
You can slot the oven shelves into any of five positions in the main oven and any of the two positions in the second oven. Positions are counted from the top downwards.
The shelf in the grill/second oven is different from the shelves in the main oven. Only use the shelf with the solid metal plate underneath it in the grill/second oven. The plate may glow red when you are using the oven. This will not affect the cooking performance.
The ovens
13
The ovens
S I G 4 0 0
Most second oven cooking should be carried out using the shelf provided in shelf position 2. However when cooking a small joint or a deep cake you can use the shelf on the base of the second oven to allow enough air to circulate around the food.
For safety the shelves will only pull out so far. If you want to remove a shelf completely, pull it forward as far as it will go, raise the front edge and lift it out. To put the shelf into a different position, keep the front edge raised, slot the shelf on to the runner, lower the front edge and slide the shelf in.
Baking trays and dishes
For your safety
Never place cooking dishes, trays and so on over the oven burners. This will damage the cooker as well as the cookware and possibly the floor covering underneath the cooker.
Leave a gap of 13mm (½") between all dishes and the sides of the oven so the heat can circulate properly.
Do not push dishes too far back as food will burn if it overhangs the burner flames.
For the best results from the main oven we recommend that you use a baking tray which is 310mm (12") square. If you use a tray or tin which is larger than this, you may need to turn it around during cooking.
The size of tray which should be used in the second oven should not be bigger than 310mm x 230mm (12" x 9"). Place the longest side parallel with the door.
Place single dishes on the centre of the shelf. You may need to turn large items around during cooking. Turn all food round in the second oven.
14

S I G 4 0 0
Roasting
For best results we recommend open roasting using minimal fat or oil to prevent splashing.
It is not necessary to cover meat or poultry or wrap food in foil when roasting as this restricts the circulation of heat and will lead to extended cooktimes.
If you are using a roasting bag or cover chicken breast with foil, be prepared to allow an extra 10 - 15 minutes for each 1/2kg (1lb).
When cooking large items such as turkeys, the use of foil may be required to prevent the breast becoming dry before the rest of the bird is fully cooked.
Condensation
Condensation may form on the cooker. This is quite normal and nothing to worry about. The condensation forms when heat and moisture are present, for example during cooking. Whenever possible try to make sure that food which contains a lot of moisture, for example casseroles, are covered. If you do notice any condensation, wipe it up straight away.
The ovens
15

Oven cooking chart
16
Oven cooking chart - Main oven
These instructions are for cooking in the oven after it has been pre-heated for 20 minutes.
If you are cooking more than one tray of similar items, for example cakes or biscuits, swap the trays around during cooking or you can take the top tray out of the oven when the food is cooked and move the lower tray to the higher shelf to finish cooking.
Always leave at least one shelf position between shelves to allow heat to circulate. The recommended shelf positions give the best results.
Put the dishes in the centre of the shelf.
You can change the gas marks and cooking times to suit your own tastes. It is important to check that food is piping hot before serving.
If you are using both ovens at the same time you may need to adjust the cooking times.
|
|
Gas |
Shelf |
Approximate |
|
Food |
|
mark |
position |
cooking time |
|
|
|
|
|
|
|
Roasting meat: |
Beef |
5 |
4 |
Rare: |
20 mins. per ½ kg (1lb) and 30 mins. |
|
|
|
|
Medium: |
25 mins. per ½ kg (1lb) and 25 mins. |
|
|
|
|
Well Done: |
30 mins. per ½ kg (1lb) and 30 mins. |
|
Lamb |
5 |
4 |
Medium: |
25 mins. per ½ kg (1lb) and 25 mins. |
|
|
|
|
Well Done: |
30 mins. per ½ kg (1lb) and 30 mins. |
|
Pork and Veal |
5 |
4 |
Medium: |
30 mins. per ½ kg (1lb) and 30 mins. |
|
|
|
|
Well Done: |
35 mins. per ½ kg (1lb) and 35 mins. |
|
|
|
|
|
|
Thaw frozen joints thoroughly before cooking them.
0 0 4 G I S
 Loading...