

Panasonic SL-CT790 User Manual 2
1
Portable CD player
Dear Customer
Thank you for purchasing this product.
For optimum performance and safety,
please read these instructions carefully.
Supplied Accessories
Check the packing carton for these accessories.
Model No. SL-CT790
Before connecting, operating or adjusting this product, please read these
instructions completely. Please keep this manual for future reference.
Operating Instructions
The model number and serial number
of this product can be found on either
the back or the bottom of the unit.
Please note them in the space provided below and keep for future reference.
MODEL NUMBER
SL-CT790
SERIAL NUMBER
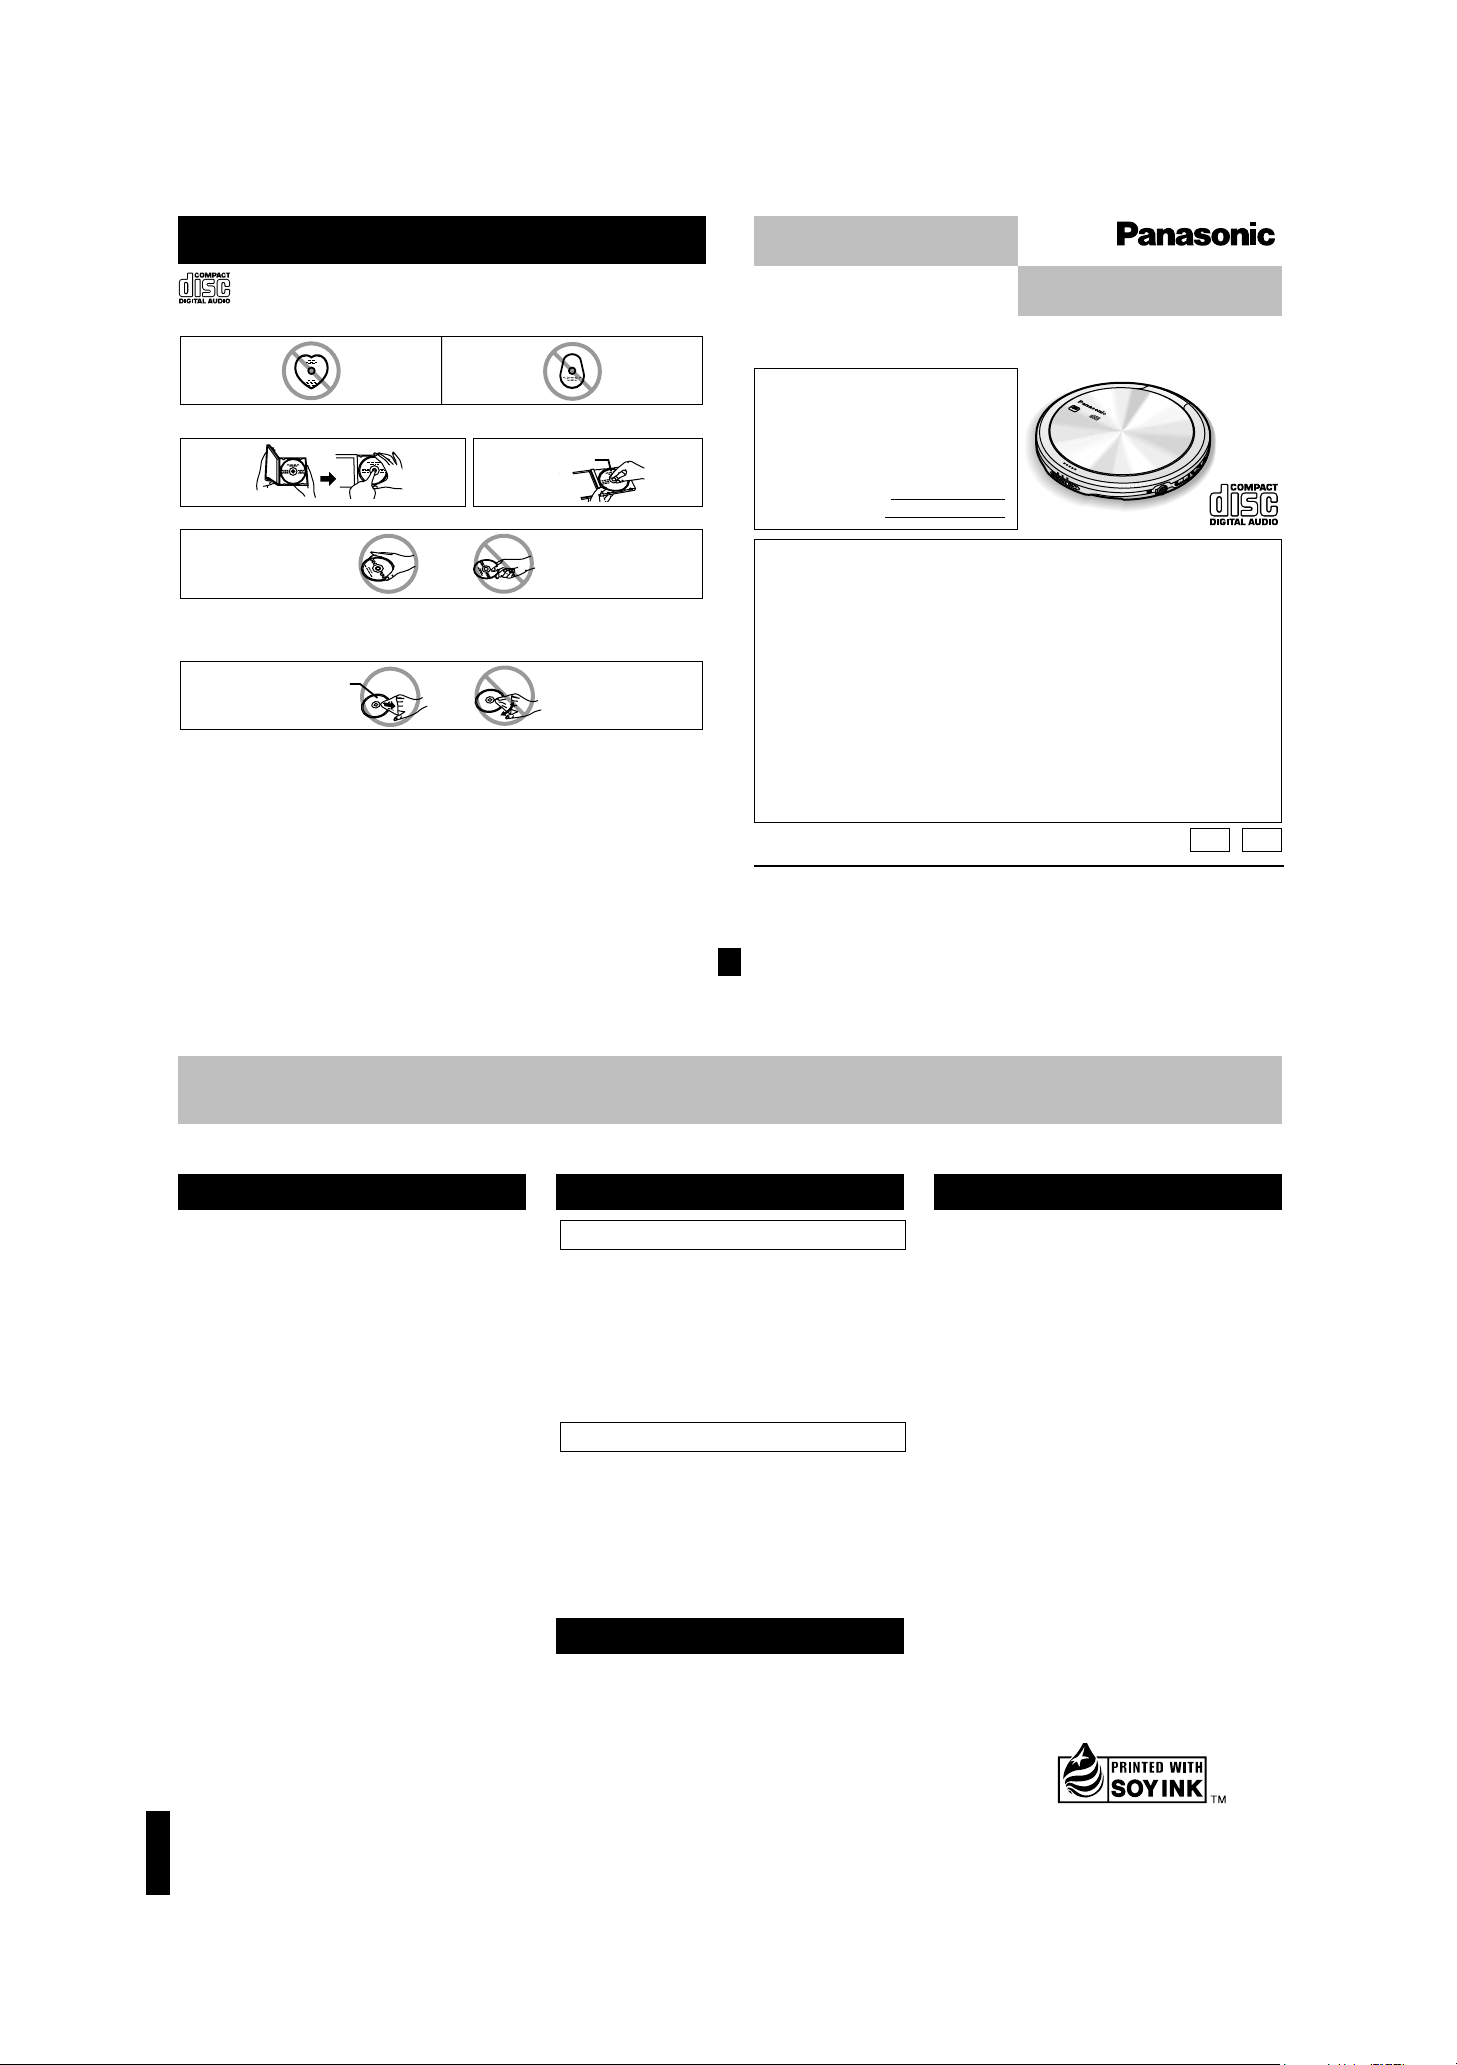
Concerning Compact Discs
Only compact discs bearing this mark can be used with this unit.
However, continued use of irregular shaped CDs can damage the unit.
If the surface is dirty
Wipe it with a damp cloth and then wipe dry.
Wipe from the center toward the outer circumference.
How to hold a disc
How to store the disc in its caseHow to remove a disc from its case
P PC
Use numbers indicated in parentheses when asking for replacement parts.
[Refer to “Using rechargeable batteries” (page2) for the parts marked with an asterisk(
†
). ]
(Only for U.S.A.) To order accessories contact 1-800-332-5368 or web site
(http://www.panasonic.com).
Panasonic Consumer Electronics Company,
p
Division of Matsushita Electric Corporation of America
One Panasonic Way Secaucus, New Jersey 07094 http://www.panasonic.com
Panasonic Sales Company, Division of Matsushita Electric of Puerto Rico, Inc. (“PSC”)
Ave. 65 de Infantería, Km. 9.5 San Gabriel Industrial Park, Carolina, Puerto Rico 00985
Panasonic Canada Inc.
5770 Ambler Drive, Mississauga, Ontario L4W 2T3 www.panasonic.ca
C 2002 Matsushita Electric Industrial Co., Ltd.
RQT6154-P F0102KN0
Printed in Japan
This manual was printed with soy based ink.
Play surface
(shiny surface)
Label side up
P
O
R
T
A
B
L
E
C
D
P
L
A
Y
E
R
S
L
C
T
7
9
0
OPEN
C
H
G
V
O
L
s
e
c
o
n
d
s
A
N
T
I-
S
K
IP
S
Y
S
T
E
M
Handling precautions
≥If you are taking the CD from a cold to
a warm environment, moisture may
form on the CD. Wipe this off with a
soft, dry, lint-free cloth before using the
CD.
≥Do not write on the label side with a
ball-point pen or other writing instrument.
≥Do not use record cleaning sprays,
benzine, thinner, static electricity prevention liquids or any other solvent.
≥Do not attach labels or stickers to CDs.
(Do not use CDs with exposed adhesive from tape or left over peeled off
stickers.)
≥Do not use scratch-proof protectors
etc.
Storage precautions
Be sure to store CDs in their cases to
protect them from dust, scratches, and
warping.
Do not place or store CDs in the following places
≥Locations exposed to direct sunlight
≥Humid or dusty locations
≥Locations directly exposed to a heat
vent or heating appliance
≥In the glove compartment or on the
rear deck of an automobile
Safety
1. Power source—Connect the unit to a power source
of the type described in these instructions or as
marked on the unit.
2. Polarization—The unit is equipped with a polarized
power plug where one blade is wider than the other.
This safety feature ensures that the plug fits into your
household AC outlet only one way. If the plug doesn’t fit one way, try reversing it. If the plug still doesn’t
fit, contact an electrician to replace the obsolete outlet. Do not attempt to defeat the safety purpose of
the plug.
3. Power cord protection—Route the AC power sup-
ply cord so that it will not be walked on or pinched by
items placed on or against it. Never take hold of the
plug or cord with wet hands. Always grasp the plug
body firmly when connecting and disconnecting it.
4. Overloading—When connecting the AC power sup-
ply cord, be careful not to overload the household
AC outlet, extension cord, or outlet from any other
device as this can result in fire or electric shock.
5. Nonuse periods—Turn the unit off when it is not in
use. Unplug the unit from the household AC outlet if
it is not to be used for a long time. Unplug the unit
during lightning storms. Leaving the unit connected
to a household AC outlet for extended periods can
cause battery fluid leakage.
6. Attachments and accessories—Use only the at-
tachments and accessories recommended in these
operating instructions.
Installation
Placement
1. Foreign material—Ensure objects and liquids do
not get into the unit. Avoid exposing the unit to excessive smoke, dust, mechanical vibration, and
shock.
2. Magnetism—Situate the unit away from equipment
and devices that generate strong magnetic fields.
3. Stacking—Do not place anything on top of this unit.
4. Wall and ceiling mounting—Do not mount the unit
on walls or ceilings unless specified in the instructions.
Environment
1. Water and moisture—Do not use the unit near
water, such as near a bathtub or swimming pool.
Avoid damp basements.
2. Heat—Situate the unit away from heat sources, such
as radiators. Do not leave it in an automobile exposed to direct sunlight with the doors and windows
closed as this may deform the cabinet.
2. Do not situate where temperatures fall below 5 oC
(41 oF) or rise above 35 oC (95 oF).
Maintenance
(See page 7 for details.)
Unplug the unit from the household AC outlet before
cleaning.
Clean with a damp cloth.
Do not use abrasive pads, scouring powders, or solvents.
Service
1. Damage requiring service—The unit should be
serviced by qualified service personnel if:
1. (a) The AC power supply cord or AC adaptor has
been damaged; or
1. (b) Objects or liquids have gotten into the unit; or
1. (c) The unit has been exposed to rain; or
1. (d) The unit does not operate normally or exhibits a
marked change in performance; or
1. (e) The unit has been dropped or the cabinet dam-
aged.
2. Servicing—Do not attempt to service the unit be-
yond that described in these operating instructions.
Refer all other servicing to authorized servicing personnel.
3. Replacement parts—When parts need replacing
ensure the servicer uses parts specified by the manufacturer or parts that have the same characteristics
as the original parts. Unauthorized substitutes may
result in fire, electric shock, or other hazards.
4. Safety check—After repairs or service, ask the ser-
vicer to perform safety checks to confirm that the unit
is in proper working condition.
IMPORTANT SAFETY INSTRUCTIONS
Read these operating instructions carefully before using the unit. Follow the safety instructions on the unit and the safety precautions listed below. Keep these operating instructions handy for future reference.
AC adaptor. . . . . . . . . . . . . . . . . . . 1
(RFEA415C-1S)
Wired remote control . . . . . . . . . . . 1
(N2QCBD000019)
For U.S.A.
Stereo headphones . . . . . . . . . . . . 1
(RFEV716P-SS)
For Canada
Stereo earphones. . . . . . . . . . . . . . 1
(L0BAB0000170)
External battery case . . . . . . . . . . . 1
(RFA1821-H)
Nickel-metal hydride rechargeable
batteries
°
. . . . . . . . . . . . . . . . . . 2
Battery carrying case . . . . . . . . . . 1
(RFC0062-X)
Remove the rechargeable batteries from their case before use.
This Manual is an overseas version and some details may differ
from Instructions enclosed with products sold in Australia

Recharge the batteries before use.
Recharging procedure
1 Slide [OPEN ] to open the lid.
2 Open the battery lid and insert the
two rechargeable batteries.
Press to open in step 1.
3 Connect the AC adaptor.
Recharging starts. The main unit's recharging lamp
(CHG) lights and the battery indicator on the remote
control scrolls.
When the rechargeable batteries are fully recharged,
the battery indicator disappears. (It takes approximately
5 hours to fully recharge the supplied rechargeable batteries.)
4 When recharging is complete, un-
plug the AC adaptor from the household AC outlet and the DC IN jack.
Note!
≥Rechargeable batteries have a service life of approxi-
mately 300 charge-discharge cycles. The batteries
have reached the end of their operational life if they
last for a noticeably shorter time after recharging, or if
they cannot be recharged at all.
≥Recharging may only be performed when the unit is
powered off.
Remote control
Remote control
Main unit
Main unit
2
Using dry cell batteries
(not included)
The external battery case allows you to extend the maximum playing time of the unit by loading an additional
two “LR6, AA, UM-3” alkaline batteries.
1 Open the cover of the external bat-
tery case and insert the batteries.
1
While pressing on the part marked “PUSH”
2 Open the case.
2 Connect the case to the battery
case terminal.
For your reference:
The unit can be powered by the batteries in the external
battery case alone. No batteries need to be loaded in
the player.
If the cover of the external battery case
comes loose:
Insert the protrusions on the cover into the holes in the case.
Note!
≥If rechargeable batteries and dry cell batteries are
used together, make sure to use fully charged
rechargeable batteries and new dry cell batteries.
≥Do not swing the unit around while the battery case is
connected as this can cause damage to the connection and may be a danger to those around you.
≥
The dry cell batteries should be changed when the unit is off.
Power Supply Preparations
Refer to the specifications (page 8) for information on operating times when using rechargeable batteries or dry cell batteries.
CAUTION:
Use only car adaptor, Model: SH-CDC9 manufactured by Matsushita Electric Industrial Co., Ltd.
Using the AC adaptor
Use only the included AC adaptor. Using other adaptors can cause overheating which can lead to fire.
Connect the AC adaptor supplied.
Refer to step 3 in “Using rechargeable batteries” for
connection instructions.
Conserving power
The AC adaptor consumes 2.1 W when the unit is
turned off with [∫]. To save power when the unit is not
to be used for a long time, unplug the AC adaptor from
the household AC outlet.
Note!
Turn the unit off before connecting or disconnecting the
AC adaptor.
Using the car adaptor (not included)
Be sure to obtain the car adaptor (SH-CDC9), available
as an optional accesary.
OPEN
H
O
L
D
9
If the unit malfunctions or freezes during
use, disconnect the power sources (the
AC adaptor or batteries).
Re-connect the power source and continue operation.
DC IN jack (K DC IN 4.5 V)
Back panel of
the unit
Household
AC outlet
AC adaptor
The car adaptor can be used to recharge the unit’s batteries while in the car.
Battery indicator
The battery charge is shown in five levels on the display.
When the battery indicator flashes
Power is cut off a short while later. Recharge the
rechargeable batteries or replace the dry cell batteries
with new ones.
3
1
+
-
2
3
2
-
+
Removing batteries
Press the end of the battery (-) and lift out.
If the battery lid comes loose
Insert the protrusions on the lid into the holes on both
sides of the compartment. Ensure the lid is correctly fitted before closing it. Incorrect fitting can scratch your
CDs.
Replacement
Nickel-metal hydride rechargeable batteries(HHF-AZ01)
P
O
R
T
A
B
L
E
C
D
P
L
A
Y
E
R
SL-C
T790
H
O
L
D
2
1
Battery cover
Insert the end marked (j) first.
Battery case terminal
The case’s plug can only be inserted one
way and this prevents it and the AC adaptor
from being connected at the same time. Do
not try to turn the plug after connecting it.
P
O
R
T
A
B
L
E
C
D
P
L
A
Y
E
R
S
L
C
T
7
9
0
OPEN
CHG
V
O
L
H
O
L
D
L
EQ
MODE MEMORY
Scrolls
Recharging lamp
Note!
≥When the unit is used with an AC adaptor, the battery
indicator is not displayed.
≥The battery indicator may temporarily show a lower
level or otherwise not operate correctly when searching and skipping, and also if the unit is used in an extremely cold environment.
≥The length of time the unit will continue to operate be-
tween when the battery indicator starts flashing and
when the power is cut off differs depending on the
type of batteries used.
≥The battery indicator may not be displayed correctly if
rechargeable batteries other than those designated by
Panasonic are used.
EQ
MODE MEMORY
MEMORY
Full Empty
-
+
2
1
Using rechargeable batteries
≥The AC adaptor and rechargeable batteries may be-
come warm while recharging is in progress. This is not
a malfunction.
≥The rechargeable batteries should be changed when
the unit is off.
≥Leaving the AC adaptor connected can cause the bat-
teries to go flat. After recharging the batteries and disconnecting the AC adaptor from the AC power outlet,
ensure you disconnect the adaptor from the unit’s
[KDC IN 4.5 V ] terminal.
OP
EN
O
P
E
N
O
PE
N
O
P
EN
L
VO
CHG
G
H
C
G
H
C
CHG
VO
O
P
EN
O
P
E
N
VOL
G
H
C
2
PUSH
1
-
+
+
S-XBS
EQ
MODE

3
Location of Controls
Portable CD player A
A Open switch (OPEN)
B Recharging lamp (CHG)
C Headphone jack (Ë)
D Headphone volume control
buttons
(VOL s, r)
E Play/pause button (1/;)
F Stop/operation off button (∫)
G Skip/search buttons
(:, 9)
H Hold switch (HOLD)
I DC IN jack
(K DC IN 4.5 V)
J Battery case terminal
(EXT BATT)
K Rechargeable battery cover
Wired remote control B
A Skip/search buttons
(:, 9)
B Volume control (r, s)
C Play/stop/operation off button
(1/∫)
D Hold switch (HOLD 1)
E Display
F Plug
G EQ button (EQ)
H Mode button (MODE)
I Memory/recall button
(MEMORY)
J Clip
K Earphone jack
A
B
P
O
R
T
A
B
L
E
C
D
P
L
A
Y
E
R
S
L
-C
T
7
9
0
O
P
EN
C
H
G
VO
L
H
O
L
D
A
BC D EFGH
H
O
L
D
9
J
I
K
E
Q
M
O
D
E
M
E
M
O
R
Y
:
9
r
∫/1
s
A
B
B
A
C
D
E
F
GHI
J
K
Back panel
of the unit
HOLD function
This function causes the unit to ignore short, accidental button presses. (The disc lid
can still be opened and closed.)
The HOLD function prevents the following:
≥The unit is powered on accidentally when not in use, causing the batteries to run
down.
≥A button is accidentally pressed during play, interrupting the operation.
To use the HOLD function
Set [HOLD] to the HOLD position.
a
HOLD mode
b
Release
You still can operate the unit with the remote control when the main unit's HOLD
function is on and vice versa.
Before operating the buttons
Be sure to move [HOLD] to release the unit from the HOLD mode.
Main unit
Main unit
Remote control
Remote control
“(” / “” indication
When the unit is in hold mode:
Pressing any button causes the indication “(” to appear on the remote control's
display.
When the unit is powered off, the “(” indication appears only when [1/;] is
pressed.
When the remote control is in hold mode:
“ ” appears on the display.
When the unit is powered off, the “” indication appears only when [1/∫] is
pressed.
S
L-C
T
7
90
O
P
E
N
C
H
G
L
O
V
HOLD
ab
ab
HOLD HOLD
HOLD HOLD
HOLD
P
O
R
T
A
B
L
E
C
D
P
L
A
Y
E
R
HOLD
 Loading...