

Panasonic PV-DAC14 Operating Instructions Manual
The PV-DAC14 AC Adaptor is an accessory
used with the PV-GS19/31/34/35/65/150/250/400
Camcorders. The AC Adaptor provides
power to the Camcorder unit in place of battery
power, and also charges Camcorder unit battery
packs.
PV-DAC14
Before attempting to connect, operate or adjust this product, please read these instructions
thoroughly.
LSQT0948 A
Operating Instructions
AC Adaptor
Specifications
Weight and dimensions shown are approximate.
Designs and specifications are subject to change without notice.
English
Power Source: AC 110 – 240 V, 50/60 Hz
Power Consumption: 19 W
0.5 W (When not in use.)
DC Output: DC 7.9 V, 1.4 A (Camcorder Operation)
DC 8.4 V, 0.65 A (Battery Charging)
Weight: Approx. 0.11 kg
0.24 Ibs.
Dimensions: 61 (W) × 32 (H) × 91 (D) mm
2-6/16 (W) × 1-4/16 (H) × 3-9/16 (D) inch
2
Date of Purchase
Dealer Purchased From
Dealer Address
Dealer Phone No.
Model No.
Serial No.
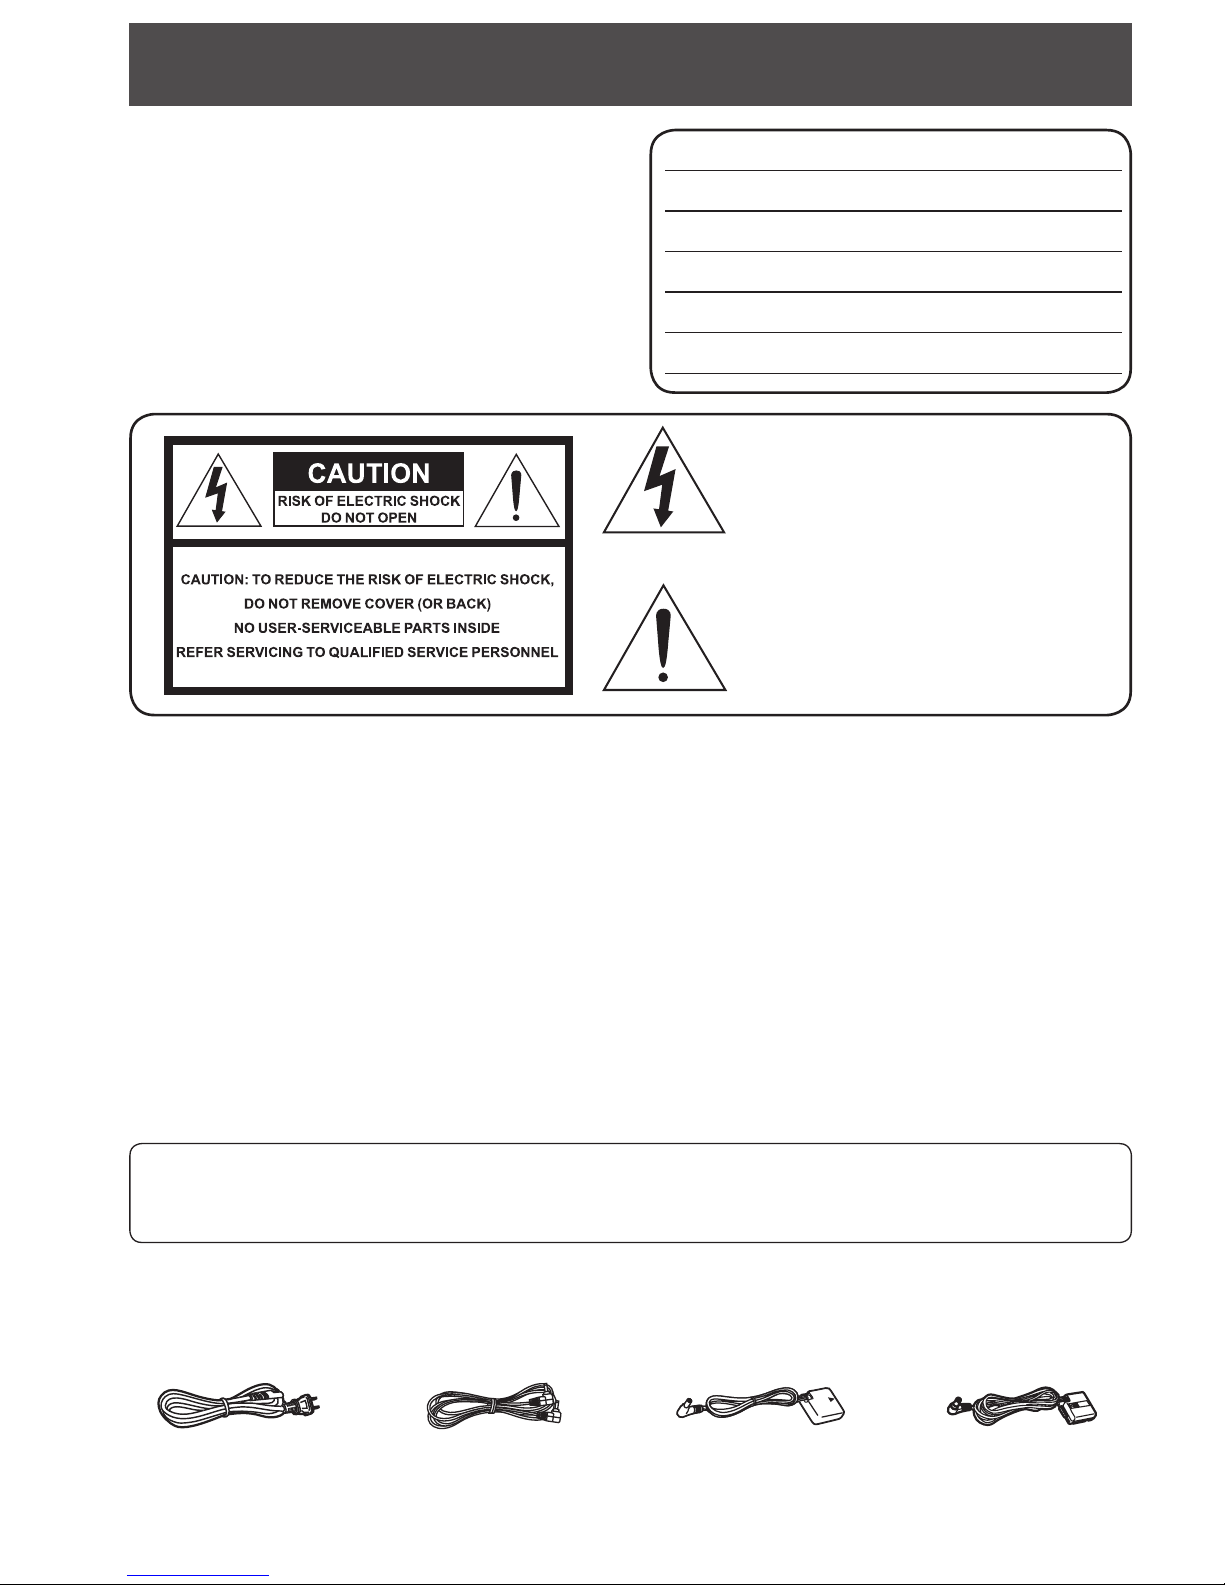
This symbol alerts the user that important
literature concerning the operation and
maintenance of this unit has been included.
Therefore, it should be read carefully in order
to avoid any problems.
This unit is exclusively for use with the Panasonic PV-GS19/31/34/35/65/150/250/400 cur rent ly pro duced.
It cannot be used with other types of Camcorders.
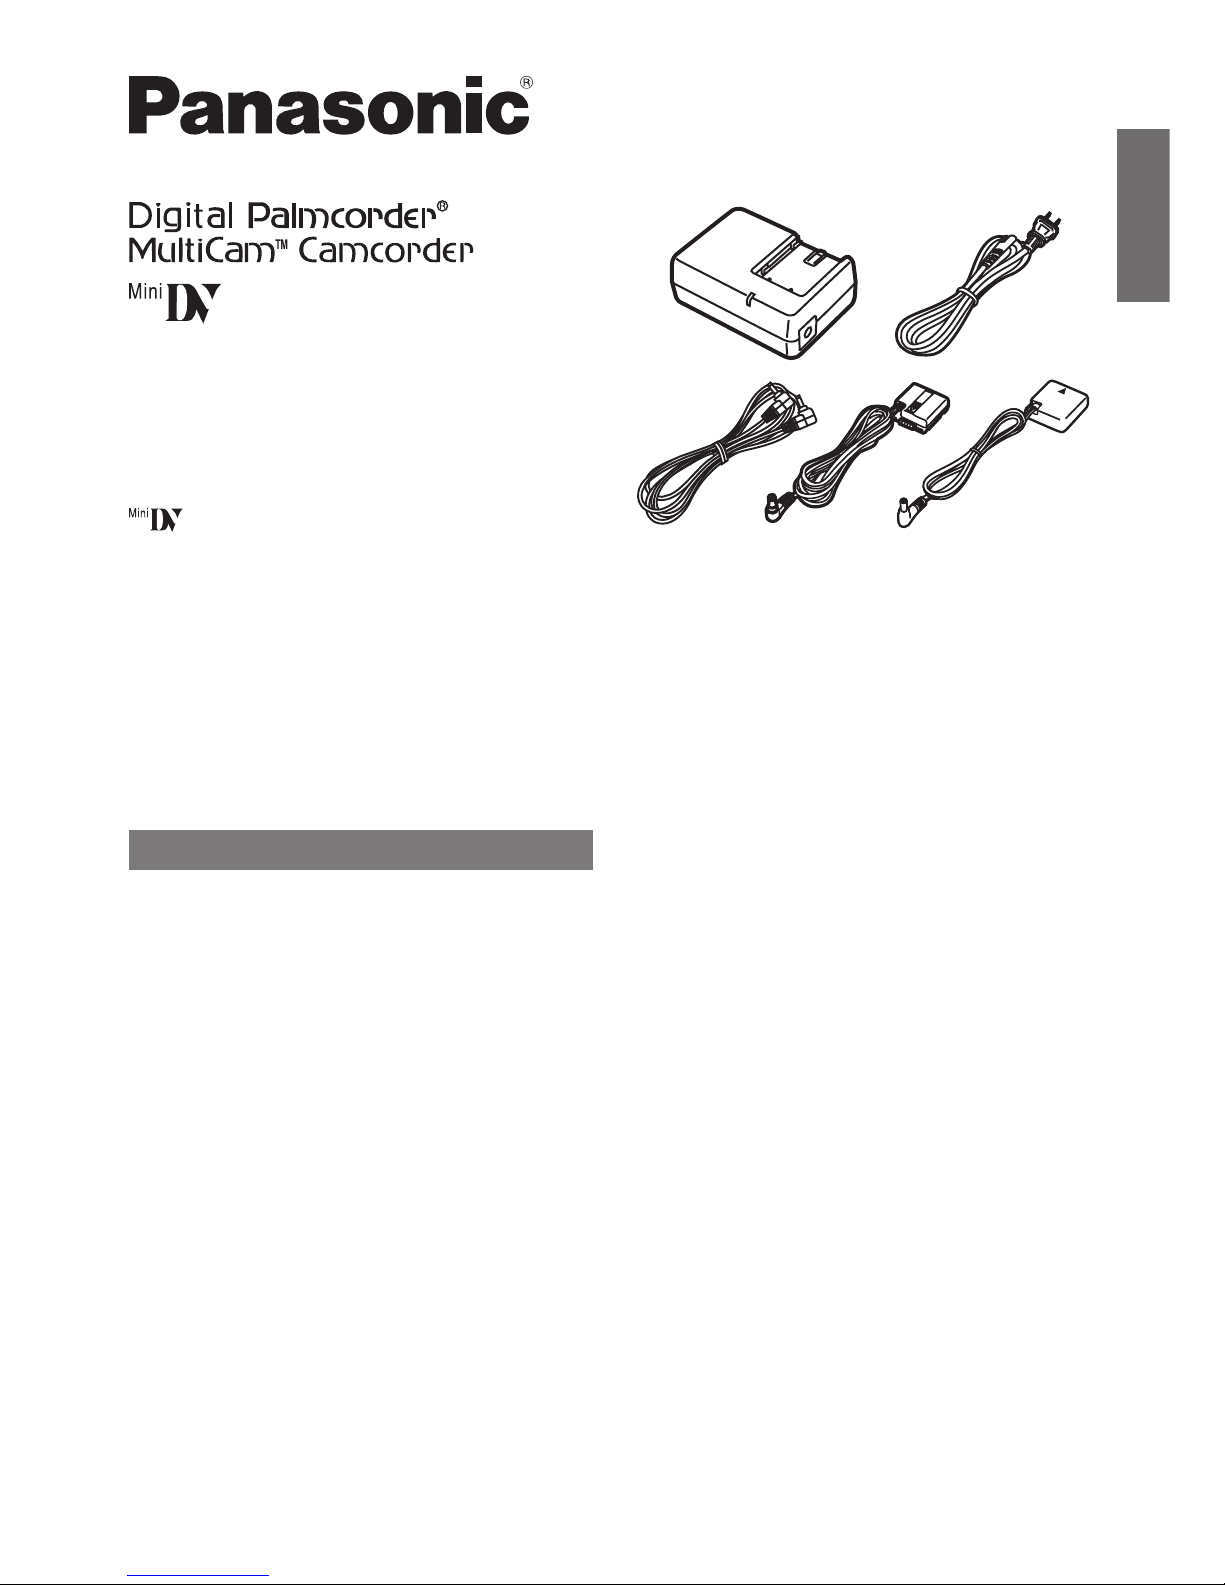
These accessories are provided in order to set up or use your AC Adaptor.
1 pc. AC Cable
(K2CA2CA00025)
The above markings are located on the bottom cover of the unit.
1 pc. DC Cable
(K2GJ2DC00011)
Thank you for choosing Panasonic!
You have purchased one of the most sophisticated
and reliable products on the market today. Used
properly, we’re sure it will bring you and your family
years of enjoyment. Please take time to fill in the
information on the right.
The serial number is on the tag located on the
underside of your AC Adaptor. Be sure to retain
this manual as your convenient AC Adaptor
information source.
This symbol warns the user that uninsulated
voltage within the unit may have sufficient
magnitude to cause electric shock.
Therefore, it is dangerous to make any kind
of contact with any inside part of this unit.
WARNING:
TO PREVENT FIRE OR SHOCK HAZARD, DO NOT EXPOSE THIS
EQUIPMENT TO RAIN OR MOISTURE.
CAUTION:
TO PREVENT FIRE OR SHOCK HAZARD AND ANNOYING
INTERFERENCE, USE THE RECOMMENDED ACCESSORIES ONLY.
CAUTION:
DANGER OF EXPLOSION IF BATTERY IS INCORRECTLY REPLACED.
REPLACE ONLY WITH THE SAME OR EQUIVALENT TYPE.
• Since this product gets hot during use, operate it in a well ventilated place; do not install this equipment
in a confined space such as a bookcase or similar unit.
FCC Warning:
Any unauthorized changes or mod i fi ca tions to this equipment would void the us er’s authority to operate
it.
Things You Should Know
1 pc. DC Cable
(K2GJ2DZ00017)
1 pc. DC Cable
(K2GJ2DZ00018)
• This cable can be
used for models
PV-GS19/31/34/35.
• This cable can be
used for models
PV-GS65/250/400.
• This cable can be used
for model PV-GS150.

3
English
1) Read these instructions.
2) Keep these instructions.
3) Heed all warnings.
4) Follow all instructions.
5) Do not use this apparatus near water.
6) Clean only with dry cloth.
7) Do not block any ventilation openings. Install in accordance with the manufacturer’s
instructions.
8) Do not install near any heat sources such as radiators, heat registers, stoves, or other
apparatus (including amplifiers) that produce heat.
9) Do not defeat the safety purpose of the polarized or grounding-type plug. A polarized plug
has two blades with one wider than the other. A grounding type plug has two blades and
a third grounding prong. The wide blade or the third prong are provided for your safety. If
the provided plug does not fit into your outlet, consult an electrician for replacement of the
obsolete outlet.
10) Protect the power cord from being walked on or pinched particularly at plugs, convenience
receptacles, and the point where they exit from the apparatus.
11) Only use attachments/accessories specified by the manufacturer.
12) Use only with the cart, stand, tripod, bracket, or the table specified by the
manufacturer, or sold with the apparatus. When a cart is used, use caution
when moving the cart/apparatus combination to avoid injury from tip-over.
13) Unplug this apparatus during lightning storms or when unused for long
periods of time.
14) Refer all servicing to qualified service personnel. Servicing is required when the apparatus
has been damaged in any way, such as when the power-supply cord or plug is damaged,
liquid has been spilled or objects have fallen into the apparatus, the apparatus has been
exposed to rain or moisture, does not operate normally, or has been dropped.
IMPORTANT SAFETY INSTRUCTIONS
4
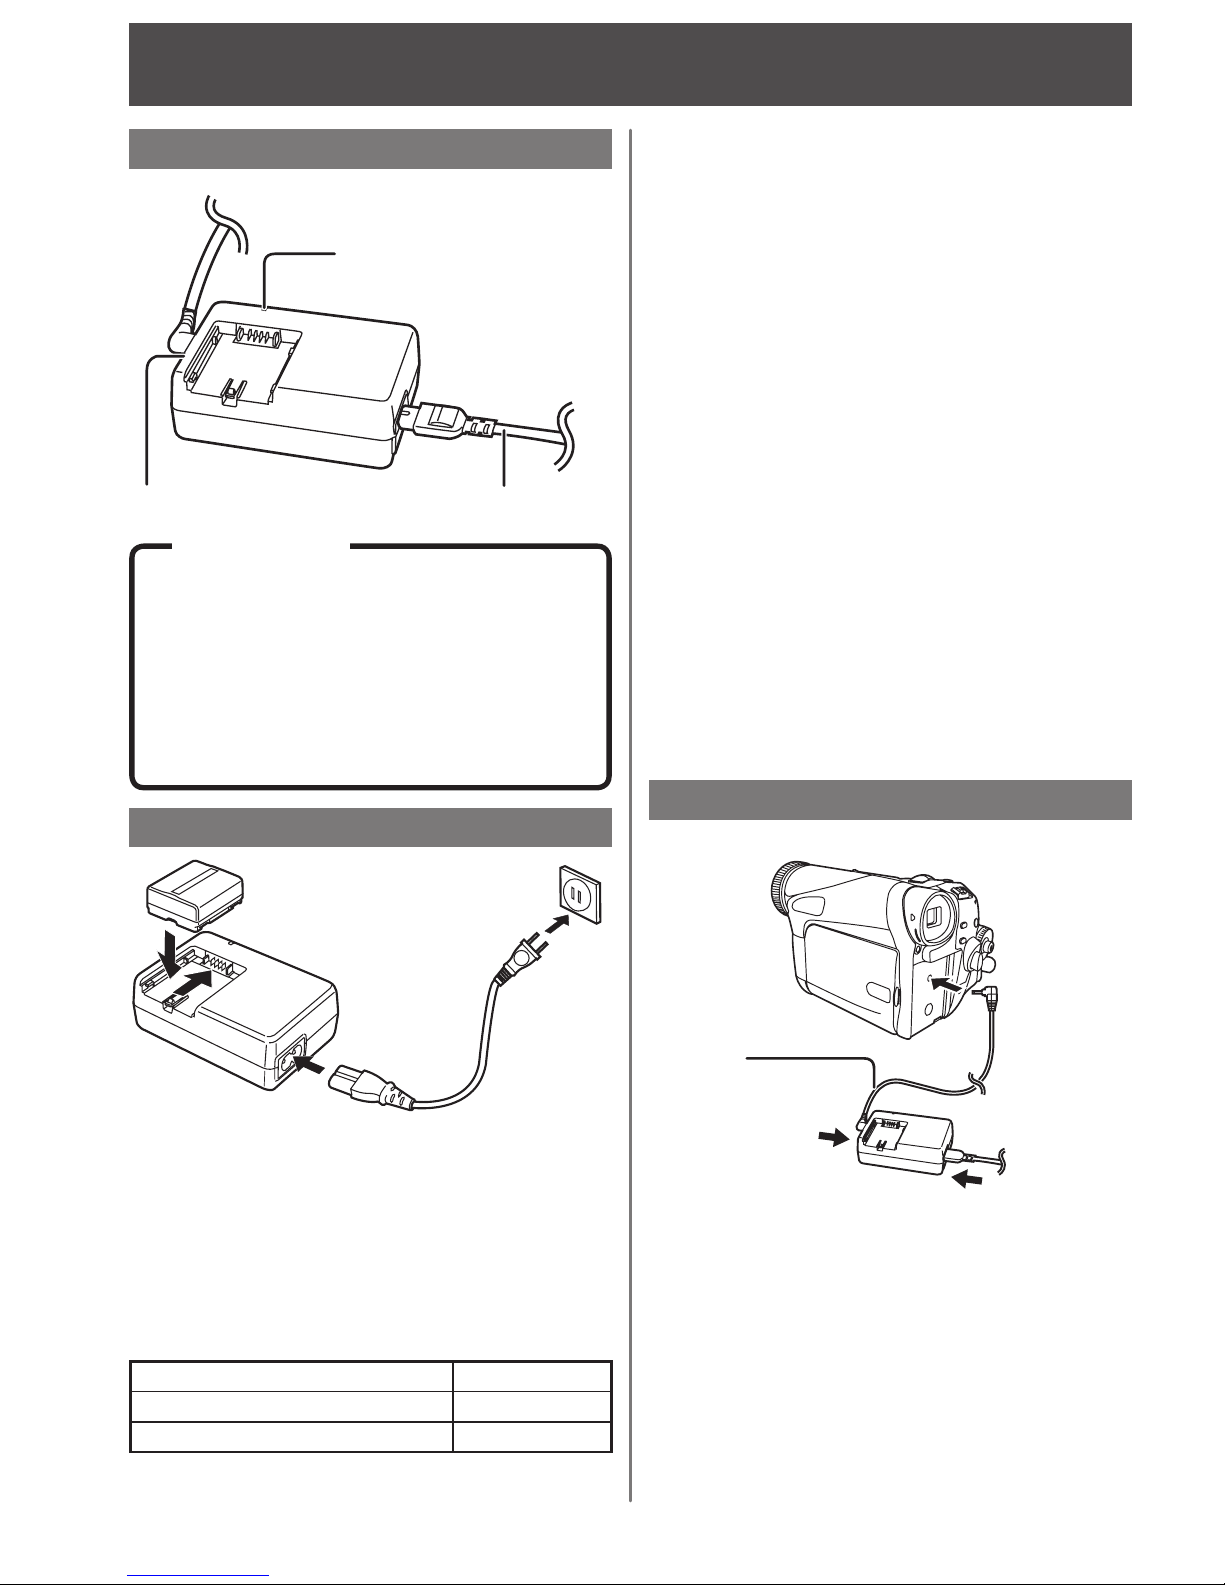
DC Output Connector
CHARGE Lamp
AC Power Cable
This unit will operate on 110-240V AC. An
AC plug adaptor may be required for voltages
other than 120V AC. Please contact either a
local or foreign electrical parts distributor for
assistance in selecting an alternate AC plug.
We recommend using the accessory power
plug adaptor (VJSS0070 or KZDB4ZE00001)
in an area which has special AC outlets.
About the Flashing of the CHARGE
Lamp
• Charge the Battery within an ambient temperature
range of 10 °C and 30 °C.
• If charging is done in extreme low or high
temperatures, Battery charge time increases.
CHARGE Lamp flashes when...
• The Battery is being charged, but charging is
taking longer than normal.
• Charging is not possible. Remove the Battery
once, wait a short time, then re-attach it for
charging.
1 Connect and plug in the cables as shown
above.
• Remove the DC Cable, if attached, from the
adaptor.
2 Attach the Battery to the AC Adaptor and
charge it.
APPROXIMATE CHARGE TIME FOR DIFFERENT
BATTERIES IS AS FOLLOWS:
3 Remove the Battery by sliding it out and
then lift up.
• When the DC Power Cable (supplied) is connected
to the AC Adaptor, the AC Adaptor cannot charge
the Battery.
Using the AC Adaptor
DC Cable
(K2GJ2DC00011)
(Supplied)
Index of Controls/Supplying Power
AC Adaptor
CAUTION:
Charge the Battery Pack
CGR-DU06 (7.2 V/640 mAh) 1 h 40 min.
CGA-DU12 (7.2 V/1 150 mAh) 2 h 25 min.
CGA-DU21 (7.2 V/2 040 mAh) 3 h 55 min.
• Since the Battery will not be charged when
the DC Cable is connected to the AC Adaptor,
disconnect it from the AC Adaptor.
• The [CHARGE] Lamp lights up, and charging
starts.
• When the [CHARGE] Lamp goes off, charging is
completed.
• When the battery is completely discharged, the
[CHARGE] Lamp blinks at first, but the battery is
charged normally. When the temperature of the
battery is too high or low, the [CHARGE] Lamp
blinks and the charging time becomes longer
than usual.
1 Connect the DC Cable to the Camcorder.
2 Connect the DC Cable to the AC Adaptor.
3 Connect the AC Cable to the AC Adaptor
and the AC Jack.
For Model PV-GS19/31/34/35
(PV-GS35 shown)
5
English
• If the temperature of the Battery is extremely
high or extremely low, the [CHARGE] Lamp
may continue flashing, and the Battery may
not be charged. After the temperature of the
Battery has decreased or increased sufficiently,
charging starts automatically. If the [CHARGE]
Lamp continues to flash even after the Battery
temperature has decreased or increased
sufficiently, the Battery or AC Adaptor may be
faulty. In this case, please contact a dealer.
• If the Battery is warm, charging takes a longer
time than normal.
• If you use the AC Adaptor near a radio, radio
reception may be disturbed. Keep the AC
Adaptor 3 feet (1 meter) or more away from a
radio.
• When using the AC Adaptor, it may generate
whirring sounds. However, this is normal.
• After use, be sure to pull out the AC Cable from
the AC Jack. (If they are left connected, a minute
amount of current is consumed.)
• Always keep the electrodes of the AC Adaptor
and Battery clean.
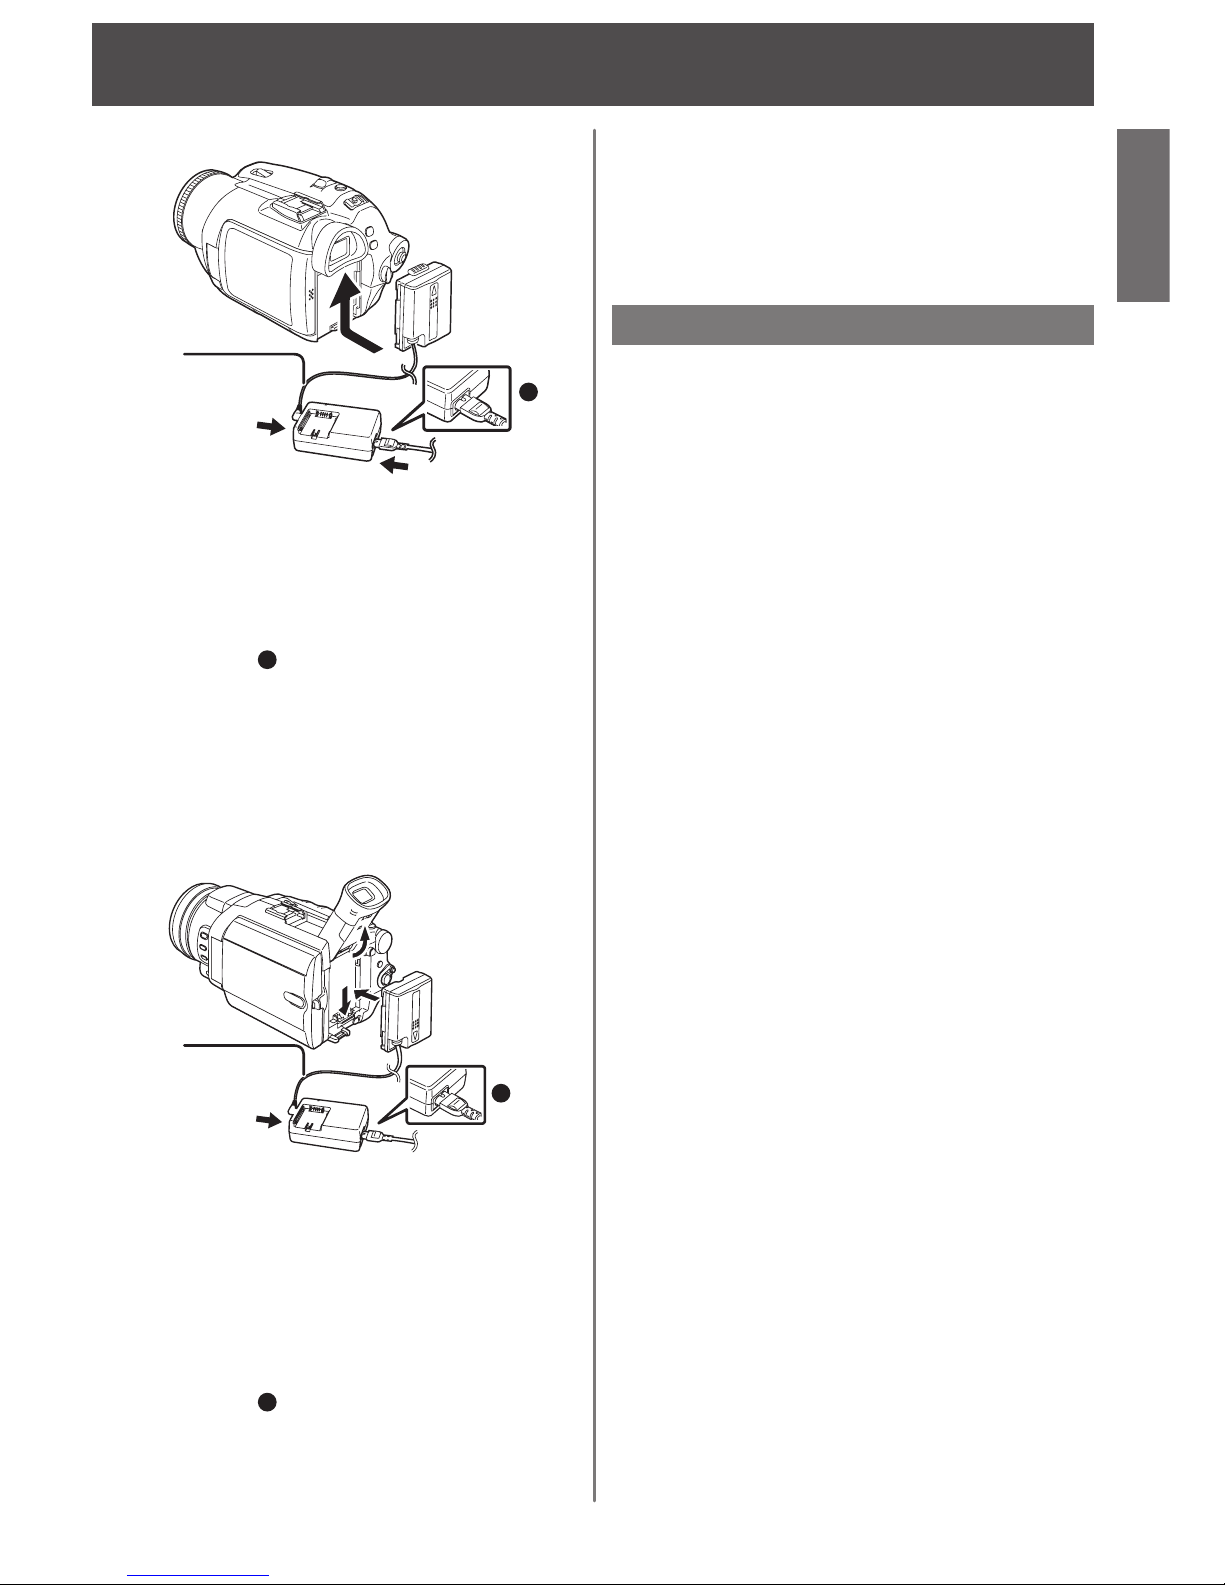
Supplying Power
1 Connect the AC cable to the AC adaptor
and the AC jack.
2 Connect the DC cable to the AC adaptor.
3 Connect the DC cable to this product.
• The output plug of the AC cable is not
completely connected to the AC adaptor jack.
As shown in
1
, there is a gap.
• Do not use the power cord for other equipment
since the power cord is exclusively designed for
the Camcorder. Or do not use the power cord of
other equipment for the Camcorder.
1
For Model PV-GS150
• When the DC Power Cable (supplied) is connected
to the AC Adaptor, the AC Adaptor cannot charge
the Battery.
DC Cable
(K2GJ2DZ00018)
(Supplied)
For Model PV-GS65/250/400
(PV-GS150 shown)
(PV-GS400 shown)
1
DC Cable
(K2GJ2DZ00017)
(Supplied)
1 For Model PV-GS250/400 :
Lift up the Viewfi nder beforehand.
2 Connect the AC cable to the AC adaptor
and the AC jack.
3 Connect the DC cable to the AC adaptor.
4 Connect the DC cable to this product.
• The output plug of the AC cable is not
completely connected to the AC adaptor jack.
As shown in
1
, there is a gap.
About the AC Adaptor
• Do not use the power cord for other equipment
since the power cord is exclusively designed for
the Camcorder. Or do not use the power cord of
other equipment for the Camcorder.
• When the DC Power Cable (supplied) is connected
to the AC Adaptor, the AC Adaptor cannot charge
the Battery.
 Loading...