How it Works
Log In / Sign Up
Buy Points
How it Works
FAQ
Contact Us
Questions and Suggestions
Users
Panasonic
Loading...
K
kx-tga935
3
KX-TGA939
KX-TGA939BX
KX-TGA950
2
KX-TGA950B
kx-tgaa470
KX-TGB110JT
KX-TGB113E
KX-TGB210
KX-TGB210B
KX-TGB210BL
KX-TGB210BX
KX-TGB210E
KX-TGB210EB
KX-TGB 210 F
KX-TGB210FX
6
KX-TGB210GR
KX-TGB210HG
2
KX-TGB210JT
KX-TGB210NE
2
KX-TGB210PD
KX-TGB 210 R
KX-TGB210RU
KX-TGB210RUB
KX-TGB210RUF
KX-TGB210RUR
KX-TGB210RUW
KX-TGB210SP
KX-TGB210TRB
KX-TGB210TRW
KX-TGB210UE
KX-TGB210W
KX-TGB212BX
KX-TGB212EB
KX-TGB212FX
6
KX-TGB212HG
KX-TGB212JT
KX-TGB212NE
KX-TGB212PD
KX-TGB212RU
KX-TGB212SP
KX-TGB212UE
KX-TGB213BX
KX-TGB213EB
KX-TGB213JT
KX-TGB213NE
2
KX-TGB213SP
KX-TGB213UE
KX-TGB214E
KX-TGB610
KX-TGB810
KX-TGB812
KX-TGC210
2
KX-TGC210BL
KX-TGC210FX
7
KX-TGC210FXB
KX-TGC210G
KX-TGC210GR
KX-TGC210NE
KX-TGC210PD
4
KX-TGC210SL
2
KX-TGC210TRB
KX-TGC212
KX-TGC212BL
KX-TGC212E
KX-TGC212FX
6
KX-TGC212JT
KX-TGC212NE
KX-TGC212PD
2
KX-TGC213
KX-TGC213BL
KX-TGC213E
KX-TGC220
KX-TGC220E
KX-TGC220ES
KX-TGC220FX
6
KX-TGC220G
KX-TGC220PD
2
KX-TGC222
KX-TGC222BL
KX-TGC222E
KX-TGC222ES
KX-TGC222G
KX-TGC222SL
2
KX-TGC223E
KX-TGC223ES
KX-TGC223G
KX-TGC224E
KX-TGC310
KX-TGC310E
KX-TGC310FX
4
KX-TGC310JT
KX-TGC310PD
2
KX-TGC310RU
KX-TGC310RU1
KX-TGC310RU2
KX-TGC310RUC
KX-TGC 310 RUR
KX-TGC310RUY
KX-TGC310RUС
Loading...
Loading...
Nothing found
KX-TGB810
Operating Instructions
48 pgs
528.42 Kb
0
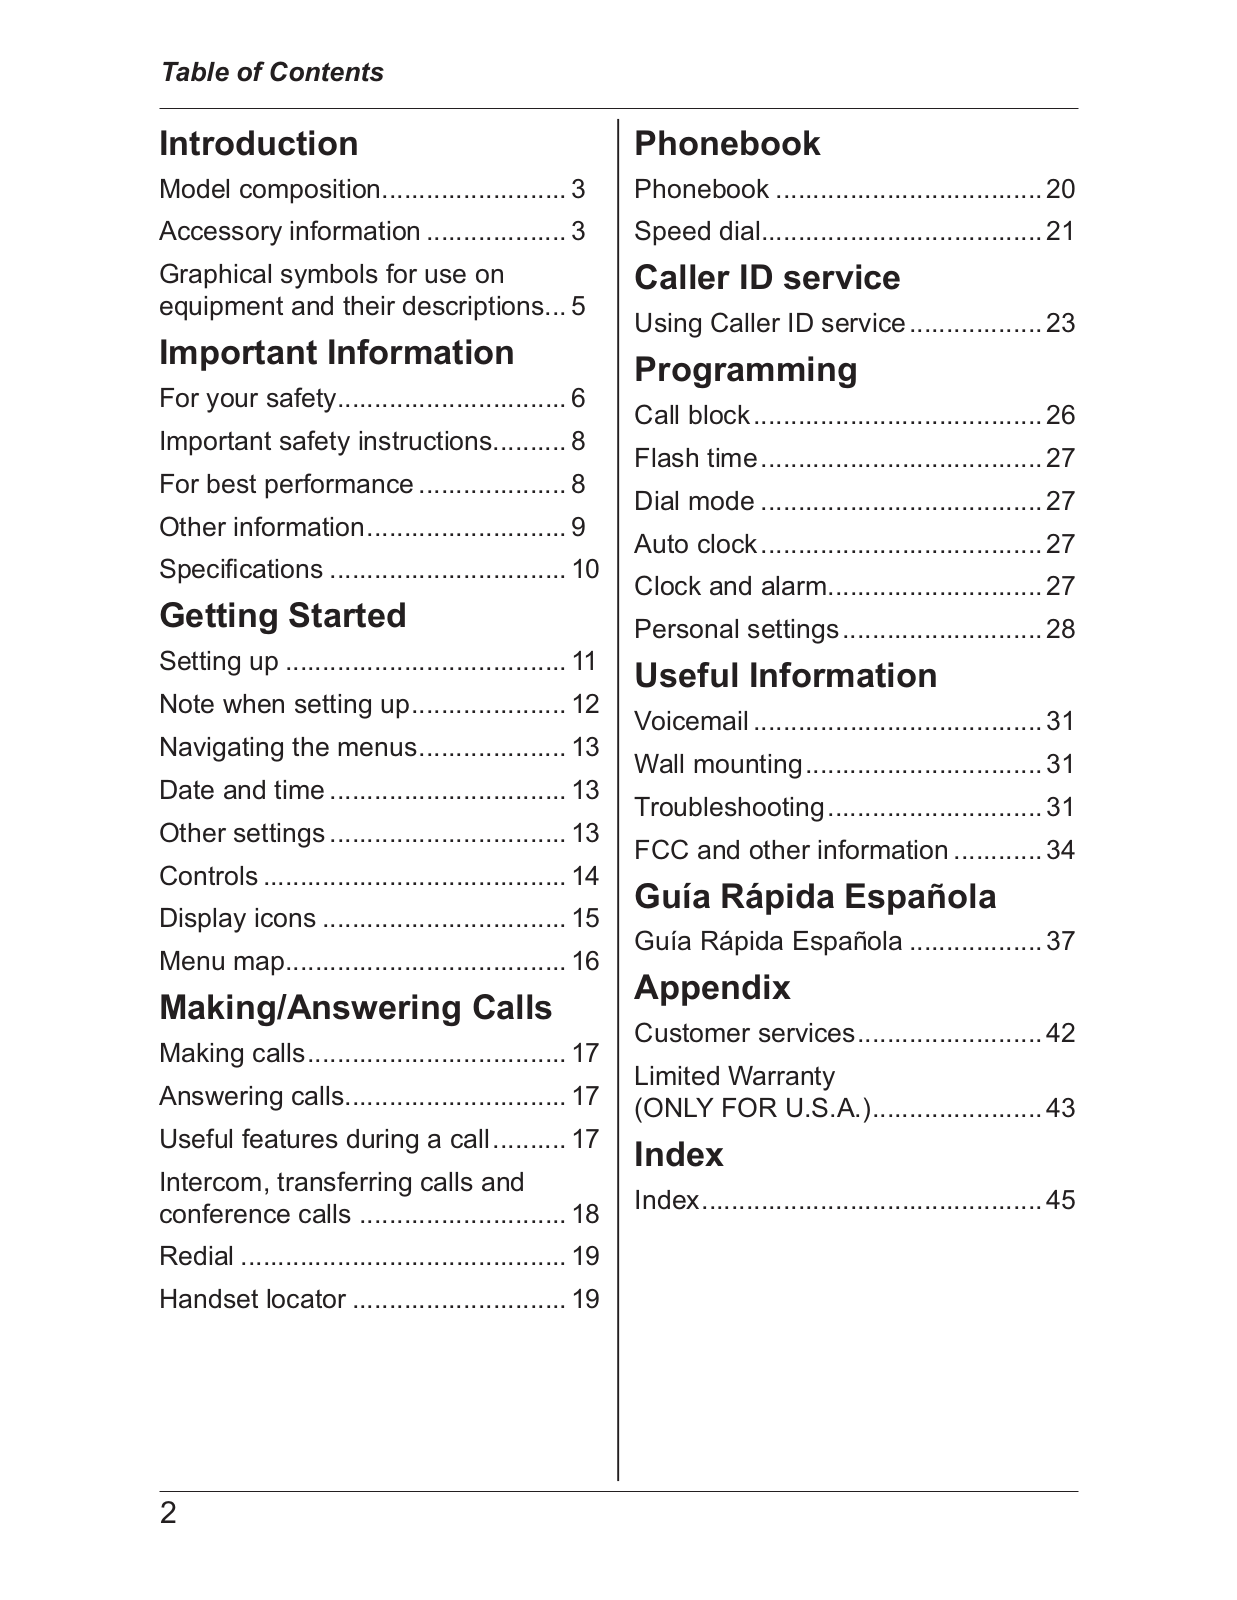
Table of contents
Loading...
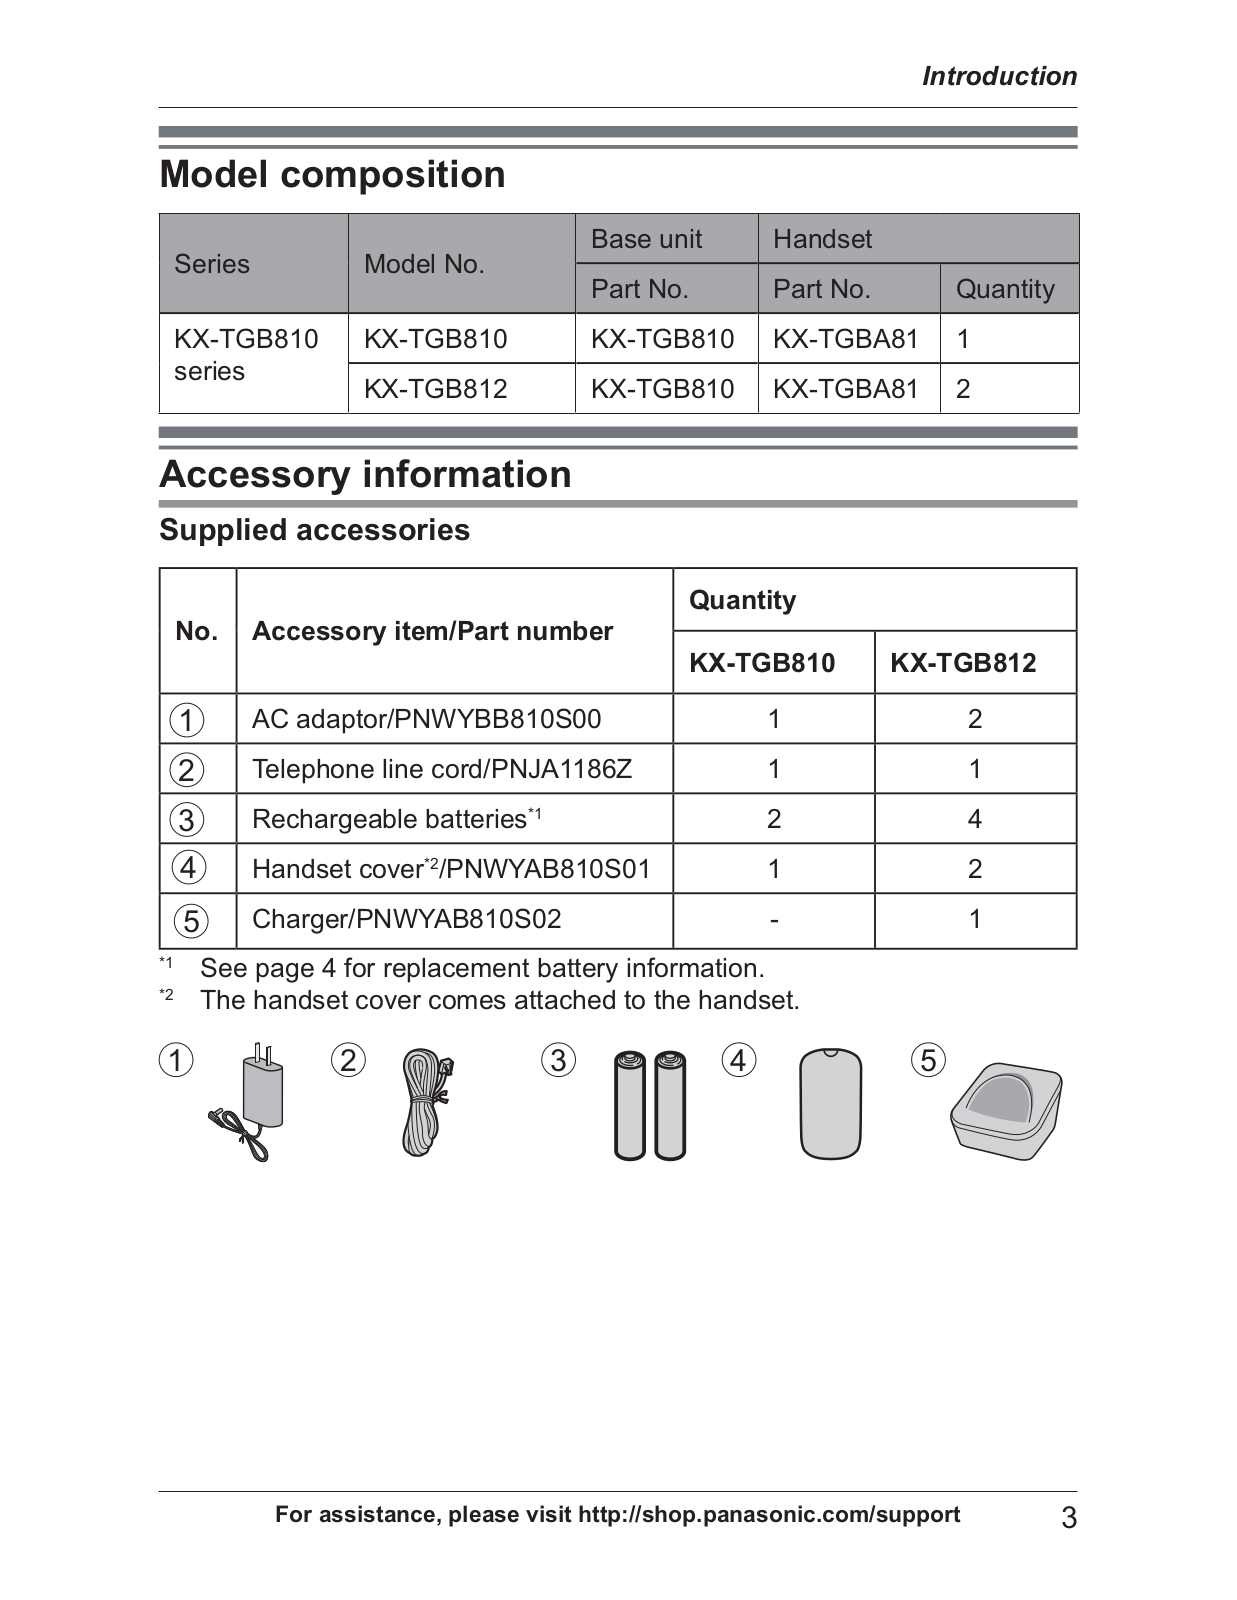
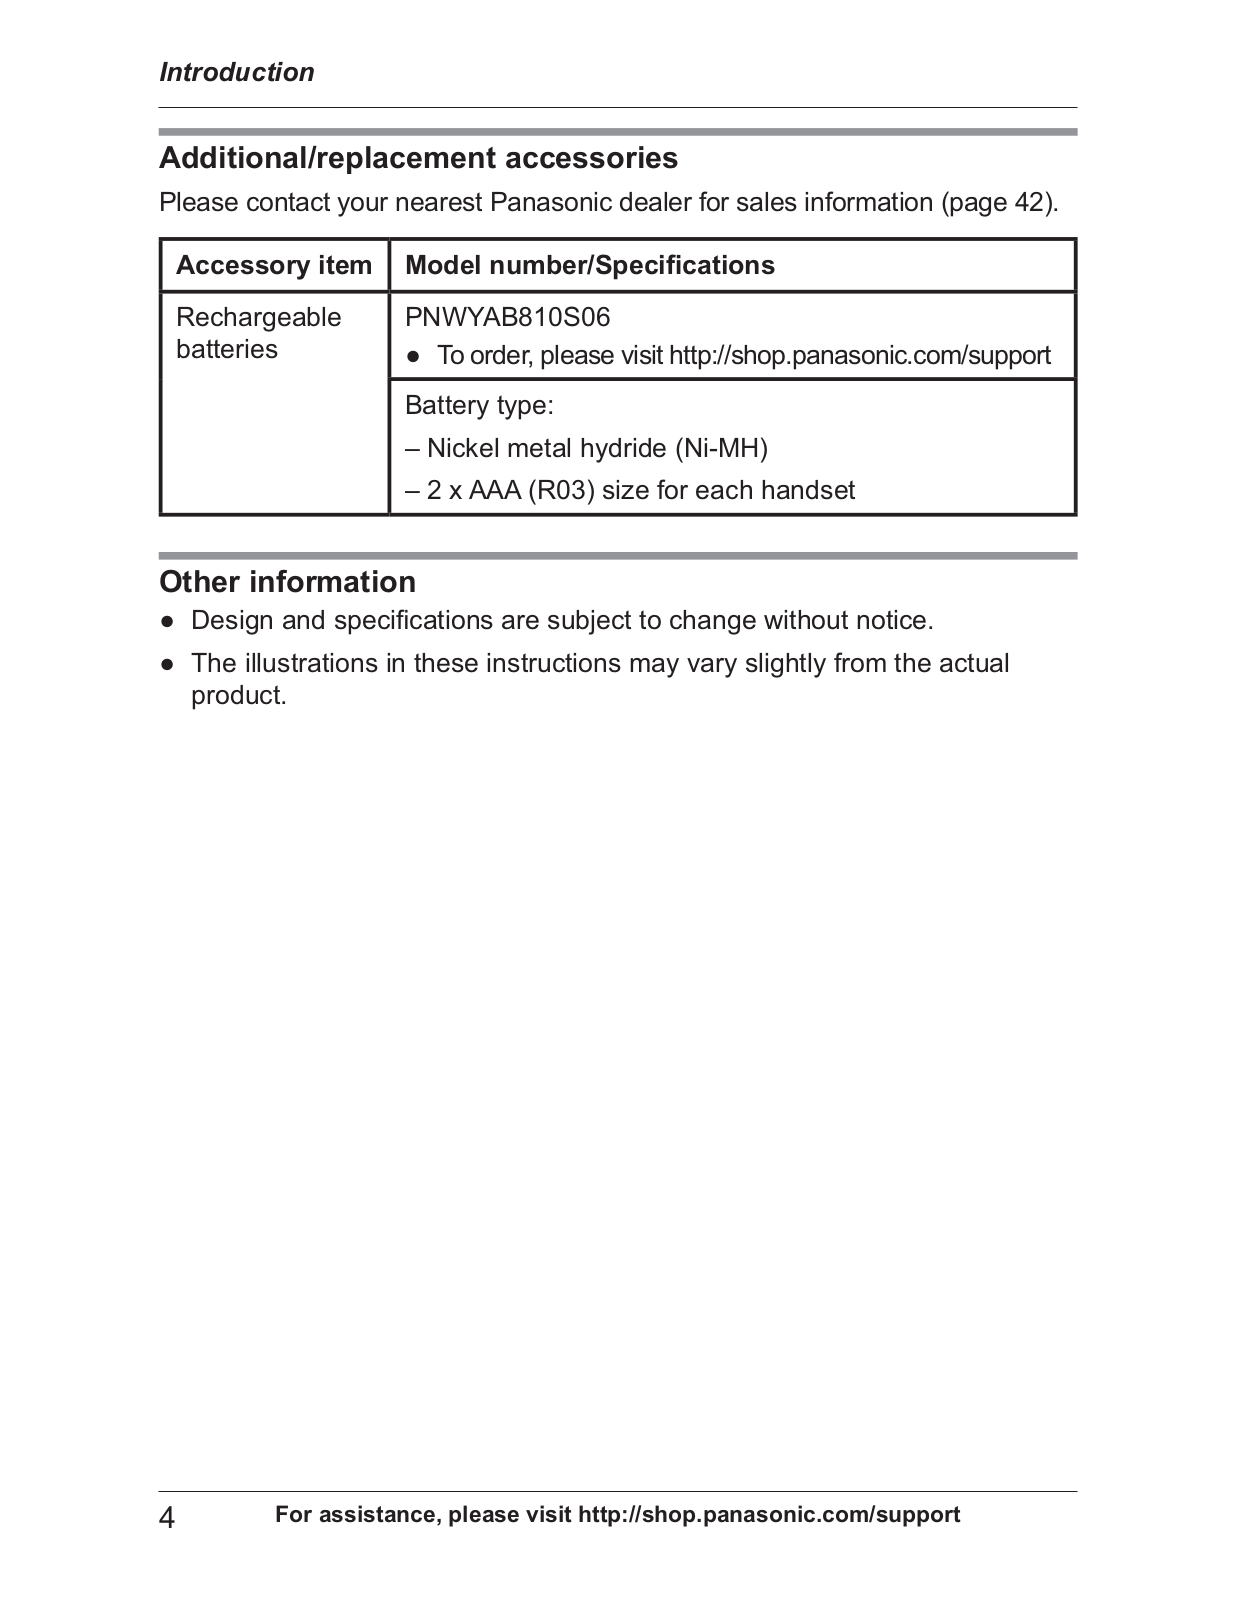
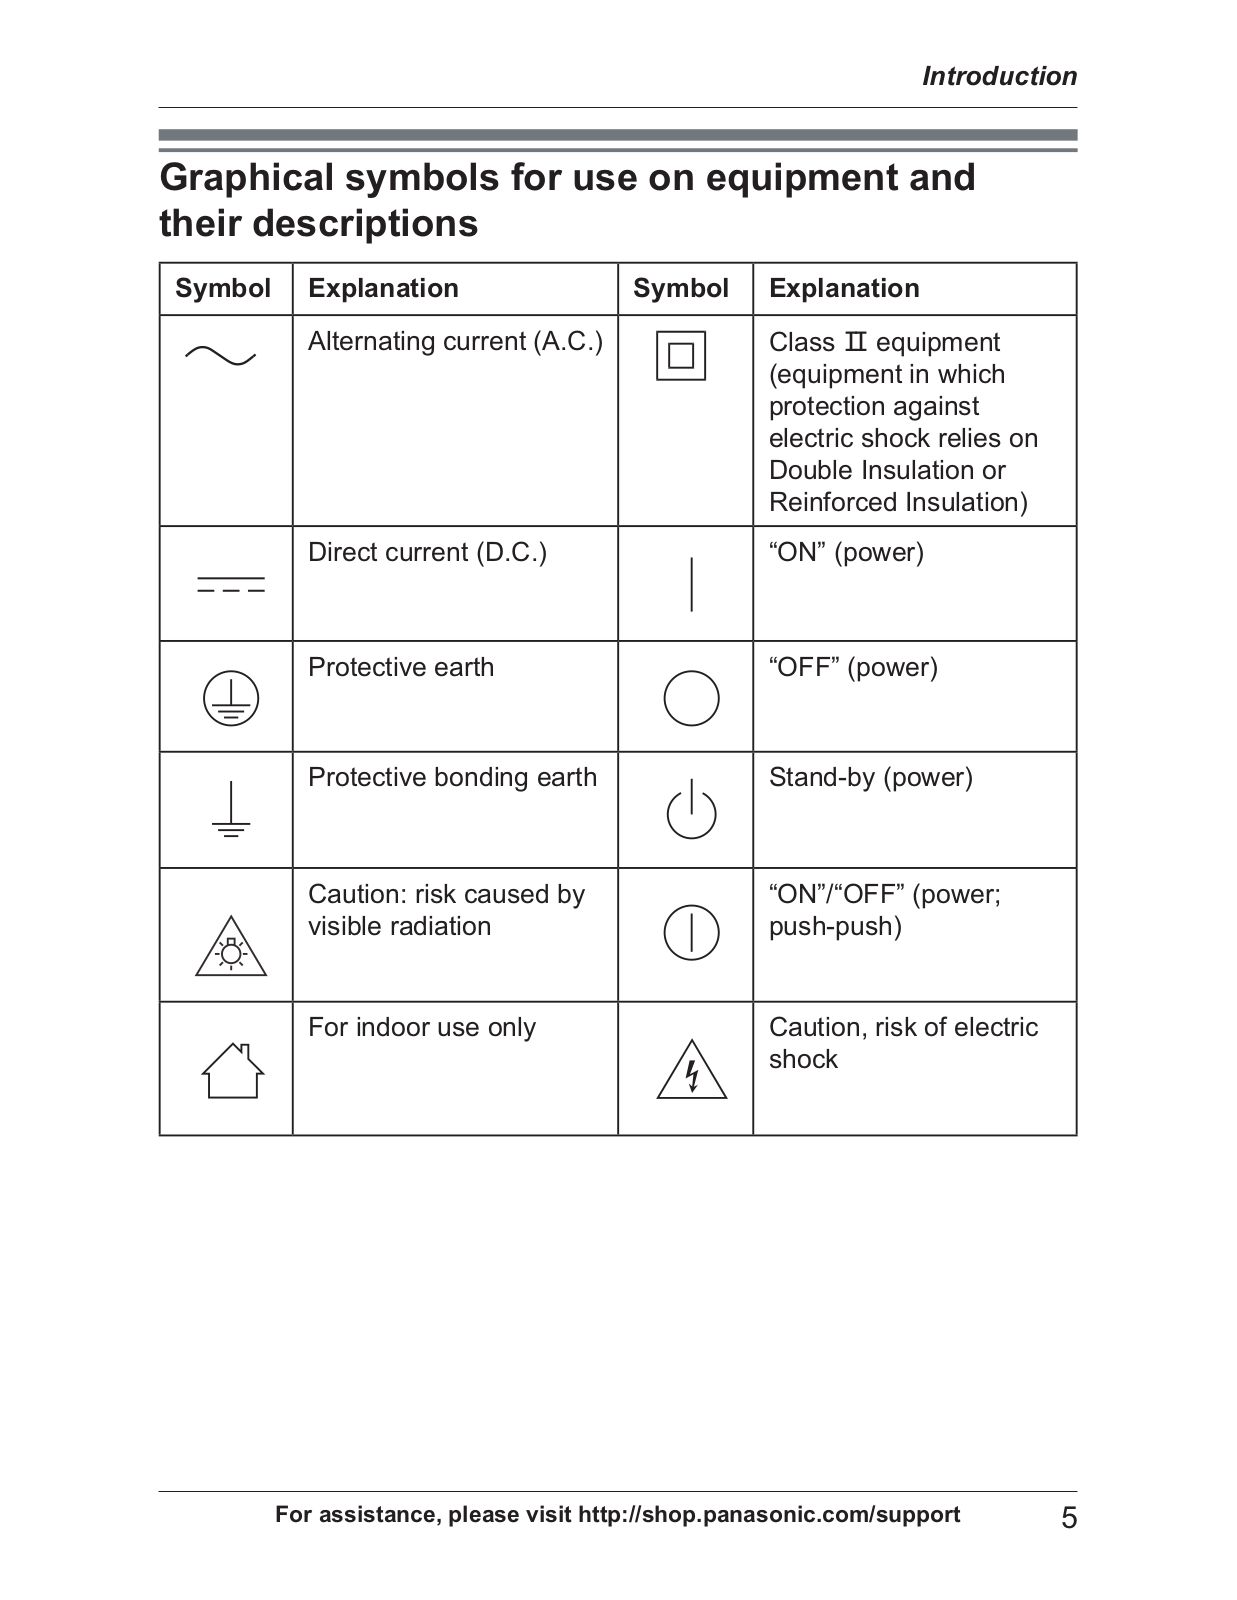
Panasonic KX-TGB810, KX-TGB812 Operating Instructions
...
Panasonic Operating Instructions
Download
Specifications and Main Features
Frequently Asked Questions
User Manual
Download
Loading...
+
33
hidden pages
Unhide
You need points to download manuals.
1 point = 1 manual.
You can buy points or you can get point for every manual you upload.
Buy points
Upload your manuals