

Panasonic kx-tcd725em User Manual
Digital Cordless Answering System
Model No. KX-TCD725EM
Operating Instructions
Charge the batteries for about 15 hours before initial use.
D
IG
ITA
L
PLEASE READ BEFORE USE AND SAVE.
Caller ID Compatible
KX-TCD725EM-0ï\éÜ(1) 01.10.24 14:35 Page 1

2
Important Information
Do not connect the AC adaptor to any
AC outlet other than the standard AC
220–240 V, 50 Hz.
• Outlet voltage DC 9 V, 500 mA
• The apparatus is approved for use with
the PQLV1E power supply.
• CAUTION: Do not remove cover.
Live parts inside.
This apparatus has been approved for the
use of the following facilities:
1) Storage of names and telephone
numbers in the phonebook for retrieval
2) Last number redial
3) Simple telephone facility
4) PBX earth register recall (option)
PBX timed break register recall
5) MF signalling
6) LD signalling
7) Pause
8) Intercom
9) Call prohibition
10) Call restriction
11) Direct call
12) Intercom between handsets
13) Transferring a call from one handset to
another
14) Conference
15) Setting the call waiting tone
16) Accessing the base unit
17) Caller ID service compatible
18) Answering & Recording Machine
19) Recording and playback of ICM
20) DTMF tone remote control system
21) Memo recording feature
22) Monitoring a telephone call
23) LCD call-counter: to indicate received
messages
24) Vox facility: detection of caller’s
hanging up
25) Selecting the number of rings
2–7/AUTO
26) Auto disconnect
27) Total recording time (including the
greeting message) is about
15 minutes
28) Security code for remote operation
Any other usage will invalidate the
approval of the apparatus if as a result, it
then ceases to conform to the standards
against which approval was granted.
Dear purchaser,
You have acquired a KX-TCD725EM, which is a product made in regard with
the European Standards for Cordless Telephones (DECT). DECT technology
is characterised by high-security protection against interceptions as well as
high-quality digital transmission.
This telephone was designed for a wide range of applications.
For example, this telephone can be used within a network of base units and
handsets, constituting a telephone system which:
• operates up to 6 handsets at one base unit
• allows an intercom between 2 handsets
• allows the operation of a handset at up to 4 base units, expanding the
communication radio area.
This telephone may be used for:
• operating several handsets
• operating at several base units
• connecting the base unit to a PBX.
KX-TCD725EM-1(02~23) 01.10.24 14:36 Page 2

3
Method of connection
This is connected to the exchange line or
PABX/PMBX (Private Automatic/Manual
Branch Exchange) extension by the new
standard British Telecom plug and socket.
Arrangements for provision of this type of
termination can be made through the
nearest British Telecom Sales Office. The
apparatus may be connected to the
following types of installation. The
apparatus has been approved for use
under the following conditions:
a) This apparatus may be used on
telecommunication systems employing
MF signalling. It is suitable for
connection to a direct exchange line
on the PSTN (Public Switched
Telephone Network) or via a
compatible PBX (Private Branch
Exchange). (Contact the supplier for
an up to date list of compatible PBX’s.)
b) This apparatus is not suitable as an
extension to a payphone or for use on
a party line with shared service.This
cordless telephone has been designed
to operate on radio frequencies which
have been assigned to the exclusive
use of cordless telephones. As the use
of cordless telephones becomes more
widespread users may experience a
reduction in the quality of service
obtainable from this apparatus.
Although this equipment can use either
loop disconnected or DTMF signalling,
only the performance of the DTMF
signalling is subject to regulatory
requirements for correct operation. It is
therefore strongly recommended that the
equipment is set to use DTMF signalling
for access to public or private emergency
services. DTMF signalling also provides
faster call set up.
999 or 112 can be dialled on the
apparatus for the purposes of making
outgoing calls to the BT Emergency (999
or 112) Service.
WARNING:
The apparatus may be unable to make
emergency 999 or 112 telephone calls,
under certain conditions, e.g.
• Radio interference caused by another
cordless telephone operating on the
same radio frequency.
• The portable handset battery needs
recharging, or has failed.
• The portable handset cannot be used
while charging.
• When KEY LOCK is set to ON.
• When the unit is in Direct Call Mode.
Any cases of difficulty should be referred
in the first instance to the supplier of the
apparatus.
NOTE:
If you experience any problems with the
normal use of your apparatus, you should
unplug it from the telephone outlet and
connect a known working telephone in its
place. If the known working telephone still
gives problems, then please contact the
customer service department of your
PSTN operator. If it operates properly,
then the problem is likely to be a fault in
your apparatus. In this case, contact your
supplier for advice. Your PSTN operator
may charge you if they attend a service
call that is not due to apparatus supplied
by them.
KX-TCD725EM-1(02~23) 01.10.24 14:36 Page 3

4
Handset Cover (p. 10)
Part No. PQKK10109ZA5
one
Accessories (included)
AC Adaptor (p. 10)
Part No. PQLV1E
one
Telephone Line Cord (p. 10)
Part No. PQJA87S
one
Batteries (p. 10)
Part No. BYD N4DH33B00001
two
Belt Clip (p. 88)
Part No. PQKE10120ZA2
one
Operating Instructions
Part No. PQQX13076ZA
one
•Please unpack all of the contents and check if all accessories are included.
•Accessories are subject to technical changes.
•Please keep the original carton box and packaging materials.
For your future reference
Serial No. Date of purchase
(found on the bottom of the unit)
Name and address of dealer
Thank you for purchasing your new Panasonic digital cordless telephone.
•Order accessory items for all Communications Products with ease and confidence either by
telephoning our Customer Care Centre on:
08705 357357 Monday - Friday 9:00am - 5:30pm
•Or go on line through our Internet Accessory ordering application at www.panasonic.co.uk.
•Most major credit and debit cards accepted.
•All enquires transactions and distribution facilities are provided directly by Panasonic UK Ltd.
•It couldn't be simpler!
Model No.
KX-A118EX
P6H
Description
Handset/Charger
Ni-Cd batteries
KX-A109EX Option Covers
Optional accessories
Please contact the place of purchase for the following options.
KX-TCD725EM-1(02~23) 01.10.24 14:36 Page 4
5
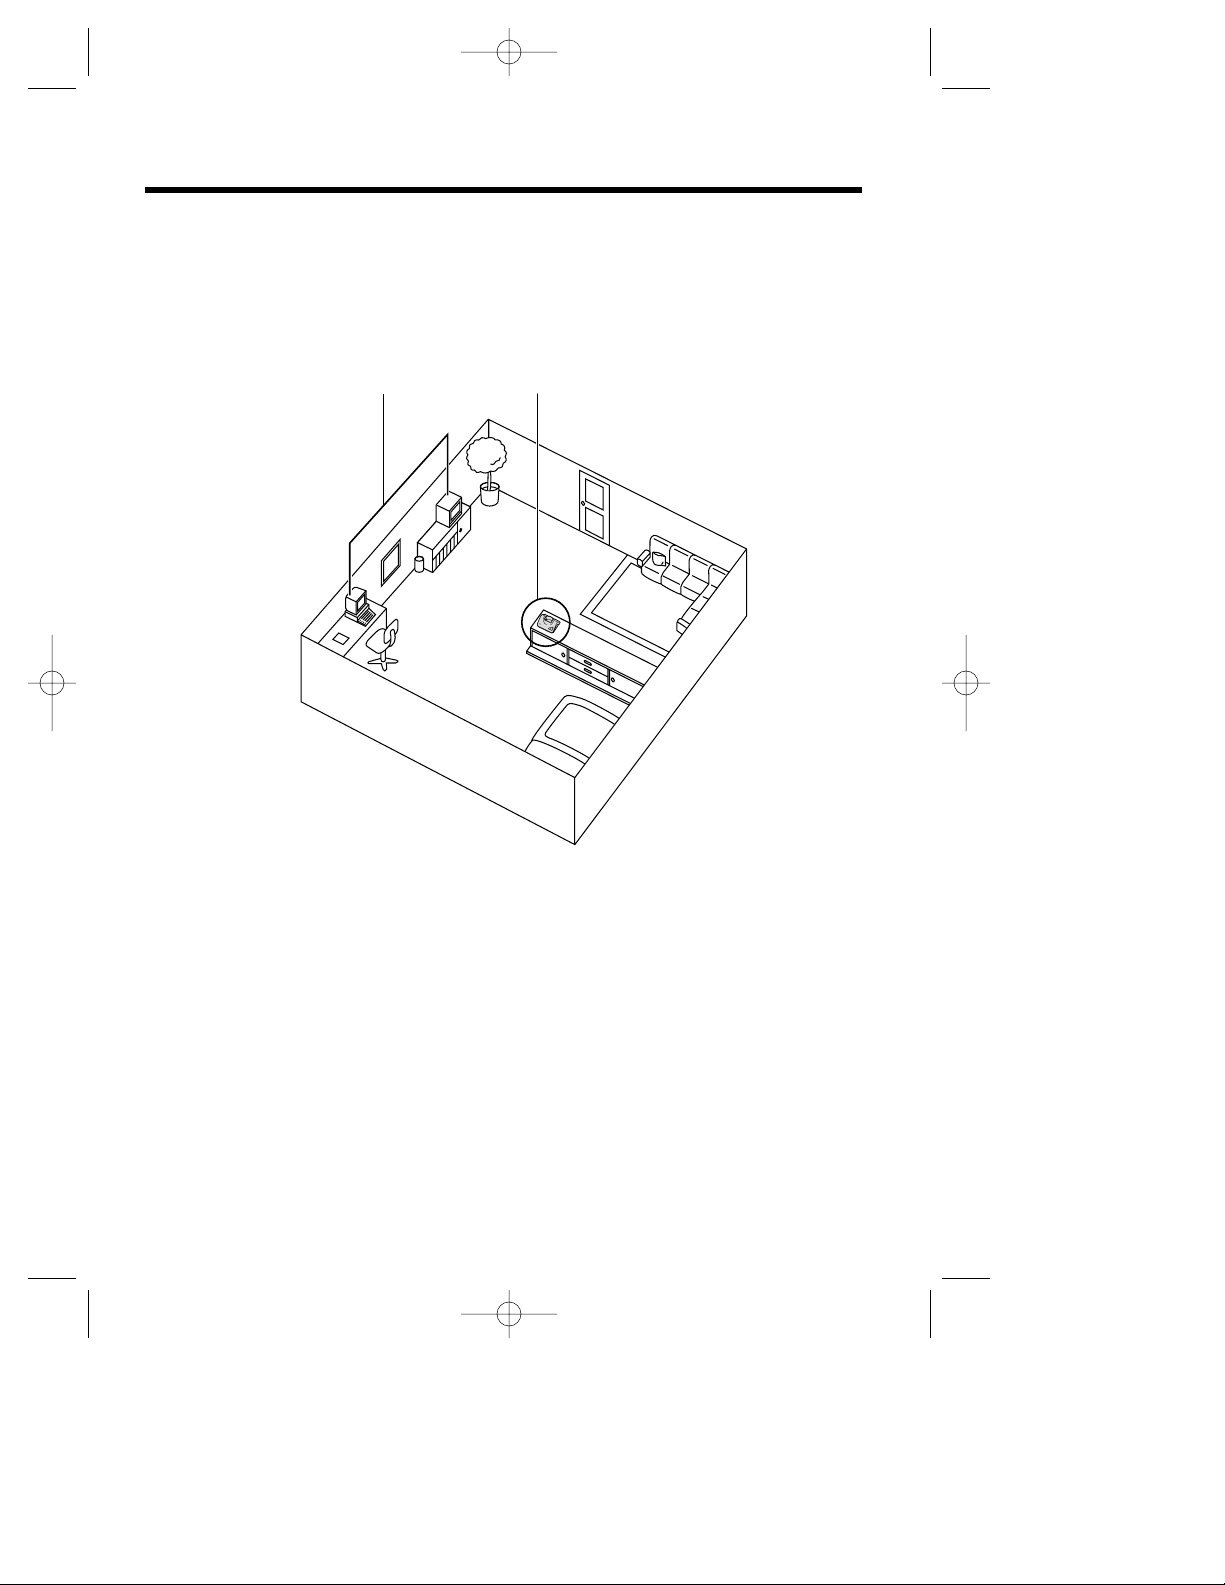
Base Unit Location
Calls are transmitted between the base unit and the handset using wireless radio waves. For
maximum distance and noise-free operation, the recommended base unit location is:
Operating range:
The range of operation depends on the construction of your home, weather and usage conditions.
Normally you will get longer range outdoors than indoors.
Obstacles such as walls, metal shelves or cement-iron walls may shorten the operating range.
Noise:
Occasional noise or interference may occur due to other random radio waves.
Away from electrical appliances such as a TV,
radio, personal computer or another telephone.
In a HIGH and CENTRAL location with no
obstructions such as walls.
KX-TCD725EM-1(02~23) 01.10.24 14:36 Page 5

6
Contents
Chapter 1
Preparation
Chapter 2
Cordless Telephone
Location of Controls ..........................8
Display .................................................9
Getting Started .................................10
Installing the Batteries in the
Handset ..........................................10
Connections ....................................10
Battery Charge .................................11
Basic Start-up Operations ...............12
Turning the Power ON/OFF.............12
Making a Call ...................................12
Answering a Call..............................12
Terminating a Call............................12
Basic Answering System
Operations .........................................13
Pre-Recorded Greeting Message ....13
Phonebook ........................................24
Storing Caller Information into
the Phonebook ................................24
Private Category Feature ................25
Private Category Table ....................26
Selecting Characters .......................27
Character Table ...............................28
Editing a Caller Information in the
Phonebook.......................................30
Clearing a Caller Information in the
Phonebook.......................................30
Finding a Caller Information in the
Phonebook.......................................31
Making a Call with the Phonebook
....32
Hot Key Dial.....................................33
Phonebook Copy.............................34
Special Features................................36
Pause Feature (For Analogue PBX
Line/Long Distance Service Users)
......36
Key Lock..........................................36
Recall Feature .................................37
Call Waiting and Caller ID
Compatible.......................................37
Making Calls .....................................14
Making a call after Confirming
the Entered Phone Number.............14
Redial Call .......................................14
Calling Back with the Caller List......15
Digital Speakerphone ......................15
Auto Talk..........................................16
Storing a Dialled Number into
the Phonebook ................................16
Answering Calls ...............................17
Paging ................................................18
Caller ID..............................................19
Caller ID Service..............................19
Caller List ..........................................20
Viewing the Caller List.....................20
Editing the Caller’s Phone Number
..21
Clearing Caller Information in the
Caller List.........................................22
Storing Caller List Information
into the Phonebook..........................23
Chapter 3
Programmable Function
on the Handset
Summary of Programmable
Functions on the Handset ................38
Handset PIN.......................................40
Time Alarm.........................................41
Ringer Option....................................43
Tone Option .......................................44
Display Option ...................................46
Call Option.........................................50
Other Option......................................52
Reset Handset Settings....................53
KX-TCD725EM-1(02~23) 01.10.24 14:36 Page 6
7
Chapter 5
Answering System
Summary of Answering System
Operations .........................................65
Summary of Direct Command for
Answering System Operations........66
Answering System Operations........67
Greeting Message ...........................67
Incoming /Memo Message ..............69
During Playback an/a Incoming/
Memo Message...............................71
During Playback an/a Greeting/
Incoming/Memo Message ..............71
Quick Play New Message................71
Recording Your Telephone
Conversation Using the Handset.....72
Setting the VOX SENS Function ....72
Selecting Receiver Volume During
Playback..........................................73
Selecting the Number of Rings........73
Selecting the Caller’s Recording Time
...74
Setting the Monitor Function
ON/OFF...........................................74
Remote Operation from a Touch
Tone Phone........................................75
Setting the Remote Code................76
Voice Menu......................................77
Direct Remote Operation .................78
Optional Multi-Unit User Operations
..79
Operating More than One
Handset ...........................................79
Operating More than One Base
Unit ..................................................79
Registration .......................................80
Registering a Handset in the
Base Unit.........................................80
Selecting the Base Unit Access.......81
Cancelling a Handset Registration in
the Base Unit...................................82
Cancelling a Base Unit....................82
Intercom.............................................83
Intercom between Handsets ...........83
Transferring a Call from One
Handset to Another..........................84
Conference .....................................85
Chapter 6
Multi-Unit User Operations
Chapter 4
Programmable Function
on the Base Unit
Summary of Programmable
Functions on the Base Unit .............54
Base Unit PIN ....................................55
Ringer Mode Selection .....................56
Base Unit Ringer Volume .................58
Other Feature.....................................59
Call Restriction ..................................61
Reset the Base Unit Settings...........63
Date and Time....................................64
Chapter 1
Chapter 2
Chapter 3
Chapter 4
Chapter 5
Chapter 6
Chapter 7
Battery Replacement ........................86
Important Notice Concerning the
Correct Use and Charging of Ni-MH
(Ni-Cd) Batteries ................................87
Using the Belt Clip............................88
Using the Optional Headset.............88
Wall Mounting....................................89
Option Covers ...................................90
Before Requesting Help ...................91
Safety Instructions ............................95
Adding Another Phone.....................96
Term Definitions ................................97
GUARANTEE .....................................98
Chapter 7
Useful Information
KX-TCD725EM-1(02~23) 01.10.24 14:36 Page 7

8
Location of Controls
Handset
7
1
0
3
2
4
6
8
9
5
R
INTINT
7
1
0
3
2
6
8
9
5
C
4
(Phonebook)
Button
Display
(Function/OK) Button
(Capital
Change) Button
(Recall) Button
Charge Contact
Charge Contact
(Clear) Button
(Intercom) Button
(OFF/Power) Button
Navigator Key
( , , , )
Headset Jack
(Talk) button
(Redial/Pause)
Button
(Speakerphone)
Button
Microphone
INT
R
Receiver
C
Back side
D
IG
ITA
L
Charge Contact
Page Button
Base Unit
Speaker
KX-TCD725EM-1(02~23) 01.10.24 14:36 Page 8
Chapter 1
Preparation
9
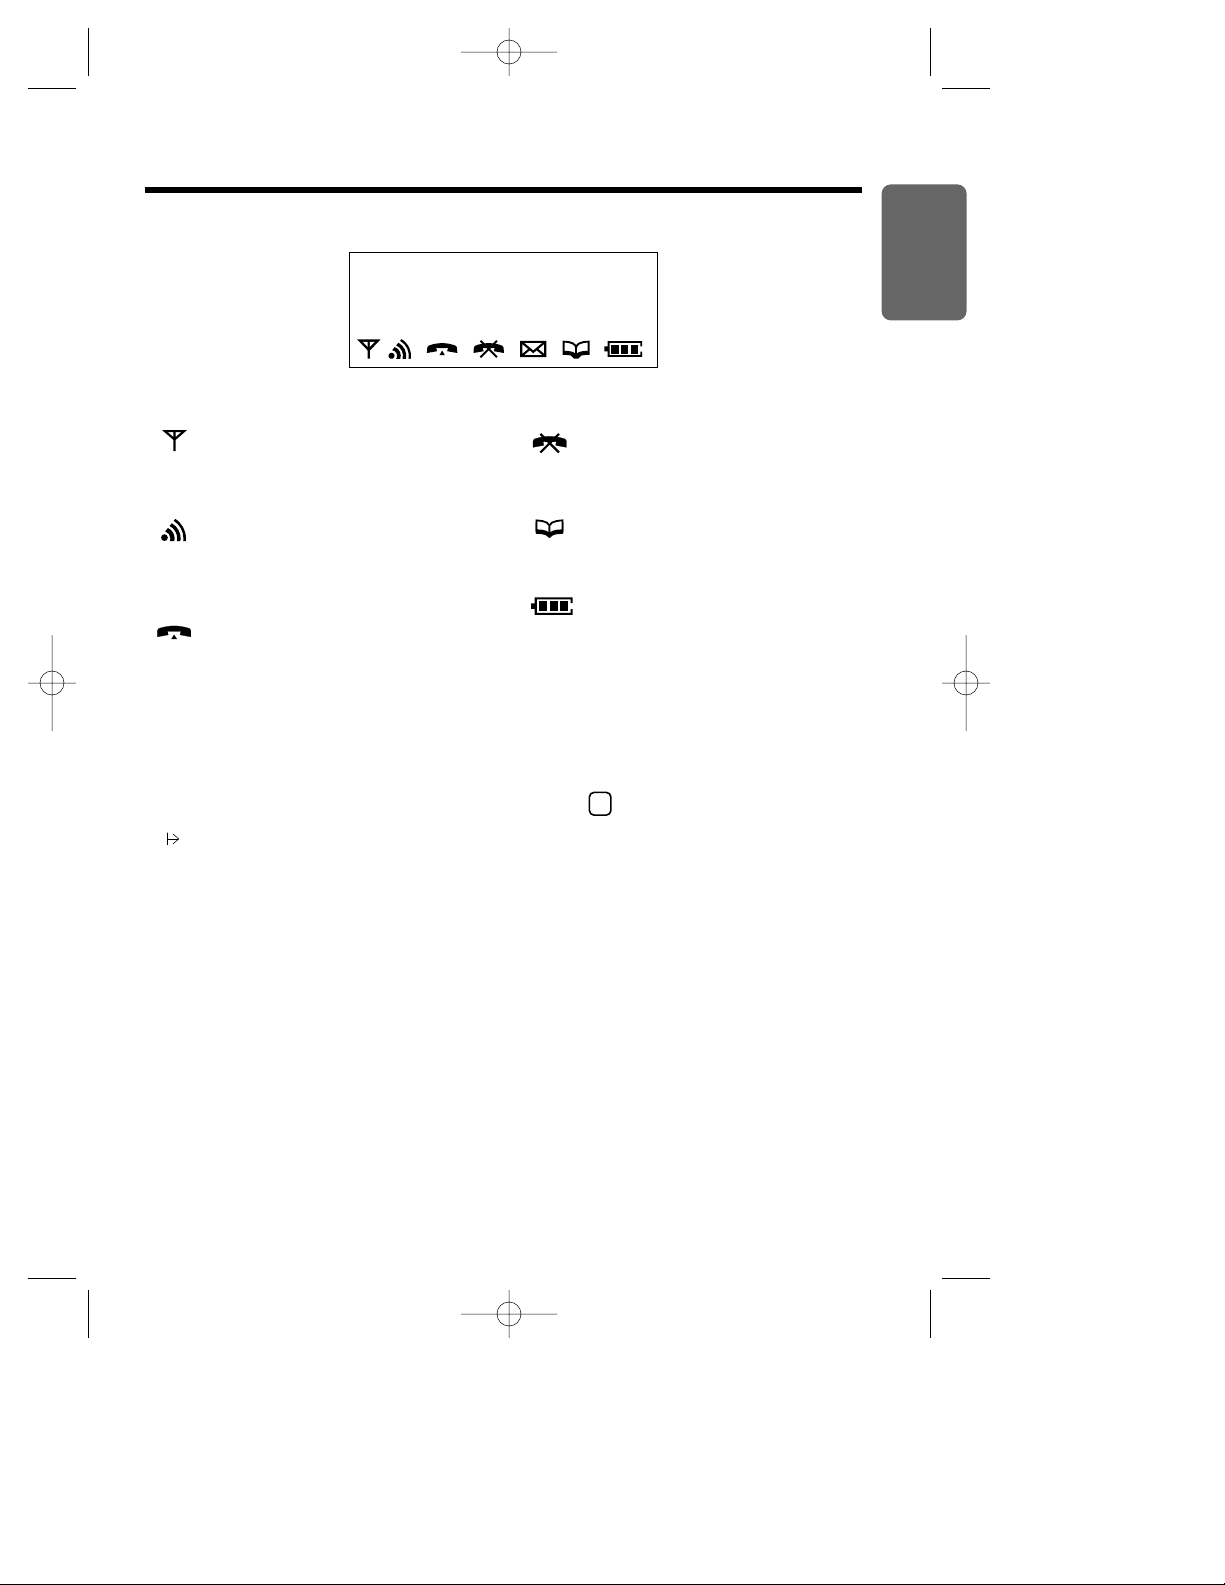
Display
Icons
The in-range icon indicates that the
handset is in range of the base unit. It
flashes when the handset is out of range.
The page/intercom icon is displayed
when paging or using the intercom. It
flashes when another unit pages the
handset.
The talk icon is displayed when making
or answering calls. It flashes when an
outside call is being received.
The call prohibition icon is displayed
when call prohibition mode is set to on
(p. 50).
The phonebook icon is displayed when
storing or viewing caller information
into the phonebook (p. 24).
The battery icon indicates the battery
strength (p. 11).
P
F
Characters
Handset Display
is pressed while dialling.
Key lock is ON (p. 36).
R
ABCDEFGHIabcdefg
1234567890123456
[X]
[A]
“Pause” is selected while dialling (p. 36).
Direct call mode is ON (p. 51).
Answering system is ON (p. 13)
KX-TCD725EM-1(02~23) 01.10.24 14:36 Page 9
10
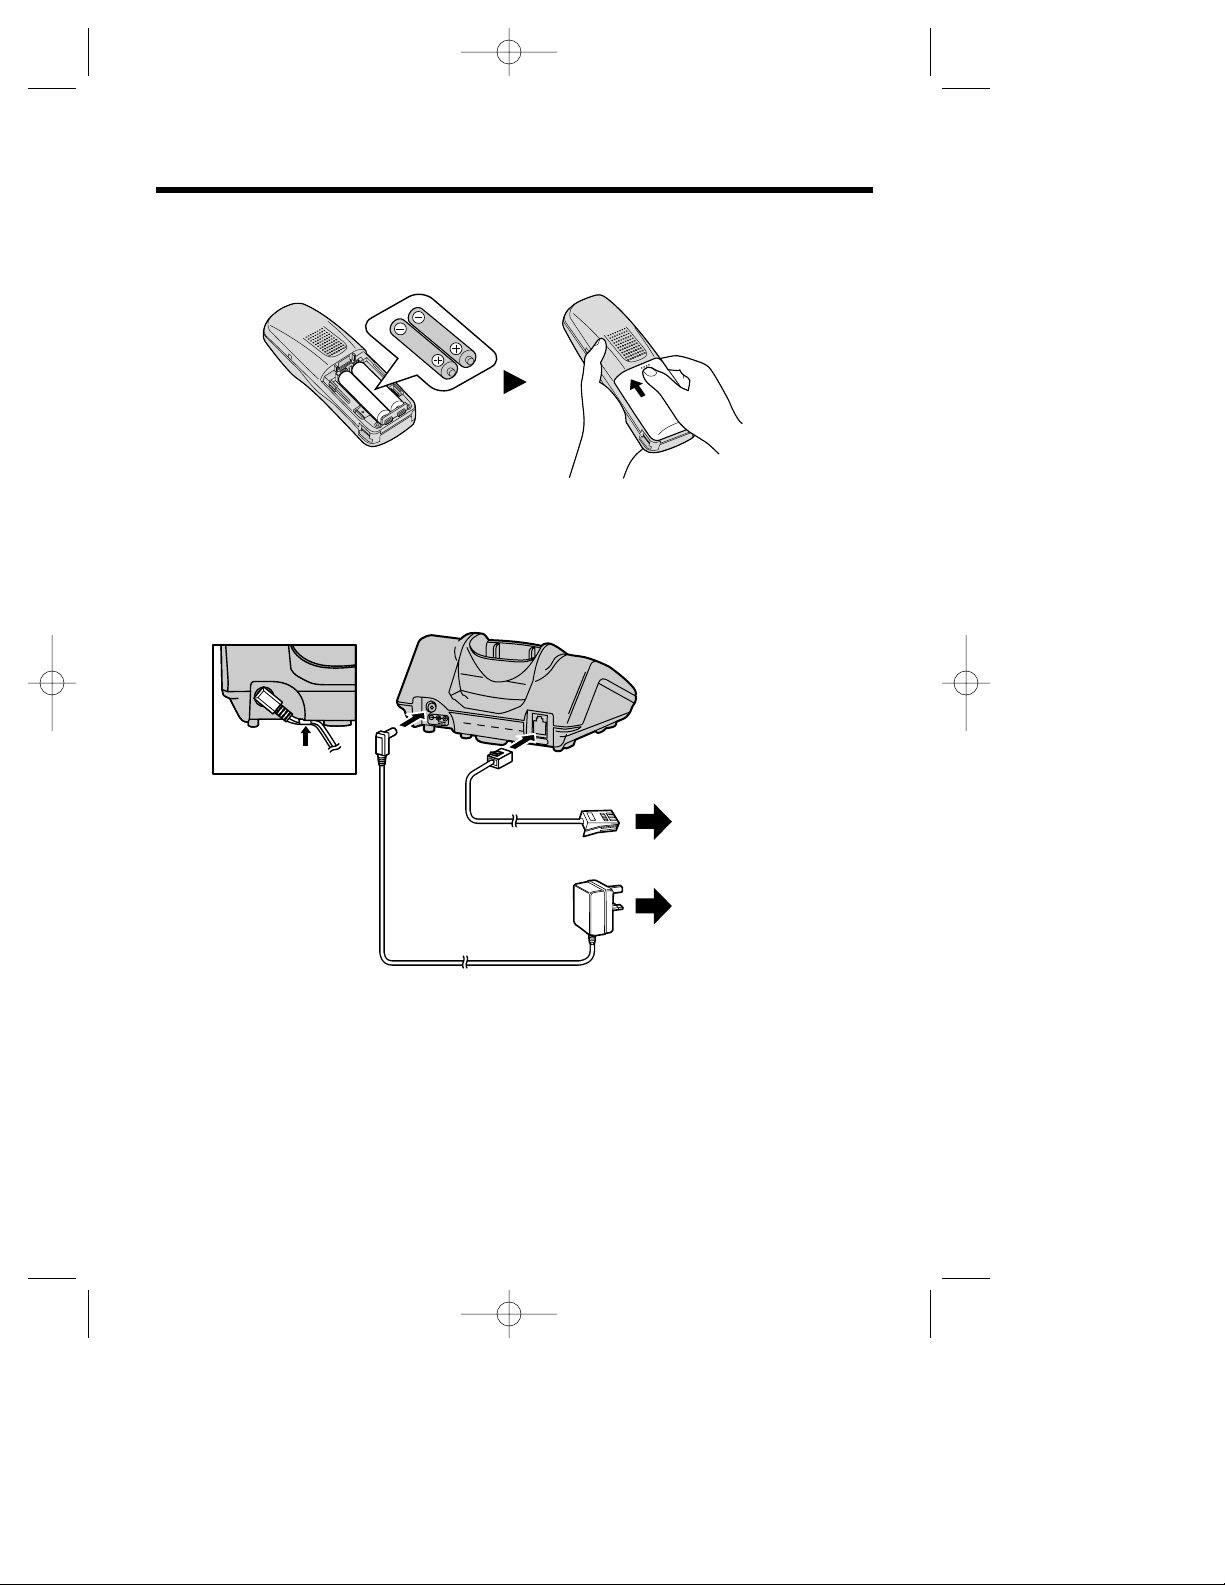
Connections
Plug in the AC adaptor cord and the telephone line cord to the bottom of the unit. Then connect
the cords as shown.
•USE ONLY WITH Panasonic AC ADAPTOR PQLV1E.
•The AC adaptor must remain connected at all times. (It is normal for the adaptor to feel warm during
use.)
•If your unit is connected to a PBX which does not support Caller ID services, you cannot access
those services.
•To connect a standard telephone on the same line, see page 96.
*
The abbreviation TNV means “Telephone Network Voltage”.
CONNECTION OF POWER SUPPLY
This apparatus is intended for use when powered by the PQLV1E.
Using other power supplies will invalidate any approval given to this apparatus.
Getting Started
Installing the Batteries in the Handset
Install the batteries as shown, then install the handset cover.
•If the rechargeable batteries are not inserted correctly, the handset will not work.
LINE
9v
Fasten the AC adaptor
cord to prevent it from
being disconnected
Hook
Telephone Line Cord
AC Adaptor
To Power Outlet
(AC 220-240V, 50Hz)
To B.T. Socket
TNV*
KX-TCD725EM-1(02~23) 01.10.24 14:36 Page 10
Chapter 1
Preparation
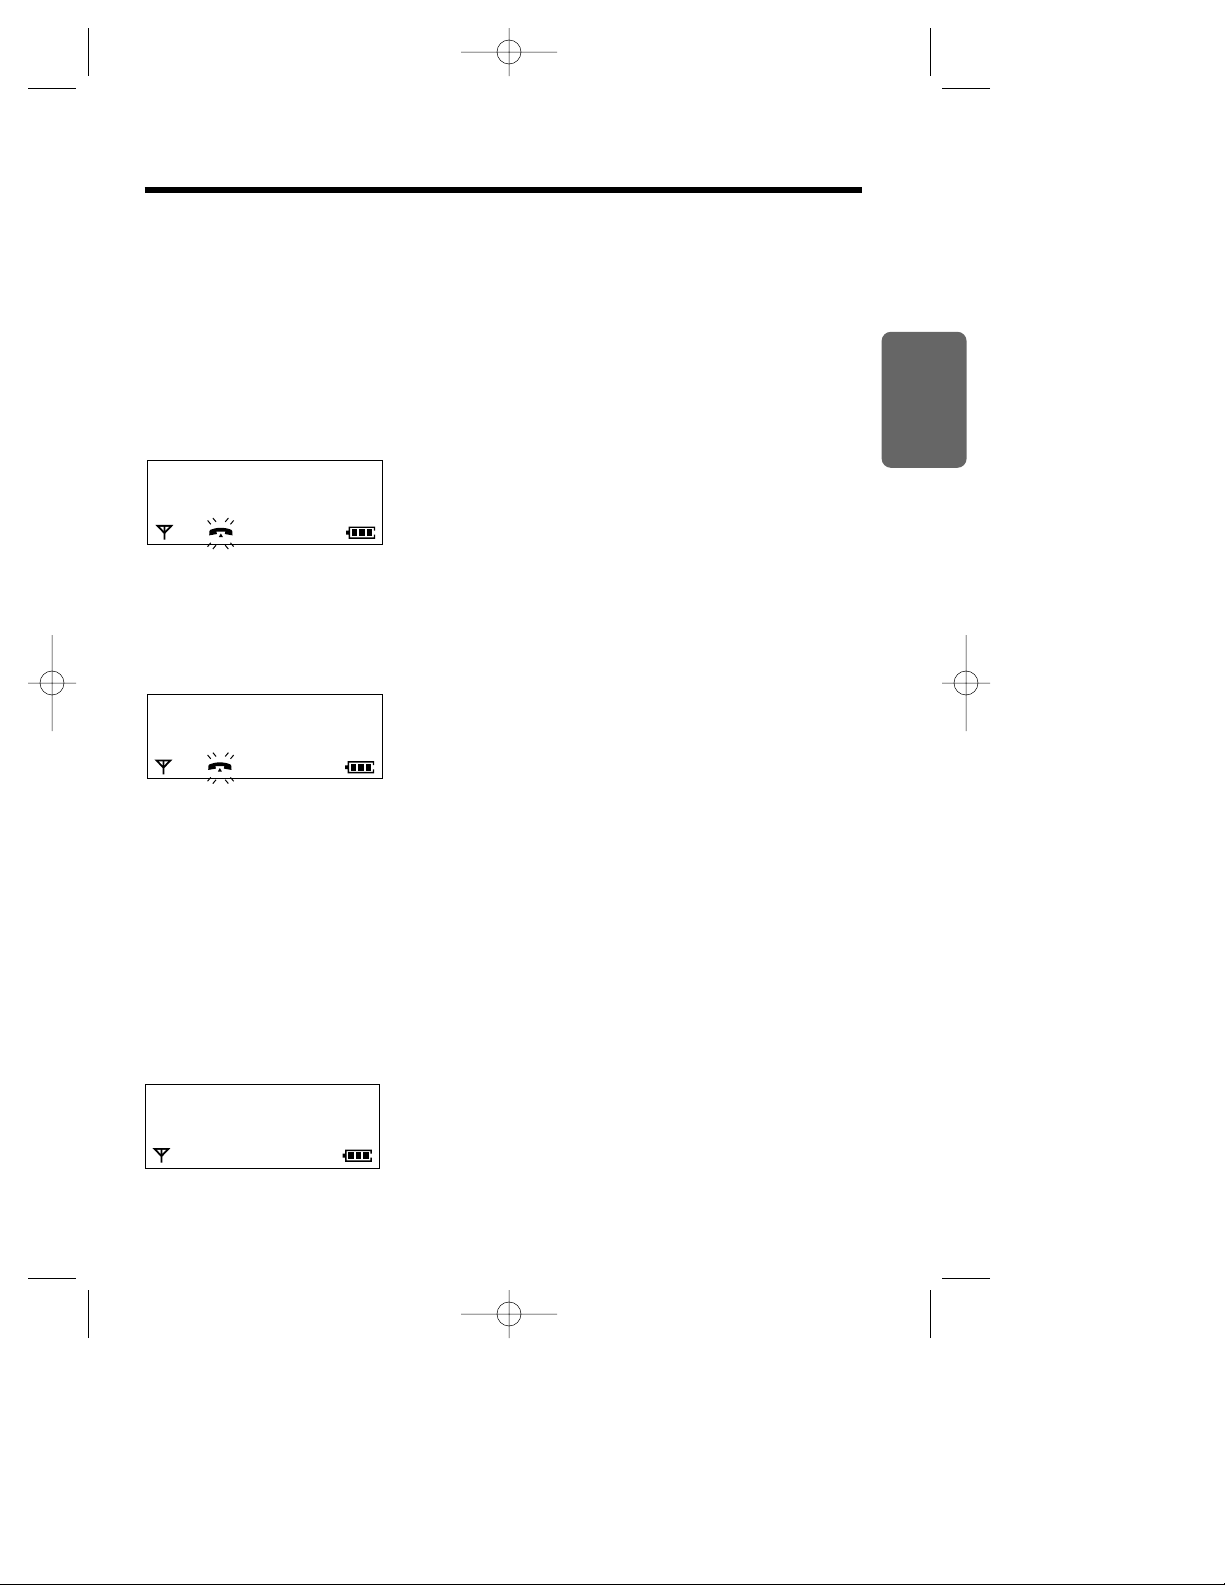
While in use (Talk)
While not in use (Standby)
11
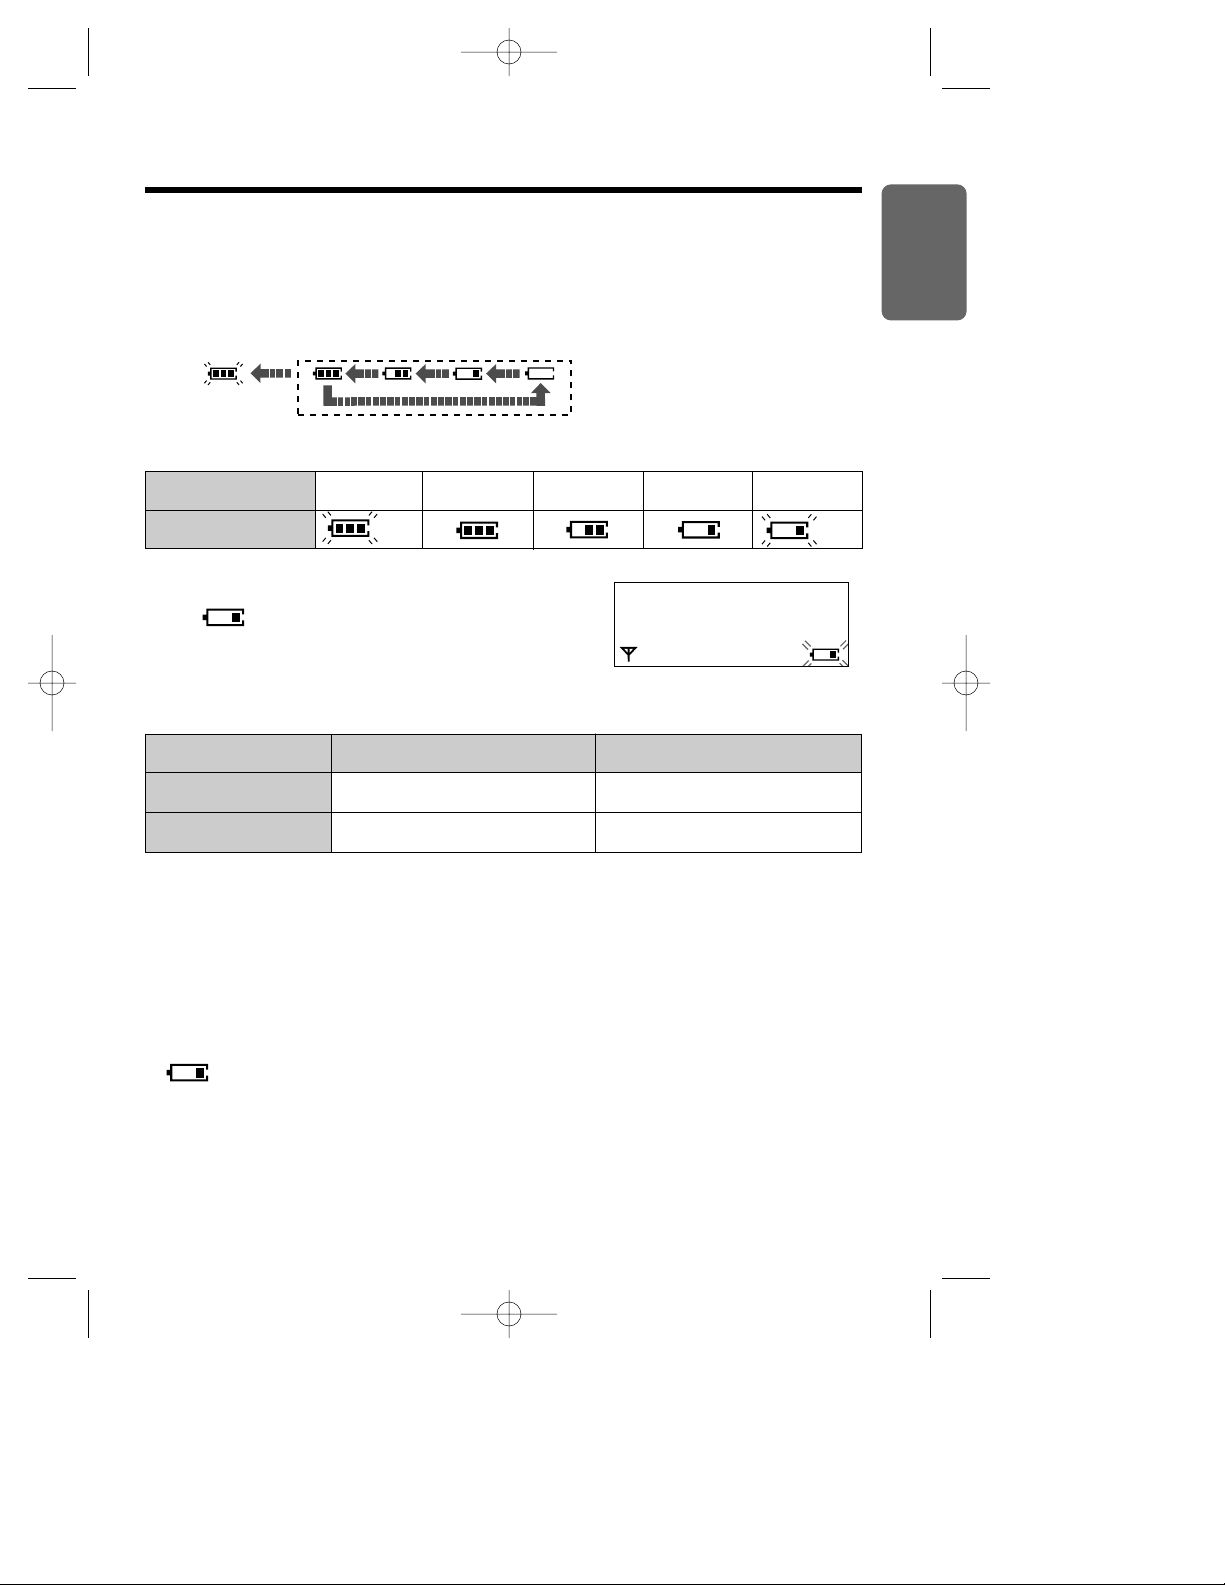
Battery Charge
At the time of shipment, the batteries are not charged. To charge, place the handset on the base unit.
Please charge the batteries for about 15 hours before initial use. During charging the battery icon is
as shown below.
Recharge
When “ ” flashes or the unit beeps every 15 seconds,
recharge the batteries.
Battery information
After your batteries are fully charged, battery life depends on its type and usage condition.
Battery strength
Battery icon
High Medium Low
Need to be charged
(Flashing)
You can check the present battery strength on the display.
•Battery life may be shortened depending on usage conditions, such as:
— when viewing the Caller ID Caller List (p. 20) or phonebook (p. 31)
— when talking in speakerphone mode (p. 15)
— ambient temperature.
•Clean the handset and the base unit charge contacts with a soft, dry cloth once a month.
Clean more often if the unit is subject to grease, dust or high humidity, otherwise the
batteries may not be charged properly.
•If the batteries are fully charged, you do not have to place the handset on the base unit until
“ ” flashes. This will maximise the battery life.
•The batteries cannot be overcharged.
*Nickel Cadmium (Ni-Cd) rechargeable batteries (AA size) are available.
If you replace the batteries with Ni-Cd batteries, battery type selection on the handset programming
must be changed to Ni-Cd (p. 52).
•Read “Important Notice Concerning the Correct Use and Charging of Ni-MH (Ni-Cd) Batteries” on
page 87.
Approx. Ni-MH battery life (Included)
Up to about 20 hours
Up to about 200 hours
Approx. Ni-Cd battery life (Optional)*
Up to about 10 hours
Up to about 100 hours
Fully charged During charging
Base 1
10 New Calls
12.04 15:00
(Flashing)
Fully charged
(Flashing)
KX-TCD725EM-1(02~23) 01.10.24 14:36 Page 11
12
Turning the Power ON/OFF
To turn the power OFF
Press and hold until a beep
sounds.
•The display will go blank.
•The handset will not ring.
•A beep sounds.
To turn the power ON
Press and hold .
•After all possible configurations briefly
appear, the display will change to the
standby mode. A beep sounds.
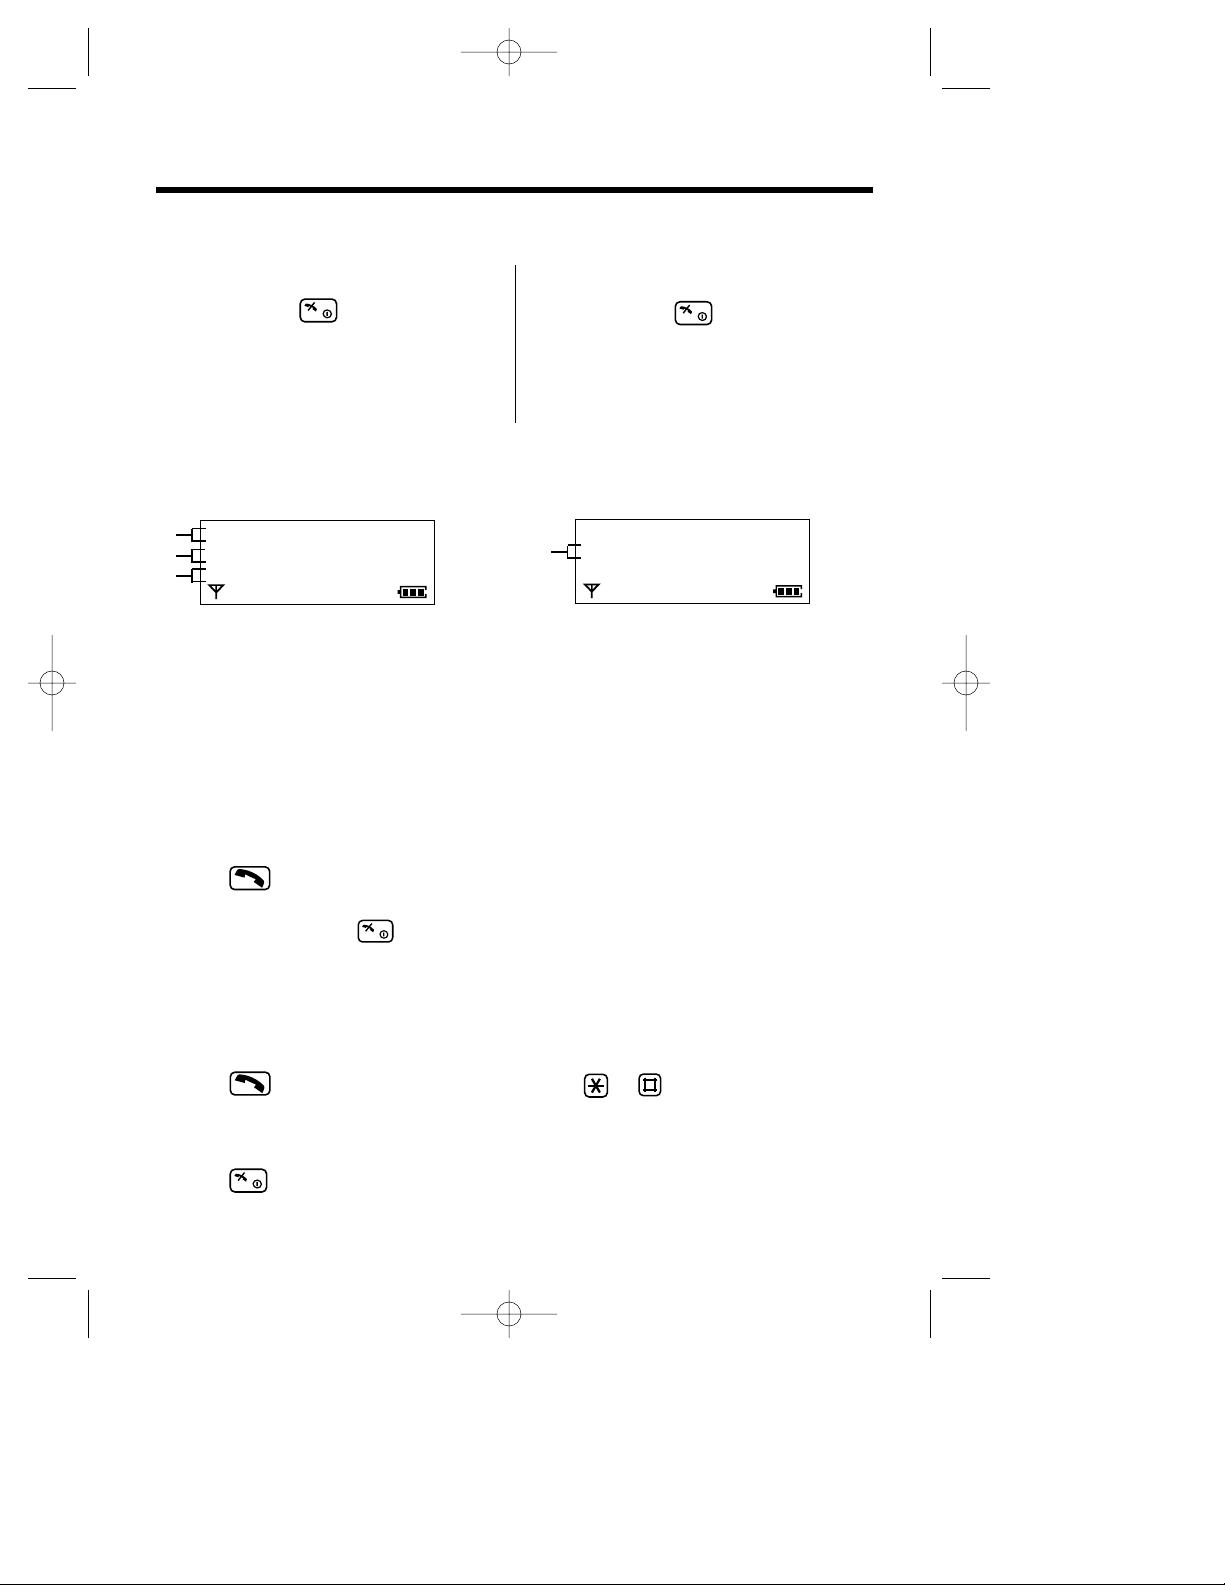
Basic Start-up Operations
Base 1
10 New Calls
12.05 13:58
# The current connected base unit number: You can select whether to display the base unit number,
handset number or no display in the standby mode by programming (p. 46).
$ The number of new Caller ID calls received (p. 19).
% The current date and time (p. 64).
& The number of recorded incoming/memo message. If new incoming/memo message(s) is/are
recorded, & will flash. When memory is full, & will flash faster.
#
$
%
Making a Call
For further information on making calls, see page 14.
Make sure that the power is ON, and the unit is in the standby mode.
Press then dial a phone number.
•After a few seconds, the display will start showing the length of the call.
•If you misdialled, press and start over again.
•The dialled number is automatically stored into the redial list (p. 14).
Answering a Call
For further information on answering calls, see page 17.
Make sure that the power is ON, otherwise the handset will not ring.
Press or any dialling button,
(0) to (9), (INT), or —Any Key Answer.
•After a few seconds, the display will start showing the length of the call.
Terminating a Call
Press or place the handset on the base unit.
•The handset will returned to the standby mode.
Standby mode
Base 1 [A]
4 Messages
0 New Calls
&
•If incoming/memo message(s) is/are recorded,
the standby mode will be shown as below.
KX-TCD725EM-1(02~23) 01.10.24 14:36 Page 12
13
Chapter 1
Preparation
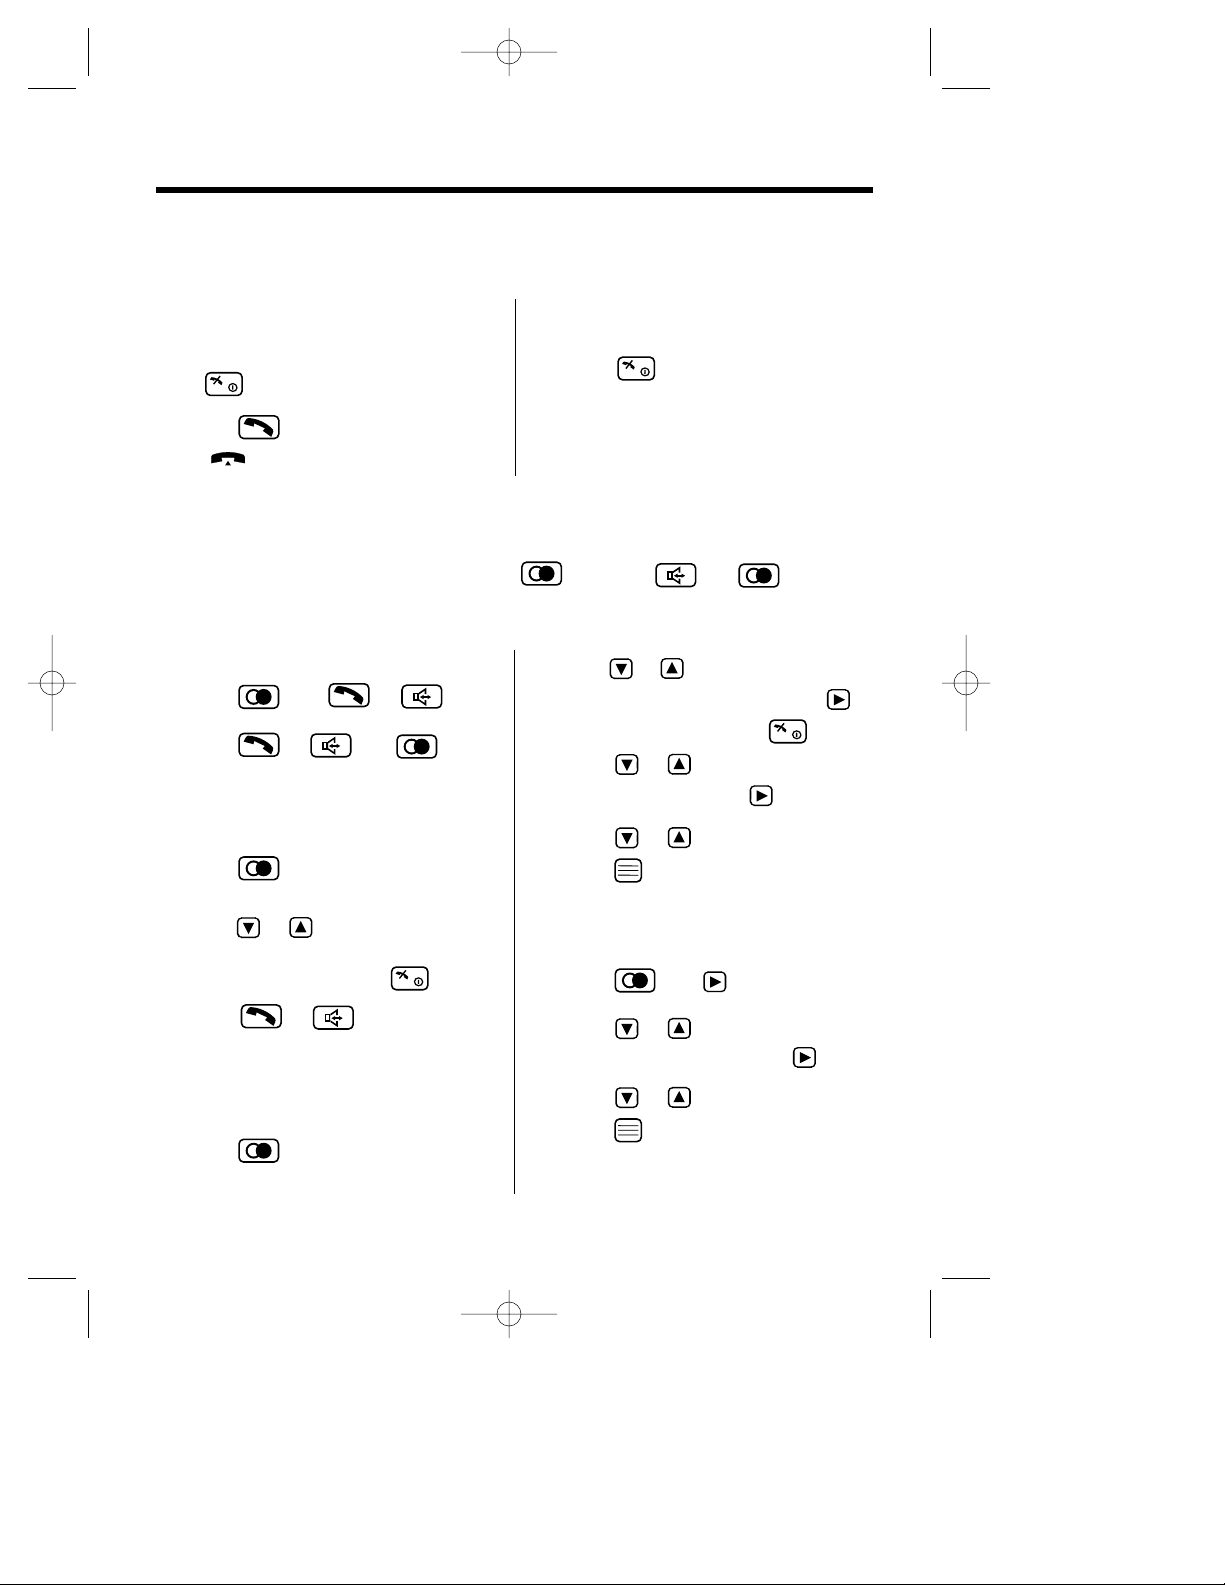
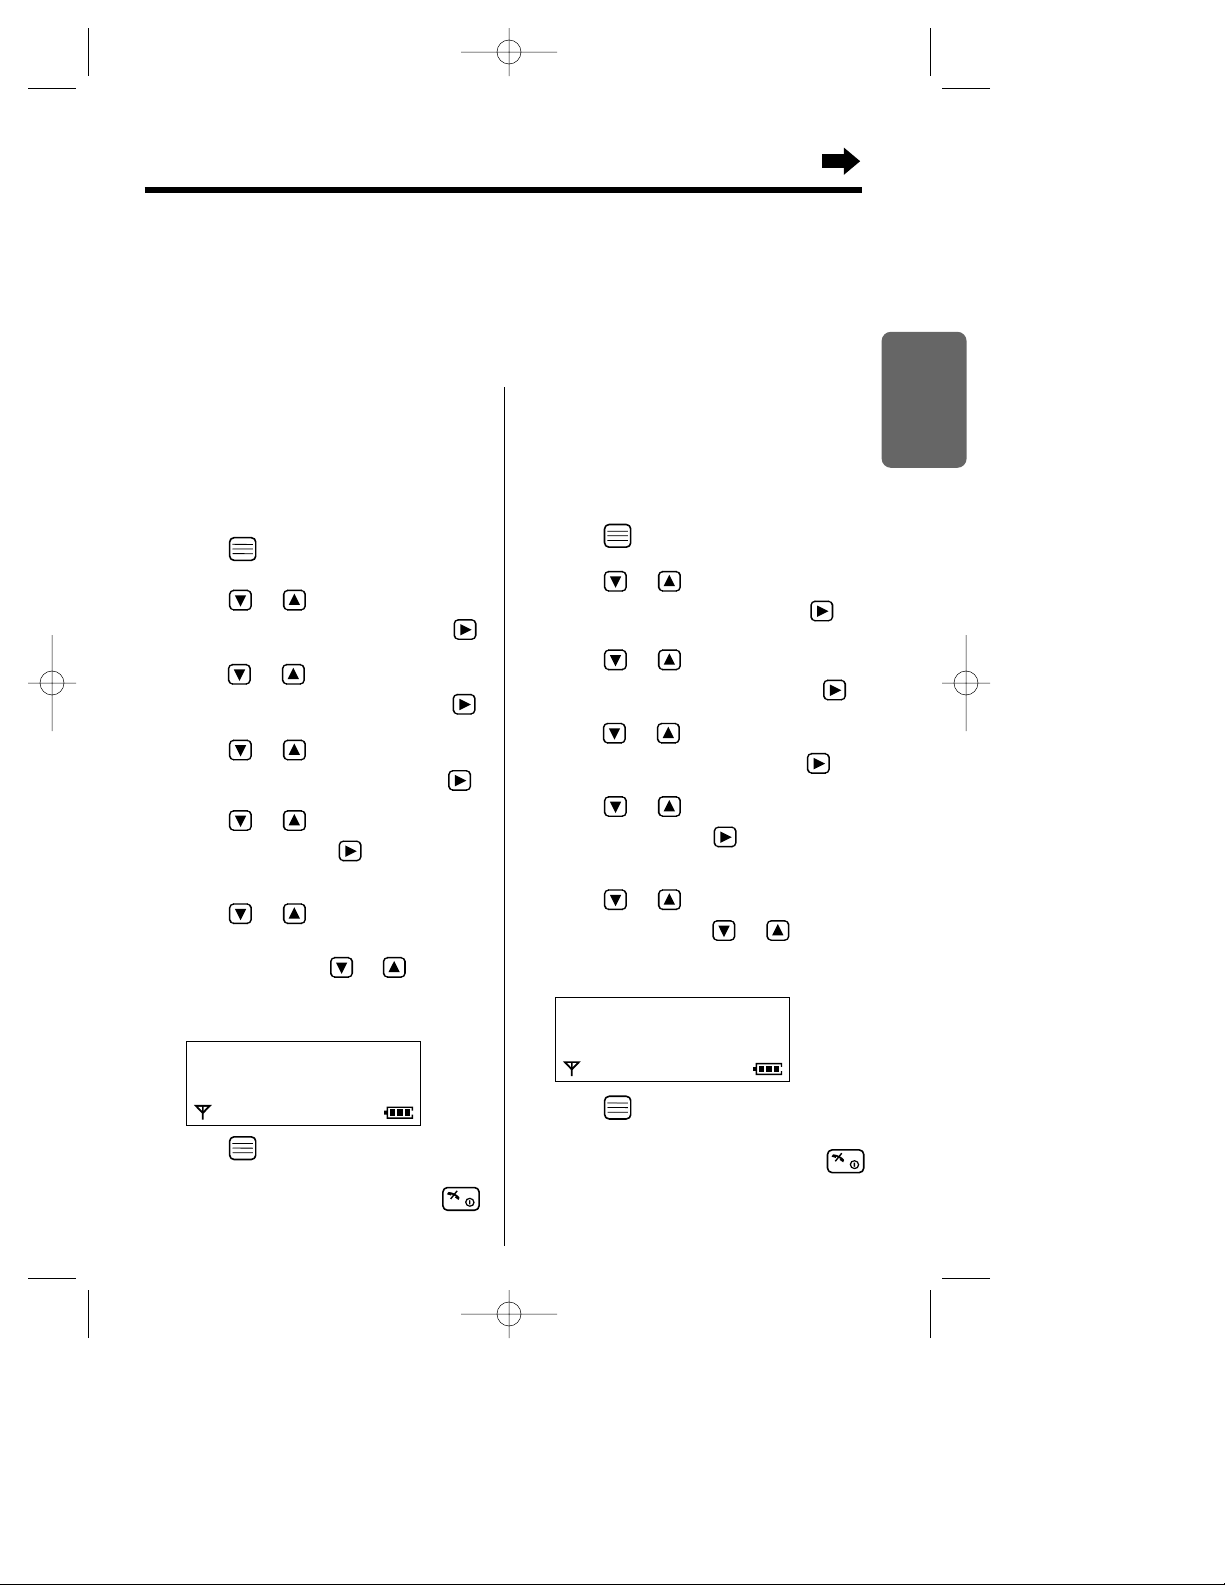
Basic Answering System Operations
To play the pre-recorded greeting
message
1 Press (INT) then .
2 Press or until the arrow points
to “Play OGM”, then press .
OR
Press (6).
•A pre-recorded greeting message is
played as follows.
• When the recording time is set to “1 minute”
or “unlimited (16 minutes)” (p. 74).
— “Hello, we are not available now. Please
leave your name, message and phone
number after the beep. We will return your
call.”
• When the recording time is set to “greeting
only” (p. 74).
— “Hello, no one is available to take your call.
Please call back later.”
For further information on answering system, see page 67.
You can operate the answering system by function menu or by pressing dialling button as direct
command.
If you set the current date and time (p. 64) and set the answering system ON, a synthesized voice
announce the date and time an/a incoming/memo message was recorded after playback–Voi ce
Date/Time Stamp.
Pre-Recorded Greeting Message
There are 2 pre-recorded greeting messages. A pre-recorded greeting message depends on selecting
the caller’s recording time (p. 74).
You can record your own greeting message (p. 67).
Make sure that the power is ON (p. 12), and the unit is in the standby mode.
To set the answering system ON
1 Press (INT) then .
2 Press or until the arrow points
to “Answer ON”, then press .
OR
Press (8).
•A beep sounds, and “Answer Set” is
heard.
•[A] is displayed.
To set the answering system OFF
1 Press (INT) then .
2 Press or until the arrow points
to “Answer OFF ”, then press .
OR
Press .
•A beep sounds, and “Answer OFF” is
heard.
•To playback new/all incoming/memo
messages, see page 69.
0
KX-TCD725EM-1(02~23) 01.10.24 14:36 Page 13
14
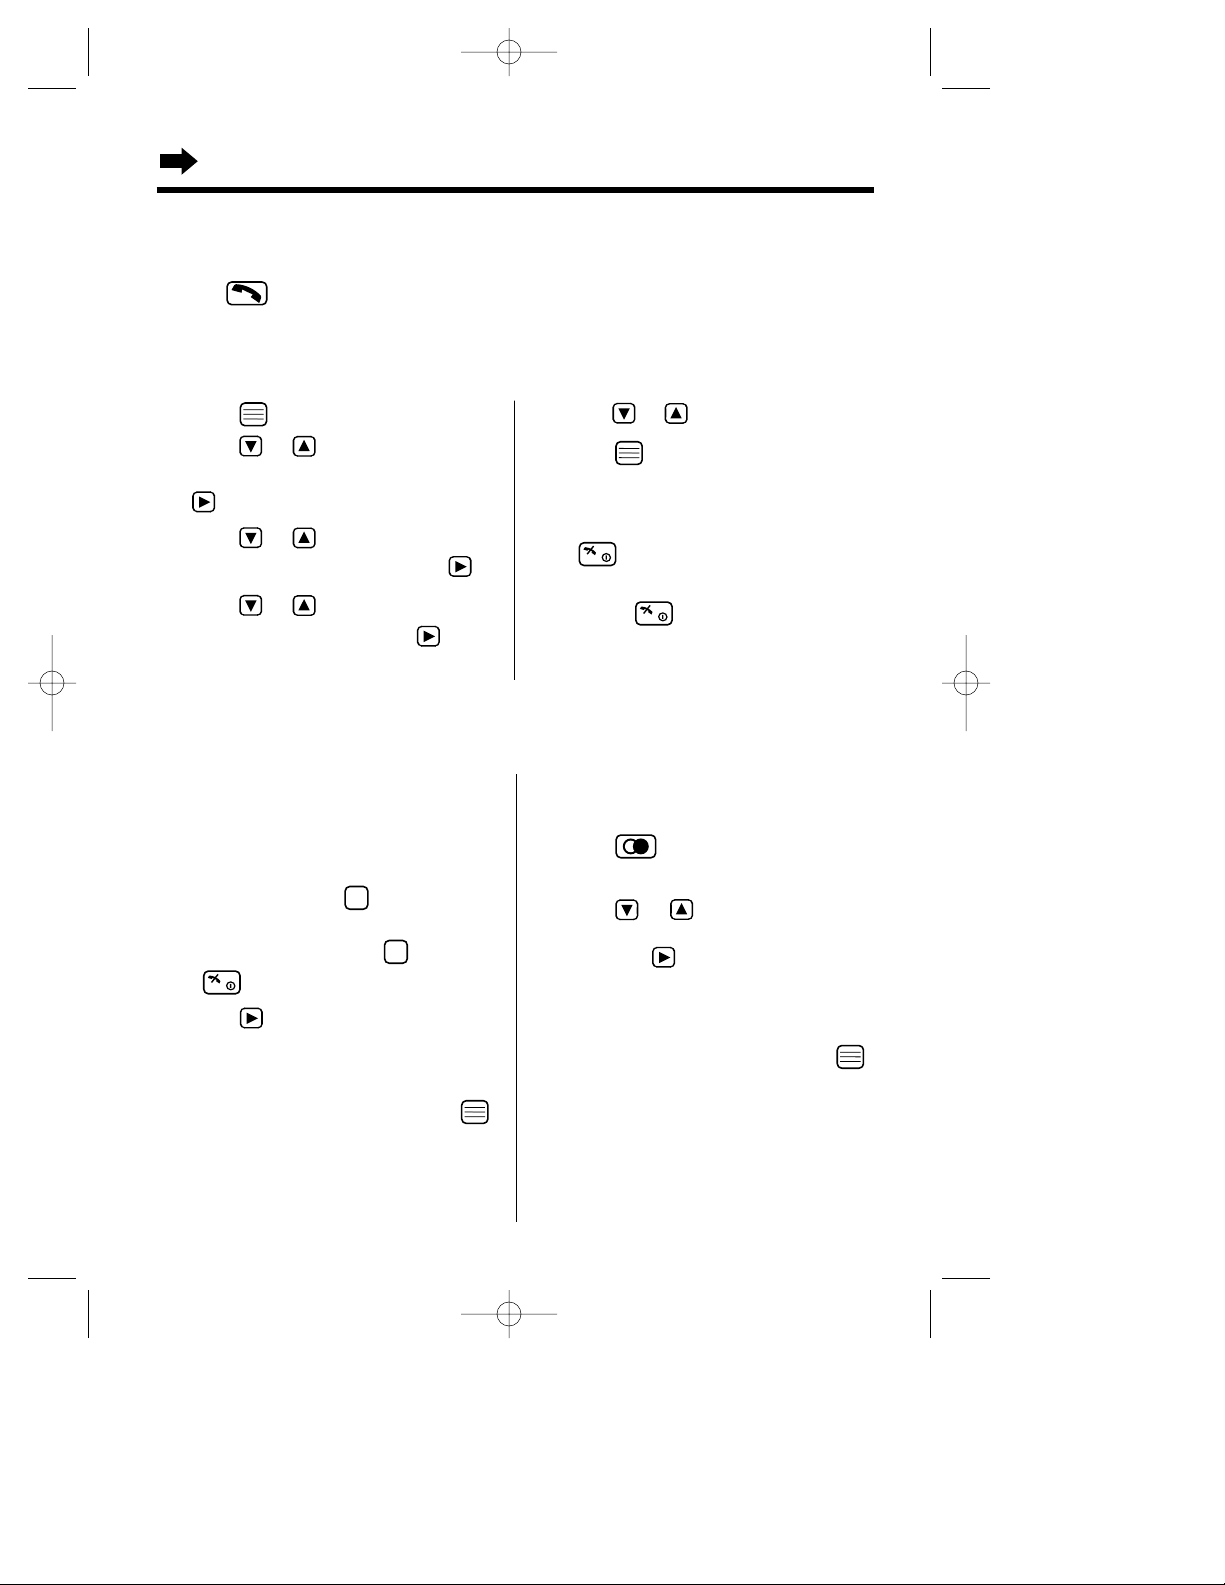
Making Calls
To redial the last number dialled
Press then or
.
OR
Press or then .
•The last number dialled is automatically
redialled.
To redial with the redial list
1 Press .
•The last number dialled is displayed.
2
Press or until the arrow points to
the phone number you desire to call.
•To exit the redial list, press .
3 Press or
.
•
The selected number is automatically
redialled.
To clear a phone number in the
redial list
1 Press .
•The last number dialled is displayed.
1 Enter a phone number.
•The entered number is displayed.
•To cancel, press and hold (C) or press
.
2 Press .
•“ ” is displayed.
•After a few seconds, the display will start
showing the length of the call.
3 Press or place the handset on the
base unit to hang up.
•The handset will return to the standby
mode.
2
Press or until the phone number you
desire to clear is displayed, then press .
•To exit the redial list, press .
3 Press
or
until the arrow points
to “Clear”, then press .
4 Press
or
to select “YES”, then
press .
•“CLEARED” is displayed.
To clear all phone numbers in
the redial list
1 Press then .
2 Press
or
until the arrow points
to “All Clear”, then press .
3 Press
or
to select “YES”, then
press .
•“CLEARED” is displayed.
•“No Stored Memory” is displayed.
For basic making a call operation, see page 12.
Making a Call after Confirming the Entered Phone Number
Make sure that the power is ON (p. 12), and the unit is in the standby mode.
Redial Call
The unit automatically stores the last 10 dialled phone numbers into the redial list. If the redial list is empty,
“No Stored Memory” is displayed when you press . If you press then for redial call
and the other party is busy, the unit will call back automatically every 40 seconds, up to 12 times.
Make sure that the power is ON (p. 12), and the unit is in the standby mode.
KX-TCD725EM-1(02~23) 01.10.24 14:36 Page 14

15
Chapter 2
Cordless Telephone
1 Press or .
•The most recent caller’s information is
displayed.
2 Press repeatedly to search from the
most recent call or press repeatedly
to search from the oldest call until the
arrow points to the caller information
you desire to call.
•
To scroll between callers, press and hold
or
.
Calling Back with the Caller List
Information from up to 50 different callers is automatically stored from the most recent call to the
oldest call in the Caller List. When the 51st call is received, the oldest caller information is deleted. If
you receive a call from the same phone number you stored with name in the phonebook, the display
will show the caller name also (p. 24). If the caller list is empty, “No Stored Memory” is displayed
when you press or for viewing the caller list.
Make sure that the power is ON (p. 12), and the unit is in the standby mode.
3 Press or .
•The displayed phone number is
automatically dialled.
4 To hang up, press or place the
handset on the base unit.
•The handset will return to the standby
mode.
•If a phone number is not displayed, you
cannot call back that caller.
1 Press then enter a phone number.
OR
Enter a phone number then press .
•The dialled number is displayed.
•After a few seconds, the display will start
showing the length of the call.
2 When the other party answers, talk into
the microphone.
For best performance on digital speakerphone
•Talk alternately with the caller in a quiet room.
•If the other party has difficulty hearing you, press to decrease the speaker volume.
•If the other party’s voice from the speaker cuts in/out during a conversation, press to decrease
the speaker volume.
•While talking, you can switch to the hands-free phone conversation by pressing . To switch
back to the receiver, press or .
Digital Speakerphone
Make sure that the power is ON (p. 12), and the unit is in the standby mode.
To make a hands-free phone conversation
3
To hang up, press .
•If “ ” flashes and an alarm tone sounds
after pressing or , move closer
to the base unit, then try again.
•You can select whether to display the length of
the call or dialled phone number while in the
talk mode (p. 47).
KX-TCD725EM-1(02~23) 01.10.24 14:36 Page 15
16
Making Calls
Auto Talk
The auto talk feature allows you to answer a call by lifting the handset off the base unit without
pressing . The factory preset is OFF. In order to view Caller ID information before answering a
call, leave the auto talk feature OFF.
Make sure that the power is ON (p. 12), and the unit is in the standby mode.
1
Press .
2 Press or until the arrow points
to “Setting Handset”, then press
.
3 Press or until the arrow points
to “Other Option”, then press .
4 Press or until the arrow points
to “Auto Talk”, then press .
•The current setting is at the arrow.
5
Press or to select
“ON”
or
“
OFF
”
.
6 Press .
•A beep sounds.
•The display will return to “Auto Talk”.
To return to the standby mode, press
or wait for 60 seconds.
•You can exit the programming mode any time
by pressing .
To store a redial number into
the phonebook
1 Press .
•The last number dialled is displayed.
2 Press or until the arrow points
to the phone number you desire to store,
then press .
3 Follow steps 4 to 7 on Storing Caller List
Information into Phonebook (p. 23).
4
While
“Save
” is at the arrow, press
.
•A beep sounds and “Saved” is displayed.
•The display will return to the stored caller
information.
Storing a Dialled Number into the Phonebook
Make sure that the power is ON (p. 12), and the unit is in the standby mode.
To store an entered number
into the phonebook
1 Enter a phone number.
•The entered number is displayed.
•If you misdial, press . Digits are
erased from the right.
•To cancel, press and hold or press
.
2 Press .
3 Follow steps 4 to 7 on Storing Caller List
Information into Phonebook (p. 23).
4
While
“Save
” is at the arrow, press
.
•A beep sounds and “Saved” is displayed.
•The display will return to the entered
phone number.
C
C
To set the auto talk feature ON/OFF
KX-TCD725EM-1(02~23) 01.10.24 14:36 Page 16
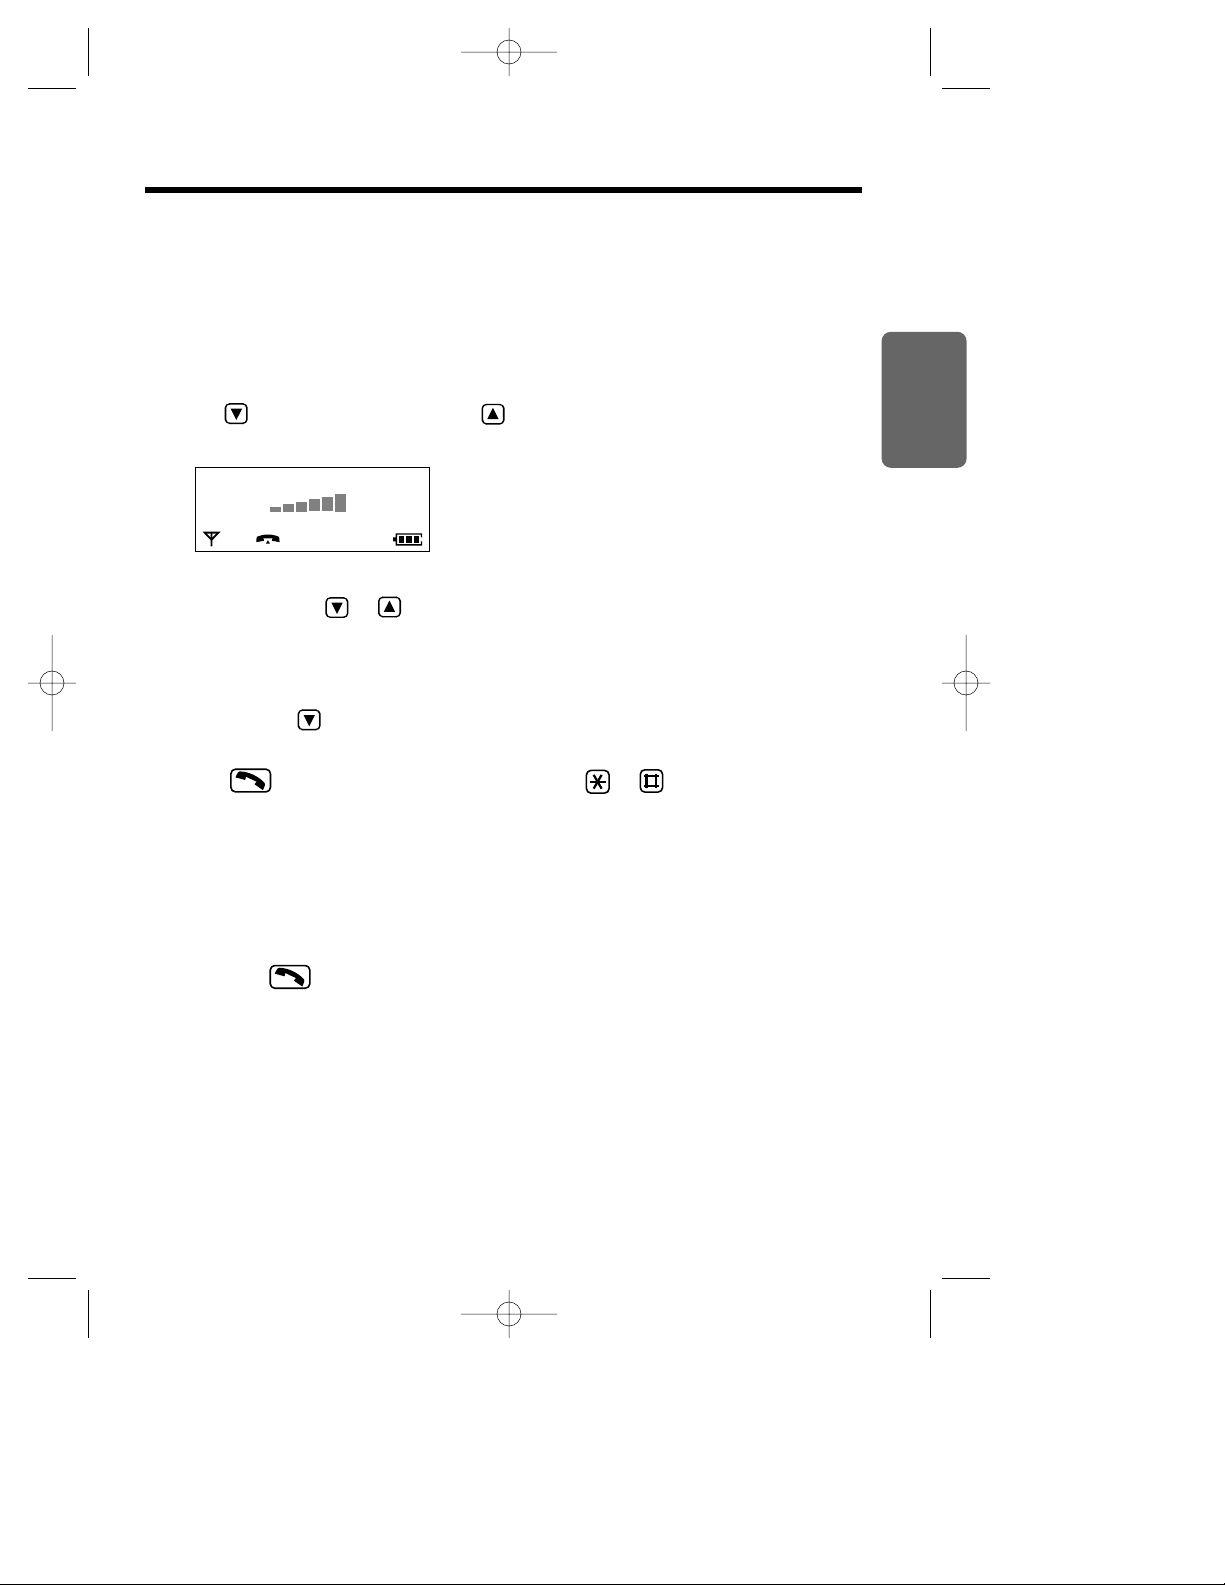
Receiver Volume
LOW
123456
HIGH
Selecting the receiver volume (HIGH, MEDIUM or LOW) or
speaker volume (6 levels) during conversation
Press to decrease volume, or press to increase volume.
•Each time you press or , the volume level will change.
•The display will return to the talk mode after receiver/speaker volume selection.
Chapter 2
Cordless Telephone
17
Answering Calls
For basic answering a call operation, see page 12.
If you subscribe to a Caller ID service, the caller information will be displayed after the first ring
(p. 19).
Make sure that the power is ON (p. 12), otherwise the handset will not ring.
Ex. Receiver volume: HIGH
Temporary Ringer OFF
1 Press and hold for 1 second while handset is ringing.
•The handset stops ringing.
2 Press or any dialling button, (0) to (9), (INT), or to answer a call–Any
Key Answer.
•After a few seconds the display will start showing the length of the call.
•This function is not available when the handset is on the base unit.
•This function is for external call only.
Auto Talk
If you set the auto talk feature ON (p. 16), you can answer a call by lifting the handset off the base unit
without pressing .
Display Backlight
The lighted display will stay on for about 10 seconds after pressing a handset button or lifting the
handset off the base unit. You can select one of 3 display backlight colours, green, orange, or red
(p. 49).
KX-TCD725EM-1(02~23) 01.10.24 14:36 Page 17
18
Paging
In multi-unit user operation, conversation between handsets is available with intercom feature (p. 83).
Make sure that the power is ON (p. 12), and the unit is in the standby mode.
Paging the Handset from the Base Unit (Handset Locator)
Using this feature, you can locate a misplaced handset.
1 Press on the base unit.
•The handset rings for 1 minute and “ ” flashes.
2 To stop paging, press , to , , , or on the handset or
on the base unit.
INT
9
0
Selecting the Ringer Type for Paging
You can select one of 20 ringer types for paging.
Make sure that the power is ON (p. 12), and the unit is in the standby mode.
1 Press .
2 Press or until the arrow points
to “Setting Handset”, then press
.
3 Press or until the arrow points
to “Ringer Option”, then press .
4
Press or until the arrow points
to “Paging Type”, then press .
•The current setting is at the arrow and
rings.
5 Press or to select the desired
ringer type.
•Each time you press a button, selected
ringer type sounds.
6 Press .
•A beep sounds.
•The display will return to “Paging
Type”. To return to the standby mode,
press or wait for 60 seconds.
Paging Type
H
Ringer 1
Ringer 2
KX-TCD725EM-1(02~23) 01.10.24 14:36 Page 18
19
Chapter 2
Cordless Telephone
Caller ID
Caller ID Service
Caller ID, where available, is a telephone company service, and if you subscribe to this service, the
caller information will be displayed after the first ring.
If you subscribe to a Caller ID and Call Waiting service, when a second call is received while talking,
the new caller’s phone number will be displayed.
How caller information is displayed when a call is received
After the first ring, the display shows the caller’s phone number.
•After you answer the call, the display will start showing the length of the call.
If you receive a call from the same phone number you stored with name in the phonebook, the display
shows the caller’s phone number and name. You must store names and numbers in the phonebook if
you desire to use this function.
•After you answer the call, the display will start showing the length of the call.
•Caller information cannot be displayed in the following cases.
— If the caller dialled from an area where Caller ID service is unavailable, the display will show
“Out of Area”.
— If the caller has requested not to display his/her information, the display will show
“Private Caller”.
•If your unit is connected to a PBX which does not support Caller ID services, you cannot access
those services.
Checking the number of new calls
When new calls have been received, the display shows the number of new calls in the standby mode.
123456789
John Miller
87654321
Base 1
10 New Calls
12.04 15:00
KX-TCD725EM-1(02~23) 01.10.24 14:36 Page 19
123456789012345
27.04 15:30
20
Caller List
Viewing the Caller List
Information from up to 50 different callers is stored from the most recent call to the oldest call in the
caller list. When the 51st call is received the oldest caller information is deleted. Each caller’s phone
number and the date and time received are shown. If you receive a call from the same phone number
you stored with name in the phonebook, the display will show the caller name also (p. 24).
Make sure that the power is ON (p. 12), and the unit is in the standby mode.
1 Press or .
•The most recent caller’s information is
displayed.
•When the same caller calls again, the call entry with “ ” will be deleted and replaced with the new
call entry.
3
To exit the list, press .
•The handset will return to the standby
mode.
•If Caller List is empty, “No Stored
Memory” is displayed in step 1. The display
will return to the standby mode.
•If more than one call is received from the
same caller, only the date and time of the most
recent call will be stored.
•To call back with the caller list, see page 15.
C
What “ ” means
When you have checked new calls, answered the call or called back the caller, “ ” will be added to
the caller information.
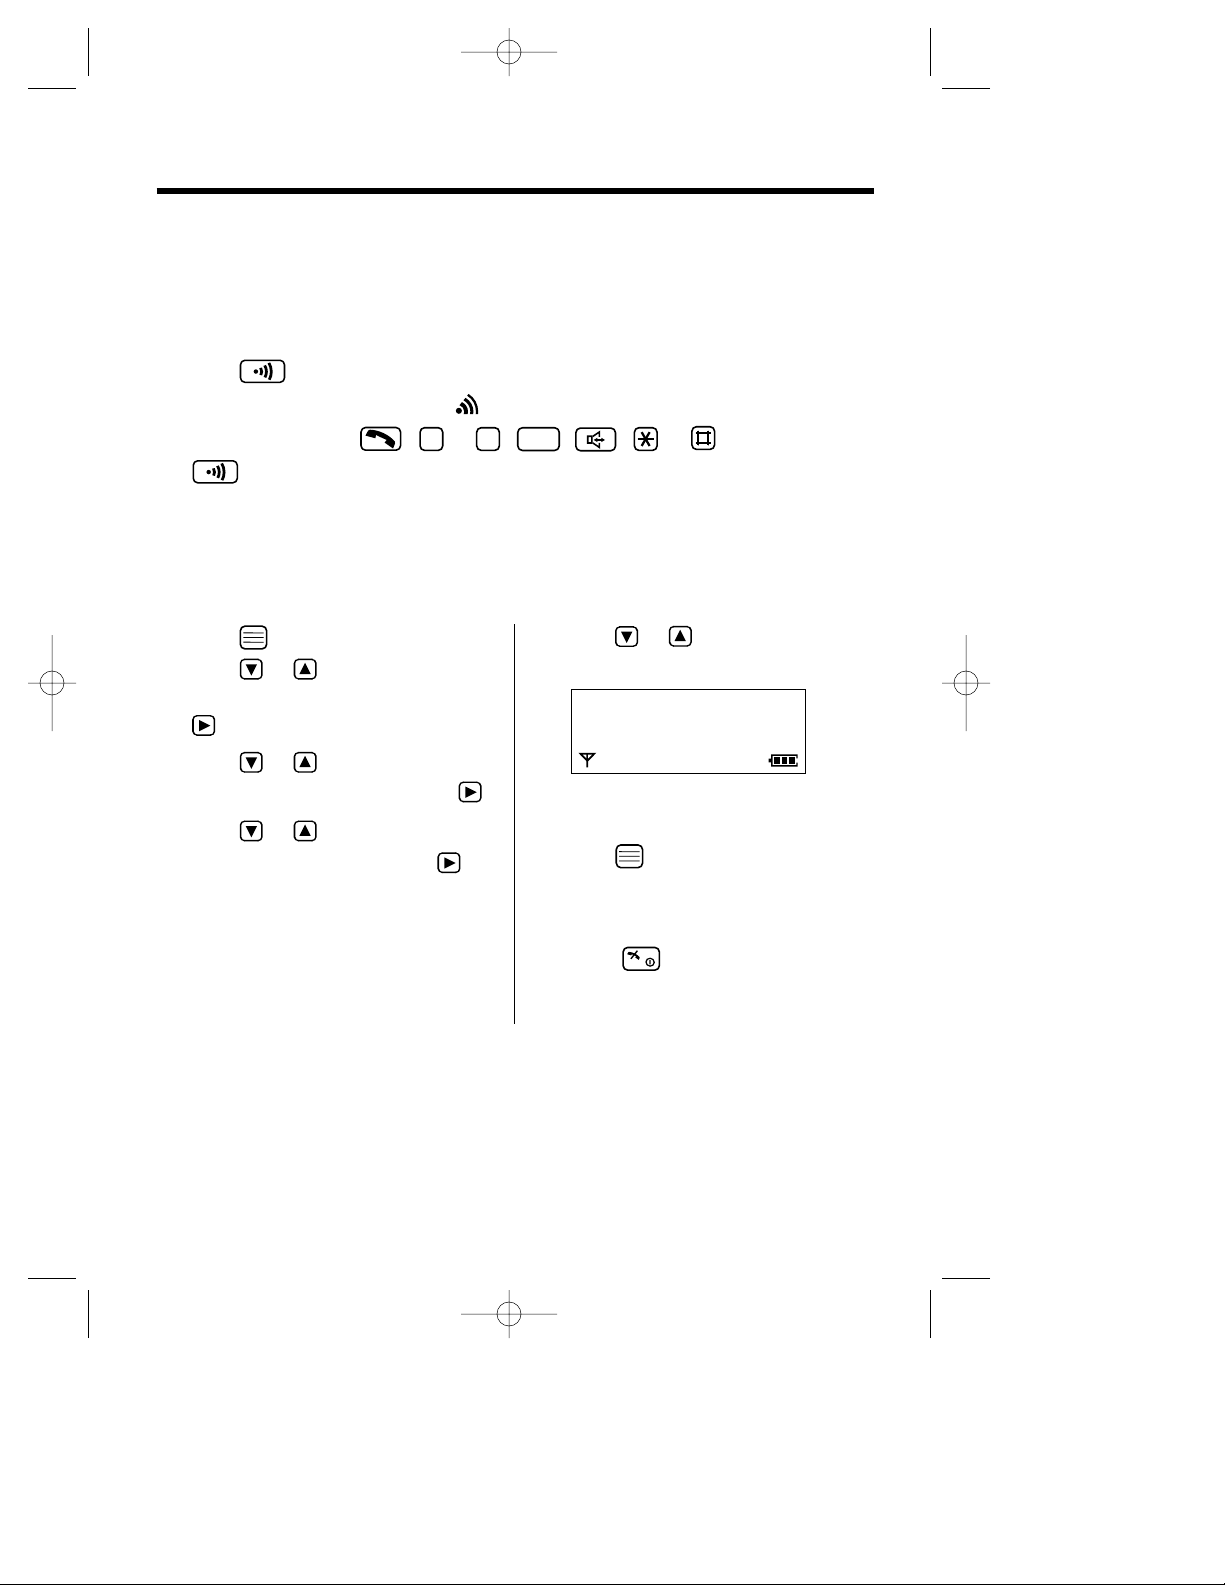
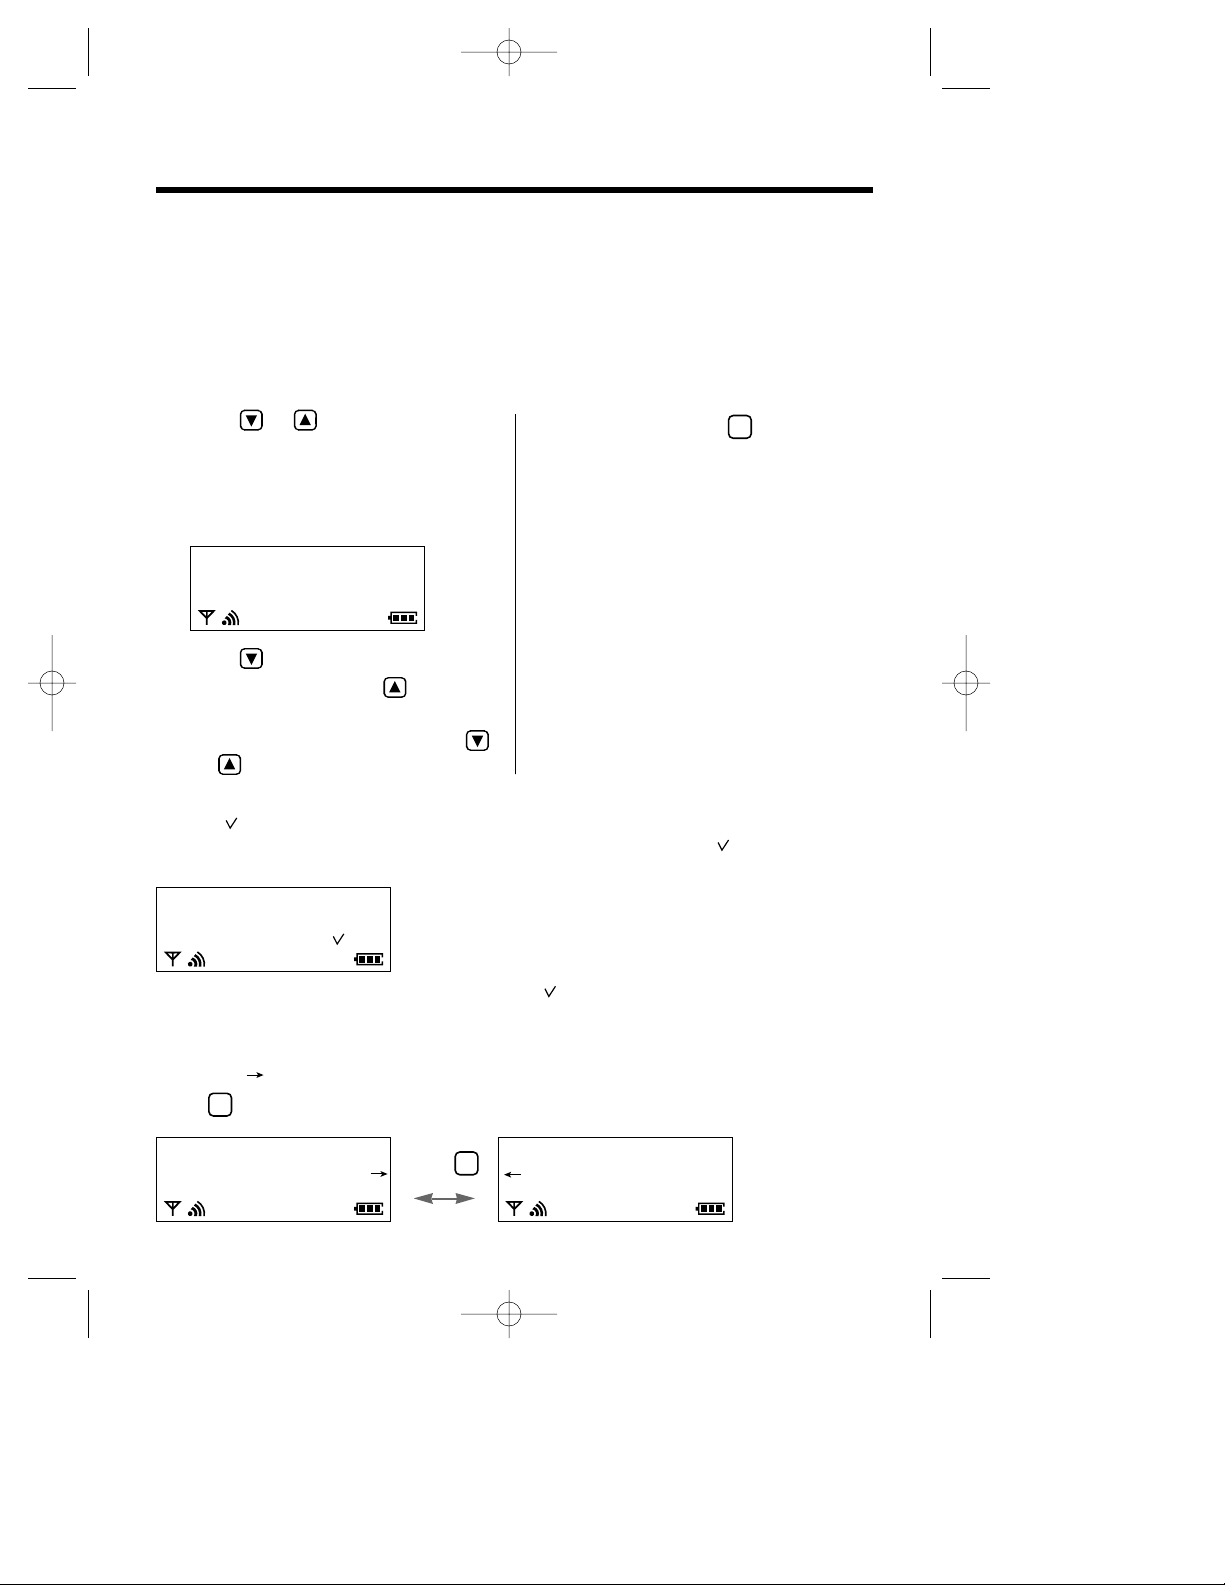
When viewing long telephone numbers
If an arrow ( ) is displayed after the number the whole telephone number has not been shown.
Press to see the remaining numbers.
3
Press .
3
John Miller
3456789
04.08 11:38
2 Press repeatedly to search from the
most recent call or press repeatedly
to search from the oldest.
•
To scroll between callers, press and hold
or
.
Ex. A caller’s name, phone number
received date/time are displayed.
467890
27.04 07:10
678
27.04 15:30
KX-TCD725EM-1(02~23) 01.10.24 14:36 Page 20

Chapter 2
Cordless Telephone
21
1 Press or .
•The most recent caller’s information is
displayed.
2 Press repeatedly to search from the
most recent call or press repeatedly
to search from the oldest call until the
arrow points to the caller information
you desire to edit.
3 Press .
4 Press or until the arrow points
to “Edit For Call”, then press .
5 Edit the number with the dialling
buttons, , , or .
•Pressing erases the digit to the left of
the cursor.
•If a pause is required for dialling, press .
A pause can be stored in a phone number
counting as one digit (p. 36).
C
C
6 Press to call back.
OR
Press to store the phone number
into the phonebook, then while “Save
Phonebook” is at the arrow, press .
Follow steps 5 to 8 on Storing Caller List
Information into the Phonebook (p. 23).
Editing the Caller’s Phone Number
You can edit a phone number in the caller list. After editing the phone number, you can continue to
calling back or phonebook storing procedures.
Make sure that the power is ON (p. 12), and the unit is in the standby mode.
KX-TCD725EM-1(02~23) 01.10.24 14:36 Page 21
22
Caller List
Clearing Caller Information in the Caller List
You can clear selected or all caller information in the Caller List.
Make sure that the power is ON (p. 12), and the unit is in the standby mode.
To clear all caller information in
the caller list
1 Press or .
•The most recent caller’s information is
displayed.
2 Press .
3 Press or until the arrow points
to “All Clear”, then press .
•“All Clear ?” is displayed.
4 Press or to select “YES”, then
press .
•A beep sounds and “CLEARED” is
displayed.
•After a few seconds, “No Stored
Memory” is displayed and the handset
will return to the standby mode.
To clear a selected caller
information in the caller list
1 Press or .
•The most recent caller’s information is
displayed.
2 Press repeatedly to search from the
most recent call or press repeatedly
to search from the oldest call until the
arrow points to the caller information
you desire to clear.
3 Press .
4 Press or until the arrow points
to “Clear”, then press .
•“Clear ?” is displayed.
5 Press or to select “YES”, then
press .
•A beep sounds and “CLEARED” is
displayed.
•After a few seconds, the next caller
information is displayed, or “No Stored
Memory” is displayed if no more stored
caller information in the Caller List. To
return to the standby mode, press
or wait for 60 seconds.
KX-TCD725EM-1(02~23) 01.10.24 14:36 Page 22

23
Chapter 2
Cordless Telephone
Storing Caller List Information into the Phonebook
You can store the Caller List information into the phonebook. You can categorise the caller information
in the phonebook up to 9 categories, then you can select one of 3 display backlight colours and one of
20 ringer types for each private category–Private Category Feature (p. 25).
Make sure that the power is ON (p. 12), and the unit is in the standby mode.
1
Press or .
•The most recent caller’s information is
displayed.
2 Press repeatedly to search from the
most recent call or press repeatedly
to search from the oldest call until the
arrow points to the caller information
you desire to store.
3 Press .
4 While “Save Phonebook” is at the
arrow, press .
•The display shows the number of
remaining phonebook items, then
“<Enter name>”.
5 Enter the name up to 16 characters with
the dialling buttons, , or .
•To select characters, see page 27.
•If the phone number requires editing,
press and see step 5 on page 21.
6
Press .
C
7
Press or to select the desired
private category number 1 to 9 or OFF,
then press .
8
While
“Save
” is at the arrow, press
.
•A beep sounds and “Saved” is displayed.
•The display will return to caller list. You can
continue the storing procedure begin with
step 3. To return to the standby mode,
press or wait for 60 seconds.
•If a pause is required for dialling, press .
A pause can be stored in a phone number
counting as one digit (p. 36).
•You can exit the programming mode any time
by pressing .
•If the display shows “Memory Full” in step
2, the display will return to the standby mode.
You must clear the other caller information in
the phonebook (p. 30).
<Enter Name>
0123456789
KX-TCD725EM-1(02~23) 01.10.24 14:36 Page 23
24
John Miller
<Enter Phone No>
<Enter Name>
Phonebook
You can store up to 200 caller information in the phonebook. All caller information is automatically
stored by the first word in alphabetical order.
If you received a call from the same phone number you stored with name in the phonebook, the
display will show the caller name and phone number (p. 19).
You can categorise the caller information in the phonebook up to 9 categories, then you can select
one of 3 display backlight colours and one of 20 ringer types for each private category–Private
Category Feature (p. 25). This feature is only available on subscription to Caller ID.
You can make a call with phonebook (p. 32).
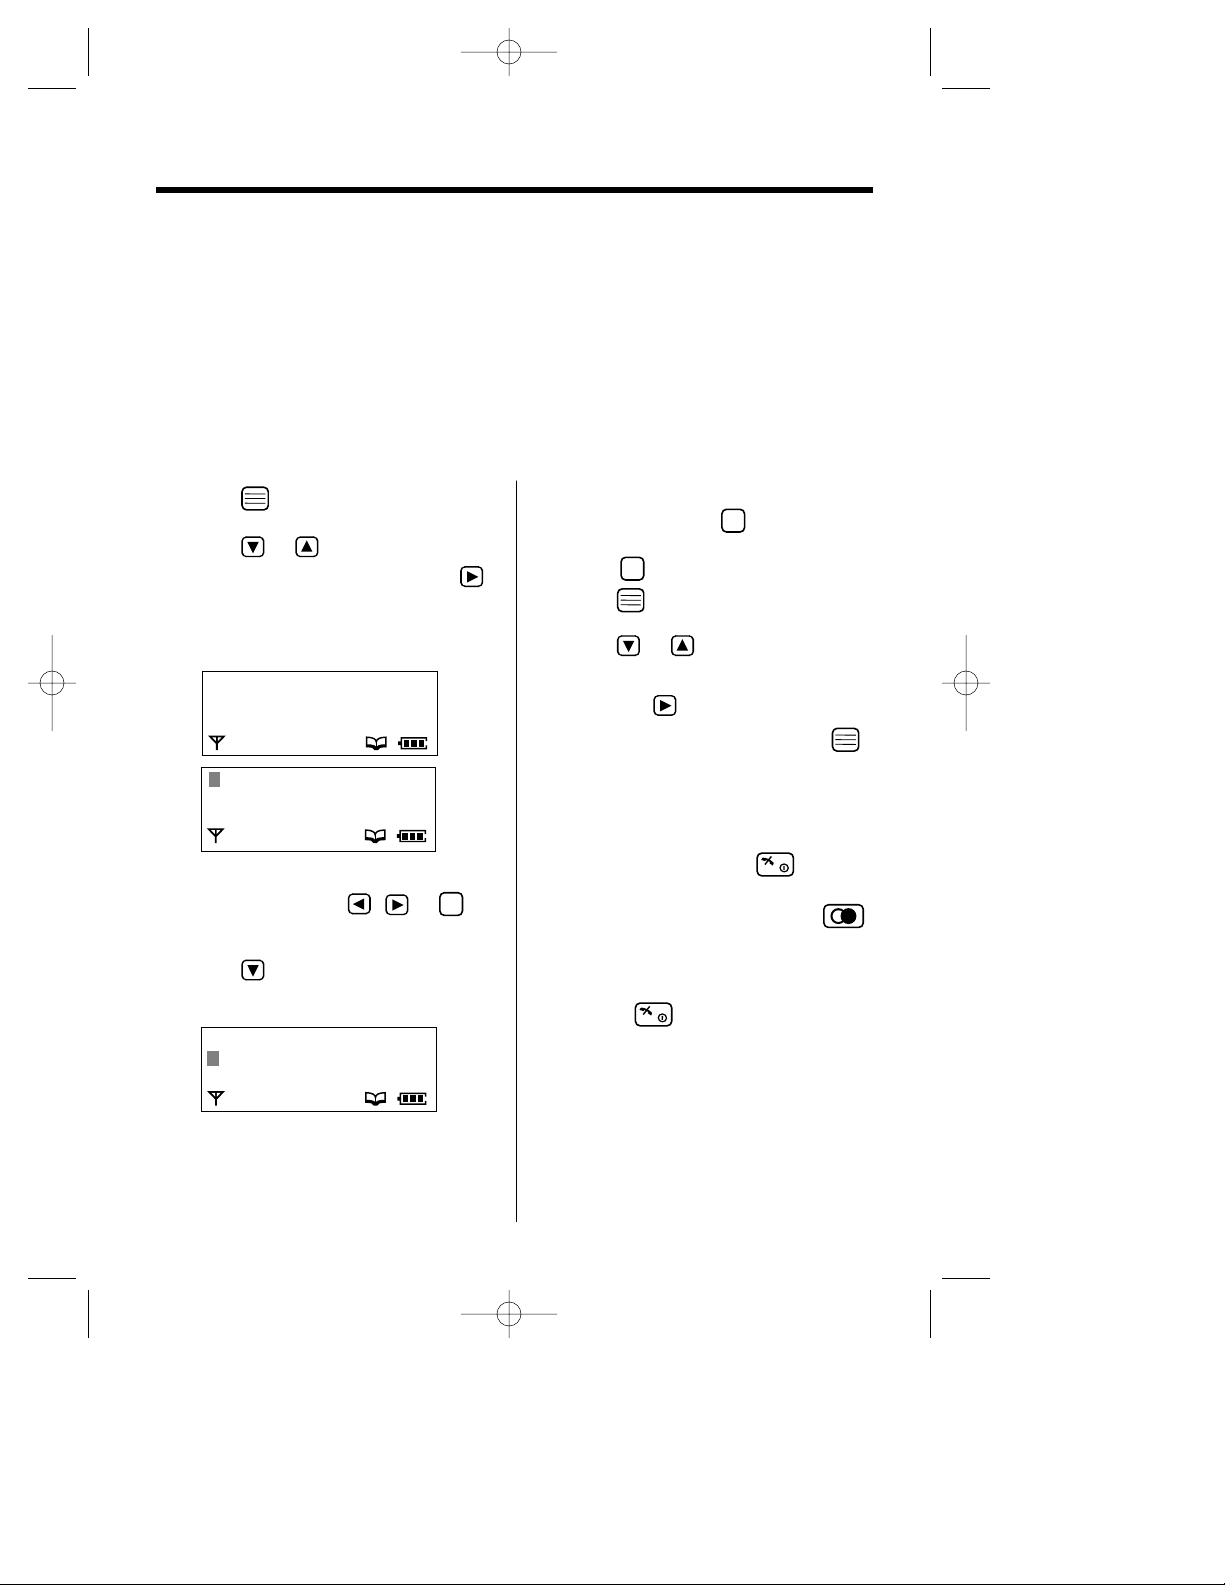
Storing Caller Information into the Phonebook
Make sure that the power is ON (p. 12), and the unit is in the standby mode.
1 Press .
2 Press or until the arrow points
to “New Phonebook”, then press .
•The display shows the number of
remaining phonebook items, then
“<Enter Name>”.
3 Enter a name up to 16 characters with
the dialling buttons, , or .
•To select characters, see page 27.
4 Press .
•“<Enter Phone No>” is displayed.
C
5 Enter a phone number, up to 24 digits.
•If you misdial, press . Digits are erased
from the right. To erase all digits,
press firmly.
6 Press .
7 Press or to select the desired
private category number 1 to 9 or OFF,
then press .
8 While “Save” is at the arrow, press .
•A beep sounds and “Saved” is displayed.
•The display will return to “<Enter
Name>”. You can continue the storing
procedure begin with step 3. To return to
the standby mode, press or wait for
60 seconds.
C
C
•If a pause is required for dialling, press .
A pause can be stored in a phone number
counting as one digit (p. 36).
•You can exit the programming mode any time
by pressing .
•If the display shows“Memory Full” in step
2, the display will return to the standby mode.
You must clear the other caller information in
the phonebook (p. 30).
Enter
New Phonebook
200-Memory Avail
KX-TCD725EM-2(24~37) 01.10.24 14:37 Page 24
25
Chapter 2
Cordless Telephone
To select the display backlight
colour for the private category
You can select one of 3 display backlight colours,
green, orange, or red for each category. The factory
preset is green.
1 Press .
2 Press or until the arrow points
to “Setting Handset”, then press .
3 Press or until the arrow points
to “Display Option”, then press .
4 Press or until the arrow points
to “Private color”, then press .
5 Press or to select the desired
category, then press .
•The current display backlight colour lights.
6 Press or to select the display
backlight colour.
•
Each time you press or , the display
backlight colour will change and lights.
7 Press .
•A beep sounds.
•To return to the standby mode, press
or wait for 60 seconds.
To select the ringer type for
the private category
You can select one of 20 ringer types for each
category.
The factory preset is 1.
1 Press .
2 Press or until the arrow points to
“Setting Handset”, then press .
3 Press or until the arrow points
to “Ringer Option”, then press .
4 Press or until the arrow points
to “Private Ring”, then press .
5 Press or to select the desired
category, then press .
•The current ringer type rings.
6 Press or to select the ringer type.
•Each time you press or , the ringer
type will change and rings.
7 Press .
•A beep sounds.
•To return to the standby mode, press
or wait for 60 seconds.
Private Color
H
Red
Ex. Red is selected for the category 1.
Private Category Feature
When receiving a call, you can easily figure out a person in which category has called by selected display
backlight colour and ringer type for each private category. We recommend you to write down the private
category table (p. 26) for making the phonebook registration easier.
This feature is only available on
subscription to Caller ID.
Make sure that the power is ON (p. 12), and the unit is in the standby mode.
Private Ring
H
Ringer 1
Ringer 2
Ex. Ringer 1 is selected for the category 1.
KX-TCD725EM-2(24~37) 01.10.24 14:37 Page 25

26
Phonebook
Memo
Private
Category
1
2
3
4
5
6
7
8
9
Orange
Display Backlight Colour
Ringer Type
Green Red
Memo
Private
Category
1 3 Friends
Orange
Display Backlight Colour
Ringer Type
Green Red
OFF
Private Category Table
For example
KX-TCD725EM-2(24~37) 01.10.24 14:37 Page 26

Chapter 2
Cordless Telephone
27
Anne
1 Press while entering a name.
2 Press or until the arrow points
to the desired character mode, then press .
•The character mode is displayed.
Ann
An
Selecting Characters
The dialling buttons can be used to enter letters and character symbols. The letters are printed on the
dialling buttons. Pressing each button selects a character as shown on page 28, 29.
If you make a mistake while entering a name
Press or to move the cursor to the incorrect character, press to delete, and enter the
correct character. Pressing erases the character to the left of the cursor. To erase all characters,
press and hold .
C
C
C
For example, to enter “Anne”:
1. Press then .
2. Press then TWICE.
3. Press then TWICE.
4. Press TWICE.
3
6
6
2
<Enter Name>
H
ABC
0–9
ΑΒΓ
To change the character mode
You can select one of 6 character modes by pressing during entering a name procedure.
The factory preset is “ABC”.
ABC: Alphabet (Capital/lower*)
0–9: Numeric
ΑΒΓ: Greek AÄÅ: Extended 1 (Capital/lower*)
*To change from capital to lower case, press . Each time you press , the mode will change.
A
: Russian
: Extended 2 (Capital/lower*)
KX-TCD725EM-2(24~37) 01.10.24 14:37 Page 27

Phonebook
28
ABC (Alphabet)
# & ’ ( ) , – . /
# & ’ ( ) , – . /
AB C
a b c
D E F
d e f
G H I
g h i
J K L
j k l
M N O
m n o
PQ R S
p q r s
TU V
t u v
W X Y Z
w x y z
blank
blank
Buttons
C
0
9876543
2
1
To move the cursor to the left.
To move the cursor to the right. (To enter another character using the same dialling
button, move the cursor to the next space.)
To erase characters.
To shift from capital to lower case, press . Each time you press , the mode will
change.
AÄÅ (Extended)
# & ’ ( ) , – . /
# & ’ ( ) , – . /
A À Á Â Ã Ä Å Æ B C Ç
a à á â ã ä å æ b c ç
D E È É Ê Ë ˜E F
d e è é ê ë ˜e f
G H I Ì Í Î Ï
˙
I
g h i ì í î ï
I
J K L
j k l
M N Ñ O Ò Ó Ô Õ Ö Ø
m n ñ o ò ó ô õ ö ø
P Q R S S¸ ß
p q r s s¸ ß
T U Ù Ú Û Ü ˜U V
t u ù ú û ü ˜u v
W X Y Z
w x y z
blank
blank
g
I
G
0–9 (Numeric)
1
1
2
2
3
3
4
4
5
5
6
6
7
7
8
8
9
9
0
0
ΑΒΓ (Greek)
# & ’ ( ) , – . /
# & ’ ( ) , – . /
ΑΒΓ
ΑΒΓ
∆ΕΖ
∆ΕΖ
ΗΘΙ
ΗΘΙ
ΚΛΜ
ΚΛΜ
ΝΞΟ
ΝΞΟ
ΠΡΣ
ΠΡΣ
ΤΥΦ
ΤΥΦ
ΧΨΩ
ΧΨΩ
blank
blank
Character Table
KX-TCD725EM-2(24~37) 01.10.24 14:37 Page 28
Chapter 2
Cordless Telephone
29
To move the cursor to the left.
To move the cursor to the right. (To enter another character using the same dialling
button, move the cursor to the next space.)
To erase characters.
To shift from capital to lower case, press . Each time you press , the mode will change.
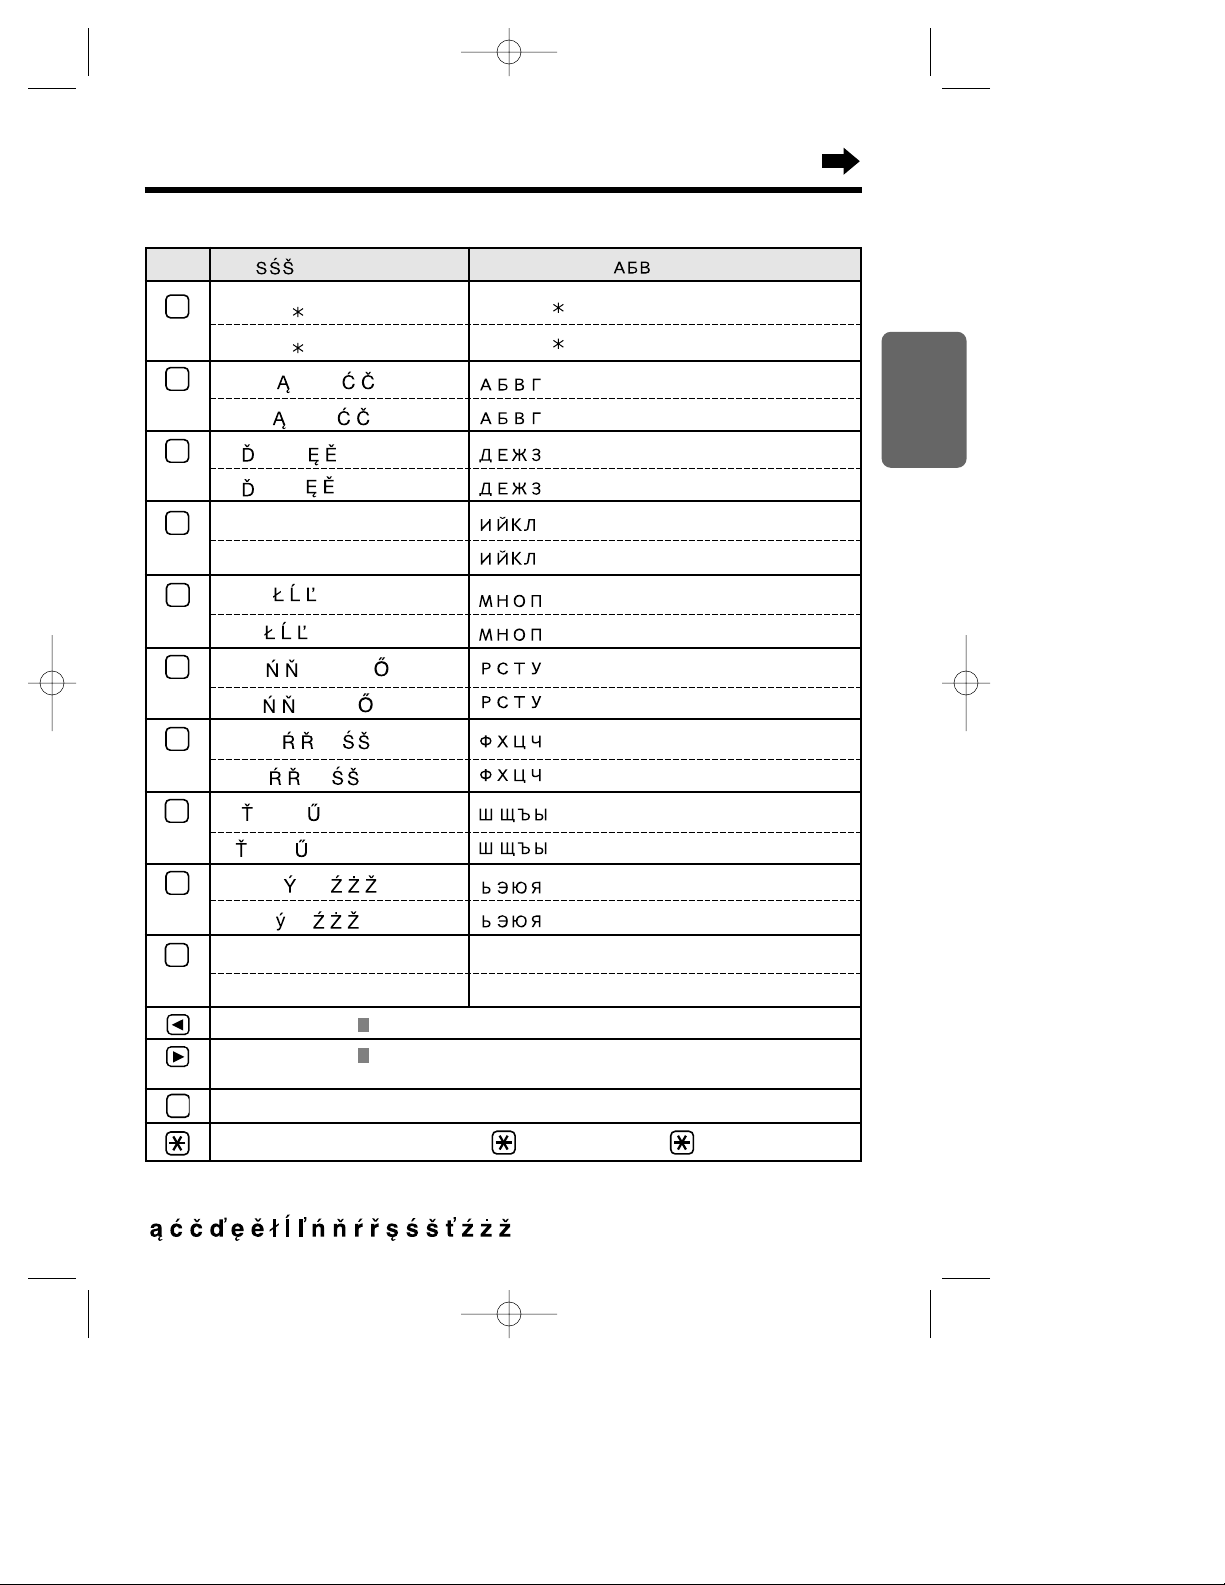
(Extended 2)
# & ’ ( ) , – . /
# & ’ ( ) , –. /
A Á Ä B C
A á ä b c
D E É F
D e é f
G H I Í
G h i Í
J K L
J k l
M N O Ó Ö
m n o ó ö
PQ R S
p q r s
T Ú Ü V
t ú ü v
W X Y Z
w x y z
blank
blank
# & ’ ( ) , – . /
# & ’ ( ) , – . /
blank
blank
Character Table
Buttons
C
098
76543
2
1
The following small letters of Greek, Russian (Cyrillic), Polish, Czech and Slovakian are not available.
Then same letter as Capital will be displayed.
(Russian)
KX-TCD725EM-2(24~37) 01.10.24 14:37 Page 29
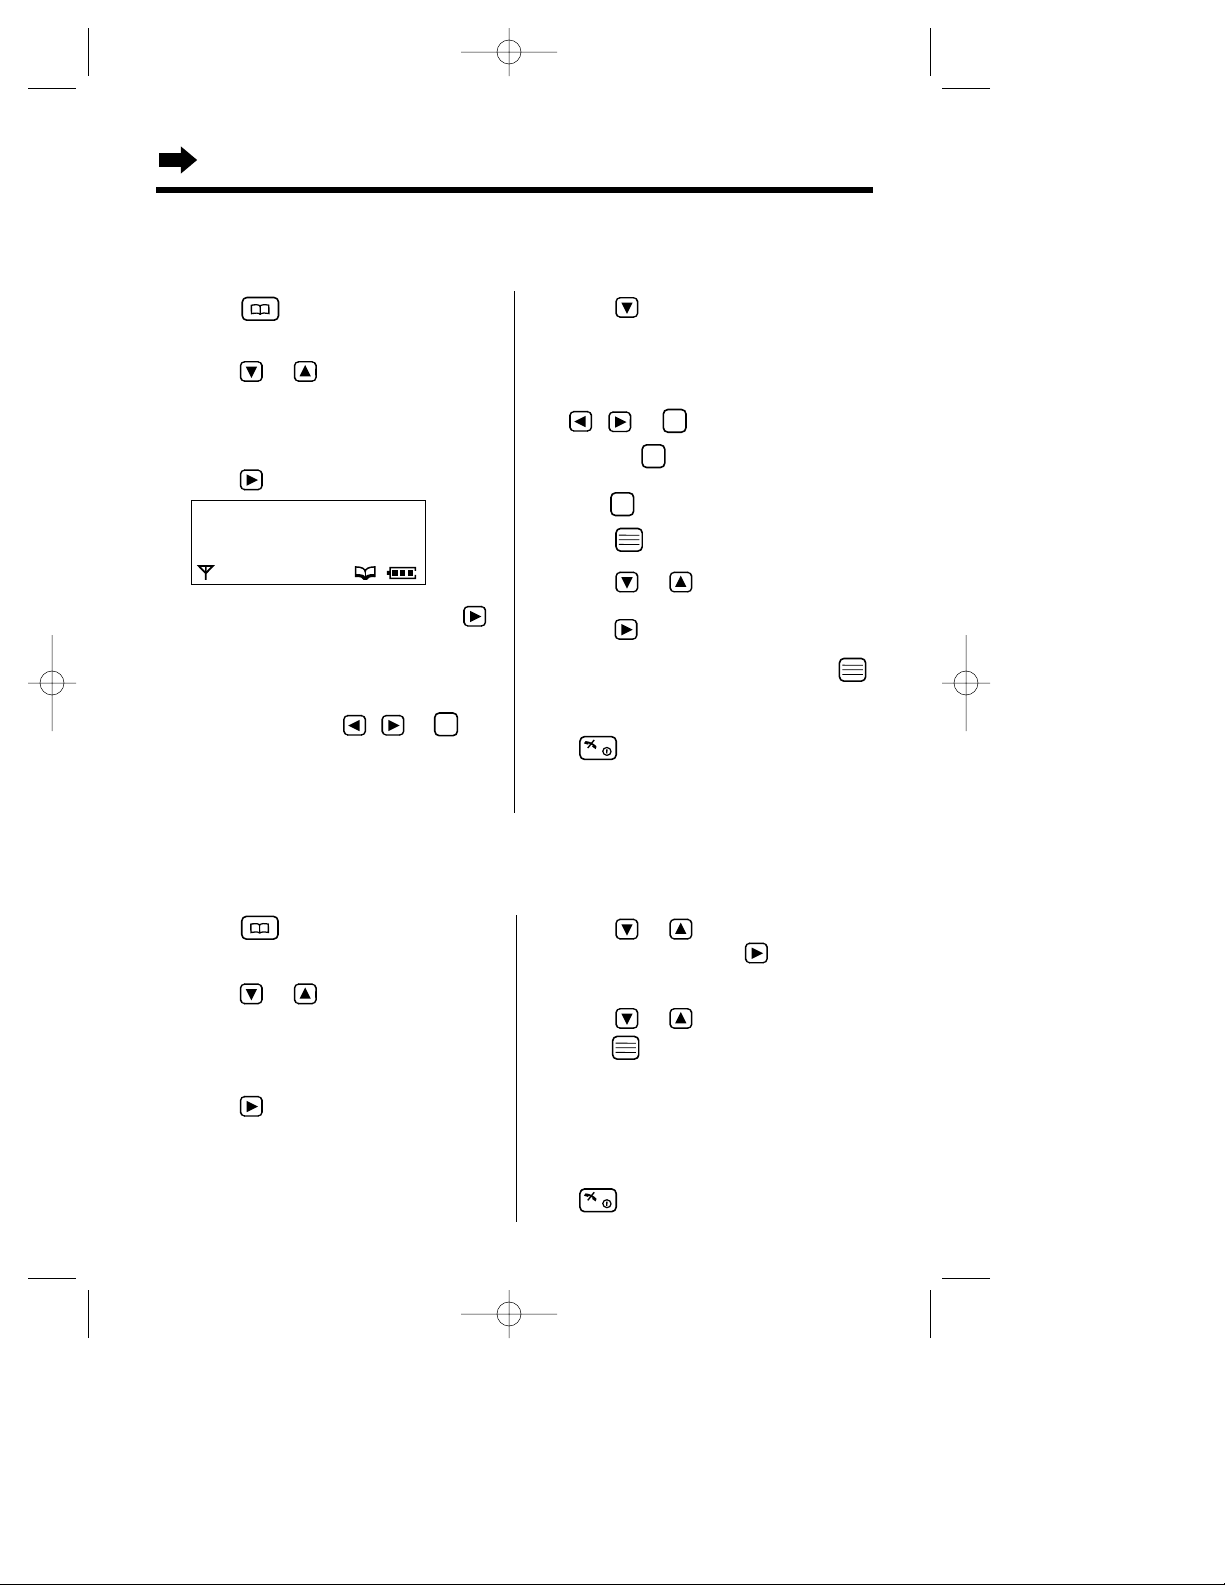
30
1 Press to enter the phonebook.
•The first caller information is displayed.
2 Press or until the arrow points
to the caller information you desire to
edit.
•You can also find a name by initial (p. 31).
3 Press .
4 While “Edit” is at the arrow, press .
•If you do not need to change the name, go
to step 6.
5
Edit the name up to 16 characters with
the dialling buttons, , or
(p. 27).
C
6 Press .
•If you do not need to change the number,
go to step 8.
7 Edit the number with the dialling buttons
, or .
•Pressing erases the digit to the left of
the cursor. To erase all digits, press and
hold .
8 Press .
9 Press or to select the desired
category number 1 to 9 or OFF, then
press .
10 While “Save” is at the arrow, press .
•A beep sounds and “Saved” is displayed.
•To return to the standby mode, press
or wait for 60 seconds.
CCC
Editing a Caller Information in the Phonebook
Make sure that the power is ON (p. 12), and the unit is in the standby mode.
4 Press or until the arrow points
to “Clear”, then press .
•“Clear ?” is displayed.
5 Press or to select “YES”, and
press .
•A beep sounds and “CLEARED” is
displayed.
•After a few seconds, the display will show
the next caller information.
•To return to the standby mode, press
or wait for 60 seconds.
Clearing a Caller Information in the Phonebook
Make sure that the power is ON (p. 12), and the unit is in the standby mode.
1 Press to enter the phonebook.
•The first caller information is displayed.
2 Press or until the arrow points
to the caller information you desire to
clear.
•You can also find a name by initial (p. 31).
3 Press .
H
Edit
Clear
Reg. To Hot Key
Phonebook
KX-TCD725EM-2(24~37) 01.10.24 14:37 Page 30
 Loading...