

Panasonic KX-TCD650E User Manual
Safety Information . . . . . . . . . . . .2
Accessories . . . . . . . . . . . . . . . . .2
Setting Up . . . . . . . . . . . . . . . . . .3
Using the Telephone . . . . . . . . . .4
Additional Features . . . . . . . . . . .9
Handset Settings . . . . . . . . . . . .10
Base Unit Settings . . . . . . . . . . .13
Initial Settings . . . . . . . . . . . . . .16
For Optional Multi Unit Users . .17
Before Requesting Help . . . . . . .20
Index . . . . . . . . . . . . . . . . . . . . .22
Caller ID compatible
Please read before use and save
Charge the batteries for approx. 15 hours before initial use
Model No:
KX-TCD650E
Digital
Cordless Phone
Operating Instructions
& Quick Guide
Centre Page Pullout
650e eng Baseline TXT 23 4 02 23/4/02 12:25 pm Page 1
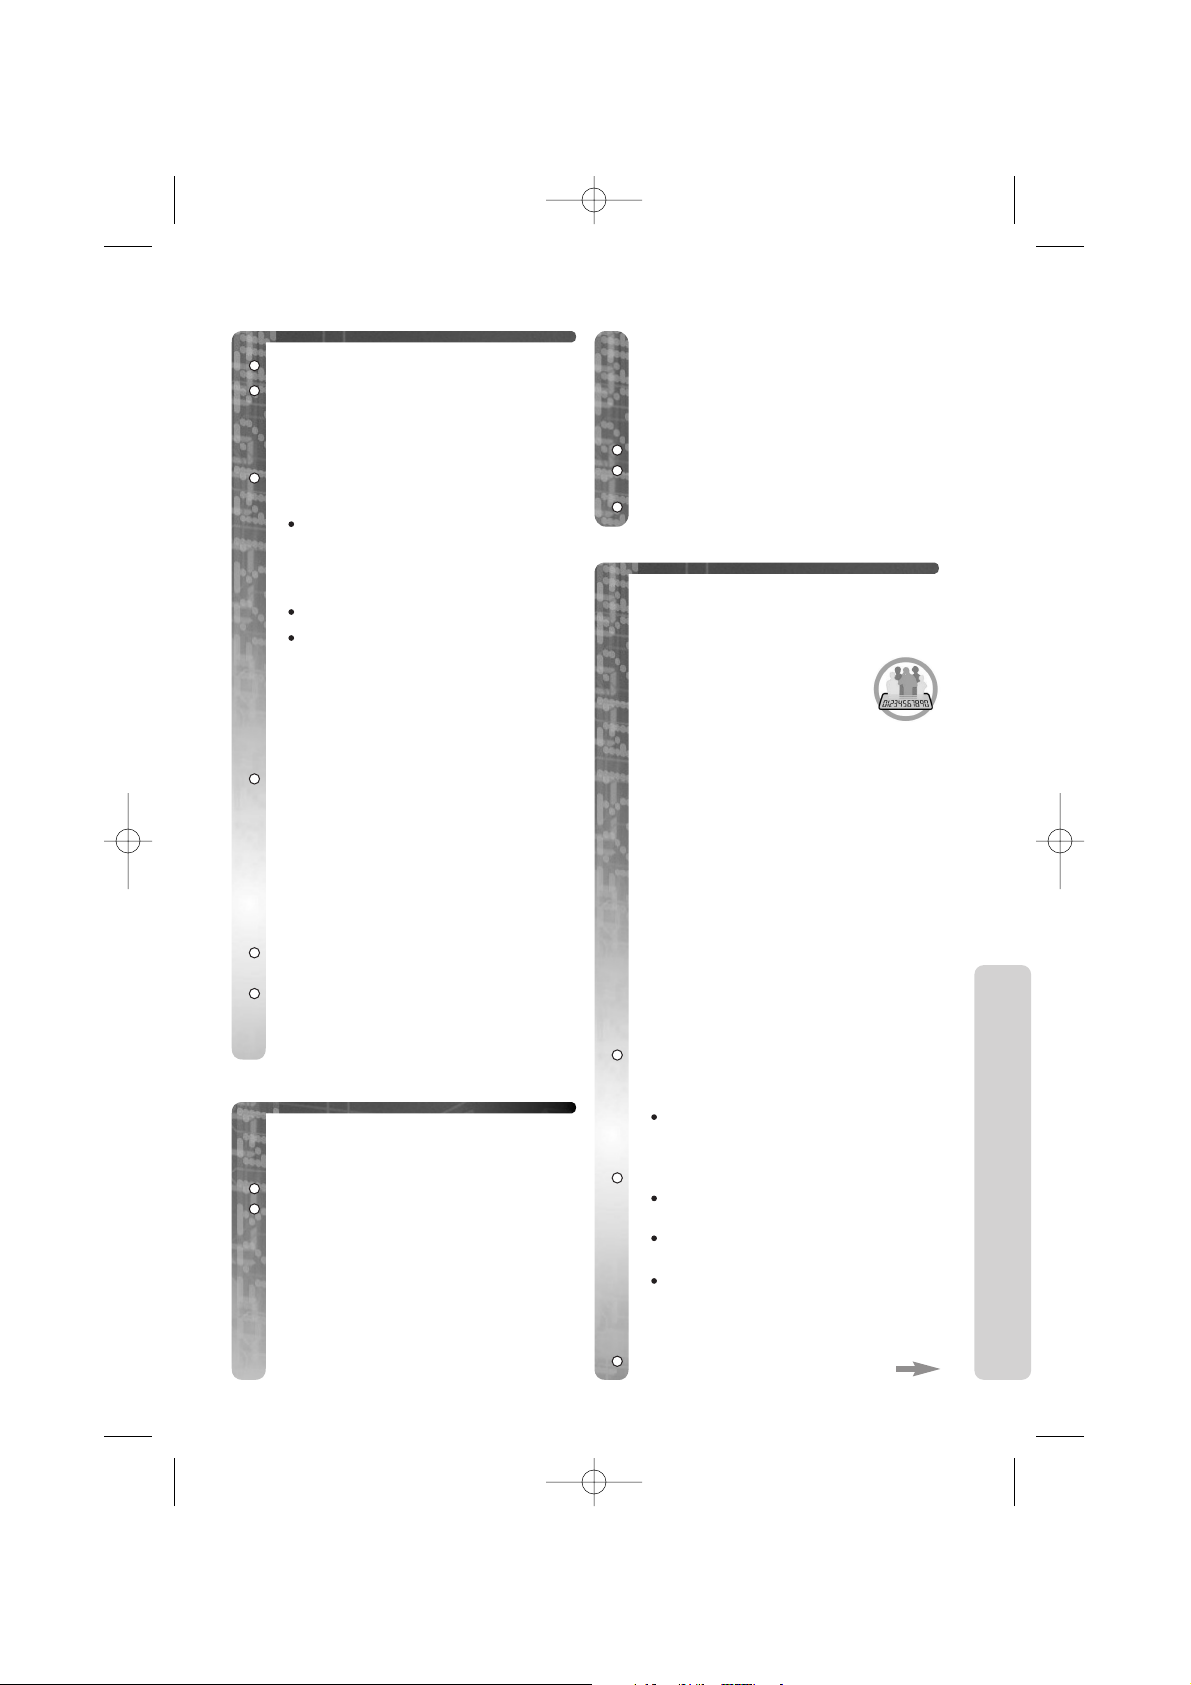
Safety Information
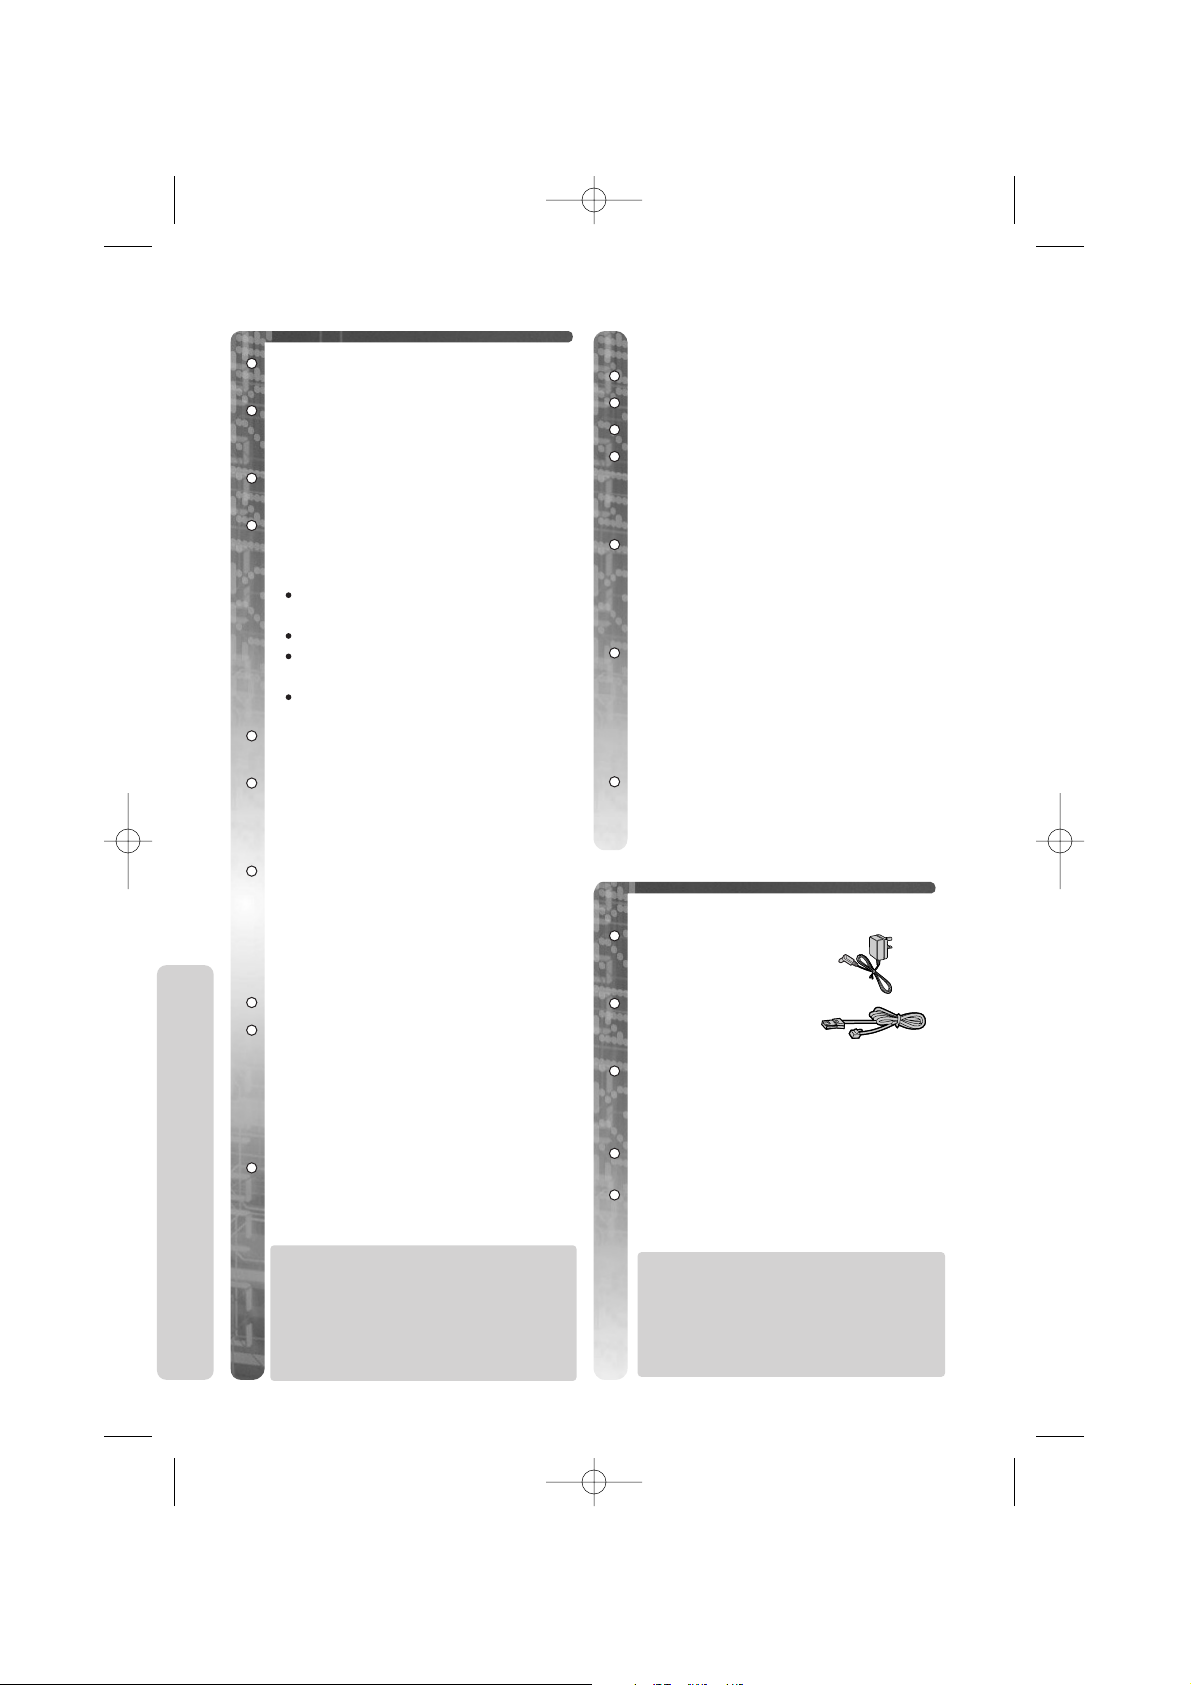
(Included)
AC Adaptor 1
PQLV19E
Telephone Line 1
Cord
PQJA87S
Batteries (AA Size) 2 batteries
N4DH33B00001
OR
HHR-6P/2SA1
Battery Cover 1
PQKK10109Y6
Operating 1
Instructions
QUQX00018Z
Additional accessories are available
for purchase. Contact your
Panasonic Customer Care Helpline
for further details.
U.K. 08700 100 076
R.O.I. 01289 8333
Accessories
Only use the power supply included
with the product.
Do not connect the AC Adaptor to any
AC outlet other than the
standard AC220-240V.
The apparatus is approved for use
with PQLV19E power supply.
This apparatus is unable to make
emergency telephone calls under the
following conditions:
The portable handset batteries
need recharging, or have failed.
During a mains power failure.
When the Key Lock is set to
ON.
When the unit is in Direct Call
mode.
Do not open the base unit or handset
(other than to change the batteries).
This apparatus should not be used
near emergency/intensive care
medical equipment and should not be
used by people with pacemakers.
Care should be taken that objects do
not fall onto, and liquids are not
spilled into the unit. Do not subject
this unit to excessive smoke, dust,
mechanical vibration or shock.
Environment
Do not use this unit near water.
This unit should be kept away from
heat sources such as radiators,
cookers, etc. It should also not be
placed in rooms where the
temperature is less than 5oC or
greater than 40oC.
The AC Adaptor is used as the main
disconnect device, ensure that the AC
outlet is located / installed near the
unit and is accessible.
WARNING:
TO PREVENT THE RISK OF
ELECTRICAL SHOCK, DO NOT
EXPOSE THIS PRODUCT TO
RAIN OR ANY OTHER TYPE OF
MOISTURE.
Battery Caution
Use only specified batteries.
Only use rechargeable batteries.
Do not mix old and new batteries.
Do not dispose of batteries in a fire,
they may explode. Check local waste
management codes for special
disposal instructions.
Do not open or mutilate the
batteries. Released electrolyte is
corrosive and may cause burns or
injury to the eyes or skin. The
electrolyte may be toxic if swallowed.
Exercise care in handling the
batteries in order not to short the
batteries with conductive materials
such as rings, bracelets and keys.
The batteries and/or conductor may
overheat and cause burns.
Charge the batteries provided in
accordance with the information
given in this operating guide.
2 Helpline Tel.No. : U.K. 08700 100 076 R.O.I. 01289 8333
General Safety
650e eng Baseline TXT 23 4 02 23/4/02 12:25 pm Page 2
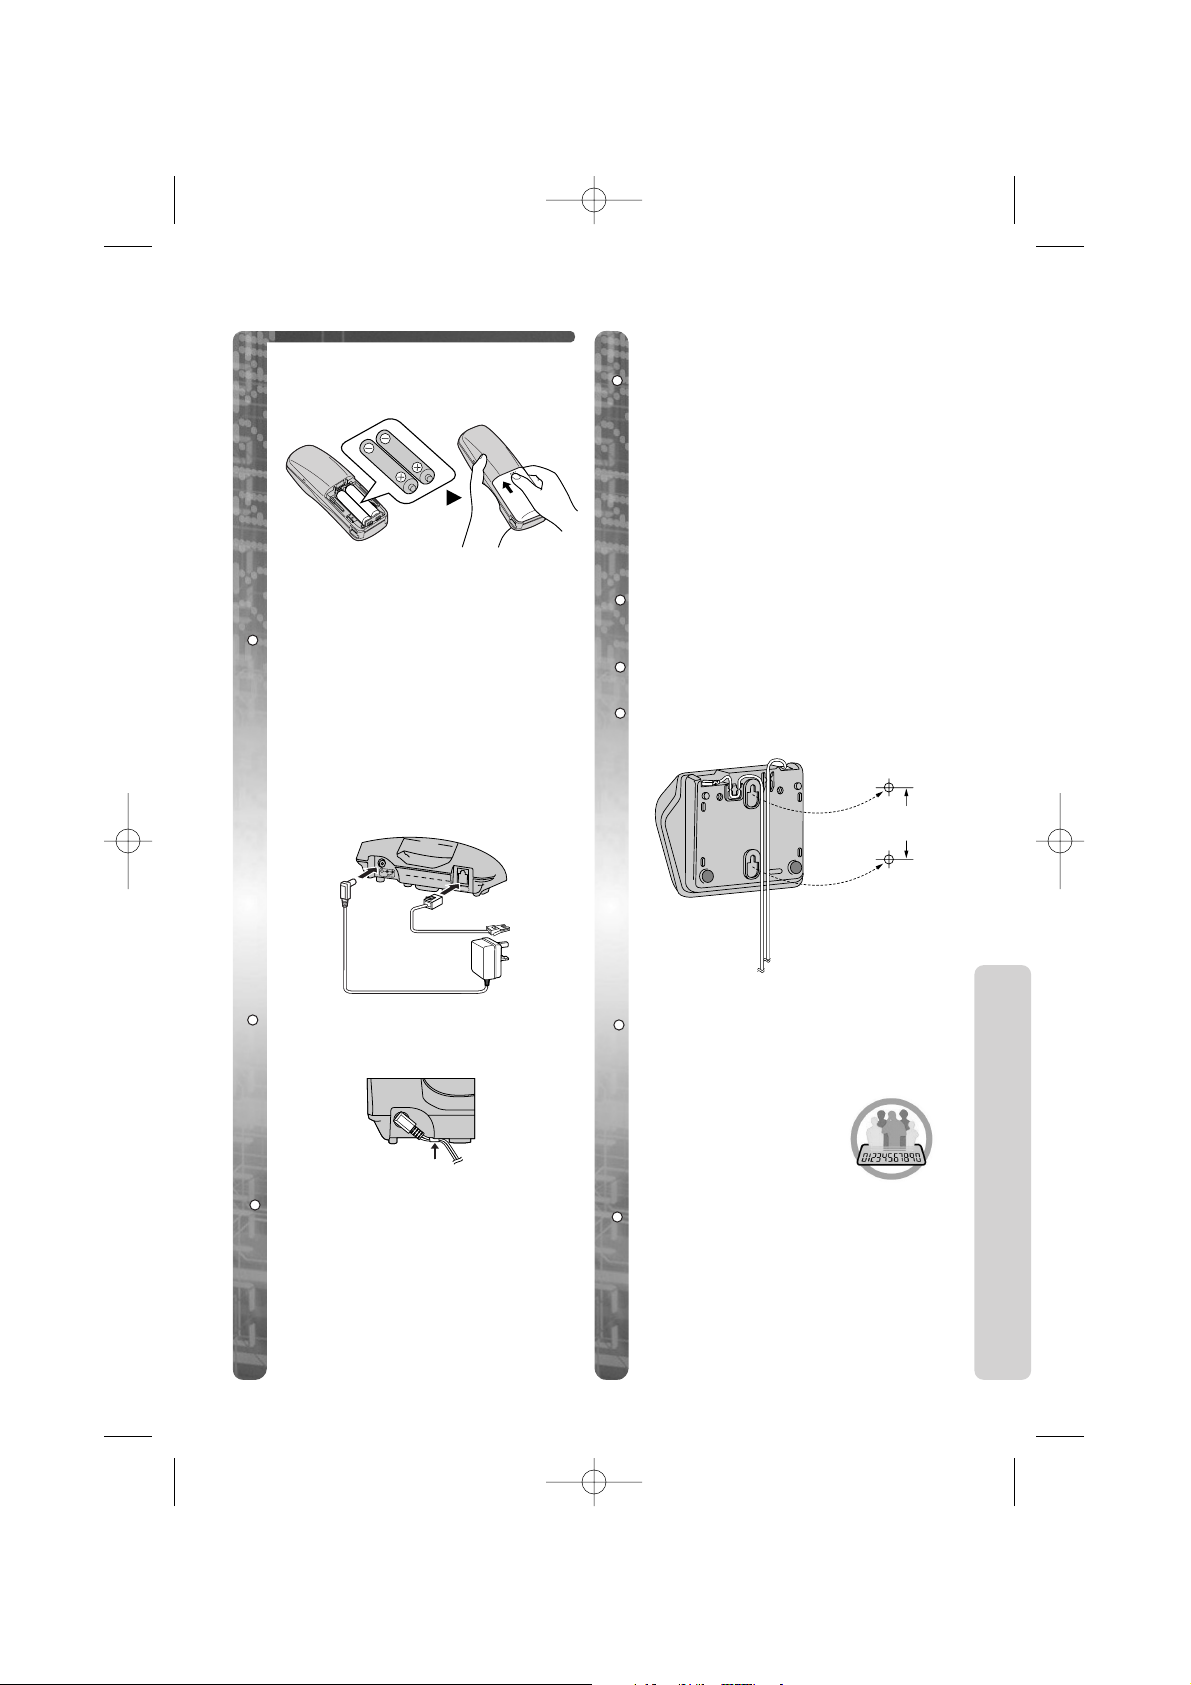
Insert the Batteries
This unit can be mounted on a wall.
Insert screws into wall. The centres
of the screw holes should be 6cm
vertically apart.
Connect the AC adaptor and the
telephone line cord.
Arrange the wires as shown, then
mount the unit.
Wall Mounting
For maximum distance noise-free
operation, place your base unit:
-Away from electrical appliances
such as TV, radio, personal
computer or another phone.
-In a convenient high and central
location.
The AC Adaptor must remain
connected at all times. (It is normal
for the adaptor to feel warm during
use).
Location
LINE
6v
Hook
6cm
#
$
%
&
Notice
Some features described in these
operating instructions/quick guide
are dependent upon subscription to
your Network provider (e.g
Caller ID).
All features of this type
will be marked throughout the manual with this
icon .
Helpline Tel.No. : U.K. 08700 100 076 R.O.I. 01289 8333 3
Setting Up
Please note throughout this
operating instructions/quick guide
that the word “PRESS” is depicted
by this symbol Z.
Please ensure the batteries are
inserted as shown.
Connection
Plug in the AC adaptor and the
telephone line cord in order #, $, %.
WARNING:
DO NOT CONNECT THE
TELEPHONE LINE CORD TO
THE PHONE SOCKET & UNTIL
THE HANDSET IS FULLY
CHARGED.
Fasten the AC adaptor cord to
prevent it from being disconnected.
Setting Up
650e eng Baseline TXT 23 4 02 23/4/02 12:25 pm Page 3
If the ÛÛicon flashes after a few
telephone calls even when the
handset batteries have been fully
charged, the batteries must be
replaced.
! Charge new batteries for
approximately 15 hours before
initial use.
(The telephone line cord must
not be connected to the
telephone socket at this time).
If the batteries are removed, the
battery icon is reset to ÛÛ(less
than 30% capacity). In this case,
even if fully charged batteries are fitted, the icon remains as ÛÛuntil a
full charge cycle is complete.
On replacing the batteries, ensure
that the correct battery type is
selected (see ‘Handset Settings’).
! The batteries must be charged
for approximately 15 hours
before initial use.
After the batteries have been
inserted into the handset, place the
handset in the powered up base unit.
(The telephone line cord must
not be connected to the
telephone socket at this time.
Please leave your standard
telephone connected until
battery charging is complete).
The batteries are fully charged only
when ÒÒis flashing.
(Before Initial Use)
(After Initial Use)
Turning the Power ON/OFF
Tur n Power OFF
From the standby mode, Z and
hold ± until a long tone sounds.
The display goes blank. If you put
the handset in the base unit, the
battery icon will display.
Answering Calls
When the phone rings,
ZZ‰‰,KK--II,NN,JJ
or LL.
When an external call is incoming,
you can temporarily turn off the
handset ringer.
During an incoming call, Z and
hold U.È is displayed and the
handset ringing stops. (This function
will not work when the handset is on
the base unit or if an internal call is
incoming.)
When the battery icon flashes (and,
if programmed, battery low alarm
sounds), the handset should be
charged immediately because there
is little energy left in the batteries.
Replacing the batteries
Using the Telephone
Battery Charging
Tur n Power ON
Z and hold ±.
When button is released, display
changes to the standby mode and a
confirmation tone sounds.
Battery Life
Battery life is dependent on use and
conditions but in general when using
fully charged Ni-MH batteries:
Talk time: 20hrs approx.
Standby time: 200hrs approx.
When using Ni-Cd batteries (based
on 800mA per hour)
Talk time: 12hrs approx.
Standby time: 100hrs approx.
(Times indicated are for peak performance)
The batteries reach peak performance
after several full charge / discharge
cycles.
The batteries cannot be overcharged
unless they are repeatedly removed
and replaced.
If battery life is shortened then
please check that battery and charge
terminals are clean.
For maximum battery life it is
recommended that the handset is not
recharged until battery icon flashes
(ÛÛ).
4 Helpline Tel.No. : U.K. 08700 100 076 R.O.I. 01289 8333
650e eng Baseline TXT 23 4 02 23/4/02 12:25 pm Page 4
Making Calls
ZZ‰‰
.
Dial the number.
After a few seconds, the call duration
is displayed. The dialled number is
stored in the redial memory.
When you are finished with the
call, ZZ±.
Alternatively, dial the number,
then Z‰. This procedure
allows you to edit / confirm the
number before dialling.
If you misdial, ZW.
If Î flashes and an alarm tone
sounds when you press ‰, move
closer to the base unit and try
your call again.
During a phone call,
ZZ SS
or
UU
to change the volume setting to
LOW (o), MEDIUM (oo) or HIGH
(ooo).
Making a Call from the
Redial List
The last 10 numbers dialled are
stored.
From the standby mode
ZZXX
.
ZZSS
or UUto select number.
(To exit the redial list,
ZZ±±
).
ZZ‰‰
.
Caller ID is a service of your
Network provider and will only
operate if you have subscribed to
this feature.
After subscribing to Caller
ID, this phone will display
the callers information.
If your unit is connected to a PBX or
a telephone line that does not
support this service you will not be
able to use it.
Caller ID does not display caller
information while using the handset
for an intercom call. However, the
caller’s information will be stored to
the Caller ID List.
Caller ID Service
Making a Call from the
Caller ID List
The last 50 caller’s phone numbers
are stored in the order the calls were
received.
From the standby mode
ZZSS
or UU.
The newest number is displayed.
If there are no numbers stored in
the Caller ID list no item is
displayed.
ZZSS
or UUto select number.
ZU to scroll to previous calls
and S to the most recent calls.
Only the most recent call from
the same phone number is stored.
Only 12 digits of a phone number
are displayed. To display the
remaining digits of longer phone
numbers,
ZZCC..
On selection
ZZ‰‰
.
Redialling
Setting the Receiver
Volume
Redialling the Last
Number Dialled
Using this feature you can locate
a misplaced handset by paging.
ZZÏÏ
on the base unit.
All handsets ring for 1 minute.
ZZÏÏ
again or
ZZ‰‰
on (one of)
the handset(s) to stop ringing.
Using the Telephone
ZZ‰‰
.
ZZXX
.
The last number dialled displays and
is dialled.
Helpline Tel.No. : U.K. 08700 100 076 R.O.I. 01289 8333 5
Handset Locator / Paging
650e eng Baseline TXT 23 4 02 23/4/02 12:25 pm Page 5
To add digits
ZZKK-II
.
To clear digits
ZZWW..
Either
ZZ‰‰
to dial or to save
the number,
ZZYY
.
ssaavvee ssppeeeedd
is displayed.
ZZYY
.
ZZYY
to save.
(Clear a Number in the
List):
ZZVV..
ZZSS
or UUto select
yyeess
(YES).
ZZVV..
cclleeaarreedd
is displayed, a confirmation
tone sounds and the next number is
displayed. If you clear the last
number,
nnoo iitteemm
is displayed.
(Clear all Numbers in the
List):
ZZVV
.
ZZSS
or UUto select
yyeess
(YES).
ZZVV..
A confirmation tone sounds and
cclleeaarreedd
, then no item is displayed.
To exit the menu at any time,
ZZ±±
.
Using the telephone
Making a Call from the
Caller ID List (cont.)
After you have viewed a phone
number, answered the call or called
back the caller, “⁄” is added to the
caller’s number.
After viewing all new Caller ID
numbers, the call counter is reset to
zero.
To exit the Caller ID list
ZZ±±..
Caller ID List Menu /
Redial List Menu
You can save numbers from the
redial list/Caller ID list into speed
dial, edit or clear from memory.
From the standby mode
ZZXX
(to access Redial list) or
ZZSS
or
UU
(to access Caller ID
list).
ZZSS
or
UU
to select number
from list.
ZZVV
.
ssaavvee ssppeeeedd
is displayed.
ZZSS
or UUto select a menu item
then follow the instructions
below.
(Save a Number in the List
as a Speed Dial):
ZZVV
.
Á is displayed.
ZZYY
.
(Edit a Number in the List):
ZZVV
.
ZZTT
or
VV
to move the edit
point.
Digits are added or deleted to the left
of the flashing digit.
save speed
edit call no
clear
all clear
6 Helpline Tel.No. : U.K. 08700 100 076 R.O.I. 01289 8333
650e eng Baseline TXT 23 4 02 23/4/02 12:25 pm Page 6
Helpline Tel.No. : U.K. 08700 100 076 R.O.I. 01289 8333 7
Using the telephone
Speed Dialling
You can store up to 20 telephone
numbers in the handset.
Storing New Numbers
From the standby mode
ZZYY
.
new speed is displayed.
ZZVV
.
Á and an index number 00 - 19 is
displayed.
*Enter a phone number (max 24
digits).
ZZYY
.
saved is displayed. To enter another
number repeat from *.
If speed dial memory is full memory
full is displayed.
You can keep a record of your
Speed Dial numbers in the
reference table included in the
‘Quick Guide’.
Dialling Stored Numbers
ZZÁÁ
.
ZZSS
or UUto select number.
OR
ZZ
00 - 19 to select index number
directly.
ZZ‰‰
.
If you press W, or no digits are
entered for over 1 minute, speed
dial is cancelled.
Saving Numbers to Speed
Dial from Other Lists
Please reference “Caller ID List
Menu/Redial List Menu”.
Speed Dial List Menu
You can edit or clear a speed dial
number from memory or assign a hot
key to any speed dial number.
From the standby mode
ZZÁÁ
.
ZZSS
or
UU
to select number
from list.
(Edit the Speed Dial
Number):
ZZVV
.
ZZTT
or VVto move the edit
point.
Digits are added or deleted to the left
of the flashing digit.
To add digits
ZZKK- II
.
To clear digits
ZZWW
.
ZZYY
to save.
edit
(Clear a Speed Dial
Number):
ZZVV..
ZZSS
or UUto select
yyeess
(YES).
ZZVV..
cclleeaarreedd
is displayed, a confirmation
tone sounds and the next number is
displayed. If you clear the last
number,
nnoo iitteemm
is displayed.
(Register a Speed Dial
Number as a Hot Key
AA- II
):
ZZVV
.
ZZSS
or UUto select a key from
1-9.
If a key has already been assigned as
a hot key, it will flash in the display.
ZZVV
.
ZZSS
or UUto select
yyeess
(YES).
ZZVV
.
The speed dial number is displayed
and a confirmation tone sounds.
To exit the menu at any time,
ZZ±±..
clear
hot key reg
ZZVV
.
eeddiitt
is displayed.
ZZSS
or UUto select a menu item
then follow the instructions that
follow:
650e eng Baseline TXT 23 4 02 23/4/02 12:25 pm Page 7
8 Helpline Tel.No. : U.K. 08700 100 076 R.O.I. 01289 8333
Using the Telephone
Hot Key
Dialling a Hot Key Number
You can assign the dialling buttons
AA- II
as hot keys. You can
choose 9 phone numbers from the
speed dial list (See “Register a Speed
Dial Number as a Hot Key”).
ZZ
and hold a key AA- II.
The number stored with that key is
displayed.
ZS or U to view other numbers
stored.
ZZ
‰ to dial.
Clearing Caller
Information from a Hot
Key
ZZ
and hold a key AA- II.
The number stored with that key is
displayed.
ZZVV. cclleeaarr
is displayed.
ZZVV
.
ZZSS
or UUto select
yyeess
(YES).
ZZVV
.
650e eng Baseline TXT 23 4 02 23/4/02 12:25 pm Page 8
! This function is for PBX
line/long distance service users.
A dialling pause is used when a
pause in the dialling of the phone
number is necessary using a PBX or
accessing a long distance service.
(see “Select Pause Timing”).
For example, when 9 (line access
number) is dialled followed by a
pause to access an outside line
through a PBX:
ZZII
.
ZZXX
. (‘p’ is displayed on the
LCD).
Enter telephone number.
ZZ‰‰
.
Entering a pause prevents
misdialling when you redial or dial a
stored number.
Pressing X once creates one
pause. To extend the pause
requirement time, ZX
accordingly.
You can lock the handset dialling
buttons. Only incoming calls are
accepted while the key lock is ON.
Tur n Key Lock ON
ZZ
and hold YYuntil a beep sounds.
‘Ó’ is displayed and all dialling
buttons are locked.
! When the key lock is ON,
emergency calls cannot be made
until key lock is cancelled.
Tur n Key Lock OFF
ZZ
and hold YYuntil a beep sounds.
‘Ó’ disappears and key lock is
cancelled.
The key lock is also cancelled if the
handset is turned off.
Helpline Tel.No. : U.K. 08700 100 076 R.O.I. 01289 8333 9
Additional Features
Call Waiting is a service of your
Network provider and will only
operate if you have subscribed to this
service.
After subscription, your handset
displays a second caller’s phone
number while talking and a Call
Waiting tone is heard.
You can answer the second call,
keeping the first call on hold.
Please consult your
Network provider for
details of this service.
Dialling Pause
Recall Feature
M is used to access special
telephone services. Contact your
Network provider for details.
If your unit is connected to a PBX,
pressing
M allows you to access
some features of your host PBX such
as transferring an extension call
(Refer to ‘TBR’ in ‘Base Unit Settings’).
Call Waiting
Key Lock
650e eng Baseline TXT 23 4 02 23/4/02 12:25 pm Page 9
Handset Settings
You can change the handset settings using a handset near the base unit.
Before proceeding with any of the main menu items listed in this chapter, the following procedure must initially be carried out:
From the Standby mode,
ZZVV
.
ZZSS
or UUto select
sseettttiinngg hhss
(Setting Handset).
ZZVV
.
ZZSS
or UUto select main menu items from below (see menus in shaded
text boxes):
To exit the menu at any time,
ZZ±±
.
ZZTT
or WWto return to previous step during programming.
(Alarm Settings):*
ZZVV
.
ZZSS
or UU.
(Set Time of Alarm):*
ZZVV
.
ZZKK- II
to enter time (4
digits) - 24 hour clock. Digits are
entered over the flashing digit.
To clear ZW.
ZZYY
to save.
ZZSS
or UUto select
oonnccee
(Once),
rreeppeeaatt ddaaiillyy
(Repeat Daily) or
ooffff
(Off).
ZZVV
.
(Set Alarm):
ZZVV
.
ZZSS
or UUto select
oonnccee
(Once),
rreeppeeaatt ddaaiillyy
(Repeat Daily) or
ooffff
(Off).
ZZVV
.
To Stop Alarm
When the alarm sounds,
ZZ‰‰
,
KK- II, JJ
or LL.
Alarm stops and display returns to
the standby mode. If once is
selected, the setting is turned off.
When in talk or intercom mode the
alarm will not sound until the call is
ended.
* For this feature to work you must
first set the Clock (see “Base Unit
Settings”).
Handset Settings
time alarm
set time
ringer opt
(Ringer Settings):
ZZVV
.
ZZSS
or UU.
(Select the Handset Ringer
Volume):
ZZVV
.
ZZSS
or UUto select Ringer Volume.
The choices are 6 levels or OFF.
ZZVV
.
(Select Ringer Pattern for
External Incoming call)*
To program see * below.
(Select Ringer Pattern for
Internal call)*
To program see * below.
(Select Ringer Pattern for
Paging/Handset Locator tone)*
To program see * below.
(Select Ringer Pattern for
Alarm tone):*
* There are 20 patterns available for
each ringer option.
ZZVV
.
ZZSS
or UUto select ringer
pattern.
ZV.
ringer vol
ext ringer
int ringer
paging
alarm
set alarm
10 Helpline Tel.No. : U.K. 08700 100 076 R.O.I. 01289 8333
2
1
3
4
650e eng Baseline TXT 23 4 02 23/4/02 12:25 pm Page 10
 Loading...