

Panasonic KX-PRXA15E Operating Instructions
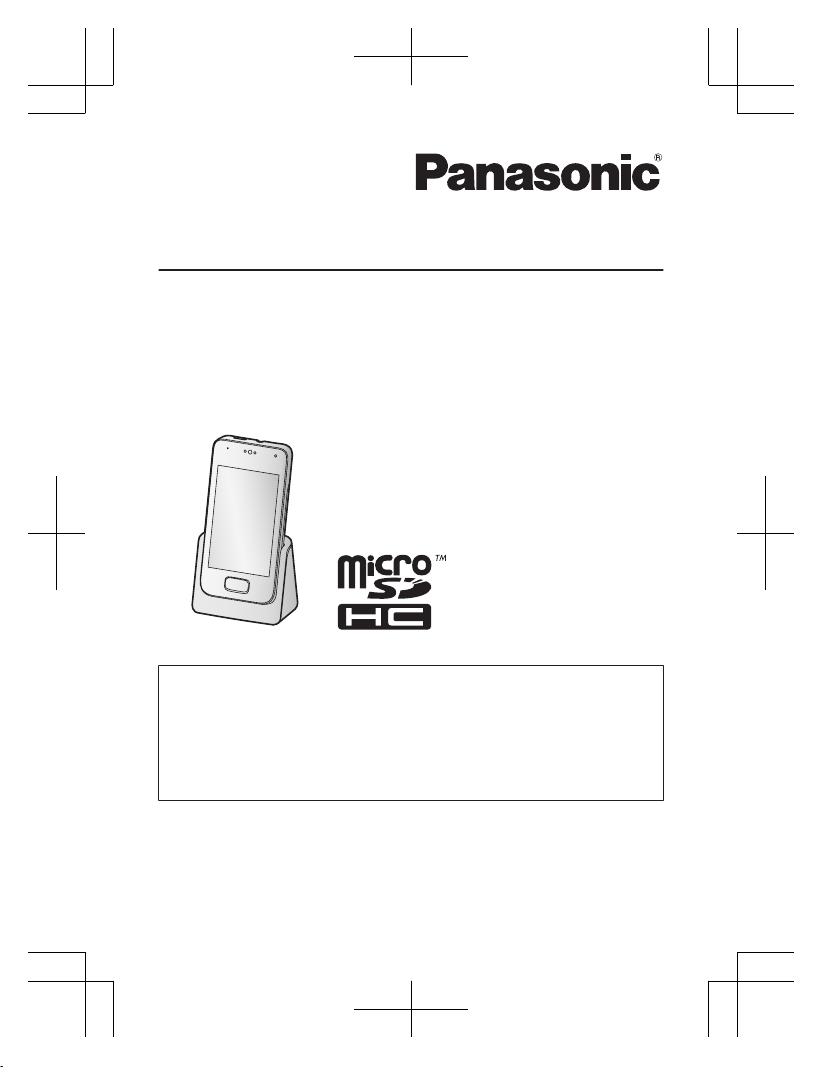
Installation Manual
Additional Digital Cordless Handset
Model No. KX-PRXA10E
KX-PRXA15E
Thank you for purchasing a Panasonic product.
This unit is an additional handset compatible with the following series of
Panasonic Digital Cordless Phone:
- KX-PRX120 (KX-PRXA10)
- KX-PRX150 (KX-PRXA15)
(The corresponding models are subject to change without notice.)
You must register this handset with your base unit before it can be used. This
document describes only the steps needed to register and begin using the
handset. Please read the base unit’s documentation for further details.
Please read this document before using the unit and save it for future reference.
Supplied accessories
Accessory item/Part number Quantity
Charger
*1
1
AC adaptor
*2
1
Rechargeable battery
*3
1
Handset cover
*4
1
*1 KX-PRXA10: PNLC1049ZA (White)
KX-PRXA15: PNLC1048ZA (Black)
*2 KX-PRXA10: PNLV226EK
KX-PRXA15: PNLV230E
*3 Please read the base unit’s documentation for replacement battery information.
*4 The handset cover comes attached to the handset.
Note:
R Please read the base unit’s documentation for additional/replacement
accessories.
General information
R Please read "General information" of the base unit’s documentation for
information regarding R&TTE Directive.
R All references in this document to a SIM card apply to KX-PRXA15 only.
R The illustrations shown in this document are for reference only and may differ
from the appearance of the actual product.
R The suffix is omitted from model numbers listed in this document.
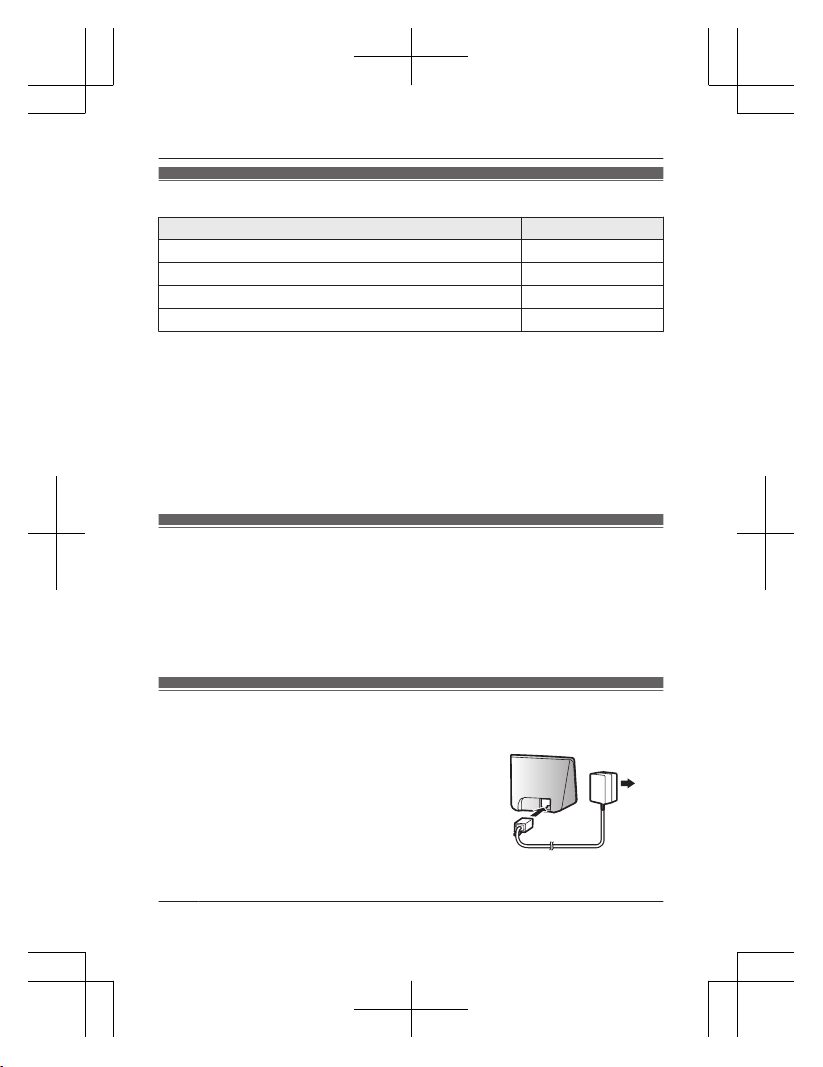
Preparing the charger
n KX-PRXA10
A Insert the AC adaptor plug to the unit until you
hear a click.
A
B
B Connect the AC adaptor to the power outlet.
2
Helpline Tel. No.: U.K. 0844 844 3899 Ireland 01289 8333
Installation
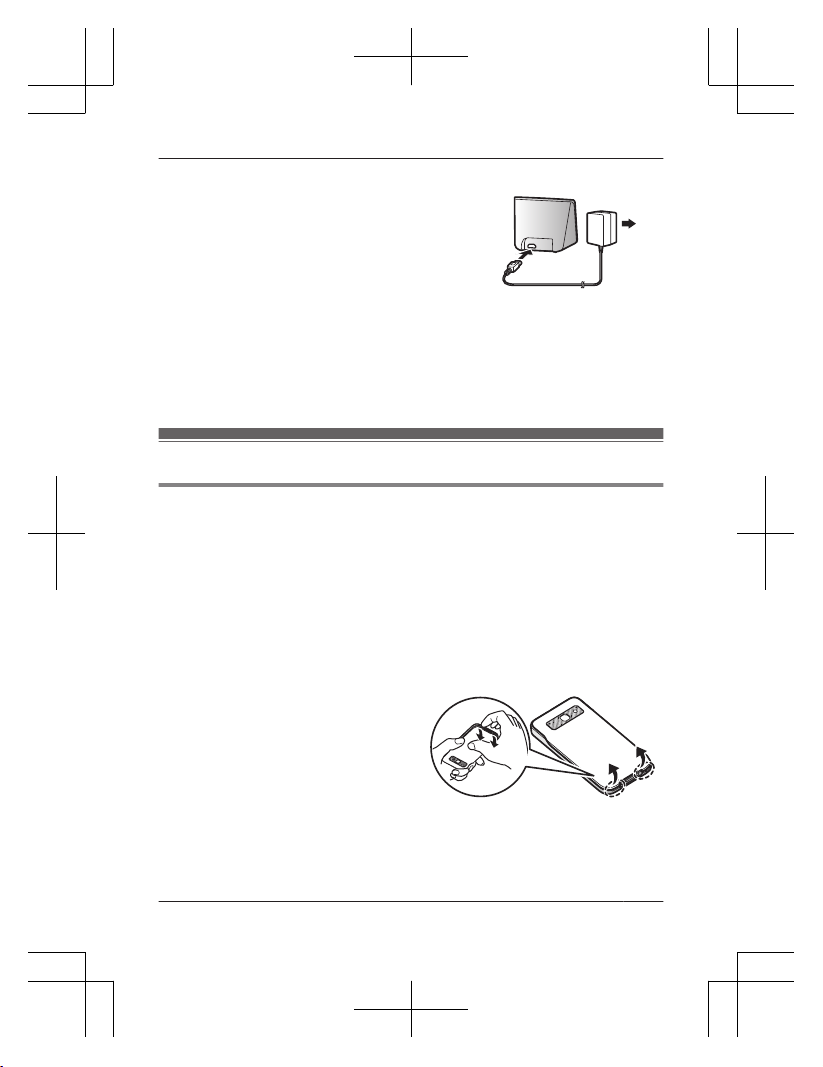
n KX-PRXA15
A Insert the AC adaptor plug firmly into the
charger.
A
B
B Connect the AC adaptor to the power outlet.
Note:
R Use only the supplied Panasonic AC adaptor PNLV226EK*1/PNLV230E*2.
R The AC adaptor must remain connected at all times. (It is normal for the adaptor
to feel warm during use.)
*1 KX-PRXA10
*2 KX-PRXA15
Preparing the handset
Inserting a SIM card, microSD card, and the battery
A SIM card (not supplied) allows the handset to connect to a mobile phone service.
Consult your mobile phone service provider for more information.
A microSD card (not supplied) allows you to expand the handset’s storage
capabilities. The illustrations shown in this section depict the KX-PRXA15.
Important:
R Use only the supplied battery. For replacement, use only the Panasonic
rechargeable battery noted in the base unit’s documentation.
R When removing the battery, make sure you turn off the handset first.
R To avoid loss of data or malfunction, do not damage, carelessly handle, or
short-circuit the gold-coloured contacts of the SIM card or microSD card.
1
Remove the handset’s cover.
Helpline Tel. No.: U.K. 0844 844 3899 Ireland 01289 8333
3
Installation
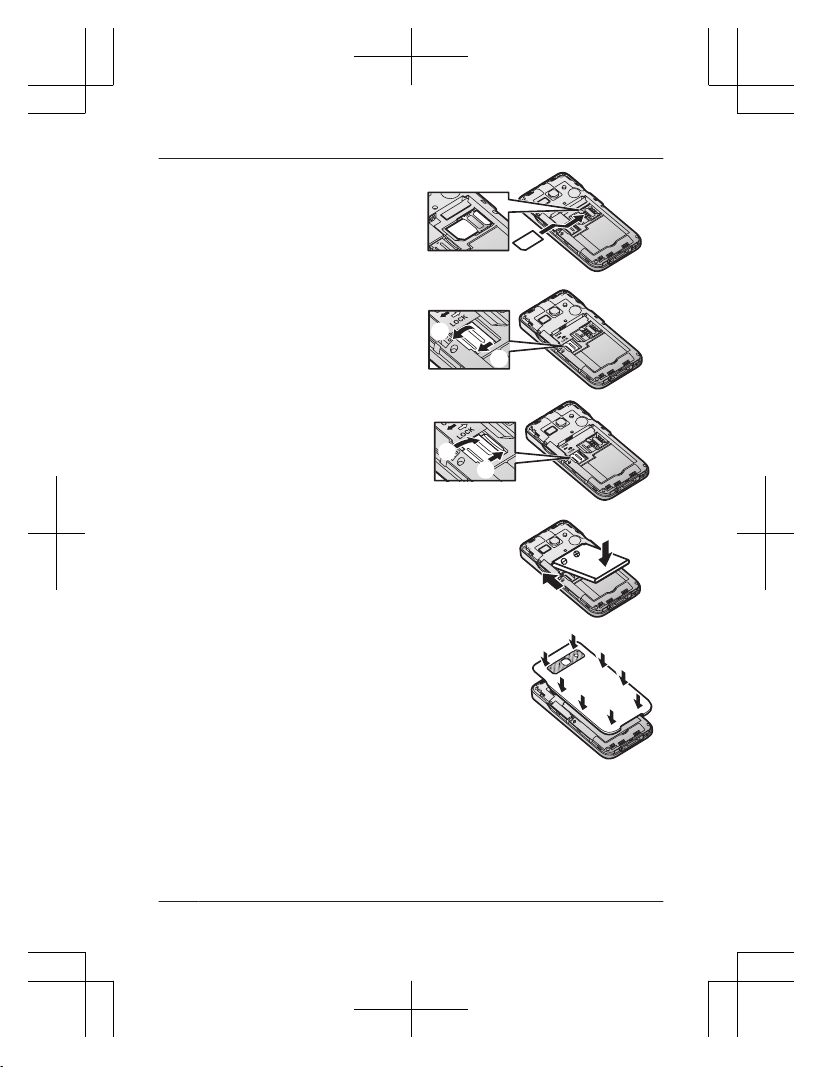
2
KX-PRXA15 only:
Position the SIM card with the
gold-coloured contacts facing
down, and then carefully slide the
SIM card all the way into the SIM
card slot.
3
Open the microSD card cover by
sliding it toward the nearest side
of the handset (A) and then lifting
up (B).
A
B
4
Insert the microSD card with the
gold-coloured contacts facing
down, close the microSD cover
(A), and then gently slide the
cover toward the opposite side of
the handset (B).
B
A
5
Insert the battery (A) and lower it
into the handset (B).
A
B
6
Attach the cover.
Note:
R If the battery is fully charged, but the operating time seems to be shorter, clean
the charge contacts of the handset and charger with a dry cloth and charge
again.
4
Helpline Tel. No.: U.K. 0844 844 3899 Ireland 01289 8333
Installation
 Loading...