

Panasonic KX-PRSA10, KX-PRWA10 User Manual
Installation Manual
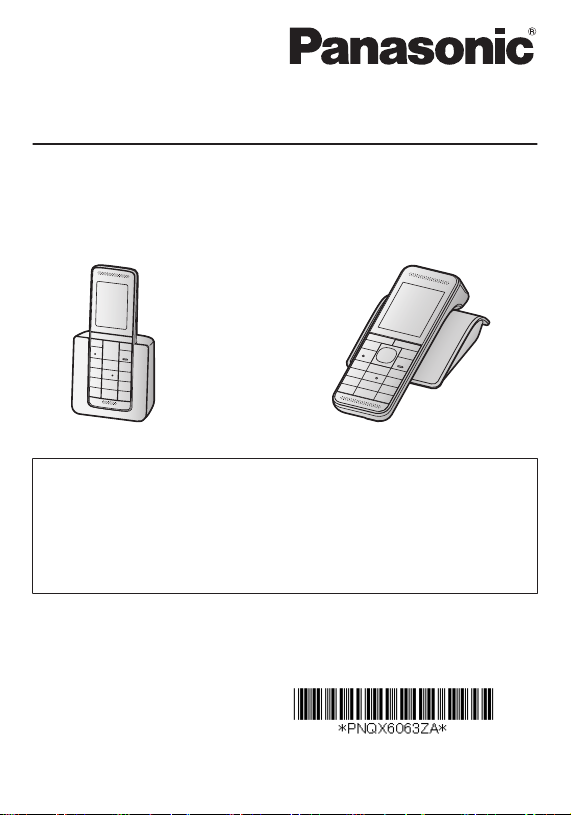
KX-PRSA10 KX-PRWA10
Additional Digital Cordless Handset
Model No. KX-PRSA10
KX-PRWA10
Thank you for purchasing a Panasonic product.
This unit is an additional handset compatible with the following series of
Panasonic Digital Cordless Phone:
- KX-PRS120 (KX-PRSA10)
- KX-PRW120 (KX-PRWA10)
(The corresponding models are subject to change without notice.)
You must register this handset with your base unit before it can be used. This
installation manual describes only the steps needed to register and begin using
the handset. Please read the base unit’s operating instructions for further details.
Please read this installation manual before using the unit and save it for future
reference.
For assistance, visit our Web site: http://www.panasonic.com/help
for customers in the U.S.A. or Puerto Rico.
Printed in China
PNQX6063ZA
TT0913MG0 (E)
2
1
3
2
1
Installation
Accessory information
Supplied accessories
Accessory item/Order number Quantity
*1
Charger
AC adaptor/PNLV233Z 1
Rechargeable batteries/HHR-4DPA 2
Handset cover
*1 KX-PRSA10: PNLC1047ZW
KX-PRWA10: PNLC1046ZW
*2 The handset cover comes attached to the handset.
*3 KX-PRSA10: PNYNPRSA10WR
KX-PRWA10: PNYNPRWA10WR
Note:
R Please read the base unit’s operating instructions for additional/replacement
accessories.
*2, *3
1
1
Setting up
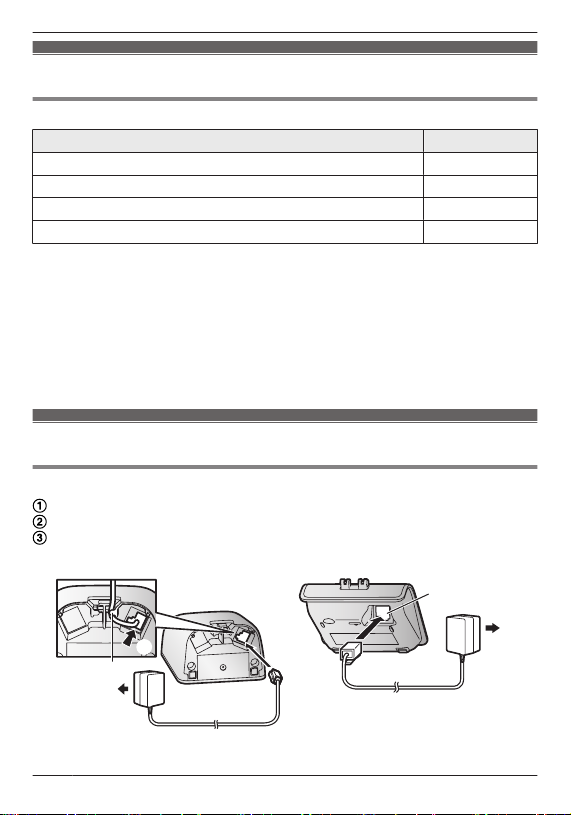
Connections
Connect the AC adaptor plug to the unit until you hear a click.
Connect the AC adaptor to the power outlet.
KX-PRSA10: Fasten the cord by hooking it.
n KX-PRSA10 n KX-PRWA10
For assistance, please visit http://www.panasonic.com/help
2
1
2
2
1
1
2
Installation
Note:
R Use only the supplied Panasonic AC adaptor PNLV233.
R The AC adaptor must remain connected at all times. (It is normal for the adaptor
to feel warm during use.)
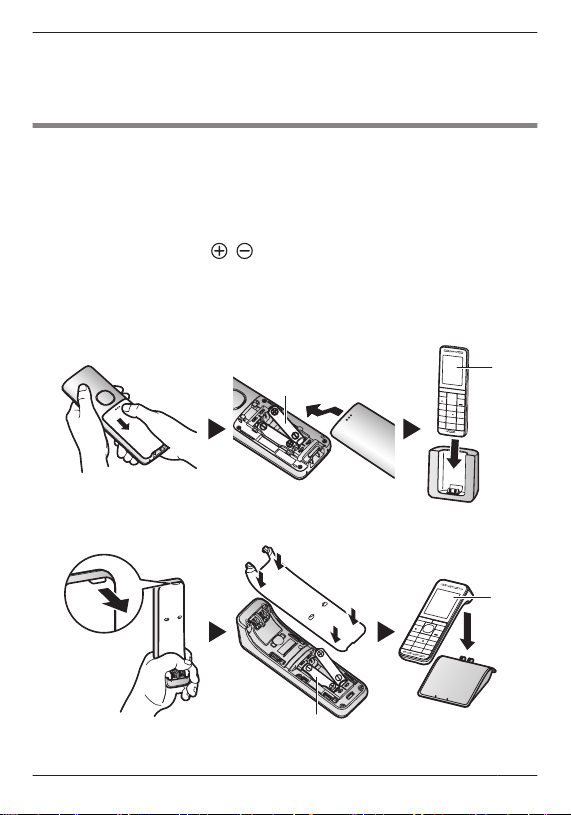
Battery installation/Battery charging
Important:
R Use the supplied rechargeable batteries. For replacement, we recommend using
the Panasonic rechargeable batteries noted on page 2.
R USE ONLY rechargeable Ni-MH batteries AAA (R03) size (
R Do NOT use Alkaline/Manganese/Ni-Cd batteries.
R Confirm correct polarities (
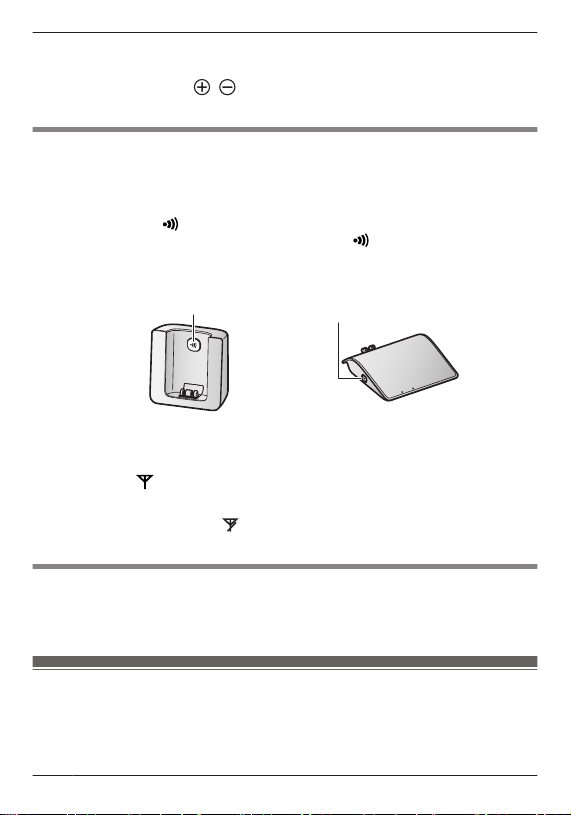
Charge for about 7 hours.
R Confirm “Charging” is displayed (
R When the batteries are fully charged, “Fully charged” is displayed.
n KX-PRSA10
n KX-PRWA10
, ).
).
).
For assistance, please visit http://www.panasonic.com/help
3
{x}
{x}
Installation
Note:
R If the batteries are fully charged, but the operating time seems to be shorter,
clean the battery ends (
charge again.
, ) and the charge contacts with a dry cloth and
Registering a handset to a base unit
1 Handset:
Lift the handset and press MOFFN.
2 Base unit:
Press and hold M
R If all registered handsets start ringing, press M
this step.
N for about 5 seconds.
N again to stop, then repeat
n KX-PRSA10 n KX-PRWA10
3 Handset:
Place the handset on the base unit or charger, then wait until a long beep
sounds and
Note:
R If an error tone sounds, or if
the base unit’s operating instructions.
is displayed.
is displayed, register the handset according to
Display language
1 MMenuN (right soft key) #110
2 MbN: Select the desired setting. a MSaveN a MOFFN
For your safety
To prevent severe injury and loss of life/property, read this section carefully before
using the product to ensure proper and safe operation of your product.
For assistance, please visit http://www.panasonic.com/help
4
 Loading...