

Panasonic HDC-TM55P, HDC-TM60P, HDC-HS60P, HDC-SD60P, HDC-SD60PC Operating Instructions Manual
...
Panasonic
Operating Instructions
High Definition Video Camera
_o_e,.o.HDC-SD60P/PC
HDC-TM55P/PC
HDC-TM60P/PC
HDC-HS60P/PC
Before connecting, operating or adjusting this product, please read the instructions completely.
Spanish Quick Use Guide is included.
Guia para rapida consulta en espaSol esta incluida.
AVCHD TM
m DOLBY _,_'_
DIG|TAL ] _C
STEREO CREATOR
H N'I| V! rAL,ir_kTM
VQT2M51
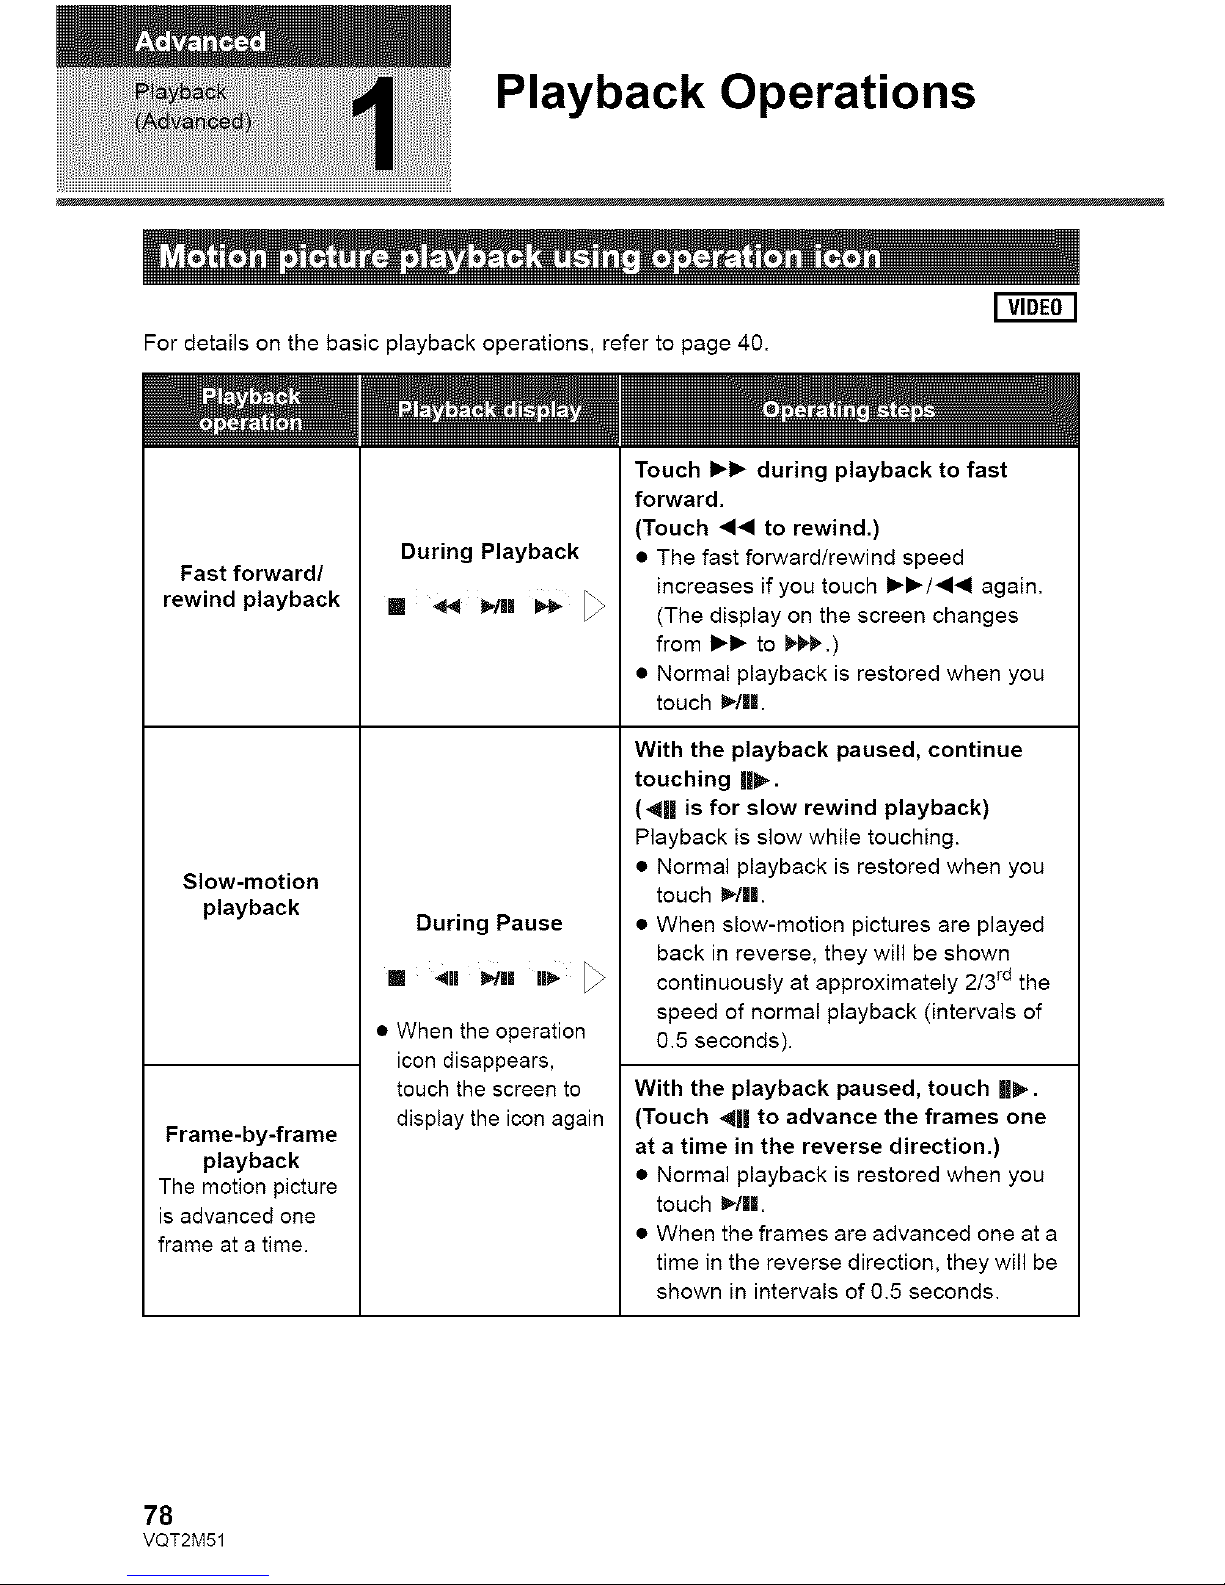
Playback Operations
For details on the basic playback operations, refer to page 40.
Fast forward/
rewind playback
Slow-motion
playback
Frame-by-frame
playback
The motion picture
is advanced one
frame at a time.
During Playback
During Pause
• When the operation
icon disappears,
touch the screen to
display the icon again
Touch I_1_ during playback to fast
forward.
(Touch << to rewind.)
• The fast forward/rewind speed
increases if you touch 1_1_/,_1 again.
(The display on the screen changes
from I_1_ to _¢,.)
• Normal playback is restored when you
touch D,-/lll.
With the playback paused, continue
touching ||1_.
(_1| is for slow rewind playback)
Playback is slow while touching.
• Normal playback is restored when you
touch _/H.
• When slow-motion pictures are played
back in reverse, they will be shown
continuously at approximately 2/3 rd the
speed of normal playback (intervals of
0.5 seconds).
With the playback paused, touch |11_.
(Touch _|i to advance the frames one
at a time in the reverse direction.)
• Normal playback is restored when you
touch _/ll.
• When the frames are advanced one at a
time in the reverse direction, they will be
shown in intervals of 0.5 seconds.
78
VQT2M51
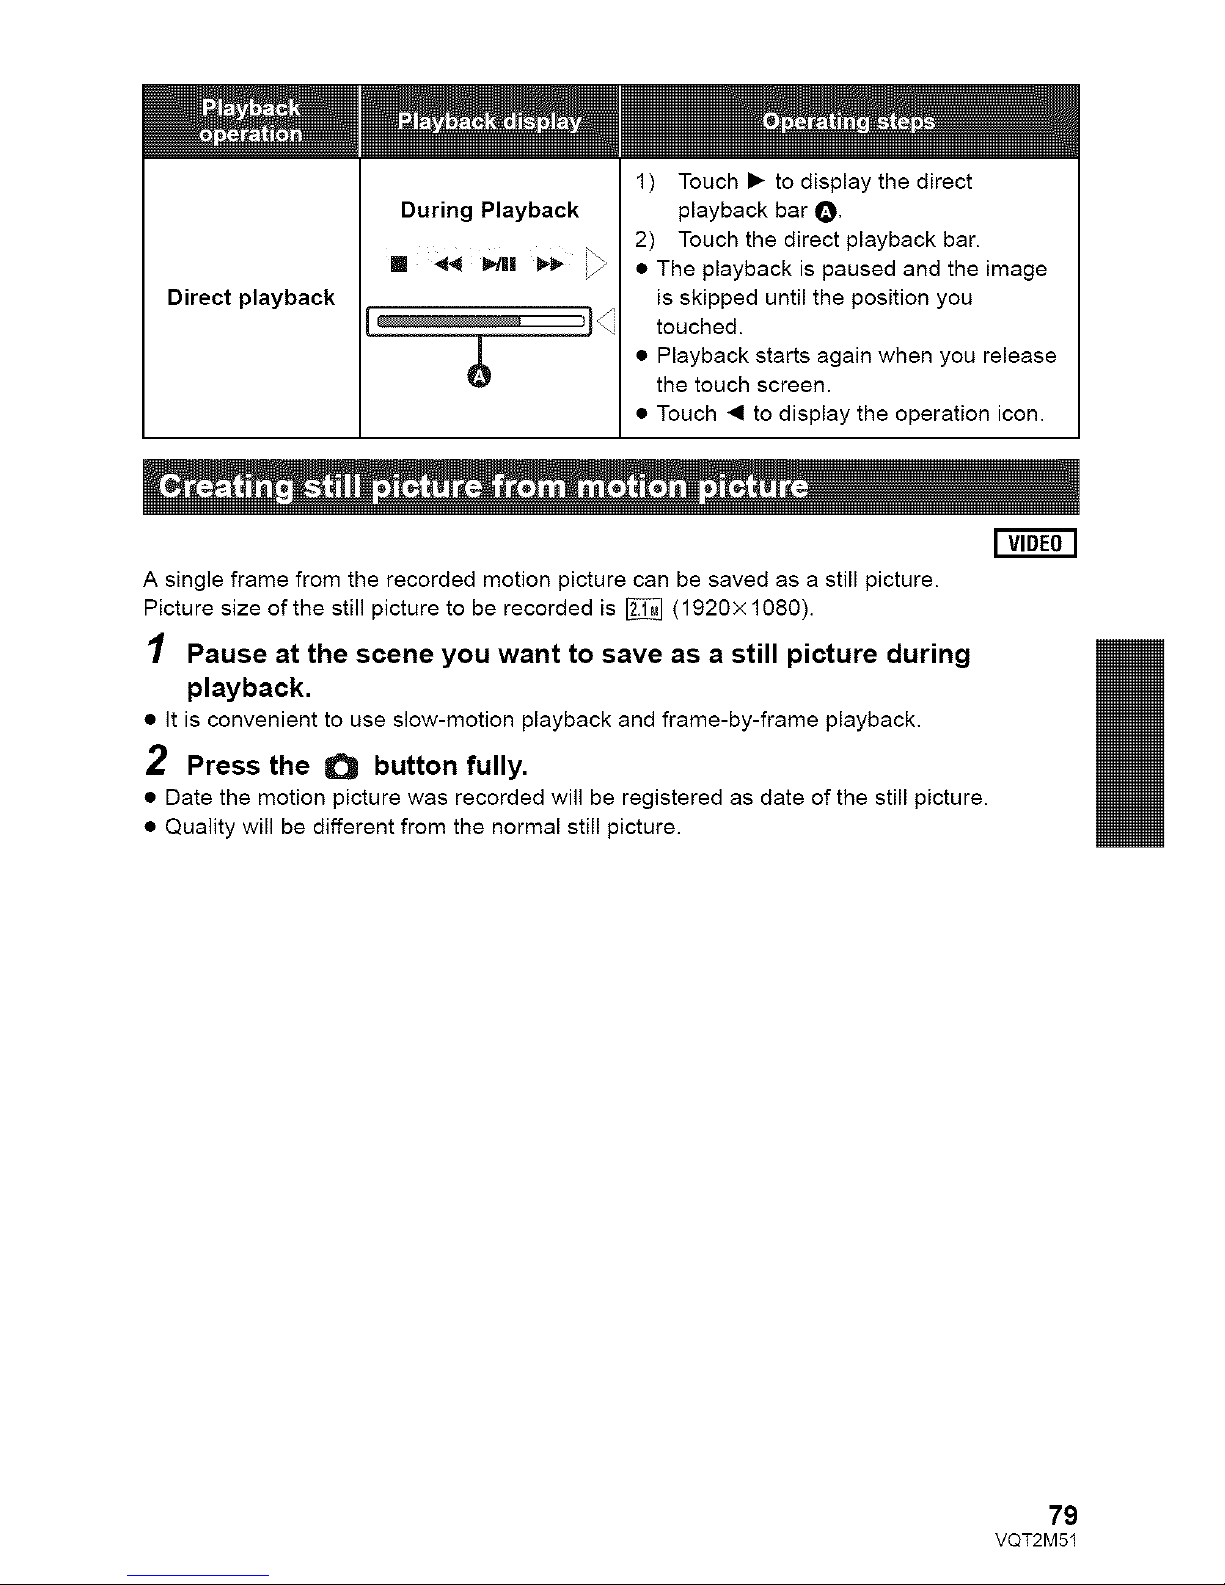
Direct playback
During Playback
[] *_4 ¸ _/|| _i_
1) Touch • to display the direct
playback bar O.
2) Touch the direct playback bar.
• The playback is paused and the image
is skipped until the position you
touched.
• Playback starts again when you release
the touch screen.
• Touch _1 to display the operation icon.
A single frame from the recorded motion picture can be saved as a still picture.
Picture size of the still picture to be recorded is _ (1920x 1080).
1 Pause at the scene you want to save as a still picture during
playback.
• It is convenient to use slow-motion playback and frame-by-frame playback.
2 Press the I_ button fully.
• Date the motion picture was recorded will be registered as date of the still picture.
• Quality will be different from the normal still picture.
79
VQT2M51
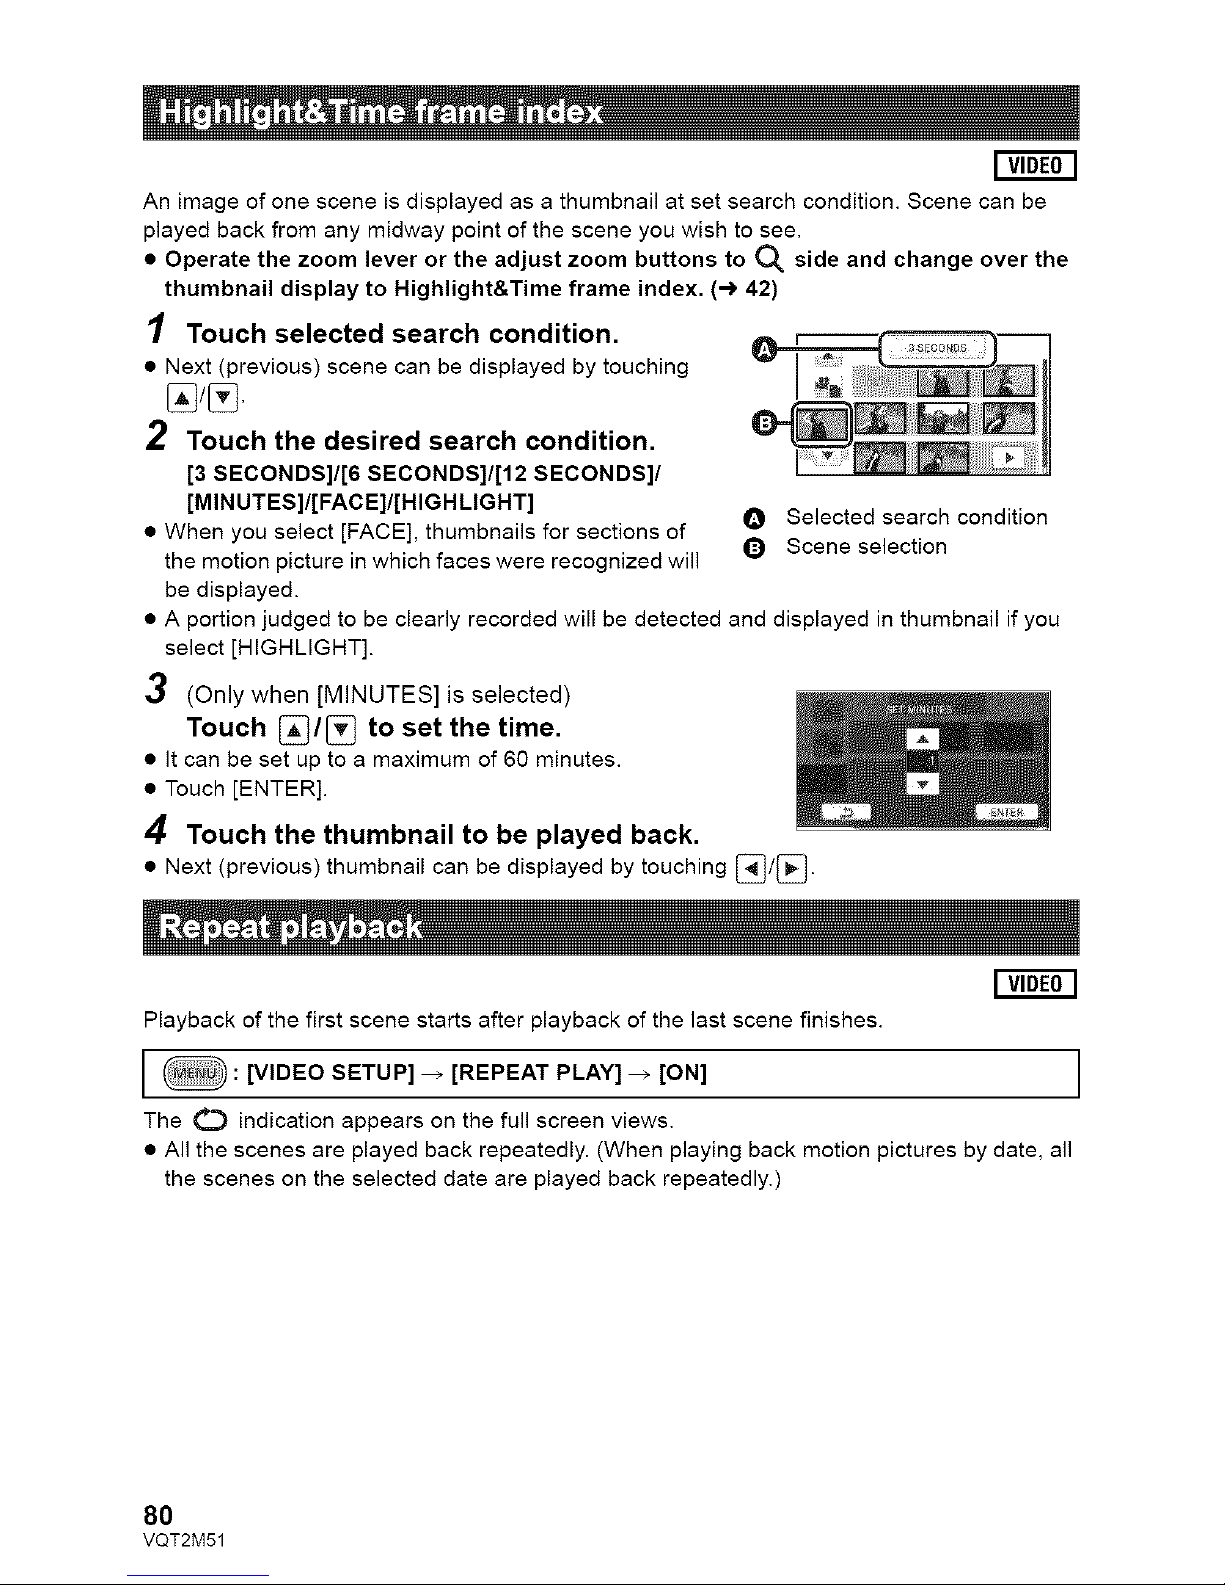
Animageofonesceneisdisplayedasathumbnailatsetsearchcondition.Scenecanbe
playedbackfromanymidwaypointofthesceneyouwishtosee.
• OperatethezoomleverortheadjustzoombuttonstoO_sideandchangeoverthe
thumbnaildisplaytoHighlight&Timeframeindex.(-)42)
/ Touch selected search condition.
• Next (previous) scene can be displayed by touching
2 Touch the desired search condition.
[3 SECONDS]I[6 SECONDS]I[12 SECONDS]/
[MINUTES]/[FACE]/[HIGHLIGHT] O Selected search condition
• When you select [FACE], thumbnails for sections of
the motion picture in which faces were recognized will Q Scene selection
be displayed.
• A portion judged to be clearly recorded will be detected and displayed in thumbnail if you
select [HIGHLIGHT].
3 (Only when [MINUTES] is selected)
Touch _]/_ to set the time.
• It can be set up to a maximum of 60 minutes.
• Touch [ENTER].
4 Touch the thumbnail to be played back.
• Next (previous) thumbnail can be displayed by touching [_/_.
Playback of the first scene starts after playback of the last scene finishes.
: [VIDEO SETUP] _ [REPEAT PLAY] _ [ON] I
i
The O indication appears on the full screen views.
• All the scenes are played back repeatedly. (When playing back motion pictures by date, all
the scenes on the selected date are played back repeatedly.)
8O
VQT2M51
Ifplaybackofascenewasstoppedhalfway,theplaybackcanberesumedfromwhereitwas
stopped.
: [VIDEO SETUP] _ [RESUME PLAY] _ [ON] I
If playback of a motion picture is stopped, He appears on the thumbnail view of the stopped
scene.
• The memorized resume position is cleared if you turn off the power or change the mode.
(The setting of [RESUME PLAY] does not change.)
You can zoom in by touching a still picture during playback.
1 Touch the part you wish to zoom in on during still picture playback.
• The still picture is zoomed in on, centering on the part you touched. With each touch, you
zoom in further. (xl _ x2_ x4)
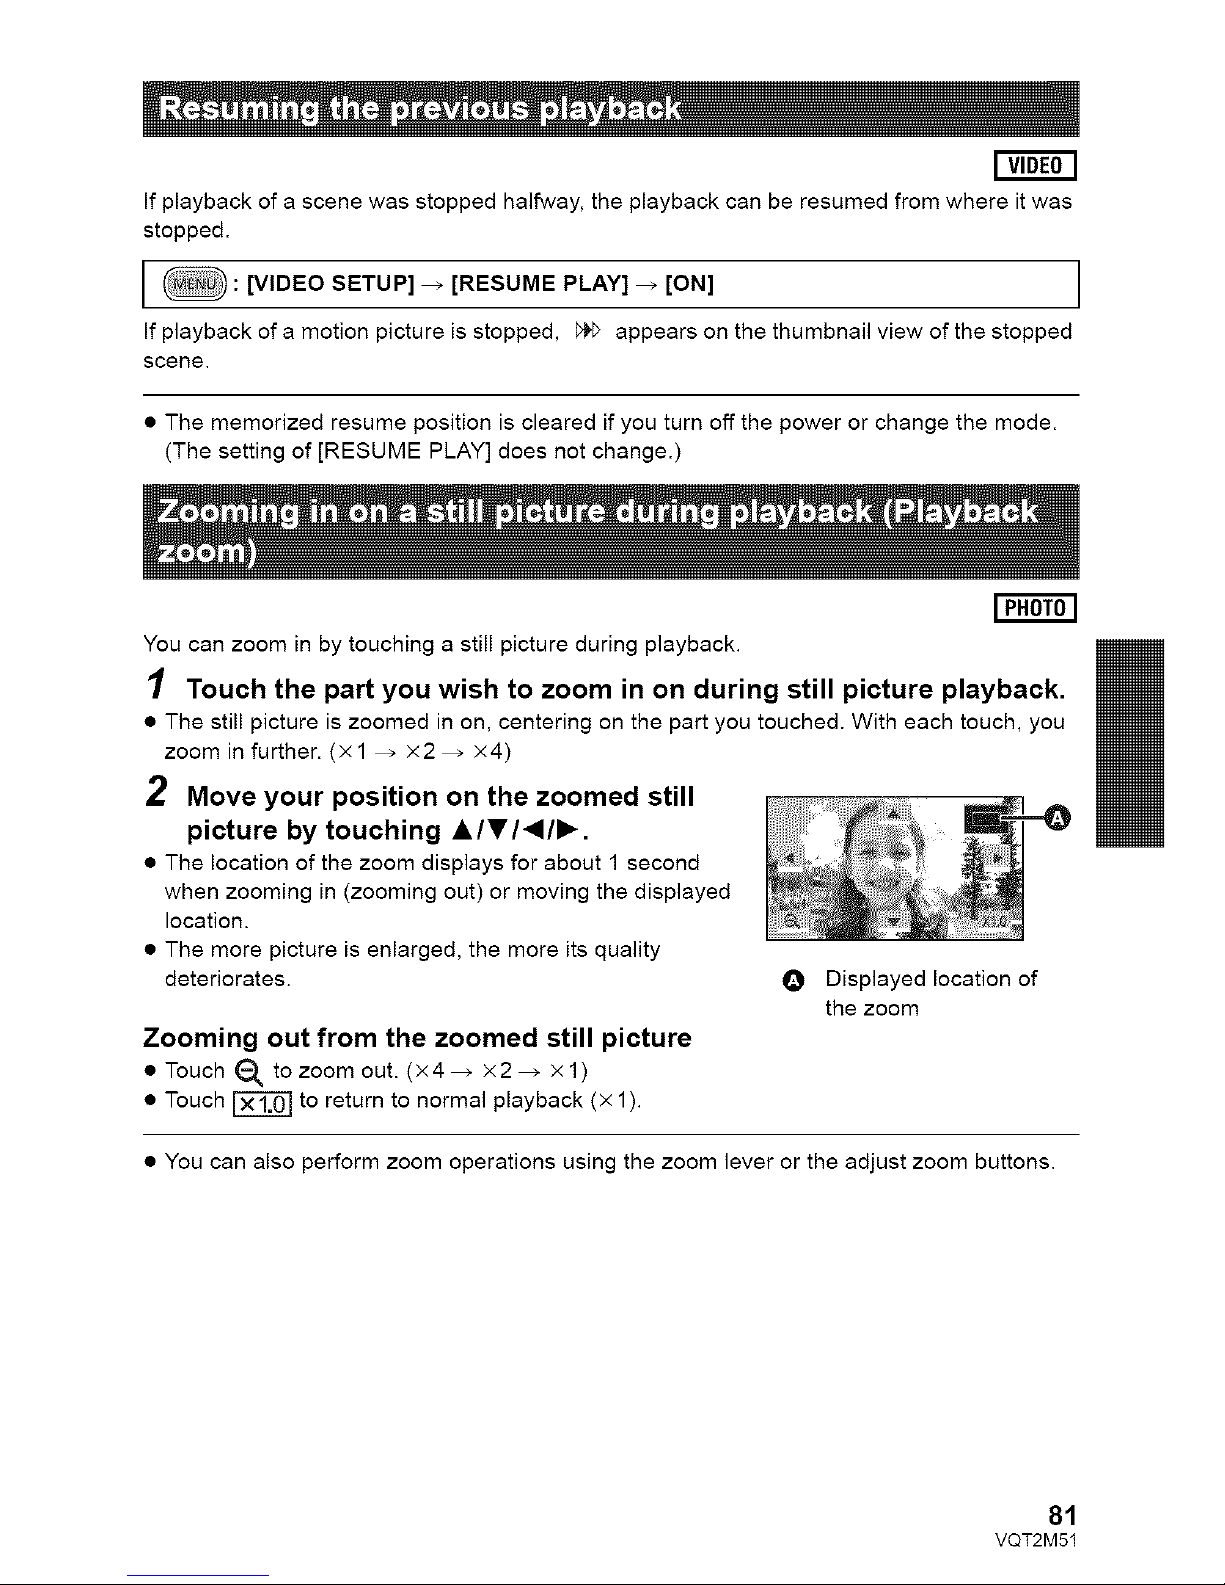
2 Move your position on the zoomed still
picture by touching A/I'/_I/I_.
• The location of the zoom displays for about 1 second
when zooming in (zooming out) or moving the displayed
location.
• The more picture is enlarged, the more its quality
deteriorates.
Zooming out from the zoomed still picture
• Touch _ to zoom out. (x4_ x2_ xl)
• Touch _ to return to normal playback (x 1).
O Displayed location of
the zoom
• You can also perform zoom operations using the zoom lever or the adjust zoom buttons.
81
VQT2M51
Various playback
functions
I VIDEOIIPHOTOI
The scenes or the still pictures recorded on the same day can be played back in succession.
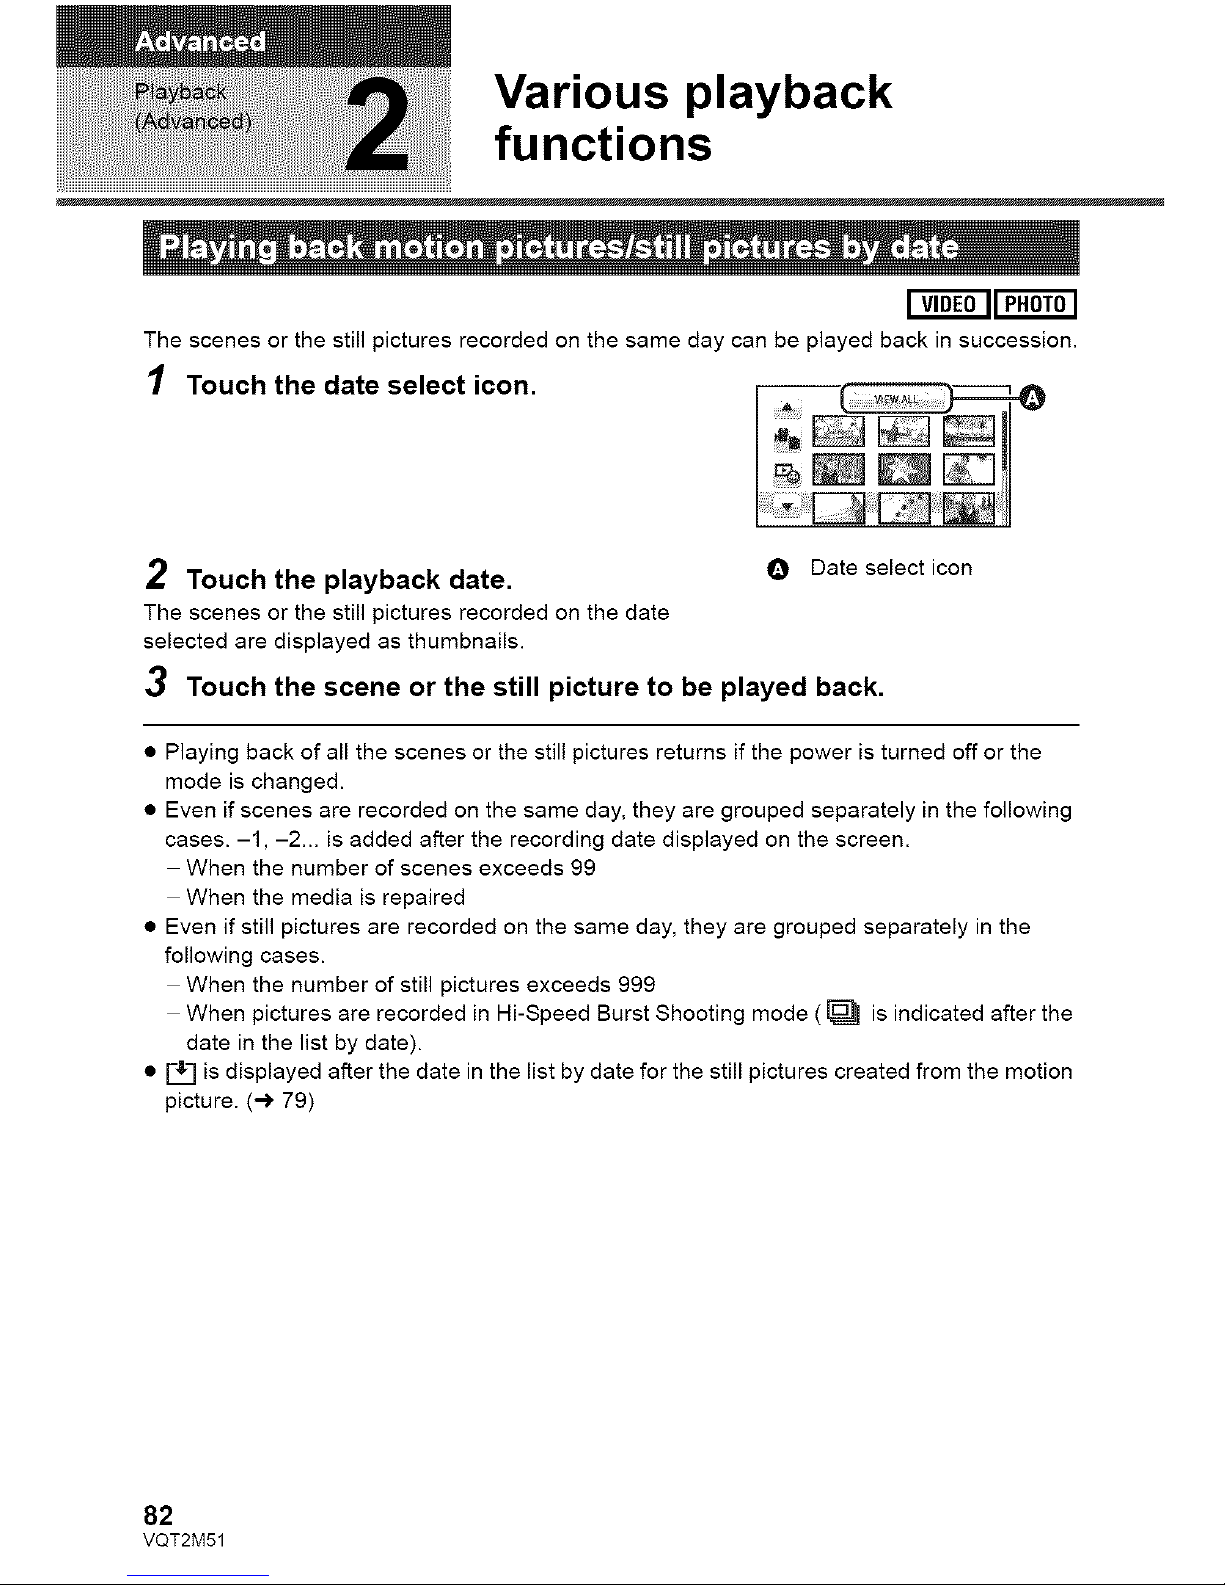
/ Touch the date select icon.
2 Touch the playback date. @ Date select icon
The scenes or the still pictures recorded on the date
selected are displayed as thumbnails.
3 Touch the scene or the still picture to be played back.
• Playing back of all the scenes or the still pictures returns if the power is turned off or the
mode is changed.
• Even if scenes are recorded on the same day, they are grouped separately in the following
cases. -1, -2... is added after the recording date displayed on the screen.
When the number of scenes exceeds 99
When the media is repaired
• Even if still pictures are recorded on the same day, they are grouped separately in the
following cases.
When the number of still pictures exceeds 999
When pictures are recorded in Hi-Speed Burst Shooting mode ( [_ is indicated after the
date in the list by date).
• _ is displayed after the date in the list by date for the still pictures created from the motion
picture. (-) 79)
82
VQT2M51
Apartcanbeextractedandplayedbackevenwhennotsettonormalplayback.
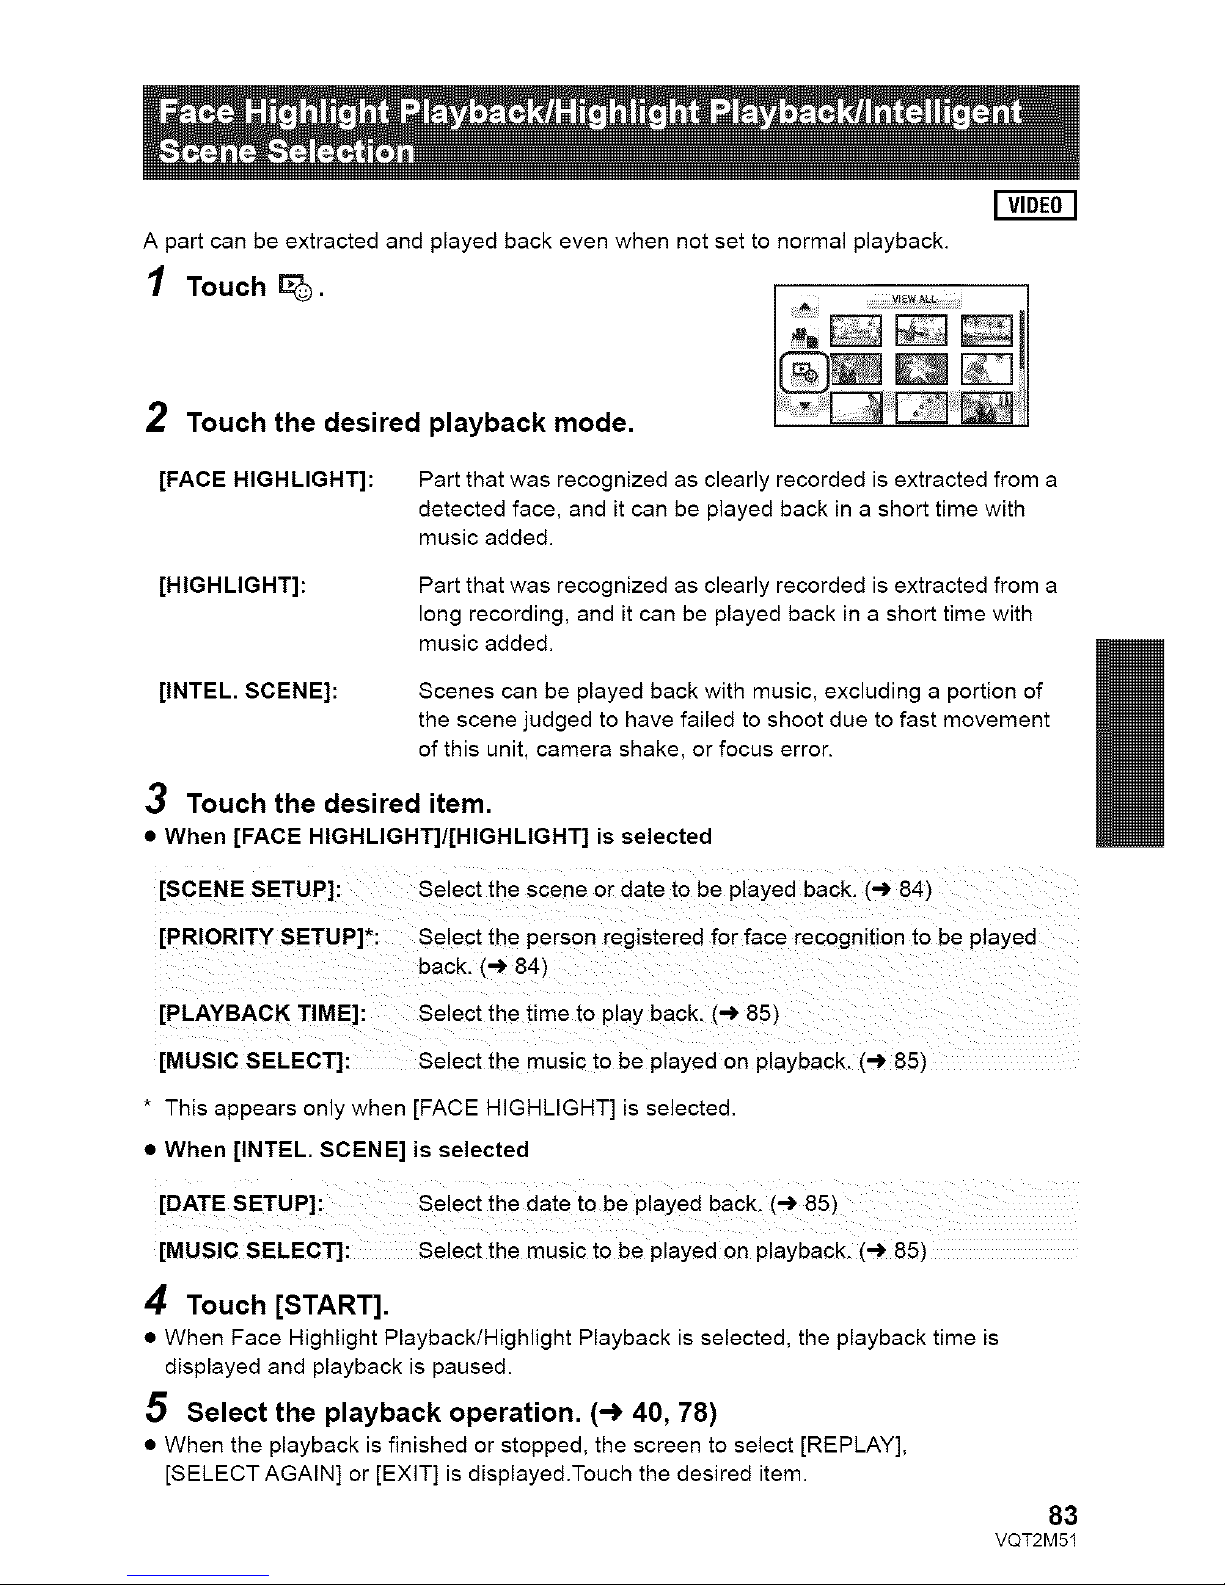
1 Touch E_. ..............................
2
[FACE HIGHLIGHT]:
Touch the desired playback mode.
[HIGHLIGHT]:
[INTEL. SCENE]:
Part that was recognized as clearly recorded is extracted from a
detected face, and it can be played back in a short time with
music added.
Part that was recognized as clearly recorded is extracted from a
long recording, and it can be played back in a short time with
music added.
Scenes can be played back with music, excluding a portion of
the scene judged to have failed to shoot due to fast movement
of this unit, camera shake, or focus error.
•.I Touch the desired item.
• When [FACE HIGHLIGHT]/[HIGHLIGHT] is selected
[PRIORITy SETUP]*: Select the person registered for face recognition to be played
back. (-) 84)
[PLAYBACK "r ME]: Select the time to play back. (-)85)
[MUSIC SELECT]: Select the music to be played on playback. (--)85)
* This appears only when [FACE HIGHLIGHT] is selected.
• When [INTEL. SCENE] is selected
[DATE SETUP]: select the date t0 be p!aYed backl (_85)
[MUSIC SELECT]: Select the music to be played on playback. (--)85)
4 Touch [START].
• When Face Highlight Playback/Highlight Playback is selected, the playback time is
displayed and playback is paused.
5 Select the playback operation. (HI, 40, 78)
• When the playback is finished or stopped, the screen to select [REPLAY],
[SELECTAGAIN] or [EXIT] is displayed.Touch the desired item.
83
VQT2M51
• Playingbackofallthescenesreturnsifthepoweristurnedofforthemodeischanged.
(intelligentsceneselection)
• Upto9sectionscanbeskippedforasinglescene.
• Whenmotionpicturesareskipped,theimagestopsmomentarily.
• Dividedscenewillnotbeskipped.
• FordatathatareeditedwiththeeditingfunctionofHDWriterAE2.0,theIntelligentscene
selectionisdisabled.
• Scene setting
1 Touch [SELECT SCENES] or [SELECT DATE].
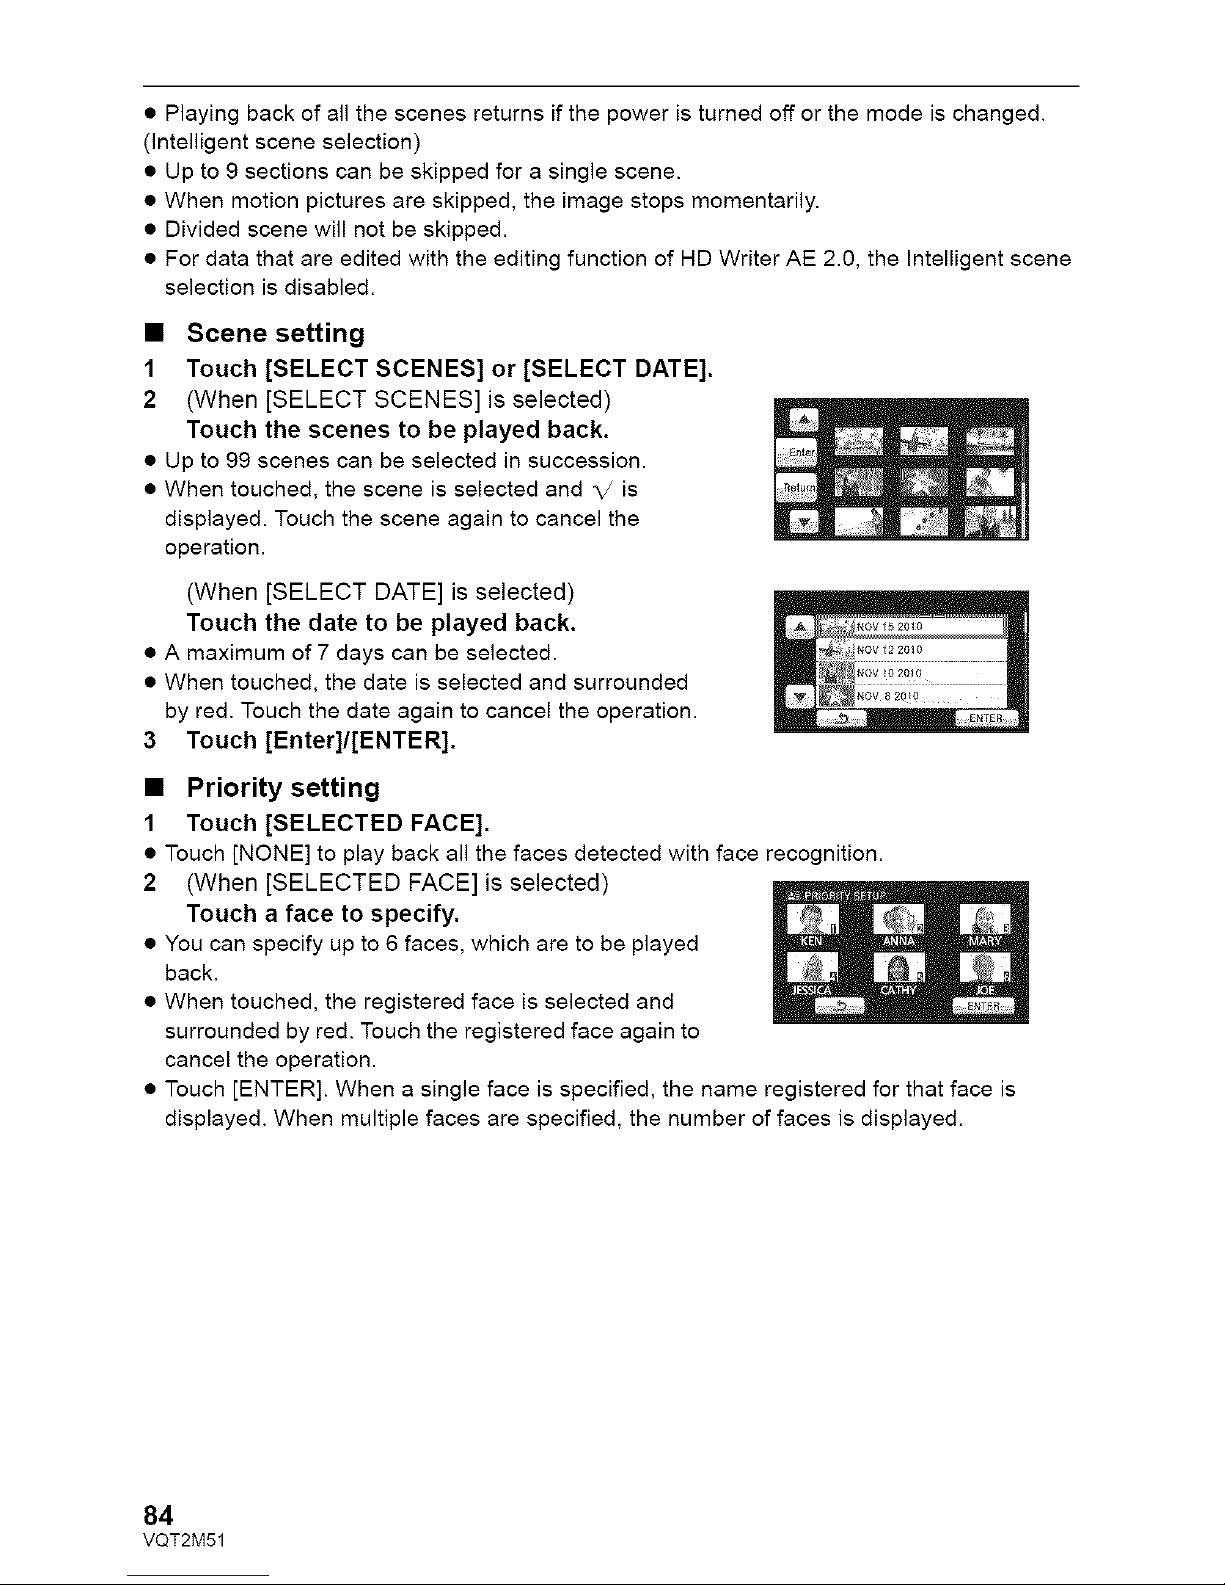
2 (When [SELECT SCENES] is selected)
Touch the scenes to be played back.
• Up to 99 scenes can be selected in succession.
• When touched, the scene is selected and _/ is
displayed. Touch the scene again to cancel the
operation.
(When [SELECT DATE] is selected)
Touch the date to be played back.
• A maximum of 7 days can be selected.
• When touched, the date is selected and surrounded
by red. Touch the date again to cancel the operation.
3 Touch [Enter]/[ENTER].
• Priority setting
1 Touch [SELECTED FACE].
• Touch [NONE] to play back all the faces detected with face recognition.
2 (When [SELECTED FACE] is selected)
Touch a face to specify.
• You can specify up to 6 faces, which are to be played
back.
• When touched, the registered face is selected and
surrounded by red. Touch the registered face again to
cancel the operation.
• Touch [ENTER]. When a single face is specified, the name registered for that face is
displayed. When multiple faces are specified, the number of faces is displayed.
84
VQT2M51
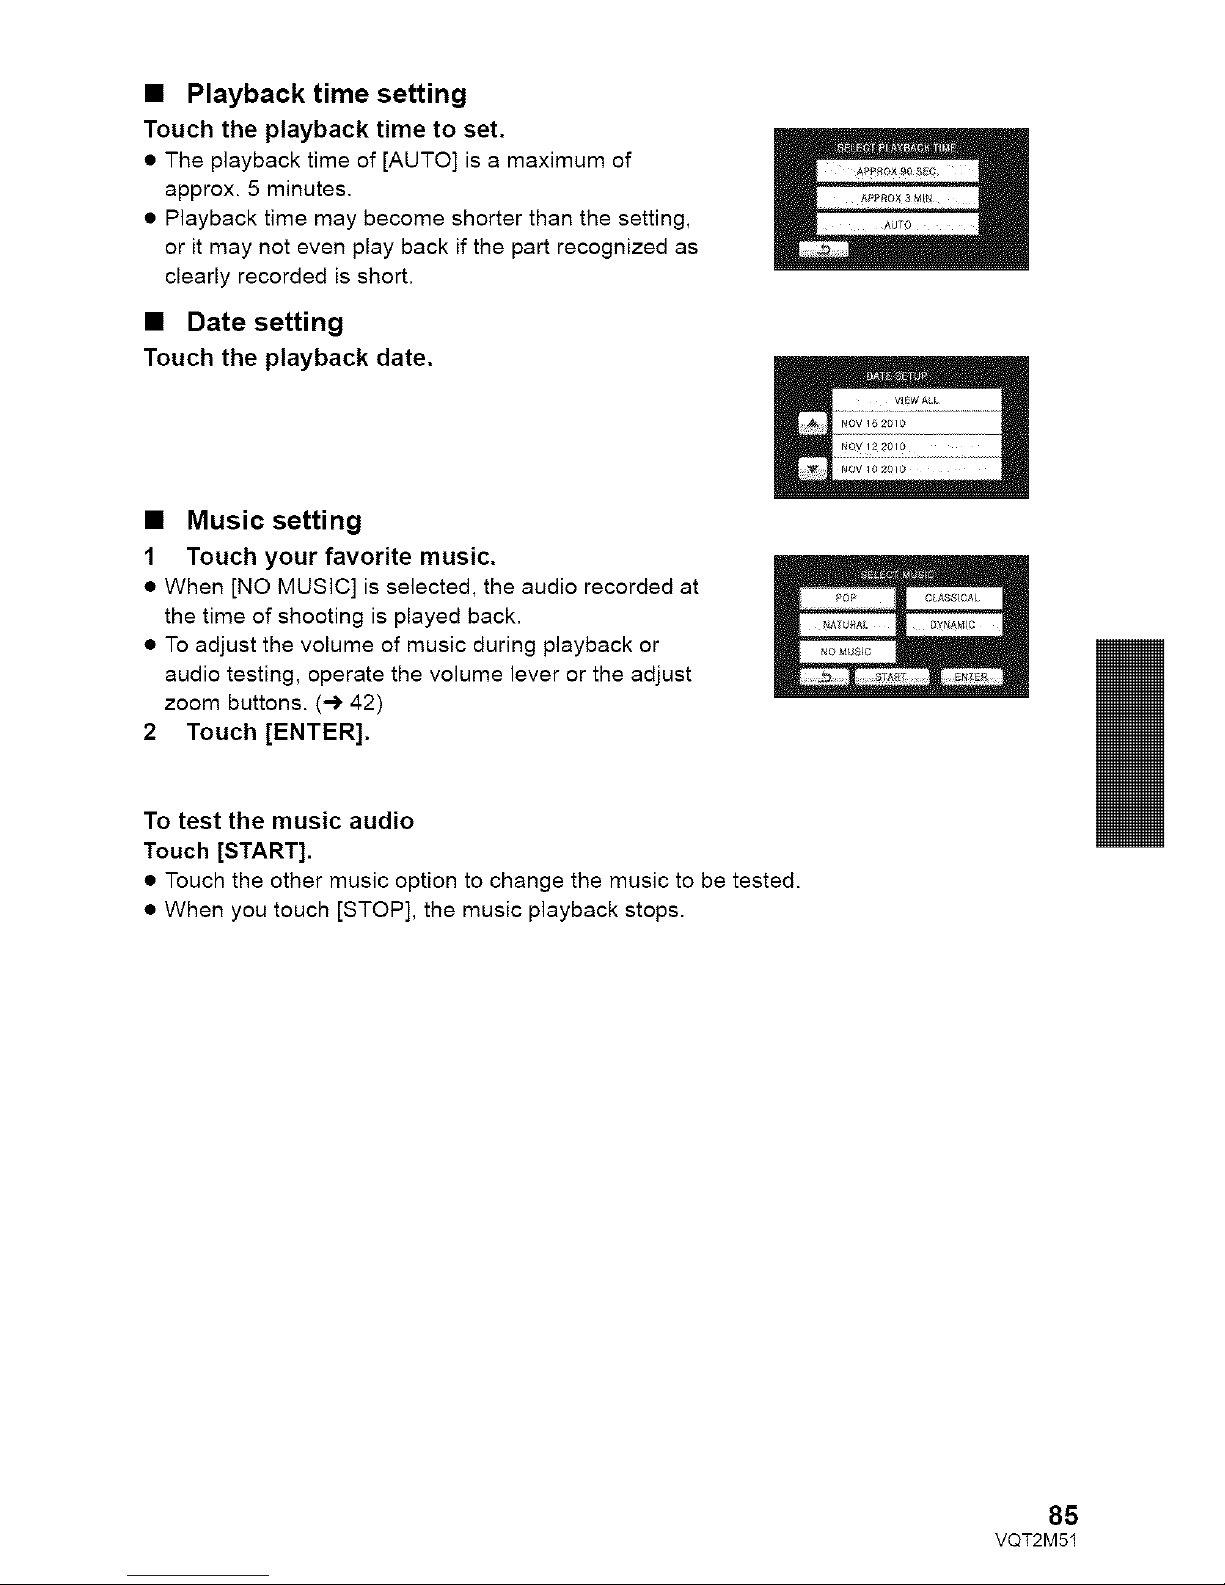
• Playback time setting
Touch the playback time to set.
• The playback time of [AUTO] is a maximum of
approx. 5 minutes.
• Playback time may become shorter than the setting,
or it may not even play back if the part recognized as
clearly recorded is short.
• Date setting
Touch the playback date.
• Music setting
1 Touch your favorite music.
• When [NO MUSIC] is selected, the audio recorded at
the time of shooting is played back.
• To adjust the volume of music during playback or
audio testing, operate the volume lever or the adjust
zoom buttons. (_ 42)
2 Touch [ENTER].
To test the music audio
Touch [START].
• Touch the other music option to change the music to be tested.
• When you touch [STOP], the music playback stops.
85
VQT2M51
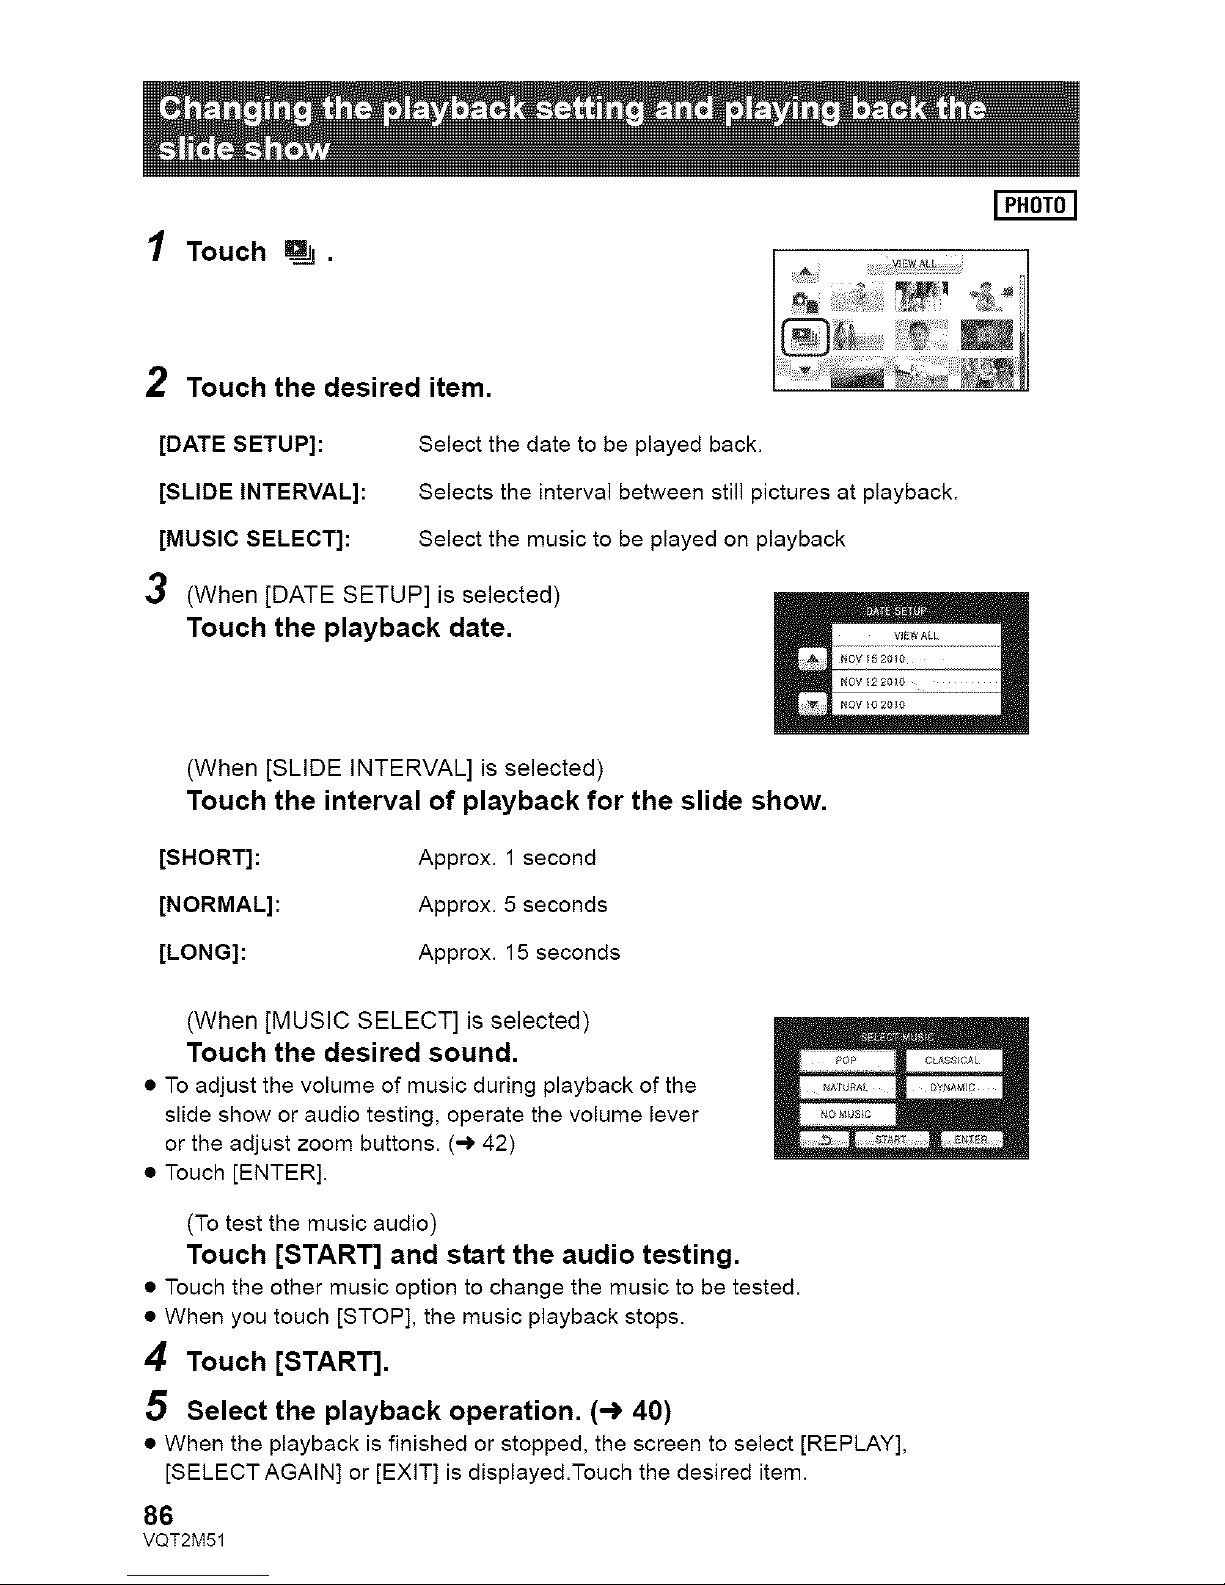
1 Touch _.
2 Touch the desired item.
[DATE SETUP]: Select the date to be played back.
[SLIDE INTERVAL]: Selects the interval between still pictures at playback.
[MUSIC SELECT]: Select the music to be played on playback
3 (When [DATE SETUP] is selected)
Touch the playback date.
(When [SLIDE INTERVAL] is selected)
Touch the interval of playback for the slide show.
[SHORT]: Approx. 1second
[NORMAL]: Approx. 5 seconds
[LONG]: Approx. 15 seconds
(When [MUSIC SELECT] is selected)
Touch the desired sound.
• To adjust the volume of music during playback of the
slide show or audio testing, operate the volume lever
or the adjust zoom buttons. (,_ 42)
• Touch [ENTER].
(To test the music audio)
Touch [START] and start the audio testing.
• Touch the other music option to change the music to be tested.
• When you touch [STOP], the music playback stops.
4 Touch [START].
5 Select the playback operation. (-) 40)
• When the playback is finished or stopped, the screen to select [REPLAY],
[SELECTAGAIN] or [EXIT] is displayed.Touch the desired item.
86
VQT2M51
Deleting scenes/still
pictures
I VIDEOIIPHOTOI
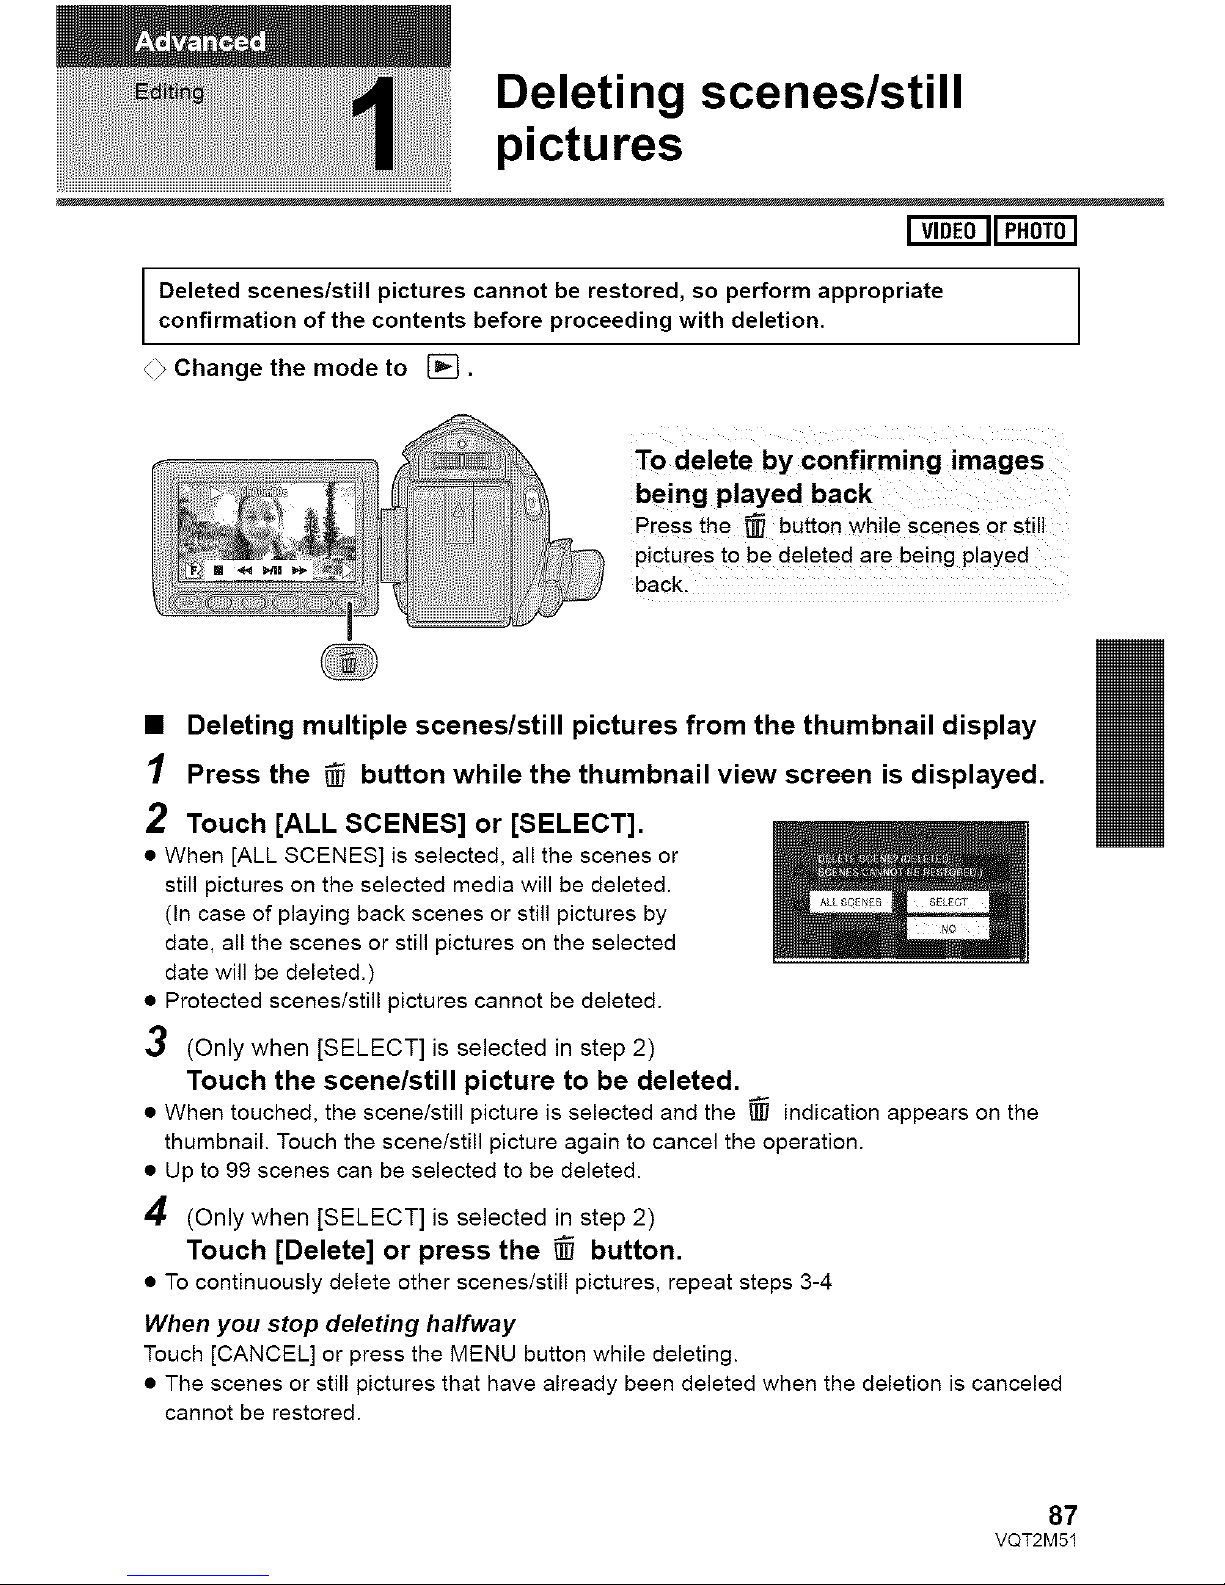
Deleted scenes/still pictures cannot be restored, so perform appropriate
confirmation of the contents before proceeding with deletion.
_ Change the mode to _.
To delete by confirming images
being played back
Press the _ button whi!e scenes or still
pictures to be deleted are being played
back.
• Deleting multiple scenes/still pictures from the thumbnail display
1 Press the _ button while the thumbnail view screen is displayed.
2 Touch [ALL SCENES] or [SELECT].
• When [ALL SCENES] is selected, all the scenes or
still pictures on the selected media will be deleted.
(In case of playing back scenes or still pictures by
date, all the scenes or still pictures on the selected
date will be deleted.)
• Protected scenes/still pictures cannot be deleted.
3 (Only when [SELECT] is selected in step 2)
Touch the scene/still picture to be deleted.
• When touched, the scene/still picture is selected and the _ indication appears on the
thumbnail. Touch the scene/still picture again to cancel the operation.
• Up to 99 scenes can be selected to be deleted.
4 (Only when [SELECT] is selected in step 2)
Touch [Delete] or press the _ button.
• To continuously delete other scenes/still pictures, repeat steps 3-4
When you stop deleting halfway
Touch [CANCEL] or press the MENU button while deleting.
• The scenes or still pictures that have already been deleted when the deletion is canceled
cannot be restored.
87
VQT2M51
To complete editing
Press the MENU button.
• You can also delete scenes by pressing the MENU button, selecting [EDIT SCENE]
[DELETE] _ [ALL SCENES] or [SELECT].
• You can also delete still pictures by pressing the MENU button, selecting [PICT. SETUP]
[DELETE] _ [ALL SCENES] or [SELECT].
• During Face Highlight Playback, Highlight Playback, intelligent Scene Selection, or Disc
Playback when connected to a DVD burner (optional), scenes/still pictures cannot be
deleted.
• Scenes/still pictures which cannot be played back (the thumbnails are displayed as r-_)
cannot be deleted.
• In case of [ALL SCENES], the deletion may take time if there are many scenes or still
pictures.
• If you delete scenes recorded on other products or still pictures conforming to DCF
standard with this unit, all the data related to the scenes/still pictures may be deleted.
• When still pictures recorded on an SD card by other products are deleted, a still picture
(other than JPEG) that cannot be played back on this unit may be erased.
To delete an unnecessary portion of a scene, first divide the scene and then delete the
unnecessary portion.
• Change the mode to [] and touch the Play mode select icon to select desired
media to divide a scene. (-_ 40).
/ Select the menu.
: [EDIT SCENE] _ [DIVIDE] _ [SET]
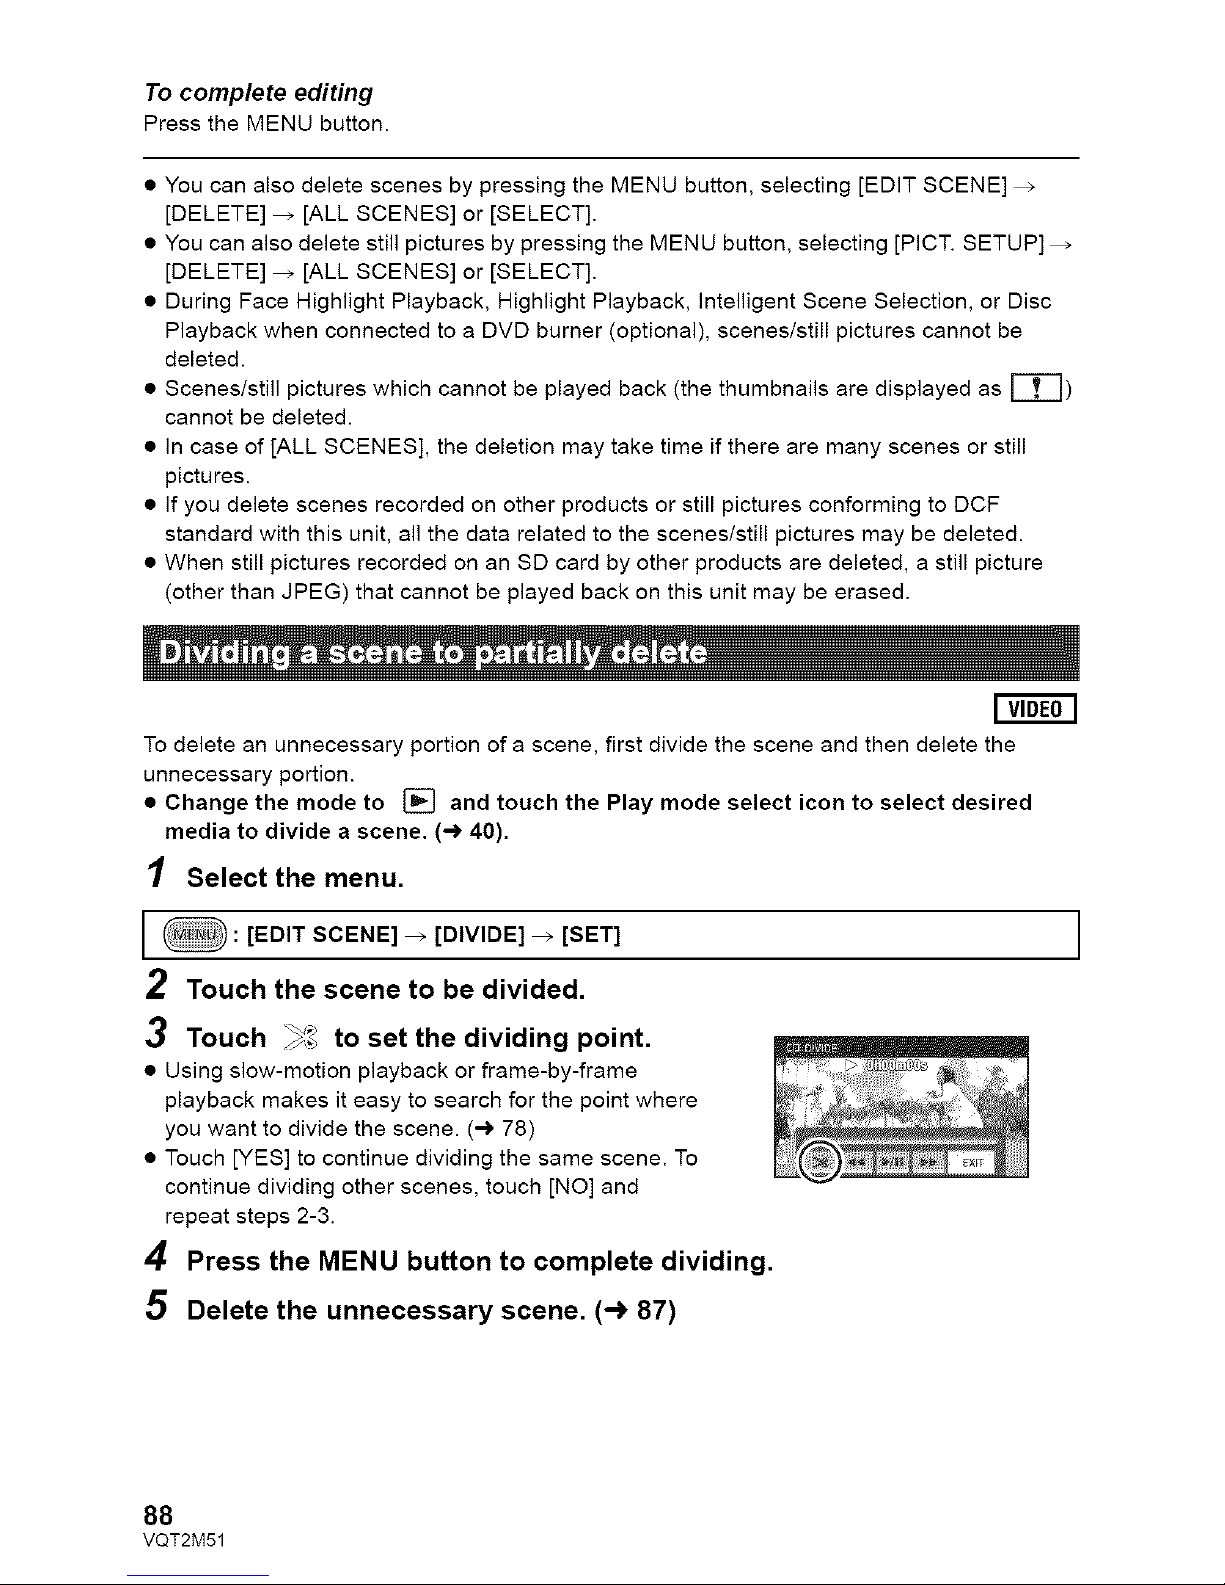
2 Touch the scene to be divided.
3 Touch _'_,_to set the dividing point.
• Using slow-motion playback or frame-by-frame
playback makes it easy to search for the point where
you want to divide the scene. (-) 78)
• Touch [YES] to continue dividing the same scene. To
continue dividing other scenes, touch [NO] and
repeat steps 2-3.
4 Press the MENU button to complete dividing.
5 Delete the unnecessary scene. (-_ 87)
I
88
VQT2M51
To delete all the divided points
[DIVIDE] _ [CANCEL ALL]
• The scenes that were deleted after division cannot be recovered.
• You cannot divide a scene if you are playing back a disc with a DVD burner (optional)
connected, or if the number of scenes of a given date would exceed 99 scenes.
• It may not be possible to divide scenes with a short recording time.
• Data that has been recorded or edited on another device cannot be divided and the divided
points cannot be deleted.
• If personal information in the divided scenes is deleted, the personal information is deleted
when the divided scenes are canceled.
I
Deletes face recognition information from scenes in which faces were recognized.
• Change the mode to [_.
1 Select the menu.
: [VIDEO SETUP] _ [DELETE PERSONAL INFO]
2 Touch the desired scenes with personal information to be deleted.
• _ appears at scenes for which faces were recognized. Touch one of the scenes where
_ appears.
• _ will change to _(red) when touched. Touch the _(red) again to cancel the
operation.
• Up to 99 scenes can be selected in succession.
3 Touch [Delete].
• To continuously delete other personal information, repeat steps 2-3.
• Press the MENU button to complete the settings.
I
When you stop deleting halfway
Touch [CANCEL] or press the MENU button while deleting personal information.
• The personal information that has already been deleted when the deletion is canceled cannot be
restored.
• During Face Highlight Playback, Highlight Playback, intelligent Scene Selection, or Disc
Playback when connected to a DVD burner (optional), scenes/still pictures cannot be
deleted.
89
VQT2M51
I VIDEOIIPHOTOi
Scenes/still pictures can be protected so that they are not deleted by mistake.
(Even if you protect some scenes/still pictures, formatting the media will delete them.
• Change the mode to [].
1 Select the menu.
: [VIDEO SETUP] or [PICT. SETUP] _ [SCENE PROTECT]
2 Touch the scene/still picture to be protected.
• When touched, the scene/still picture is selected and the O_ indication appears on the
thumbnail. Touch the scene/still picture again to cancel the operation.
• Press the MENU button to complete the settings.
• When the disc playback is selected while a DVD burner (optional) is connected, scenes/
still pictures cannot be protected.
90
VQT2M51
DPOF setting
You can write the data selecting still pictures to be printed and the number of prints (DPOF
data) onto the SD card. (Copy still pictures recorded to the built-in memory or HDD to the SD
card before setting DPOF.)
_} Change the mode to [_ and touch the play mode select icon to select
[PICTURE/SO CARD]. (-) 40)
• What is DPOF?
DPOF (Digital Print Order Format) is a format which allows the user of a digital camera to
define which captured images on the SD card are to be printed, together with information on
the number of copies they wish to print. (Please note: Not all commercial printing services
support this feature at this time.)
1 Select the menu.
: [PICT. SETUP] _ [DPOF SET] _ [SET]
2 Touch the still picture to be set.
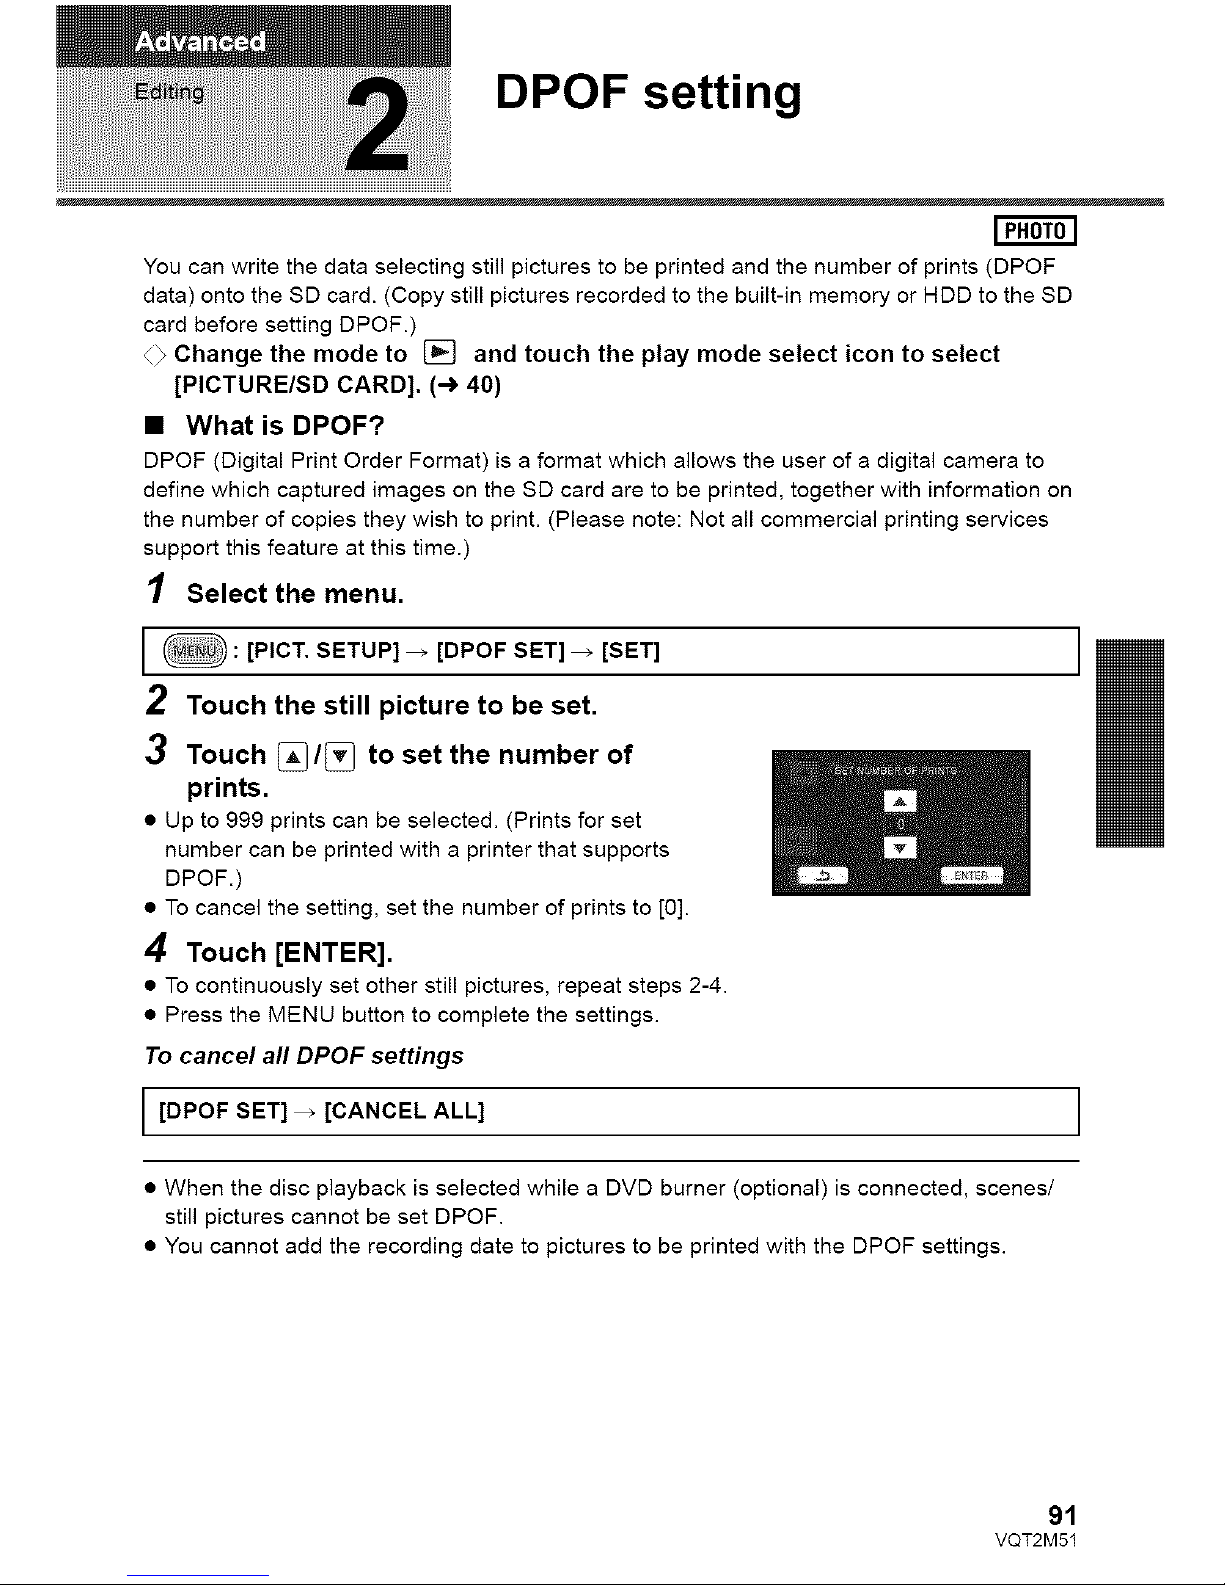
3 Touch _/_ to set the number of
prints.
• Up to 999 prints can be selected. (Prints for set
number can be printed with a printer that supports
DPOF.)
• To cancel the setting, set the number of prints to [0].
4 Touch [ENTER].
• To continuously set other still pictures, repeat steps 2-4.
• Press the MENU button to complete the settings.
To cancel all DPOF settings
[DPOF SET] _ [CANCEL ALL]
I
I
• When the disc playback is selected while a DVD burner (optional) is connected, scenes/
still pictures cannot be set DPOF.
• You cannot add the recording date to pictures to be printed with the DPOF settings.
91
VQT2M51
Relay scene combining
[HDC-TM55/H DC-TM60]
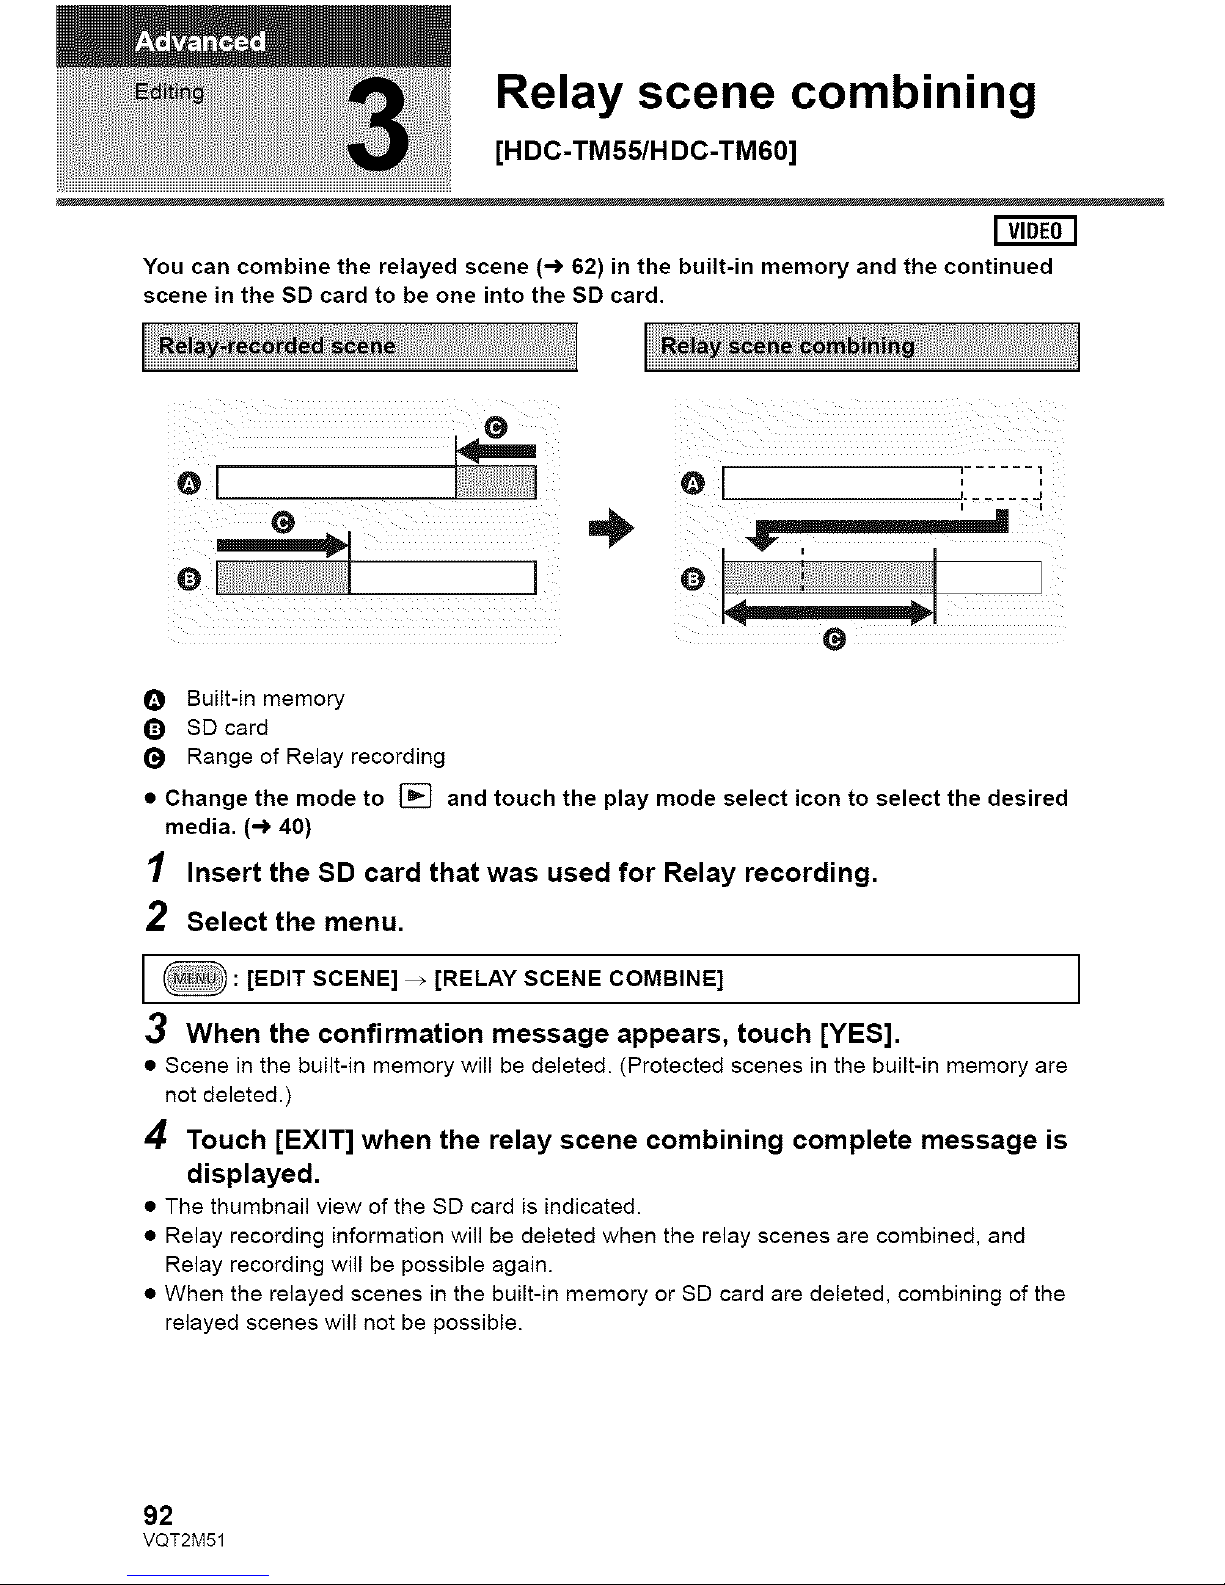
You can combine the relayed scene (-> 62) in the built-in memory and the continued
scene in the SD card to be one into the SD card.
e[ el ;......:
G
-T Q
G
O Built-in memory
Q SD card
Range of Relay recording
• Change the mode to [] and touch the play mode select icon to select the desired
media. (-) 40)
1 Insert the SD card that was used for Relay recording.
2 Select the menu.
: [EDIT SCENE] _ [RELAY SCENE COMBINE]
3 When the confirmation message appears, touch [YES].
• Scene in the built-in memory will be deleted. (Protected scenes in the built-in memory are
not deleted.)
4 Touch [EXIT] when the relay scene combining complete message is
displayed.
• The thumbnail view of the SD card is indicated.
• Relay recording information will be deleted when the relay scenes are combined, and
Relay recording will be possible again.
• When the relayed scenes in the built-in memory or SD card are deleted, combining of the
relayed scenes will not be possible.
I
92
VQT2M51
To cancel relay information
[EDIT SCENE] > [RELAY INFO CANCEL] I
• When the relay information is canceled, combining of the relayed scenes will not be
possible anymore.
Combining of the relay scene cannot be performed if the available space on the SD card is less
than the volume of the relayed scene in the built-in memory. It is recommended to combine the
relay scene using a DVD burner or the HD Writer AE 2.0.
• When the disc playback is selected while a DVD burner (optional) is connected, you cannot
combine relay scenes or cancel relay information.
• The personal information of the relayed scene in the built-in memory or SD card is deleted,
the personal information of the combined relay scene is deleted.
93
VQT2M51
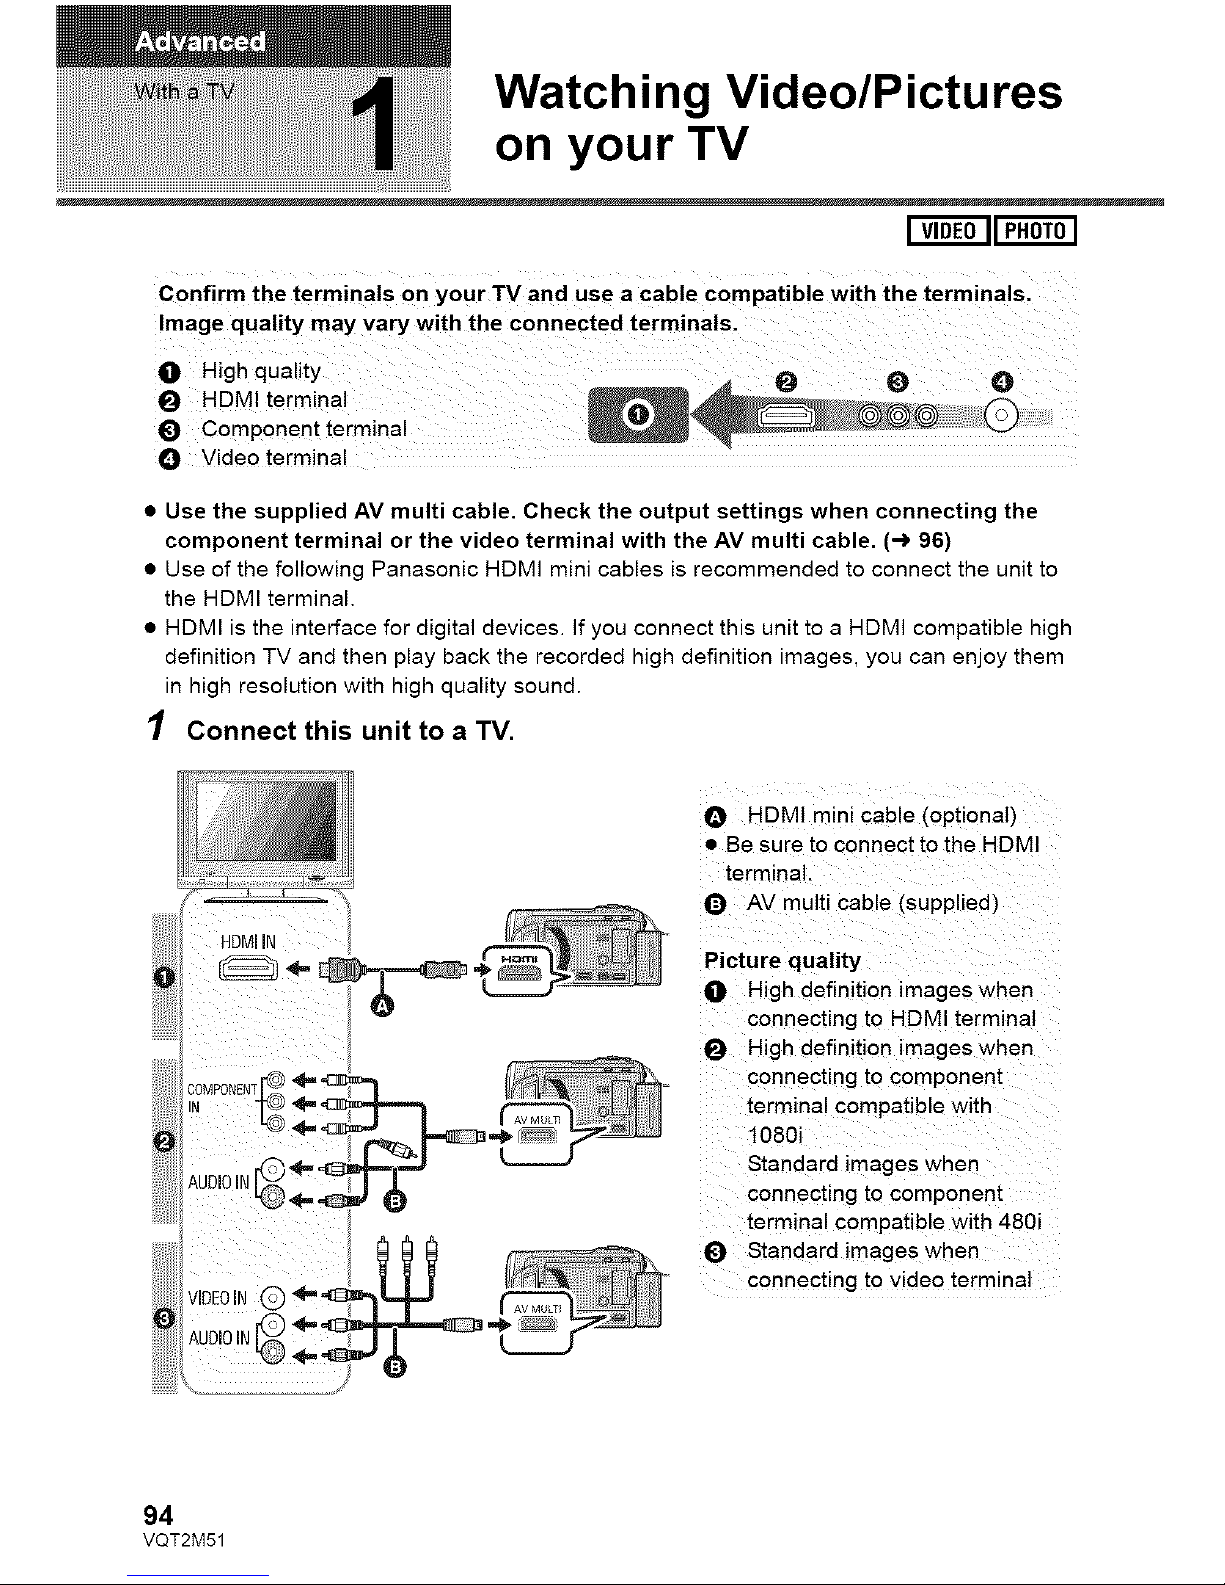
Watching Video/Pictures
on your TV
I VIDEOIIPHOTOI
O Video terminal
• Use the supplied AV multi cable. Check the output settings when connecting the
component terminal or the video terminal with the AV multi cable. (-_ 96)
• Use of the following Panasonic HDMI mini cables is recommended to connect the unit to
the HDMI terminal.
• HDMI is the interface for digital devices. If you connect this unit to a HDMI compatible high
definition TV and then play back the recorded high definition images, you can enjoy them
in high resolution with high quality sound.
1 Connect this unit to a TV.
Q
O
HDMIIN
O HDMt mini cable (optionar_
• Be sure to connect to the HDMI
terminal.
Q AV multi cable (supplied)
Picture quality
O High definition images when
connecting to HDMI terminal
High definition "nageswhen
connecting to component
terminal compatible with
t080i
Standard images when
connecting to component
terminal compatible with 480i
Standard images when
connecting to video terminal
94
VQT2M51
• Checkthattheplugsareinsertedasfarastheygo.
• DonotuseanyothercablesexceptagenuinePanasonicHDMIminicable(RP-CDHM15,
RP-CDHM30;optional).
• DonotuseanyotherAVmulticablesexceptthesuppliedone.
• WhenconnectingtothecomponentterminaloftheTV,theyellowplugoftheAVmulticable
isnotrequired.
• WhenconnectingtotheAVterminaloftheTV,thecomponentplugoftheAVmulticableis
notrequired.
2 Select the video input on the TV.
• Example:
Select the [HDMI] channel with a HDMI mini cable.
Select the [Component] or [Video 2] channel with an AV multi cable.
(The name of the channel may differ depending on the connected TV.)
• Check the input setting (input switch) and the audio input setting on the TV. (For more
information, please read the operating instructions for the TV.)
3 Change the mode to _ to play back.
!!!!!IHli!!ii!! iiiiiii!iii!i!i!ili !i!!i!! iiii!iiii!iiiii!iiiii!iiiii!iiiii!iiiii!iiiii!iiiii!iiiiiil
O HDMI mini cable (optional) • Connecting with a HDMI mini cable (_ 96)
• Playback using VIERA LinkTM (HDAVI Contro! TM) (_ 97)
Q AV multi cable (supplied) • Connecting with the AV multi cable (_ 96)
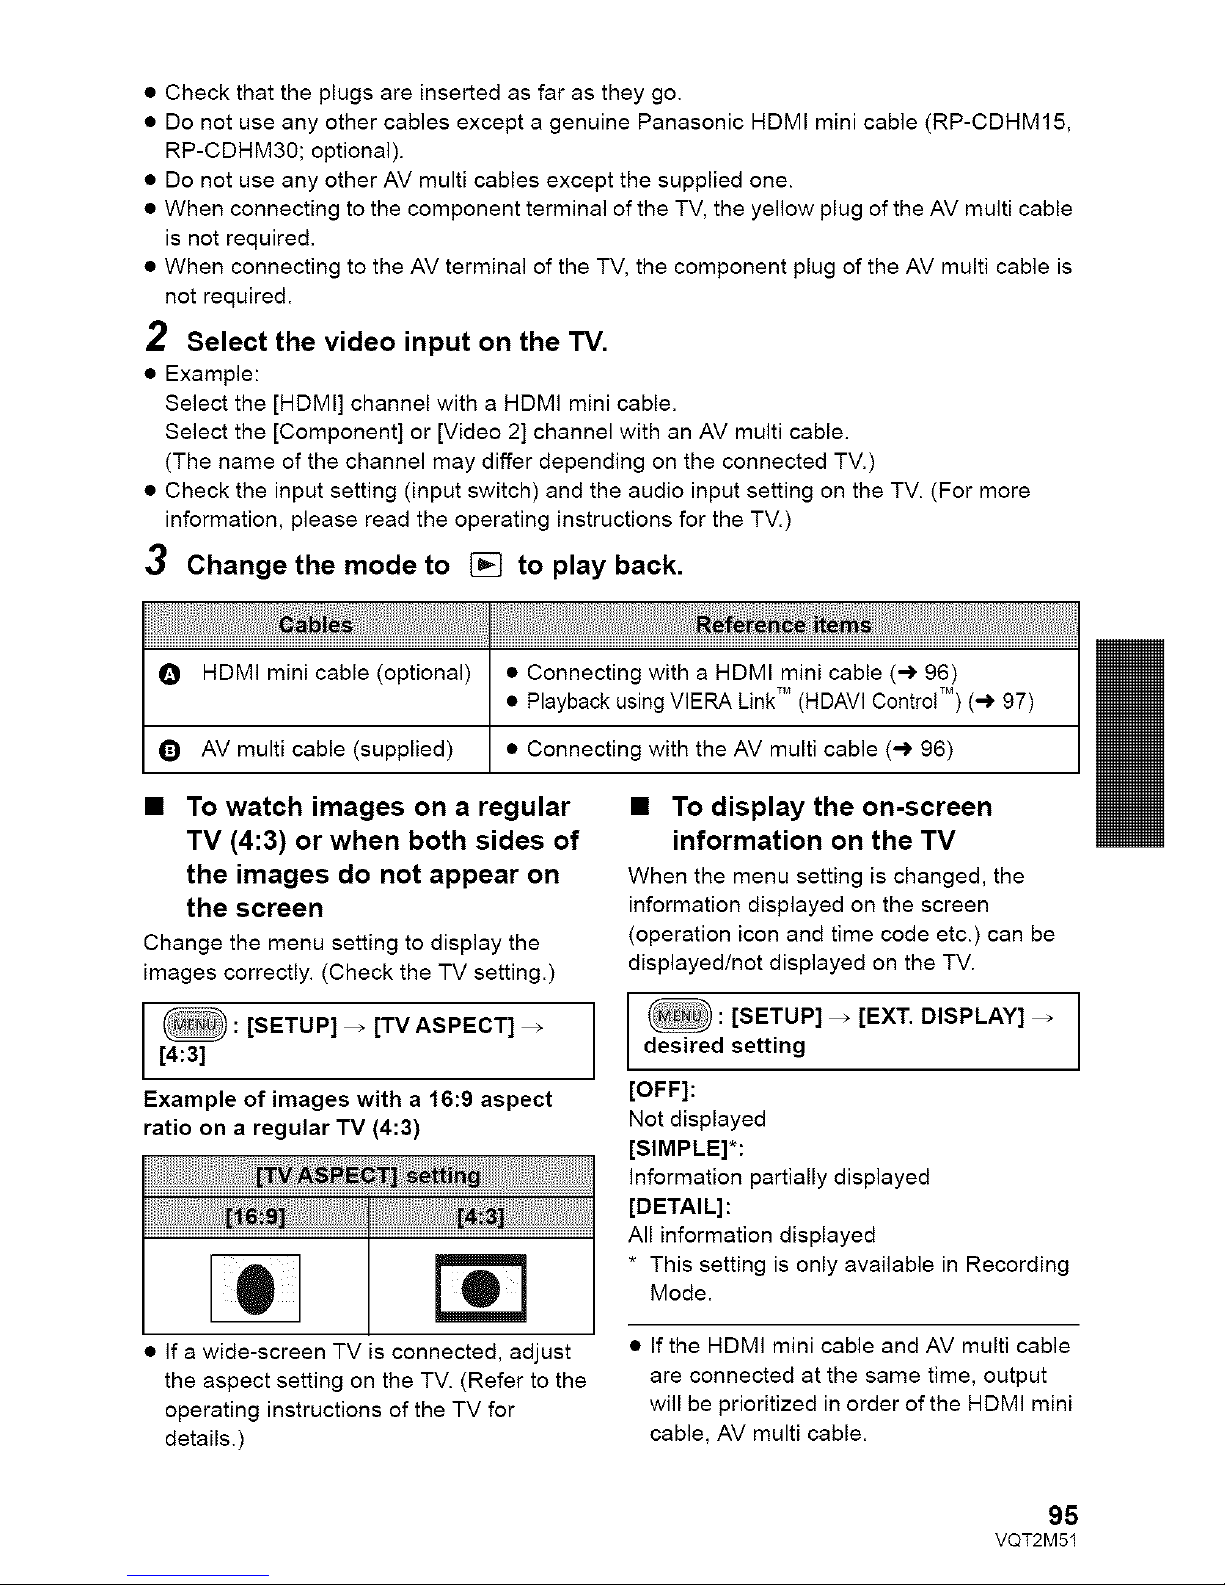
• To watch images on a regular
TV (4:3) or when both sides of
the images do not appear on
the screen
Change the menu setting to display the
images correctly. (Check the TV setting.)
: [SETUP] _ [TV ASPECT]
[4:3]
Example of images with a 16:9 aspect
ratio on a regular TV (4:3)
• To display the on-screen
information on the TV
When the menu setting is changed, the
information displayed on the screen
(operation icon and time code etc.) can be
displayed/not displayed on the TV.
[ _ [SETUP] _ [EXT. DISPLAY]_. setting
[OFF]:
Not displayed
[SIMPLE]*:
information partially displayed
[DETAIL]:
If a wide-screen TV is connected, adjust
the aspect setting on the TV. (Refer to the
operating instructions of the TV for
details.)
* This setting is only available in Recording
Mode.
• If the HDMI mini cable and AV multi cable
are connected at the same time, output
will be prioritized in order of the HDMI mini
cable, AV multi cable.
95
VQT2M51
Refer to the following support site for information about Panasonic TVs with an SD
card slot for playing back your pictures.
http://panasonic.net/
• For details on how to play back, please read the operating instructions for the TV.
Select the desired method of HDMI output.
:[SETUP] _ [HDMI RESOLUTION] _ [AUTO]/[1080i]/[480p]
• [AUTO] determines the output resolution automatically based on information from the
connected TV.
If the images are not output on the TV when the setting is [AUTO], switch to the method
[1080i] or [480p] which enables the images to be displayed on your TV. (Please read the
operating instructions for the TV.)
I
AV multi connector output setting can be changed.
: [SETUP] _ [AV MULTI] _ desired setting
I
[COMPONENT]: When connecting to the component terminal
[AV OUT]: When connecting to the video terminal
Changing the component output setting
: [SETUP] _ [COMPONENT OUT] _ desired setting
I
[480i]: When Connecting to the component terminal on the TV compatible With 480i.
[!080i]; When connecting to the component terminal on the TV compatible with
1080i. (Playback is in high definition quality.)
96
VQT2M51
PlaybackusingVIERA LinkTM
(HDAVIControITM)
I VIDEOIIPHOTOI
What is the VIERA Link?
• VIERA Link TM is a new name for EZ Sync TM.
• This function allows you to use your remote control for the Panasonic TV for easy
operations when this unit has been connected to a VIERA Link compatible device using
a HDMI mini cable (optional) for automatic linked operations. (Not all operations are
possible.)
• VIERA Link is a unique Panasonic function built on a HDMI control function using the
standard HDMI CEC (Consumer Electronics Control) specification. Linked operations
with HDMI CEC compatible devices made by other companies are not guaranteed.
When using devices made by other companies that are compatible with VIERA Link,
refer to the operating instructions for the respective devices.
• This unit is compatible with VIERA Link Ver.5. VIERA Link Ver.5 is the newest
Panasonic version and is also compatible with existing Panasonic VIERA Link devices.
(As of Dec 2009)
_ Change the mode to [].
1 Select the menu.
: [SETUP] _ [VIERA Link] _ [ON] ]
• If you are not using VlERA Link, set to [OFF].
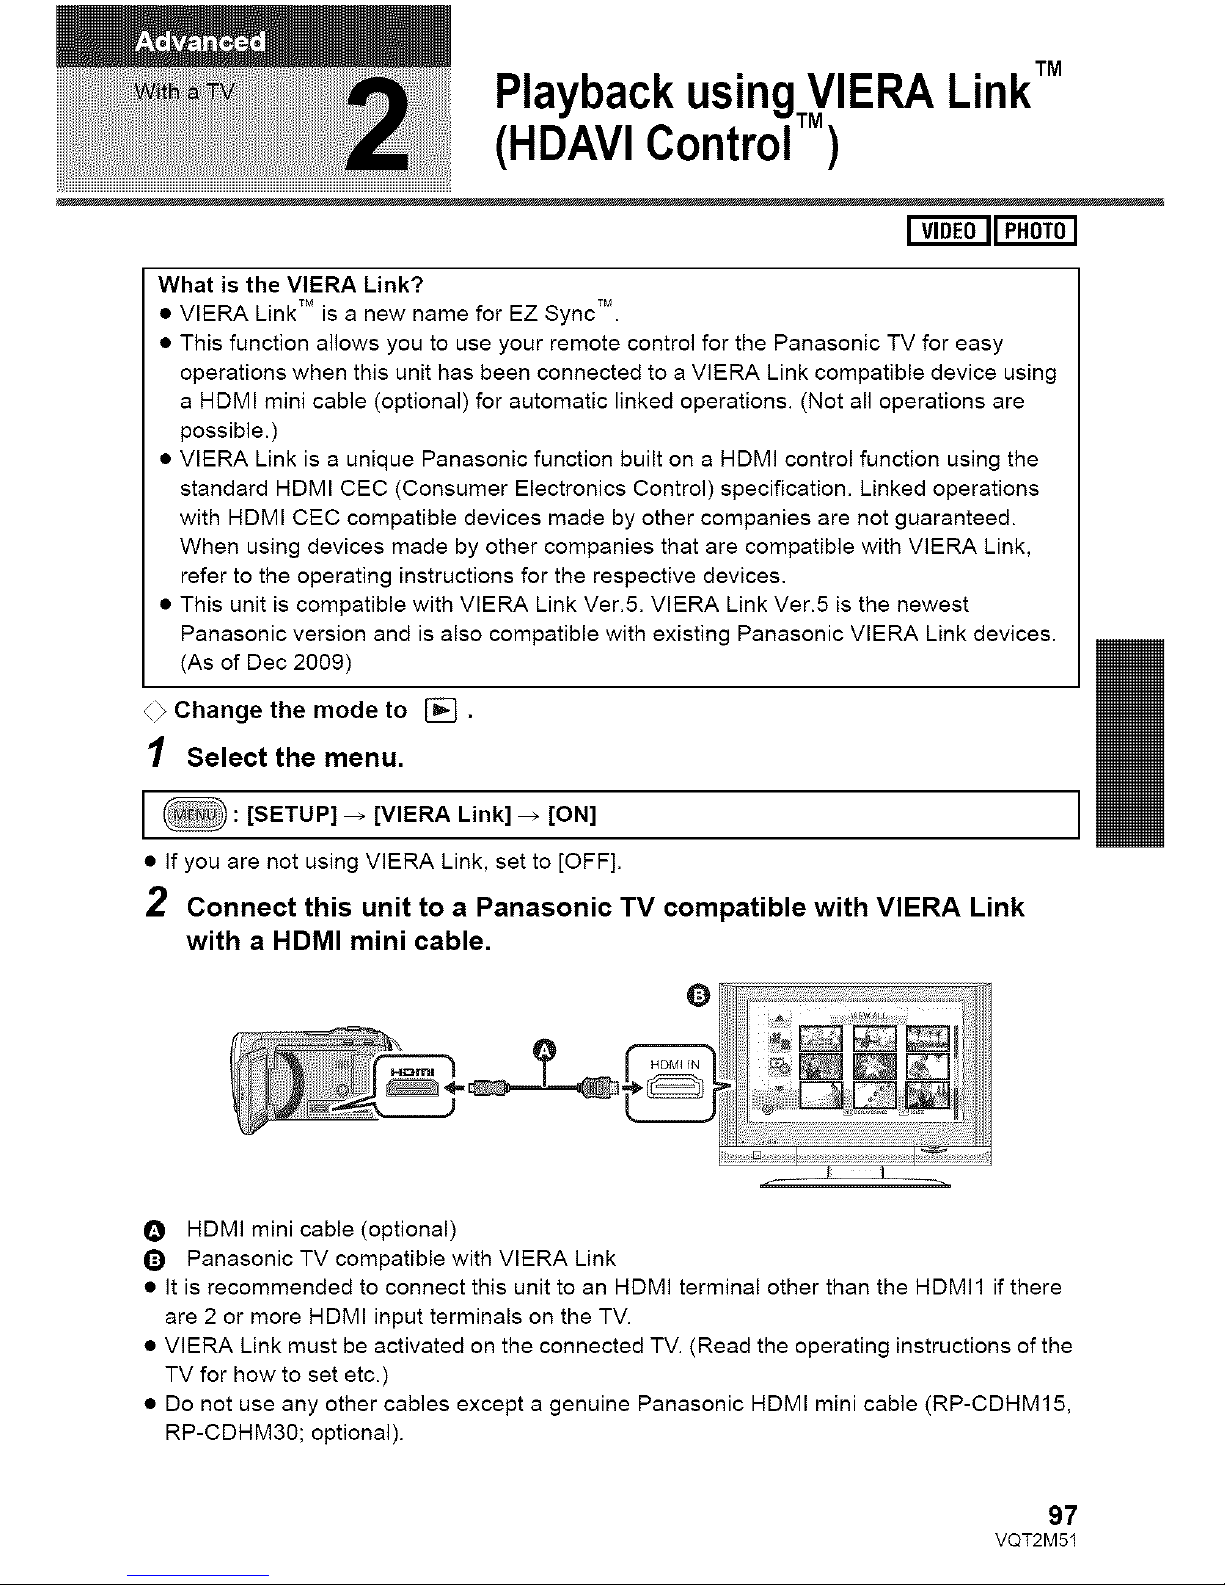
2 Connect this unit to a Panasonic TV compatible with VIERA Link
with a HDMI mini cable.
O HDMI mini cable (optional)
Q Panasonic TV compatible with VIERA Link
• It is recommended to connect this unit to an HDMI terminal other than the HDMI1 if there
are 2 or more HDMI input terminals on the TV.
• VlERA Link must be activated on the connected TV. (Read the operating instructions of the
TV for how to set etc.)
• Do not use any other cables except a genuine Panasonic HDMI mini cable (RP-CDHM15,
RP-CDHM30; optional).
97
VQT2M51

3 Operate with the remote control for the TV.
1)
ii:!i;!!ii
i_i!;
1) Press the button up, down, left or right to select a scene or still picture to be played back,
and then press the button in the center to set it.
2) Activate the operation icons that are displayed on TV screen with the remote control for
the TV.
O Operation icons
Q Display operation icons
Cancel operation icons
_) Display/Cancel operation icons
• The following operations are available by pressing the color buttons on the remote control.
Green: Switching the number of scenes/still pictures in thumbnail display
(9 thumbnails _ 20 thumbnails _ 9 thumbnails...)
Zoom in on still picture
Yellow: Deleting scenes/still pictures
Red: Zoom out from still picture
• Other linked operations
Turning the power off:
If you use the remote control for the TV to turn off the power, the power on this unit also turns off.
Automatic input switching:
If you connect with a HDMI mini cable and then turn on the power on this unit, the input channel
on the TV automatically switches to this unit's screen. If the TV's power is in standby status, it
will turn on automatically (if [Set] has been selected for the TV's [Power on link] setting).
• Depending on the HDMI terminal on the TV, the input channel may not switch
automatically. In this case, use the remote control for the TV to switch the input channel.
• If you are unsure whether or not the TV and AV amplifier you are using are compatible with
VlERA Link, read the operating instructions for the devices.
• Available linked operations between this unit and a Panasonic TV is different depending on
the types of Panasonic TVs even if they are compatible with VlERA Link. Refer to the
operating instructions of the TV for the operations that support on the TV.
• Operation is not possible with a cable that is not based on the HDMI standard.
98
VQT2M51
CopyingbetweenSDcardandBuilt-inMemory/
HDD[HDC-TM55/HDC-TM60/HDC-HS60]
I VIDEOIIPHOTOI
Motion pictures or still pictures recorded with this unit can be copied between an SD card
inserted in this unit and a built-in memory/HDD.
• Confirming remaining capacity on the copy destination
[MEDIA STATUS] (-) 49) allows you to confirm how much capacity remains on the SD card,
built-in memory or HDD.
• If the remaining capacity on a single SD card is not enough, you can copy to multiple SD
cards following the instruction on the screen.
In this case, the last scene copied to an SD card is automatically divided to fit the space on
the SD card.
• If you divide the scenes (-) 88), and copy by scene selection, it is possible to copy
matching the remaining capacity of the media, or only the necessary parts.
• If there is not much remaining capacity in the SD card, a confirmation message asking to
copy after deleting all data on the SD card is displayed. Be aware that deleted data cannot
be restored.
• Refer to page 100 for approximate time for copying.
1 Change the mode to [].
• Use a sufficiently charged battery or the AC adaptor.
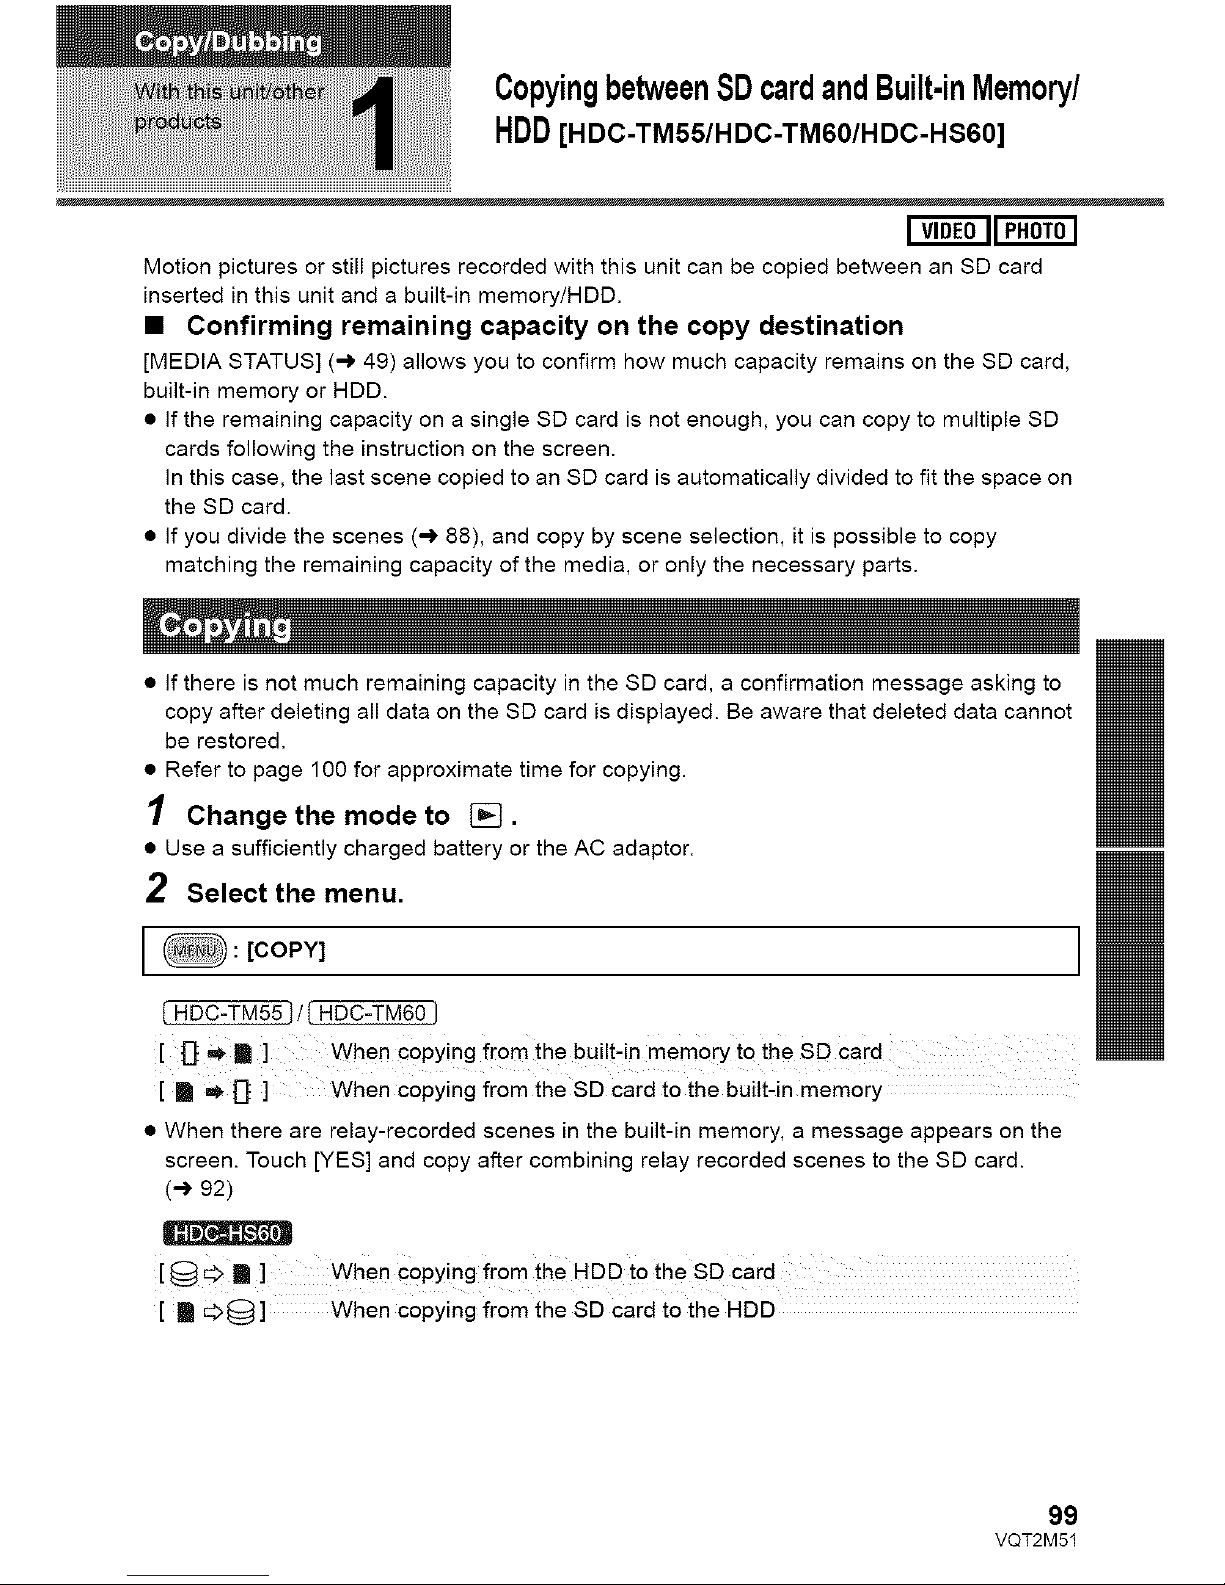
2 Select the menu.
:[COPY] ]
_/_
[ _'_l] When €opying from the built-in memory to the SD card
[ m ,_ [_ ] When copying from the SD card to the built4n memory
• When there are relay-recorded scenes in the built-in memory, a message appears on the
screen. Touch [YES] and copy after combining relay recorded scenes to the SD card.
(-_ 92)
[_}_ m ] when Copying from the HDD to the SD Card
[ m_O] When copying from the SD card to the HDD
99
VQT2M51
3 Touch desired items following the screen display.
• it will return to the previous step by touching ,_.
• (When [SELECT SCENES] is selected)
When touched, the scene/still picture is selected and the _ indication appears on the
thumbnail. Touch the scene/still picture again to cancel the operation.
• (When [SELECT DATE] is selected)
When touched, the date is selected and surrounded by red. Touch the date again to cancel
the operation.
• Up to 99 scenes/still pictures or 99 dates can be set in succession.
• if 2 or more SD cards are necessary to copy, change the card following the instructions on
the screen.
4 Touch [EXIT] when the copy complete message is displayed.
• The thumbnail view of the copy destination is indicated.
When you stop copying halfway
Touch [CANCEL] or press the MENU button while copying.
When copying a recorded motion picture of fu!! 4 GB size:
10 minutes to 20 minutes
To copy approx. 600 MB stil! pictures (picture size r5_ );
3 minutes to 5 minutes
If you will delete the motion pictures or still pictures after copying is complete, be
sure to play back the motion pictures or still pictures to check that they have been
copied to correctly before deleting.
• When the disc playback is selected while a DVD burner (optional) is connected, menus are
not displayed.
• Depending on the following conditions, the time it takes for copying may be longer.
The number of recorded scenes is large.
The temperature of the unit is high.
• if some motion pictures or still pictures have already been recorded to the copy destination,
then the same date may be assigned or images may not display by date when the list by
date is selected.
• Motion pictures that have been recorded on another device may not be copied. Data
recorded on a PC with HD Writer AE 2.0, etc. cannot be copied.
• Protection and DPOF settings will be cleared on the copied motion pictures and still
pictures when copying motion pictures and still pictures with protection and DPOF settings.
• The order in which the scenes or still pictures were copied cannot be changed.
100
VQT2M51
Connecting a DVD burner to
copy to/play back a disc
I VIDEOIIPHOTOI
Motion pictures or still pictures recorded with this unit can be copied to a DVD disc by
connecting a DVD burner (optional) to this unit using a Mini AB USB Connection Cable
(supplied with DVD burner). The copied DVD disc can also be played back.
• Please read the operating instructions of the DVD burner for how to use it.
I
We recommend using Panasonic DVD burner VW-BNI/VW-BN2. I
n
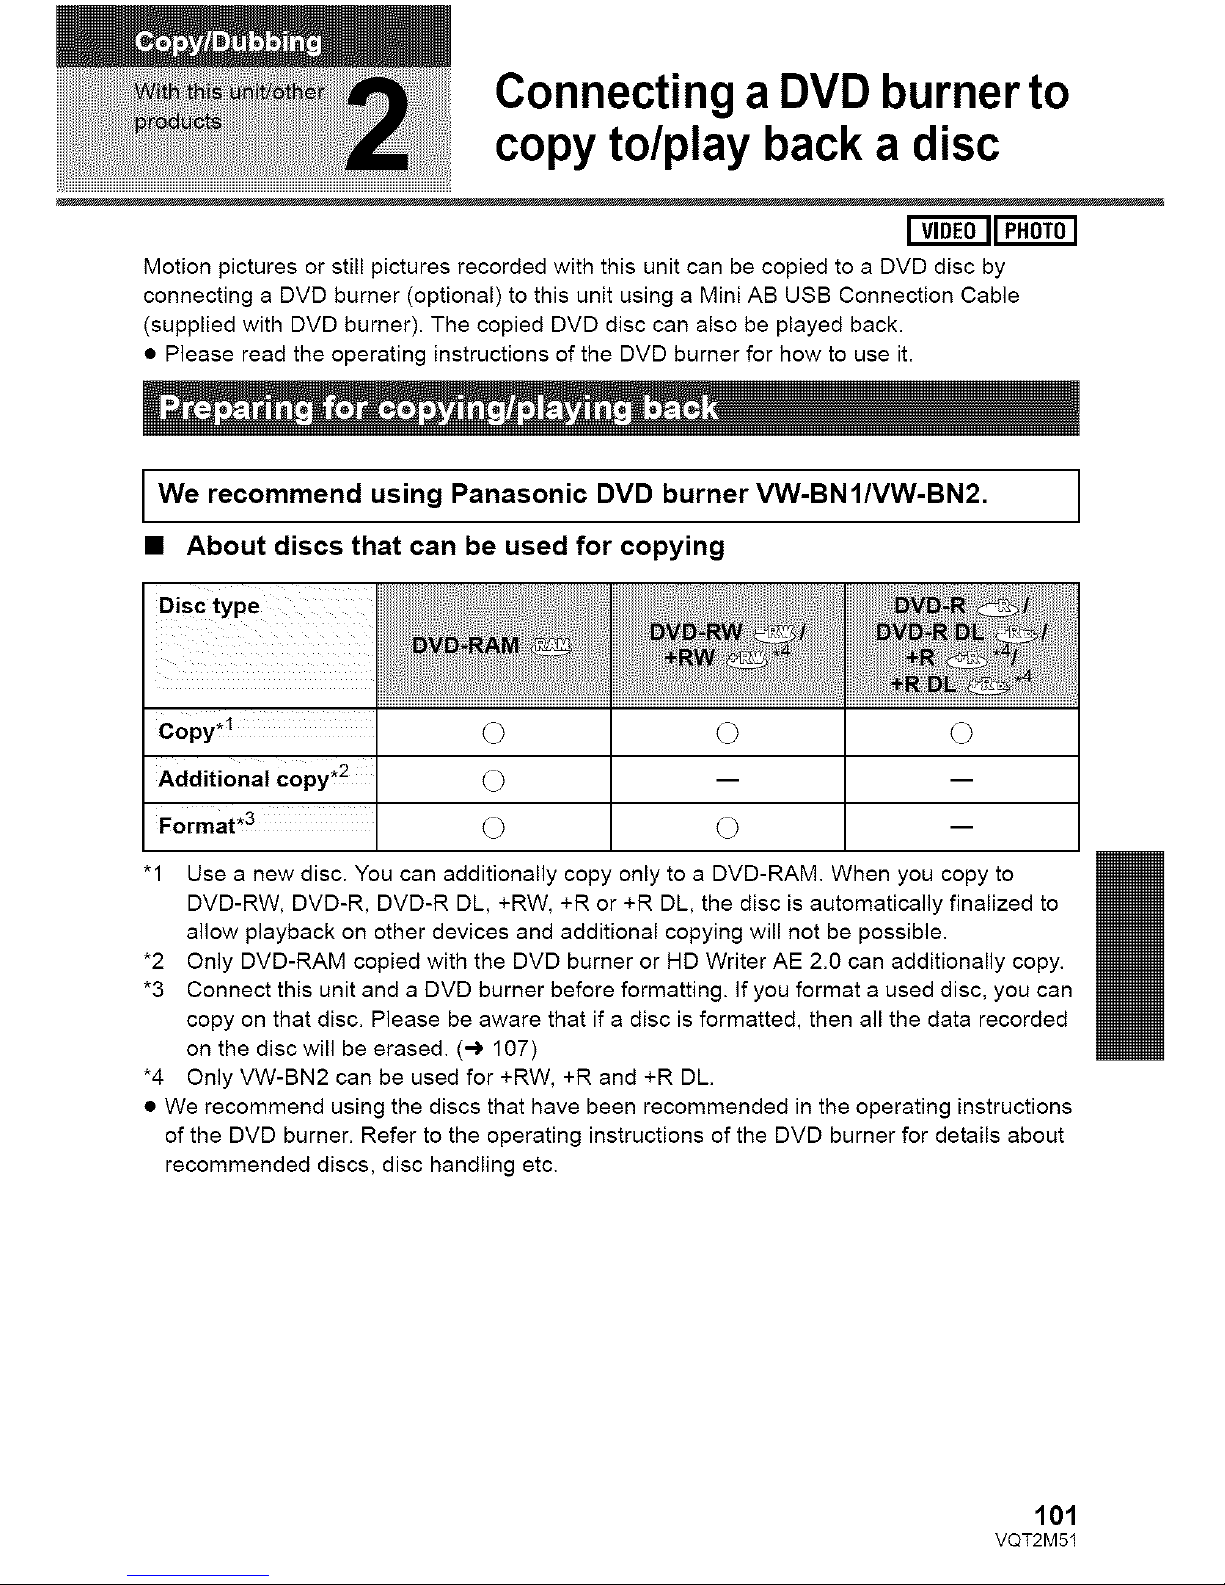
• About discs that can be used for copying
"1 Use a new disc. You can additionally copy only to a DVD-RAM When you copy to
DVD-RW, DVD-R, DVD-R DL, +RW, +R or +R DL, the disc is automatically finalized to
allow playback on other devices and additional copying will not be possible.
*2 Only DVD-RAM copied with the DVD burner or HD Writer AE 2.0 can additionally copy.
*3 Connect this unit and a DVD burner before formatting. If you format a used disc, you can
copy on that disc. Please be aware that if a disc is formatted, then all the data recorded
on the disc will be erased. (-) 107)
*4 Only VW-BN2 can be used for +RW, +R and +R DE
• We recommend using the discs that have been recommended in the operating instructions
of the DVD burner. Refer to the operating instructions of the DVD burner for details about
recommended discs, disc handling etc.
101
VQT2M51
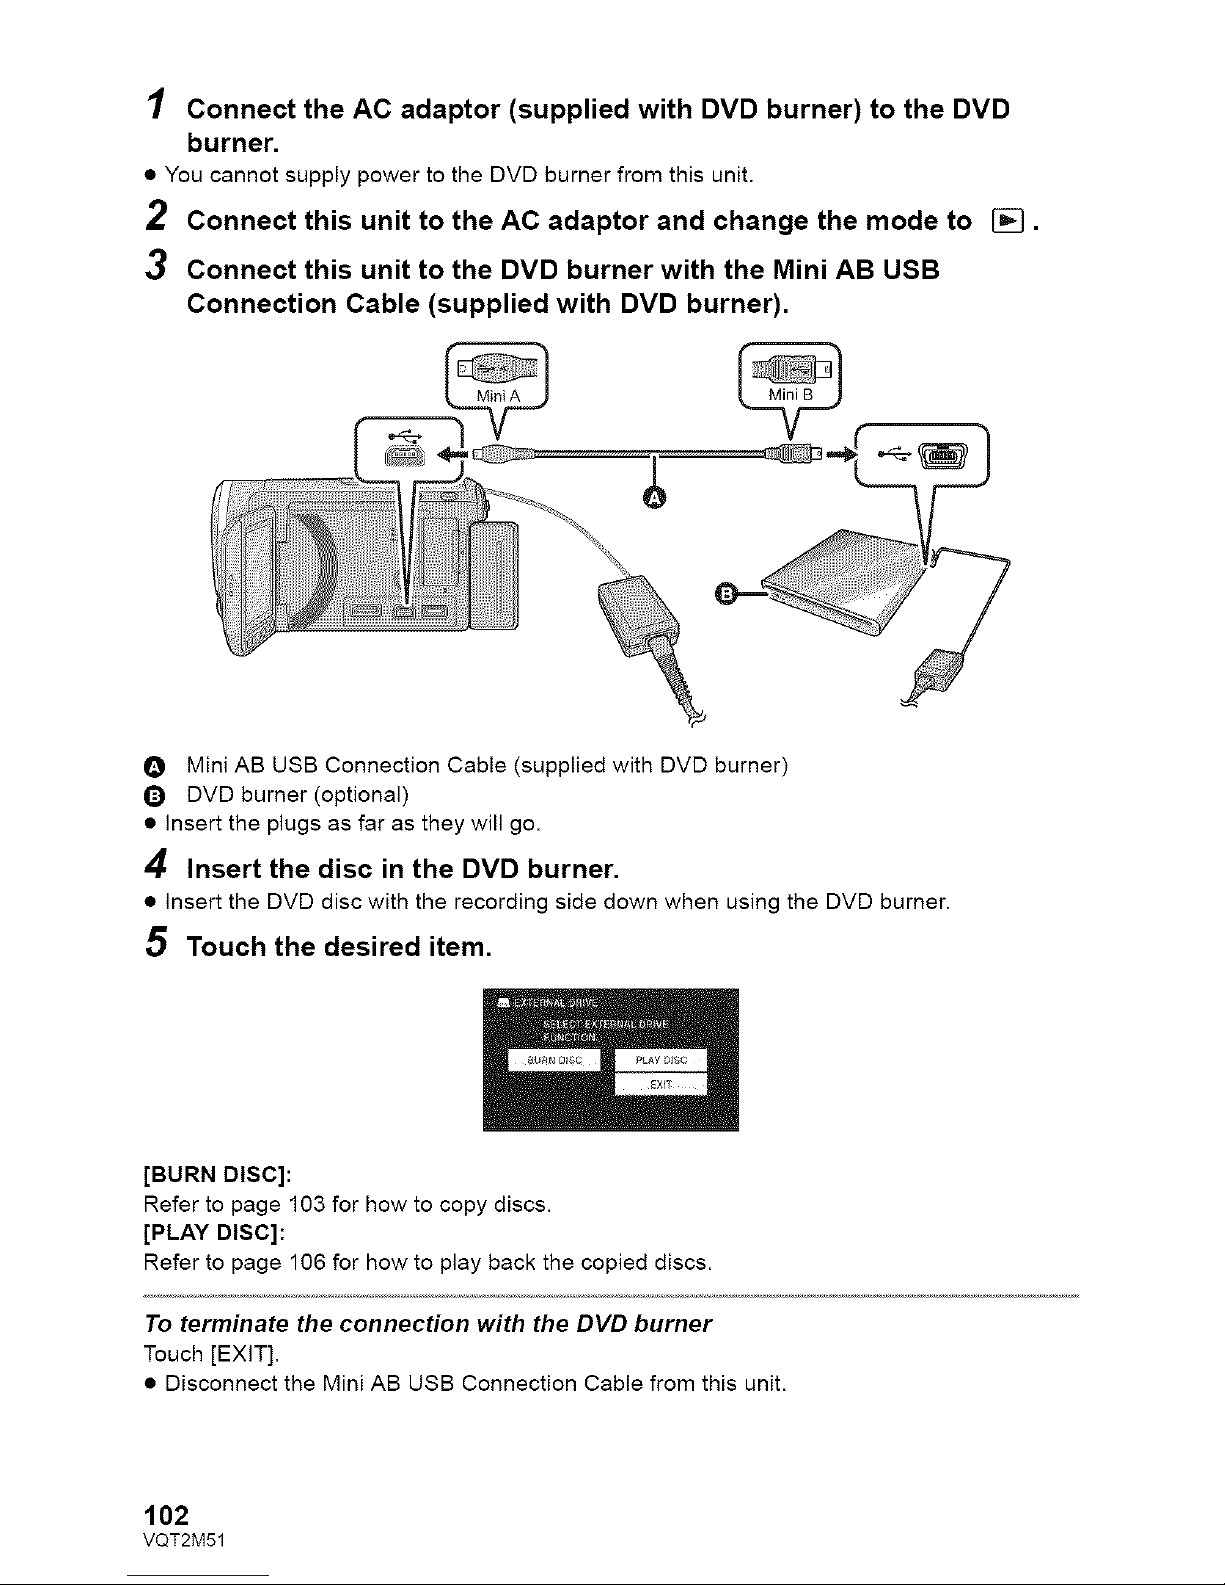
1 Connect the AC adaptor (supplied with DVD burner) to the DVD
burner.
• You cannot supply power to the DVD burner from this unit.
2 Connect this unit to the AC adaptor and change the mode to [].
3 Connect this unit to the DVD burner with the Mini AB USB
Connection Cable (supplied with DVD burner).
O Mini AB USB Connection Cable (supplied with DVD burner)
Q DVD burner (optional)
• Insert the plugs as far as they will go.
4 Insert the disc in the DVD burner.
• Insert the DVD disc with the recording side down when using the DVD burner.
5 Touch the desired item.
[BURN DISC]:
Refer to page 103 for how to copy discs.
[PLAY DISC]:
Refer to page 106 for how to play back the copied discs.
To terminate the connection with the DVD burner
Touch [EXIT],
• Disconnect the Mini AB USB Connection Cable from this unit.
102
VQT2M51
 Loading...