

Page 1
Noi dichiariamo sotto nostra esclusiva responsabilità che il
prodotto a cui si riferisce la presente dichiarazione risulta conforme ai seguenti standard o altri documenti normativi conformi
alle disposizioni della direttiva CEE/89/336.
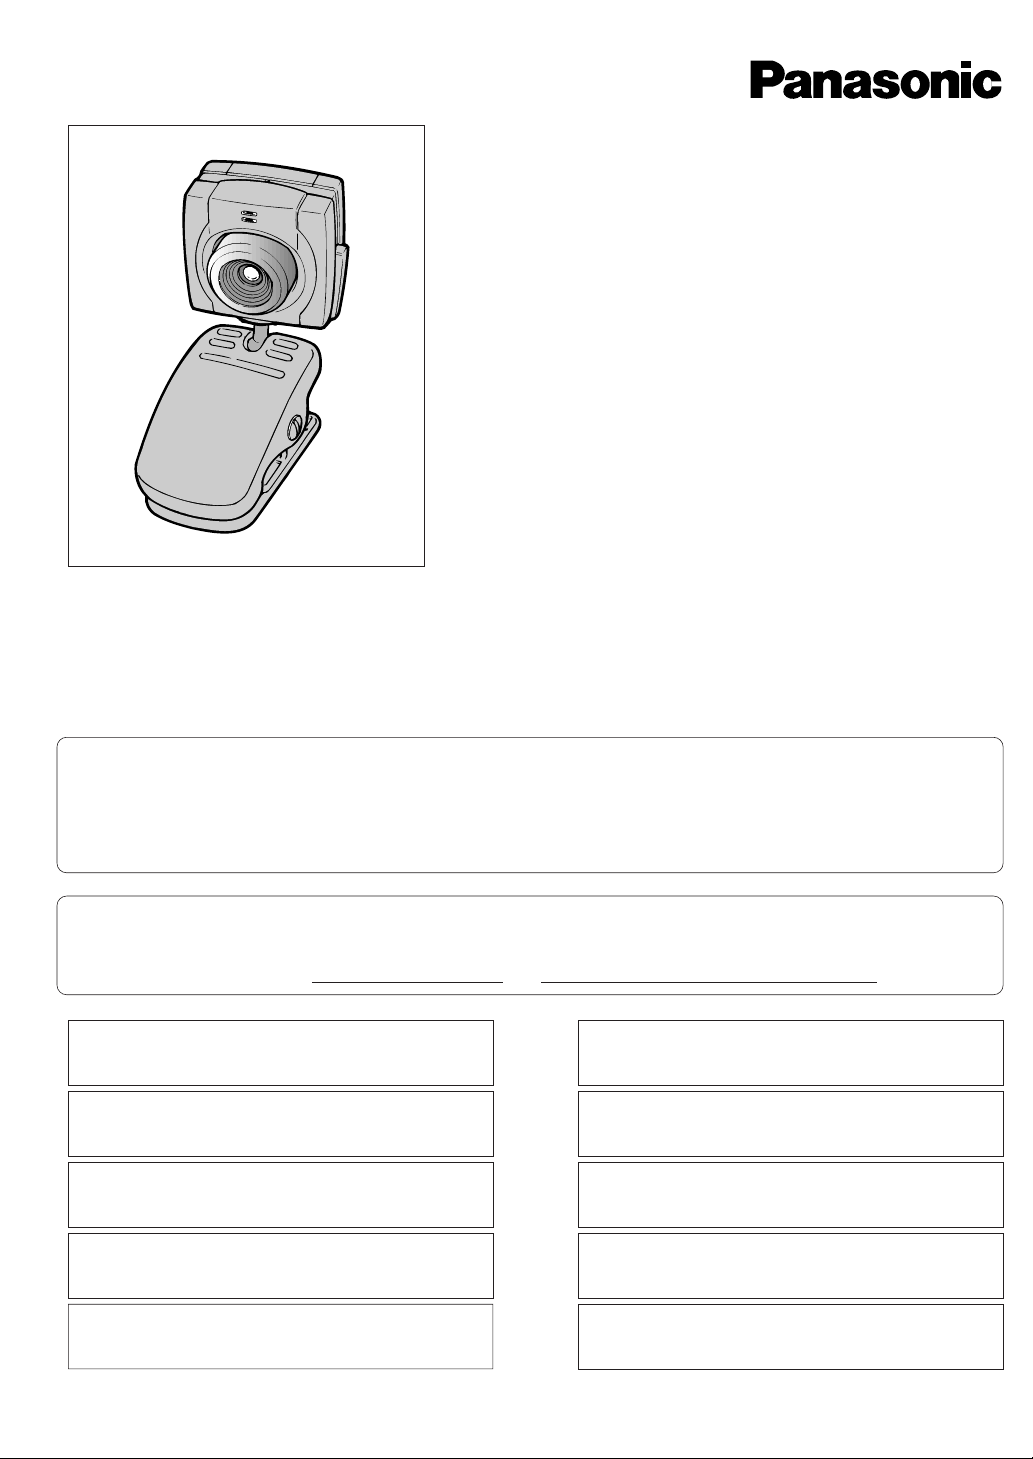
Colour
Camera
GP-KR521
Observe the following instructions for your own safety and that of the equipment.
To reduce the danger of fire or electric shock:
• Do not use an AC adapter other than the provided model A20620G.
• Do not expose the equipment to rain or moisture.
• Do not place your equipment near a bath tub, washbasin or other source of
water.
The serial number of this equipment may be found on the bottom. You should note the
serial number in the space provided below and retain this book as a permanent record
of your purchase to aid identification in the event of theft.
MODEL No.
SERIAL No.
Safety instructions
For your records
Operating Instructions
Before attempting to connect or operate this product, please read these instructions completely.
N0199-0 YWV8QA5160AN Printed in Japan
We declare under our sole responsibility that the product to
which this declaration relates is in conformity with the standards or other normative documents following the provisions of
Directive EEC/89/336.
Nosotros declaramos bajo nuestra única responsabilidad que
el producto a que hace referencia esta declaración està conforme con las normas u otros documentos normativos siguiendo las estipulaciones de la directiva CEE/89/336.
Wij verklaren als enige aansprakelijke, dat het product waarop
deze verklaring betrekking heeft, voldoet aan de volgende normen of andere normatiefve dokumenten, overeenkomstig de
bepalingen van Richtlijn 89/336/EEC.
Vi erklærer os eneansvarlige for, at dette produkt, som denne
deklaration omhandler, er i overensstemmelse med den
følgende standarder eller andre normative dokumenter i følge
bestemmelserne i direktiv 89/336/EEC.
Vi deklarerar härmed värt fulla ansvar för att den produkt till
vilken denna deklaration hänvisar är i överensstämmelse med
standarddokument, eller andra normativa dokument som
framstölls i Direktiv 89/336/EEC.
Ilmoitamme yksinomaisella vastuullamme, että tuote, jota tämä
ilmoitus koskee, noudattaa seuraavia standardeja tai muita
ohjeellisia asiakirjoja, jotka noudattavat direktiivin 89/336/EEC.
säädöksiä.
Vi erklærer oss alene ansvarlige for at produktet som denne
erklæringen gjelder for, er i overensstemmelse med følgende
normer eller andre normgivende dokumenter som fælger
bestemmelsene i direktiv 89/336/EEC.
Wir erklären in alleiniger Verantwortung, daß das Produkt, auf
das sich diese Erklärung bezieht, mit der folgenden Normen
oder normativen Dokumenten übereinstimmt.
Gemäß den Bestimmungen der Richtlinite 89/336/EEC.
Nous déclarons sous notre seule responsabilité que le produit
auquel se référe cette déclaration est conforme aux normes ou
autres documents normatif conformément aux dispositions de
la directive 89/336/CEE.
Page 2

Introduction
• Thank you for purchasing the Colour Camera. The Colour Camera is an easy to use
Analog Video Camera device that is capable of capturing either full motion or still
images to your PC. The device outputs images at the rate of 25 FPS (frames per
second) in a standard PAL composite video format.
• The camera also has a built in microphone for audio. This microphone can be connected to the input of a computer’s sound card to capture audio.
• Connecting the camera to a personal computer will allow you to transmit video and
audio signals for use in video conferences or publishing of documents.
• The compact size of the Colour Camera makes it ideal for use on the desktop for a
wide variety of computer based applications. Connect this camera to your PC and
send Video e-mail, create exciting presentations by adding a live demonstration or
take still pictures right from your desktop.
What’s Included
The integrated cable attached to the camera has three connectors. One is for power,
another for video output, and the other for microphone output. Follow the instructions
below to connect it to your system.
1. Turn off your computer. (We recommend you also keep it disconnected from
the AC power source during this procedure.)
2. Attach the video output of the camera to the video input (composite video) on
your computer’s video capture card/capture device.
3. Connect the microphone output connector to the microphone input on your
computer’s soundcard.
4. Connect the DC plug of the AC adapter with the Power In socket of the
integrated cable.
5. Plug the AC adapter into a standard electrical outlet or power strip.
Connecting the camera
Important Notice:
Your personal computer
must have a composite
Video input port to use this
device. You may also
connect the camera’s
microphone to the mic input
on you computer’s sound
card device.
• Confirm that you have all the components shown below.
Colour Camera
DC Output Connector
DC Input Connector
Microphone Output Connector
Base
Focus Ring
Microphone
AC Adapter
Video Output Connector
AC Adapter
Colour Camera
2
3
4
1
5
VIDEO
OUT
MIC
OUT
VIDEO IN
MIC IN
Page 3

Positioning the camera
Note:
•To protect the camera from
possible damage you may
want to secure it with double
sided adhesive tape (not
included) once the desired
location is determined.
2. The Colour Camera is mounted on a handy tilt and swivel base. Adjust the
camera position shown below for your requirement.
Operating the camera
Before operating your camera it will be necessary to prepare your computer to
capture or preview images on the computers monitor.
1. Point the camera at the subject.
2. Adjust the position and size of the subject.
While watching the preview window on the monitor, turn the camera slowly up
and down, left and right so the desired portion of the subject lies in the centre of
the monitor.
3. Adjust the Focus
While observing the preview monitor, turn the focus ring on the camera for the
clearest possible image. The minimum focus distance is 100 mm (about 3.9
inches).
3. The Colour Camera is equipped with an automatic exposure circuit. The
Colour Camera will adjust to light levels between 10 lux and 10 000 lux.
You may notice optimum performance in conditions where the ambient
light level is between 500 and 1 000 lux. In low light level conditions you
may notice colour fidelity may suffer. Add additional light to improve
picture quality if desired.
Note:
•Avoid pointing the Colour
Camera directly into light
sources such as lamps,
bright windows, etc. Any
visual target in front of the
light source will become
“back lit”, and will likely
appear as a shadow, see the
example diagrams on the
right.
Note:
• Lighting Guidelines
40 lux .... Underground
parking lot
100 lux .... Hotel lobby
500 lux .... Conference
room
1 000 lux .... Desktop in the
office
5 000 lux .... Cloudy day
outdoors
10 000 lux .... In the shade
outdoors
on a fair day
Image with normal ambient lighting
Image spoiled by backlight
● Camera rotation
• Can be mounted in any of 4 directions at
90-degree intervals.
• The side where the microphone is located is always the upper side of the picture on the monitor screen.
● Horizontal turn
(Pan)
● Longitudinal turn
(Tilt)
• Pan/tilt angle may
be narrower than
specified depending on the object
that may limit the
turn of the camera.
1. The Colour Camera can be placed on the edge of the computer or on the
desktop.
● Place on the desktop. ● Clip onto the edge
q Attach the camera by
clipping it onto the edge
of your computer.
w Push the clip to the end
while opening it to
secure the camera.
−360°
+360°
+90°
0°
−20°
Page 4

Lens Focal length: 4.6 mm
F-Stop: F = 2.8
Focus: Manual 100 mm (3-15/16 inches) to infinity
View angle: Horizontal: 45 degrees
Vertical: 34 degrees
Pick-up system Image device: 1/4-inch CCD
Pixels(approx.): Effective: 300,000(512H x 582V)
Total: 320,000(542H x 586V)
Sensitivity Recommended illumination: 10 lx to 10 000 lx
Video output signals Standard: PAL
Impedance: 75 Ω
Level: 1.0 V[p-p]
Signal to noise ratio: 46 dB (AGC Off equivalent)
Horizontal resolution: 330 television lines (centre portion)
White balance: Automatic
Microphone Impedance: Low impedance
Directivity: Omni-directional
Operation voltage: DC 2V typical, DC 10V maximum
Power required Voltage: DC 6V
Current: 0.16 A
Cable & Connectors DC input: 4.4 mm diameter
Video output connector: Standard RCA type pin plug
Microphone output connector: 3.5 mm male mini plug
Cable Harness length: 1.8 m (5 feet 11 inches) approximate
General Ambient temperature: 5°C to 35°C (41°F to 95°F)
Ambient humidity: 40% to 90%
Weight: 60 g (0.13 lbs)
Size: 44 (W) x 103 (H) x 44 (D) mm (factory shipment)
[1-3/4 (W) x 4-1/16 (H) x 1-3/4 (D) inches]
AC adapter Input voltage: AC 230 V
Output voltage: DC 6V
Consumption: 5 W (typical)
Use only AC Adapter model A20620G.
Specifications
Use an air blower to blow the dust on the lens.
If necessary, clean the lens face using a cotton tipped applicator and ethanol.
Lens Maintenance
 Loading...