

Operating Instructions
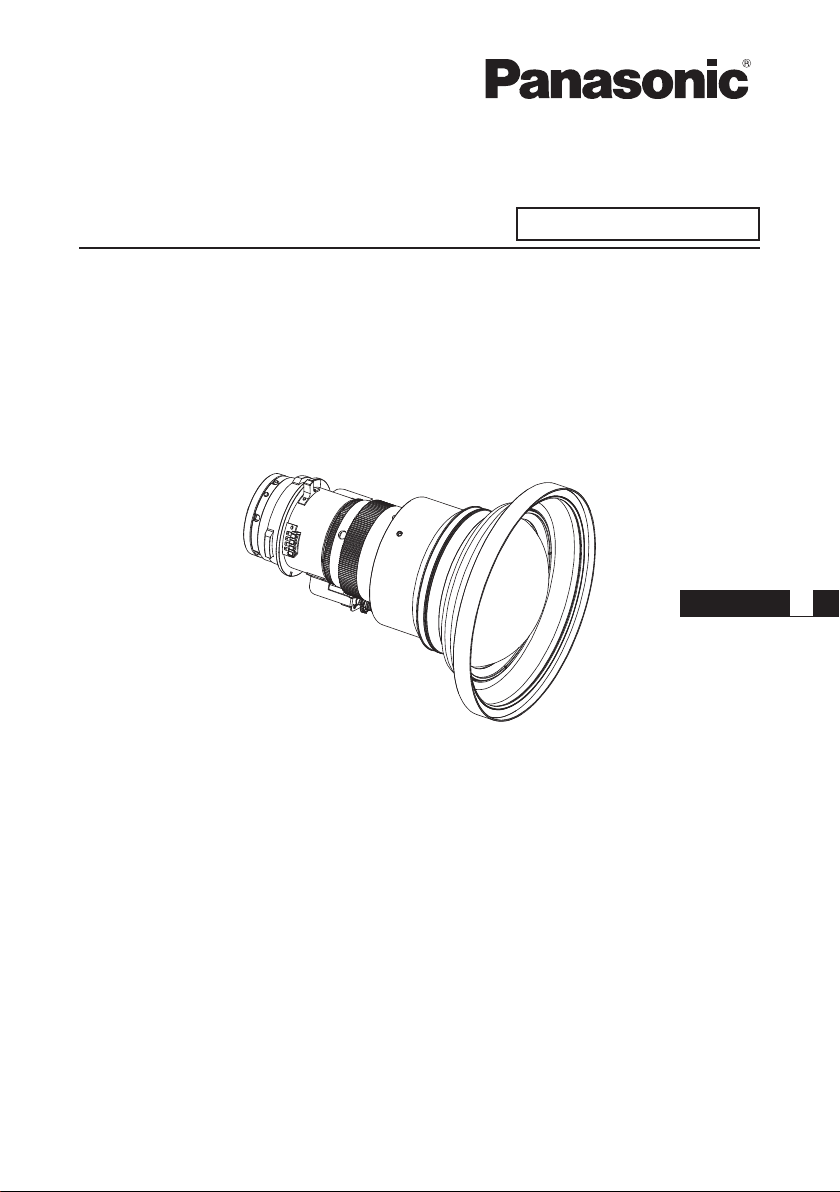
Zoom Lens
Model No.
Commercial Use
ET-DLE060
ENGLISH
Thank you for purchasing this Panasonic product.
To ensure correct use of this lens, please read the operating instructions supplied
■
with the lens and the projector carefully.
Before using this product, be sure to read “Read this rst!” (
■
Please save this manual for future use.
■
Page 3).
DPQX1249ZA/X1

█ Contents
Read this rst! ......................................................................................3
Before Use.............................................................................................4
Attaching the Lens / Detaching the Lens ...........................................4
Before replacing the projection lens ........................................................ 4
Attaching the Lens................................................................................... 5
Detaching the Lens ................................................................................. 6
Focus Adjustment .................................................................................... 7
Projection relationships.......................................................................8
Lens shift ranges ................................................................................10
Specications .....................................................................................12
Dimensions .........................................................................................12
Projected image size and Projection distance.......Appendix / Annexe /
The "Appendix" can be found after the Japanese language section (
日本語
).
付録
1
2-ENGLISH

Read this rst!
Always follow these precautions
WARNING:
Do not look at or place your skin into the light emitted from the lens while the
projector is being used.
Doing so can cause burns or loss of sight.
zStrong light is emitted from the projector’s lens. Do not look at or place your hands
directly into this light.
zTurn off the power when moving away from the projection lens or projector.
Do not project an image with the lens cover attached.
zDoing so can cause re.
CAUTION:
Before replacing the projection lens, be sure to turn off the power and
disconnect the power plug from the wall outlet.
zUnexpected projection of light may cause injury to eyes.
zReplacing the projection lens without removing the power plug may result in electric
shock.
Do not stand in front of the lens while the projector is being used.
Doing so can cause damage and burns to clothing.
zStrong light is emitted from the projector’s lens.
Do not place objects in front of the lens while the projector is being used.
Doing so can cause re, damage to the object, or malfunction of the lens and
projector.
zStrong light is emitted from the projector’s lens.
Do not open the desiccant bag. Do not eat the contents.
Inadvertently ingesting desiccant could be harmful.
zIf the desiccant gets into your eyes or mouth, immediately rinse with plenty of water
and seek medical attention.
zKeep desiccant out of the reach of children.
ENGLISH-3
Before Use
■Supported projectors
PT-RZ970 / PT-RW930 / PT-RX110 / PT-RZ770 / PT-RW730 / PT-RZ660 / PT-RW620 /
PT-DZ870 / PT-DW830 / PT-DX100 / PT-DZ780 / PT-DW750 / PT-DX820
Note
zThis manual omits the alphabets at the end of projector model numbers.
zModels other than the above may also be supported. Refer to the operating instructions of
the projector you are using.
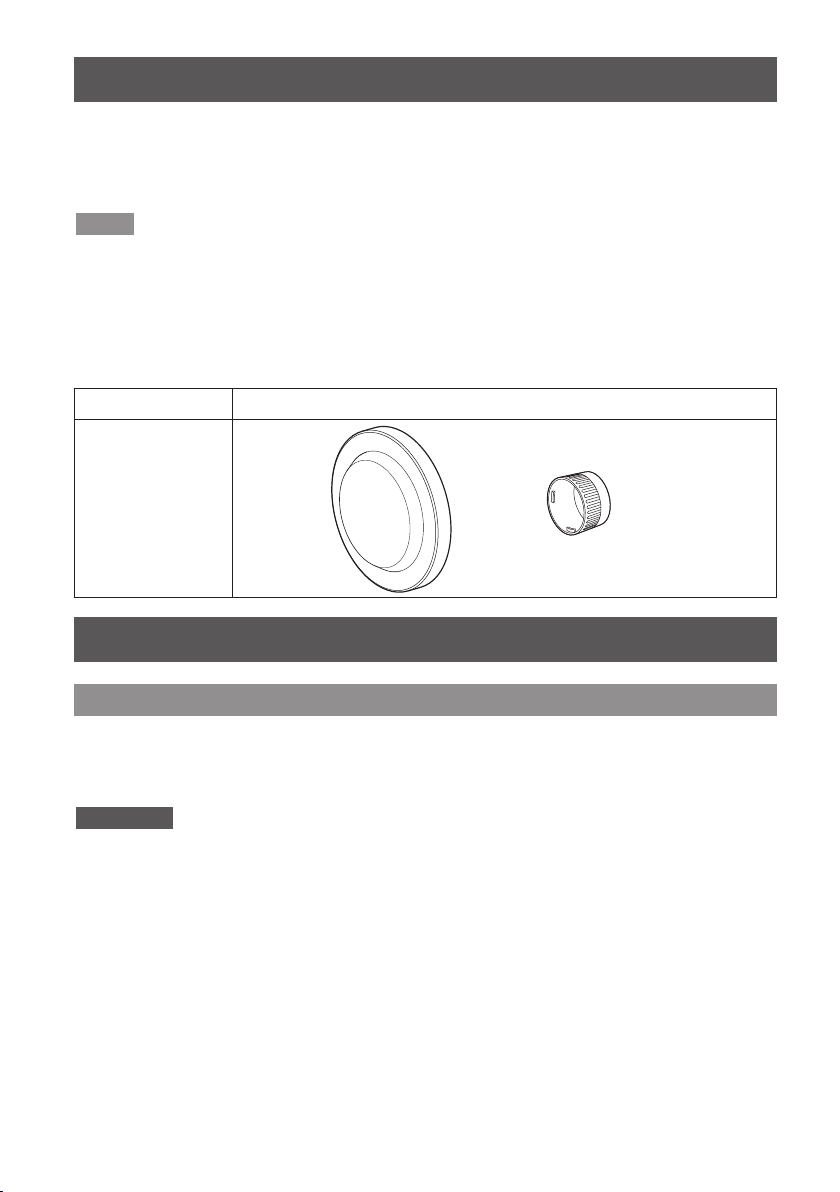
■Supplied Accessories
Make sure that the following has been provided.
Part name Appearance
(The product is
delivered with a lens
cover attached.)
Lens cover
1 each
Attaching the Lens / Detaching the Lens
Before replacing the projection lens
Return the projection lens to the home position before replacing or removing it.
For details on how to return the lens to the home position, refer to the operating
instructions of the projector.
Attention
zMake sure that the projector power supply is switched off before attaching or detaching the
projection lens.
zAfter removing the projection lens, store it safely away from vibration or impacts.
zDo not touch the electric contact points of the projection lens with your ngers. Dust and
dirt on the contacts may cause contact malfunctions, while static electricity may damage
the unit.
zDo not touch the surface of the lens with bare hands. Finger prints and dirt on the surface
of the lens will be magnied by the lens and lower the quality of the projected image. Place
the supplied lens cover on the zoom lens when the projector is not in use.
zThe lens is made of glass. The lens could be damaged if brought into contact with or
rubbed against hard objects. Handle the lens carefully.
zUse a clean, soft and dry cloth to wipe away dust and dirt from the projection lens.
Do not use uffy cloths containing oil, water or dust for cleaning. The lens is easily
damaged, so do not apply excessive pressure when wiping it.
4-ENGLISH
Attaching the Lens / Detaching the Lens (continued)
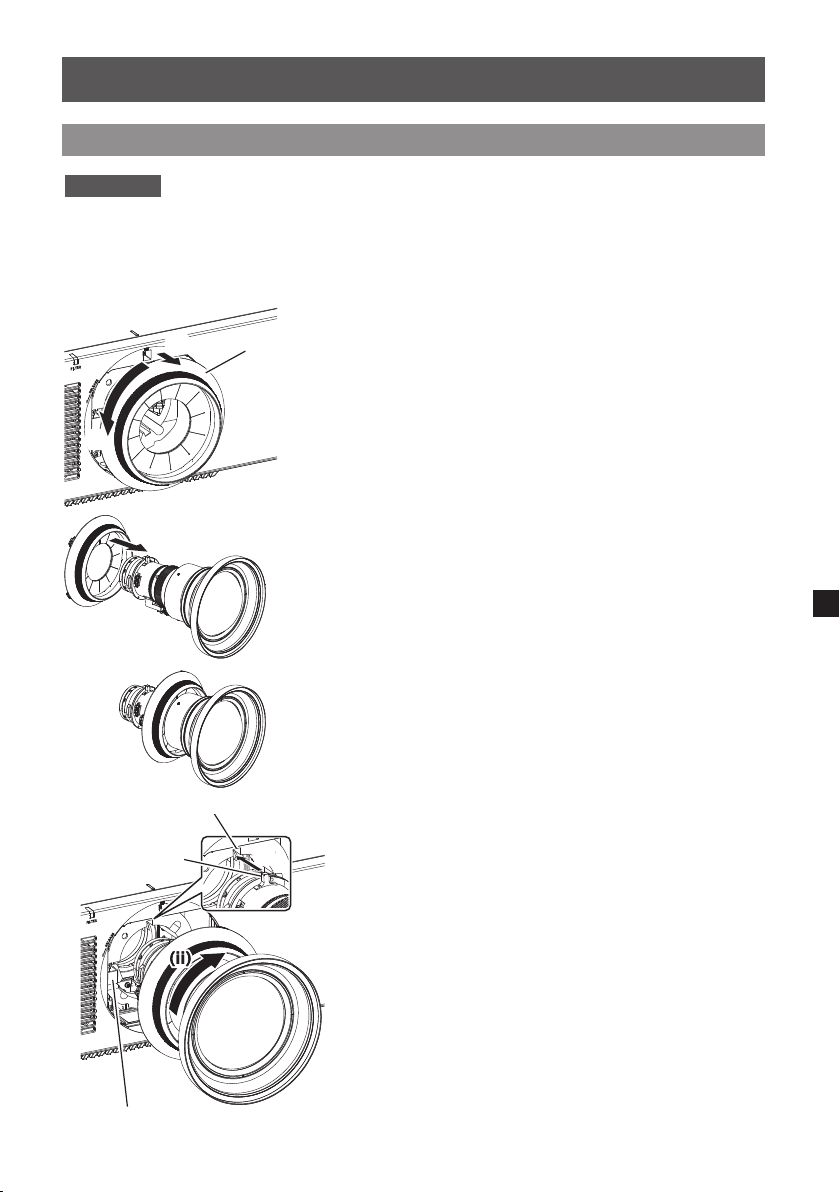
Attaching the Lens
Attention
zBefore attaching the Projection Lens, remove the lens hole cover (only lens options
models) and the two lens covers attached to the Projection Lens.
The illustrations in this procedure depict
use of the PT-RZ970 series as an example.
1)
(i) Turn the lens mount cover
(i)
(i)
(ii)(ii)
Lens Mount Cover
counterclockwise, and (ii)
remove it.
2)
Pass the rear of the zoom lens
through the lens mount cover
until the lens mount cover is
at about the front of the zoom
lens.
Guide groove
Positioning guide
Lens release button
(i)(i)(i)(i)
3)
(i) Align the positioning guide
on the zoom lens with the
guide groove on the projector,
and insert the zoom lens all
the way into the projector.
4)
(ii) Turn the zoom lens
clockwise until it clicks into
place.
zTurn the zoom lens
counterclockwise, and check that it
is locked into place.
ENGLISH-5
Attaching the Lens / Detaching the Lens (continued)
Slot position
Lens cover tab
5)
(i) Insert the tab on the lens
mount cover through the
slot on the projector, and (ii)
turn clockwise to secure lens
mount cover.
(i)(i)
Attention
zAfter attaching the projection lens, turn on the projector and perform lens calibration.
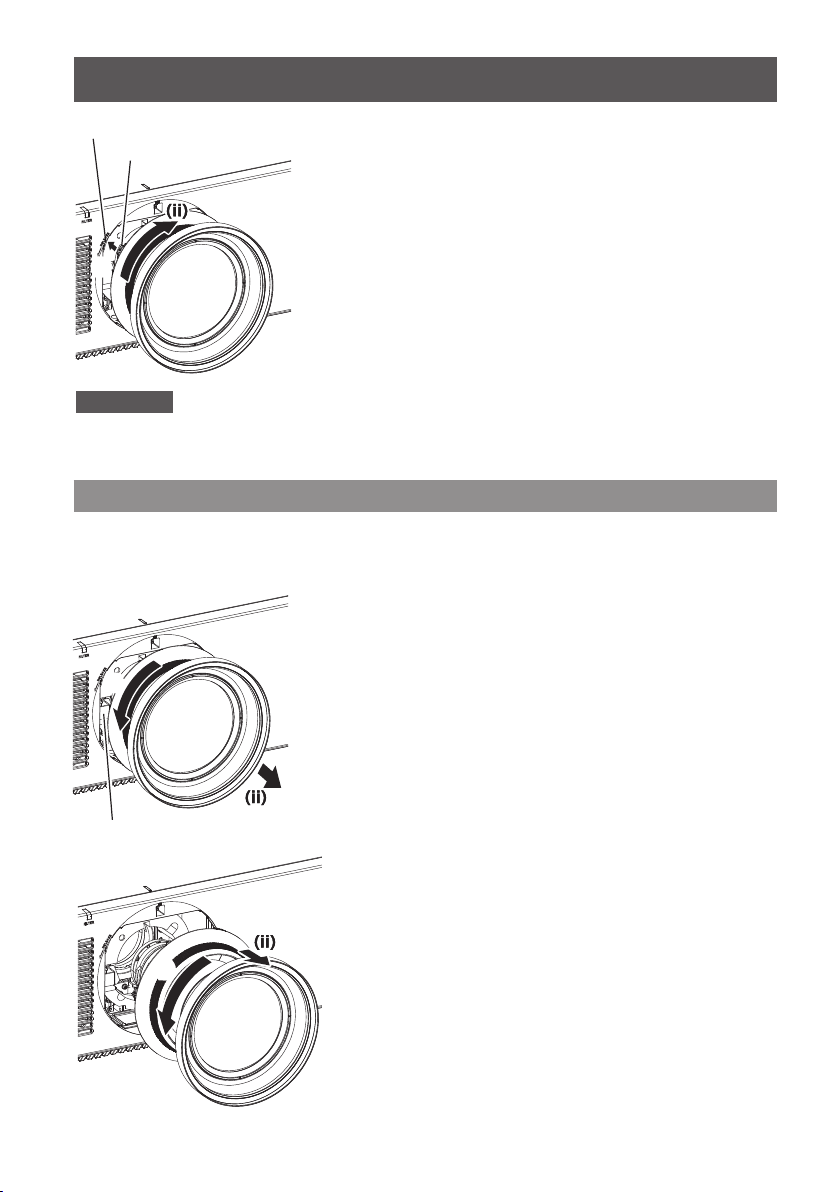
Detaching the Lens
The illustrations in this procedure depict
use of the PT-RZ970 series as an example.
1)
(i) Turn the lens mount cover
counterclockwise, and (ii)
remove it.
(i)(i)
2)
Press the lens release button.
zA click will be heard.
Lens release button
(i)(i)
6-ENGLISH
3)
(i) Turn the zoom lens
counterclockwise, and (ii)
remove it.
Attaching the Lens / Detaching the Lens (continued)
Focus Adjustment
The focus balance of the center of the projected image and that of the peripheral areas
differs depending on the size of the image.
This lens is equipped with a function for adjusting the peripheral focus balance.
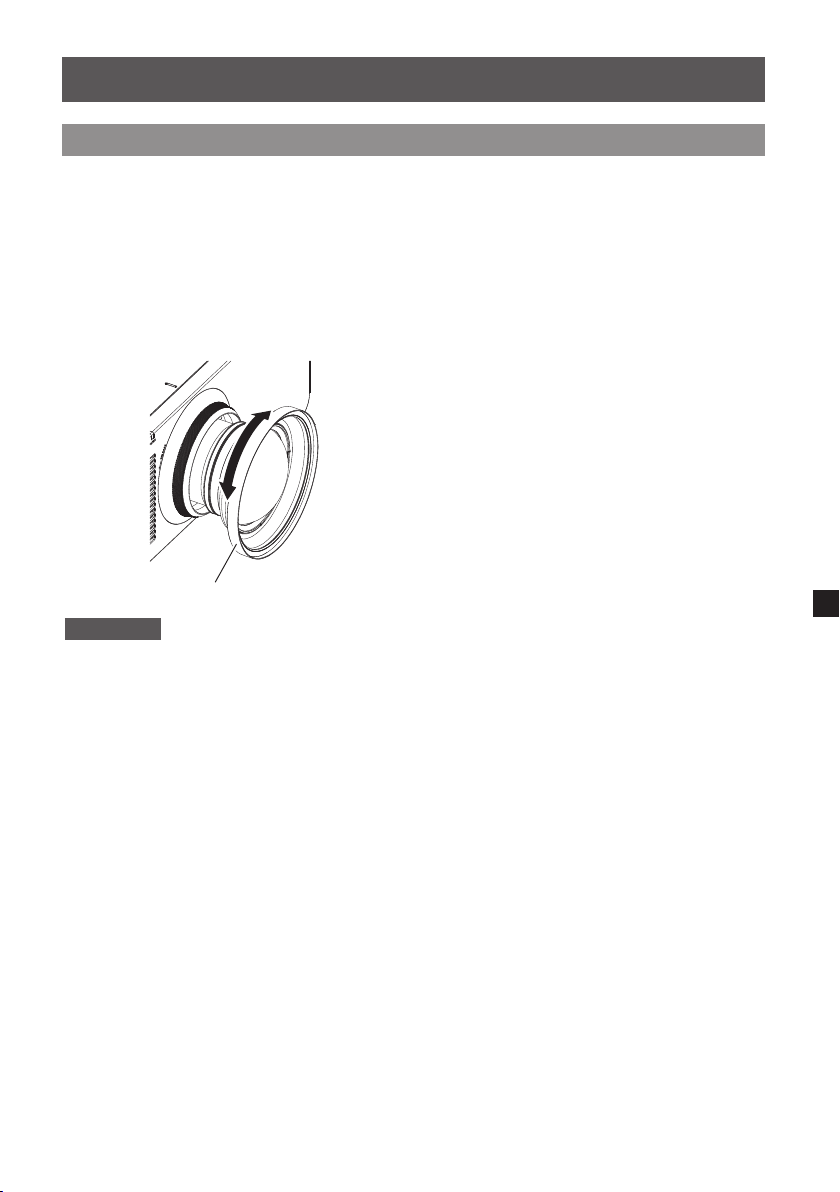
■Adjusting the focus
The illustrations in this procedure depict
use of the PT-RZ970 series as an
example.
1)
Operate the projector to align
the focus of the center of the
image.
2)
Manually turn the peripheral
focus adjustment ring as
shown on the left, and align
the focus of the peripheral
areas of the image.
Peripheral focus adjustment ring
Attention
zThe projected image sizes and their indicators shown on the peripheral focus adjustment
ring are approximate guides.
ENGLISH-7
 Loading...