

Panasonic EBL512 G3 User Manual
User manual
MEW01603
Revision -
Fire alarm system
EBL512 G3
EBL512 G3 version 2.0.x
Daily user's manual
Author: Jan Pettersson
Date of issue: 2013-01-10
Date of rev:

This page has deliberately been left blank.

Panasonic Eco Solutions Nordic AB
MEW01603 Rev: - EBL512 G3 version 2.0.x, Daily user's manual
1
Table of contents
1 Introduction________________________________ 2
2 Front______________________________________ 3
3 Log on to the Control Unit (c.i.e.) ______________ 4
4 Perform monthly test (H1) ___________________ 6
5 Disable or re-enable (H2) ____________________ 7
5.1 Zone or Zone / Address (B1) _________________________ 8
5.2 Output (B2) ______________________________________ 9
5.3 Output type (B3) __________________________________ 10
5.4 Alarm devices (B4) _______________________________ 11
5.5 Routing equipment (B5) ____________________________ 12
5.6 Alert Annunciation function (B6) ____________________ 13
6 Set calendar and clock (H3) _________________ 14
7 Present system status (H4) __________________ 15
7.1 Disablement (U1) _________________________________ 16
7.2 Disablement by time channel (U2)____________________ 16
7.3 Open doors (U3) __________________________________ 17
7.4 Sensor values (U4) ________________________________ 17
7.5 Sensors activating SERVICE signal (U5) ______________ 18
7.6 Technical warning (U6) ____________________________ 18
7.7 Event log (U7) ___________________________________ 19
7.8 Information (U8) _________________________________ 19
8 FAULT Acknowledge (H6) __________________ 20
9 Perform ZONE TEST (Test mode) (H7) _______ 21
10 Interlocking outputs and inputs (H9) _________ 23
10.1 Activated interlocking outputs / inputs (C1) ____________ 24
10.2 Activate / deactivate interlocking output (C2) ___________ 24
10.3 Disable / re-enable interlocking output (C3) ____________ 25
11 Change password (H10) ____________________ 26
12 Revision history ____________________________ 27

Panasonic Eco Solutions Nordic AB
MEW01603 Rev: - EBL512 G3 version 2.0.x, Daily user's manual
2
1 Introduction
This document is intended to be used for the daily duties like
disablements / re-enablements, zone tests, etc. in the EBL512 G3
system.
Due to continual development and improvement different S/W
versions can be found. This document is valid for EBL512 G3 S/W
version 2.0.x. (x=0 at the "Date of issue" or "Date of revision".)
The document describes the main menus (incl. the sub menus) valid
for access level / type "Building officer".
This document is less detailed and shorter than the Operating
Instruction, MEW01552.
NOTE! In the left margin are pictures of the buttons / soft keys used
in the menu respectively. Each picture is only shown one time in each
menu – not each time the button / soft key should be used.
A User name and a Password is required to Log on to the control
unit, i.e. for access to the menu system.1
The PC program EBLWin is used for commissioning, etc. User
names and Passwords can be added and edited via this program.
EBLWin require an EBLWin key (hardware) to log on to the control
unit in order to download Site Specific Data, e.g. User names and
Passwords.
1
The menus available are depending on the access level / type for the user
respectively, see chapter "Log on to the Control Unit (c.i.e.)", page 4.
Panasonic Eco Solutions Nordic AB
MEW01603 Rev: - EBL512 G3 version 2.0.x, Daily user's manual
3
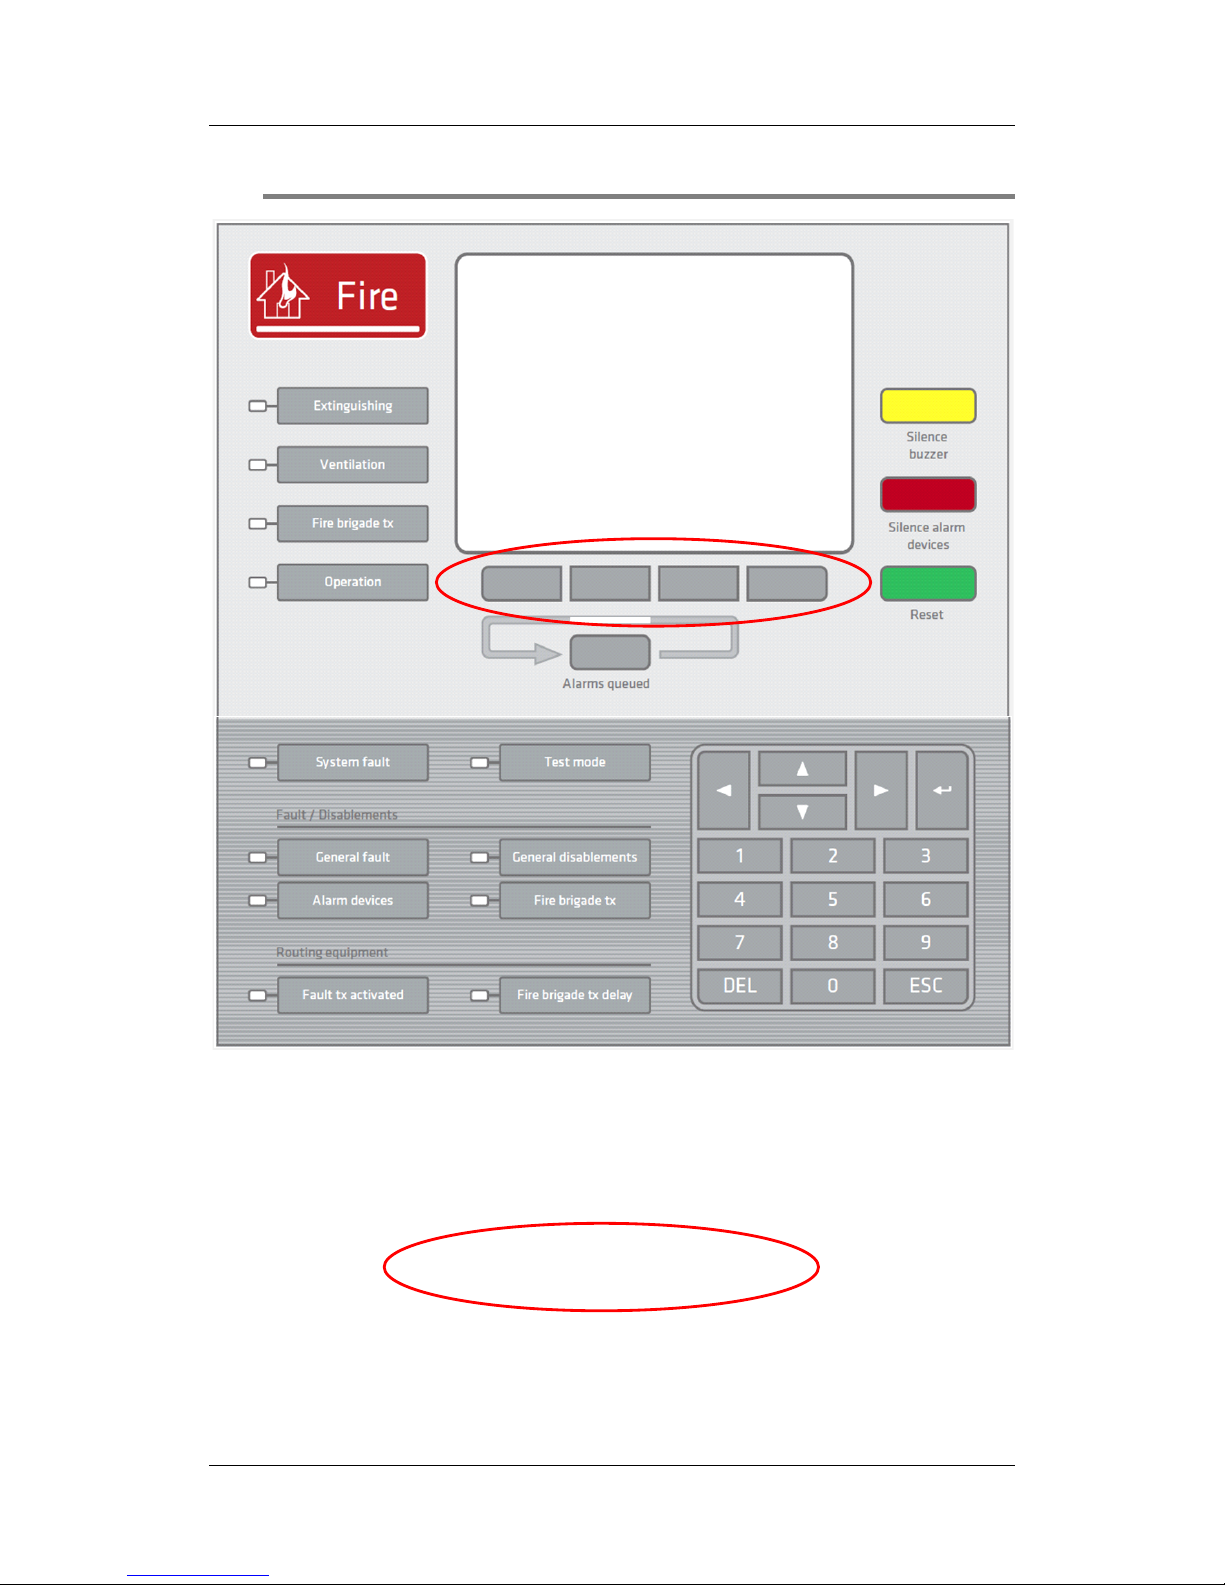
2 Front
Front, upper (light grey) part. Fire Brigade Panel (FBP).
Front, lower (dark grey) part. LEDs and keypad.
Soft keys. Information will be visible above the
key respectively when it has a function.

Panasonic Eco Solutions Nordic AB
MEW01603 Rev: - EBL512 G3 version 2.0.x, Daily user's manual
4
3 Log on to the Control Unit (c.i.e.)
User name
Up to ten (10) User names (0, 1, 2 - - 9) might be programmed.
Default are normally three User names available (0, 1 and 2) but they
might have been changed and/or User names 3 – 9 might have been
added during the commissioning of the system. User name examples:
0 Information only
1 Building officer
2 Service personnel
3 Mr. Xxxxxxxxx
4 Miss Yyyyyyyyy
etc.
Password
Each User name has a Password for an access level / type, i.e.
"Information only", "Building officer" or "Service personnel".
Access levels (access types):
Information only will give access to the menus H4, H6, H9 and H10.
Building officer will give access to the menus H1, H2, H3, H4, H6,
H7, H9 and H10. (Described in this document.)
Service personnel will give access to the menus H1, H2, H3, H4, H5,
H6, H7, H8, H9 and H10.
How to log on
Press the Soft key "Menu".
With the keypad select 0, 1, 2 - - 8 or 9 for a User name.
Type the Password for that user name. (Six digits. * * * * * *)
After typing a correct Password a main menu list with the available
menus will be displayed. (For "0", i.e. Information only, is by default
no Password required.)
Information only
H4 Present system status
H6 Display FAULTS (No possibility to Acknowledge the faults.)
H9 Interlocking outputs and inputs
H10 Change password (Password for the User name that was used for
log on to the control unit.)
Menu
Panasonic Eco Solutions Nordic AB
MEW01603 Rev: - EBL512 G3 version 2.0.x, Daily user's manual
5
Building officer (Described in this document.)
H1 Perform monthly test
H2 Disable or re-enable
H3 Set calendar and clock
H4 Present system status
H6 FAULT Acknowledge
H7 Perform ZONE TEST
H9 Interlocking outputs and inputs
H10 Change password (Password for the User name that was used for
log on to the control unit.)
Service personnel
H1 Perform monthly test
H2 Disable or re-enable
H3 Set calendar and clock
H4 Present system status
H5 Service
H6 FAULT Acknowledge
H7 Perform ZONE TEST
H8 Maintenance
H9 Interlocking outputs and inputs
H10 Change password (Password for the User name that was used for
log on to the control unit.)
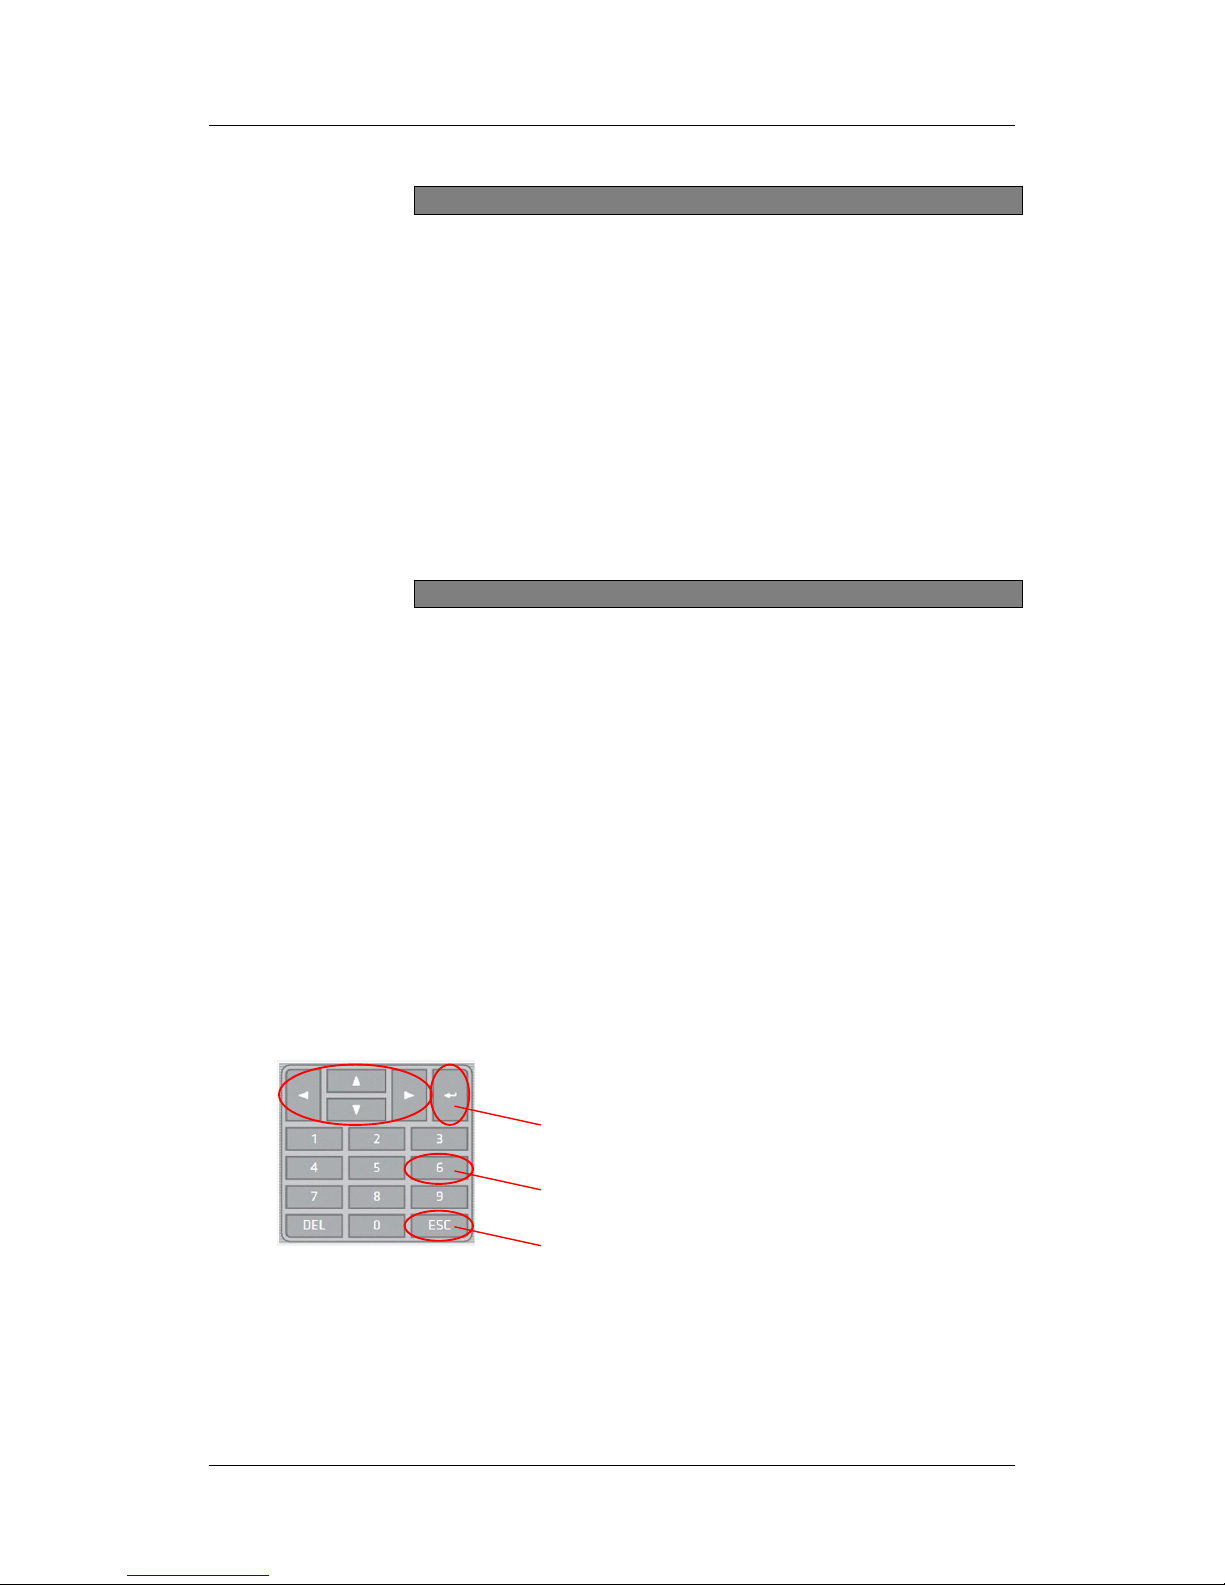
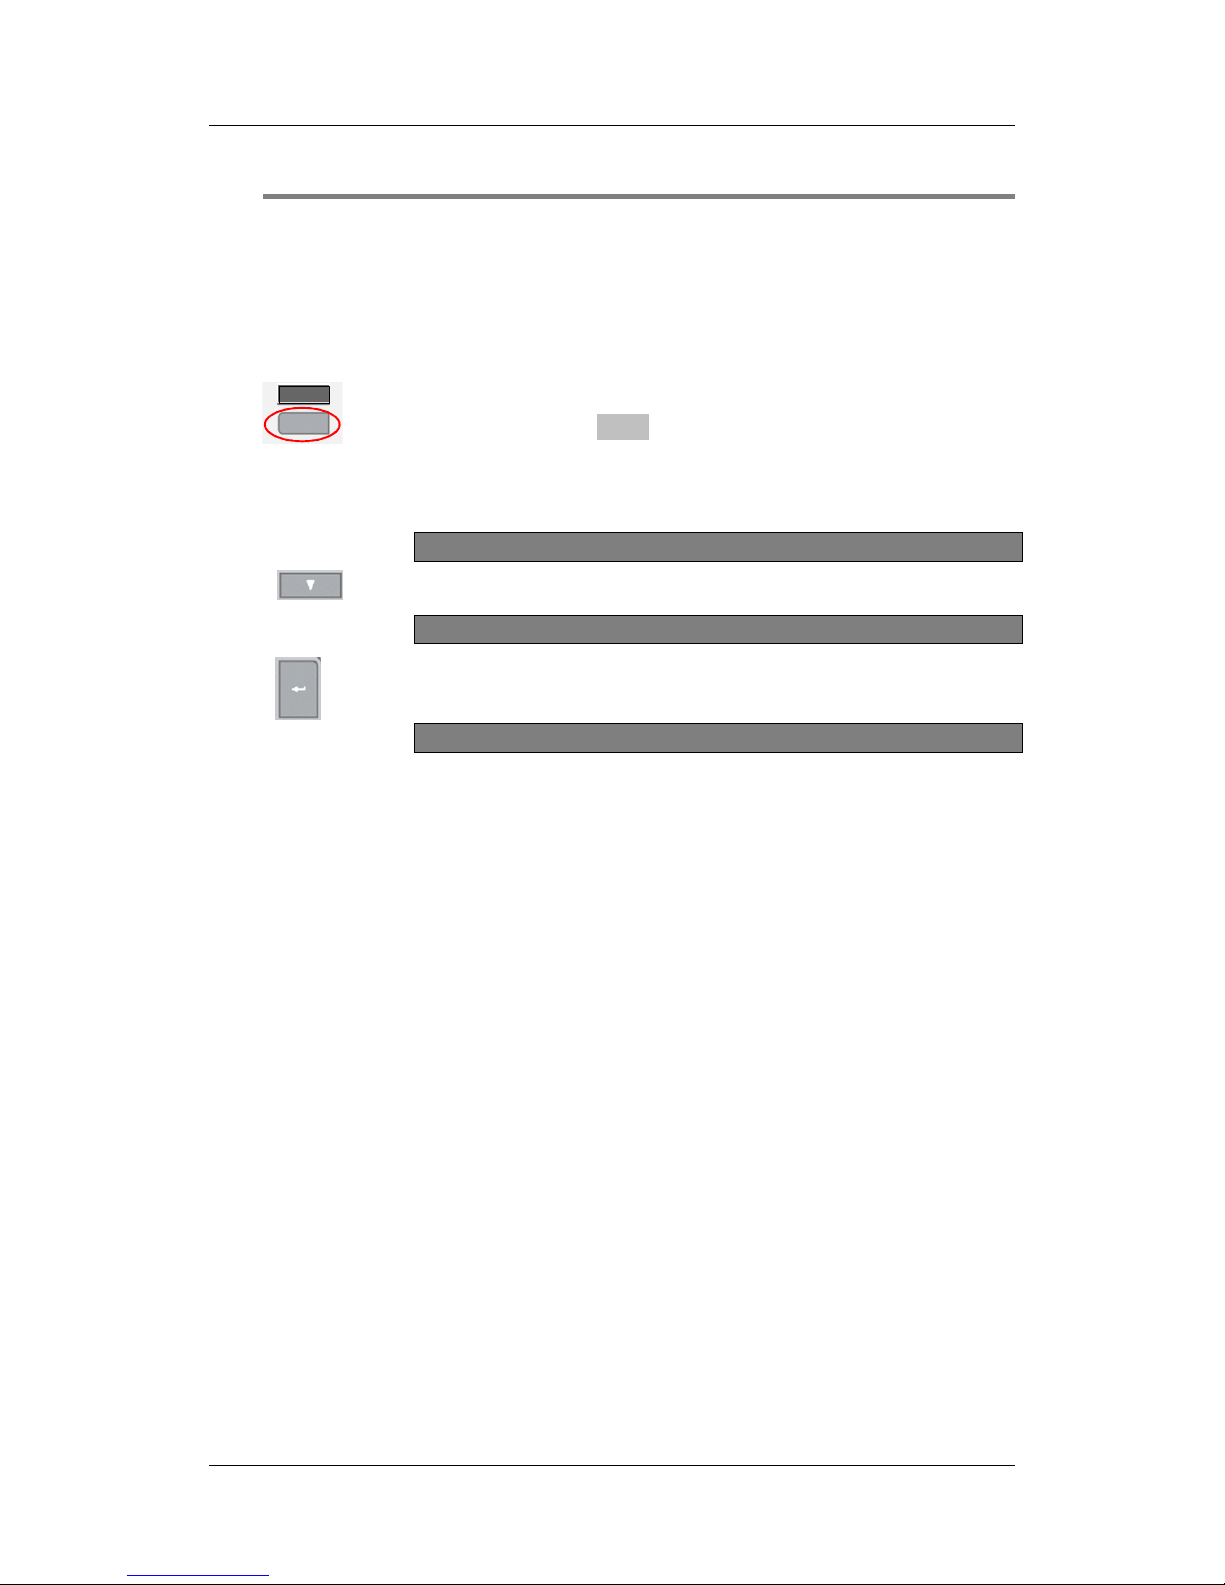
Keypad
Use the arrow keys ( , , , ) to step in the
menu lists and in the selected menu respectively.
Press Return / Enter ( ) to accept / select.
A quick jump to a menu can be done by pressing the
corresponding digit key, e.g. "6" for menu H6.
Press ESC to stop the enting of data and to jump one
step upwards in the menu system, e.g. from a sub menu
to a main menu.
Panasonic Eco Solutions Nordic AB
MEW01603 Rev: - EBL512 G3 version 2.0.x, Daily user's manual
6
4 Perform monthly test (H1)
Not possible for access level / type "Information only".
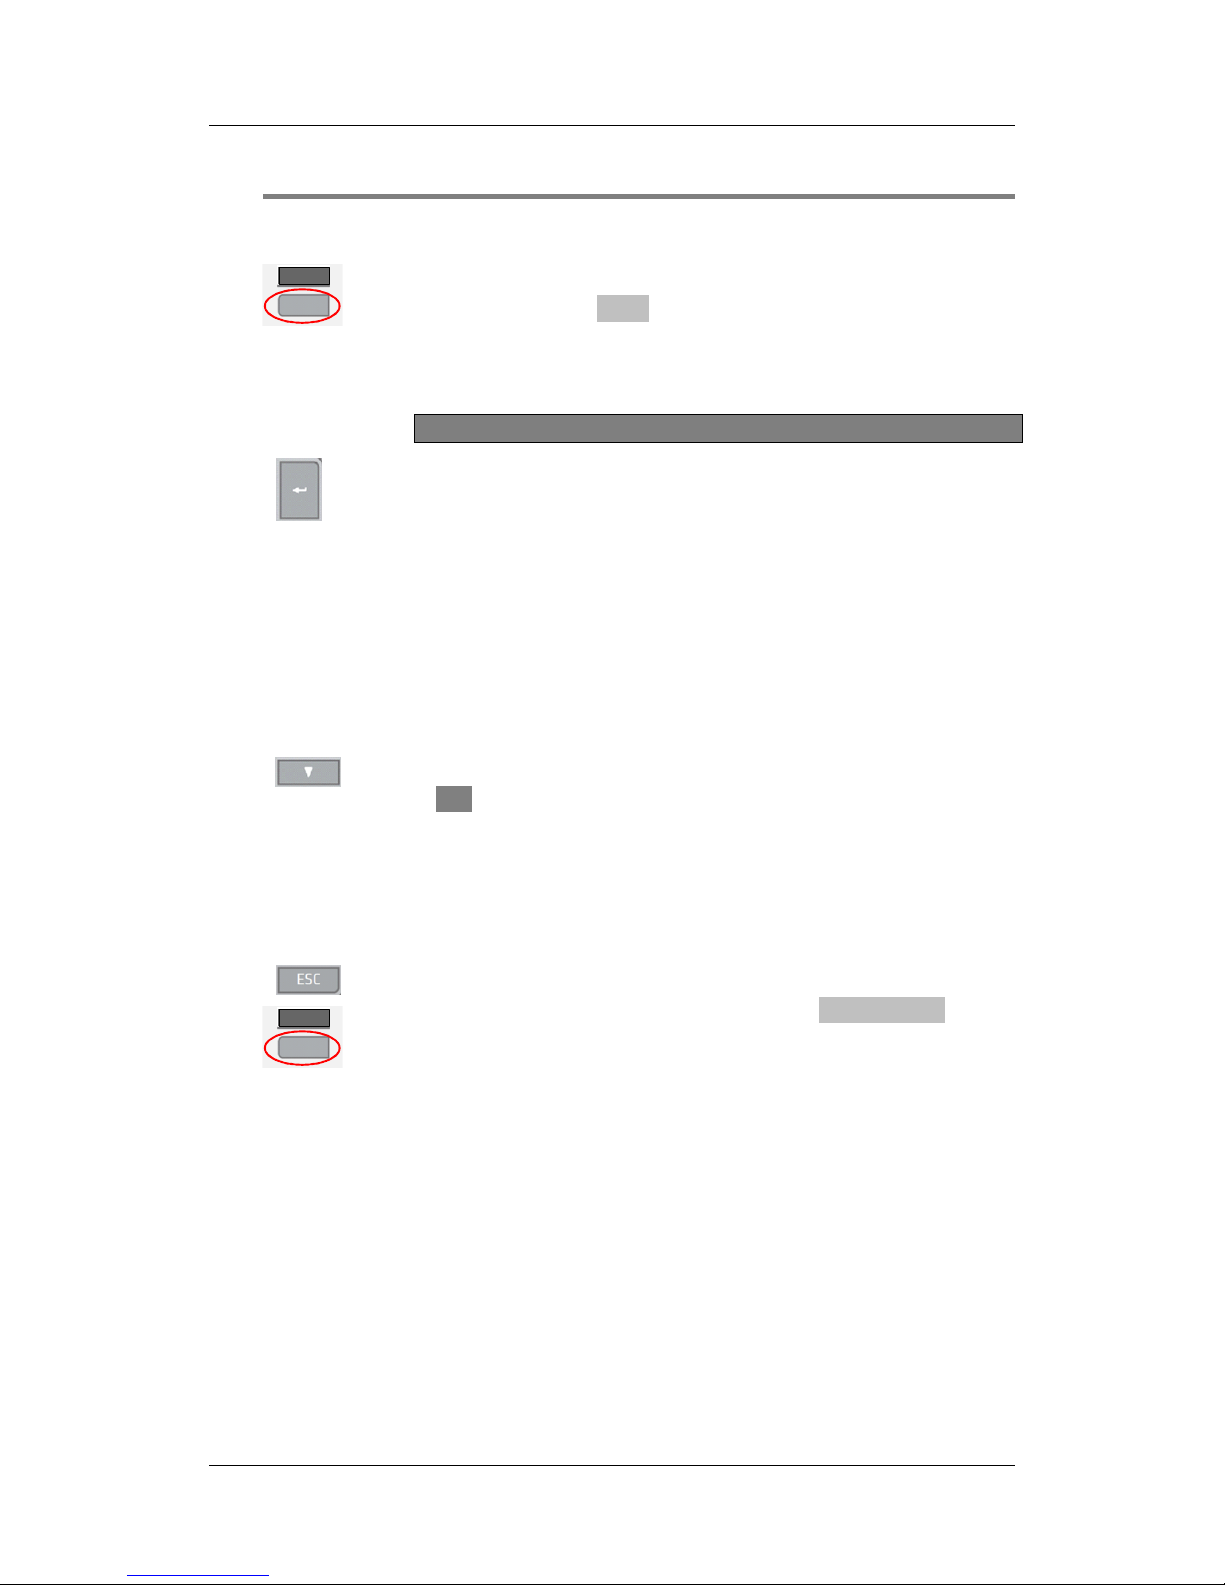
Press the Soft key "Menu".
With the keypad select 0, 1, 2 - - 8 or 9 for a User name.
Type the Password for that user name. (Six digits. * * * * * *)
H1 Perform monthly test
Press ( ).
Press ( ). The c.i.e. buzzer sounds, all the dots in the display are
shown and all LEDs on the front are turned on. If the c.i.e. has a
printer it has made a print out: ABC..........Z abc.........z.
Press ( ). Up to four zones can be set in test mode. Use the keypad
to type the zone numbers.
Press ( ). Perform the test. To end the test, press ( ).
If the routing equipment shall not be tested press ( ) and see
below.
If the routing equipment shall be tested press ( ) to highlight
Yes and press ( ). Started test is indicated by LED "Fault tx
activated" and after 30 seconds also LED "Fire brigade tx". After 60
seconds (in total) the routing equipment test is ended and the LEDs
are turned off.
Press ( ).
Monthly test is completed. Press ( ).
To leave a menu press ESC.
To leave the menu system press the Soft key "Escape menu".
Menu
Escape
menu
Panasonic Eco Solutions Nordic AB
MEW01603 Rev: - EBL512 G3 version 2.0.x, Daily user's manual
7
5 Disable or re-enable (H2)
Not possible for access level / type "Information only".
NOTE! One or more disablements in the system are indicated by the
LED "General disablements" on the c.i.e. front. Depending on the
type of disablements, also the LED "Alarm devices" and/or "Fire
brigade tx".
Press the Soft key "Menu".
With the keypad select 0, 1, 2 - - 8 or 9 for a User name.
Type the Password for that user name. (Six digits. * * * * * *)
H1 Perform monthly test
Press ( ) to highlight menu H2.
H2 Disable or re-enable
Press ( ). A sub menu list (B1 – B6) will be displayed. B1
Disable zone
B1 Zone or Zone / Address
B2 Output
B3 Output type
B4 Alarm devices
B5 Routing equipment
B6 Alert annunciation function
To open the sub menu respectively, see the following chapters.
Menu
Panasonic Eco Solutions Nordic AB
MEW01603 Rev: - EBL512 G3 version 2.0.x, Daily user's manual
8
5.1 Zone or Zone / Address (B1)
Up to 512 whole zones can be disabled via menu B1. Normally all
alarm points within the zone will be disabled except the addressable
manual call points.
Up to 200 alarm points (Zone / Address) can be disabled via menu B1.
Disabled Zones and/or Zone / Addresses can also be Re-enabled via
menu B1.
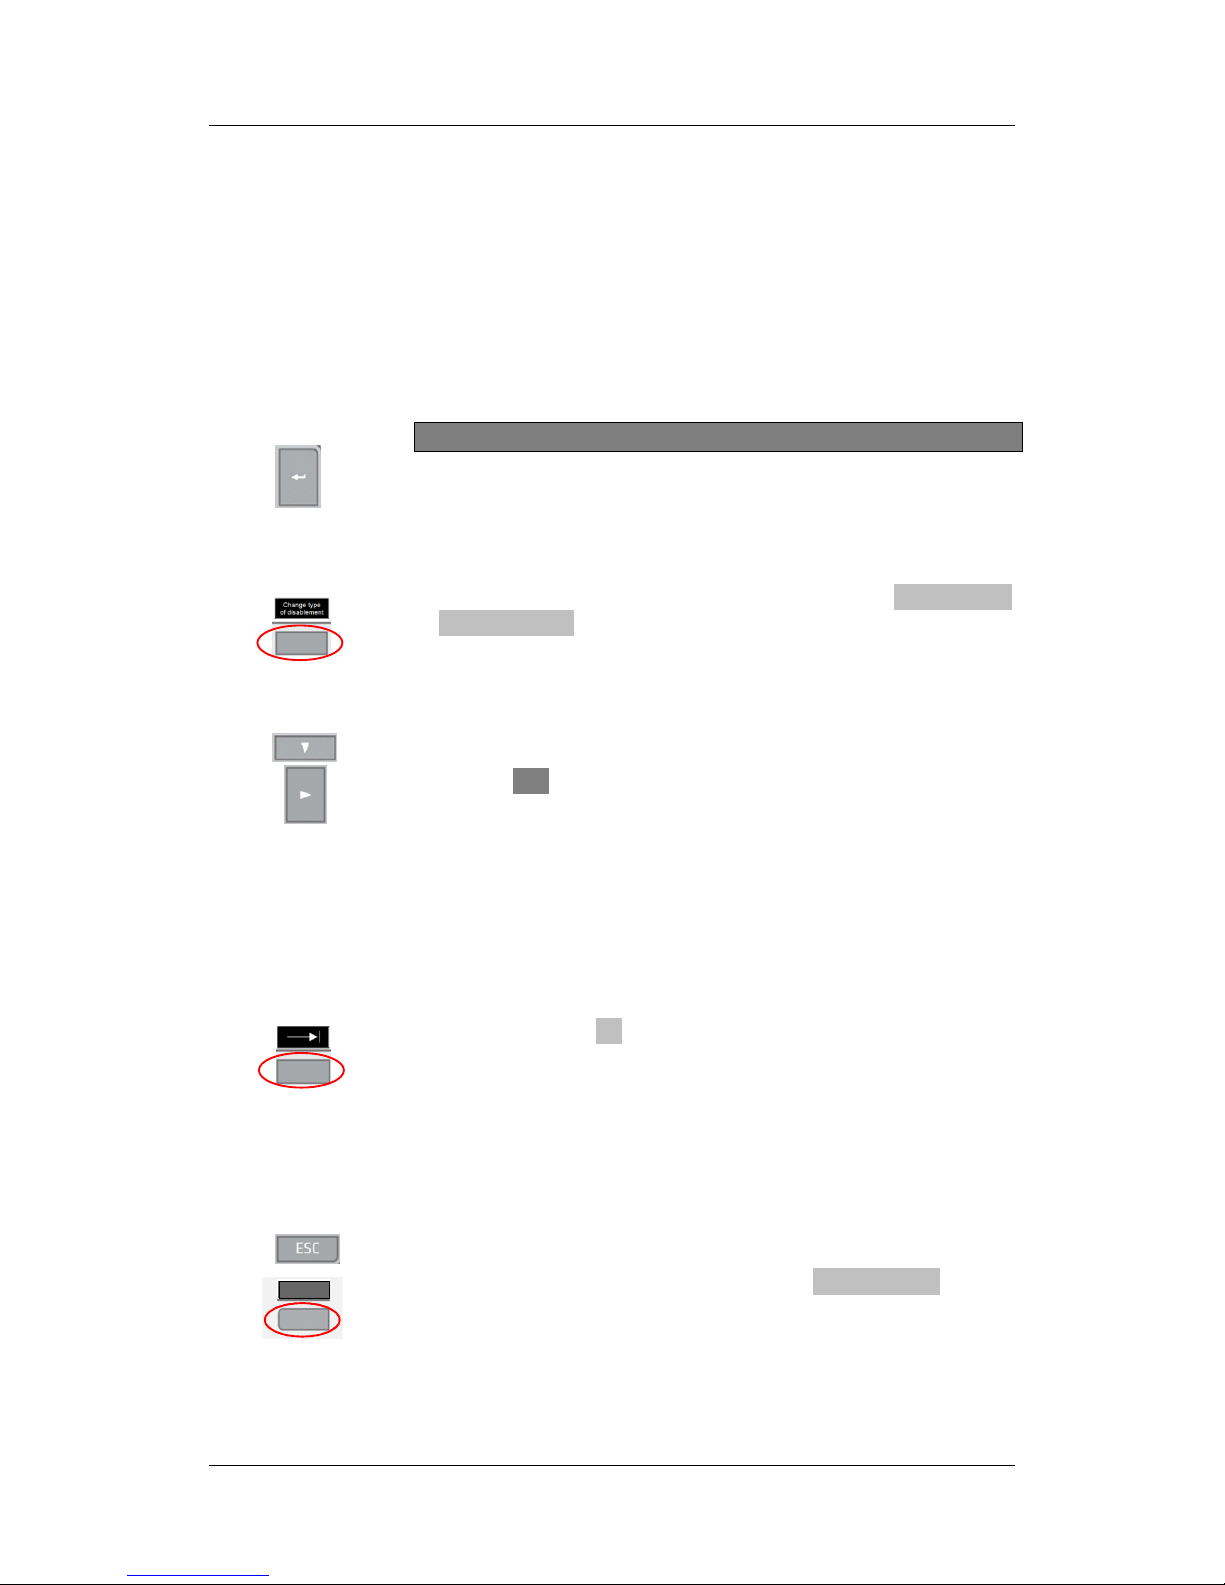
Cont. from , page 7.
B1 Zone or Zone / Address
Press ( ).
Disable
NOTE! To Re-enable, see ➓ below.
By default is Zone 000 selected. Press the Soft key "Change type
of disablement" to toggle between:
Zone 000
Zone 000 address 00.
Use the keypad to type the Zone or Zone / Address. Press ( ).
If "Automatically re-enablement" shall be used, press ( and ) to
highlight Yes , accept the suggested time or use the keypad to type
another time (hh:mm). Press ( ).
A successful disablement is indicated by a beep and a "√". It will also be
shown in the Re-enable list.
A not successful disablement is indicated by another beep and a "X".
Re-enable
➓ Press the Soft key " ⇥ " to toggle between:
Disable
Re-enable list.
Press ( ) to highlight the Zone or Zone / Address that shall be Re-
enabled.
⓫ Press ( ). A successful Re-enablement is indicated by a beep and it
will also disappear from the Re-enable list.
⓬ To leave a menu press ESC.
To leave the menu system press the Soft key "Escape menu".
Escape
menu
 Loading...