

Panasonic DMR-EH60D Operating Instructions
QUICK START GUIDE
DVD Recorder
Model No.
DMR-EH60DEB
How to use this Guide
Page
Connecting with 21-pin Scart cable 2
Connecting with AV cable / S Video cable 3
Auto-Setup with Q Link 4
Auto-Setup without Q Link
Connecting with RF cable (Aerial cable) 5
Auto-Setup with RF cable (Aerial cable)
Removing interference / 6
Changing RF output channel
Checking the settings after Auto Setup 6
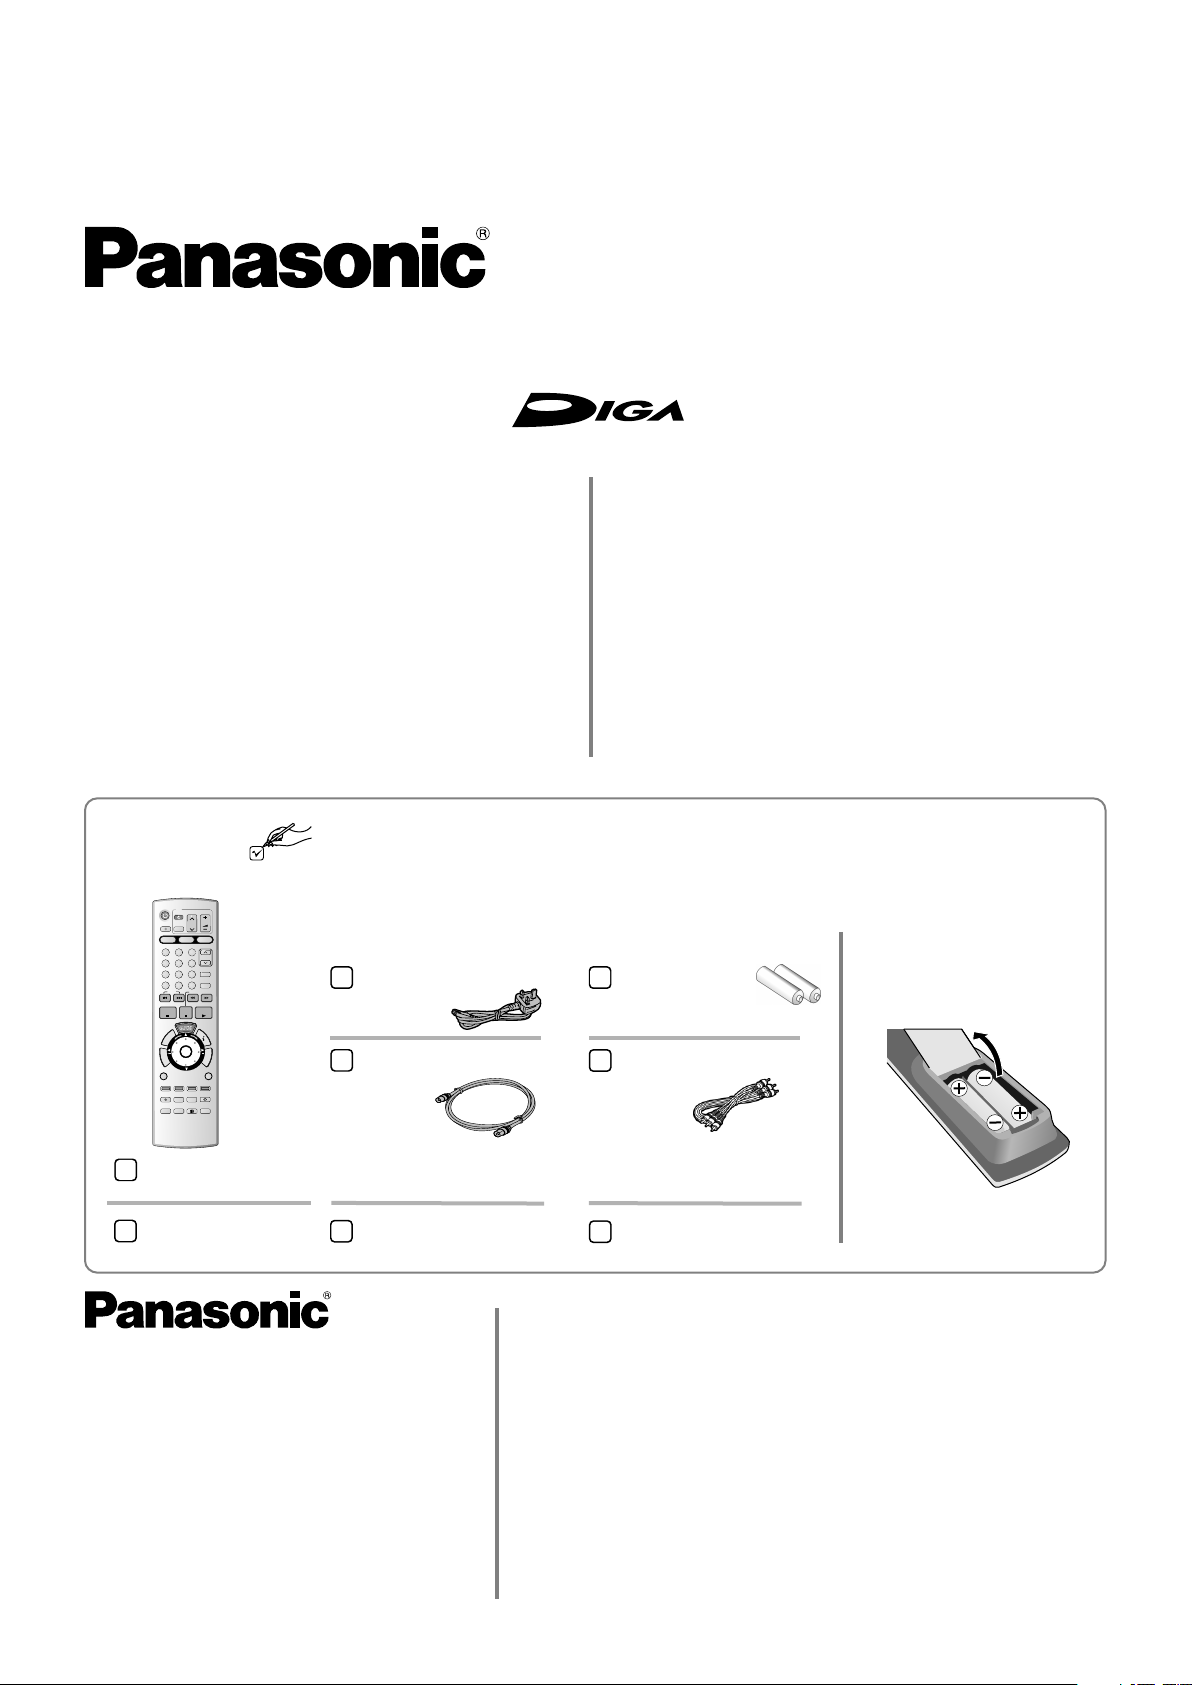
Check that you have the accessories and items shown
DVD
DIRECT TV REC
HDD
1
4
7
CANCEL
*
SKIP
STOP
T
X
E
T
R
U
O
T
N
T
A
E
C
G
I
E
M
V
R
I
A
P
D
N
O
T
SUB MENU
S
MANUAL SKIP
REC
TIME SLIP
Panasonic
A
Remote control
EUR7729KH0
Included
TV
VOLUME
CH
AV
DVD SD
PAGE
ccessories
2
3
CH
6
5
VIDEO Plus+
9
8
INPUT SELECT
DISPLAY
0
SLOW/SEARCH
PAUSE
PLAY/x1.3
F
U
ENTER
N
C
T
I
O
N
S
RETURN
CREATE
CHAPTER
ERASE
REC MODE
EXT LINK
TIMER
PROG
STTL
STATUS
CHECK
DVD/TV
EUR7729KH0
AC mains lead
RJA0044-3C
RF cable
K1TWACC00001
Dear customer,
may we take this opportunity to thank you for
purchasing this Panasonic Recorder.
DVD
Please use this Quick Start Guide to help you set up
your DVD Recorder. We would also advise you to
carefully study the operating instructions and note the
listed precautions before use.
Condensation precaution
This DVD Recorder is not fitted with a condensation
sensor. If you bring in the DVD Recorder from a cold
place, e.g. a car, into a warm house, dew may form
inside the DVD Recorder.
Do not switch it on for at least 1 hour.
Fit the batteries into
Batteries for the
the remote control
remote control
R6 size
Audio / Video cable
K2KA6CA00001
Guarantee Card
Quick Start Guide
Sales and Support Information
Customer Care Centre
!
For customers within the UK:
08705 357357
!
Visit our website for product information:
www.panasonic.co.uk
!
E-mail:
customer.care@panasonic.co.uk
RQCAD0023 F16F05-0
Operating Instructions
Direct Sales at Panasonic UK
!
Order accessory and consumable items for your product with
ease and confidence by phoning our Customer Care Centre
Monday - Thursday 9:00am - 5:30pm, Friday 9:30am - 5:30pm
(Excluding public holidays).
!
Or go online through our Internet Accessory ordering application
at www.panasonic.co.uk
!
Most major credit and debit cards accepted.
!
All enquiries, transactions and distribution facilities are provided
directly by Panasonic UK Ltd.
!
It couldn´t be simpler!
!
Also available through our Internet is direct shopping for a wide
range of finished products, take a browse on our website for
further details.
- 1 -
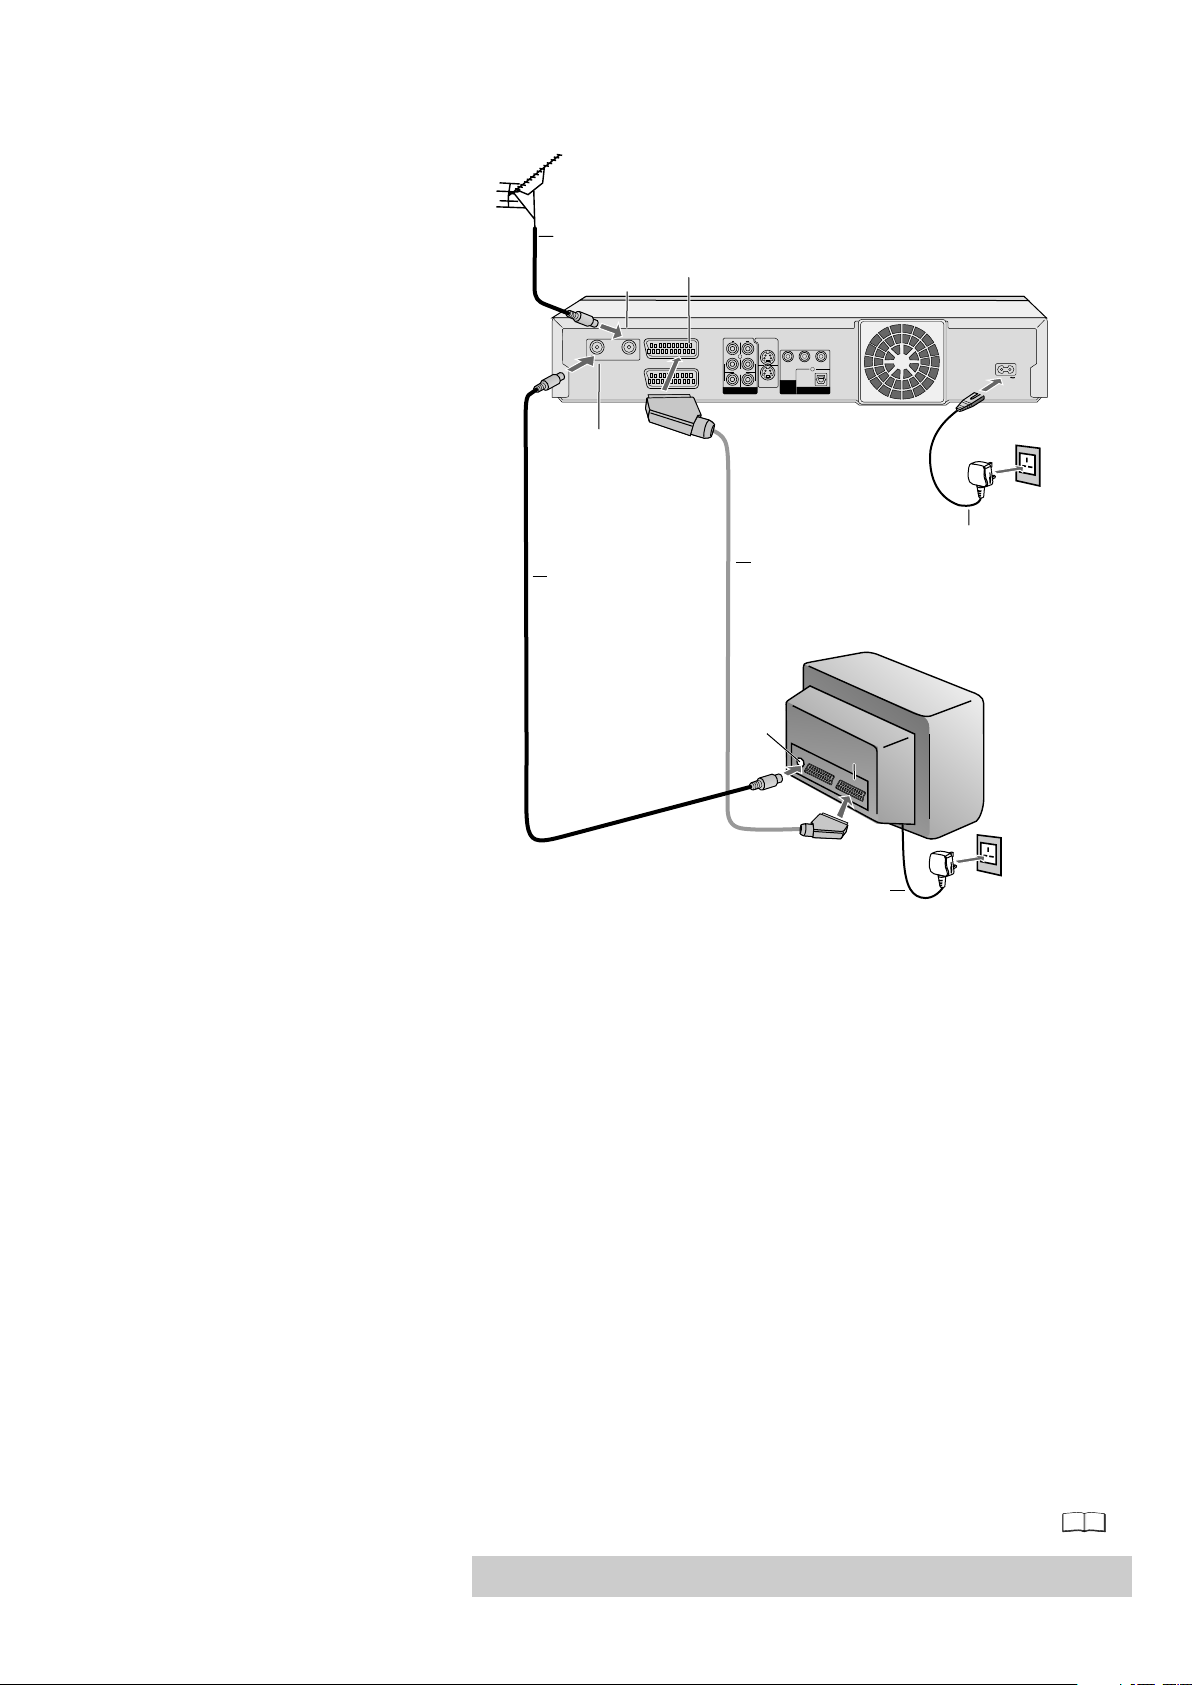
Connecting with a 21-pin Scart cable
Aerial
1
RF cable /
Aerial cable
RF OUT
Aerial output
RF cable /
2
Aerial cable
RF IN
Aerial input
RF OUT
AV1 21-pin Scart socket
RF IN
AV1 (TV)
AV2 (EXT)
DVD Recorder
S VIDEO OUT
VIDEO
L L
R
AV4 IN
Y
COMPONENT
S VIDEO
R
VIDEO OUT
AV4 IN
(PROGRESSIVE/
OUT
INTERLACE)
21-pin Scart cable
3
PB
OPTICAL
DIGITAL AUDIO OUT
(PCM/BITSTREAM)
AUDIO
Necessary for TV with Q-Link
PR
AC IN
AC IN~
AC mains lead
4
TV
erialA
input
A
AC mains lead
V1
4
Follow the steps below.
Disconnect AC mains from all units.
1 Connect the aerial to the RF IN (Aerial input) of the DVD Recorder.
2 Connect the RF OUT (Aerial output) of the DVD Recorder to the
Aerial input of the television set.
3 Connect the AV1 socket (21-pin Scart socket) of the DVD Recorder
to the Scart input of the television set.
4 Connect the DVD Recorder and the television set to the AC mains
socket.
If your television supports Q Link follow the steps for Auto-Setup
with Q Link on page 4
If your television does not support Q Link follow the steps for AutoSetup without Q Link on page 4. .
If your television supports Q Link or RGB, connect it to the DVD Recorder
with a fully wired 21-pin Scart cable.
SETUP - Connection - [AV1 Output]. Please see Operating Instructions.
Note: For all connections additional cables and equipments shown are not supplied.
- 2 -
53
 Loading...