

Panasonic CF-VDR282 Operating Instructions Manual
®
D VD-R OM & CD-R/RW Drive Pac k
Printed in Japan
ENGLISH
DEUTSCH
D VD-R OM & CD-R/R W
ドライブパックドライブパック
ドライブパック
ドライブパックドライブパック
CF-VDR282
FJ0403-0
DFQX5393ZA
OPERATING INSTRUCTIONS
Introduction........................................................... 4
Usage Precautions ............................................... 5
Using the Drive ..................................................... 6
Troubleshooting ................................................. 11
Specifications ..................................................... 12
BEDIENUNGSANLEITUNG
Einführung........................................................... 13
Vorsichtsmaßnahmen zum Gebrauch .............. 14
Gebrauch des Laufwerks ................................... 15
Störungsbehebung ............................................. 20
Technische Daten ............................................... 22
E
D
FRANÇAIS
日本語日本語
日本語
日本語日本語
保証書付き (日本国内向け)
・ この取扱説明書と保証書をよくお
読みのうえ、正しくお使いくださ
い。そのあと保存し、必要なとき
にお読みください。
・ 保証書は「お買い上げ日・販売店
名」などの記入を必ず確かめ、販
売店からお受け取りください。
MODE D’EMPLOI
Introduction......................................................... 23
Précautions d’utilisation .................................... 24
Utilisation du lecteur .......................................... 25
Dépannage .......................................................... 30
Spécifications ..................................................... 31
取扱説明書取扱説明書
取扱説明書
取扱説明書取扱説明書
はじめにはじめに
はじめに
はじめにはじめに
安全上のご注意安全上のご注意
安全上のご注意
安全上のご注意安全上のご注意
使用上のお願い使用上のお願い
使用上のお願い
使用上のお願い使用上のお願い
ドライブを使うドライブを使う
ドライブを使う
ドライブを使うドライブを使う
困ったときの困ったときの
困ったときの
困ったときの困ったときの
仕様仕様
仕様
仕様仕様
保証とアフターサービス保証とアフターサービス
保証とアフターサービス
保証とアフターサービス保証とアフターサービス
..........................................................................
.....................................
..........................................................................
..............................................................
...............................
..............................................................
..............................................................
...............................
..............................................................
..............................................................
...............................
..............................................................
..........................................................
Q&A
.............................
..........................................................
..................................................................................
.........................................
..................................................................................
..............................................
.......................
..............................................
32
33
34
35
40
41
42
F
J
CAUTION!
THIS PRODUCT UTILIZES A LASER.
USE OF CONTROLS, ADJUSTMENTS OR PERFORMANCE OF PROCEDURES
OTHER THAN THOSE SPECIFIED HEREIN MAY RESULT IN HAZARDOUS RADIATION EXPOSURE.
DO NOT OPEN COVERS AND DO NOT REPAIR YOURSELF.
REFER SERVICING TO QUALIFIED PERSONNEL
WARNUNG!
DIESES PROUKT ERZEUGT LASERSTAHLUNG.
DURCHFÜHRUNG ANDERER VORGÄNGE ALS DER HIER ANGEGEBENEN KANN
ZU GEFÄHRLICHER STRAHLUNG FÜHREN.
REPARATUREN DÜRFEN NUR VON QUALIFIZIERTEM FACHPERSONAL
DURCHGEFÜHRT WERDEN.
AVERTISSEMENT!
CET APPAREIL UTILISE UN LASER.
L’UTILISATION DE COMMANDES OU DE RÉGLAGES OU L’EXÉCUTION DE
PROCÉDURES AUTRES QUE CELLES SPÉCIFIÉES ICI PEUVENT PROVOQUER UNE
EXPOSITION À DES RADIATIONS DANGEREUSES.
NE PAS OUVRIR LES COUVERCLES NI ESSAYER DE RÉPARER SOI-MÊME.
CONFIER TOUT TRAVAIL D'ENTRETIEN À UN PERSONNEL QUALIFIÉ.
VARNING
Om apparaten används på annat sätt än i denna bruksanvisnig specificerats, kan användaren
utsättas för osynlig laserstrålning, som överskrider gränsen for laserklass 1.
CLASS 1 LASER PRODUCT
LASER KLASSE1
2

For U.S.A.
Federal Communications Commission Radio Frequency Interference
Statement
Note: This equipment has been tested and found to comply with the limits for a Class B
digital device, pursuant to Part 15 of the FCC Rules. These limits are designed to provide
reasonable protection against harmful interference in a residential installation. This equipment generates, uses and can radiate radio frequency energy and, if not installed and used in
accordance with the instructions, may cause harmful interference to radio communications.
However, there is no guarantee that interference will not occur in a particular installation. If
this equipment does cause harmful interference to radio or television reception, which can
be determined by turning the equipment off and on, the user is encouraged to try to correct
the interference by one or more of the following measures:
Reorient or relocate the receiving antenna.
Increase the separation between the equipment and receiver.
Connect the equipment into an outlet on a circuit different from that to which the receiver
is connected.
Consult the Panasonic Service Center or an experienced radio/TV technician for help.
Warning
To assure continued compliance, use only shielded interface cables when connecting to a
computer or peripheral. Also, any changes or modifications not expressly approved by the
party responsible for compliance could void the user's authority to operate this equipment.
This device complies with Part 15 of the FCC Rules. Operation is subject to the following
two conditions:
(1) This device may not cause harmful interference, and
(2) This device must accept any interference received, including interference that may cause
undesired operation.
Responsible Party: Matsushita Electric Corporation of America
One Panasonic Way
Secaucus, NJ 07094
Tel No:1-800-LAPTOP-5 (1-800-527-8675)
For Canada
This Class B digital apparatus complies with Canadian ICES-003.
Cet appareil numérique de la classe B est conforme à la norme NMB-003 du Canada.
3
Introduction
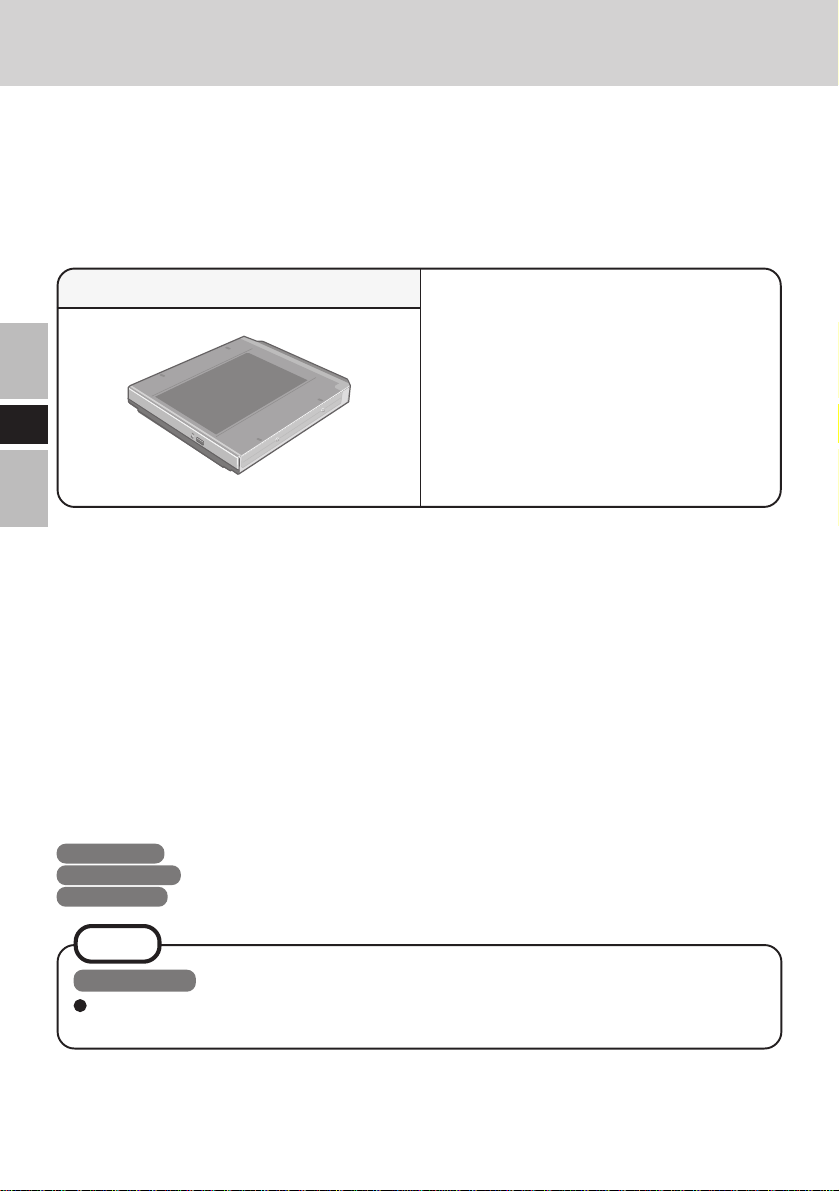
Thank you for purchasing the DVD-ROM & CD-R/RW Drive Pack for the Panasonic CF28 notebook computer series.
This drive connects to the computer through the Multimedia Pocket.
Store this manual in a safe place after reading it.
DVD-ROM & CD-R/RW Drive Pack*.. 1
Operating Instructions ............ 1
Addendum ................................ 1
B’s Recorder GOLD CD-ROM .......
B’s Recorder GOLD Booklet ... 1
E
WinDVD™ CD-ROM ................. 1
WinDVD™ Booklet...................1
* The DVD-ROM&CD-R/RW Drive Pack may also be referred to as the drive.
[Illustration in this manual]
Windows 98 indicates Microsoft® Windows® 98 Second Edition Operating System.
Windows 2000 indicates Microsoft® Windows® 2000 Professional Operating System.
Windows XP indicates Microsoft® Windows® XP Professional Operating System.
1
NOTE
Windows XP
This manual explains the procedure for default settings. The procedure may differ
according to the settings.
Microsoft®, MS-DOS® and Windows® are registered trademarks of Microsoft Corporation in the United
States and/or other countries.
WinDVD™2000 is a trademark of InterVideo, Inc.
4
Usage Precautions
Do not place items other than discs on the tray.
Do not leave the tray in the open position or touch the lens area. Should the lens
become soiled by dust or dirt, the unit may not read discs properly.
Under some conditions, dust may build up on the optical lens or disc, possibly resulting in
malfunction.
Do not apply excessive force to the tray in the open position, doing so could damage the
tray.
Do not open the drive or move the computer while the drive is being accessed. Doing so
could cause it to malfunction. In addition, after running an application involving access to
a disc, do not open the drive or remove the disc until after the application has been closed.
After closing the tray, do not attempt to access a disc until the MP indicator ( ) disappears.
Do not expose the drive to oily or tobacco smoke. Doing so could shorten the service life
of the lens.
If the drive malfunctions, we recommend cleaning the lens with a blower used for camera
lenses. (Do not use strong, cleaning sprays.)
Never insert foreign objects such as paper clips into the drive.
Do not use discs that have become deformed (warped, not completely round, etc.).
When the drive is installed, do not use an external drive (CD-ROM drive, DVD-ROM
drive, etc.).
For AutoPlay CDs:
• If an AutoPlay CD does not start after the computer resumes from the standby or
hibernation mode, we recommend reinserting the CD again after a 15-second wait.
• An AutoPlay CD may start during the access of a file.
E
To avoid damaging discs:
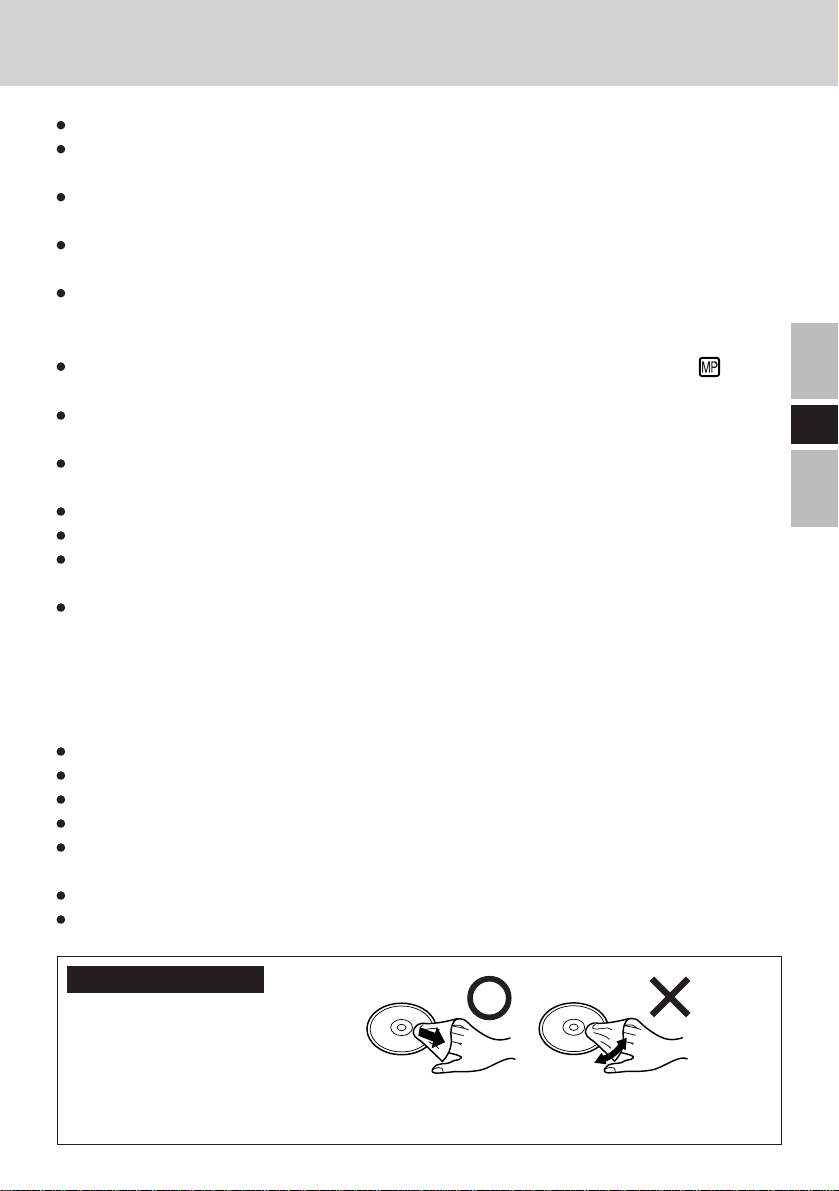
Do not touch the surface as it can cause the disc to become dirty or scratched.
Do not allow discs to become dirty or scratched.
Do not place or store discs in locations exposed to heat, direct sunlight, humidity or dust.
Do not write on the surface of the disc with a ball-point pen or other writing instrument.
If the disc is brought from a cold into a warm environment, moisture may form on the disc.
Wipe this moisture off with a soft, dry, lint-free cloth before using the disc.
Do not drop, bend, or place heavy objects on top of discs.
Cleaning the disc using a CD cleaner is recommended once every 2 or 3 months.
If the disc gets dirty
After wiping the disc with a moist, soft cloth, wipe it with a dry cloth. Always wipe from
the center toward the edge.
5

Using the Drive
Installing/Removing a Device
Refer to the Reference Manual included with your computer on how to install/remove the
drive.
CAUTION
Be sure to turn the computer off before installing/removing the drive.
Preparations
E
Windows 98
Confirm the following contents in [Start] - [Settings] - [Control Panel] - [System] - [Device
Manager] - [CDROM] - [MATSHITA UJDA***] - [Properties] - [Settings]. Make the settings if they have not yet been made.
• Add a check mark for [DMA].
• Set both [Start drive letter] and [End drive letter] in [Reserved drive letters] to [L:].
Windows 2000
Confirm that [Transfer Mode] is set to [DMA if available] in [Control Panel] - [System] [Hardware] - [Device Manager] - [IDE ATA/ATAPI controllers] - [Secondary IDE Channel] - [Advanced Settings] - [Device 0]. Perform this setting if it has not yet been made.
Windows XP
Confirm that [Transfer Mode] is set to [DMA if available] in [Start] - [Control Panel] [Performance and Maintenance] - [System] - [Hardware] - [Device Manager] - [IDE ATA/
ATAPI controllers] - [Secondary IDE Channel] - [Advanced Settings] - [Device 0]. Perform this setting if it has not yet been made.
6
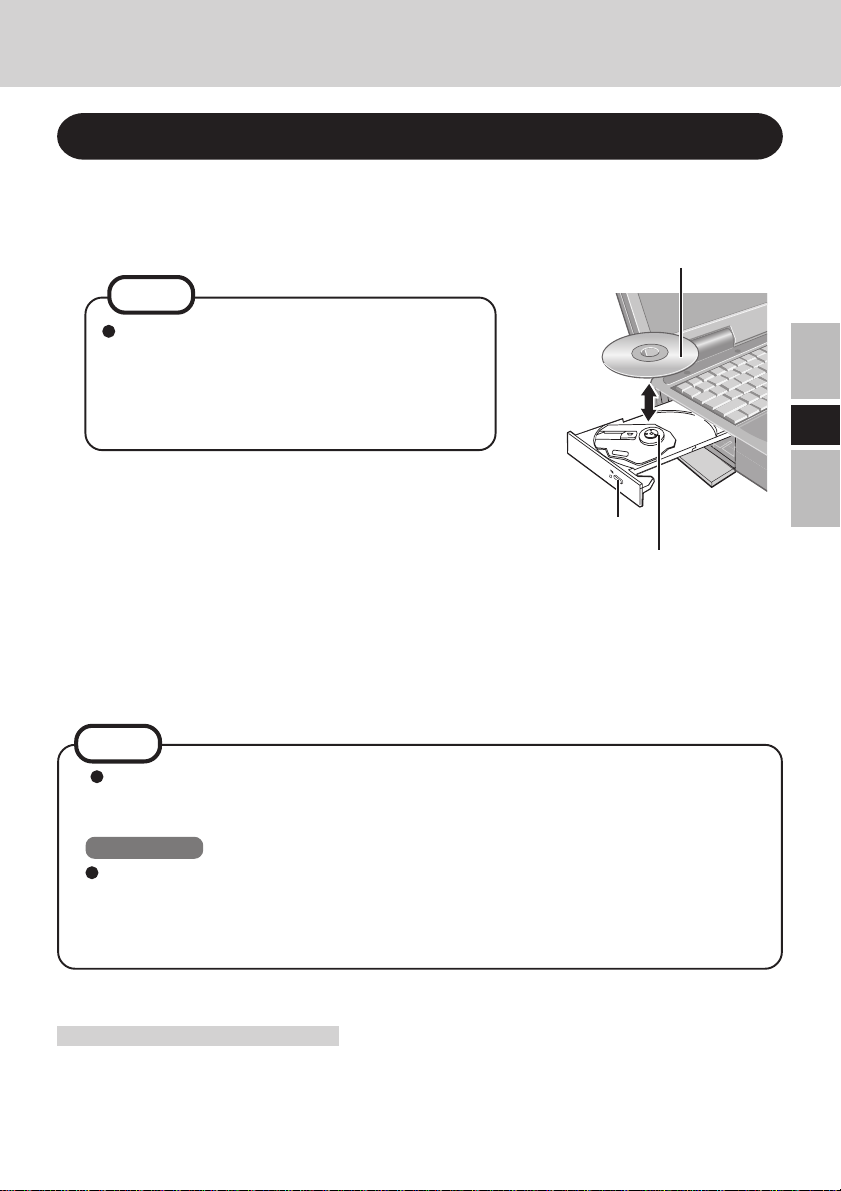
Setting a Disc
1 Power on your computer
2 Open the disc tray
Press the eject button and slowly pull out the tray.
NOTE
Before using the drive for the first time, remove the protective sheet from the lens area.
The protective sheet inside the drive delays
the opening of the drive by about ten seconds.
This delay is not a problem.
Label side up
3 Place a disc
1 Place the disc with the label facing upward in the
drive.
2 Push down until the center holder clicks.
Eject Button
Center Holder
<Removing a disc>
Place a finger on the center holder and lift up on the
edge of the disc.
4 Close the disc tray
Close the tray without touching the eject button.
NOTE
If the vibration of the drive is excessively high, use the Setup Utility to reduce the
drive speed by setting it to [Low]. (This setting does not work for the DVD-ROM
disc when using CF-27, CF-28M** and CF-28P** model.)
Windows 98
In the following cases, the drive speed may not be set to [Low]. At a time like this,
restart your computer.
• When operation is resumed from the standby or hibernation mode
• When a drive has been installed while the power was still on
E
Power-saving Mode
If the drive has not been accessed within 30 seconds, the drive motor will automatically shut
down to reduce the power consumption. When the drive is accessed once again, the power
of the drive motor is turned on. However, approximately 30 seconds are required until data
is actually read from the disc.
7

Using the Drive
Using the Drive in the MS-DOS Mode
To use the drive in the MS-DOS mode*, configure the drive following the steps below after
performing the preparations ( page 6). If the steps listed below are performed with-
out completing the preparations first, the drive will not operate properly.
* In the MS-DOS mode, discs can only be read.
Windows 98
1 Select [Start] - [Shut Down].
2 Select [Restart in MS-DOS mode] and select [OK].
3 Open the “CONFIG.SYS” file for editing by issuing the following commands:
E
cd \ Enter
edit config.sys Enter
4 Move the cursor to the line containing “OAKCDROM.SYS” and delete the characters
“rem” at the beginning of the line. (Deleting “rem” causes the item to become valid.)
DEVICEHIGH=C:\WINDOWS\COMMAND\OAKCDROM.SYS /D:MSCD000
(If this line is missing, add it.)
5 Press Alt + F , then S to save the file. Then press Alt + F , then X to
exit the Edit program.
6 Follow the same steps to edit the “AUTOEXEC.BAT” file.
edit autoexec.bat Enter
7 Move the cursor to the line containing “MSCDEX.EXE” and delete the characters “rem”
at the beginning of the line. (Deleting “rem” causes the item to become valid.)
LOADHIGH C:\WINDOWS\COMMAND\MSCDEX.EXE /D:MSCD000 /L:L
(If this line is missing, add it.)
8 Press Alt + F , then S to save the file. Then press Alt + F , then X to
exit the Edit program.
9 Restart the computer.
8
 Loading...