

Panasonic CF-VDD731 Operating Instructions Manual
®
DVD-ROM Drive Pack
Printed in Japan
ENGLISH
DEUTSCH
DVD-ROM
ドライブドライブ
ドライブ
ドライブドライブ
CF-VDD731
FJ0603-0
DFQX5415ZA
OPERATING INSTRUCTIONS
Introduction........................................................... 4
Usage Precautions ............................................... 5
Using the Drive ..................................................... 6
Troubleshooting ................................................... 9
Specifications ..................................................... 10
BEDIENUNGSANLEITUNG
Einführung........................................................... 11
Vorsichtsmaßnahmen zum Gebrauch .............. 12
Gebrauch des Laufwerks ................................... 13
Störungsbehebung ............................................. 17
Technische Daten ............................................... 18
E
D
FRANÇAIS
日本語日本語
日本語
日本語日本語
保証書付き (日本国内向け)
・ この取扱説明書と保証書をよくお
読みのうえ、正しくお使いくださ
い。そのあと保存し、必要なとき
にお読みください。
・ 保証書は「お買い上げ日・販売店
名」などの記入を必ず確かめ、販
売店からお受け取りください。
MODE D’EMPLOI
Introduction......................................................... 19
Précautions d’utilisation .................................... 20
Utilisation du lecteur .......................................... 21
Dépannage .......................................................... 25
Spécifications ..................................................... 26
取扱説明書取扱説明書
取扱説明書
取扱説明書取扱説明書
はじめにはじめに
はじめに
はじめにはじめに
安全上のご注意安全上のご注意
安全上のご注意
安全上のご注意安全上のご注意
使用上のお願い使用上のお願い
使用上のお願い
使用上のお願い使用上のお願い
ドライブを使うドライブを使う
ドライブを使う
ドライブを使うドライブを使う
困ったときの困ったときの
困ったときの
困ったときの困ったときの
仕様仕様
仕様
仕様仕様
保証とアフターサービス保証とアフターサービス
保証とアフターサービス
保証とアフターサービス保証とアフターサービス
..........................................................................
.....................................
..........................................................................
..............................................................
...............................
..............................................................
..............................................................
...............................
..............................................................
..............................................................
...............................
..............................................................
..........................................................
Q&A
.............................
..........................................................
..................................................................................
.........................................
..................................................................................
..............................................
.......................
..............................................
27
28
29
30
34
35
36
F
J
CAUTION!
THIS PRODUCT UTILIZES A LASER.
USE OF CONTROLS, ADJUSTMENTS OR PERFORMANCE OF PROCEDURES
OTHER THAN THOSE SPECIFIED HEREIN MAY RESULT IN HAZARDOUS RADIATION EXPOSURE.
DO NOT OPEN COVERS AND DO NOT REPAIR YOURSELF.
REFER SERVICING TO QUALIFIED PERSONNEL
WARNUNG!
DIESES PROUKT ERZEUGT LASERSTAHLUNG.
DURCHFÜHRUNG ANDERER VORGÄNGE ALS DER HIER ANGEGEBENEN KANN
ZU GEFÄHRLICHER STRAHLUNG FÜHREN.
REPARATUREN DÜRFEN NUR VON QUALIFIZIERTEM FACHPERSONAL
DURCHGEFÜHRT WERDEN.
A VERTISSEMENT!
CET APPAREIL UTILISE UN LASER.
L’UTILISATION DE COMMANDES OU DE RÉGLAGES OU L’EXÉCUTION DE
PROCÉDURES AUTRES QUE CELLES SPÉCIFIÉES ICI PEUVENT PROVOQUER UNE
EXPOSITION À DES RADIATIONS DANGEREUSES.
NE PAS OUVRIR LES COUVERCLES NI ESSAYER DE RÉPARER SOI-MÊME.
CONFIER TOUT TRAVAIL D'ENTRETIEN À UN PERSONNEL QUALIFIÉ.
VARNING
Om apparaten används på annat sätt än i denna bruksanvisnig specificerats, kan användaren
utsättas för osynlig laserstrålning, som överskrider gränsen for laserklass 1.
CLASS 1 LASER PRODUCT
LASER KLASSE1
2

For U.S.A.
Federal Communications Commission Radio Frequency Interference
Statement
Note: This equipment has been tested and found to comply with the limits for a Class B
digital device, pursuant to Part 15 of the FCC Rules. These limits are designed to provide
reasonable protection against harmful interference in a residential installation. This equipment generates, uses and can radiate radio frequency energy and, if not installed and used in
accordance with the instructions, may cause harmful interference to radio communications.
However, there is no guarantee that interference will not occur in a particular installation. If
this equipment does cause harmful interference to radio or television reception, which can
be determined by turning the equipment off and on, the user is encouraged to try to correct
the interference by one or more of the following measures:
Reorient or relocate the receiving antenna.
Increase the separation between the equipment and receiver.
Connect the equipment into an outlet on a circuit different from that to which the receiver
is connected.
Consult the Panasonic Service Center or an experienced radio/TV technician for help.
Warning
To assure continued compliance, use only shielded interface cables when connecting to a
computer or peripheral. Also, any changes or modifications not expressly approved by the
party responsible for compliance could void the user's authority to operate this equipment.
This device complies with Part 15 of the FCC Rules. Operation is subject to the following
two conditions:
(1) This device may not cause harmful interference, and
(2) This device must accept any interference received, including interference that may cause
undesired operation.
Responsible Party: Matsushita Electric Corporation of America
One Panasonic Way
Secaucus, NJ 07094
Tel No:1-800-LAPTOP-5 (1-800-527-8675)
For Canada
This Class B digital apparatus complies with Canadian ICES-003.
Cet appareil numérique de la classe B est conforme à la norme NMB-003 du Canada.
3
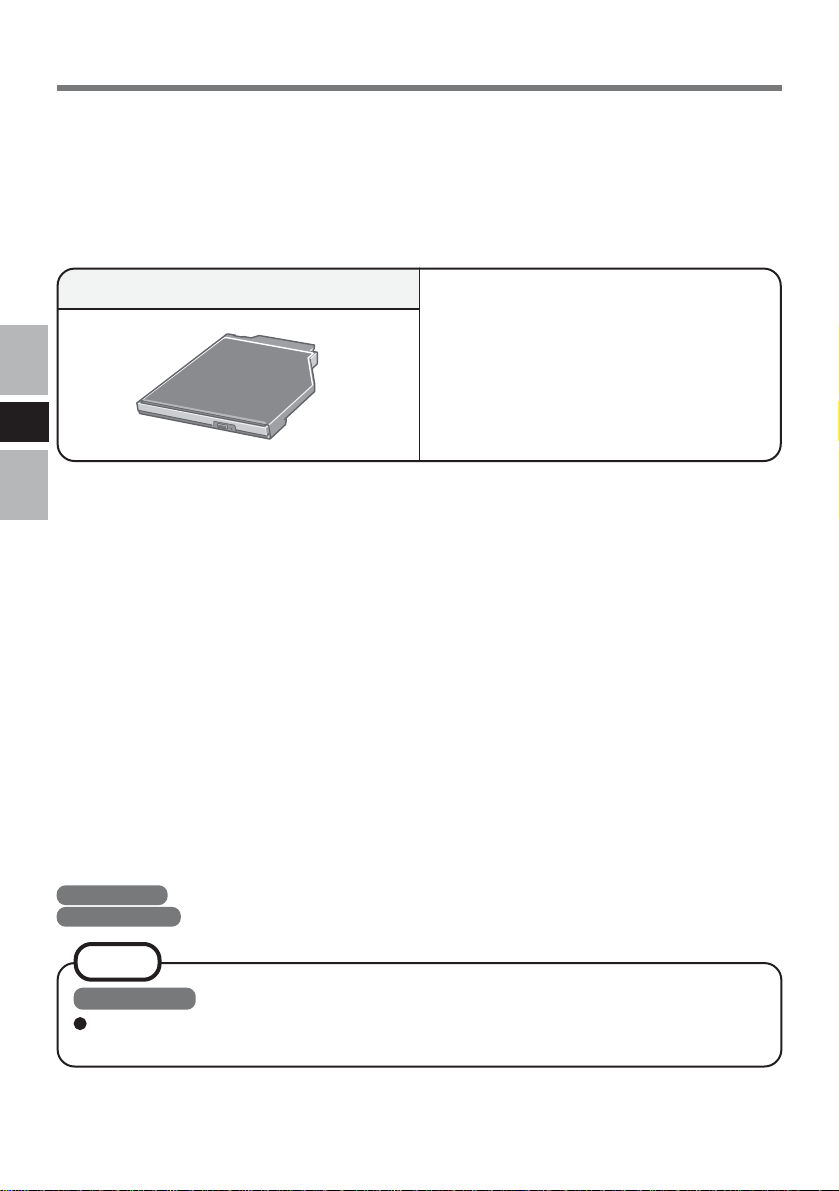
Introduction
Thank you for purchasing the DVD-ROM Drive Pack for the Panasonic CF-73 notebook
computer series.
This drive connects to the computer through the Multimedia Pocket.
Store this manual in a safe place after reading it.
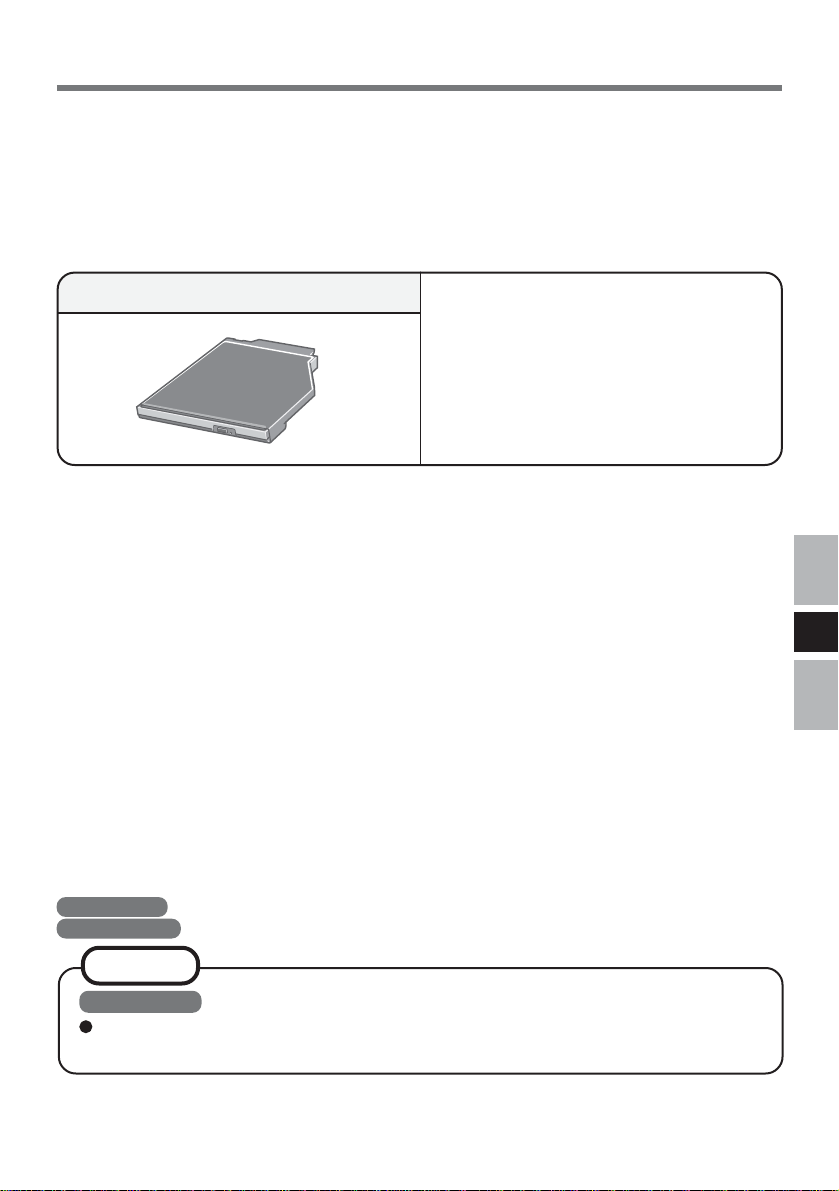
DVD-ROM Drive Pack* ...................... 1
Operating Instructions ............1
WinDVD™ CD-ROM .................1
WinDVD™ Booklet................... 1
E
* The DVD-ROM Drive Pack may also be referred to as the drive.
[Illustration in this manual]
Windows XP indicates Microsoft® Windows® XP Professional Operating System.
Windows 2000 indicates Microsoft® Windows® 2000 Professional Operating System.
NOTE
Windows XP
This manual explains the procedure for default settings. The procedure may differ
according to the settings.
Microsoft® and Windows® are registered trademarks of Microsoft Corporation in the United States
and/or other countries.
WinDVD™ is a trademark of InterVideo, Inc.
4
Usage Precautions
Do not place items other than discs on the tray.
Do not leave the tray in the open position or touch the lens area. Should the lens
become soiled by dust or dirt, the unit may not read discs properly.
Under some conditions, dust may build up on the optical lens or disc, possibly resulting in
malfunction.
Do not apply excessive force to the tray in the open position, doing so could damage the
tray.
Do not open the drive or move the computer while the drive is being accessed. Doing so
could cause it to malfunction. In addition, after running an application involving access to
a disc, do not open the drive or remove the disc until after the application has been closed.
After closing the tray, do not attempt to access a disc until the MP indicator ( ) disappears.
Do not expose the drive to oily or tobacco smoke. Doing so could shorten the service life
of the lens.
If the drive malfunctions, we recommend cleaning the lens with a blower used for camera
lenses. (Do not use strong, cleaning sprays.)
Never insert foreign objects such as paper clips into the drive.
Do not use discs that have become deformed (warped, not completely round, etc.).
For AutoPlay CDs:
• If an AutoPlay CD does not start after the computer resumes from the standby or
hibernation mode, we recommend reinserting the disc again after a 15-second wait.
• An AutoPlay CD may start during the access of a file.
E
To avoid damaging discs:
Do not touch the surface as it can cause the disc to become dirty or scratched.
Do not allow discs to become dirty or scratched.
Do not place or store discs in locations exposed to heat, direct sunlight, humidity or dust.
Do not write on the surface of the disc with a ball-point pen or other writing instrument.
If the disc is brought from a cold into a warm environment, moisture may form on the disc.
Wipe this moisture off with a soft, dry, lint-free cloth before using the disc.
Do not drop, bend, or place heavy objects on top of discs.
Cleaning the disc using a disc cleaner is recommended once every 2 or 3 months.
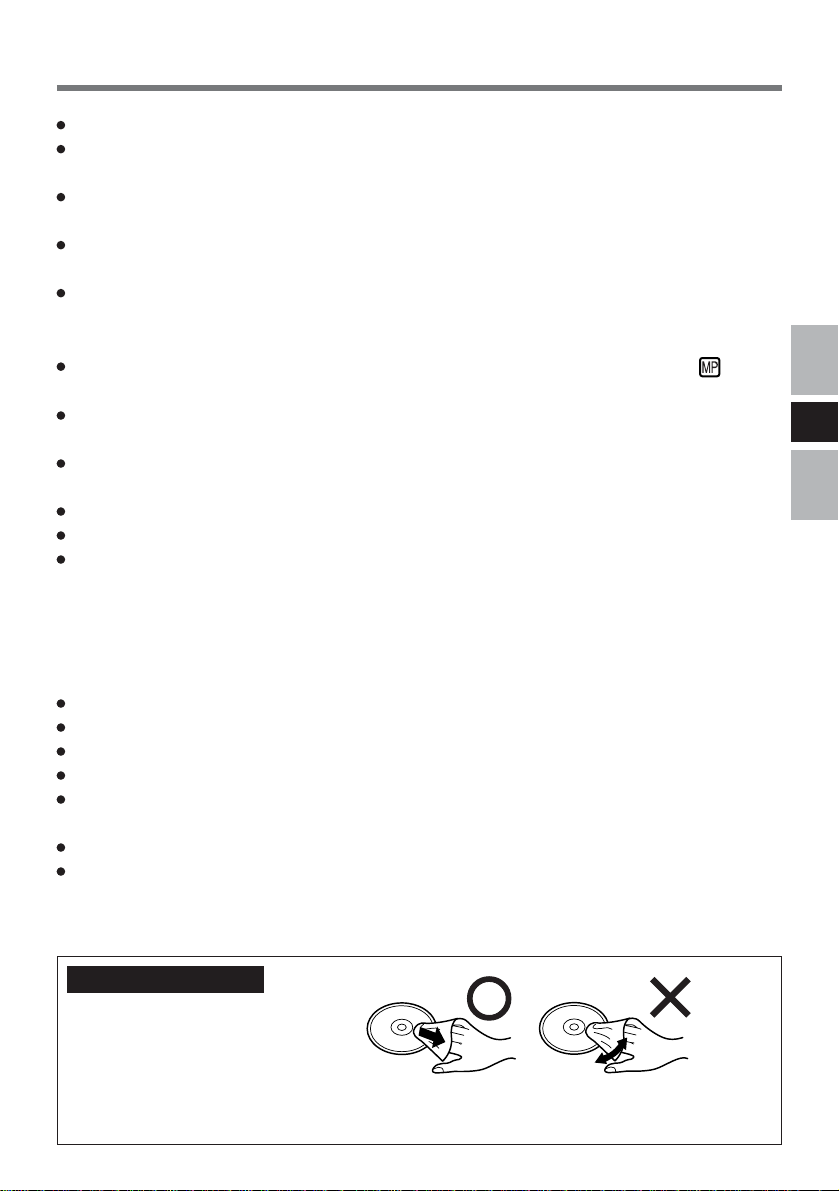
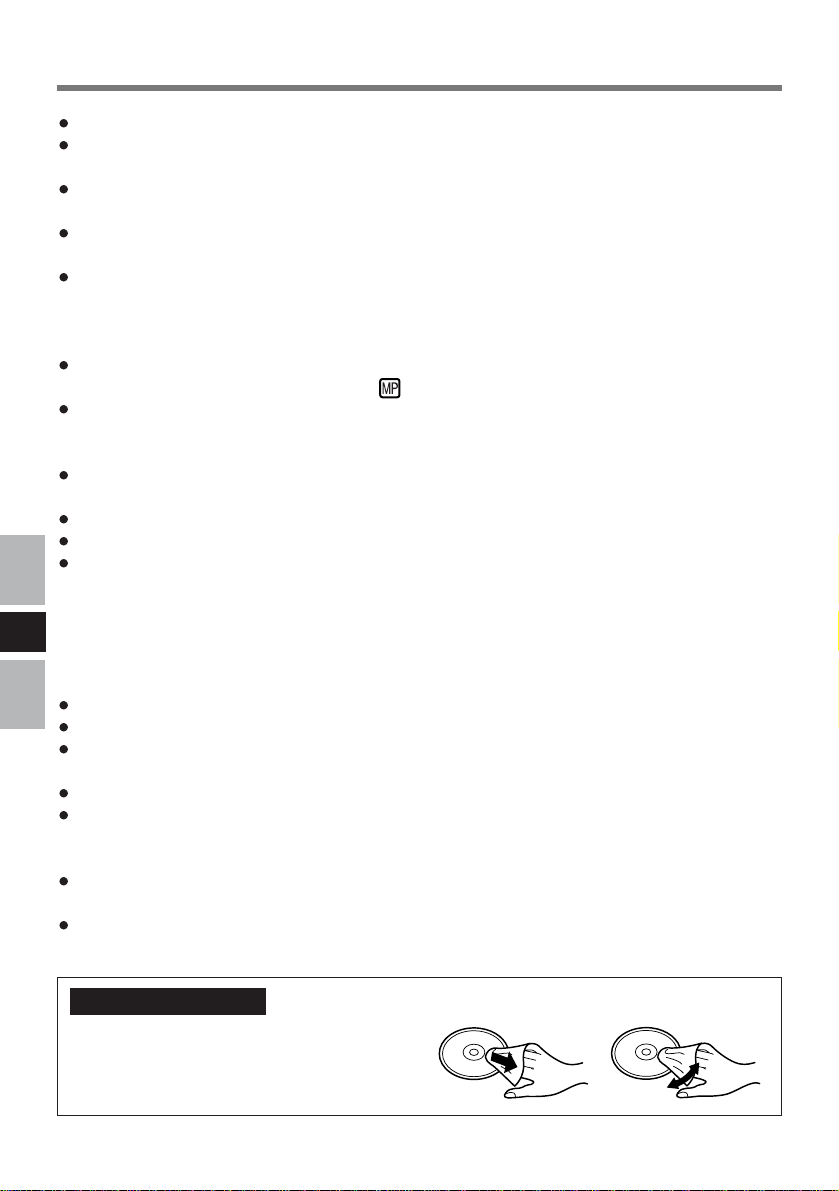
If the disc gets dirty
After wiping the disc with a moist, soft cloth, wipe it with a dry cloth. Always wipe from
the center toward the edge.
5

Using the Drive
Installing/Removing a Device
Refer to the Reference Manual included with your computer on how to install/remove the
drive.
CAUTION
Be sure to turn the computer off before installing/removing the drive.
Preparations
E
Windows XP
Confirm that [Transfer Mode] is set to [DMA if available] in [Start] - [Control Panel] [Performance and Maintenance] - [System] - [Hardware] - [Device Manager] - [IDE ATA/
ATAPI controllers] - [Secondary IDE Channel] - [Advanced Settings] - [Device 0]. Perform this setting if it has not yet been made.
Windows 2000
Confirm that [Transfer Mode] is set to [DMA if available] in [Start] - [Settings] - [Control
Panel] - [System] - [Hardware] - [Device Manager] - [IDE ATA/ATAPI controllers] [Secondary IDE Channel] - [Advanced Settings] - [Device 0]. Perform this setting if it has
not yet been made.
6
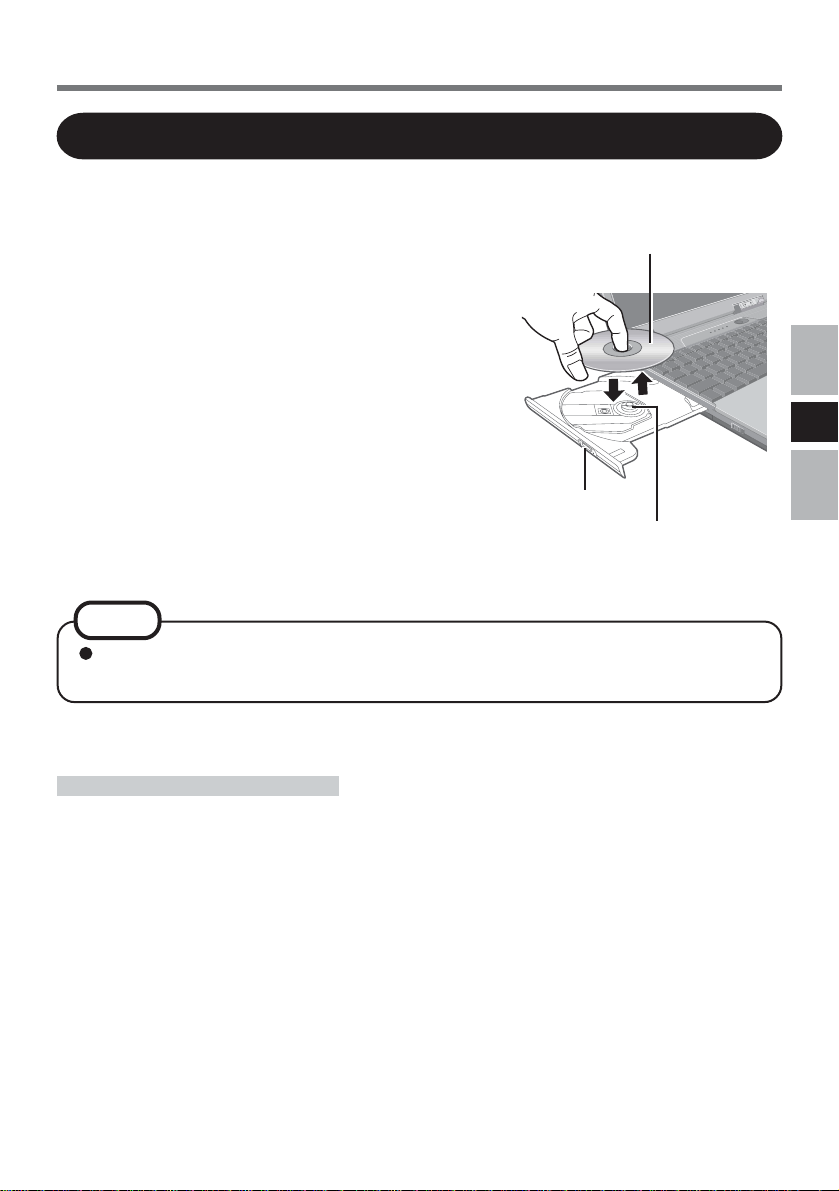
Setting a Disc
1 Power on your computer.
2 Open the disc tray.
Press the eject button and slowly pull out the tray.
Label side up
3 Place a disc.
1 Place the disc with the label facing upward in the
drive.
2 Push down until the center holder clicks.
<Removing a disc>
Place a finger on the center holder and lift up on the
edge of the disc.
4 Close the disc tray.
Close the tray without touching the eject button.
NOTE
If the vibration of the drive is excessively high, use the Setup Utility to reduce
the drive speed by setting it to [Low].
Power-saving Mode
Eject Button
Center Holder
E
If the drive has not been accessed within 90 seconds, the drive motor will automatically shut
down to reduce the power consumption. When the drive is accessed once again, the power
of the drive motor is turned on. However, approximately 30 seconds are required until data
is actually read from the disc.
7

Using the Drive
Information
To play DVD-Video or MPEG2 files, install the DVD playback software (included).
For information on how to install the software, refer to the instructions of the software.
( WinDVDTM booklet)
<Using PC Cards>
If the PC Card does not work, there may be no interrupt request (IRQ) line available.
Deactivate unnecessary equipment using in the Setup Utility.
Note that moving picture files with a low compression rate etc., may not be played back
smoothly in some cases.
About Regions Setting
E
The DVD-Video has a region code that is fixed according to the region where it is sold. In
order to play a DVD-Video, the region code of the player software and of the drive must
match that of the DVD-Video.
<Example>
For U.S.A. and Canada: “1”
For Europe: “2”
The region code is not set prior to the shipment of this drive. Therefore, operations will
differ depending on the first DVD-Video played.
In the case of a DVD-Video with a specific region code:
The drive will automatically be set with the same region code as the DVD-Video.
In the case of any other DVD-Video:
[Confirm Region] appears. Select region code and select [OK]. Play now begins.
([Confirm Region] may not be displayed for some DVD-Videos. To confirm the current region code and the number of settings remaining, right-click on the WinDVD
screen and select [Setup] - [Region].)
NOTE
[Confirm Region] will also be displayed if a DVD-Video with one region code is
inserted into a drive for which another region code has already been set.
CAUTION
The region code can be set a total of five times, including the initial setting. Proceed
very carefully, because after the fourth change has been made, the region code set
last is fixed and no further changes can be made.
The user must take responsibility for any trouble that results from illegally changing
or altering the region code.
8
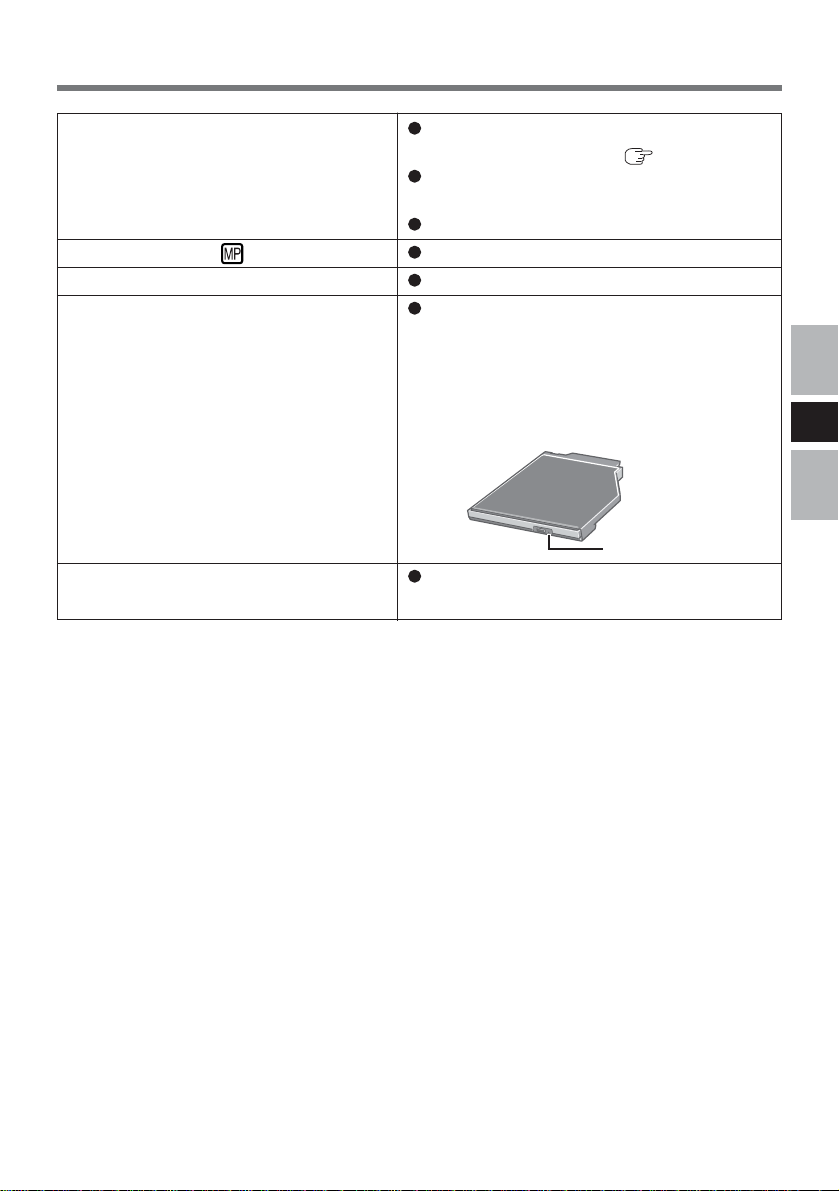
Troubleshooting
The computer does not recognize the
drive
The MP indicator ( ) does not light
Cannot play disc or read data from it
Cannot eject disc
The disc tray does not close
Check the settings by following the instructions in “Preparations” ( page 6).
Is the drive properly mounted in the multimedia pocket?
Restart the computer.
Is the disc loaded on the tray correctly?
Is the disc bent, scratched, or dirty?
Is the computer powered on?
To remove a disc when the computer is
powered off, insert a sharp object such as
the bent-out tip of a paper clip into the emergency hole. Pushing it completely to the end
will free the tray so that it can be pulled
out.
Emergency Hole
Did you touch the eject button when you
close the tray?
E
9

Specifications
Item
Operating voltage range
Drive
DVD-ROM
Data Capacity
Access Time
Supports
DC 5 V ± 0.25 V
4.7 GB(DVD-5), 8.5 GB(DVD-9), 9.4 GB(DVD-10)
220 ms (8x Speed, DVD-9, 1/3 Stroke*1)
DVD-5, DVD-9, DVD-10, DVD-18, DVD-
Description
R*2(3.95 GB, 4.7 GB), DVD-RW*2 (4.7 GB),
DVD-RAM*2*3 (2.6 GB, 4.7 GB)
CD-ROM
Data Capacity
Access Time
Supports
656 MB
135 ms (24x Speed, 1/3 Stroke*1)
CD-Audio, CD-ROM, CD-R*2, Photo CD, Video
CD, Enhanced Music CD, CD-RW*2, CD-TEXT
E
Data transfer
4
rate*
DVD-ROM
CD-ROM
Cache memory
Interface
Dimensions (width × depth × height)
88.64 Mbit/s(10800 KB/s) 8x speed (Max.)
3600 KB/s 24x speed (Max.)
2 MB
Conforms to enhanced IDE (ATAPI) standard
132 mm × 146 mm × 15.3 mm
{5.2" × 5.7" × 0.6"}
Weight
Operating temperature/
Humidity range
*1Stroke :Indicates the amount of movement the lens (pickup) of the drive must make in order to read
2
*
Read only.
3
*
In the case of DVD-RAM, only non-cartridge discs or removable cartridge discs can be used.
4
*
If an unbalanced disc (i.e., a disc with which the balance has been displaced from the center) is
inserted, the speed may become slower if there are large vibrations while the disc is rotating.
data.
Approx. 180 g {0.4 lb.}
5 °C to 35 °C {41 °F to 95 °F}/
30 % RH to 80 % RH (no condensation)
10
Einführung
Wir freuen uns, daß Sie sich für den Kauf eines DVD-ROM-Laufwerk-Pack für Ihr PanasonicNotebook CF-73 entschieden haben.
Dieses Laufwerk wird über das Multimedia Pocket an das Notebook angeschlossen.
Sie sollten diese Bedienungsanleitung an einer sicheren Stelle verwahren.
DVD-ROM-Laufwerk-Pack* ........1
Bedienungsanleitung ..............
1
CD-ROM „WinDVD™“ ............. 1
Broschüre für „WinDVD™“ .... 1
* Das DVD-ROM-Laufwerk-Pack wird Laufwerk in diesem Buch abgekürzt gennant, sowie es keine
Not gibt.
[Illustration im Manual]
Windows XP steht für das Microsoft® Windows® XP Professional Betriebssystem.
Windows 2000 steht für das Microsoft® Windows® 2000 Professional Betriebssystem.
D
HINWEIS
Windows XP
Diese Anleitung erläutert das Verfahren für die Standardeinstellungen. Das
Verfahren kann je nach den Einstellungen verschieden sein.
Microsoft® und Windows® sind eingetragene Warenzeichen von Microsoft Corporation in den USA
und/oder anderen Ländern.
WinDVD™ ist ein Warenzeichen von InterVideo, Inc.
11
Vorsichtsmaßnahmen zum Gebrauch
Legen Sie nur Discs in das Laufwerkfach ein.
Lassen Sie das Fach nicht offen und berühren Sie die Abtastoptik nicht mit den
Fingern. Bei Verschmutzung der Optik können Lesefehler auftreten.
Unter bestimmten Bedingungen kann sich Staub auf der Abtasterlinse oder Disc
ansammeln, wodurch Fehlfunktionen verursacht werden können.
Achten Sie darauf, das geöffnete Fach nicht zu stark zu belasten, es könnte dabei
beschädigt werden.
Während des Zugriffs auf das Laufwerk sollten Sie das Laufwerk keinesfalls öffnen oder
das Notebook bewegen. Andernfalls können Fehlfunktionen auftreten. Außerdem sollte
das Laufwerk nicht geöffnet bzw. die Disc entfernt werden, solange eine Anwendung
läuft, die darauf zugegriffen hat.
Versuchen Sie nach Schließen des Fachs auf keinen Fall, einen Zugriff auf die Disc
auszuführen, bevor die MP-Anzeige ( ) erloschen ist.
Verwenden Sie das Laufwerk nicht in Räumen, in denen stärkere Konzentrationen von
Ölnebel oder Tabakrauch auftreten. Die Nutzungsdauer der Optik könnte sonst verkürzt
werden.
Bei Funktionsstörungen des Laufwerks empfehlen wir die Reinigung der Linse mit einem Gebläse,
das für Kameraobjektive verwendet wird. (Verwenden Sie zum Reinigen keine starken Sprays.)
Führen Sie in das Laufwerk keine Fremdkörper wie z.B. Büroklammern ein.
Verwenden Sie keine Discs, die deformiert sind (durchgebogen oder nicht völlig rund usw.).
Hinweise zu AutoPlay-CDs:
• Falls die Wiedergabe einer AutoPlay-CD nicht startet, nachdem das Notebook den
Betrieb aus dem Standby- oder Stilllegungs-Modus wieder aufgenommen hat, wird
D
empfohlen, etwa 15 Sekunden lang zu warten und die Disc dann erneut einzulegen.
• Die Wiedergabe einer AutoPlay-CD startet u.U. während eines Zugriffs auf eine Datei.
Beachten Sie zum Schutz der Discs die folgenden Punkte:
Berühren Sie die Oberfläche der Disc nicht, damit diese nicht schmutzig oder verkratzt wird.
Halten Sie Ihre Discs sauber und frei von Kratzern.
Verwahren Sie Ihre Discs nicht an einem Ort, wo sie zu hohen Temperaturen, direkter
Sonneneinstrahlung, Feuchtigkeit oder Staub ausgesetzt sind.
Die Oberfläche der Disc darf nicht beschriftet werden.
Wenn Discs aus kalten in warme Räume gebracht werden, kann auf ihnen Feuchtigkeit
kondensieren. Diese muß mit einem weichen, nicht fusselnden Tuch entfernt werden,
bevor Sie die Disc in das Laufwerk einlegen können.
Discs dürfen weder fallengelassen noch verbogen oder durch schwere Gegenstände
belastet werden.
Wir empfehlen, daß die Disc alle 2-3 Monate unter Verwendung eines Disc-Reinigers
gereinigt wird.
Discs reinigen
Reinigen Sie die disc mit einem weichen,
feuchten Tuch, und wischen Sie mit einem
trockenen Tuch nach. Wischen Sie immer
von der Mitte gerade nach außen.
12
richtig
falsch
 Loading...