

Panasonic CF-M34UTFZDM, CF-M34UTFZKM, CF-M34UHFZKM, CF-M34UHFZDM Supplementary Instructions Manual
Page 1
1
Illustrations in this Manual
Personal Computer
Supplementary Instructions
This Supplementary Instructions points out cases where the operation of the computer will differ from that in the Operating
Instructions.
Windows 2000 : Information for Microsoft
®
Windows® 2000 Professional users.
Windows XP : Information for Microsoft
®
Windows® XP Professional users.
Add “Important Tips”.
Add the instructions for “Panasonic Hand Writing” and “Display Rotation Tool” to the Reference Manual.
Additional Manual “OPERATING INSTRUCTIONS (cover)”
“Important Tips” includes information about the battery and touchscreen. Double-click on the desktop to access “Important
Tips”.
Read Me First “OPERATING INSTRUCTIONS (page 7)”
Replace “When Disposing of or Transferring Ownership of This Device” for the following.
When Disposing of or Transferring Ownership of This Device
When disposing of or transferring ownership of this device, completely erase all data on the hard disk in order
to prevent the theft of hard disk data. Even if you delete data or initialize the hard disk through normal Windows commands, data can still be read using special software. In order to erase all data, either have the data
erased by a specialist (at a charge) or use the hard disk data erase utility (included) ( page 6). (Note that this
hard disk data erase utility does not guarantee that data will be completely erased.)
Also note that transferring ownership of this device without deleting software from the hard disk may
violate software user’s licenses.
®
Model No. CF-M34 Series
Reference Manual
• T ouch P ad (Advanced)
• Touchscreen
•
Panasonic Hand W riting
• Display Rotation Tool
• Standby/Hibernation
Functions
• Security Measures
• Computing on the
Road
• Battery Power
• PC Cards
• RAM Module
• Port Replicator
• External Display
• USB Devices
• Modem
• LAN
• Accessories
• Hard Disk Drive
• Setup Utility
Page 2
2
Supplementary Instructions
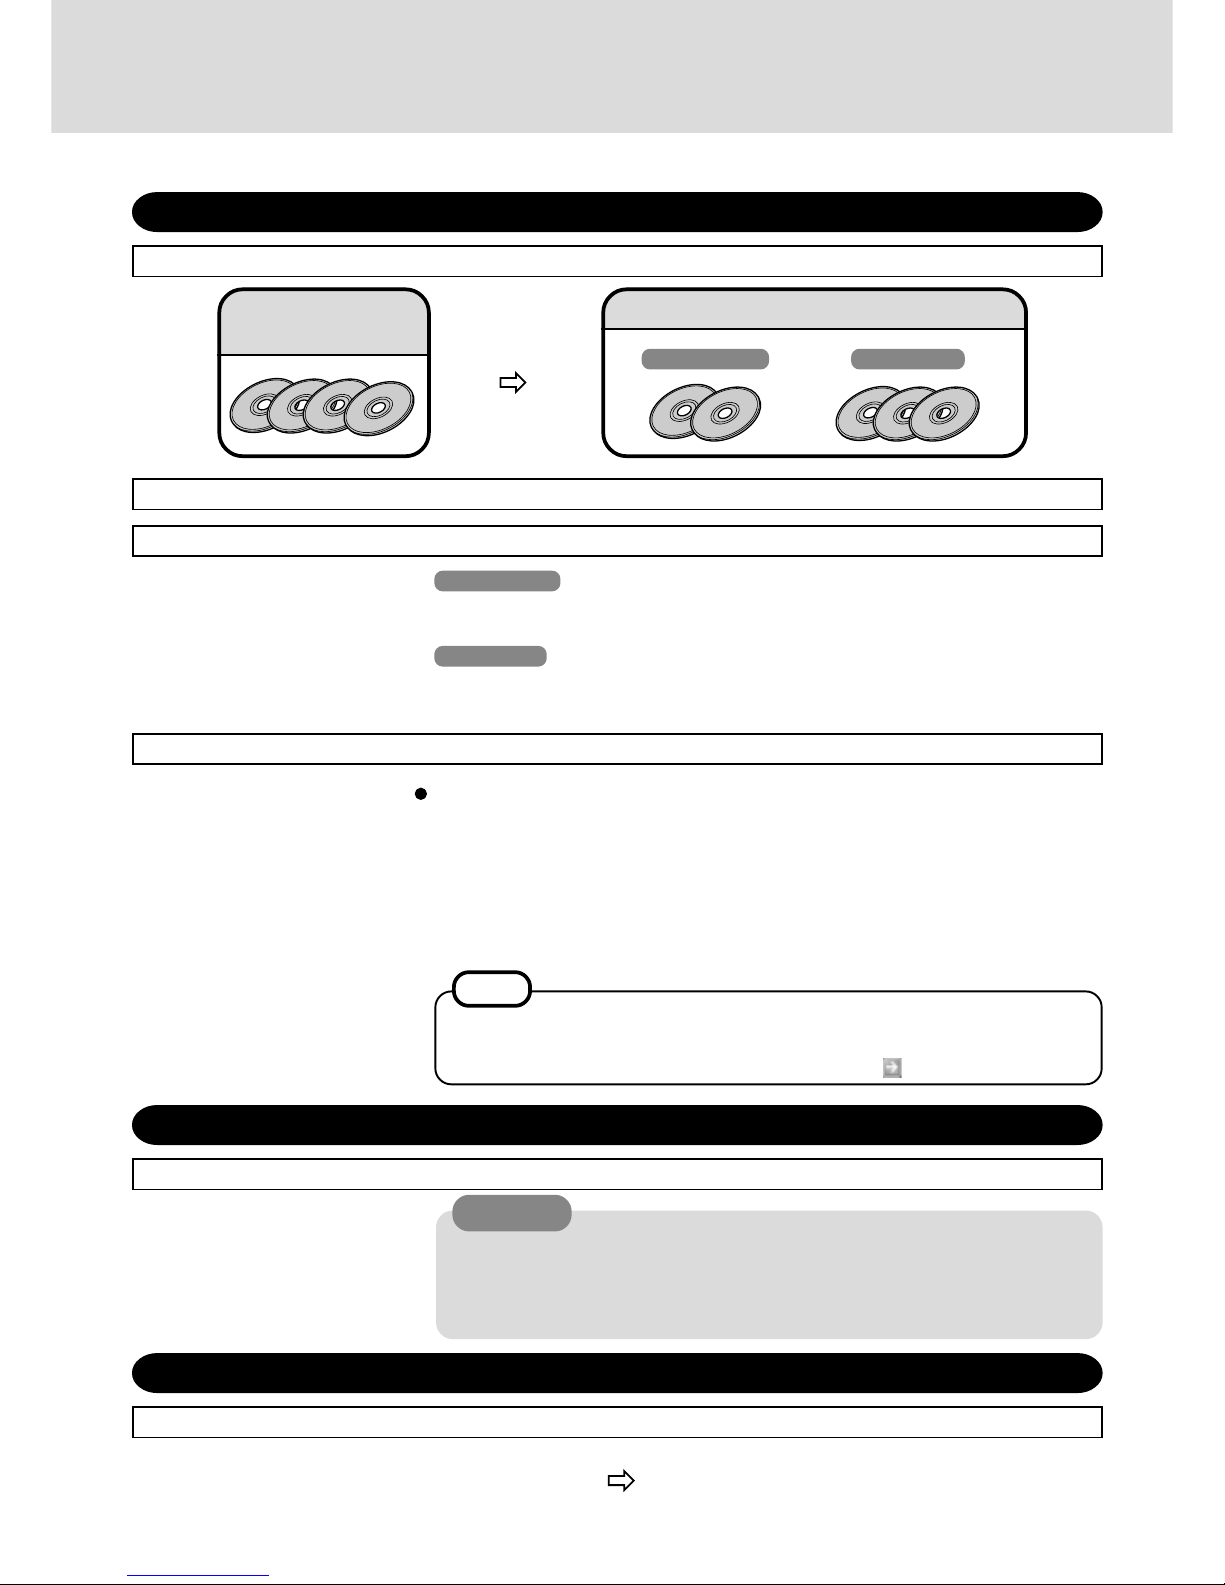
First-time Operation “OPERATING INSTRUCTIONS (page 9-12)”
Replace as follows in step 1.
Product Recovery CD-ROM
Windows XPWindows 2000
Ignore step 7.
Replace “Recovery Console” of “Information for Windows XP” for the following.
Recovery Console
If you install the Recovery Console, you can use the command prompt to execute operations such as CHKDSK in cases where, for example, Windows XP will not start. Use the
following procedure to install Recovery Console. This procedure allows you to select
Recovery Console as a startup option during startup.
1 Select [Start] - [Run].
2 Input [c:\windows\i386\winnt32.exe /cmdcons], then select [OK].
Follow the on-screen instructions.
For an overview of Recovery Console, refer to [Help and Support].
1 Select [Start] - [Help and Support].
2 Enter “Recovery Console” under [Search], then select
.
NOTE
List of Error Codes “OPERATING INSTRUCTIONS (page 19)”
Replace as follows.
0232 Extended RAM Failed at offset : nnnn
Extended memory not working or not configured properly at offset nnnn.
0232 Extended RAM Failed at offset : nnnn
Extended RAM Failed at address line : nnnn
Extended memory not working or not configured properly at offset or address line nnnn.
Starting Up/Shutting Down “OPERATING INSTRUCTIONS (page 14)”
Add the following to “CAUTION” in step 2.
CAUTION
When using this computer with the battery pack only, it may take some time for the
power to turn on after sliding the power switch. In this case, slide the power switch
and hold it for more than one second. This phenomenon occurs because the standby
power is minimized while the power is turned off; it is not a malfunction.
Add the following after the operation of each operating system in step 8.
Windows 2000
If the cursor cannot be directed correctly with the stylus, perform [Calibrate] in [Start] [Programs] - [UPDD].
Windows XP
If the cursor cannot be directed correctly with the stylus, perform [Calibrate] in [Start] [All Programs] - [UPDD].
Product Recovery
CD-ROM
Page 3
3
No display after powering on
The power has not been
turned off, but after a certain period of time, there is
no display
The cursor cannot be controlled properly
The cursor does not move in
scrolling area of the touch
pad
An afterimage appears (e.g.,
green, red, and blue dots
remain on the display) or
there are dots not displaying the correct colors.
The external display no
longer displays properly
The screen becomes disordered
Resolution or the number of
colors of the display changes
During simultaneous display, the screen of the external display becomes disordered
Dealing with Problems (Summary) “OPERATING INSTRUCTIONS (page 22-23)”
Replace as follows.
When there is no display to an external display,
• Check your cable connection to the external display.
• Confirm your display is powered on.
• Check the settings for your external display.
Try changing the display by pressing Fn + F3 .
When displaying only through an external display, if the computer is shut down by using
the standby or hibernation function, there may be no display on the LCD unless the
external display is connected when operations are resumed. In this case, connect the
external display or press Fn + F3 .
Has the computer been set to the power-saving mode?
To resume operation of your computer from the condition the power of the display is off
(for energy conservation purposes), slide any key unrelated to the direct triggering of a
selection, like Shift .
To save power, your computer may have automatically entered the standby or hibernation mode. (
“Computing On the Road”) Slide the power switch.
Did you repeatedly and continuously press Fn + F3 ?
Before holding down Fn + F3 continuously, make sure the active display has been
completely switched.
Restart the computer by using the keyboard (e.g., ).
Be sure to use the Display Rotation Tool to rotate the display.
After the display has been rotated, if the Fast User Switching Function is used, or if the
computer enters the standby or hibernation mode and then resumes, the screen for selecting the user will remain in its rotated position. If you exit Windows in this condition, then
the next time the computer is started up, the screen angle will not match the operations of
the touch pad or the touchscreen. In this case, operations will return to normal after you
have logged onto Windows by using the keyboard.
When the Microsoft® IntelliMouse™ Wheel mode or the original mode is set for the touch
pad, only scroll operations are possible for the right part or bottom part of the touch pad. In
this case, cursor operations are possible by using the work surface excluding the right part or
bottom part. When no mode is set, the entire surface of the touch pad can be used for cursor
operations.
If an image is displayed for a prolonged period of time, an afterimage may appear. This
is not a malfunction. The afterimage will disappear when a different screen is displayed.
High-precision and advanced technologies are necessary in the production of color liquid
crystal displays (color LCDs). Therefore, if 0.002% or less of the picture elements either
fail to light or remain constantly lit (that is, more than 99.998% of elements are functioning properly), no defect is considered to exist.
When an external display is used that is incompatible with the power saving modes of the
computer, the display may not function correctly when the computer enters the power saving mode. In such cases, turn off the power to the external display.
Changing the number of colors and refresh rate of the display may affect the screen. Restart
the computer.
After the display destination of the screen is switched with Fn + F3 , the resolution or
number of colors of the display may change. Set the display again.
Try changing the display by pressing Fn + F3 .
If you continue to experience problems, try changing the display in the following menu.
Windows 2000 : [Start] - [Settings] - [Control Panel] - [Intel
®
Extreme Graphics].
Windows XP : [Start] -[Control Panel] - [Other Control Panel Options] - [Intel
®
Ex-
treme Graphics].
Display
(To next page)
Page 4

4
The red indicator lights.
The red indicator blinks
The orange indicator blinks
The green indicator blinks
The battery indicator blinks
green and orange alternately
The screen does not fill up
the entire display (i.e., the
screen is shown in the center of the display)
Supplementary Instructions
Reinstalling Software “OPERATING INSTRUCTIONS (page 24-25)”
Reinstalling
Replace the “Reinstalling” for the following.
1 Turn the computer off and connect the CD drive to the
computer.
2 <Only when using the CD-ROM drive Panasonic KXL-
RW10A>
Connect the floppy disk drive to the USB port of the computer, then set the FIRSTAID FD in the floppy disk drive.
3 Turn the computer on.
4 When the message [Press F2 to enter SETUP] is displayed,
press F2 and then run the Setup Utility.
If the password has been set, enter the Supervisor Password.
5 Write down all of the contents of the Setup Utility and
then press F9 .
At the confirmation message, select [Yes] and then press
Enter .
Display
If the resolution is set to less than the resolution of the internal LCD and the screen is set to
simultaneous display, the screen will not fill up the entire display.
---------------------------------------------------------------------
Select a number
---------------------------------------------------------------------
1. Start restoring the operating system.
2. Erase the whole data on HDD for security.
3. End
---------------------------------------------------------------------
6 <Only when using the CD-ROM drive Panasonic KXL-
RW21A>
Select [Boot] menu, then select [CD Drive] and press
F6 until [CD Drive] is at the top of the [Boot] menu.
7 Place disk number one of the recovery CDs into the CD
drive.
8
Press F10 .
At the confirmation message, select [Yes] and press
Enter .
The computer will reboot, and this screen should appear.
9 Select [1. Start restoring the operating system.].
The License Agreement screen should appear.
The battery level is low. Save your data and power off your computer.
After connecting the AC adaptor or replacing the battery pack with a fully charged one, turn
your computer on.
The battery pack or recharging function may be defective. Quickly remove the battery
pack and disconnect the AC adaptor, then connect them again.
If the problem persists, contact Panasonic Technical Support.
Unable to charge because of an improper temperature range. ( “Operating Instructions” page 6)
Battery pack is discharging to 65% or below in high temperature mode.
Warming up the system to prevent hard disk drive malfunctions at low temperature.
Battery Indicator
Press Ctrl + Shift + Esc to open Task Manager and close the software application
which is not responding.
After cutting the power by sliding the power switch for more than four seconds, slide the
power switch to power on and open the application again.
If the program no longer works normally, delete the program using the following menu.
Then reinstall the program.
Windows 2000 : [Control Panel] - [Add/Remove Programs]
Windows XP : [Control Panel] - [Add or Remove Programs]
Computer hangs
Others
Page 5

5
Windows XP
Windows 2000
---------------------------------------------------------------------
Select a number
---------------------------------------------------------------------
1. Restore Windows(R) 2000 Professional to the whole HDD.
2. Make two partitions, for the operating system and data. And restore
Windows(R) 2000 Professional to the operating system partition.
(All existing partitions on HDD will be lost.)
3. Restore Windows(R) 2000 Professional to the first partition
4. End
---------------------------------------------------------------------
---------------------------------------------------------------------
Select a number
---------------------------------------------------------------------
1. Restore Windows(R) XP Professional to the whole HDD.
2. Make two partitions, for the operating system and data. And restore
Windows(R) XP Professional to the operating system partition.
(All existing partitions on HDD will be lost.)
3. Restore Windows(R) XP Professional to the first partition
4. End
---------------------------------------------------------------------
12 Make a selection from the menu.
When selecting [2], enter the basic partition size for
the operating system installation and press Enter .
(The data partition size is the remainder after subtracting the basic partition size.)
To select [3], the initial partition size must be 6 GB or
more of the hard disk size. Reinstallation cannot be
performed with a small partition size.
13
At the confirmation message , press Y .
The operation of reinstallation for the hard disk starts automatically. (The operations take about 15-40 minutes. The
time varies depending on the CD drive you use.)
When a message appears instructing you to insert the next
CD, insert the recovery CD showing the next number in
the sequence, and then select [OK].
If the message “The media does not contain the correct file” appears, select [OK]. A message will appear instructing you to insert the next CD.
Confirm that the proper recovery CD has been inserted by opening the tray of the CD drive and then
close the tray, then select [OK].
NOTE
When an UPDATE FD is to be created, follow the steps
in the readme.txt on the disk. (
“Operating Instruc-
tions” page 13)
NOTE
18 Press F9 .
At the confirmation message, select [Yes] and then press
Enter . (The Setup Utility settings will return to their
default values. Even the security settings with the exception of the password(s) will return to their default values.)
Change the settings where necessary.
19
Press F10 .
At the confirmation message, select [Yes] and press
Enter .
20 Perform the setup procedure for Windows by following
the instructions on the screen.
(Refer to the Supplementary Instructions for added func-
tions, if they are included with the computer.)
Windows 2000 “Operating Instructions” (page 11)
Windows XP “Operating Instructions” (page 12)
10 Select [1. Yes, I agree to the provisions above and wish to
continue!].
11 This screen should appear.
14 After the reinstallation procedure completes, press
Enter . The computer will be shut down.
15 <Only when using the CD-ROM drive Panasonic KXL-
RW10A>
Remove the FIRSTAID FD.
16 Remove the CD drive, and then turn the computer on.
17 When the message [Press F2 to enter SETUP] is displayed,
press F2 and then run the Setup Utility.
If the password has been set, enter the Supervisor Password.
Page 6

6
Procedure
1 Turn the computer off and connect the CD drive to the com-
puter.
2 <Only when using the CD-ROM drive Panasonic KXL-
RW10A>
Connect the floppy disk drive to the USB port of the computer, then set the FIRSTAID FD in the floppy disk drive.
3 Turn the computer on.
4 When the message [Press F2 to enter SETUP] is displayed,
press F2 and then run the Setup Utility.
If the password has been set, enter the Supervisor Password.
5
Press F9 .
At the confirmation message, select [Yes] and then press
Enter .
6 <Only when using the CD-ROM drive Panasonic KXL-
RW21A>
Select [Boot] menu, then select [CD Drive] and press
F6 until [CD Drive] is at the top of the [Boot] menu.
7 Place disc number one of the recovery CDs into the CD drive.
Supplementary Instructions
Hard Disk Data Erase Utility
Add “Hard Disk Data Erase Utility” as follows.
This computer is equipped with a utility for completely erasing hard disk data.
When disposing of or transferring ownership of this device, erase all data on the hard disk in order to prevent the theft of hard disk
data following the steps below.
The hard disk data erase utility erases data using an “overwriting” method, but there is a possibility that due to malfunctions or
other operational errors, data may not be completely erased. There are also specialized devices that may be able to read data
that has been erased using this method. If you need to erase highly confidential data, we recommend that you contact a
company that specializes in this process. Matsushita Electric Industrial Co., Ltd. will bear no responsibility for losses or
damages suffered as a result of the use of this utility.
NOTE
Be sure the AC adaptor is connected until the procedure is completed.
This utility can only be used for internal hard disk. It cannot be used to erase data from the second hard disk or external hard
disks.
This utility cannot erase data from damaged disk.
This utility cannot erase data for specific partitions.
After executing this utility, the computer cannot be booted from the hard disk.
Preparing
Product Recovery CD-ROM
CD-ROM drive Panasonic KXL-RW10A(PC Card-compatible) or KXL-RW21A(USB)
<Only when using the CD-ROM drive Panasonic KXL-RW10A>
External floppy disk drive (optional CF-VFDU03)
FIRSTAID FD created in advance
---------------------------------------------------------------------
Select a number
---------------------------------------------------------------------
1. Start restoring the operating system.
2. Erase the whole data on HDD for security.
3. End
---------------------------------------------------------------------
8 Press F10 .
At the confirmation message, select [Yes] and press
Enter .
The computer will reboot, and this screen should appear.
9 Select [2. Erase the whole data on HDD for security.].
10
At the confirmation message, press Y .
11
At [<<< Start menu >>>], press Enter .
12 The time required for erasing data will be displayed.
Press Space .
13
At the confirmation message, press Enter .
The operation of erasing the hard disk starts.
14 After the operation is complete:
Under normal conditions, the message [Hard disk data has
been deleted.] will be displayed.
If a problem occurred during the operation, an error message will be displayed.
15
Press Enter . The computer will be shut down.
Page 7

7
Specifications “OPERATING INSTRUCTIONS (page 29)”
Replace the specifications for the following.
CF-M34UTFZDM/CF-M34UTFZKM CF-M34UHFZDM/CF-M34UHFZKM
Intel® Mobile Pentium® III Processor-M 866 MHz
32 KB
512 KB
256 MB (768 MB Max.)
UMA (48 MB Max.)
8.4 ” (TFT) 8.4 ” (TFT) (Transflectiv e)
256/65536/16M colors (640 x 480 dots/800 x 600 dots)
256/65536/16M colors (640 x 480 dots/800 x 600 dots/1024x768 dots/1280x1024
dots)*
2
30 GB*
3
Windows keyboard (87 keys)
Touch Pad
Touchscreen (Anti-Reflection, Stylus (included) touch capable)
Type I or Type II
3.3 V: 400 mA, 5 V: 400 mA
144-pin, SO-DIMM, 3.3 V, PC133 Compliant
Dsub 9-pin Male
Miniature jack, 3.5 DIA
Miniature jack, 3.5 DIA
4-pin, USB1.1
RJ-11 Data:56 kbps (V.92 & K56flex*6) FAX:14.4 kbps
RJ 45 IEEE 802.3 10Base-T, IEEE 802.3u 100Base-TX
Monaural Speaker
AC ’97 2.1 Compatible, 18 bits full duplex stereo
Li-ion 11.1 V, 4.0 Ah
Approx. 3.2 - 4.8 h Approx. 3.2 - 5 h
Approx. 4 h
Approx. 2.5 h
Coin type lithium battery 3.0 V
Input 100 V - 240 V AC, 50 Hz / 60 Hz Output 15.6 V DC, 5.0 A
Approx. 18 W*10 / Approx. 41 W (maximum when recharging in the ON state)
5 °C to 35 °C {41 °F to 95 °F}
30% to 80% RH (No condensation)
-20 °C to 60 °C {-4 °F to 140 °F}
30% to 90% RH (No condensation)
229 mm X 43 mm X 188 mm {9.0 " X 1.7 " X 7.4 "}
Approx. 1.8 kg {Approx. 4.0 lb.}
Model No.
CPU
L1 Cache Memory
L2 (Second) Cache Memory
Memory
Video Memory
LCD Type
Displayed Colors*
1
External Display
Hard Disk Drive
Keyboard
Pointing Device
PC Card Slot
Allowable current
RAM Module Slot*
4
Serial Port
Microphone Jack*
5
Interface Headphone Jack
USB Port
Modem
LAN
Speaker
Sound
Battery Pack
Operating Time*
7
Charging Time*7Power On
Power Off
Clock Battery
AC Adaptor*
8
Power Consumption*
9
Environment
In use Temperature
Humidity
Not in use
Temperature
Humidity
Physical Dimensions*
11
(W X H X D)
Weight*
11
*1A 16M color display on the LCD is achieved by using the dithering function.
Windows XP : 256 color depth and the resolution of 640 x 480 are not supported.
*
2
Maximum resolution depends on the specifications of the external display.
Windows XP : 256 color depth and the resolution of 640 x 480 are not supported.
*
3
1GB = 109 bytes
*
4
Only a RAM card designed for PC133 can be added.
*
5
Use only a monaural condenser microphone (miniature jack).
*
6
The settings for the K56flex modem need to be changed according to the AT command.
*
7
Varies depending on the usage conditions.
*
8
The AC adaptor is compatible with pow er sources up to 240 V AC adaptor.
This computer is supplied with a 125 V AC compatible AC cord.
*
9
Approx. 0.7 W when the battery pack is fully charged (or not being charged) and the computer is OFF.
*
10
Rated power consumption.
*
11
The dimensions and weight do not include the hand strap.
Main Specifications
Page 8

FJ1002-0
DFQX1421ZA
© 2002 Matsushita Electric Industrial Co., LTD. All Rights Reserved.
Printed in Japan
CF-M34UTFZDM/CF-M34UHFZDM
Microsoft® Windows® 2000 Professional with
Service Pack3 (NTFS File System)
Software
Model No.
Operating System
Utility Programs
CF-M34UTFZKM/CF-M34UHFZKM
Microsoft® Windows® XP Professional with
Service Pack1 (NTFS File System)
Setup Utility
DMI Viewer
Adobe
®
Acrobat® Reader
Panasonic Hand Writing
Display Rotation Tool
Hard disk data erase utility*
Supplementary Instructions
* The Product Recovery CD-ROM is required.
 Loading...