

Panasonic BB-HNP60 User Manual 2

Network Camera Recorder
Operating Instructions
Model No.
BB-HNP60
Please read this manual before using and save this manual for future
reference.

Operating Instructions
End-User License Agreement
THIS IS A LEGAL AGREEMENT BETWEEN YOU AND PANASONIC
COMMUNICATIONS CO., LTD. ("PANASONIC") WITH RESPECT TO THE
SOFTWARE ENCLOSED PANASONIC BB-HNP60 SOFTWARE YOU ARE
GOING TO INSTALL ("SOFTWARE"). CAREFULLY READ ALL THE TERMS
AND CONDITIONS OF THIS AGREEMENT PRIOR TO INSTALLING THE
SOFTWARE. INSTALLING THE SOFTWARE INDICATES YOUR ACCEPTANCE
OF THESE TERMS AND CONDITIONS.
If you do not agree to these terms and conditions, return all SOFTWARE items
(disk, written materials and packaging) to the place of purchase, for a refund. No
refund will be given unless all SOFTWARE items (disk, written materials and
packaging) are returned.
1. COPYRIGHT:
The SOFTWARE is protected by copyright laws and international treaty
provisions, and all other applicable laws. You acknowledge that you are
receiving only a LIMITED LICENSE TO USE the SOFTWARE and related
documentation, and that you shall obtain no title, ownership nor any other
rights in or to the SOFTWARE and its related documentation, all of which title
and rights shall remain with PANASONIC or its licensor.
2. LICENSE:
(1) You may use the SOFTWARE solely for the purpose of recording and
processing images from one or more PANASONIC Network Cameras which
are compatible with the SOFTWARE.
(2) You may make a copy of the SOFTWARE for the use defined in
subparagraph (1) above, or for internal back-up purpose only.
(3) You may transfer your rights under this License Agreement on a permanent
basis, provided that you transfer this Agreement, all copies of the
SOFTWARE, all related documentation and your PANASONIC Network
Camera(s), and the recipient thereof agrees to the terms of this Agreement.
2

Operating Instructions
3. RESTRICTIONS:
You may not reverse engineer, decompile or disassemble the SOFTWARE,
except as expressly permitted by applicable laws. You may not use, copy,
modify, alter, rent, lease or transfer the SOFTWARE, its related
documentation, or any copies thereof, in whole or in part, except as expressly
provided in this Agreement. You may not export the SOFTWARE in
contravention of any applicable U.S. or foreign export laws and regulations.
4. TERM:
This license is effective until terminated. You may terminate this Agreement at
any time by destroying the SOFTWARE and related documentation and all
copies thereof. This license will be terminated if you fail to comply with any
term or condition of this Agreement. Upon such termination, you agree to
destroy the SOFTWARE, all copies thereof and related documentation.
5. LIMITED WARRANTY:
During the ninety (90) days after your purchase of the SOFTWARE,
PANASONIC warrants that the storage media on which the SOFTWARE is
furnished will be free from defect in materials and workmanship under normal
use, and that it will repair, or at its option replace, any defective media at no
charge to you, provided that such defective media is returned to your local
Panasonic Sales Company within such ninety (90) days period, along with a
copy of the receipt showing your date of purchase.
3

Operating Instructions
6. LIMITATION OF LIABIRITY:
EXCEPT AS STATED ABOVE, PANASONIC (INCLUDING PANASONIC
SALES COMPANIES AND DISTRIBUTORS FOR THE PURPOSE OF THIS
SECTION 6) DOES NOT MAKE OR PASS ON TO YOU OR OTHER THIRD
PARTY, ANY WARRANTY OR REPRESENTATION INCLUDING, BUT NOT
LIMITED TO, THE IMPLIED WARRANTIES OF MERCHANTABILITY AND
FITNESS FOR A PARTICULAR PURPOSE.
PANASONIC MAKES NO WARRANTY THAT THE SOFTWARE WILL BE
ERROR-FREE OR THAT IT WILL MEET YOUR REQUIREMENTS.
PANASONIC SHALL NOT BE LIABLE FOR ANY DAMAGES SUFFERED BY
YOU INCLUDING, BUT NOT LIMITED TO, CONSEQUENTIAL, INCIDENTAL,
SPECIAL OR PUNITIVE DAMAGES, EVEN IF PANASONIC HAS BEEN
ADVISED OF THE POSSIBILITY OF SUCH DAMAGES.
NOTWITHSTANDING THE FOREGOING, IF THE TERMS AND
CONDITIONS HEREOF CONTRADICT THE LAWS OF THE COUNTRY YOU
LIVE IN, THIS LICENSE AGREEMENT SHALL BE MODIFIED TO THE
EXTENT SUCH LAWS REQUIRE.
CD-ROM NOTICE
• Do not scratch, smudge, write or label either surfaces of the CD-ROM. CDROM may have a scratch on the surface.
• Do not leave the CD-ROM in direct sunlight, near a heat source or in a hot
automobile. It may transform the surface of the CD-ROM.
• Do not use chemicals or cleanser to clean the CD-ROM. It may transform
the surface of the CD-ROM.
• Do not use the CD-ROM in the CD player. The top volume played by the
CD player may cause damage to the speaker.
4

Operating Instructions
System Requirements
PC (Personal Computer) must meet the following technical specifications to use
Network Camera Recorder.
Item Description
®
Operating System Microsoft
Windows® 98/SE
Microsoft Windows 2000
Microsoft Windows Me
Microsoft Windows NT
®
4.0
Microsoft Windows XP (Home Edition and
Professional)
Specification of the PC
(Recommendation)
CPU Pentium
With 10 Network
Cameras
(Recommendation)
®
4 1.8 GHz or
greater
With 4 Network
Cameras (Minimum
Requirement)
Celeron® 1.3 GHz or
greater
Memory 256 MB or greater 128 MB or greater
Free area of a hard disk 20 GB or greater 10 GB or greater
Note
The above-mentioned conditions vary according to recording situations or system
configuration.
Trademarks
• Microsoft, Windows and Windows NT are either registered trademarks or
trademarks of Microsoft Corporation in the United States and/or other
countries.
• Adobe, Adobe logo, Acrobat and Acrobat Reader are either registered
trademarks or trademarks of Adobe Systems Incorporated in the United States
and/or other countries.
• Intel, Pentium, Celeron and Indeo are trademarks or registered trademarks of
Intel Corporation or its subsidiaries in the United States and other countries.
• Screen shots reprinted with permission from Microsoft Corporation.
All other trademarks identified herein are the property of their respective owners.
5

Operating Instructions
Table of Contents
1 Product Introduction ..................................................... 8
1.1 Main Features................................................................................... 9
1.2 Network Camera Recorder Installation........................................... 11
1.2.1 Looking at Installation Procedure..............................................................11
1.2.2 Checking Included Accessories ................................................................12
1.2.3 Installing Network Camera Recorder ........................................................13
1.2.4 Uninstalling Network Camera Recorder ....................................................16
1.3 How to Start and Close Network Camera Recorder ....................... 17
1.4 User Registration............................................................................ 18
1.5 Folder Selection to Save the Image ............................................... 20
2 Network Camera Recorder Screen............................. 23
2.1 Network Camera Recorder Screen ................................................ 24
2.1.1 Using Image Page.....................................................................................24
2.1.2 Using Thumbnails Page............................................................................29
2.1.3 Using Search Results Page ......................................................................30
2.1.4 Using Camera List.....................................................................................31
2.2 Network Camera Configuration ...................................................... 33
2.2.1 Configuring a New Network Camera.........................................................33
2.2.2 Editing the Network Camera .....................................................................36
2.2.3 Changing Default Camera Settings...........................................................37
2.2.4 Setting the Proxy Server ...........................................................................38
2.2.5 Deleting a Configured Network Camera....................................................39
2.3 Network Camera Monitoring........................................................... 41
2.3.1 Using the Operation Bar............................................................................41
2.3.2 Using Preset Buttons.................................................................................42
2.3.3 Zooming and Focusing..............................................................................43
2.3.4 Monitoring the Network Camera................................................................44
2.3.5 Using Camera Bar.....................................................................................45
2.4 Network Camera Recording ........................................................... 48
2.4.1 Setting the Hard Disk Capacity .................................................................48
2.4.2 Backing up the Recorded Image...............................................................49
2.4.3 Recording the Network Camera................................................................50
2.4.4 Motion Detection Recording......................................................................52
2.4.5 Changing Motion Detection Settings.........................................................53
2.4.6 Timer Recording........................................................................................54
2.4.7 Playing Back the Recorded Image............................................................56
6

Operating Instructions
2.4.8 Searching for Recorded Image................................................................. 58
2.4.9 Extracting JPEG Files from an MJP File................................................... 59
2.4.10 Controlling Playback Speed.................................................................... 60
2.4.11 Deleting the Recorded Image ................................................................. 61
3 Practical Operation ......................................................63
3.1 Printing the Recorded Image.......................................................... 64
3.2 Multi-Camera Recording................................................................. 67
3.3 Copying or Moving the Recorded Image ........................................ 68
3.4 Enabling or Disabling the Network Camera.................................... 70
3.5 Creating AVI Motion Video Files ..................................................... 71
3.6 Renaming and Saving the Image ................................................... 73
3.7 Copying to the Clipboard ................................................................ 74
3.8 Confirming the Version Information ................................................ 75
4 Default Setting and Troubleshooting .........................76
4.1 Default Setting List ......................................................................... 77
4.2 Troubleshooting .............................................................................. 80
Index....................................................................................84
7

Operating Instructions
Section 1
Product Introduction
8

Operating Instructions
1.1 Main Features
Multi-Camera Recording ( page 67)
Network Camera Recorder can record the image from a Network Camera via the
Internet and via a LAN/Intranet connection simultaneously. Multi-Camera
Recording is also available.
Motion Detection Recording ( page 52)
Recording can begin automatically when motion is detected. This feature offers a
more efficient means of recording.
Timer Recording ( page 54)
You can specify the day of the week and period of time for recording. Timer
Recording can be used with Motion Detection Recording. The image in which the
motion is detected will be recorded in the specified period of time.
AVI Motion Video File Creation ( page 71)
JPEG files can be converted to AVI files. This allows the files to be played back on
other PCs or send via e-mail.
Camera Bar ( page 45)
The Camera Bar displays images of all active Network Cameras that are
configured. This feature allows you to view multiple images simultaneously.
Playback feature ( page 56)
Network Camera Recorder can play back JPEG and MJP files of camera images
controlling the playback speed.
Recorded-Image Searching ( page 58)
Recorded images can be searched for by their recording time.
Network Camera with preset positioning and zooming supported ( page 42
and page 43)
Preset positioning and zooming features of Panasonic Network Cameras (HCM
series) are available for use.
9

Operating Instructions
Setting Hard Disk Capacity for Recording ( page 48)
A maximum hard disk capacity for recording can be set.
Automatic Backup ( page 49)
Recorded images can be backed up automatically at a specified time.
10

Operating Instructions
1.2 Network Camera Recorder Installation
1.2.1 Looking at Installation Procedure
You must perform the following steps to use Network Camera Recorder.
Read the End-User License Agreement. ( page 2)
You cannot install Network Camera Recorder if you disagree.
(The legal agreement is required when installing Network Camera Recorder.)
Install Network Camera Recorder. ( page 13)
Perform the user registration. ( page 18)
Without the user registration, the number of Network Cameras that can be
configured are only four, and Network Camera Recorder cannot be used beyond
the limitation of 30 minutes. Enter the registration code and the password.
Select the folder to save images. ( page 20)
Configure the Network Camera. ( page 33)
Use Network Camera Recorder.
11

Operating Instructions
1.2.2 Checking Included Accessories
The following items are provided.
• CD-ROM
• Operating Instructions
• End-User License Agreement
• Registration code stickers*
* User registration requires registration code shown on registration code
stickers. Affix the stickers to the case, the front or the back of Operating
Instructions to remember registration code and password.
— 1 pc.
— 1 pc.
— 1 pc.
— 1 set (3 pc.)
12
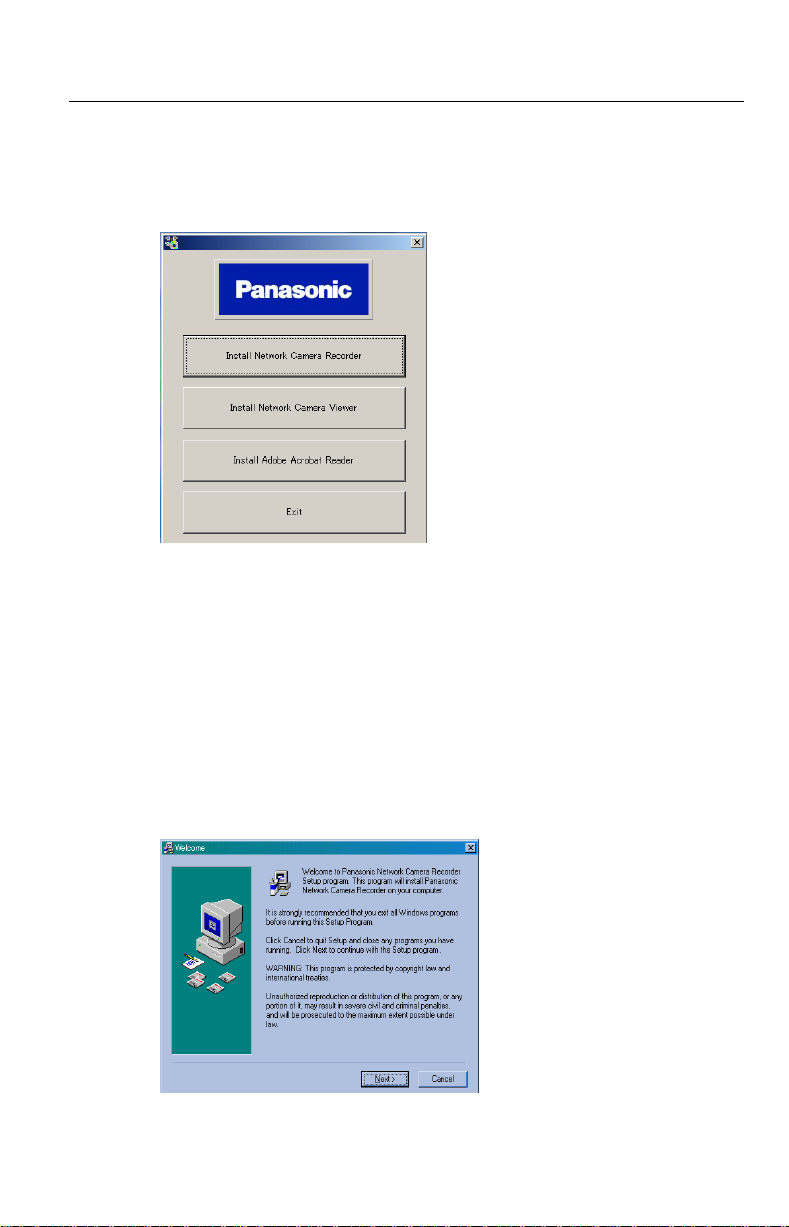
1.2.3 Installing Network Camera Recorder
1. Insert the CD-ROM to the CD-ROM drive.
• Installation Selection window automatically appears.
Notes
• If Installation Selection window does not appear, open "ncr" folder on
the CD-ROM and double-click "ncrsetup_en.exe" file. Installation
window appears.
• Clicking [Install Network Camera Viewer] starts installing Network
Camera Viewer.
• Adobe
®
Acrobat® Reader® software allows you to read Operating
Instructions on a PC. To install it, click [Install Adobe Acrobat
Reader].
2. Click [Install Network Camera Recorder].
• Installation window appears.
Operating Instructions
13
Operating Instructions
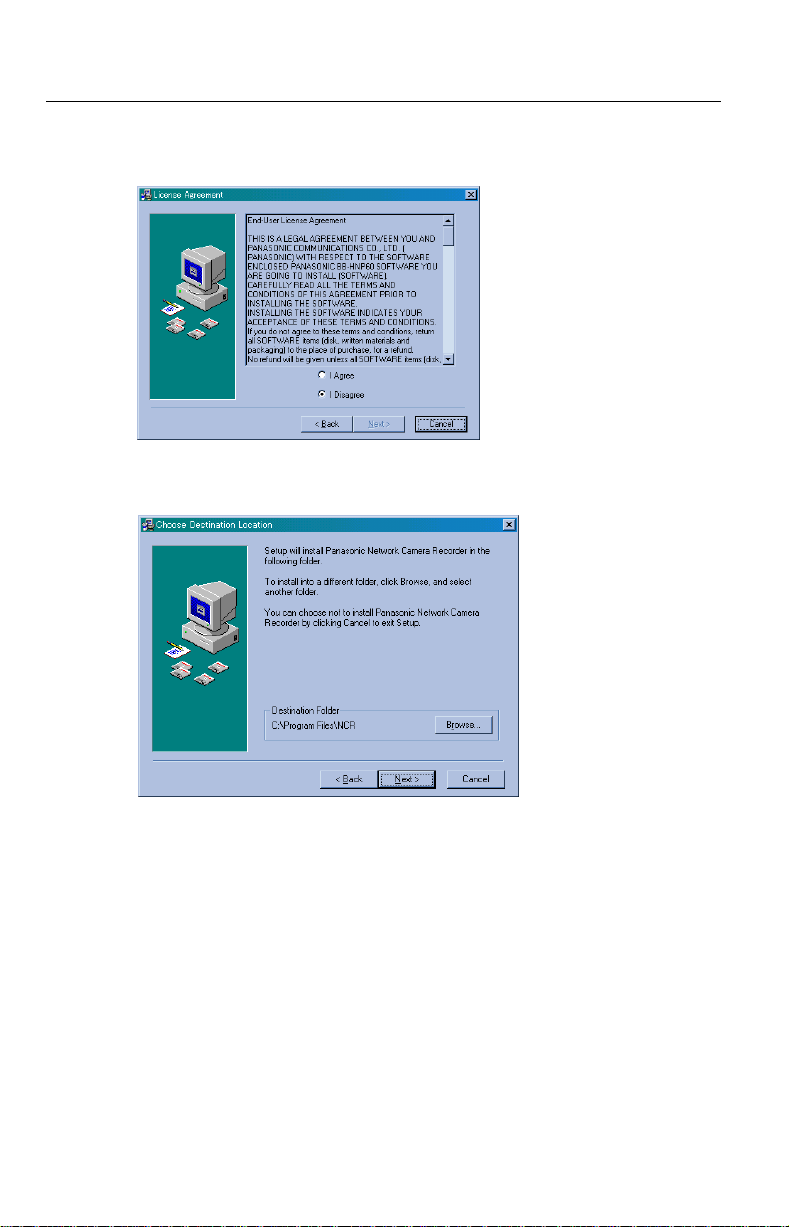
3. Click [Next>].
• License Agreement window appears.
4. Check [I Agree] and click [Next>].
• Choose Destination Location window appears.
14
•Click [Browse] to change the destination folder and choose the
destination.
• Confirm that the hard disk capacity is 600 MB or greater.
• The level of the folder-hierarchy depth must be within six to prevent the
system from getting unstable.
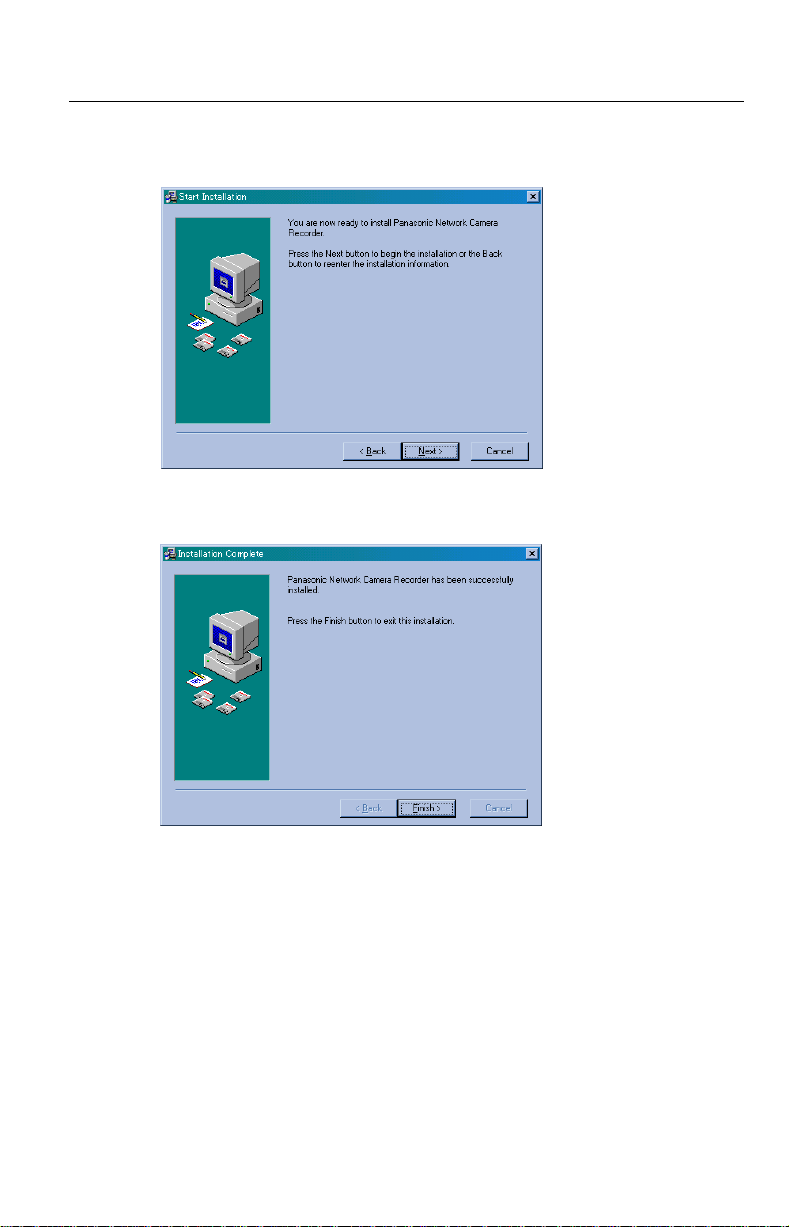
5. Click [Next>].
• Start Installation window appears.
6. Click [Next>].
• Installation Complete window appears.
Operating Instructions
15

Operating Instructions
7. Click [Finish].
• Installation has finished completely.
• Network Camera Recorder Icon appears on the desktop.
8. Click [Exit] to close Installation Selection window.
1.2.4 Uninstalling Network Camera Recorder
If you do not need Network Camera Recorder, uninstall it.
1. Select [Start] [Program] [NCR] [Uninstall Panasonic Network
Camera Recorder].
2. Follow the steps on the windows.
Note
When performing version upgrade of Network Camera Recorder, uninstall by
checking [Automatic] before installing a new version. Camera definitions and
recorded images will not be deleted.
16

Operating Instructions
1.3 How to Start and Close Network Camera
Recorder
1. Double-click the Network Camera Recorder Icon on the desktop.
• Network Camera Recorder screen appears.
2. Select [File] [Exit] on the menu bar.
Notes
• Several Network Camera Recorders cannot be activated simultaneously.
• You can also start by selecting [Start] [Program] [NCR]
[Panasonic Network Camera Recorder].
17

Operating Instructions
1.4 User Registration
Without the user registration, the number of Network Cameras that can be
configured are only four, and Network Camera Recorder cannot be used beyond
the limitation of 30 minutes. Operate the user registration entering the registration
code and the password.
1. Start Network Camera Recorder and select [Help] [How to Register...].
• How to Register window appears.
2. Click [Browse to Registration Page].
• User Registration web site appears.
3. Follow the instructions on the web site, enter each required parameter, and
click [Register].
Notes
• If User Registration web site does not appear, access the web site below:
http://www.comm-9.com/registration/app/index.php
• Registration code is shown on registration code stickers.
• Make a note of the password to the registration code stickers. Password is
required in Step 4, and is also sent by e-mail.
18

Operating Instructions
4. Select [Help] [Enter Registration Code...].
• Enter Registration Information window appears.
5. Enter the registration code and the password. Click [OK].
• Information dialog box appears.
6. Click [OK] and restart Network Camera Recorder.
Notes
• When the registration code and password are wrong, Error dialog box
appears. Reenter them correctly.
• [Enter Registration Code] at the [Help] menu turns to [Revert to
Unregistered] when completing the registration. Select [Revert to
Unregistered] to revert to the unregistered state.
19

Operating Instructions
1.5 Folder Selection to Save the Image
Network Camera Recorder can save images to the hard disk. It can also save
images to the external memory device specifying the folder. You can configure
new Network Cameras creating subfolders. ( page 33)
Notes
• If the folder is not specified, the folders are made for each Network Camera
automatically and save images in the specified folder.
• When setting the Automatic Backup ( page 49), it is recommended to select
a new folder to save images. Because all data in a specified folder is copied.
Creating a new folder
1. Start Network Camera Recorder and select [File] [Select Camera
Database] on the menu bar.
• Select camera database folder window appears.
20

Operating Instructions
2. Select your destination drive and folder and click .
• button creates a subfolder under the selected folder.
3. Enter a new subfolder name and click [OK].
• A subfolder will be created under the selected folder.
Once you configured Network
Camera, check box appears.
Checking it holds all the camera
definitions (Camera Name, IP
address, Camera Type and etc.)
to the newly created folder.
4. Click [OK].
Notes
• When you monitor Network Camera or play back recorded images that is
specified to the different folder, specify the same folder by selecting
[Select Camera Database].
• When having created a folder without checking [Copy existing camera
definitions], Network Camera must be registered newly. Refer to page 33
and page 34 to configure a Network Camera.
21

Operating Instructions
Selecting an existing folder
1. Select your destination drive and folder, and click [OK].
The selected folder
2. When selecting the folder that already has a "webcams.def" file with [Copy
existing camera definitions] checked, the following message appears.
3. Click [Yes] to overwrite camera definitions.
Notes
• Select a drive with 600 MB or greater hard disk capacity as your destination
folder.
• The level of the folder-hierarchy depth must be within six to prevent the
system from getting unstable.
22

Operating Instructions
Section 2
Network Camera Recorder Screen
23

Operating Instructions
2.1 Network Camera Recorder Screen
2.1.1 Using Image Page
1)
2)
3)
4)
5)
6)
7)
8)
9)
(12) (13) (14)
(10)
(11)
(1) Menu bar
(2) Toolbar buttons ( page 26)
(3) [Image]/[Thumbnails]/[Search Results] tab
[Image] tab: displays Image Page.
[Thumbnails] tab: displays Thumbnails Page. ( page 29)
[Search Results] tab: displays searched images. ( page 30)
(4) Window Size buttons ( page 27)
(5) Recording buttons ( page 27)
(6) Operation Bar ( page 41)
(7) The window of a camera image
(8) Camera Name, the status of the Network Camera, the elapsed time from
the last recording and the number of JPEG and MJP files. ( page 29)
24

Operating Instructions
(9) • When monitoring
Current date and time are displayed.
• When staying stopped
Date and time of the last image are displayed.
• When displaying JPEG file
Recorded date and time, the elapsed time and the number of JPEG
files are displayed.
• When displaying MJP file
Recorded date and time and the elapsed time are displayed.
(10) Camera List ( page 31)
(11) Resolution is displayed. The file size is also displayed when viewing a
JPEG file.
(12) Playback buttons ( page 28)
(13) Connection buttons ( page 28)
(14) Motion Detection Meter ( page 28)
25
Operating Instructions
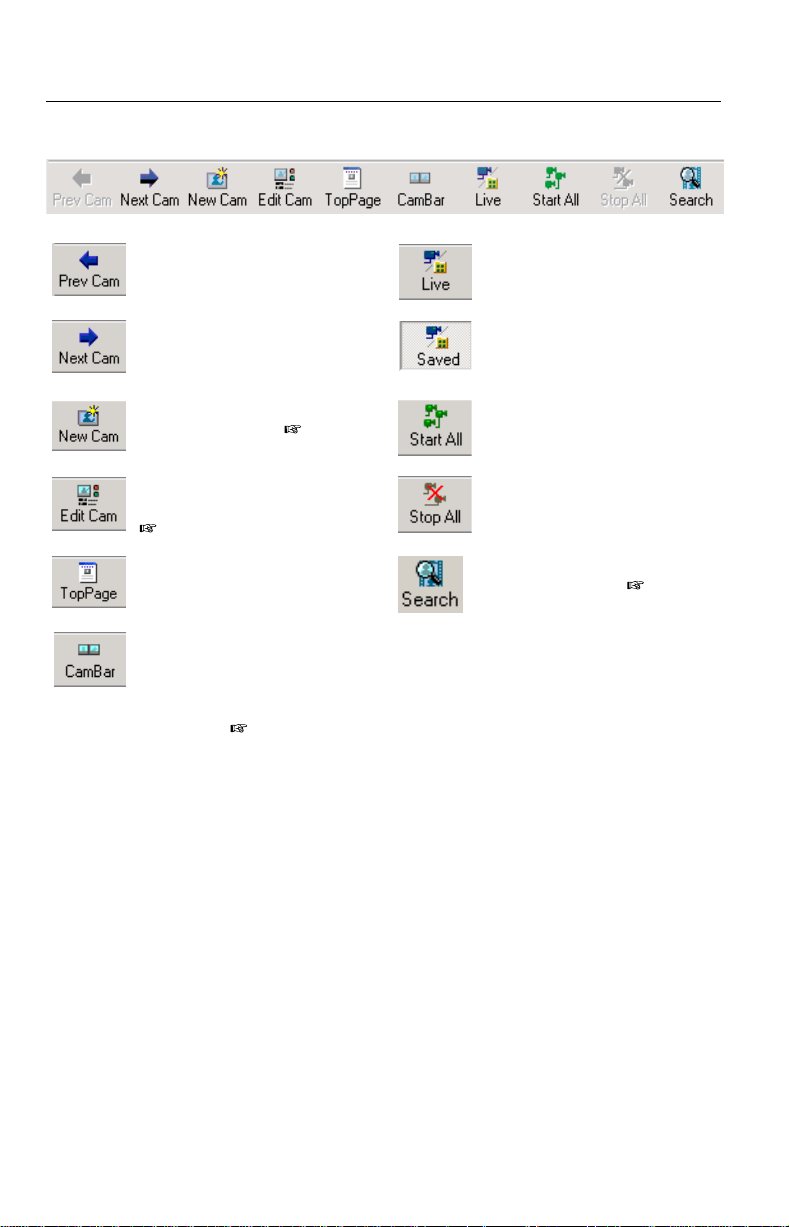
Toolbar buttons
[Prev Cam] displays the
previous Network Camera.
[Next Cam] displays the next
Network Camera.
[New Cam] configures a new
Network Camera. ( page 33)
[Edit Cam] changes the setting
of a Network Camera.
( page 36)
[Top Page] displays Top Page
of a Network Camera.
[CamBar] activates the Camera
Bar that allows you to monitor
Network Camera even though
Network Camera Recorder is
minimized. ( page 45)
[Live] displays the still image
from Network Cameras.
[Saved] displays the motion
image from Network Cameras
after clicking [Live].
[Start All] starts monitoring all
Network Cameras.
[Stop All] stops monitoring all
Network Cameras.
[Search] searches for your
recorded images. ( page 58)
26
 Loading...